
Easy step by step instructions on how to make a pine cone wreath for Christmas. Made of natural materials, this DIY pinecone swag will look amazing on your home.

I decided this year to create natural Christmas wreaths and the perfect place for one is on our garden shed door. So I started looking for ideas and suddenly came across an adorable gingham ribbon pine cone swag that looked easy to craft.
So, here are the steps on how to make a pine cone wreath.
This post contains affiliate links, which means I receive a commission if you make a purchase using the links below. All opinions are all my own.
HOW TO MAKE A PINE CONE WREATH
After planning to create a fir pine cone swag wreath, I thought I have plenty of medium pinecones and small pine cones since we live in Florida amongst many pine trees. So I sent my husband and little niece on a hunt.
It didn't take long before they returned with a handful of cute pine cones. This is just the beginning of creating my first Christmas Pine Cone wreath for the garden shed.
What do you need to make a pinecone wreath?
When starting any project, you will need to collect your supplies. You can find most of these at your local craft stores. So, you will need these items to create this beautiful wreath.
- Ribbon at least 5 yards
- Floral wire
- Glue Gun
- Scissors
- Fresh green wreath swag (I got mine at Trader Joe's)
- String or twine
- Command hook
- Six pine cones (I got mine in my backyard. But if you don't have any pine cones, click the word Pine Cones to order some online. I also saw snow-tipped pine cones. Wouldn't that be adorable! )To make this even easier you can click on each word in blue and order on Amazon.
I wish I could say that everything on this pine cone swag is all-natural, but there are a few items you will need to shop for.
PINECONE WREATH DIY
This is such an easy and quick pinecone wreath DIY project. Here are the steps for a pinecone wreath tutorial.
STEP ONE: CUT RIBBON
Layout your pieces of ribbon. I used three pieces of wired ribbon cut 18″, 19″ and 20″, one bow ribbon, and one extra 40″, not pictured, that will be used to hang the swag on the front door.
Overall you will need around 5 yards of ribbon. You may find some extra ribbon when you finish. But I always like going to the next yard just to be safe.

I laid them on top of the other and tied them together in the middle with twine or string.

Then I ran the ribbon piece that will hang the swag behind the string you just tied.
If you cannot get it through, tie another piece with the ribbon inside.

STEP TWO: ATTACH THE PINECONES
Next step, I glued the base of the pinecones to the bottom of each ribbon.
Here is a bonus. To dress up your pine cone ribbons even more, add a little ribbon bow where the ribbon and pine cone meet.

STEP THREE: HOW TO MAKE A BOW FOR A WREATH
Take two pieces of ribbon about the same length. Make one into a circle and tie it together with string to make the ears of the ribbon. Then use some string to attach the back or tails onto the ears.
Last, wrap a piece folded half around the bow and hot glue gun it to the back. You won't need a lot of hot glue for this step. After making the bow, glue gun the bow to the top of the ribbon/pine cone swag.
STEP FOUR: ATTACH BOW TO GREENERY
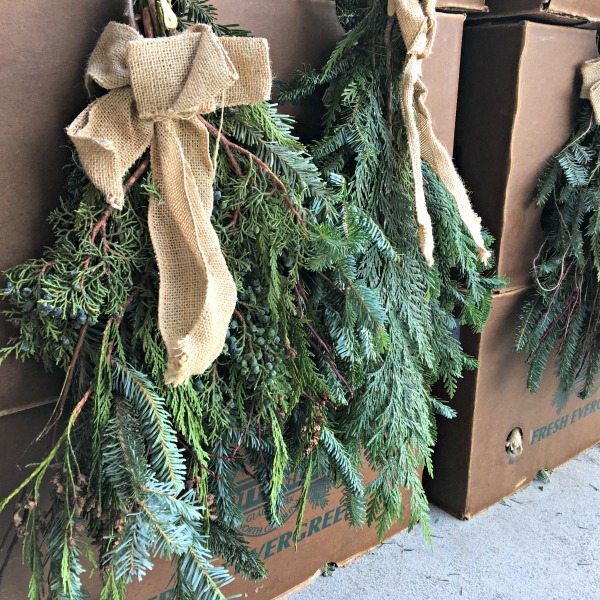
This part is also very easy, especially if you purchase a green swag already made as I did.
Anyways, your pine cone swag is already bundled together with some wire. Carefully loosen the wire and slide the hanging ribbon through it. Give it a tightening back with the wire.
If it still seems a little loose, attach the ribbon and greenery with your glue gun. However, I choose not to do that because I want to save my ribbon/pine cone swag section for next year.

STEP FIVE: HANG PINE CONE SWAG WITH RIBBON
Here is a trick I use on how to hang a wreath with ribbon without damaging your door.
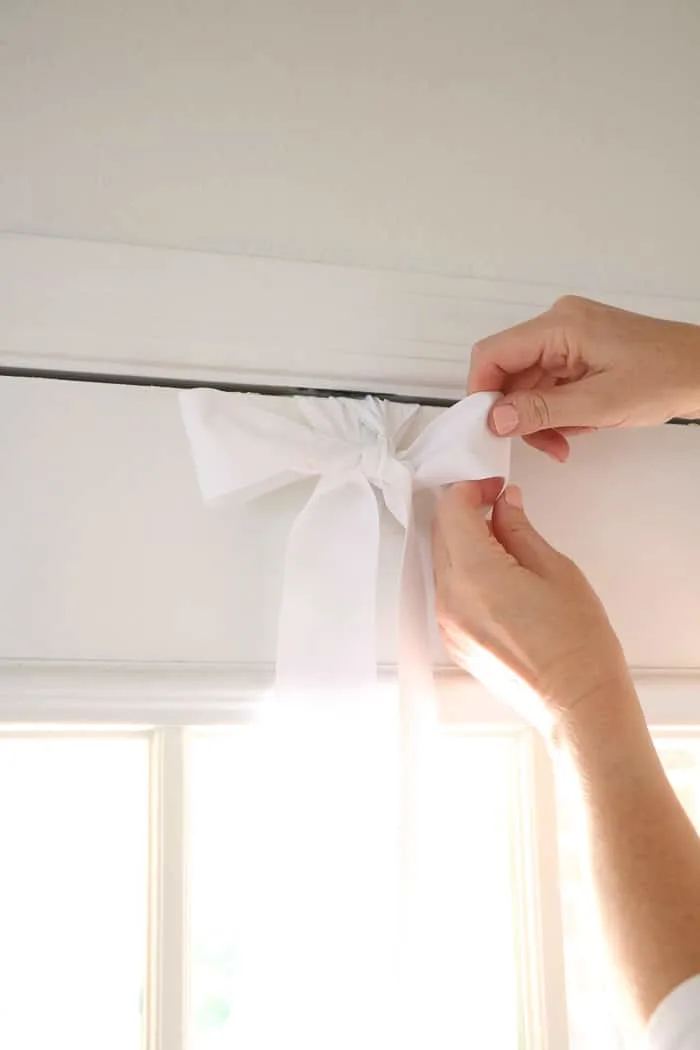
Take your command hook and hang it upside down behind the door at the top.
Then simply tie your hanger ribbon pieces together and hook the ribbon onto the command hook. Look around the front door to see if you have it high enough.
Adjust it accordingly by tieing the ribbon ends together more or less.

Yay! You now have your very own all-natural Pine Cone Swag or Wreath.

CONCLUSION
There are so many ways you can use this pinecone wreath in your festive decorations to add natural elements and festive touch. You can hang it on exterior wall lights over your fireplace mantel, which would look cute on a playhouse outside. There are lots of great places this lovely wreath could be hung.
But our favorite is the garden shed. Our shed is nestled in the trees, and since this pinecone wreath is made of real leaves, it fits nicely with nature.

Here are more photos of the wreath.


I am so excited you came to Life on Summerhill, and I hope this DIY pinecone wreath is helpful! Take some evergreen cuttings and add some holiday spirit and winter decor to your home.
If you like this door project, check out my cottage styles she shed ideas. And here are many more Christmas wreath ideas. Please share with me pictures of your Pine Cone wreath. I would love to see and possibly feature it on my social media.
Happy Decorating!


If you enjoyed these ideas, please sign up for emails so you don’t miss out on more fun decorating tips and ideas HERE.
WHAT IS A BREAD BOARD | LIFE ON SUMMERHILL
Friday 15th of January 2021
[…] snow kissed pinecones adds the perfect accent to your bread board. Or you could create your own pine cone swag to complete your holiday […]