
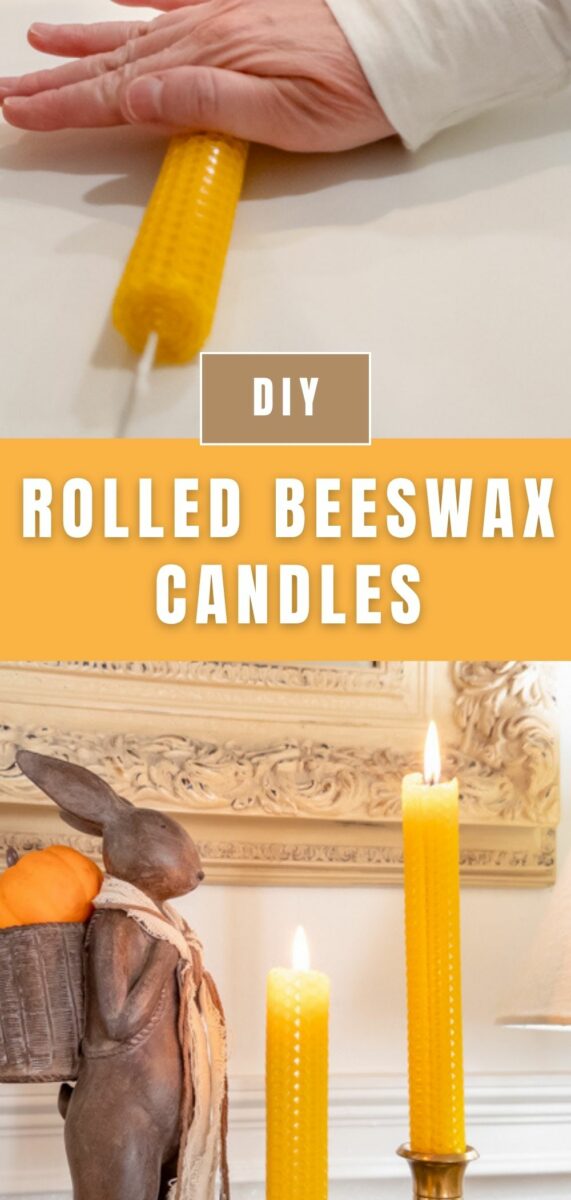
It all begins with a golden sheet of beeswax and a little patience. In this post, I’ll show you exactly how to make rolled beeswax candles that look charming and make the perfect handmade gift. Even better? They’re so easy that kids can help with this fun activity!
After making beeswax and coconut jar candles, I wanted to try taper candles. I did some research and found this kit, and honestly, it’s the easiest candle I’ve ever made. In under 30 minutes, you’ll have a beautiful candle ready to use in decor and gifts. Let’s get started!
Step-by-Step Rolled Beeswax Candle Tutorial
Supplies You’ll Need to Roll Beeswax Candles
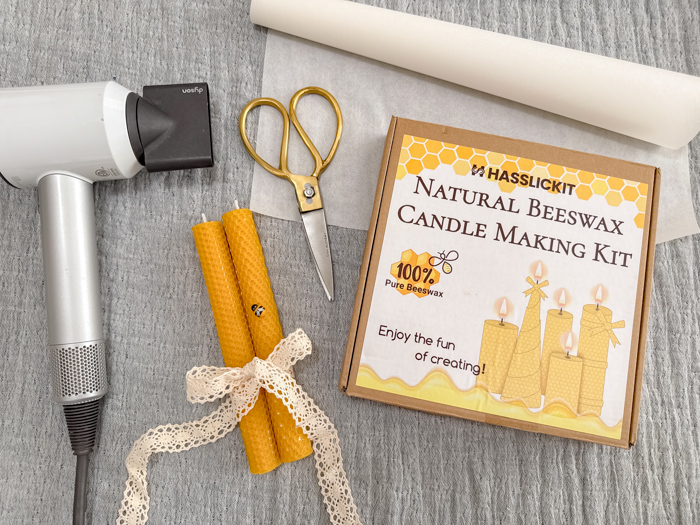
Here’s everything you’ll need to make your own handmade beeswax candles:
- Beeswax candle-making kit – this includes everything you need: sheets of beeswax, lace, twine, gift tags, and even tiny decorative bumblebees.
- Cotton wick or dipped wick (provided with kit unless you want to make your own wick)
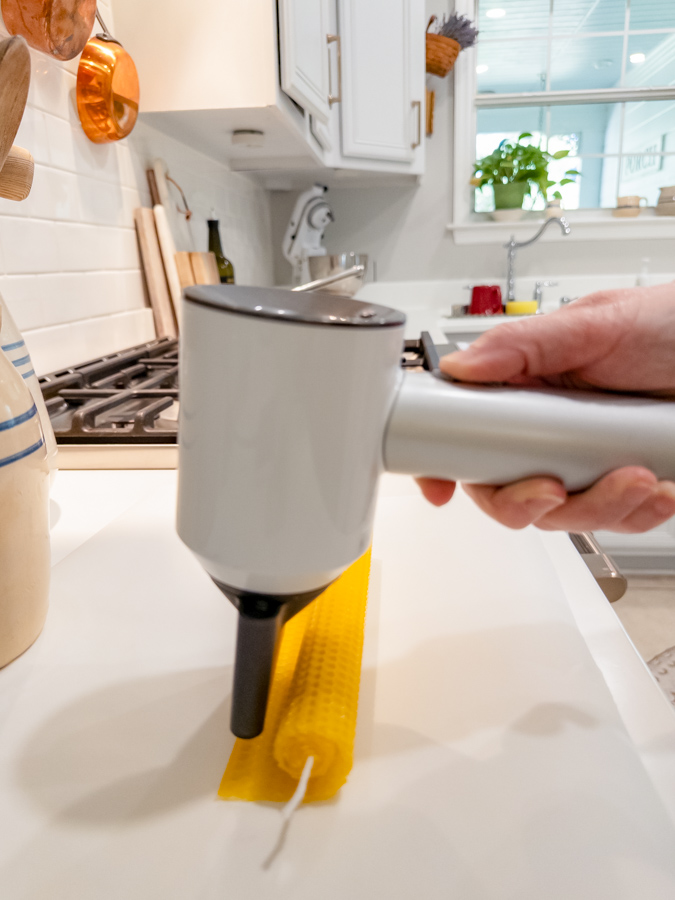
- Blow dryer or hair dryer – helps soften the beeswax sheet for easy rolling.
- Scissors – to trim the wick and cut twine or lace.
- Parchment paper – to protect your work surface.
- Candle holder – to fit your finished long taper candles.
If you’d like to make your own dipped wick for a cleaner flame, you can check out my clean-burning candle wick tutorial here.
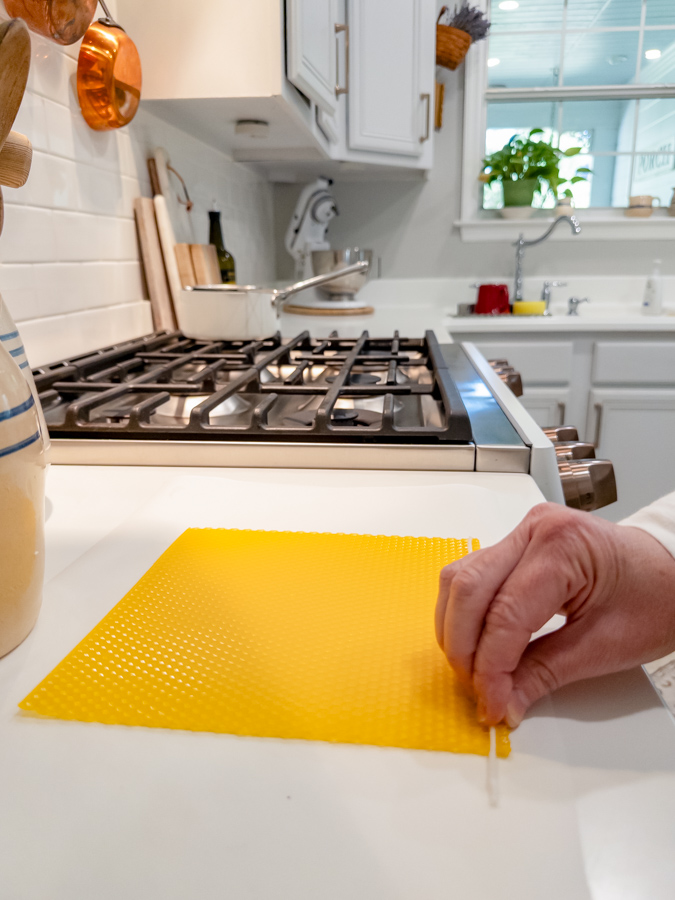
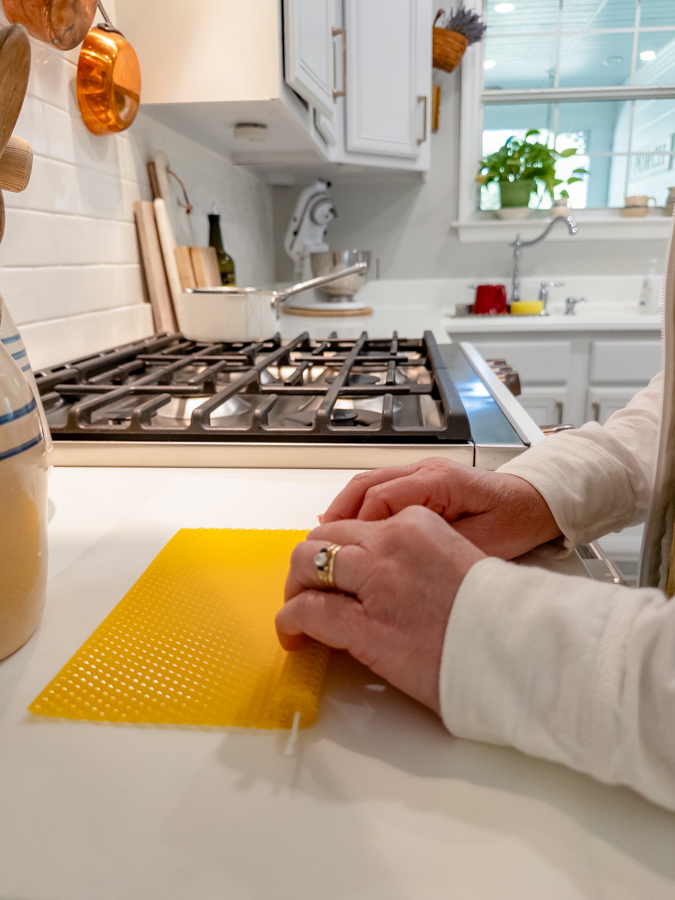
Step 1 – Warm the Beeswax Sheet
Lay a sheet of beeswax on parchment paper. Using a blow dryer on low heat, warm one edge just enough to make it flexible. The warmth helps the wax curl and roll easily.

Next, begin rolling the beeswax sheet along one edge, making one tiny, tight roll. Our goal is to make one tuck so we can nestle the wick up against it.
Step 2 – Add the Wick
Lay a piece of wick along the edge of the roll. Begin rolling tightly around the wick.
Note: I am using wicks dipped in beeswax. This easy-to-make wick burns better and stands up when burning, resulting in a more even burn.
Step 3 – Roll the Candle
Applying gentle heat as you go, continue to roll the beeswax sheet. Take your time and enjoy the process—it’s surprisingly relaxing.
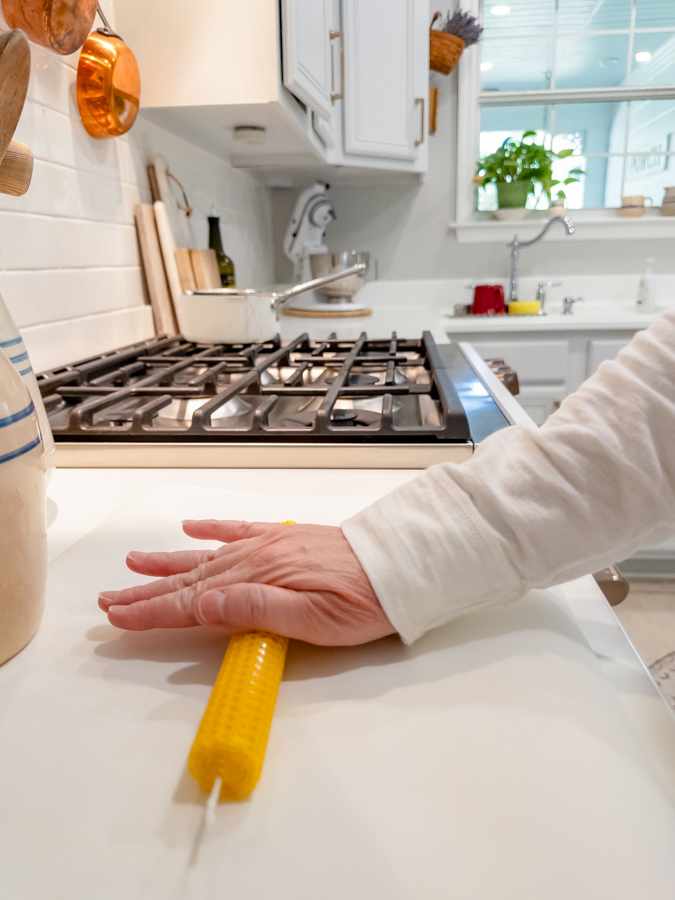
Step 4 – Seal and Shape the Candle
When you reach the end, warm that edge again and roll the candle on the parchment paper.
You can feel a slight bump where the end of the beeswax sheet meets the candle. Roll it over the bump to help secure it.
Then pick up the candle and add more heat if needed, and gently press the wax sheet edge into the candle.
Last, if you want your candle to be flat on the bottom, heat the bottom and gently press it onto the counter.
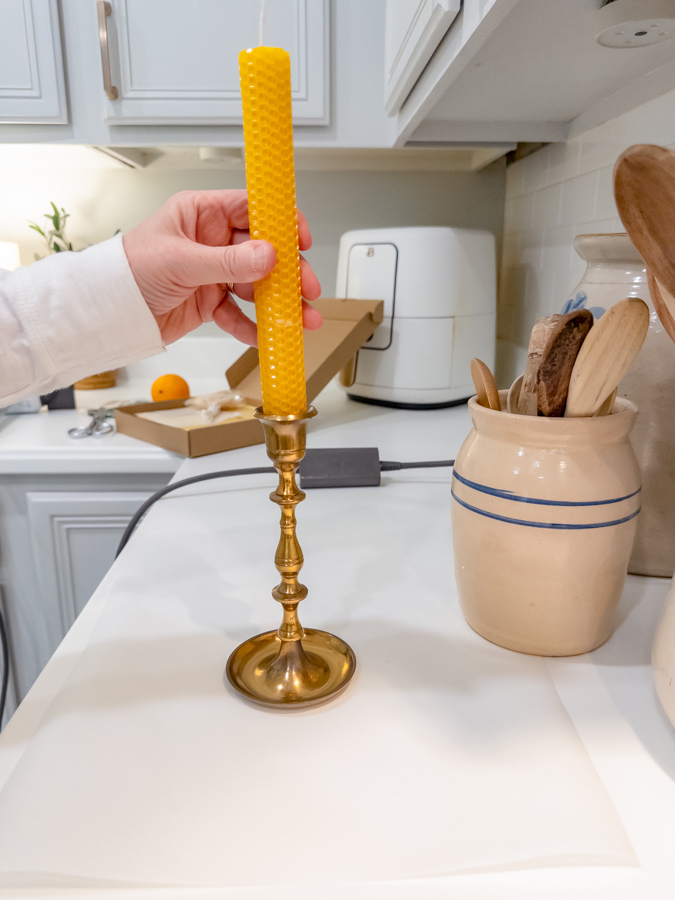
Now, if you want your candle to fit perfectly into a candle holder again, heat the bottom. Next, take your fingers and gently press the bottom inwards.

Then place it, while it is still warm, into the candle holder. It will take on the shape of the candle holder's interior.
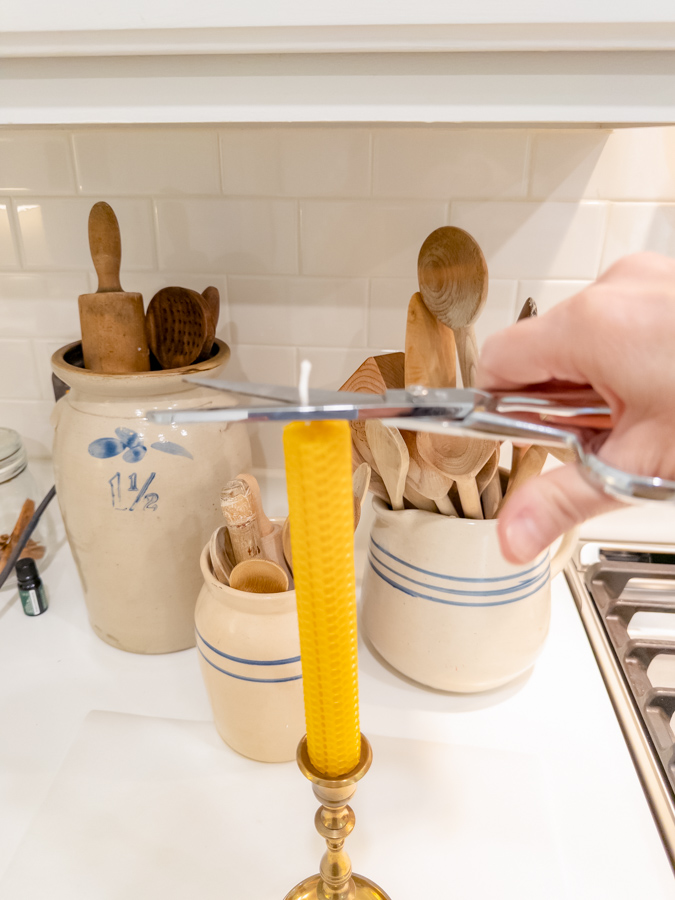
Step 4 – Trim the Wick
Trim the top of the wick to about a quarter of an inch. This helps the flame burn cleanly and evenly when you light your candle.
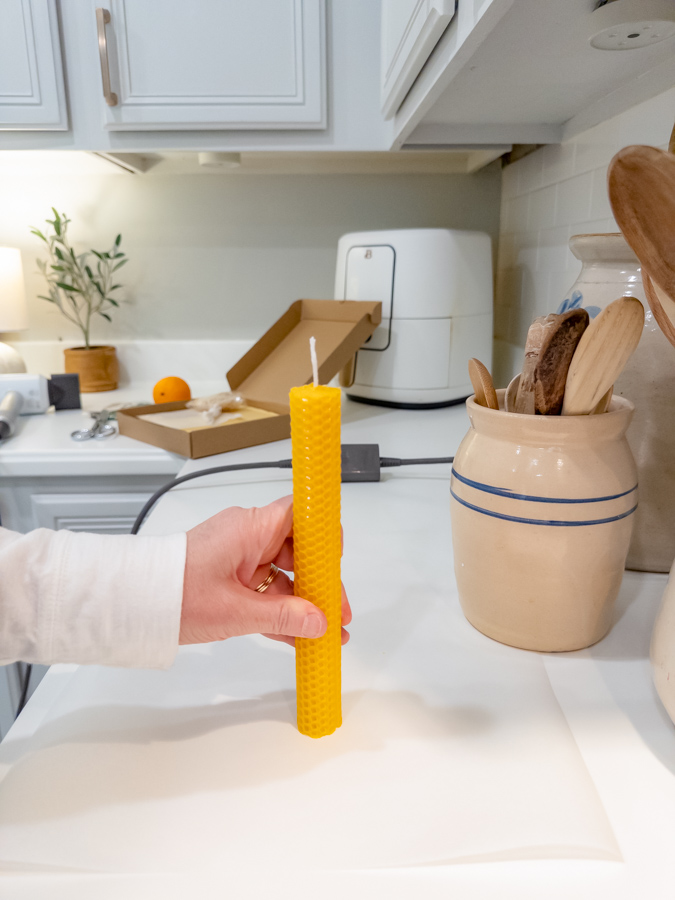
And that is all there is to making rolled beeswax candles. It is so easy and fun! Now, let's take a look at care tips and decorating ideas.
Candle Care Tips for Rolled Beeswax Candles
Rolled beeswax candles are simple to care for, but a few small habits help them last longer.
- Always keep your candle standing straight to avoid uneven melting.
- Trim the wick to a quarter inch before lighting.
- If one side melts faster, rotate or gently tilt the candle while it’s still warm.
- Once cooled, trim any uneven wax to keep it level.
- Dipped wicks tend to burn better and straighter than plain cotton ones.
Decorating and Gifting Ideas
This is where the fun begins! Use the lace, twine, and gift tags from your kit to decorate each candle. Add one of those tiny bumblebees for a touch of whimsy.
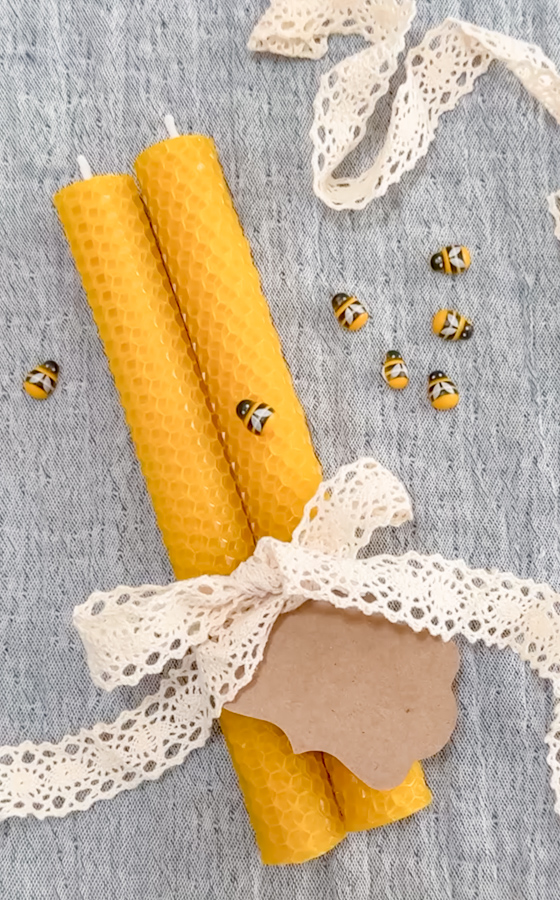
These natural beeswax candles make wonderful handmade gifts and add charm to your décor for any season.
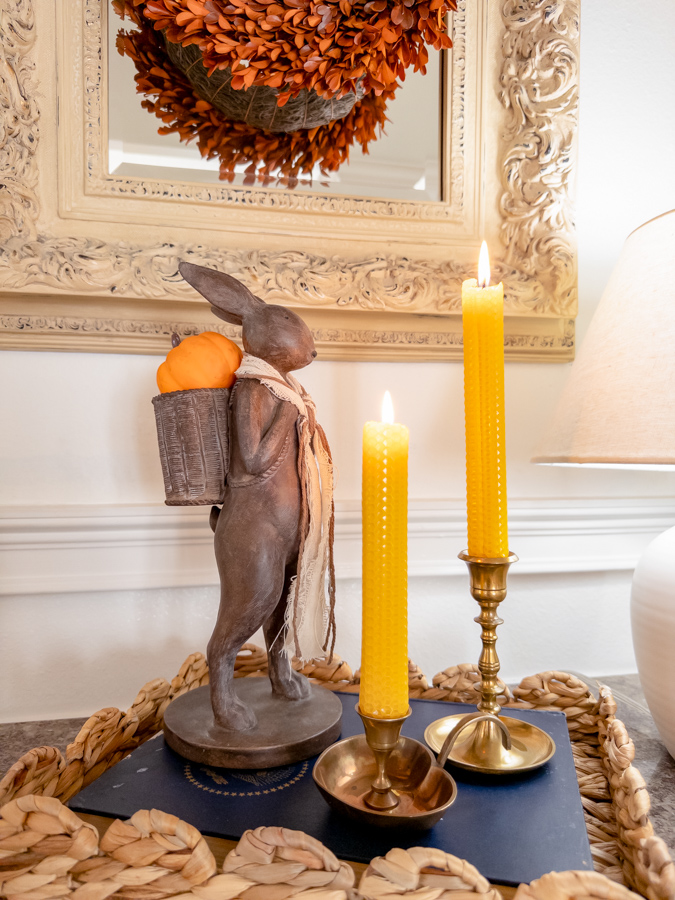
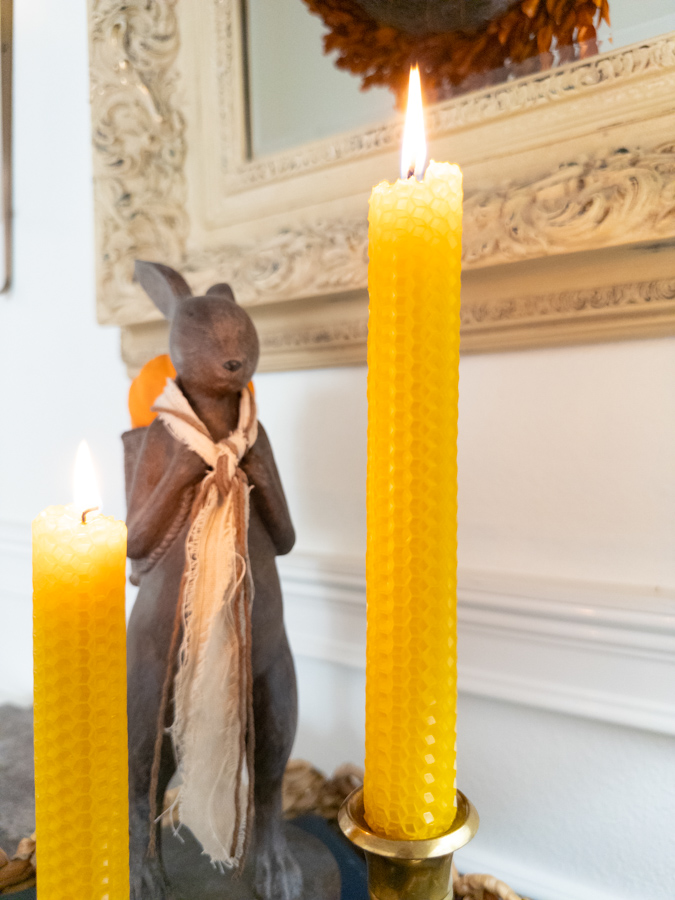
Now for a decorating idea. Picture them glowing on your fall mantel or lighting up a Christmas dinner table. I decided to use mine in my entryway.
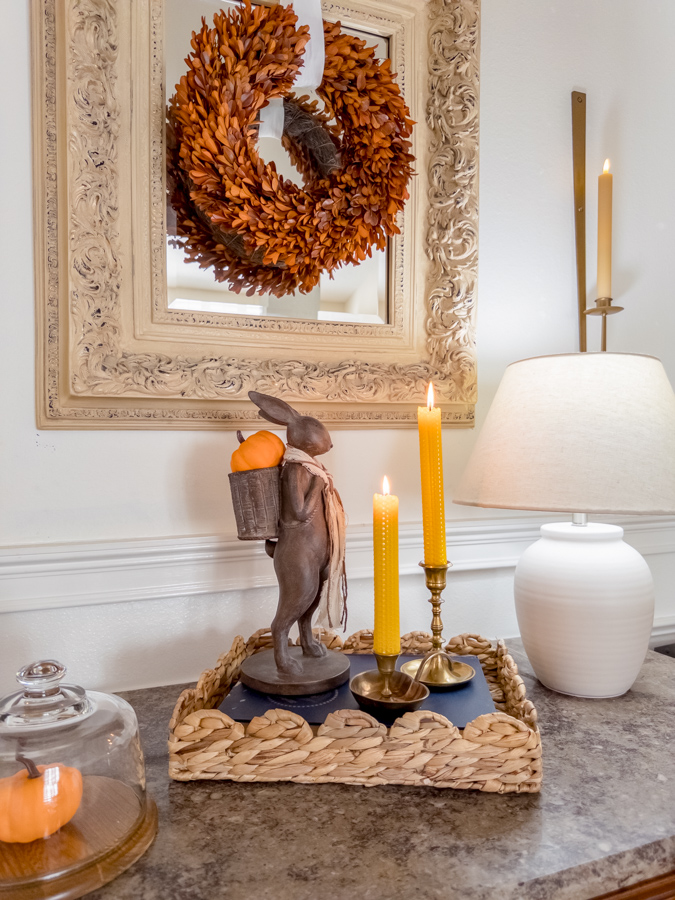
The warm color tone is perfect for September, October, and November. They fit in nicely with my fall decorations.
I love using real candles as long as they are clean-burning. These 100% beeswax candles are perfect!
For more handmade gift ideas, you might enjoy my Christmas simmer pot post.
Why You’ll Love This Rolled Beeswax Candle Tutorial
Rolled beeswax candles smell naturally sweet and burn cleanly without added scent. They’re one of the easiest candle projects to make and a great family activity. Kids love helping roll the wax sheets, and each candle turns out a little different, perfectly imperfect in the best way.
They also make thoughtful gifts for birthdays, housewarmings, or holidays. Tie one with ribbon or twine, attach a tag, and you have a handmade treasure.
And that’s it! Now you know how to roll a beeswax candle using a simple kit and a few tools you probably already have at home. Once you see that soft golden glow, you’ll understand why these candles are a favorite around here.
If you enjoyed this project, subscribe to my newsletter for more cozy DIYs, home decorating tips, and simple crafts to fill your home with warmth and charm. Next, try my How to Make Beeswax Jar Candles tutorial. It is another great handmade home decoration and gift idea.
Happy Crafting!
