
There’s something special about gingerbread decorations at Christmas. They feel warm, nostalgic, sweet, and simple, like something from childhood.
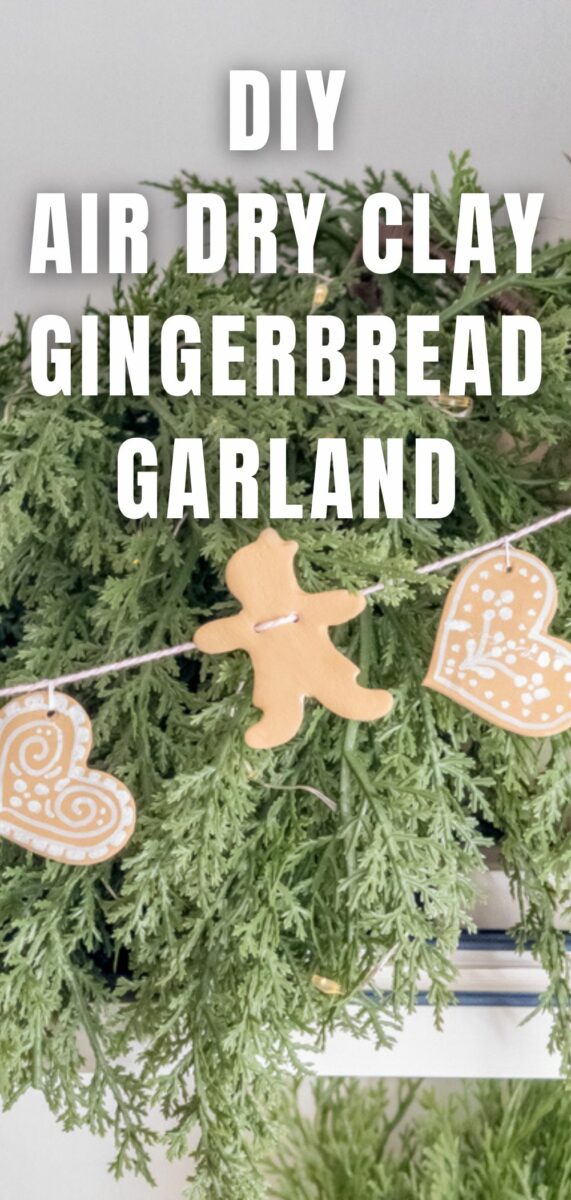
This year, I wanted to bring that feeling into my home with a cookie-cutter air dry clay gingerbread garland. It looks like a string of tiny gingerbread cookies fresh from the oven, and it adds the cutest touch to a mantel, kitchen hutch, doorway, or even a bookshelf.
The best part? It’s easy to make. And I’ll walk you through every detail so yours turns out beautifully.
DIY Air Dry Clay Gingerbread Garland
This garland is made with a few supplies and a lot of care. Each piece resembles a small gingerbread man, woman, or heart. It’s fun and relaxing, and it creates a garland you’ll want to pull out every Christmas.
Let's get started showing you how to make a gingerbread garland using air dry clay.
Supplies You’ll Need
- Crayola air-dry clay
- Small cookie cutters (mine are old, but here is a similar gingerbread boy, gingerbread girl, and heart)
- Small dowel rolling pin
- Jumbo popsicle sticks
- Parchment paper or sewing cutting mat
- Cookie spatula (thin, sharp edge helps lift pieces)
- Wet sponge
- Yarn needle
- Thin twine (pink and white or any twine you like)
- White floss (for heart hangers)
- Acrylic gingerbread-colored paint
- Artist paint brushes
- Thin-tip white paint marker
- Mod Podge or spray sealer
- Scissors
Step 1 — Prepare Your Workspace
Lay down a piece of parchment paper or use a cutting mat. Place two jumbo popsicle sticks side by side on your surface. These will serve as guides to ensure your clay rolls out to an even thickness.
Warm a handful of clay in your hands and roll it into a ball. Next, press it out with your fingers to flatten it to the size of a fluffy pancake.
Step 2 — Roll the Clay Evenly
Once the clay is flattened, place it between the two popsicle sticks.
Use a small dowel rolling pin and roll from the center outward. The popsicle sticks keep the clay from rolling too thin in one spot and too thick in another. It makes your pieces look clean and professional.
Tip: I used a popsicle stick later to make thin gingerbread people so they would not be heavy when hanging. However, this makes them thin, so handle with care.
Step 3 — Cut Out the Gingerbread Shapes
Press your cookie cutter firmly into the clay, then give it a little jiggle left and right to loosen it. Next, lift straight up and place the cutter on another spot, and repeat the step.
Here is a helpful tip. Use a pattern so your garland feels balanced: boy → girl → heart → repeat.
Once you have cut all your shapes, pull away the extra clay and save it for your next batch.
Step 4 — Lift and Smooth Each Piece
Using a cookie spatula, gently slide under each cut shape and lift it off the surface. Clay can warp if lifted unevenly, so this tool is very helpful.
Use a wet sponge to smooth all edges on the front, back, and sides. This little step makes them look like real gingerbread cookies.
Place each piece on parchment paper to rest.
Step 5 — Add Hanging Holes
Use your yarn needle, or chopsticks work great too, to make the holes.
For the hearts, add one small hole at the top, slightly off to the side. For the gingerbread boy and girl, add two holes in the chest area, slightly higher rather than centered. This keeps them hanging upright instead of tipping forward.
Smooth any rough edges with a damp fingertip if needed.
Step 6 — Let Them Dry Overnight
Air-dry clay needs time to harden, so leave all the pieces on parchment paper and let them dry completely. Mine dried beautifully overnight.
Step 7 — Paint Them Gingerbread Brown
Once they’re dry, paint each piece with gingerbread-colored acrylic paint. Paint the front, sides, and back. Let them dry.
If you need paint tips, try my How to Paint Air-Dry Clay post.
Step 8 — Add Icing with a Paint Marker
Now for the fun part. Use a thin white paint marker to add little icing details. I kept mine simple and added designs only to the hearts. But you can outline the gingerbread boy and girl, add buttons, faces, icing swirls — anything you like.
Anthropologie used to have the cutest gingerbread garland with outlined pieces. Looking at other ideas gives great inspiration for your designs.
Step 9 — Seal Your Gingerbread Pieces
Sealing gives them a soft sheen and prevents chipping. You can use Mod Podge or a spray sealer. But if you want to learn more, try my How to seal air-dry clay post.
Let them dry thoroughly before stringing.
Step 10 — Add Hangers to the Hearts
For the hearts, cut a small piece of white floss (about four inches). Thread it through the hole. Tie a triple knot and trim the extra.

This creates a tiny loop that’s perfect for threading onto the garland.
Step 11 — String Your Garland
Thread your yarn needle with thin twine. Thick twine can crack the clay — I learned that the hard way.
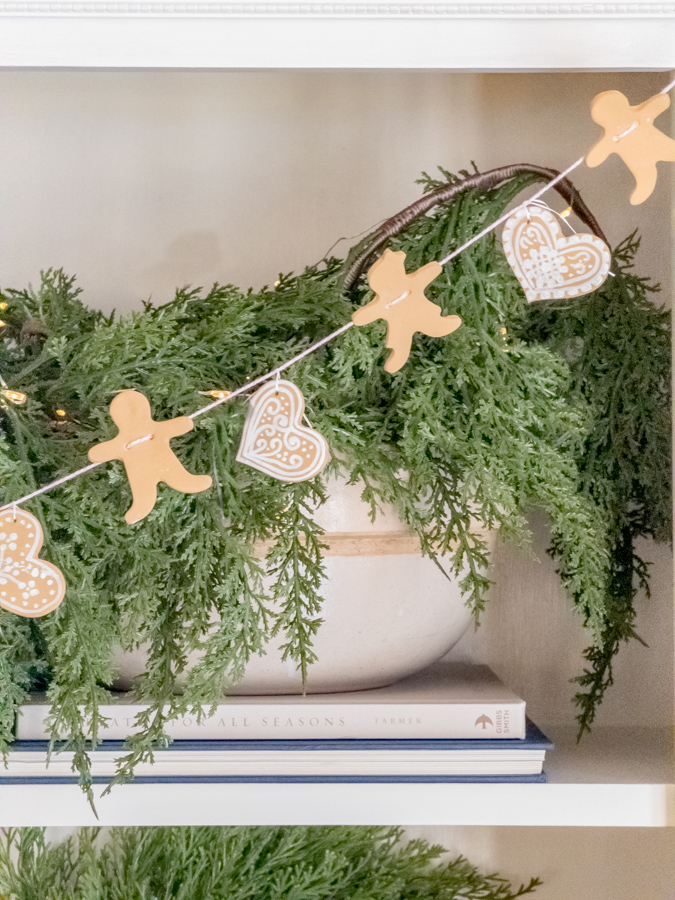
Follow this pattern: boy → heart → girl → heart → boy → heart
Thread the twine up through the back hole of the gingerbread boy, then down through the front hole. Slide on a heart using the floss loop. Then move to the girl.
Repeat until you reach the desired length.
Step 12 — Finish and Hang
Cut your twine and tie a loop on each end. These loops make it easier to hang on nails or small hooks.
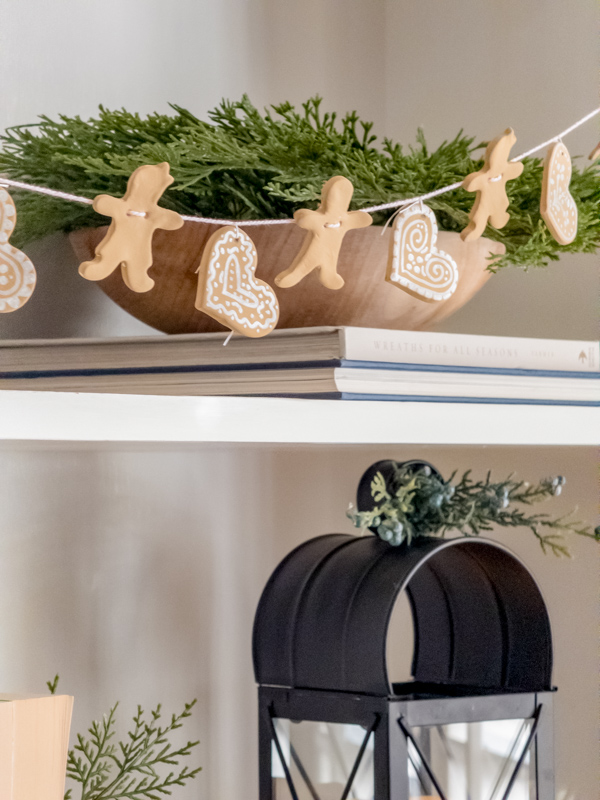
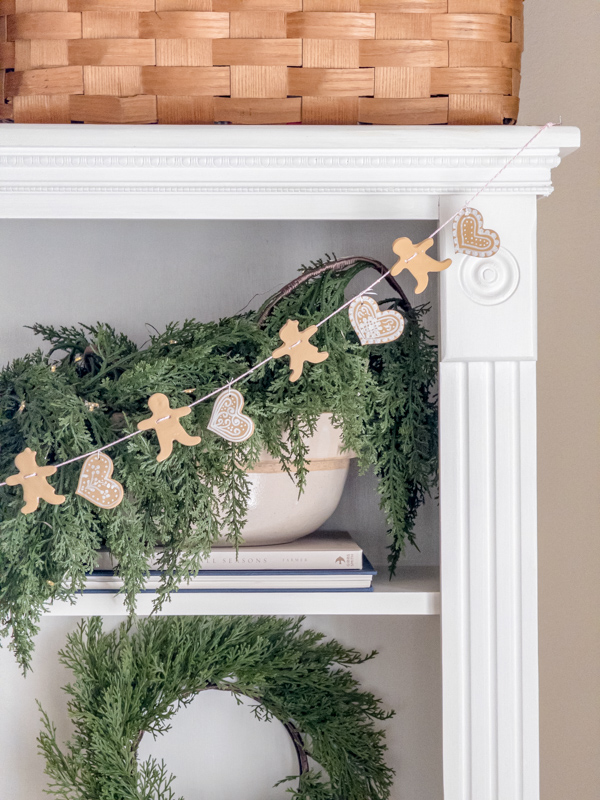
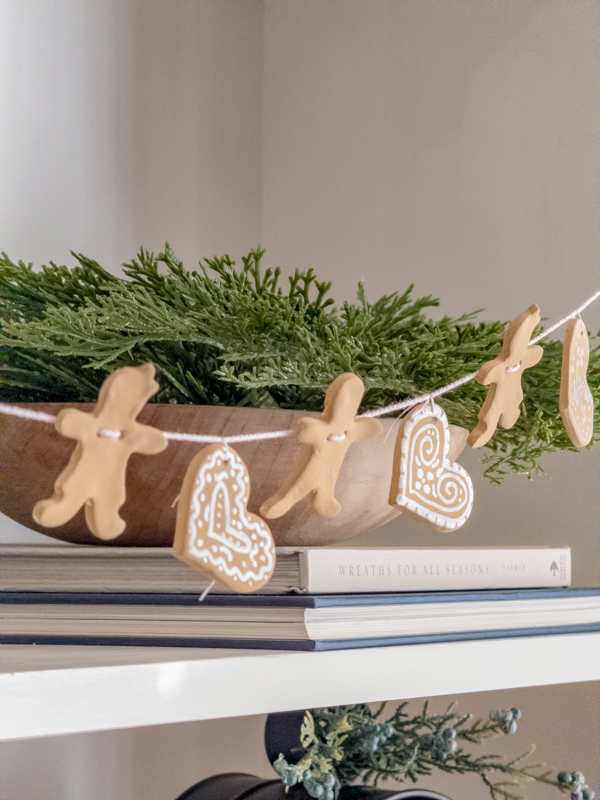
I hung my gingerbread garland across the bookcase, tucked in with my other decorations.
This year, my Christmas decor is inspired by Little House on the Prairie.
Think lots of greenery, simple handmade touches, and that cozy, nostalgic feeling—like fresh gingerbread cookies cooling in the Ingalls’ kitchen.
Draped across the shelves, this gingerbread garland adds the sweetest, old-fashioned charm.
Pro Tips for Making a Gingerbread Clay Garland
- Warm the clay in your hands first. It rolls better.
- Popsicle sticks keep the clay perfectly even.
- Smooth edges with a wet sponge for a “real cookie” look.
- Use thin twine to avoid breaking pieces.
- Paint in two thin coats for a soft, baked-cookie brown.
- Seal well for durability.
- Let pieces dry flat so they don’t warp.
- Add fairy lights behind the garland for extra warmth.
Decorating Ideas with Gingerbread Garlands
This garland looks adorable:
- Draped across a bookcase
- Hung on a kitchen hutch
- Layered with greenery on a mantel
- Hang on a Christmas tree like my Little House Christmas tree.
- Added to a hot cocoa bar or beverage station
- Hung across a doorway or mirror
- Draped in a playroom, child's bedroom, or nursery
- Mixed with fairy lights for extra charm
It’s such a cute way to bring a gingerbread theme into your home.
More Air Dry Clay Crafts You’ll Love
- Valentine Heart Air Dry Clay Garland
- DIY Gingerbread House Garland (paper printable)
- Christmas Garland Ideas
Final Thoughts
This air dry clay gingerbread garland brings so much charm to a room. Each beautiful, handcrafted cookie shape, soft gingerbread color, and white icing is warm, nostalgic, and so easy to personalize.

I hope this step-by-step guide helps you make your own garland this Christmas.
It’s simple, fun, and something you’ll treasure for years.
Pin this project to save it, and come back anytime for more Christmas decorating ideas.
Happy Decorating!
