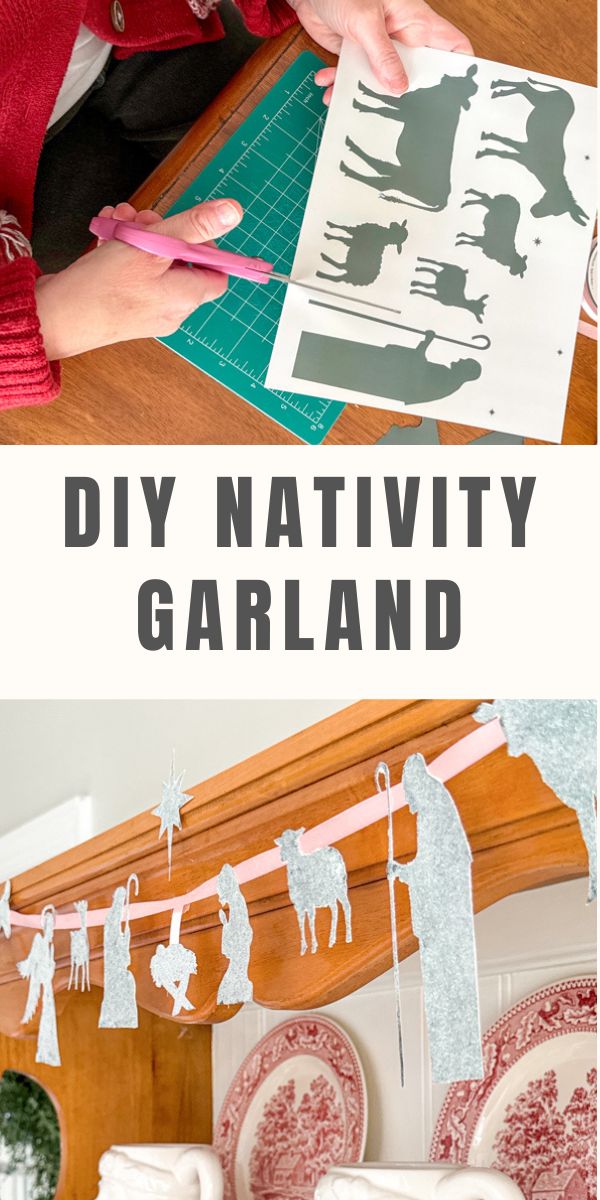
Get ready for the perfect addition to your home decor for Christmas. I'm going to show you how to create a beautiful DIY nativity garland using only a few items, most of which you probably have at home already.
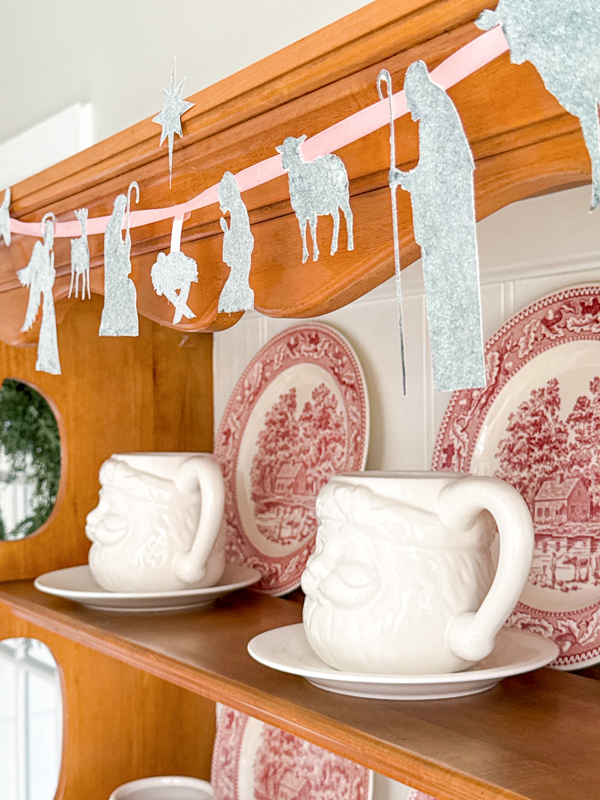
No Christmas decor is complete without a Nativity scene of the birth of Jesus. With your DIY Nativity garland, you'll have an inexpensive craft you can display for years.
It will look fantastic anywhere in your home, like the mantel over the fireplace. For an extra festive feeling, you can add greenery, such as bunches of evergreens or fresh garland.
This DIY Christmas garland is family-friendly, so you can craft with your children, and a great activity to do while you read the story of the birth of Jesus.
DIY Nativity Garland
Supplies Needed
To make your Nativity garland, you'll need the following supplies. You probably have most already, but what you need can be found easily at a craft store like Michaels, Joannas, Hobby Lobby or Amazon.
- Etsy printable printed on cardstock
- Glue stick
- Diamond dust glitter (fine glitter)
- Scissors
- Xacto knife
- Crafting pad
- Paper plate
- Double-sided tape
- Ribbon
Assemble Your DIY Nativity Garland
Now that you have your supplies gathered let's get started on your homemade garland!
Step 1: Print and Cut Out the Figures
You can download and print your template at home or at a print shop or photo lab like Walgreens that will print it for you. For best results, use photo paper or cardstock.
When you download the printable, you’ll see it includes all the classic manger scene figures—Mary, Joseph, baby Jesus, shepherd, animals, star, angel, wise men, and a camel.
For today’s setup, I’m skipping the wise men and camel.
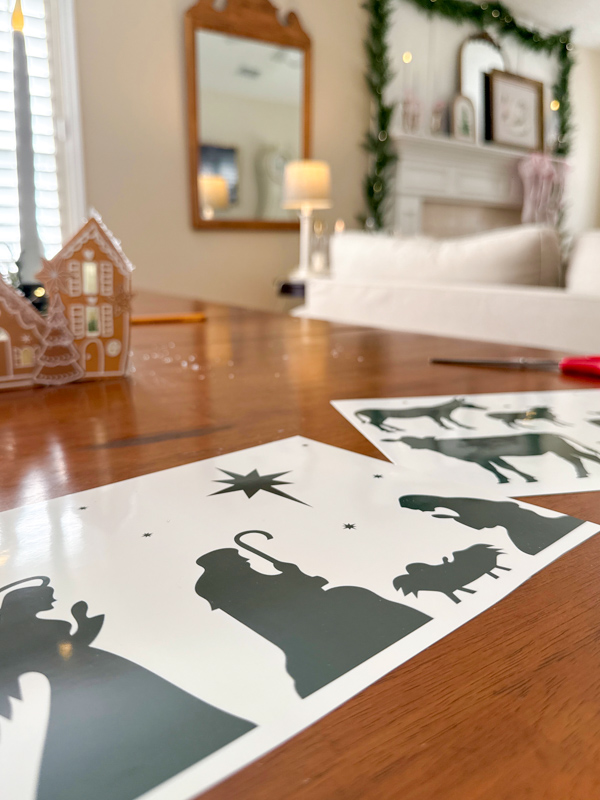
Use your scissors to cut out the figures. I find it best to out the shapes first with scissors.
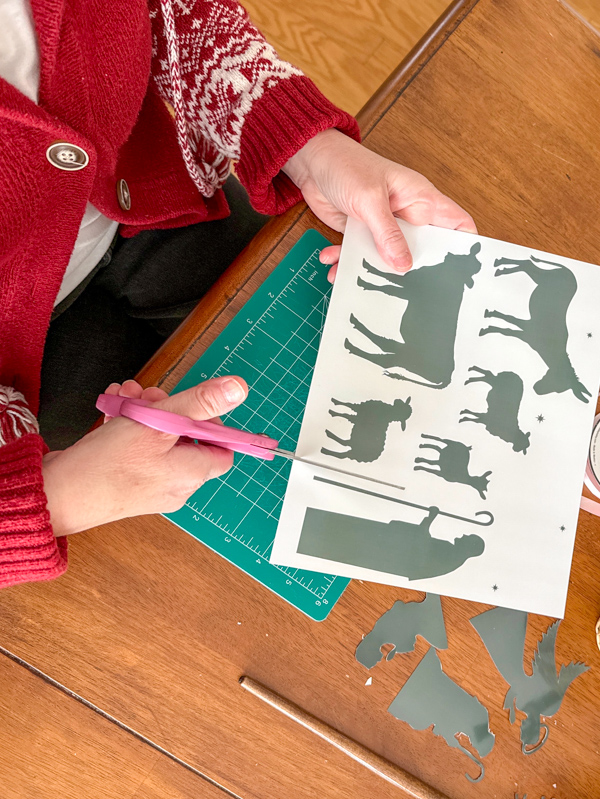
Then use an Xacto knife to cut out the finer parts of the figures. You can do this on your crafting mat so you don't score your work surface.
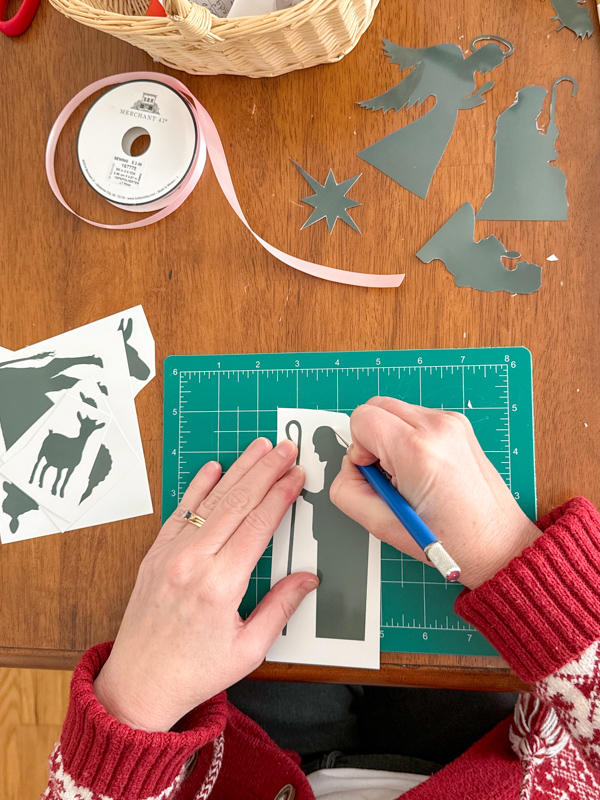
Step 2: Add Diamond Dust Glitter
Diamond dust glitter or a fine glitter will add an eye-catching sparkle, depth, and texture. Cover your figures with a layer of glue as evenly as possible on the front-facing side.
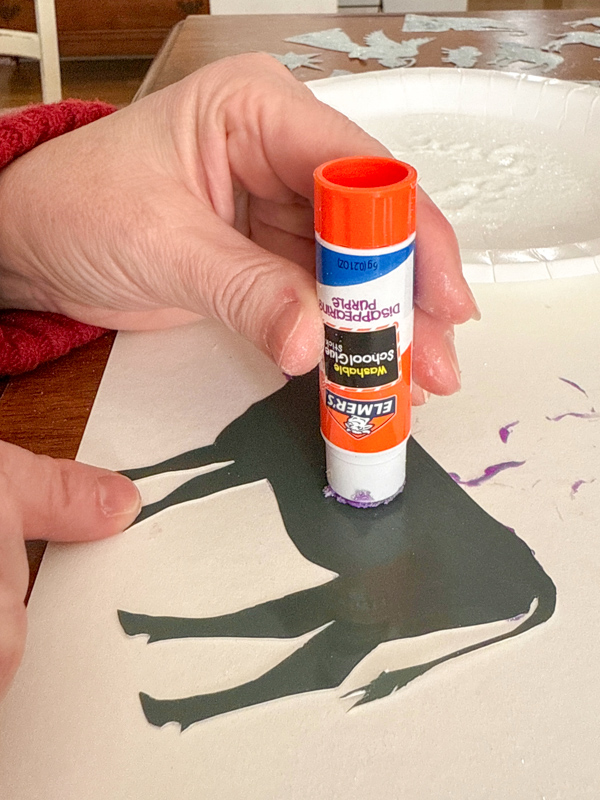
This part is very important that you cover the design completely with glue. If you hold it where sunshine or light hits the glue you can see spots you have missed and then you can add glue there.
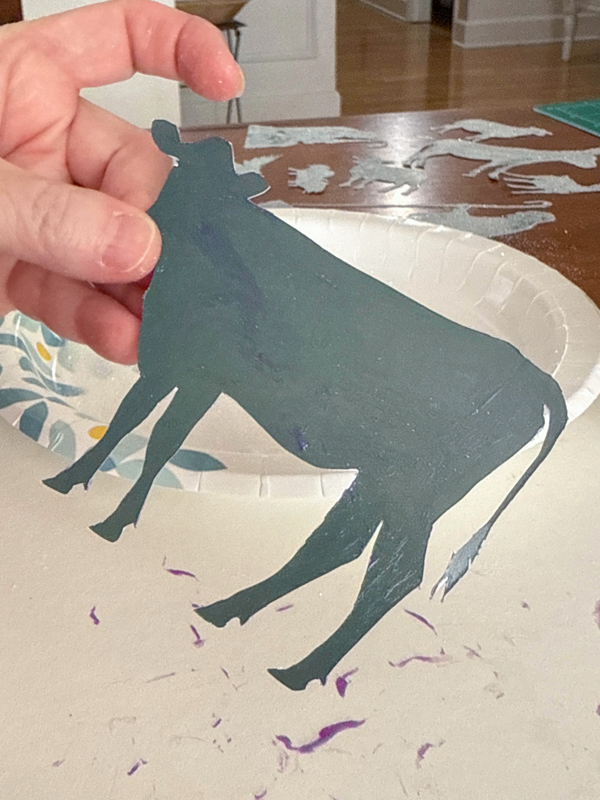
Sprinkle a generous amount of diamond dust onto a paper plate and place your figure glue-side down into the diamond dust. Tap it lightly to ensure it all gets covered.
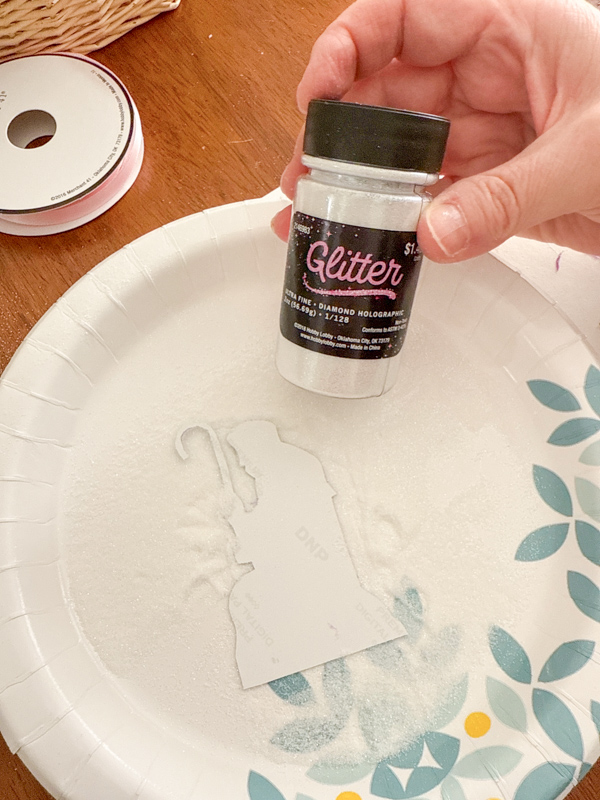
If you see any spots that aren't covered, tap them into the diamond dust again. If that doesn't work, add more glue to the missing areas and return it to the diamond dust.
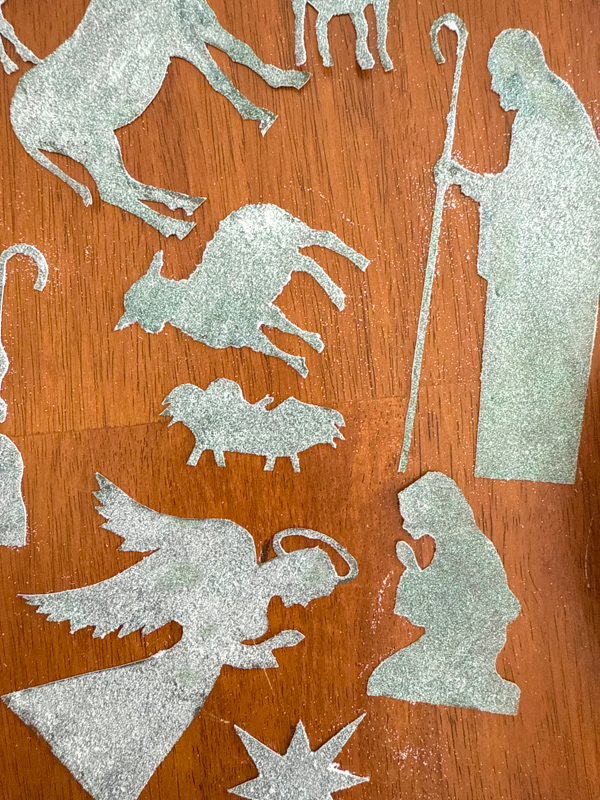
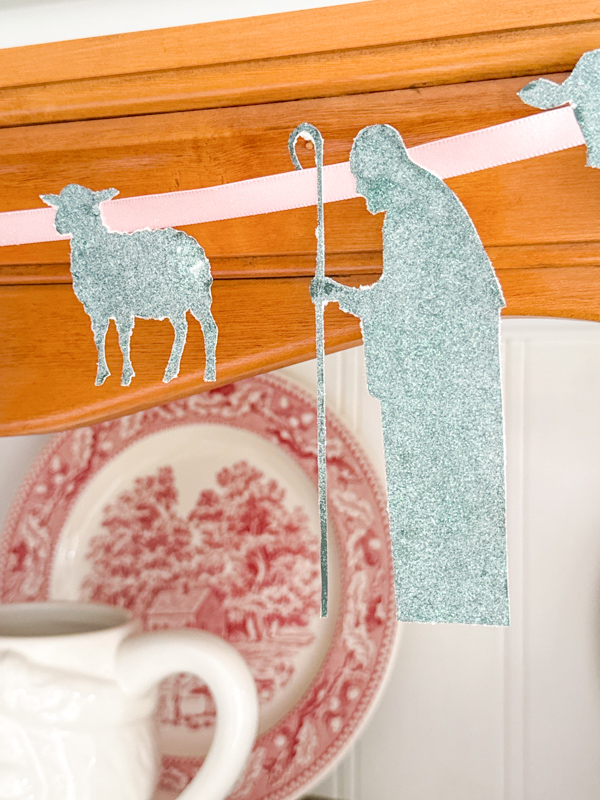
Here is how they all looked when I finished. You can tell I got better at an even coverage the more I practiced.
Step 3: Prepare the Ribbon
Measure where you plan on hanging your DIY nativity garland so you know how many feet of garland you want. Cut your ribbon to that length.
Step 4: Attach Your Figures
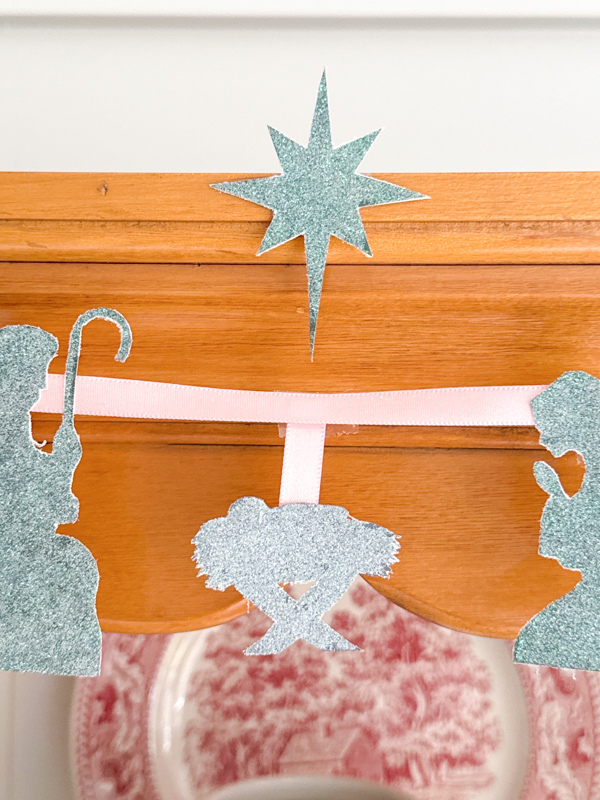
Find the center of the ribbon and place the Jesus figure there. Lay out the other figures on either side of the Jesus figure. (Make sure all your figures are facing the manger.)
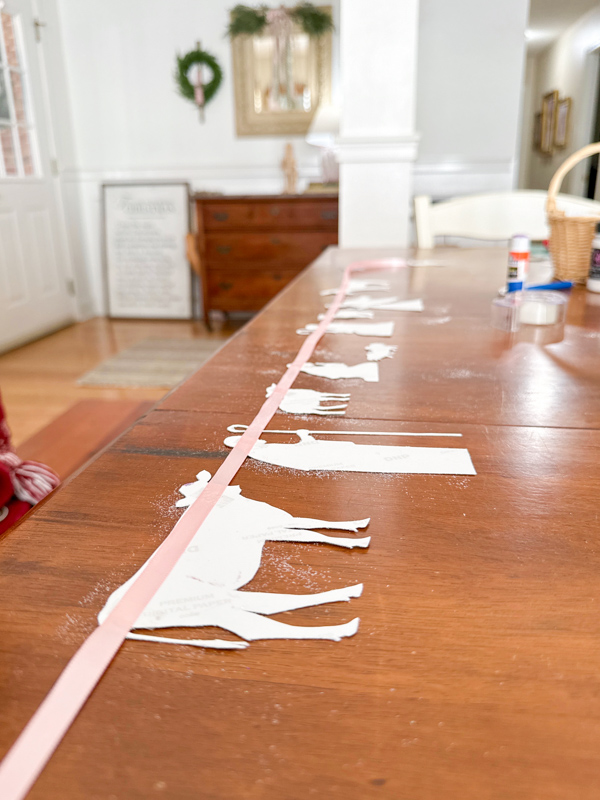
Once you have everything laid out where you want it, attach each figure with a piece of tape.
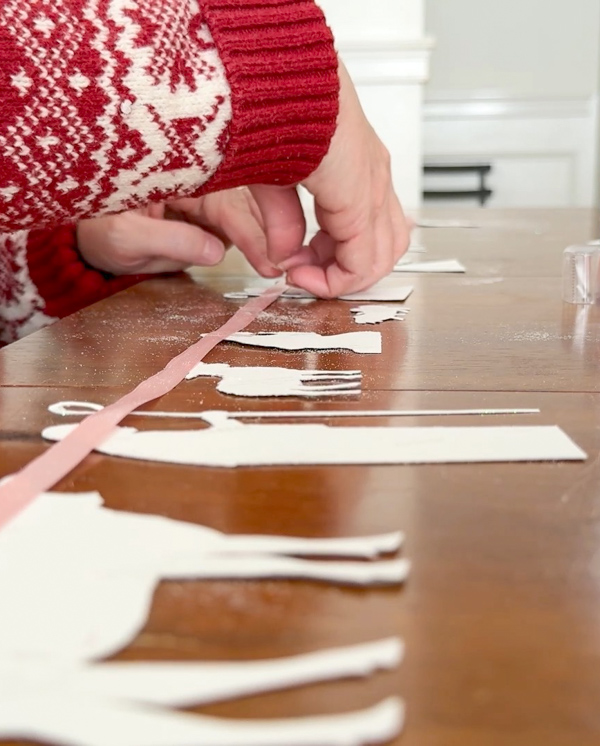
Attach the Jesus figure to a small piece of ribbon and attach the ribbon to the garland so that he hangs down even with the Mary and Joseph figures.
Step 5: Hang your DIY Nativity Garland
Hang the DIY Nativity garland with tape. I am hanging mine on my hutch in my kitchen.
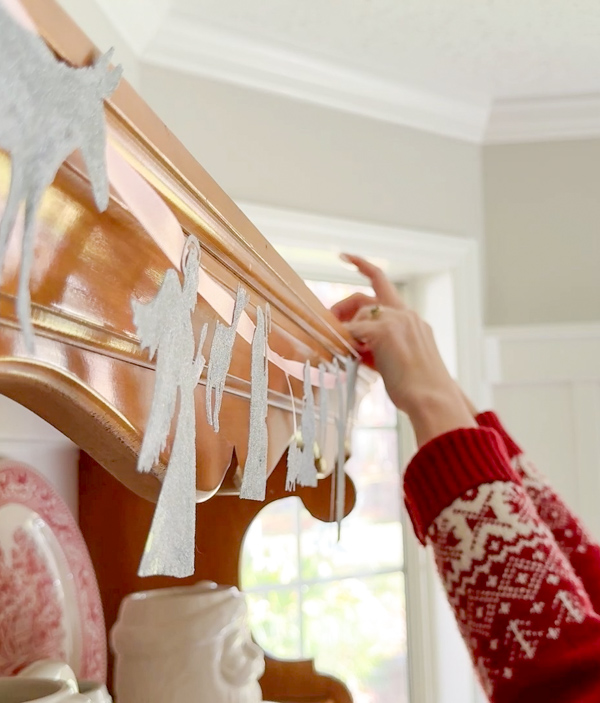
Tape the star above the Jesus figure using tape.
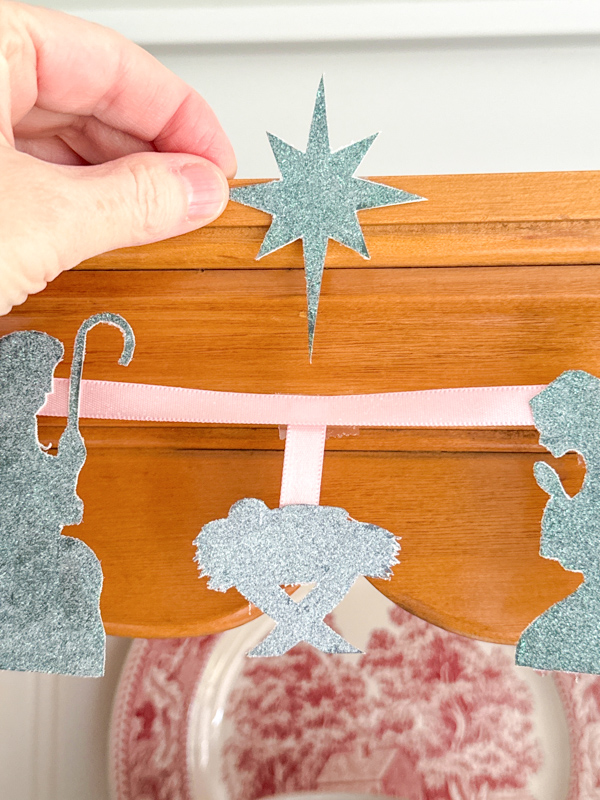
That's it! Your nativity garland will inspire your family and guests will love your nativity and it will bring the true meaning of Christmas to your home.
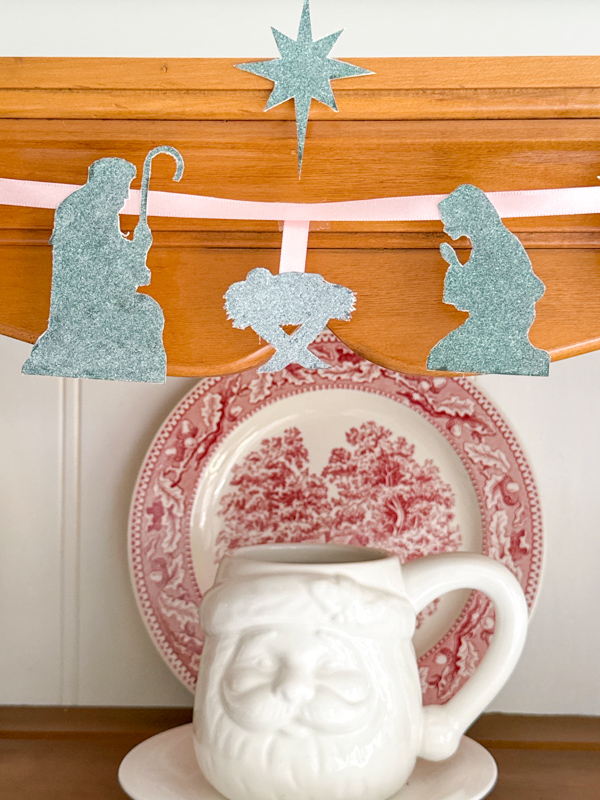
Isn't it adorable! I love how the diamond dust glistens on each character.
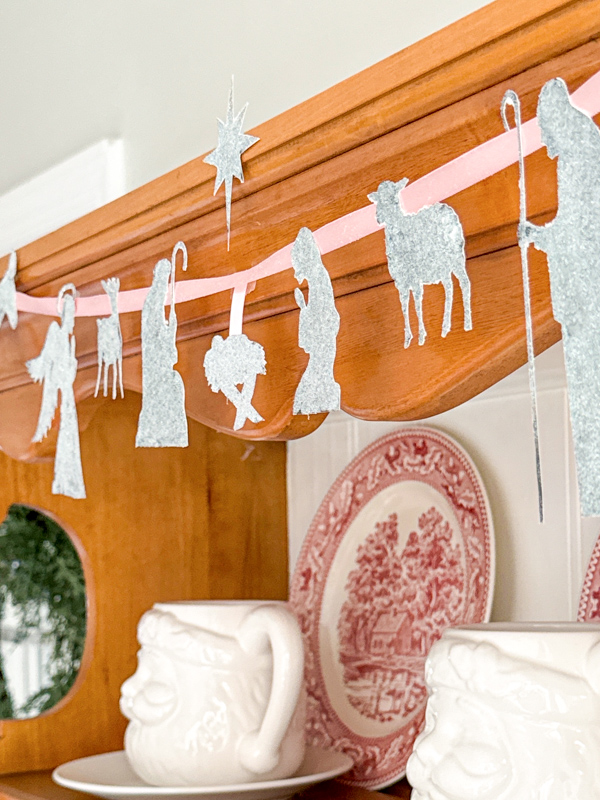
Side note: While making this nativity, I swapped baby Jesus for one with a more visible manger. That’s why he looks different in the final photos—and I’ve updated the Etsy listing too!
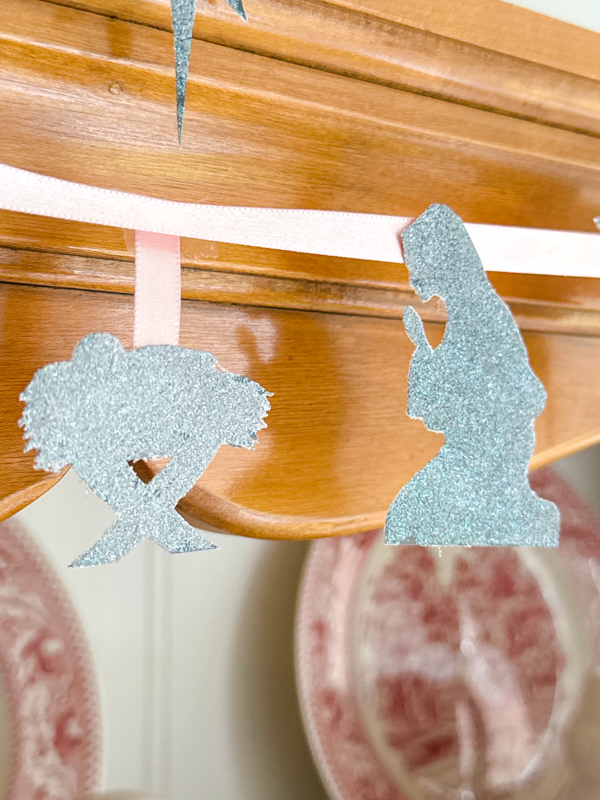
Decorating with a Nativity Garland
There are so many creative and fun ways to decorate with this nativity garland! Let me share a few of my favorites with you:
- hang the garland on your mantel
- display it in a child's bedroom especially if they made it
- hang it on a hutch
- hang the nativity garland on a bookcase
- display the garland on wall
- make them into ornaments for your Christmas tree
Final Thoughts on the DIY Nativity Garland
To capture the true meaning of Christmas, you need to go beyond Christmas trees and an evergreen garland on the banister. Creating your own DIY Nativity garland is a delightful and meaningful way to enhance your home decor for the Christmas season.
This simple yet charming craft allows you to personalize and creatively bring the timeless story of Jesus's birth into your home.
With just a few supplies and some help from your family, you can craft a piece that will not only add festive cheer but also serve as a beautiful reminder of the true spirit of the season. Enjoy the process and the joy it brings to your home during this special time of year.
Need More Christmas DIY Inspiration?
If you're looking for more Christmas DIY inspiration, check out these posts:
- DIY Rosemary Wreath: Perfect Christmas Craft You Can’t Miss!
- Charming DIY Dried Orange Wreath Made Simple
- DIY Picture Frame Ornaments for Printables Too {Easy & Cheap}
- DIY Decoupage Fabric Ornaments: A Simple and Charming Holiday Craft
- DIY Mercury Candle Holder: Turn Thrift Store Glasses into Stunning Tea Lights
Happy Decorating!

