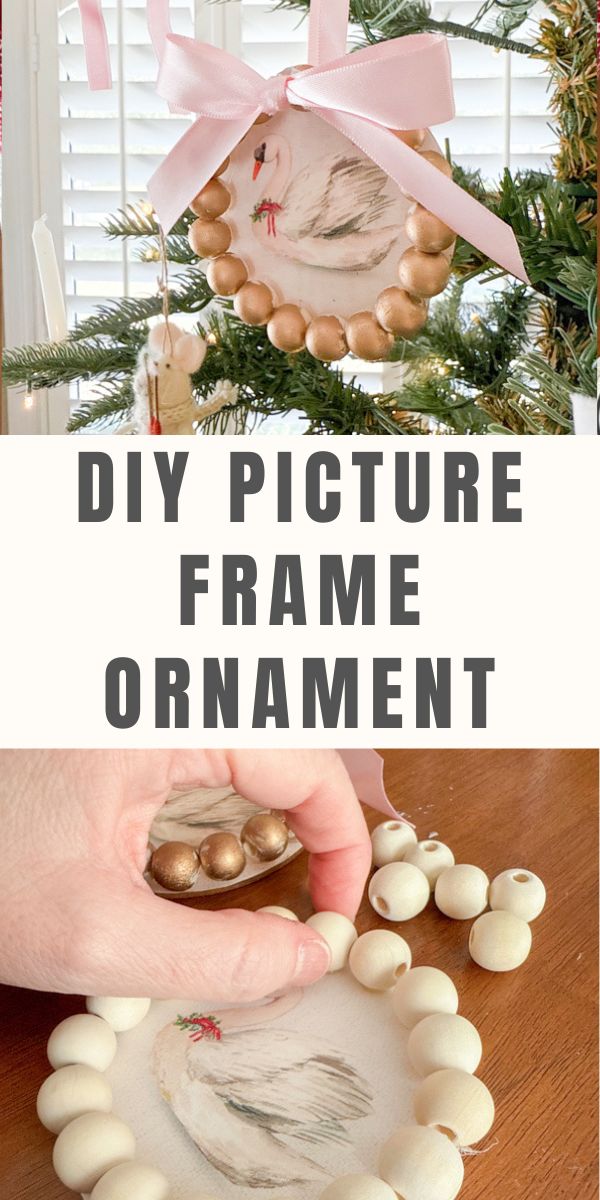
Looking for a fun and budget-friendly way to decorate your Christmas tree or give a thoughtful homemade gift? Well, you're in the right place! Today, I’m sharing the cutest DIY picture frame ornament that’s perfect for showcasing your favorite photos or fun printables.
It’s an easy craft that adds a personal touch to your holiday décor, and makes a sweet gift anyone will love! Let’s dive in and get crafting!
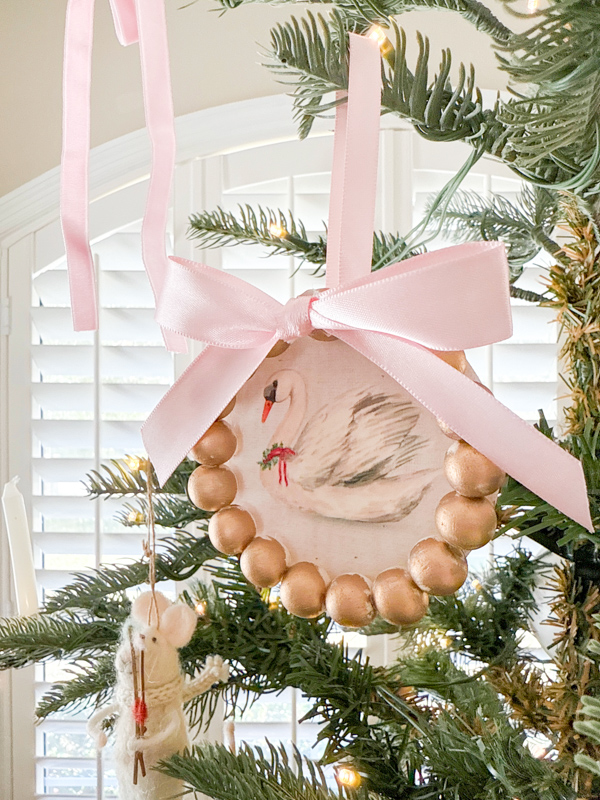
With Christmas Day just around the corner, we're all on the hunt for quick, easy and inexpensive handmade DIYs that bring a personal touch to the season. Well, I’ve got a fun and charming simple idea for you that will add a special, heartfelt vibe to your holiday decor!
DIY Picture Frame Ornament
Let’s dive into the steps to make this adorable ornament that can hold a sweet photo or a beautiful printable. I always like to start with a supply list.
Supplies:
- Round wood pieces (3.5 inches in diameter)
- Wood beads (I found a bag at Dollar Tree, enough for one ornament)
- Decoupage glue (for attaching the photo or printable, I use Mod Podge)
- Paintbrush (for applying the decoupage and Rub ‘n Buff)
- Hot glue gun and glue sticks
- Printable photo or image (I used a swan printable from my Etsy shop, resized to fit four per page)
- Rub ‘n Buff (I used antique gold for the beads)
- Ribbon (5/8” for the bow and 1/4” for the hanger)
- Scissors (for cutting the ribbon)
Step 1: Print and Cut Out the Photo or Printable
Start by choosing a photo or printable that you’d love to feature on your ornament. For my project, I used a cute swan printable that I reduced to fit four per page in my Etsy shop. Or you can make photo ornaments with printed photographs. Use your printer at home or take it to a local shop like Walgreens for printing.
To get the perfect size, simply trace your round wood piece (about 3.5 inches in diameter) with a pencil, and then carefully cut inside the traced line.
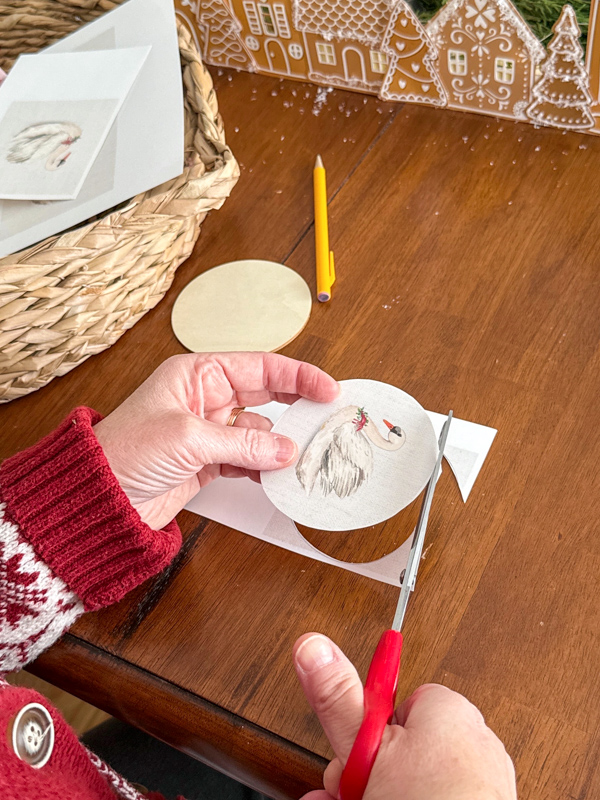
This will ensure that the image fits snugly onto the wood slices and gives it a clean, polished look.
Step 2: Decoupage the Photo or Printable onto the Wood
Now it’s time to bring your photo or printable to life on the wood! Apply a thin layer of decoupage to the wood using a paintbrush, and then more on the back side of the picture.
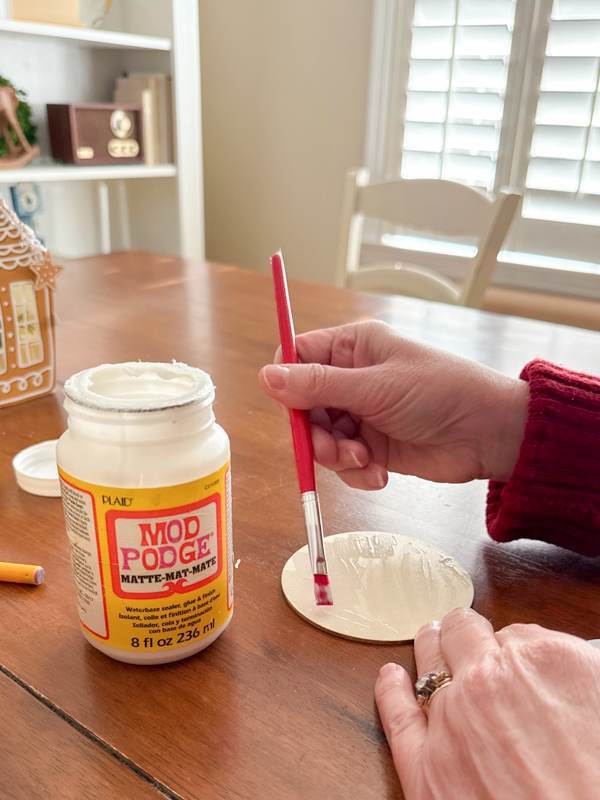
Carefully place your photo or printable onto the wood. Be sure to paint decoupage on both the wood and the back of the photo for a strong bond.
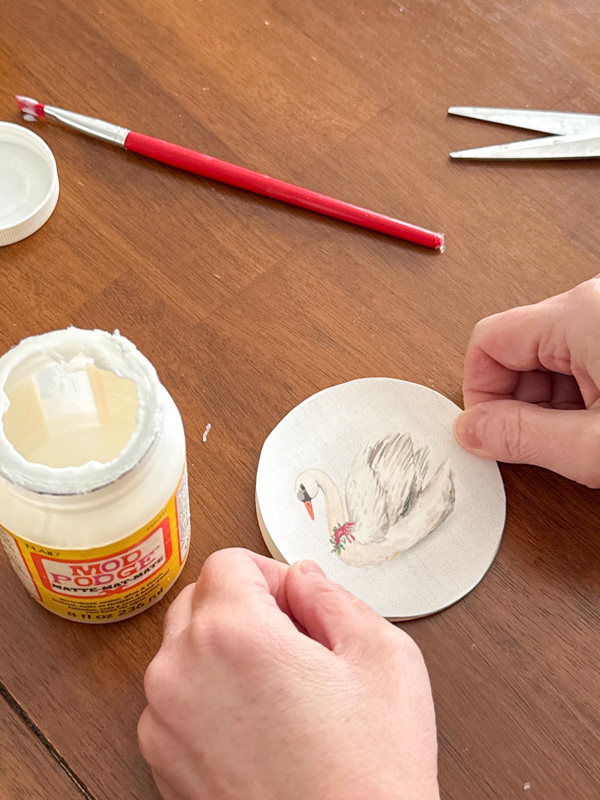
Here’s a key tip: don’t decoupage over the photo or printable. The reason? The beads won’t stick properly if you do! Allow it to dry completely before moving on to the next step.
Step 3: Hot Glue Beads Around the Edge
Once your photo or printable is dry, it’s time to add those lovely beads. Take your wood beads (I bought mine at Dollar Tree, and a single bag was enough for one ornament) and start hot gluing them around the edge of the wood.
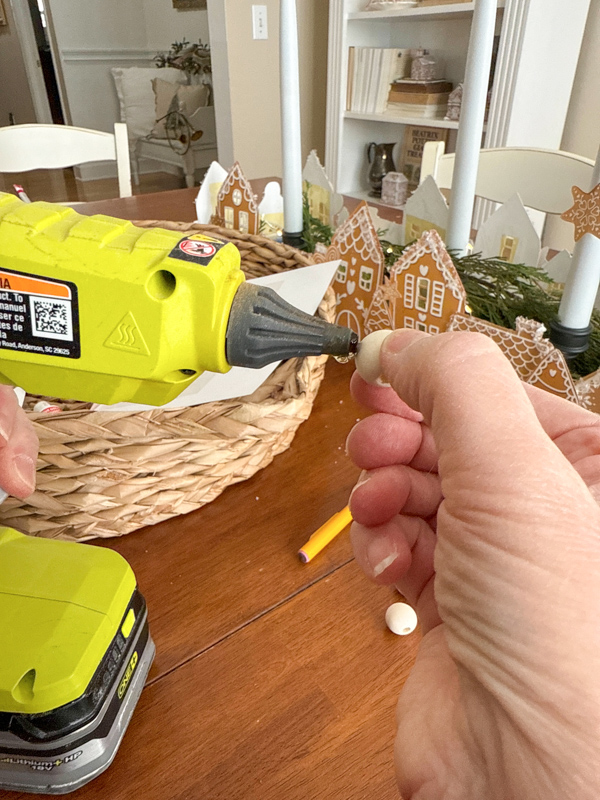
If your beads have holes, make sure they face inward, so the hole isn’t visible.
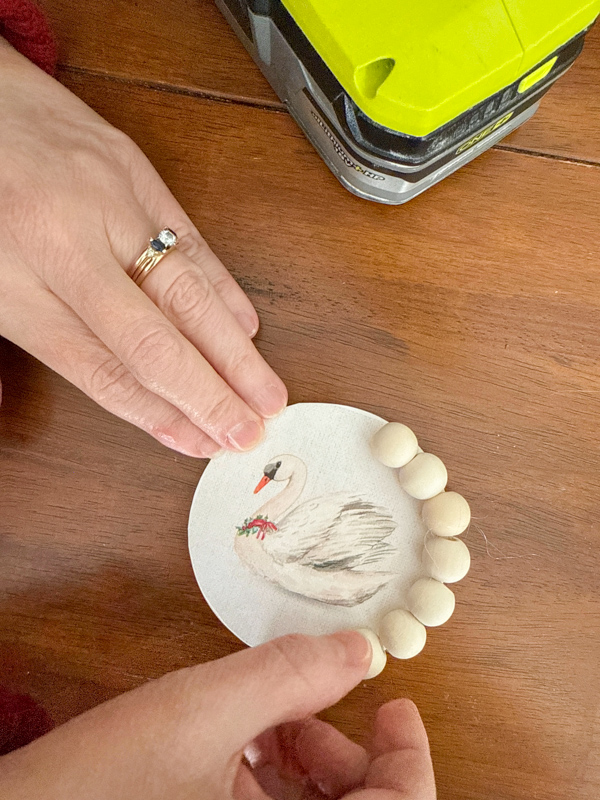
Start just to the right of the top, leaving a small gap where you can add a bead at the end to be hidden by the bow.
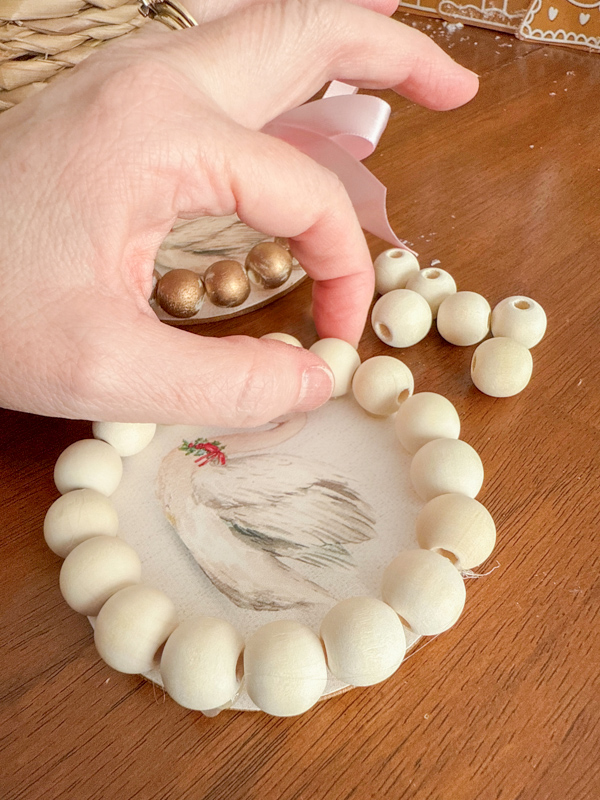
Pro Tip: You can paint the beads before or after this step. I personally painted mine afterward, but feel free to do what works best for you!
Step 4: Paint the Wood Beads with Rub ‘n Buff
Now comes the fun part—giving your beads a touch of glam! Using a paintbrush, apply Rub ‘n Buff (I used the antique gold shade) to your wood beads.
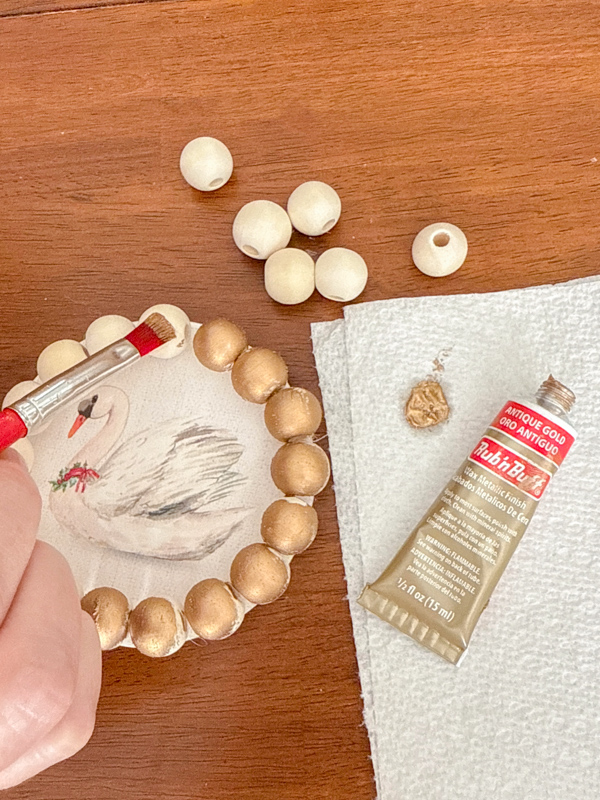
The Rub ‘n Buff will give the beads a beautiful vintage gold sheen, the perfect embellishment for holiday décor. Don’t worry if it’s a little messy; the vintage gold look will add charm and character to your ornament.
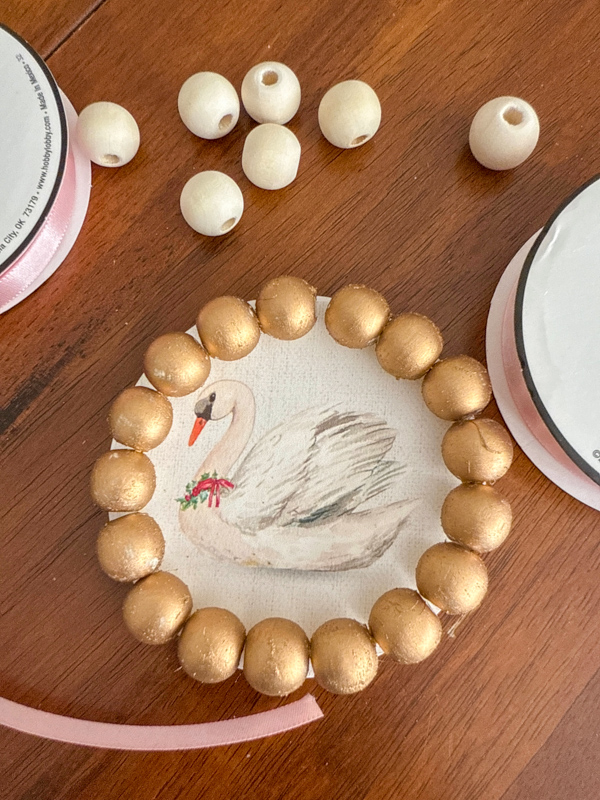
Step 5: Make a Bow and Hot Glue It to the Top
Next, take your ribbon (I used 5/8″ for the bow and 1/4″ for the hanger) and tie a cute bow. Once you’ve got your bow just right, hot glue it to the top of the beads.
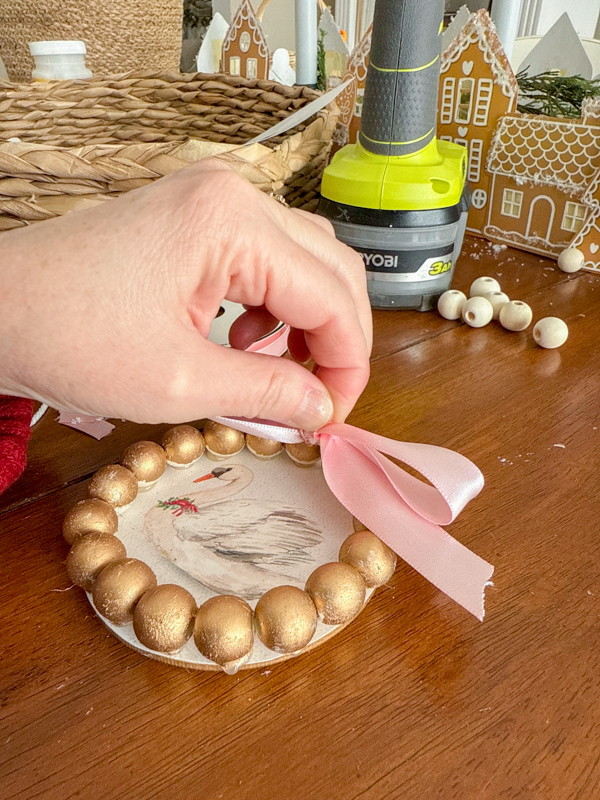
The bow will cover any small imperfections at the top and add a lovely finishing touch to your ornament.
Step 6: Add the Ribbon Hanger
To complete your ornament, cut a piece of ribbon for the hanger. Hot glue one end of the ribbon to the back of the ornament, just above the beads.
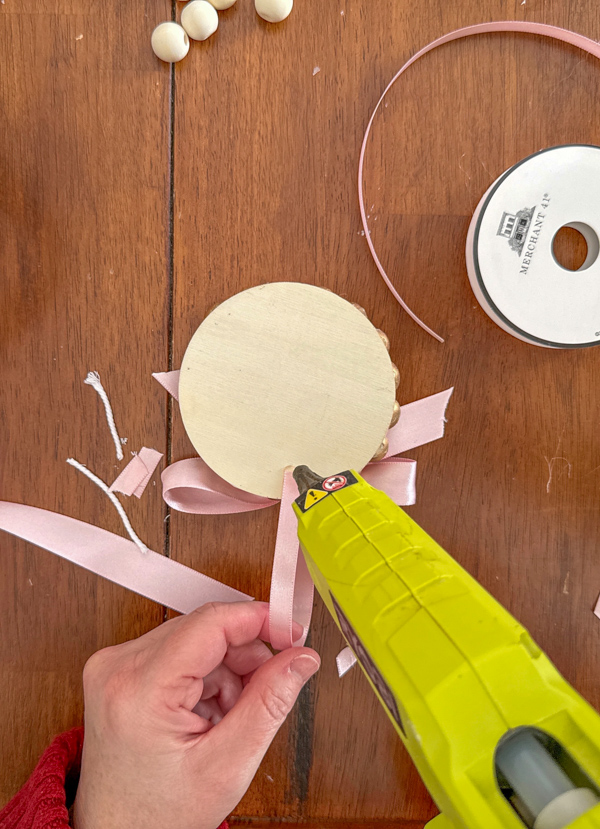
Once that’s dry, hot glue the other end of the ribbon. This gives your DIY printable ornament or DIY photo ornament the perfect loop to hang it on your Christmas tree or anywhere else you want to display it.
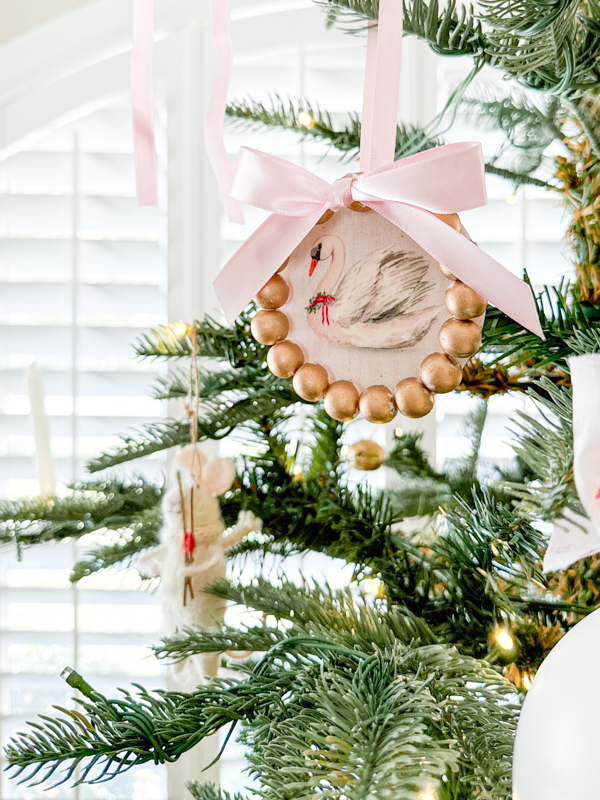
And there you have it—a charming DIY picture frame ornament that’s ready to hang!
Ideas for Decorating with Picture Frame Ornaments
I love finding easy projects that the family can do together. This is an easy DIY that the kids can join in. This craft is not only simple but also so versatile. You can customize your DIY ornaments with your favorite photos or printables to make them uniquely yours.
They also make thoughtful gifts of great custom ornaments for family members using a child's photo or old family photos. What wonderful keepsakes!
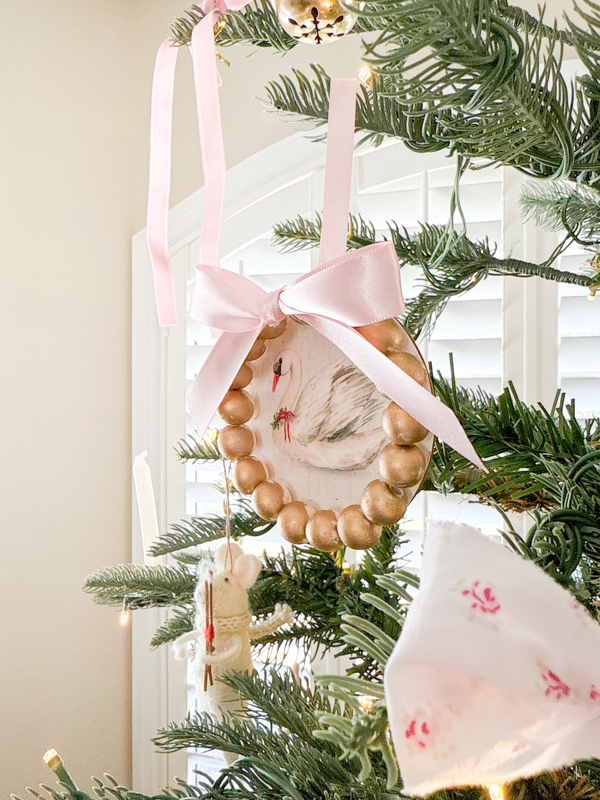
Here are some ideas for decorating with your new ornament:
- Hang it with your Christmas tree decorations for a personal touch.
- Attach it to your stockings for a festive flair.
- Place it on wrapped gifts for a creative gift tag.
- Give it as a heartfelt homemade gift.
- Hang a set of them on the wall with ribbon behind them for a beautiful photo display decoration.
Final Thoughts
Well, what do you think? Are you ready to give this project a try? It's a lot of fun to see them come to life. These easy-to-make picture frame ornaments took me less than an hour to make, and I love their vintage, homemade personal look.
I hope this project inspires you to get creative this holiday season. If you’re looking for more easy DIY Christmas ornaments or other budget-friendly holiday ornaments, be sure to check out my other posts for more festive ideas!
- DIY Minimalist Christmas Candle Hoop Wreath
- How to Make a 10 Minute Rosemary Wreath
- DIY Paper Gingerbread Village Centerpiece
- DIY Nativity Garland: A Beautiful Printable Christmas Craft
Stay tuned because I have more easy DIY project coming.
Happy Crafting!

