Today I am sharing my best nurses graduation party ideas. Planning a graduation party with these steps and vintage medicinal items will make your event very special.
No matter what kind of nursing graduation party you're planning, making it unforgettable is a must! Graduating from nursing school is a huge milestone, and planning a party that celebrates your hard work and dedication is the perfect way to honor it.
Whether you're looking for inspiration for a virtual party or ways to make an outdoor event special, this article will provide you with creative nursing graduation party ideas that'll get your guests excited and leave them with fun memories to look back on.
With practical tips and advice, you'll be well equipped to celebrate this significant moment in your life. Here you'll find ideas on decorations, gifts, food, and more – so you can show your appreciation and make your grad feel like the star they are. This is definitely an event worth celebrating. So, let's get this party started!
Nurses Graduation Party Ideas
How do you throw a graduation party on a budget?
Throwing a party doesn't have to be expensive. It's a good idea to do your research and plan so you'll know what you want and have time to shop around. Even better, you'll be surprised by how much of what you decorate with can be found around your home or that of your family and friends. Ask around before you start buying things for your party.
What is the best food to serve at a graduation party?
It's best go simple for the menu. A variety of finger foods that appeal to meat eaters and vegetarians will assure everyone finds something they like. Find out in advance about any dietary restrictions for your guests and then check out some recipe sites. I found some great recipes for our party by Kelly at Eat Picks.
Nurses Graduation Party Ideas
Recently, we celebrated my daughter's graduation from nursing school. Coming up with nurses graduation party ideas was a little more challenging than I thought. A nursing theme isn't a typical party theme. I wanted something elegant and casual and most ideas were more casual and not elegant.
But then I thought how cool it would be planning a graduation party with vintage medicinal items. What a great idea. Then the cute ideas for graduation decorations started flowing. And this is where the party planning began.
When planning a nurses graduation dinner party you will need a centerpiece design, and a place setting design. These are the two most integral parts of the table design.
So here is a breakdown of my planning process and ideas for your party too.
Medicinal Centerpiece
One great way to design a table is to create the centerpiece. Most of our guests were adults and we were planning to serve dinner so I wanted something more mature and vintage.
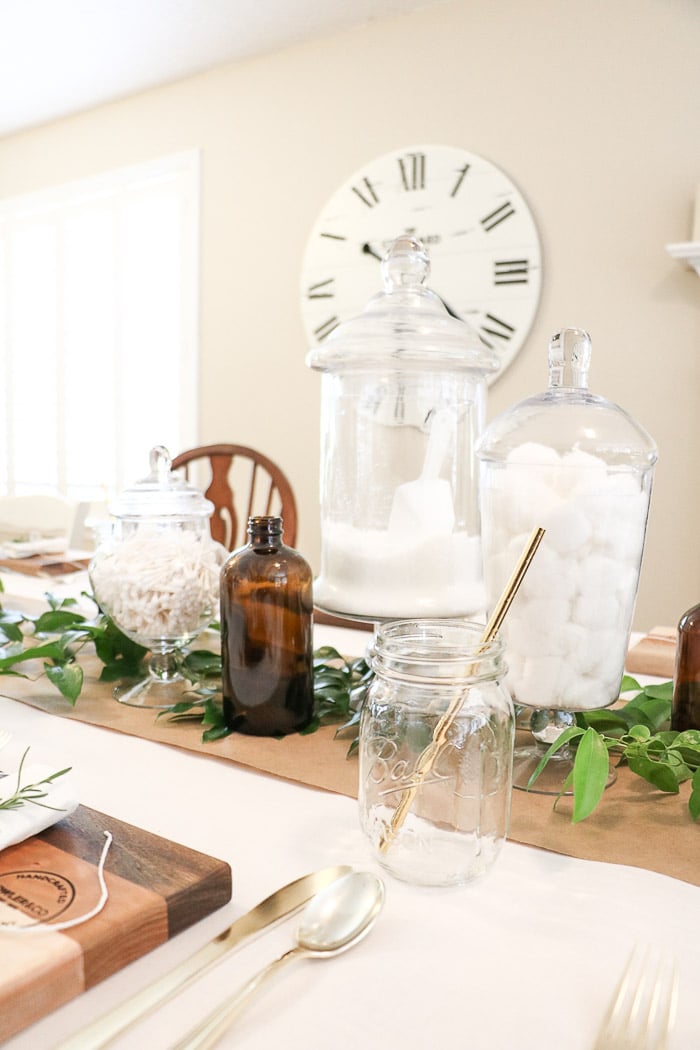
After searching loads of ideas on Pinterest, which is where I usually start when planning a party, I saw a few posts of old doctors tools. That is when the lightbulb went off and a medicinal centerpiece idea came alive. I was ready to set our party table.
Place Setting
Planning the place setting design is a little more personal to your guests. It is also fun to incorporate something that they can take home if your budget allows for it.
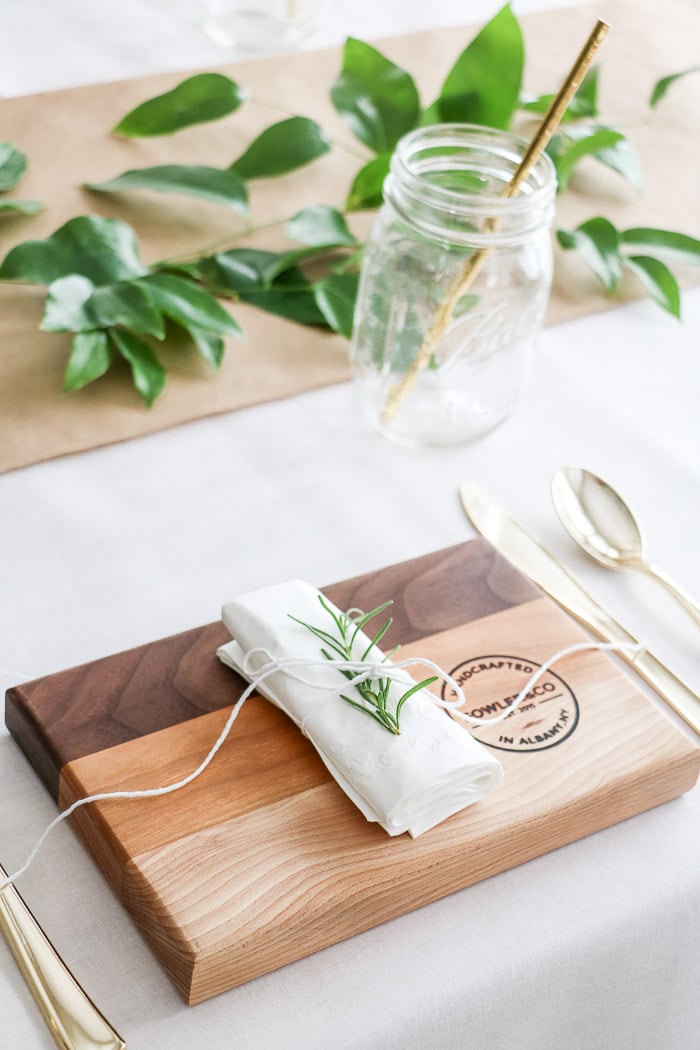
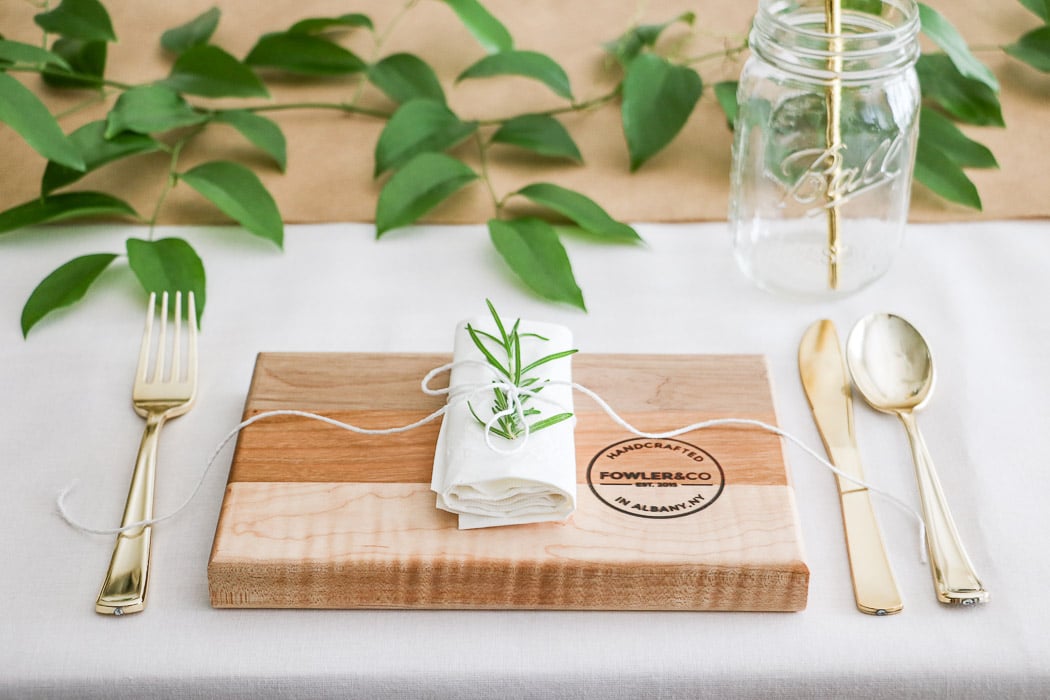
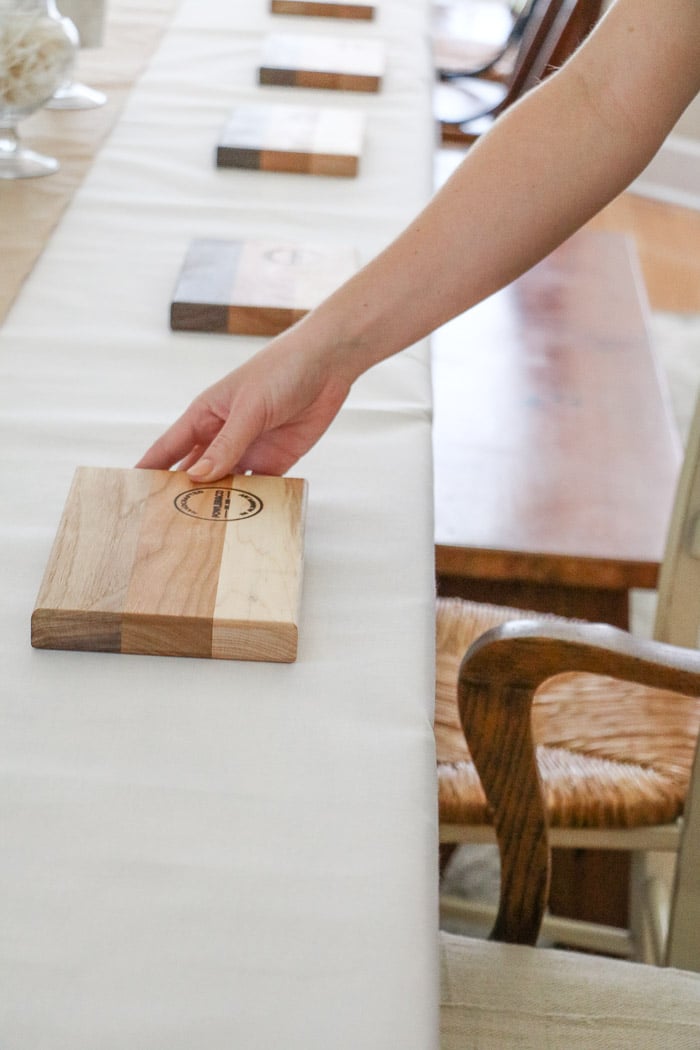
For this place setting my friend Kelly at Eat Picks had all these adorable cutting boards she was trying to find a home for. Using cutting boards is a way to add some casual to a more elegant table.
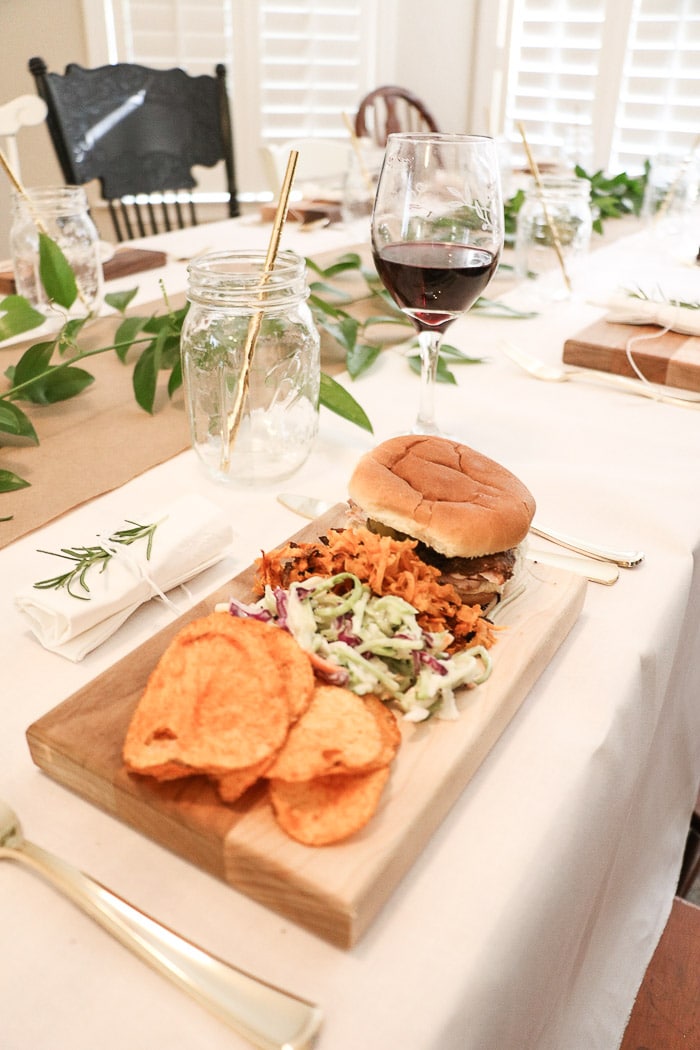
Plus we were using Kelly's potato pancake recipe but we used sweet potatoes instead. With small slider sandwiches, sweet potatoes, chips, and coleslaw these small cutting boards were perfect.
So now that you have your centerpiece design, place setting design, and menu ideas, let's break down the steps on pulling it all together.
Easy DIY Temporary Dining Table
First, get a count of how many people will be coming and determine where to seat them all. If you need to build a temporary table here is an easy DIY.
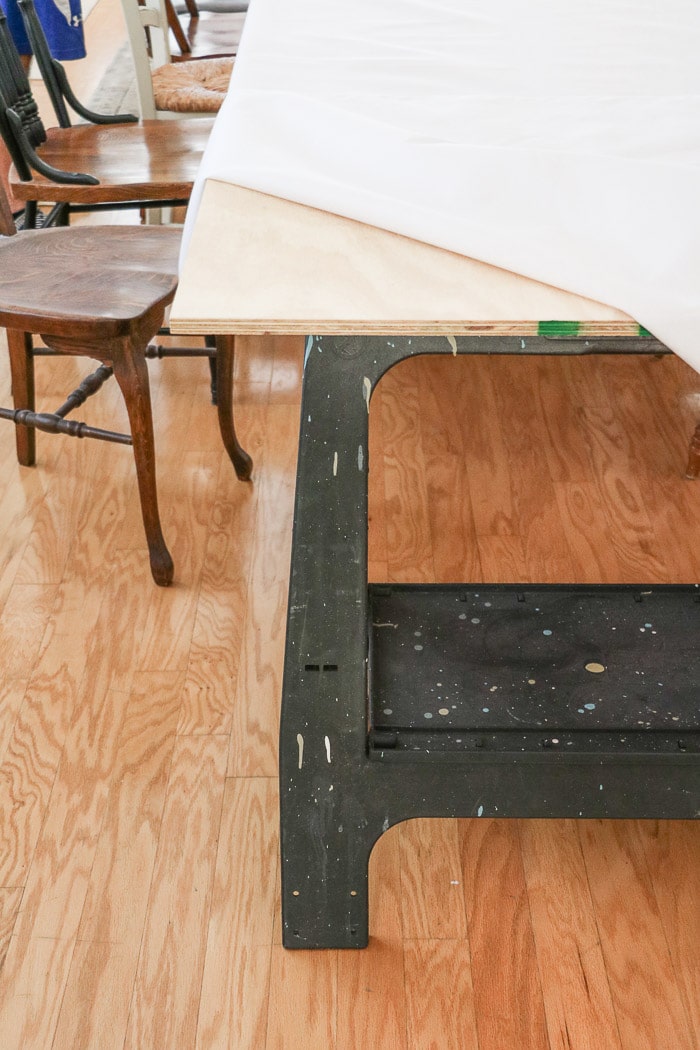
Simply use sawhorses as the base and 1/2″ plywood for the tabletop. We had the people at Home Depot cut it down to 36″ wide. So basically the table is now 8′ x 36″ wide.
If you need more than one tabletop, join them together over the sawhorses like in this next photo.
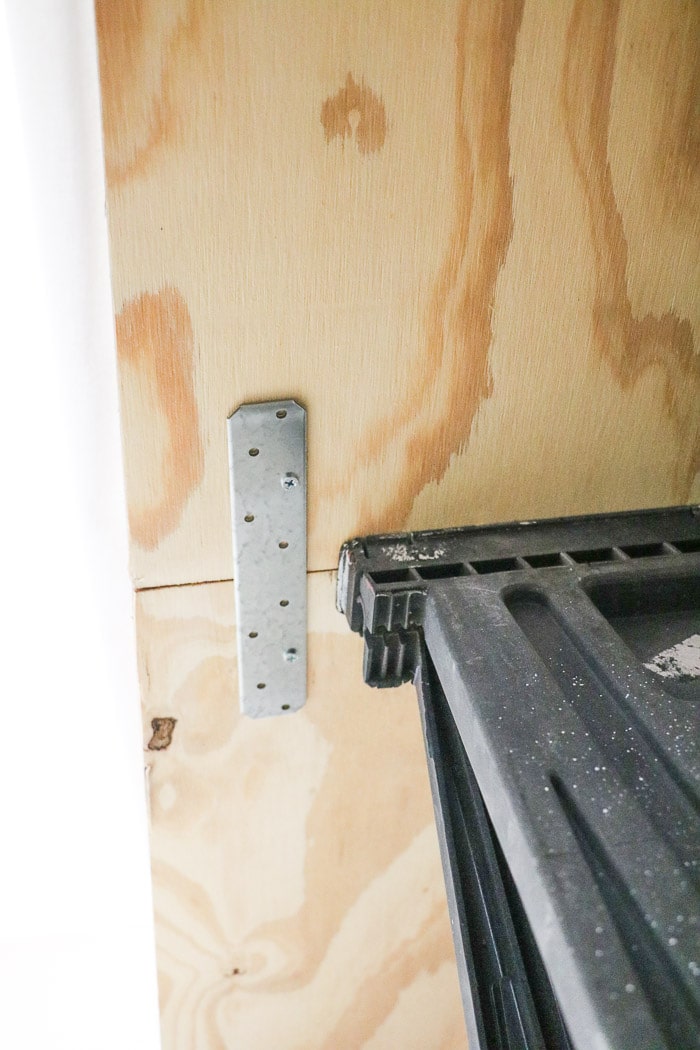
Once you have something to secure the tables together I would recommend some extra support where the centerpiece will be sitting. We used a stool and some books sitting on top of the stool under the plywood table to give it some extra support.
And last, place the number of chairs you will need. If you don't have enough chairs borrow from friends or family. My sister and cousin graciously brought the extra chairs. And did you notice they are all wood chairs? I think it gave the table that added charm going with good chairs.
Table Cloth
Next on the list is the table cloth. I went to Walmart and purchased some white fabric about 24″ longer than the length of the table. My table was a total of 24 feet long so I added two more feet.
Since fabric comes in yards which is three feet per yard that meant I needed to divide the feet of my table by three. For this table that was 8.666 yards of fabric. So I rounded it up to 9 yards.
Use a one or two dollar a yard fabric. It's a cheap way to dress your table without breaking the bank. So for this table, I found a two dollar a yard fabric which meant my table cloth cost 18.00.
See what I mean? Talk about inexpensive.
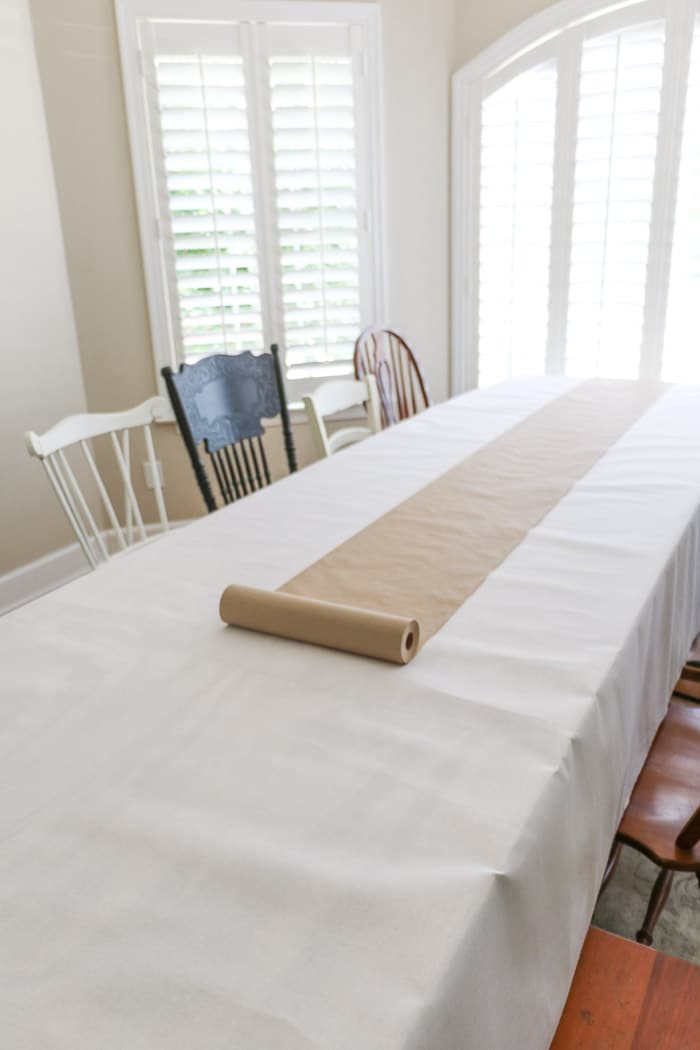
Once you have the fabric on the table toss a roll of craft paper down the middle. It will act as a runner down the middle of the table. Let the craft paper hang down on the side about a foot or so.
But we are not finished with the main part of the table. It is time to add part of the centerpiece.
Centerpiece
Begin with placing some apothecary jars in the middle. Add as many as you would like but we decided on the three I already had laying around. Fill them with anything that a nurse would use.
Who knew you could find nurse graduation party supplies from different things in the medicine cabinet?
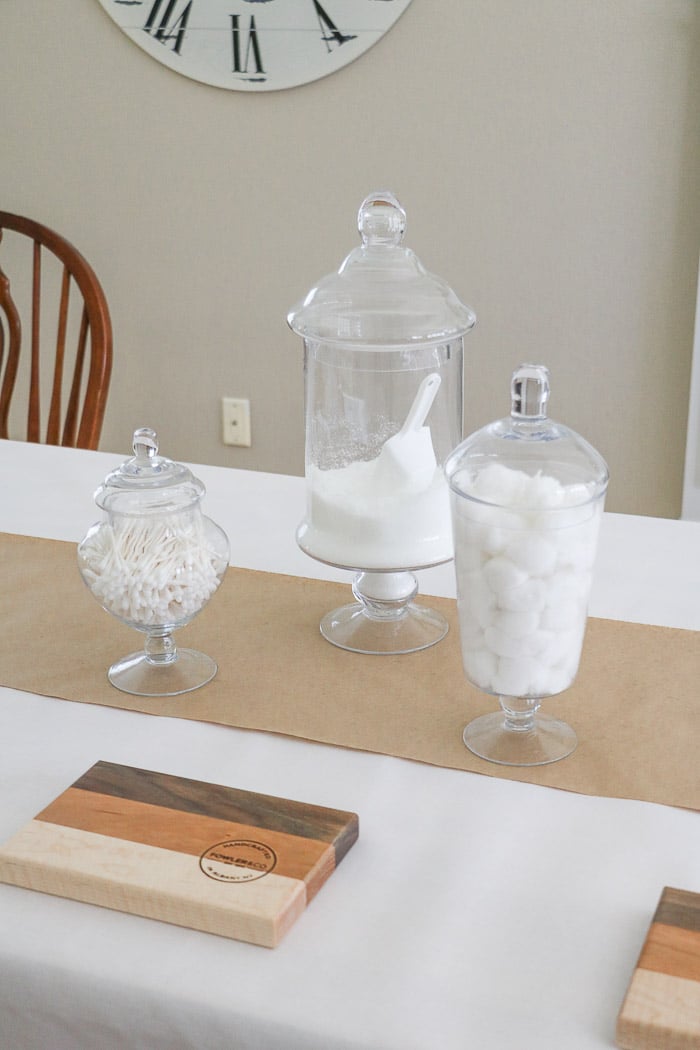
Stagger the jars or place them in a straight row. If you have for than three you can even display them further down the table and in a straight row.
Place Setting
Now you can finish the centerpiece or jump over to the place settings. My sister and niece were bringing the rest of the centerpiece so we decided to move over to the place settings.
If you like this entertaining idea, check these out…
- Italian Dinner Party Styling Inspiration
- Event Planning Checklist for a Successful Outdoor Party Part 1
- Event Planning Checklist for a Successful Outdoor Party Part 2
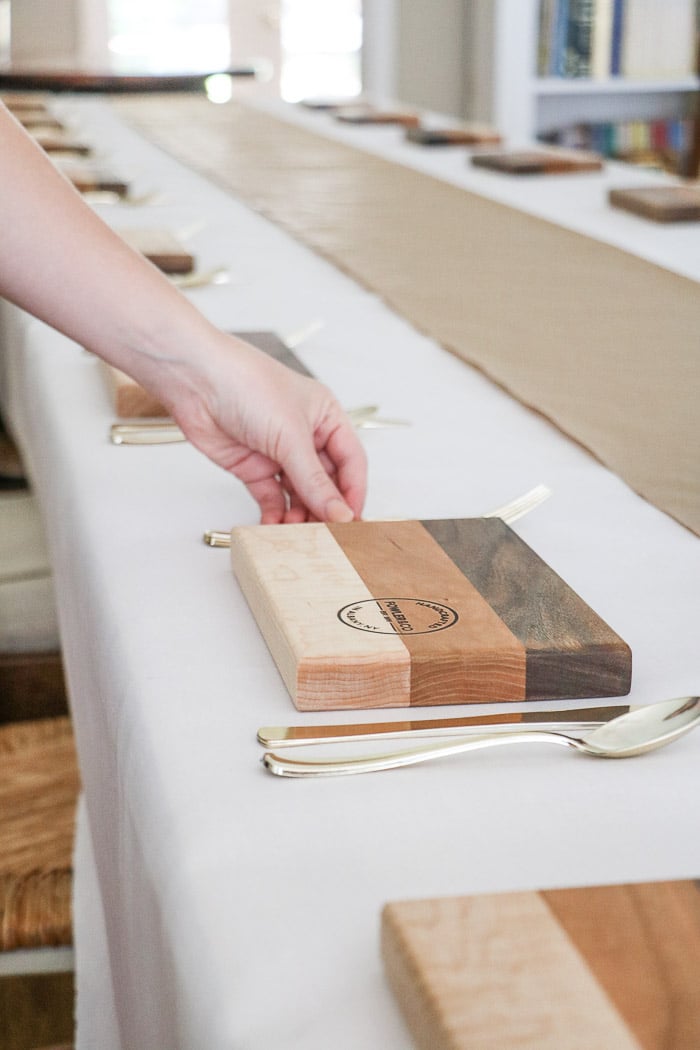
Sit out all your cutting boards or plates in front of each chair.
Then add your silverware. We used plastic gold utensils. You can find these at your local dollar store like dollar tree. I wanted to go easy for this party. My goal in addition to elegant and casual was also an easy breakdown. Wait until you hear about the easy breakdown at the end.
Next place what you have planned for the center of the plate or cutting board. I simply rolled up a paper napkin and tied it with some white twine.
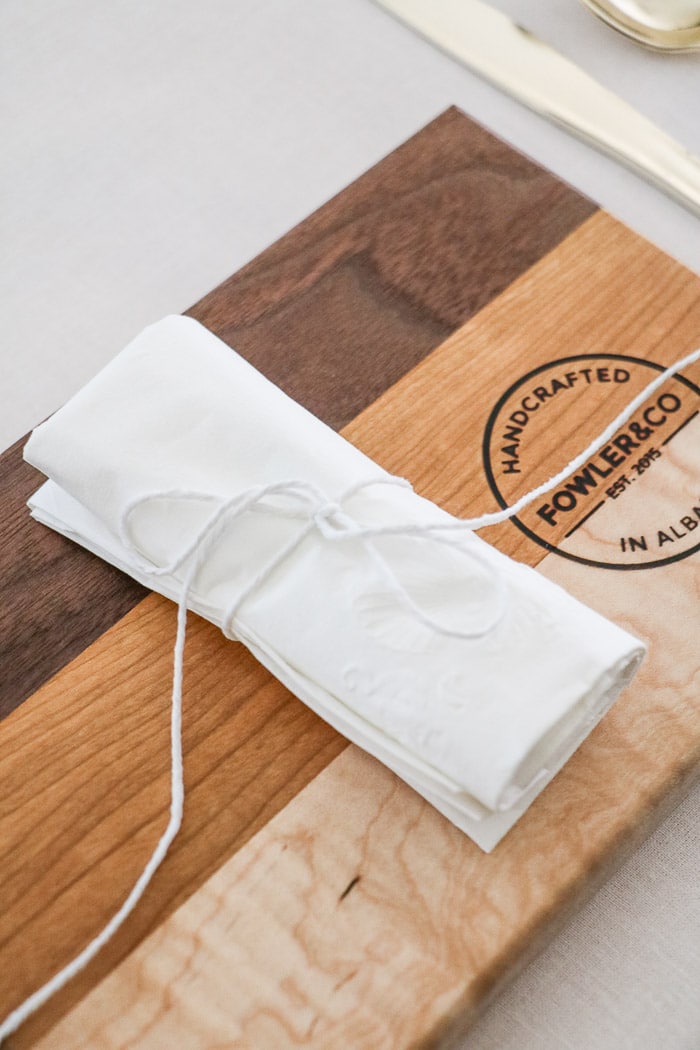
To add some movement to the place setting I added long tails on the twine and draped it all the way over to the utensils. But the napkin is not finished. It's the little details that make the difference.
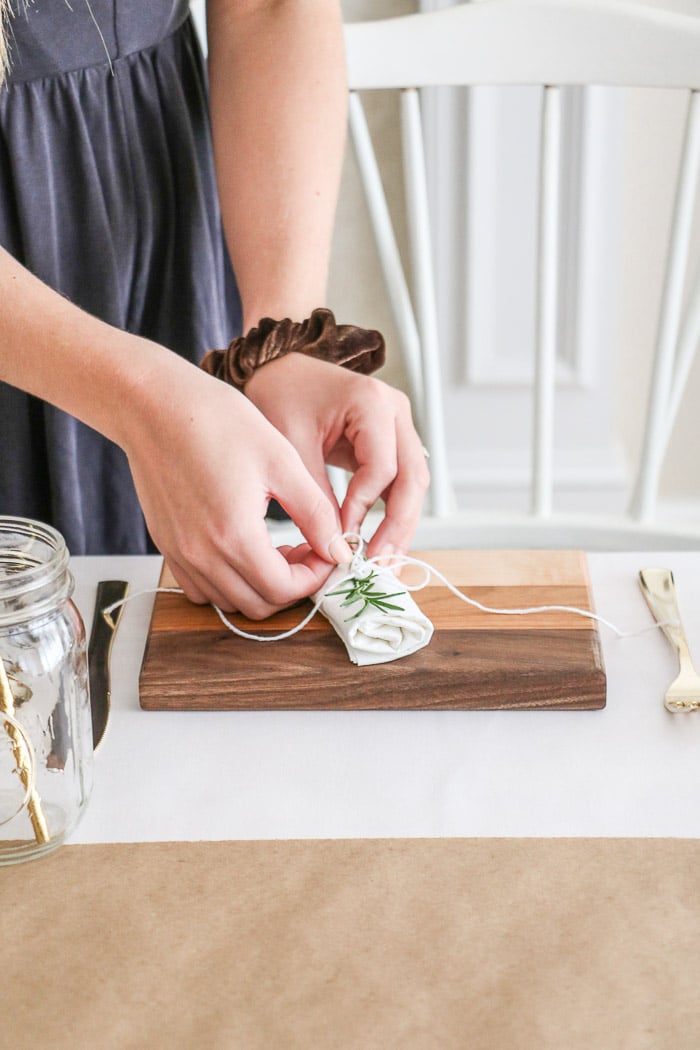
You can add anything under the twine but we went with rosemary. I was looking for something that was used in medicine.
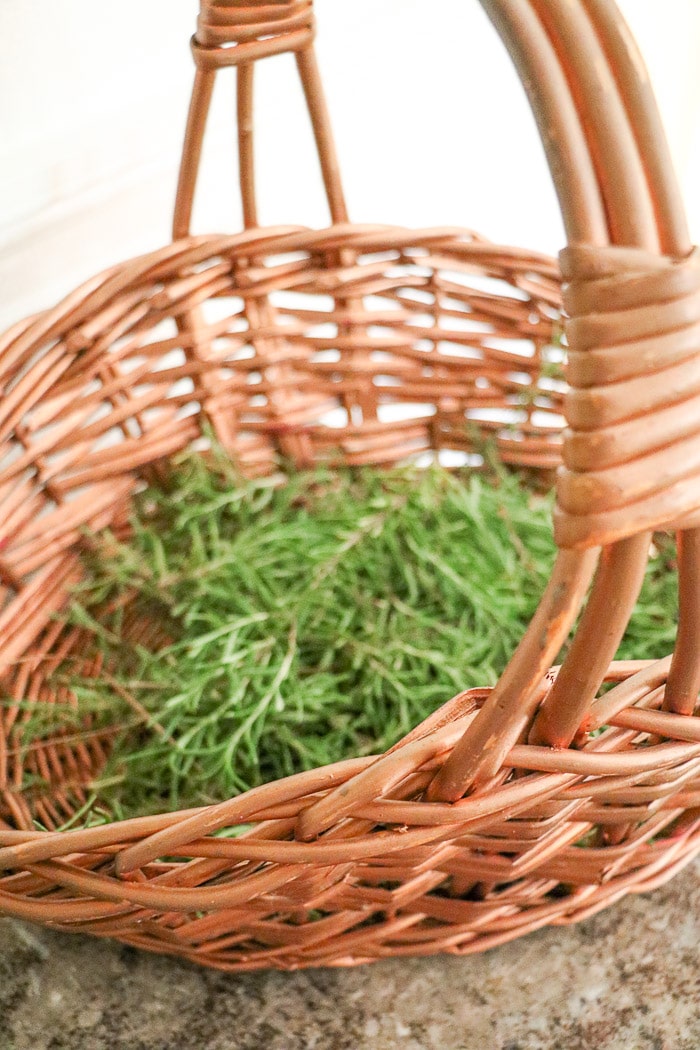
Since my sister had a rosemary bush and it was free I decided that rosemary would be perfect. Plus rosemary was used in ancient times as a medicinal plant to alleviate muscle pain, improve memory and boost the immune and circulatory system. What a great option!
I love cooking with rosemary so my memory should be amazing! LOL!
The rosemary also gave each place setting a nice and pleasant aroma.
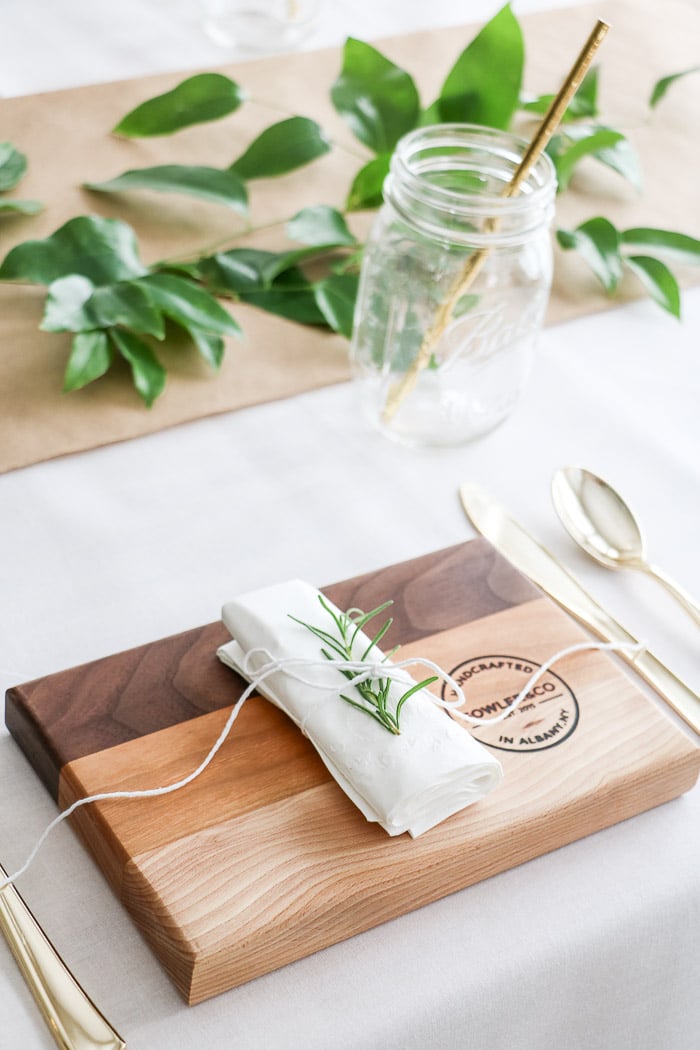
Next, add some glasses. Ball mason jars are very cheap so if you need many glasses give them a try. They also have a casual look which works great with this casual elegant style.
Top it off with a straw which I thought would be another fun element to the table.
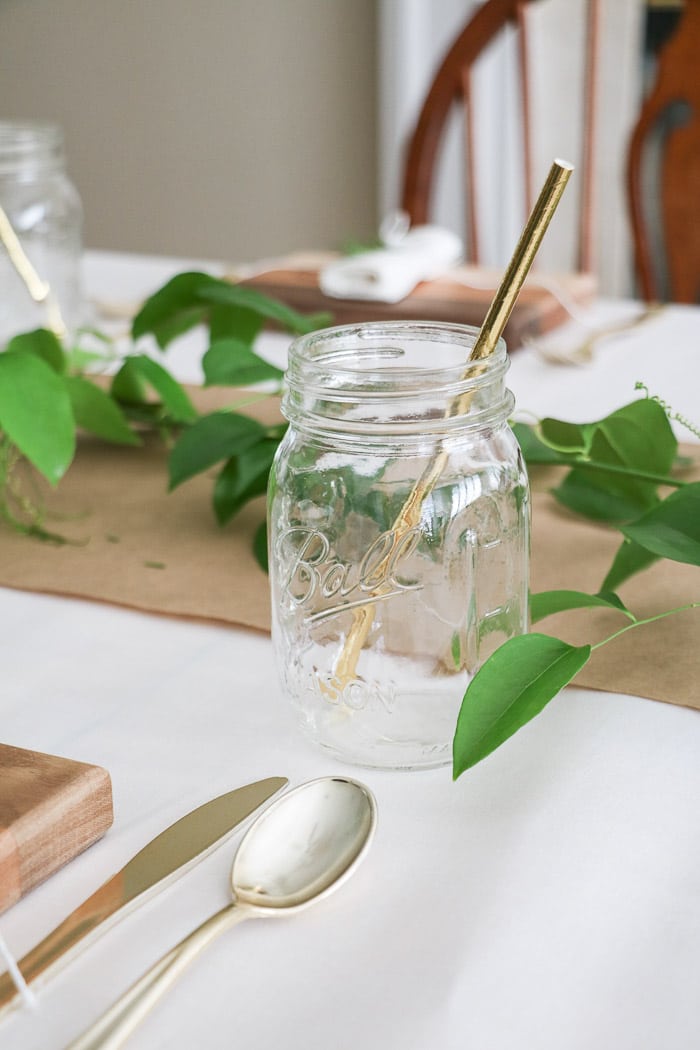
The place settings are finished so now it is time to move back to the centerpiece and add the greenery.
Greenery
In addition to the rosemary, we placed some vining greenery called smilax down the middle of the table. My sister gathered the smilax from the woods near her house.
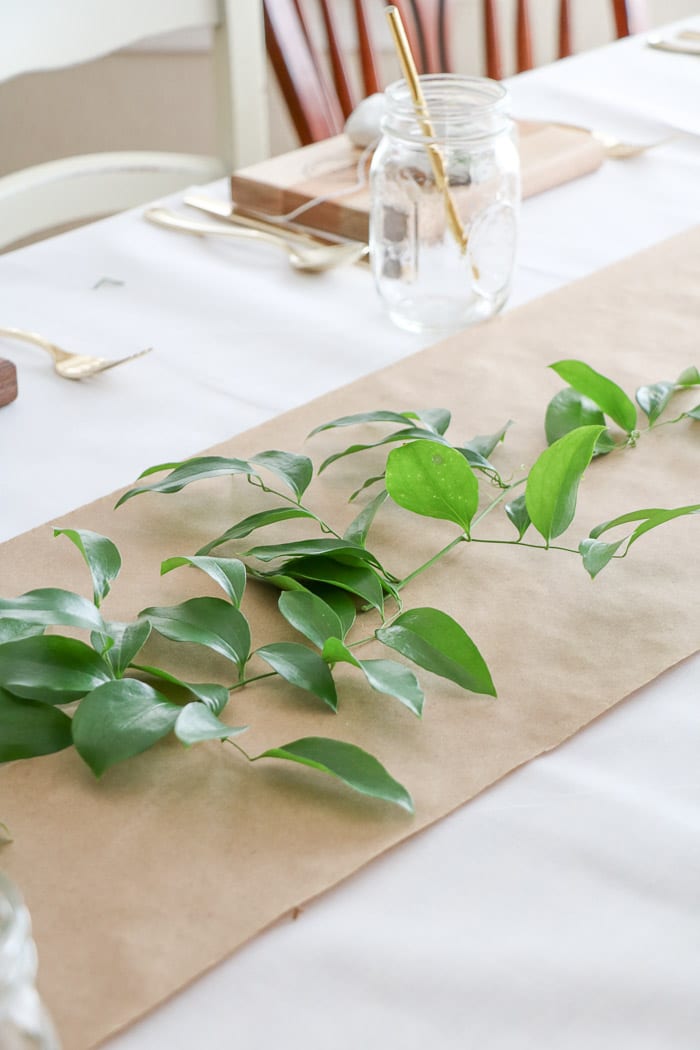
For this part of the project, we simply placed it down the craft paper runner from one end to the other.
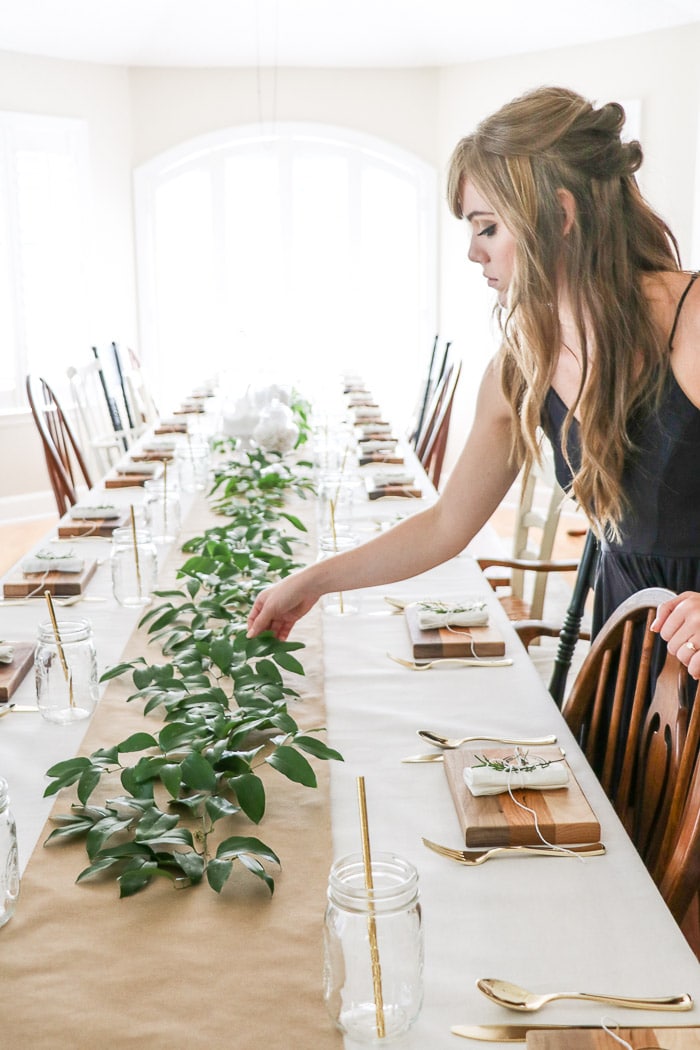
And when we got to the centerpiece of medicinal apothecary jars we weaved the greenery around the jars.
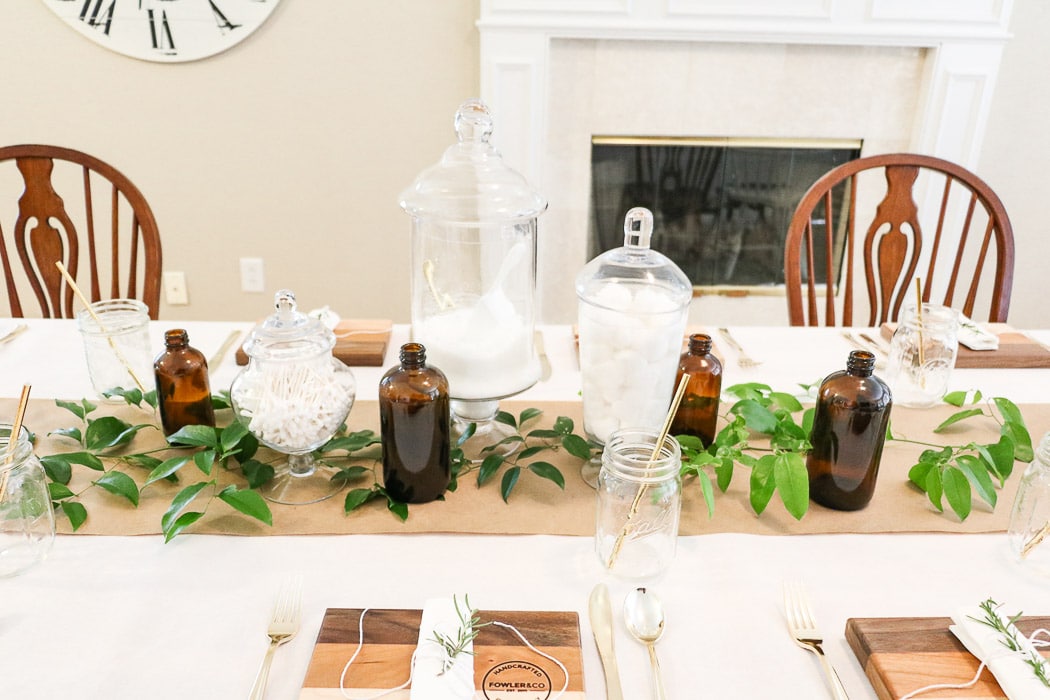
Then we added some amber-colored jars since amber jars were used quite a bit back in the old times of medicine. I think our centerpiece brought the tablescape to the next level.
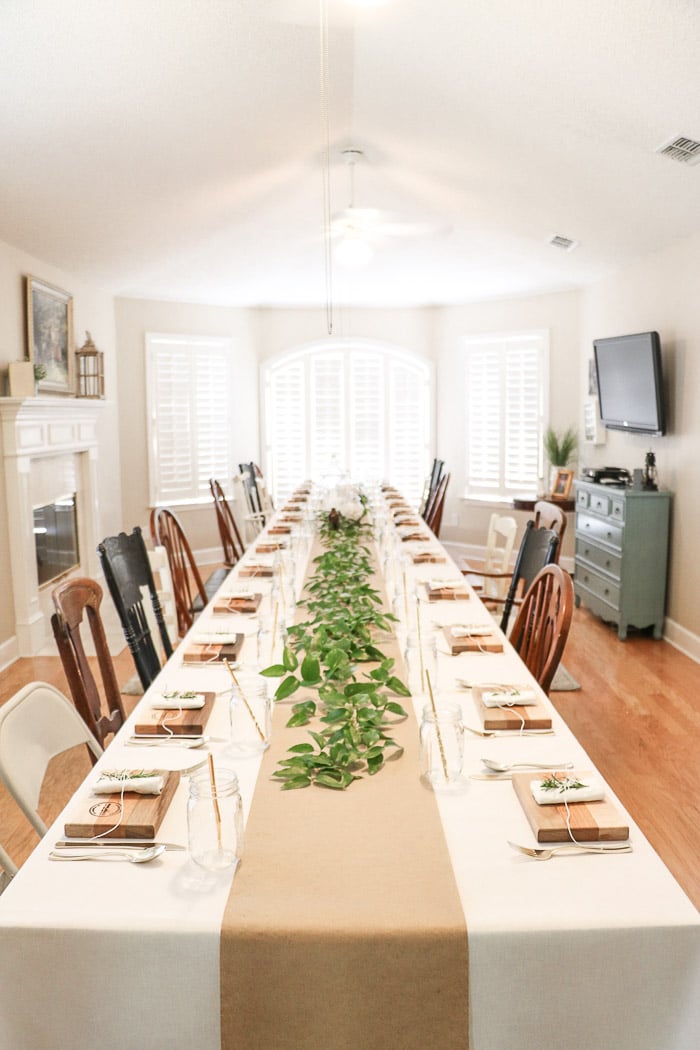
Now that the table is set it is time to party. Whenever you say, dinner is served, tell everyone to grab a cutting board or plate from the table and after dinner, they can take home whatever item you have planned as their gift.
On our table, each guest took home a cutting board and a mason jar.
Conclusion
It was pretty special to have all my family at one table this year. We had to make a kids table because we didn't have enough seats at the temporary table.
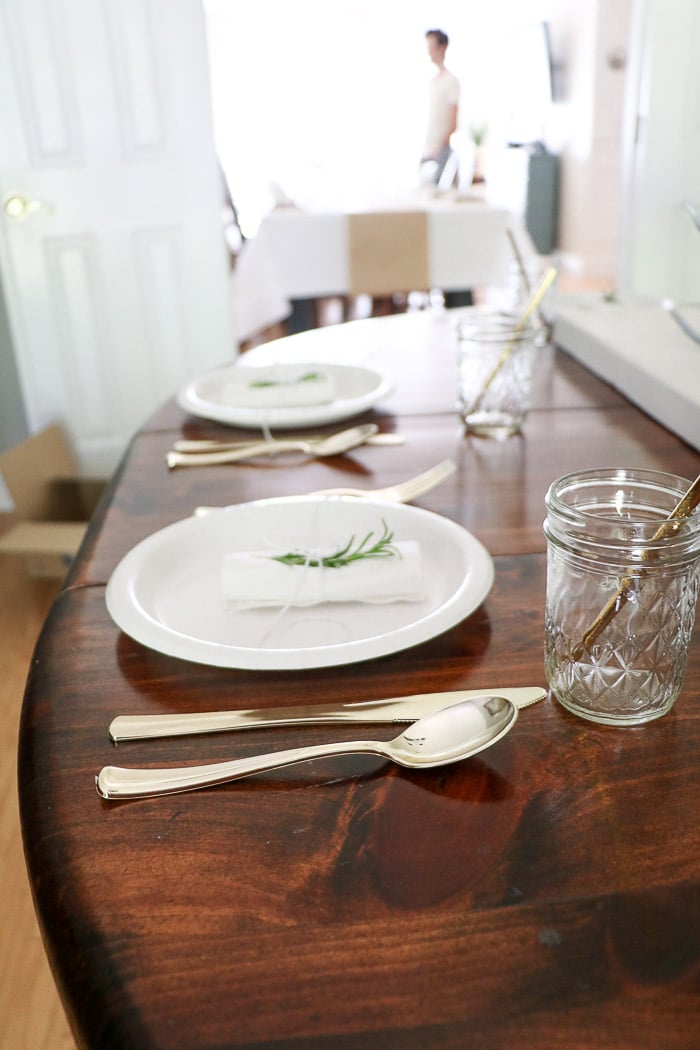
The kids loved eating together!
We placed the guest of honor, the graduating nurse, in the center of the table on one side right in front of the centerpiece. She loved being the guest of honor!
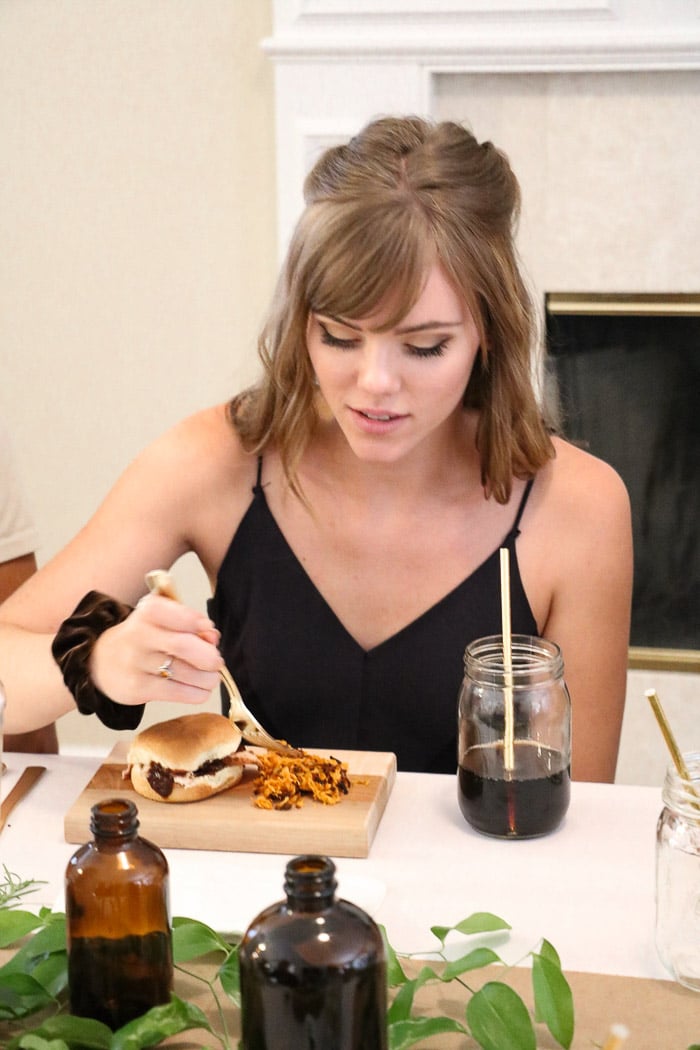
And everyone loved the sweet potato recipe from Kelly. I have to admit the food really looked nice on the cutting boards.
And once everyone had their dinner we all gave thanks to the Lord for helping Savanna through nursing school and for the food.
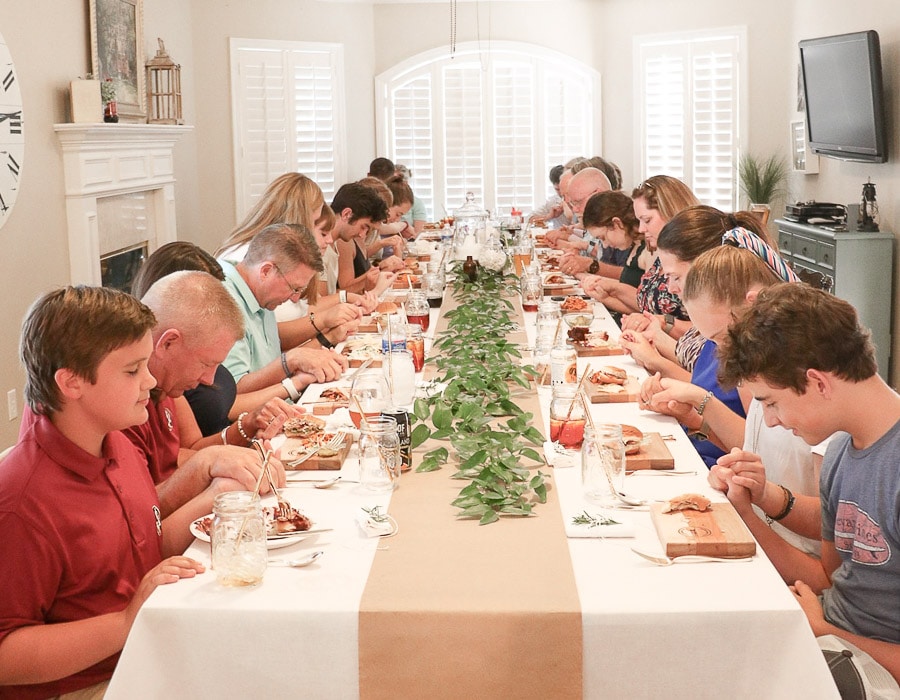
The whole party was a big hit and so much fun. Especially with our nursing school graduate. It really was a special evening for everyone and especially our new nurse. But before we close down this party let's talk about the fastest and easy way to tear down the decorations.
Simply ask close family or friends who are at the party to stay after the event ends. Remove the glass centerpiece items. Then grab a trash can and roll up the fabric, runner, and greenery and toss it in the trash.
Then have the person who screwed the table together to unscrew it and have all those extra hands carry the wood and sawhorses out to their storage location.
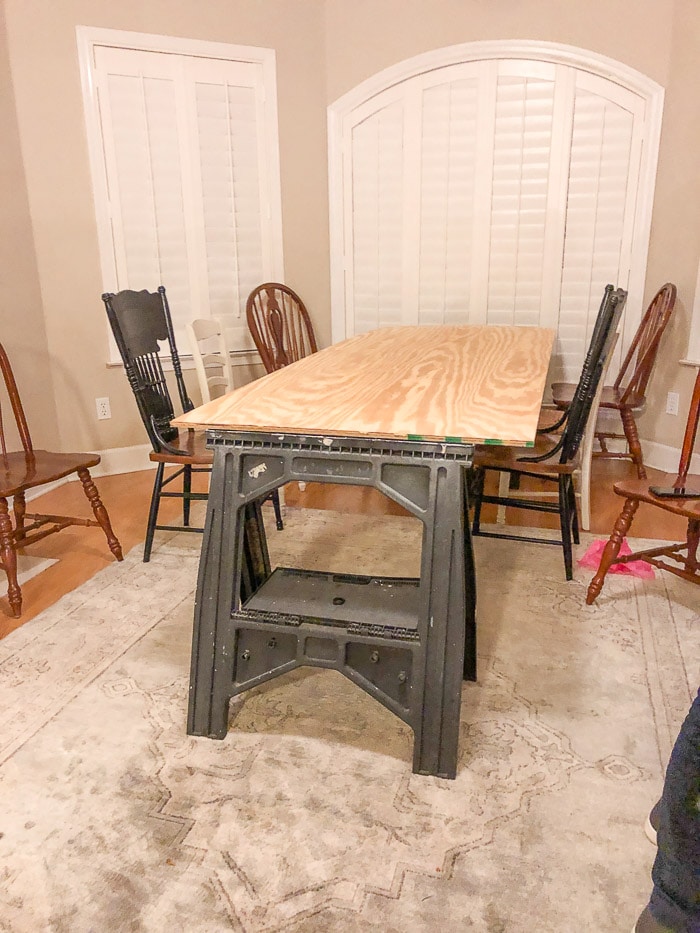
In a matter of 30 minutes, we had everything torn down and the furniture replaced. The entire party helped out and it was pretty amazing!
So that is the end of my best nurses graduation party ideas. Get those graduation invitations for a nursing school graduation party in the mail.
The best thing is, as you've seen, graduation party decorations don't have to be expensive. There are plenty of ways to find decorations using what you have around the house, so there won't be a lot of extra cost.
I hope you have found a few ideas for your party. I'd love to hear about your creative ideas for parties.
Happy Decorating!

2 thoughts on “BEST NURSES GRADUATION PARTY IDEAS”