DIY Harry Potter flying letters room decoration for Halloween. Let's learn how to make a Hogwarts acceptance letter and hang them from the ceiling. Along with how to make Hedwig the owl and more fun decorations. So grab all your muggle friends and let's fly right into some holiday inspiration.
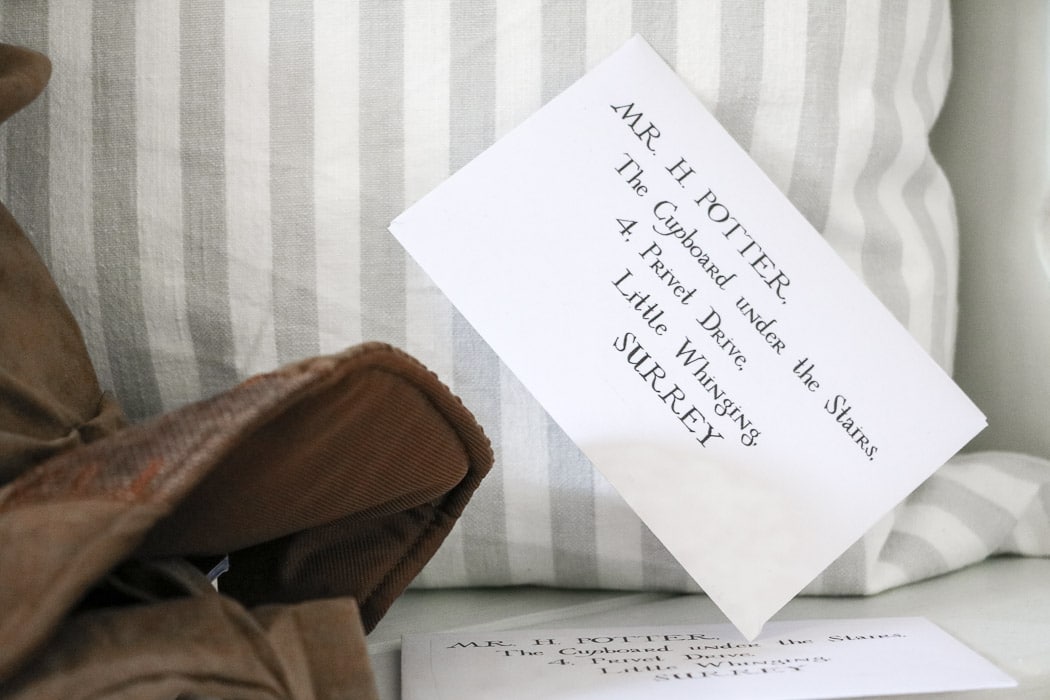
While watching a Harry Potter movie I got inspired to decorate a Halloween room with a Harry Potter theme. I wanted to make it look like Harry has arrived home to Privet Drive from Hogwarts school of witchcraft complete with flying letters, Hedwig, and more.
Once we, my daughter and I, got started we had so much fun until we couldn't wait to show you these DIY Harry Potter flying letters and how to make Hedwig the owl.
So grab your supplies and let's begin transforming a room in your home. Harry Potter fans are going to love this!
DIY Harry Potter Flying Letters
Not one or two or three or four but a Harry Potter letter to infinity describes that moment when all mayhem occurred in the home on 4 Privet Drive.
The envelopes started arriving and were determined to find their way to Harry Potter.
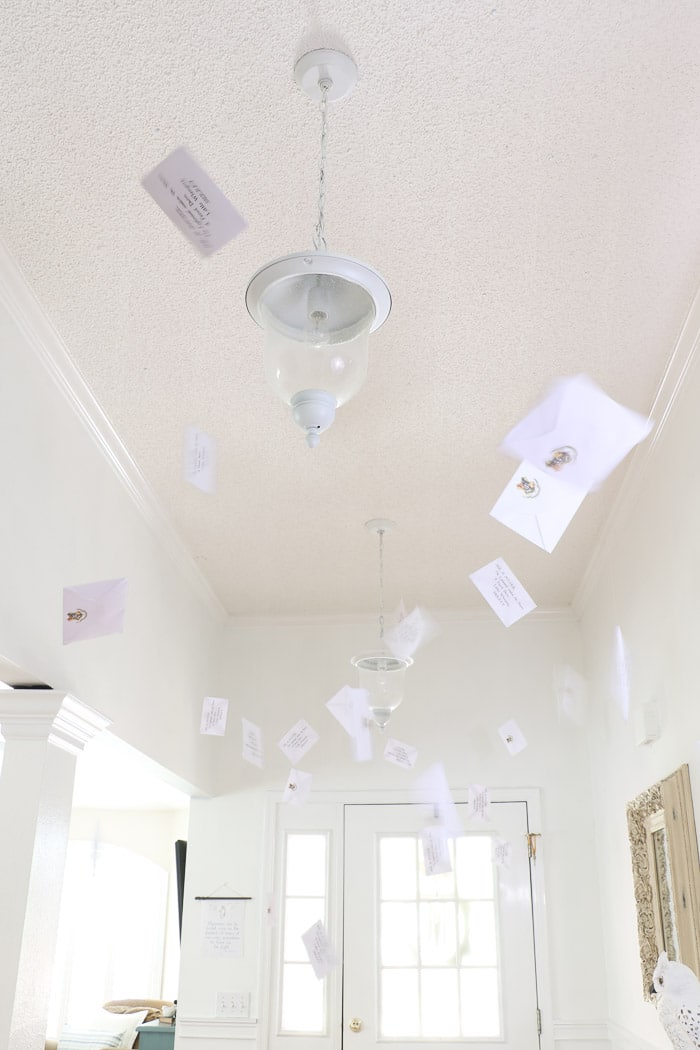
So, let's create that moment with these flying Hogwarts letters.
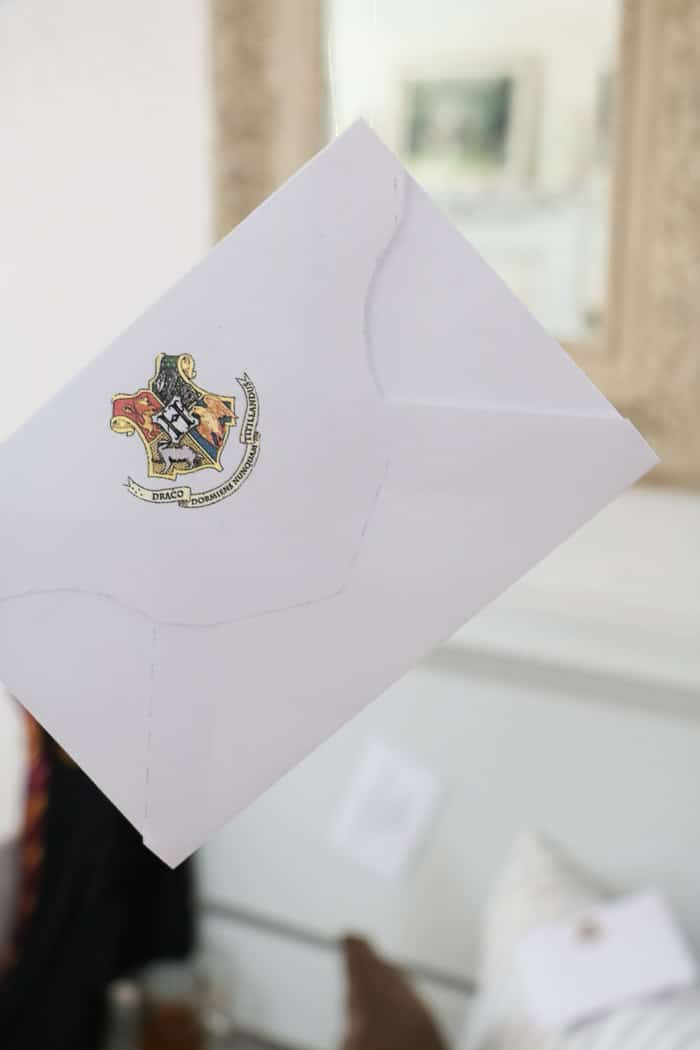
Begin with making envelopes
Instead of purchasing envelopes, use these perfect envelopes by More than Thursdays.
We printed 40 sheets with the Privet Drive address on regular copy paper.
Can you tell from this picture? 😉
Cut the envelopes
Now if you have a cutter then go ahead and slice all four sides.
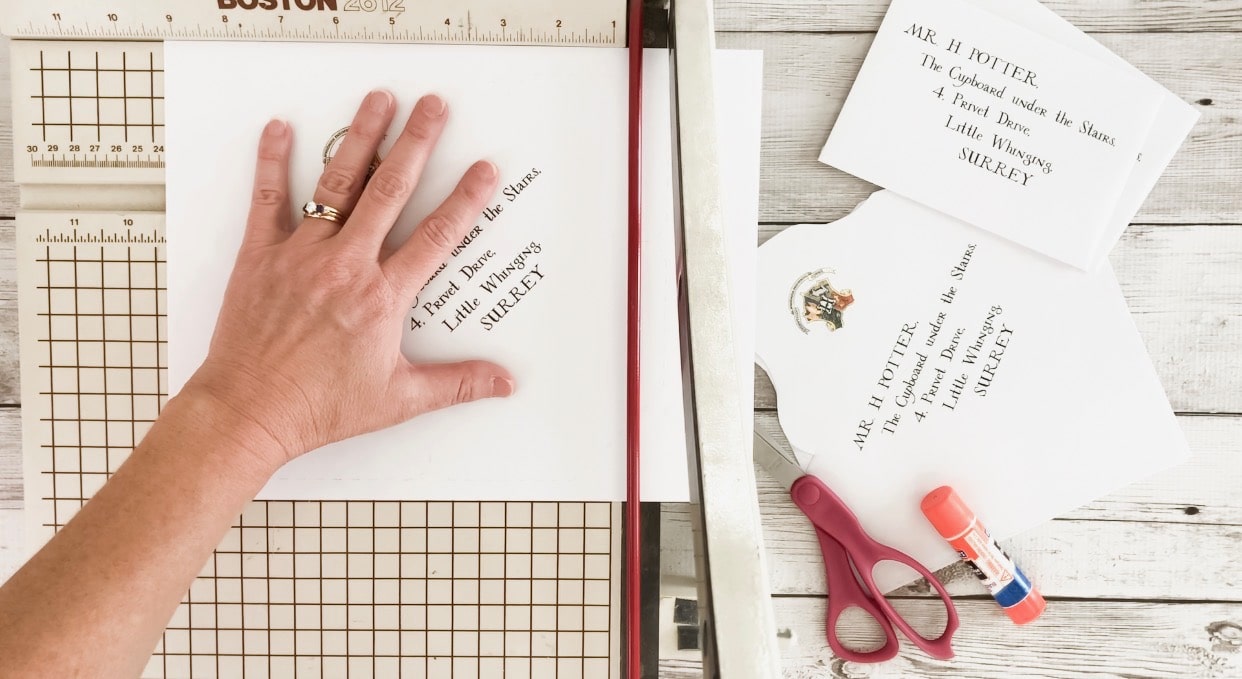
Once you have them all cut use some scissors to trim out a few edges and curves.
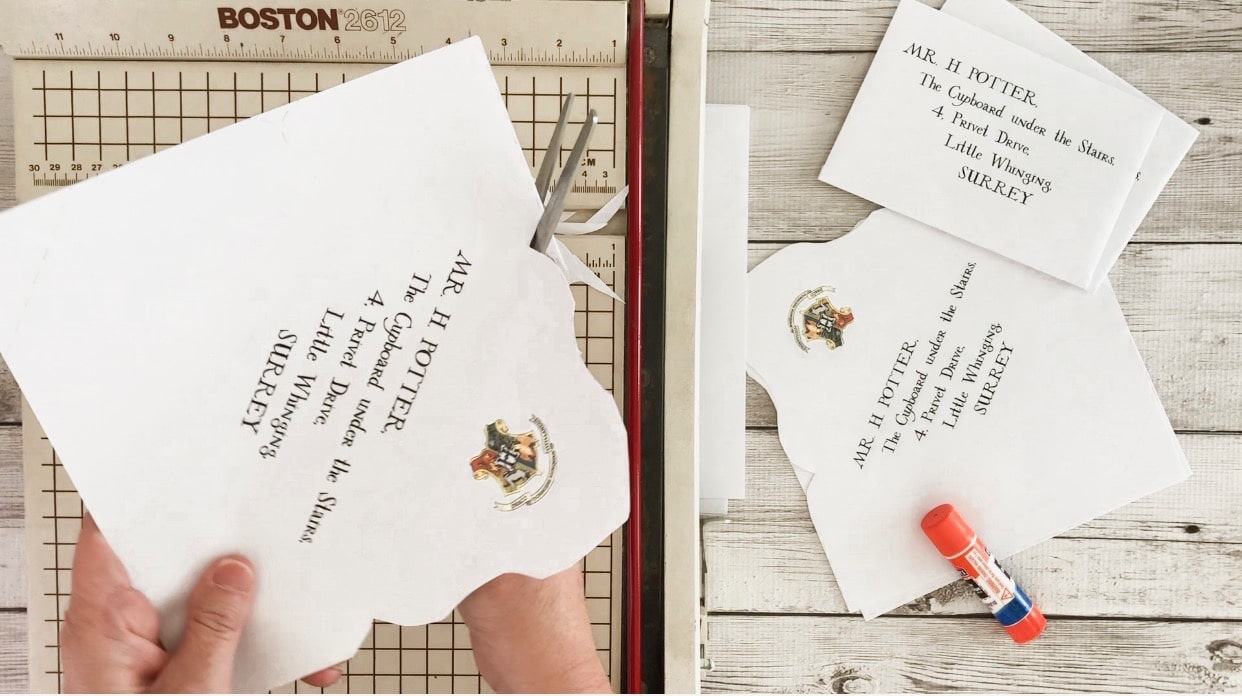
Fold each side
Now simply fold one side.
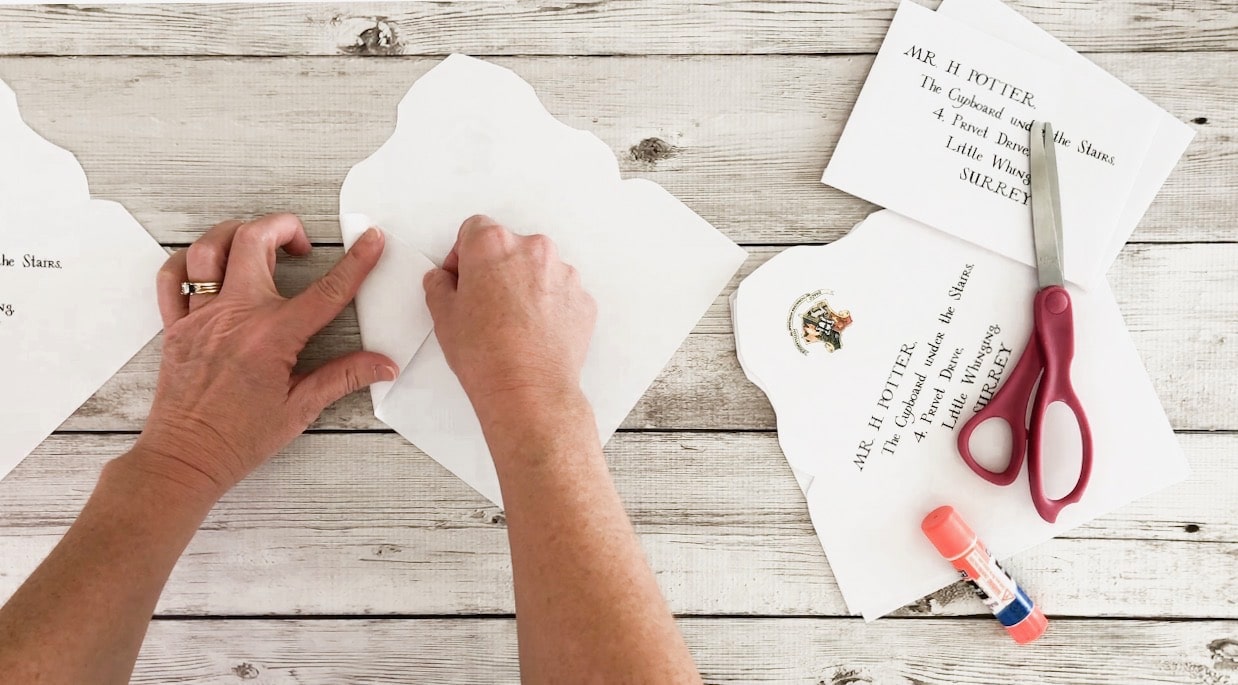
Then the other side.
I use the end of the glue stick to score down where I have folded the envelope.
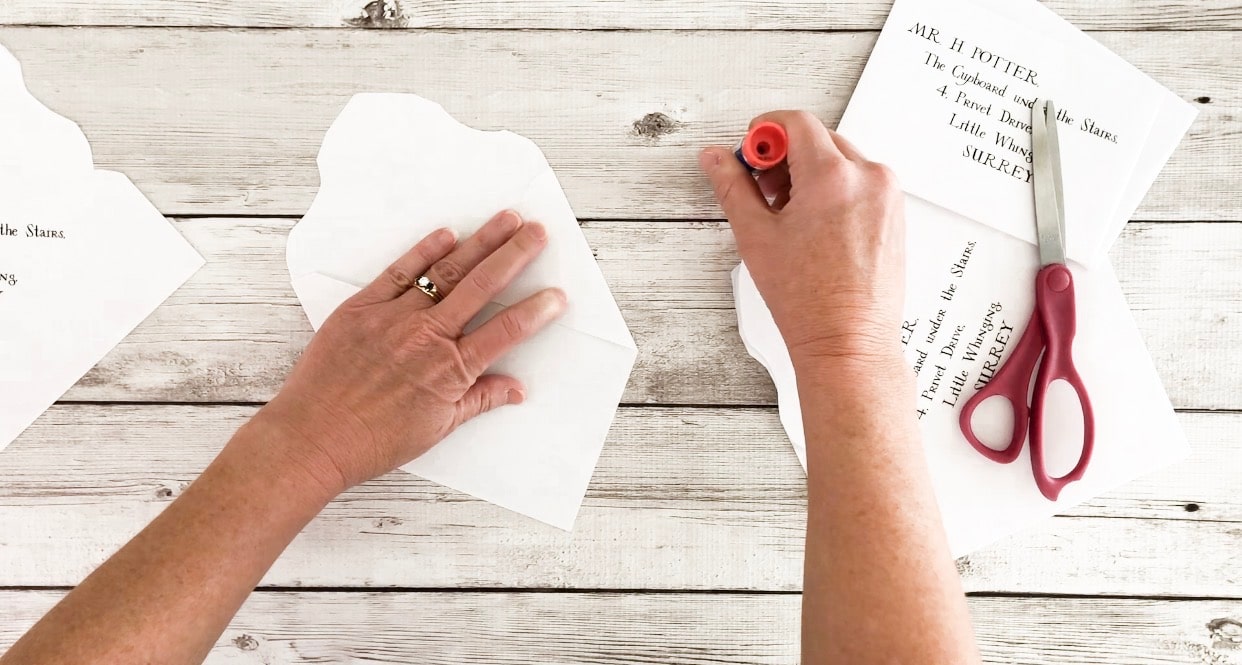
Next, fold up the bottom and the top.
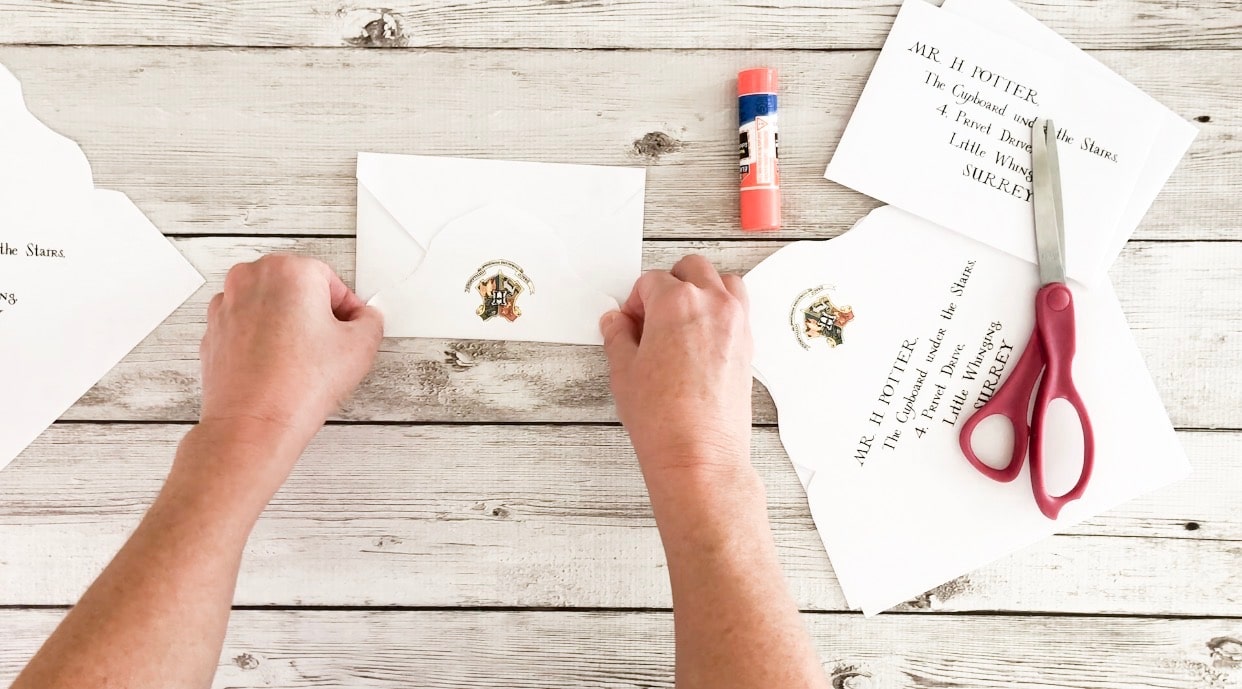
Apply some glue where you folded the top to the bottom, and you are finished. See how easy this DIY Harry Potter flying letters project is.
Also, if you are wondering why I did use a red wax seal keeping reading. I will explain later.
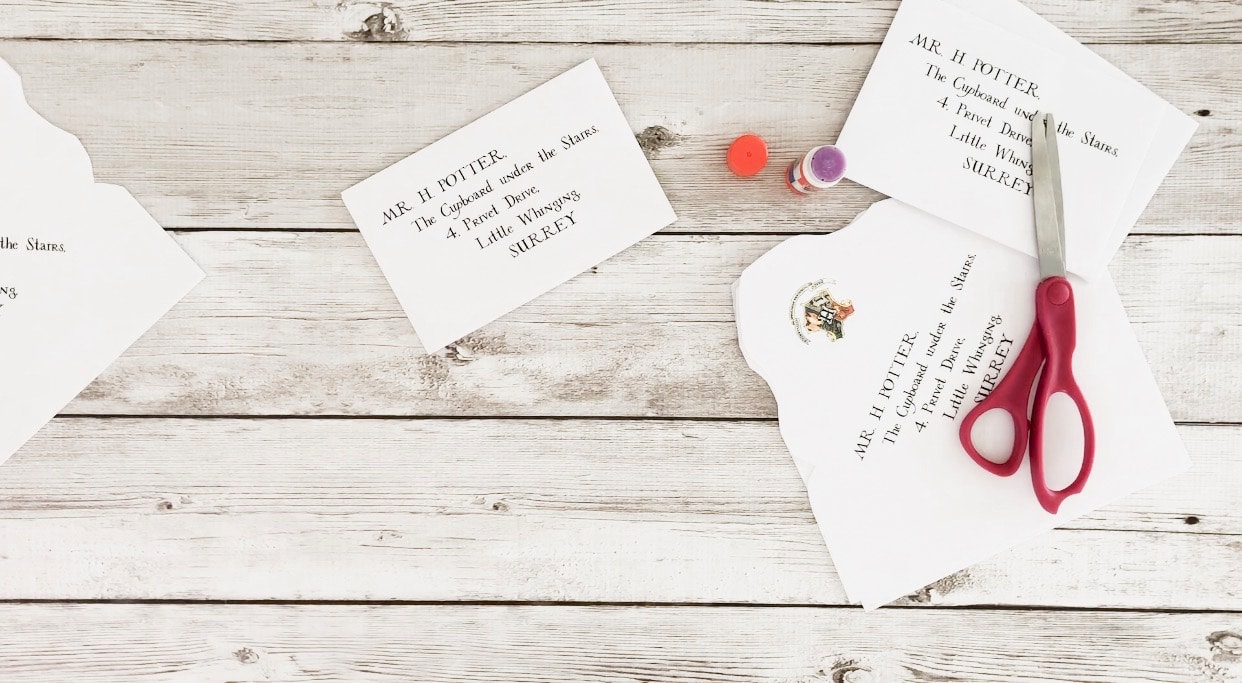
How to Hang Hogwarts Letters from the Ceiling
Now that we have all the letters ready it is time to start hanging them from the ceilings. The easiest way is to hang them with a fishing line.
Apply a piece of fishing line
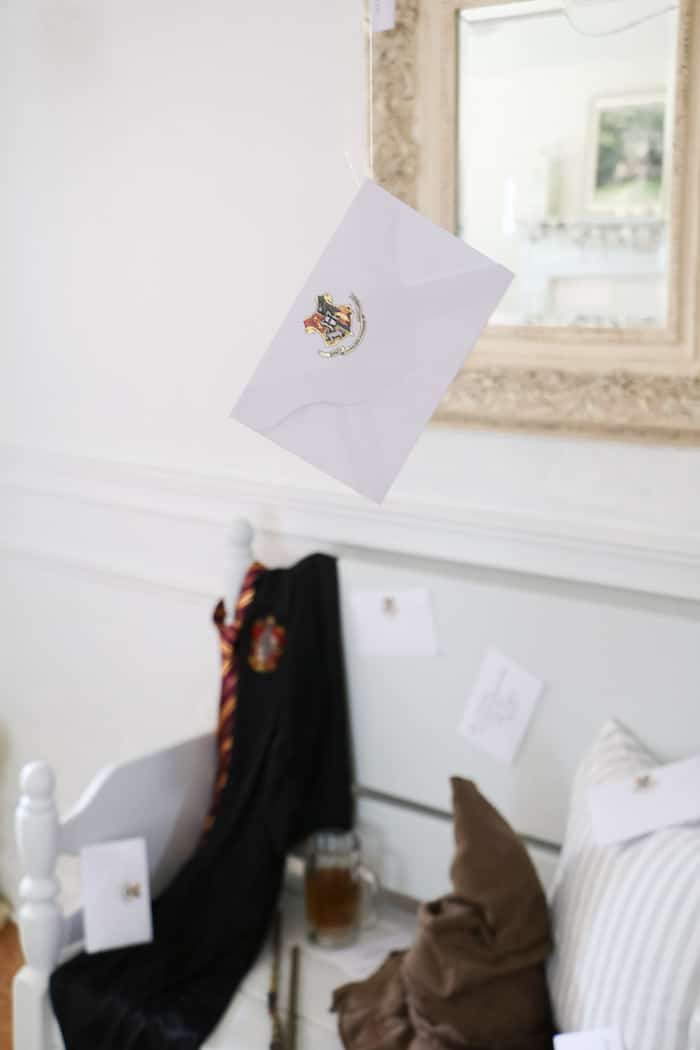
The next step is easy to follow. Pull out your hot glue gun and drop a dot onto the envelopes. Then lay your fishing line into the dollop.
Let the fishing line sit by keeping it secure with your fingers. Once it is dry enough, you can let it go and place it to the side to harden completely.
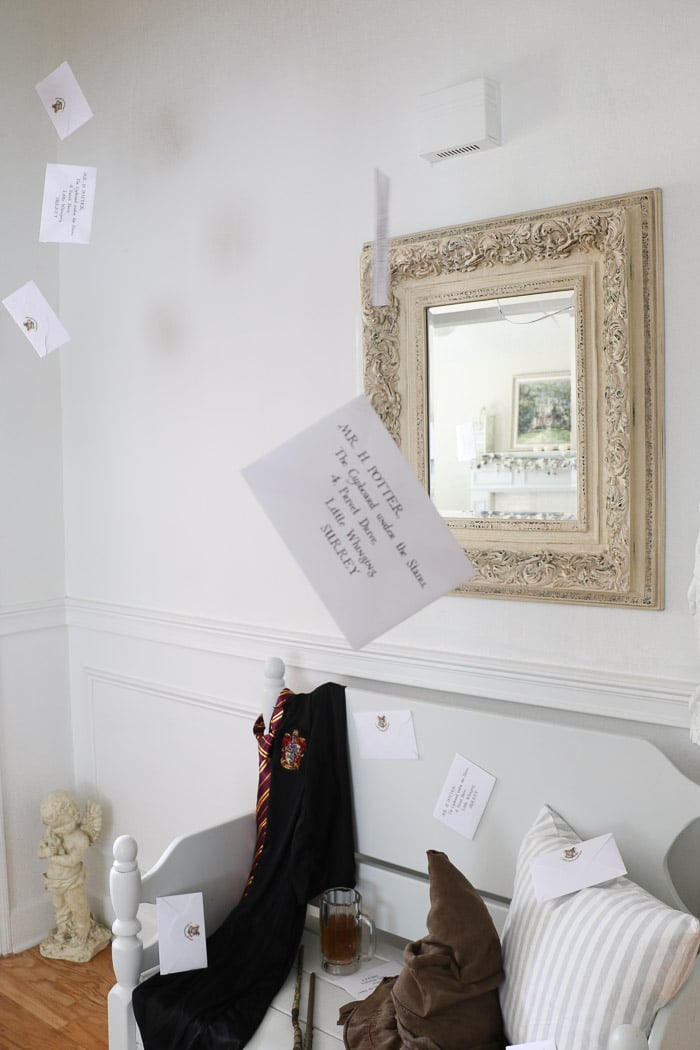
A few tips about this step. You will want your envelopes to hang in different directions. Drop dots of glue in many different places along the edges and make sure to do both sides.
Now you see why I didn't use a wax seal. You will need to distribute weight when it is hanging. But now the more significant challenge is getting some of the envelopes to lay flat.
Put a drop right in the middle and pierce the glue straight down with the fishing line. Keep it steady until it is good hardened.
Now make a drop on each end straight across from the center to give it some balance.
Now you are done and on to hanging your Harry Potter Halloween letters.
Hanging the envelopes
Pull out your ladder for this part and wrap the fishing line around the pushpin and stick it into the ceiling.
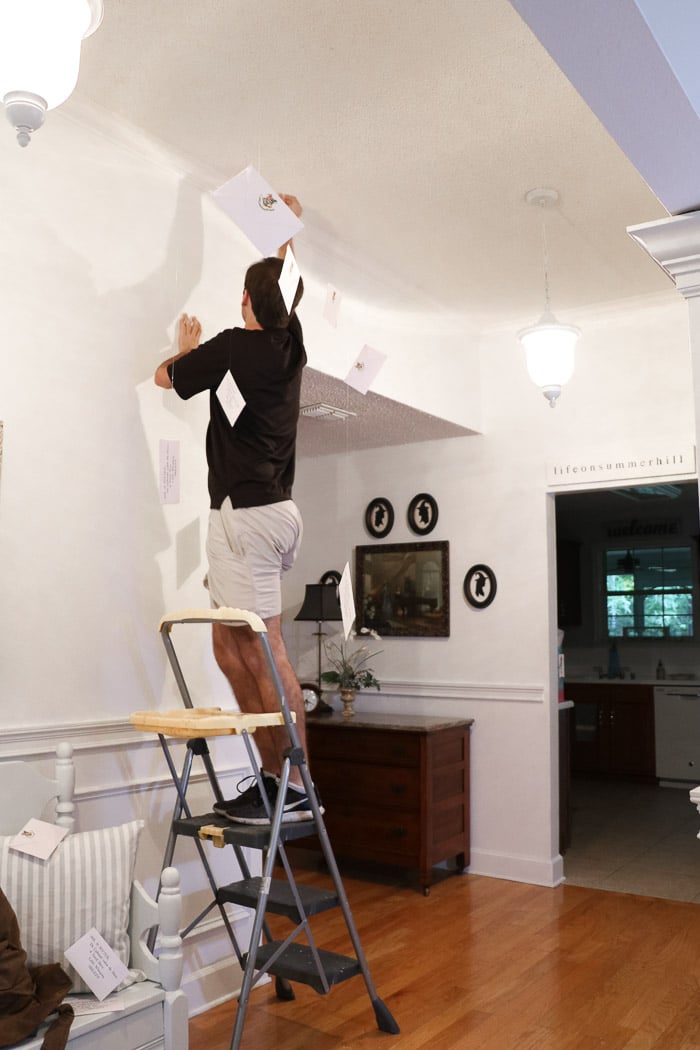
We used a flat white push pin so it would disappear on our white ceiling.
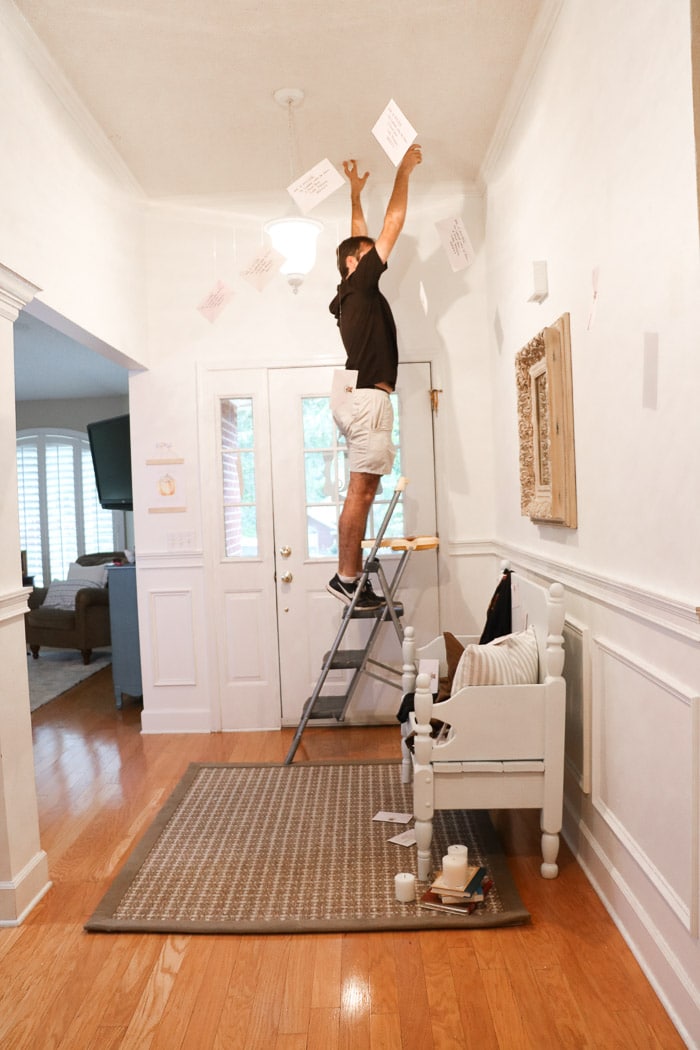
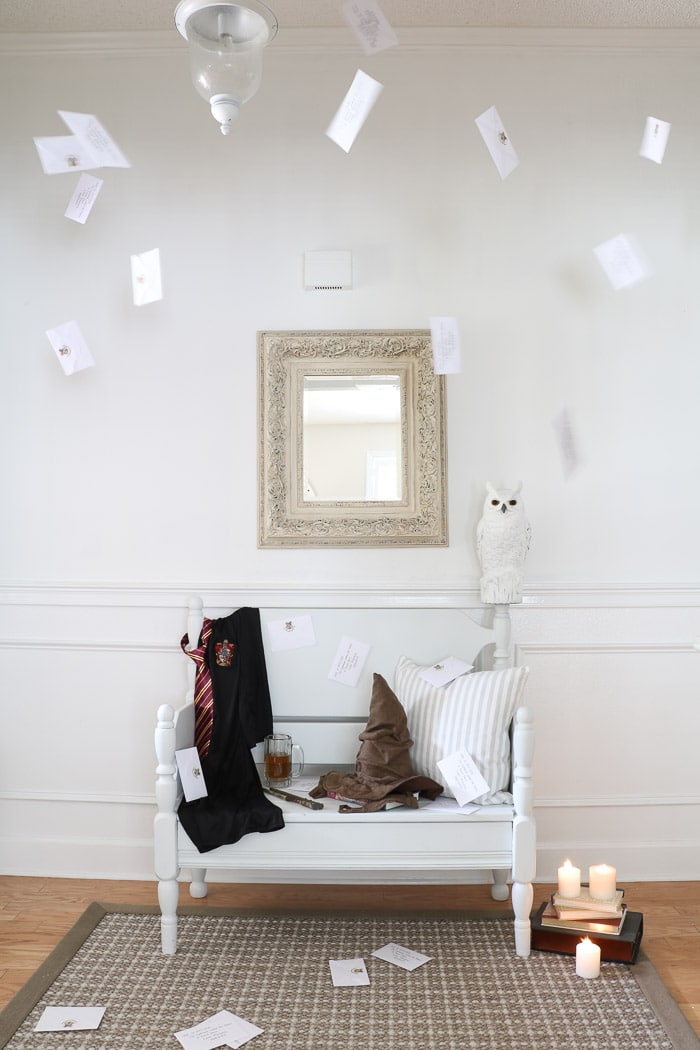
And now like magic you have the illusion of the flying letters that are determined to find their way to Harry Potter.
DIY Harry Potter Room Decor
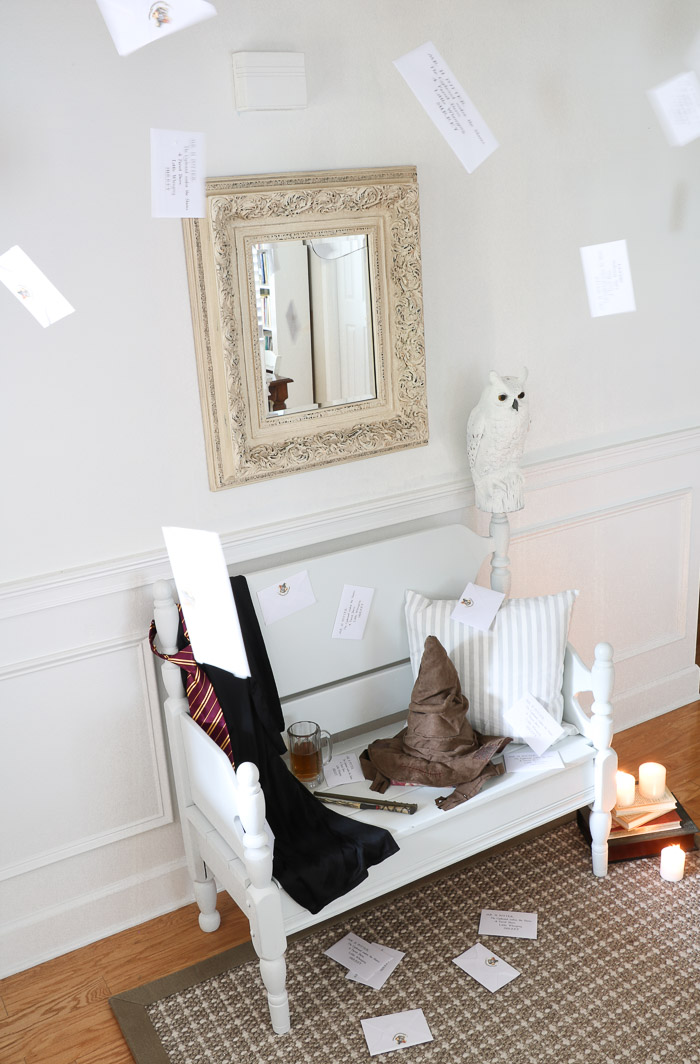
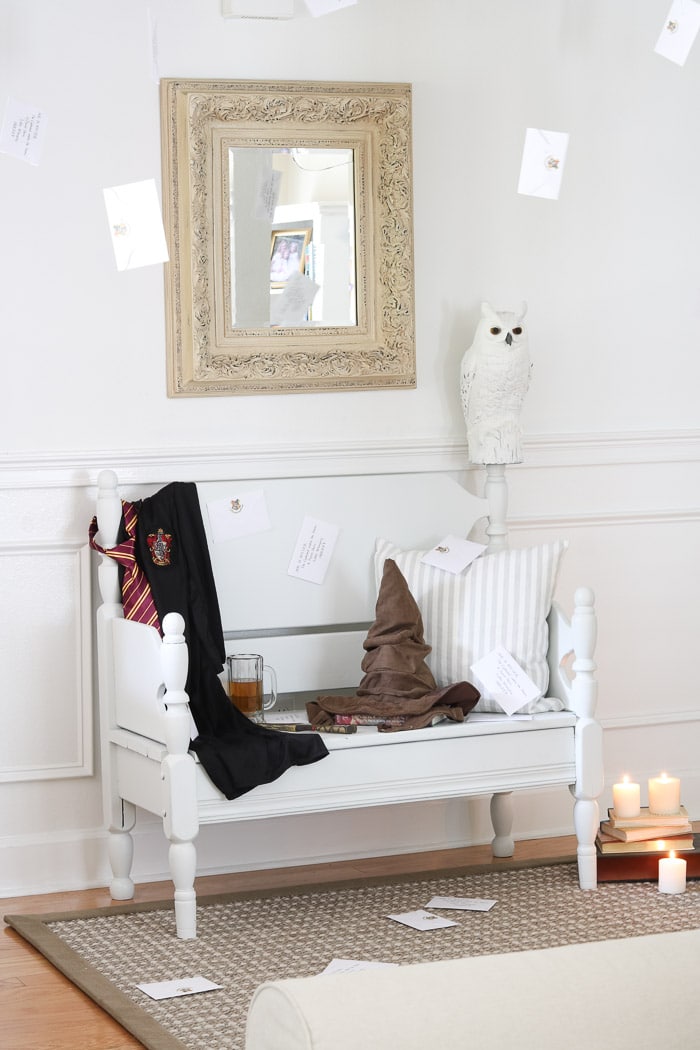
Now that we have all the flying Hogwarts letters in place let's start decorating the entryway. Surprise your guest with a Harry Potter celebration this year after transforming the room with these Harry Potter Halloween decorations.
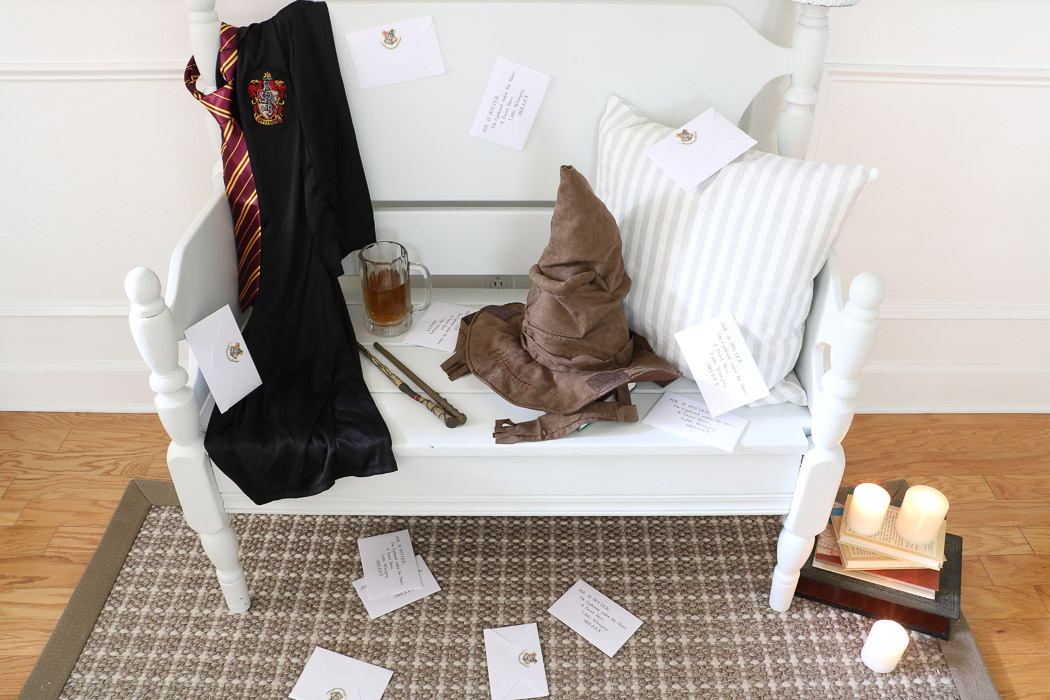
We are going to recreate some of the movie, The Sorcerer Stone moments with a sorting hat, flying letters, Albus Dumbledore free printable, Harrys' Hogwarts uniform, house of Gryffindor rob, tie and wand too.
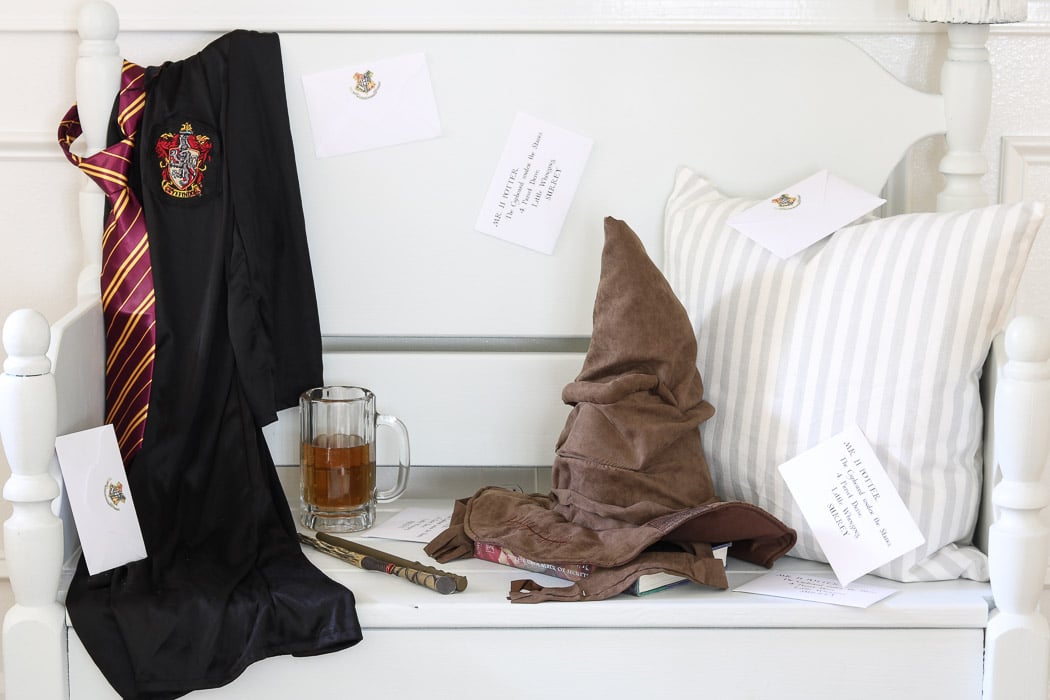
Hogwarts bench decorations
There are so many items to accessorize with for a Harry Potter celebration for Halloween. But with all those Harry Potter letters you need a good mail carrier.
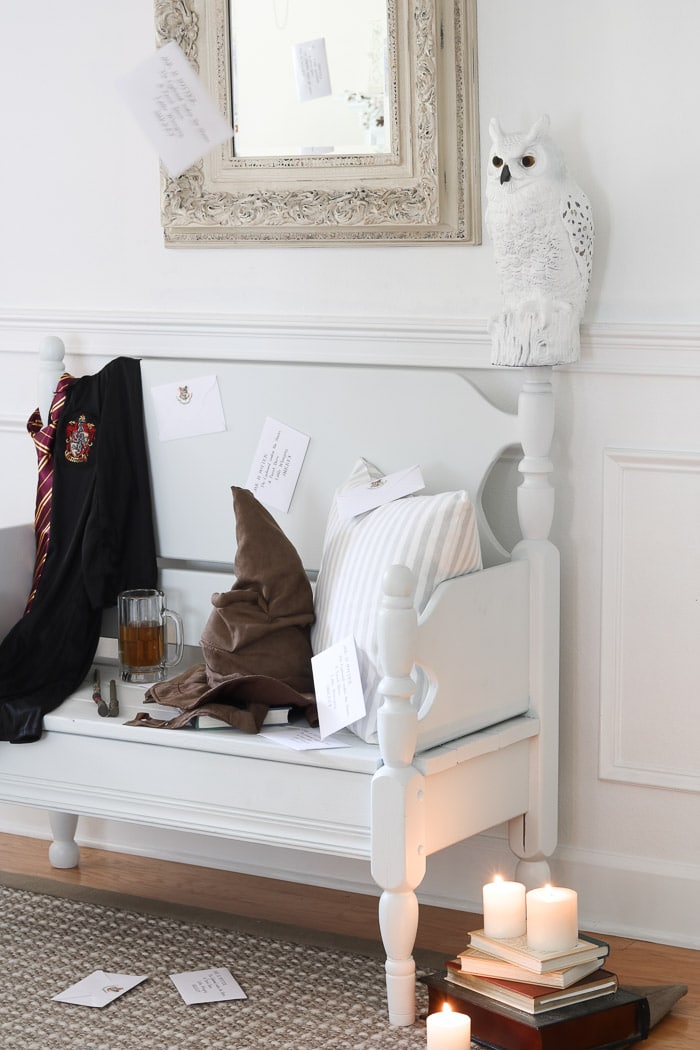
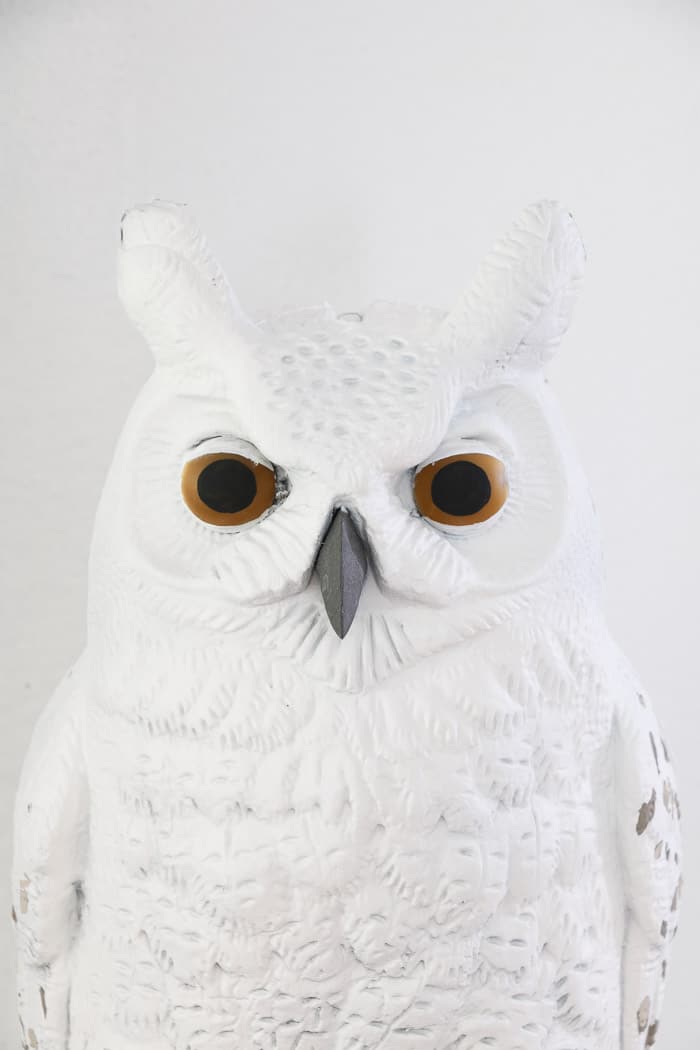
Meet Hedwig
Just how in the world did all those crazy letters make their way into the humble Privet home?
Well, by beautiful mail carriers like Hedwig, Harry Potter's owl.
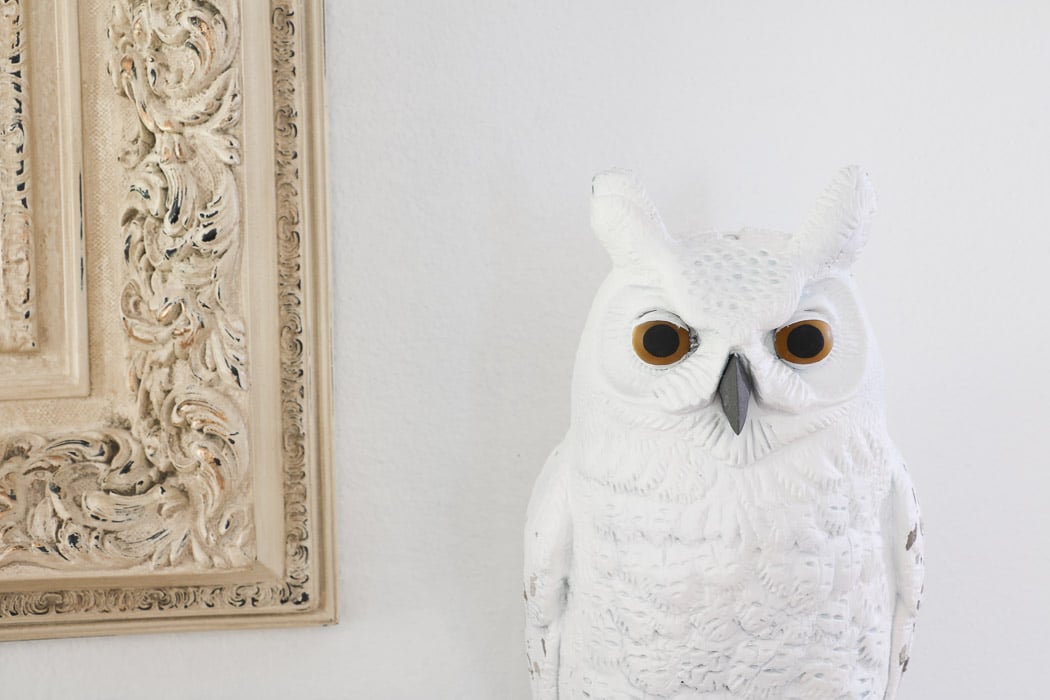
How to Make Hedwig Harry Potters Owl
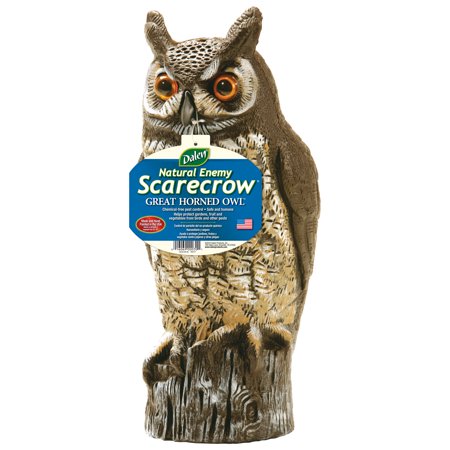
You are going to love how to make Hedwig because it is so easy. All you need are a few supplies and an owl decoy. Let's get started making Hedwig for your Halloween room decorations.
DIY Hedwig Harry Potters Owl
Let's start with the supplies to make Harry Potter's owl.
- Owl Decoy
- Kilz spray paint
- Crafting or artist paint brush
- Painters tape
- Dark brown acrylic paint
- Dark brown acrylic paint
- Black acrylic paint
Plastic owl decoy
To create your own Hedwig merely go to any store and purchase a plastic owl decoy that is used to deter other birds.
Painters tape
Once you have this charming creature in your hands, use some painter's tape to cover his eyes and beak.
Then spray-paint him with some Kilz paint in the color white just like Harry Potter's owl in the movie.
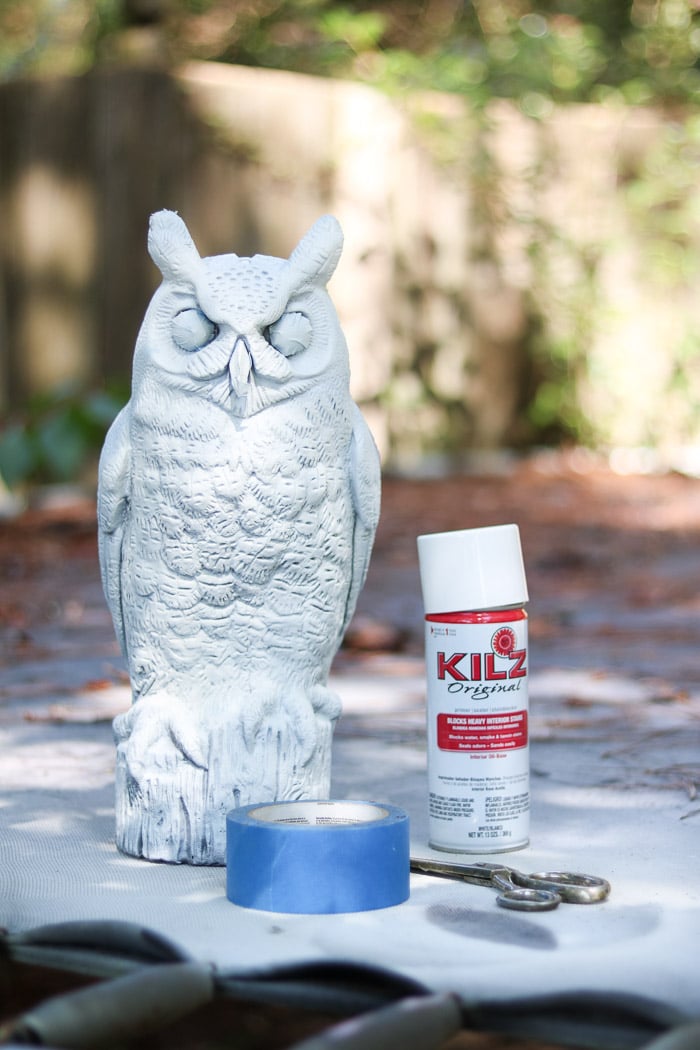
Spray paint
Next, paint the owl with Kilz spray paint that is white. This is a quick way to turn the owl into the white color of Hedwig.
It is okay to leave some browns showing through in cracks here and there but for the most part, give him a good spray of white paint.
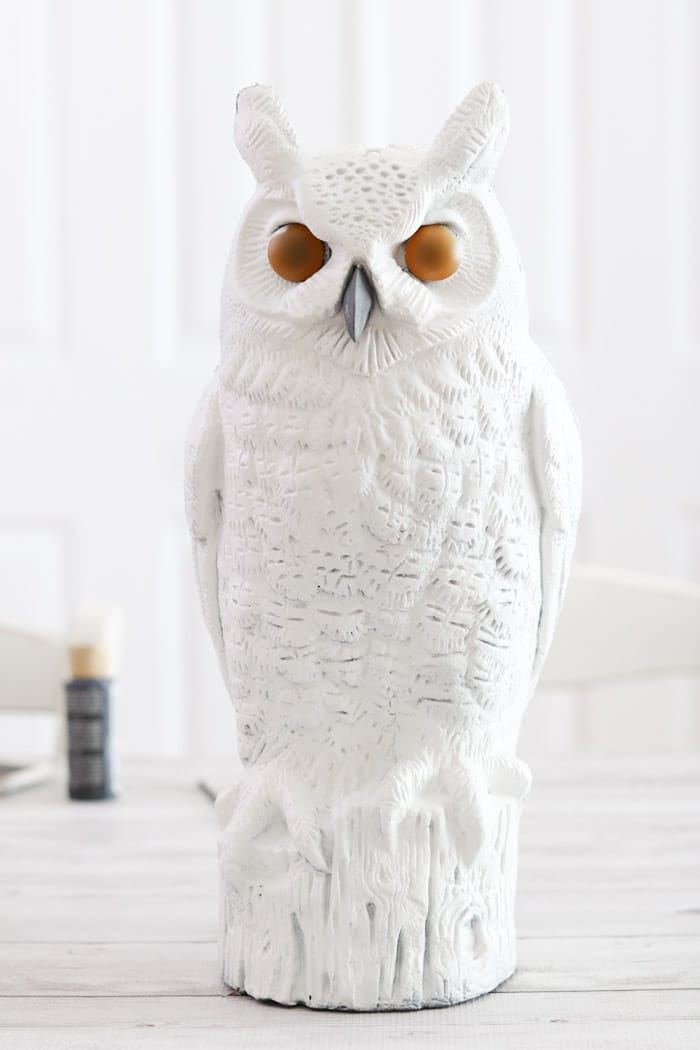
Add markings
Give Hedwig his markings with some acrylic paint.
This mail carrier has some darker brown and lighter brown marks on his wings, so gently apply for his trademarks back to his sides.
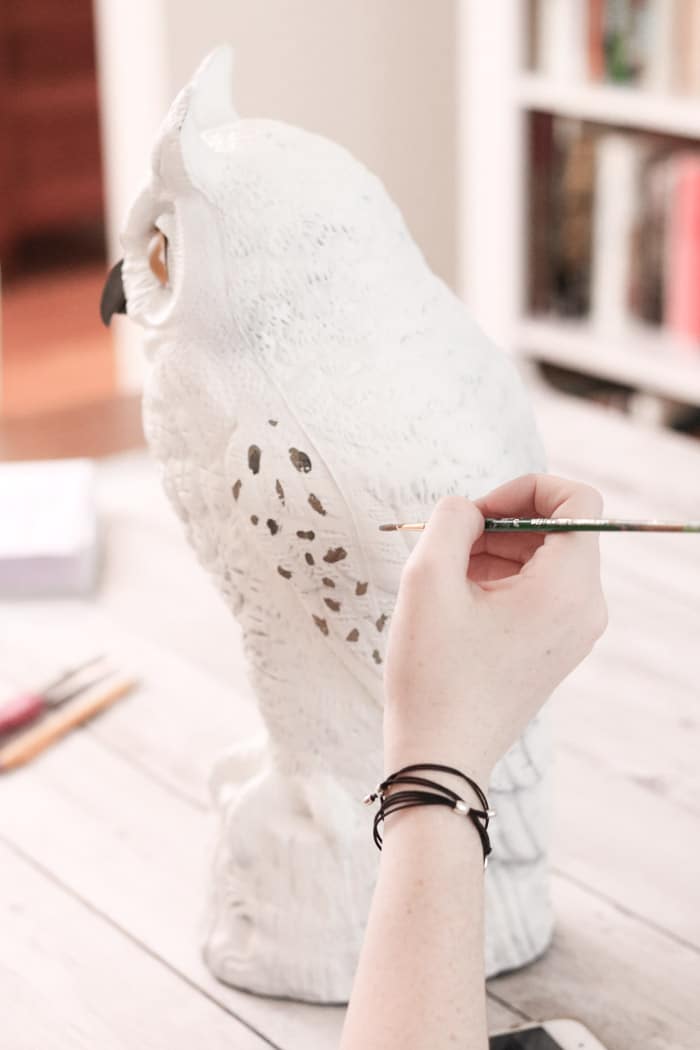
Then work on his eyes by applying some white towards the top to give his eyes a more oval shape just like Harry's owl.
Then paint the pupil, and you're finished with Hedwig.
Placing Harry Potter Halloween accessories
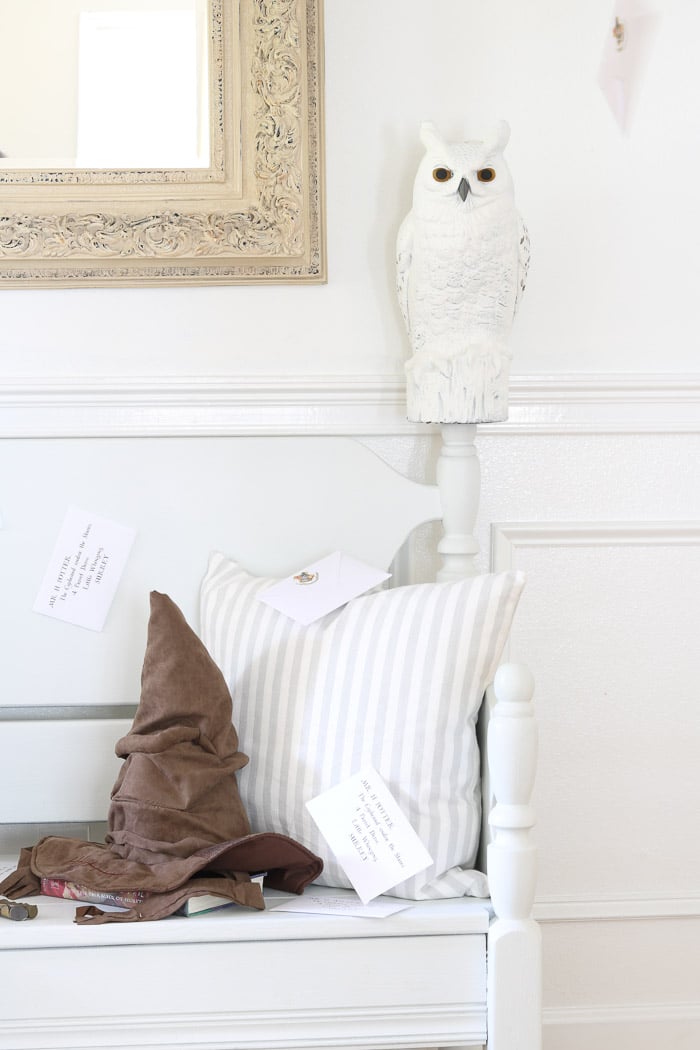
Hedwig
Next, find a home for Hedwig on the bench, and let's take the Hogwarts Express to school.
Harry's rob and wand
But before we can get off the train, Harry needs his rob which can is on the bench along with his Ollivander wand.
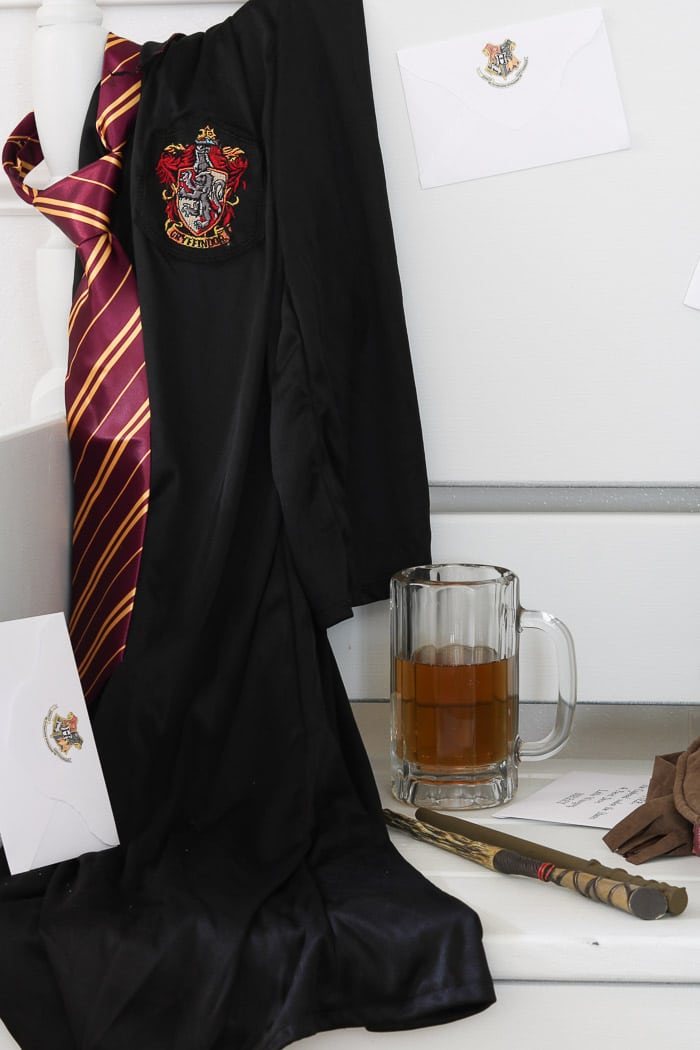
Are you starting to get into the mood like I am now?
Butterbeer
Okay, so while you are creating this Harry Potter Halloween design pour yourself a butter bear and place it next to Harry's rob and such. And enjoy some butterbeer while you are working.
It will get you more and more in a magical mood.
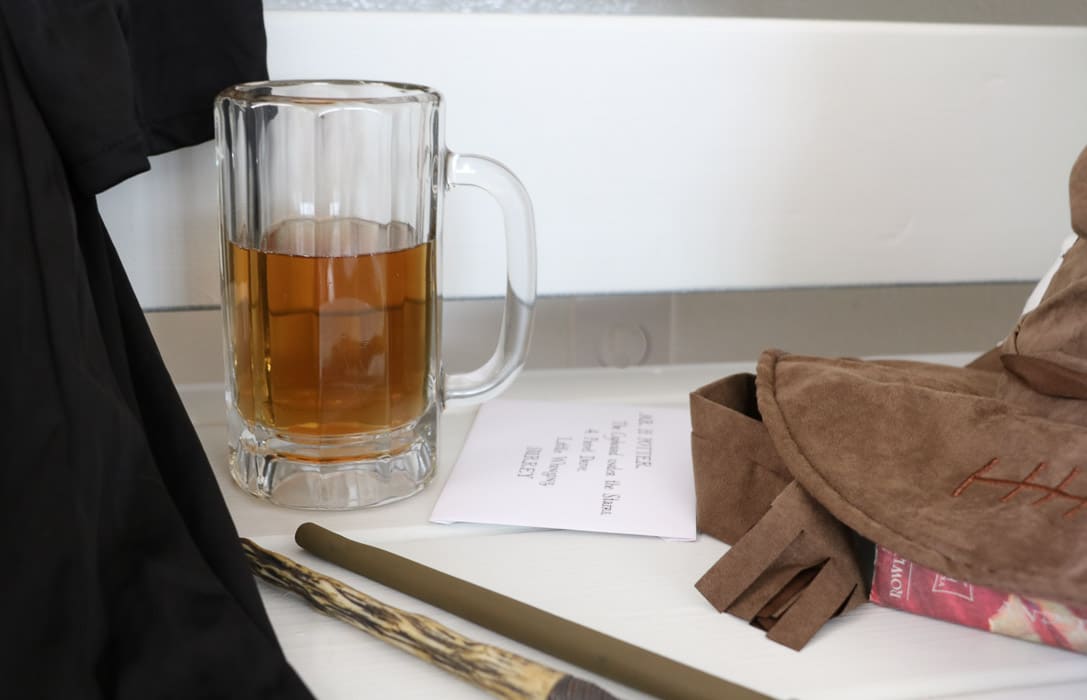
It is incredible how we pass through time in a matter of steps in this Harry Potter Halloween design.
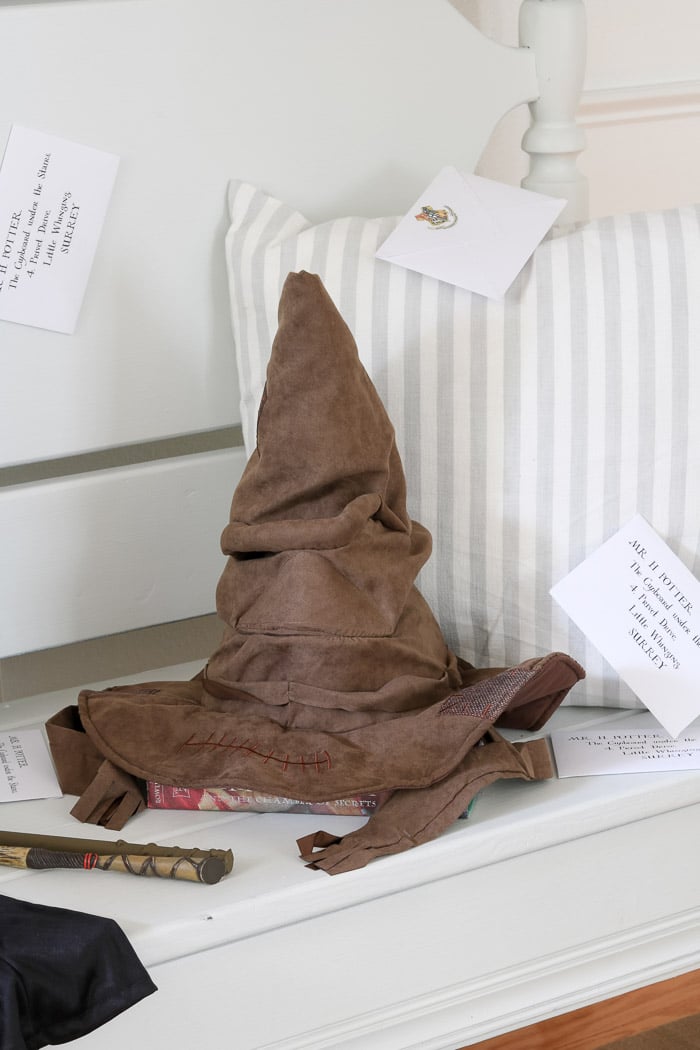
Sorting Hat
I came across this sorting hat toy at the store. It was just a thing this space needed.
So this sorting hat talks and helps guests find out what house is best for them.
Book of Spells and candles
Now we are almost finished.
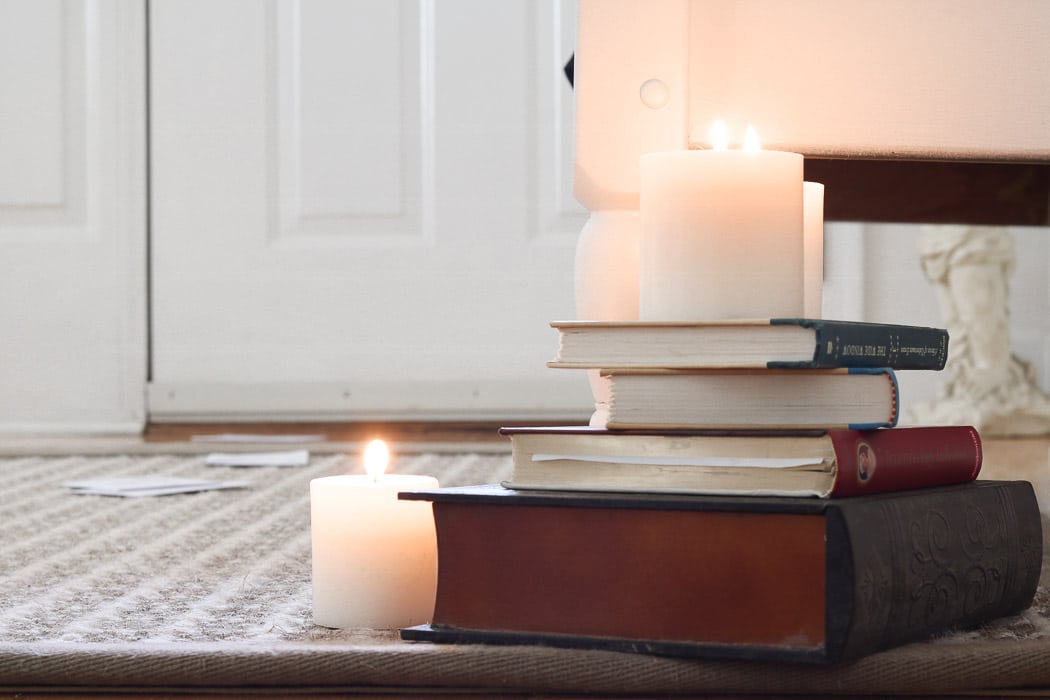
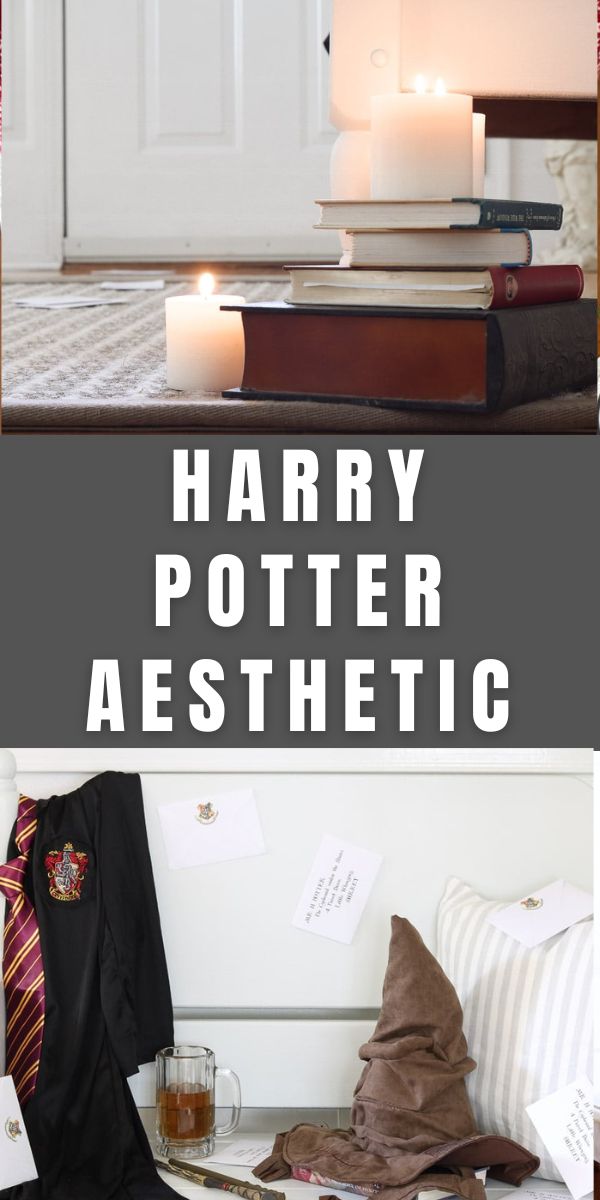
Add some books backward on the floor and place some candles to the design. It would be fun to add J.K. Rowling Harry Potter books. The books balance the floor area with the middle and upper regions of the space.
Envelopes
Last, sprinkle some more envelopes on the floor, bench, and tape some to the bench or walls.
Now your room is almost complete.
Harry Potter Free Printables
With so many beautiful moments in the movie, we couldn't leave you without some Albus Dumbledore wisdom.
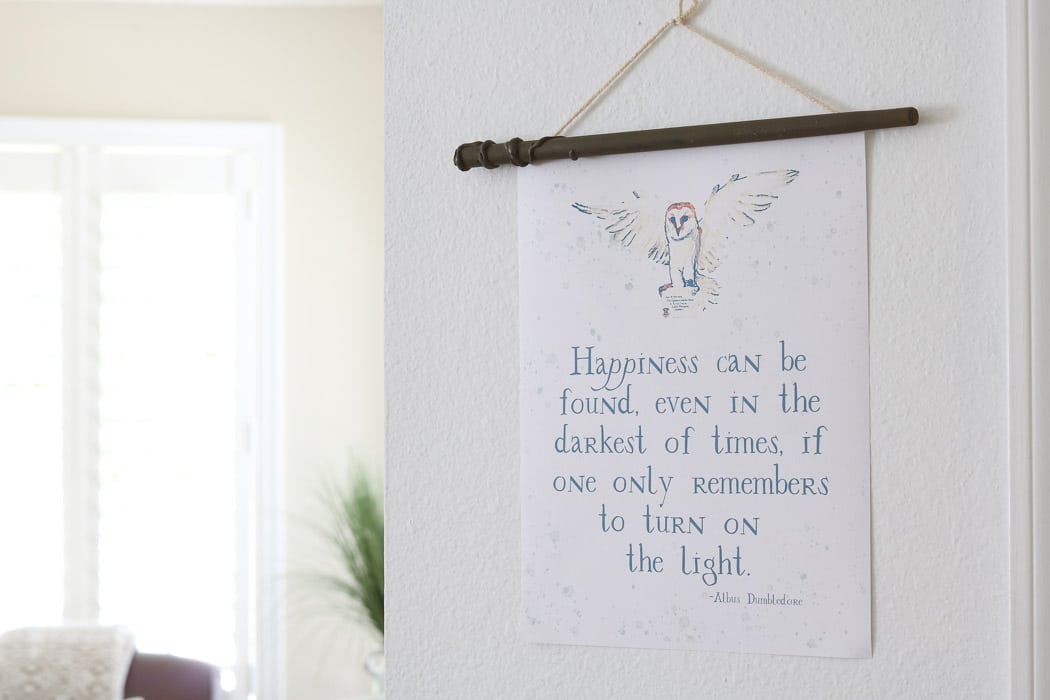
So we created a Halloween free printable to hang in your space.
We also have a tutorial coming soon on how to create your wands and hang you're free printable too.
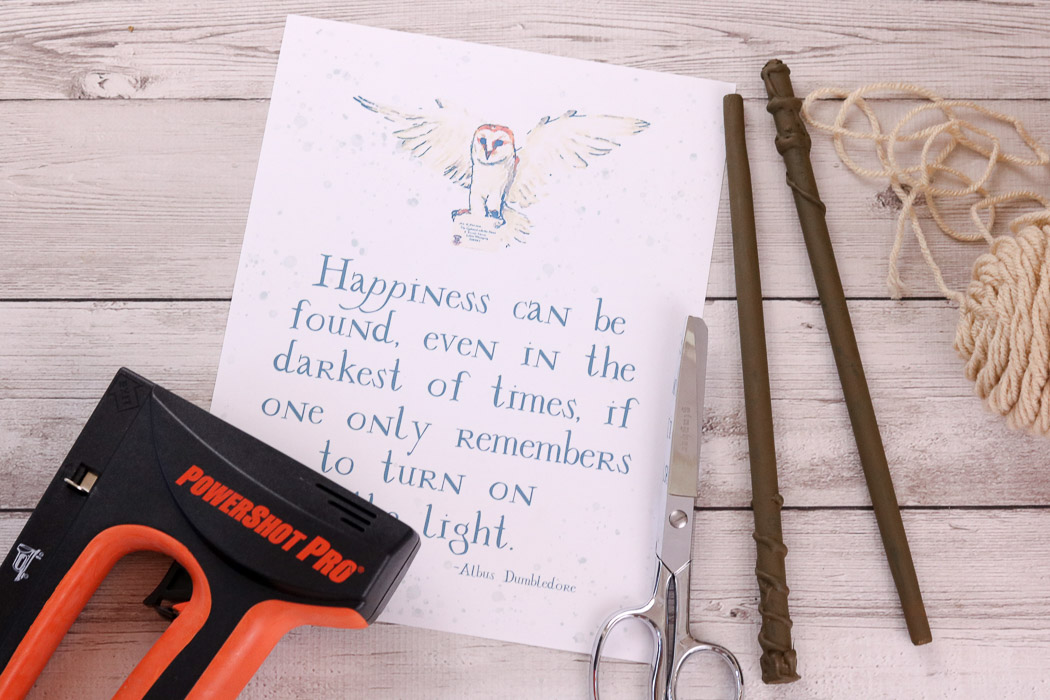
But if you are dying to see some of our free printables now then click HERE to see all the goodies in the library.
Conclusion
Now that you have a place for all those moments from The Sorcerer Stone it is time to invite some Hogwarts students, friends, over for a Harry Potter celebration. Add our Harry Potter Halloween table decorations and you have the ultimate Harry Potter party.
Pull out the movies, serve some butterbeer and let the magic begin. You have created the wizarding world of Harry Potter right inside your home.
Wouldn't this make a fabulous Harry Potter birthday party! If you're looking for a more cozy vibe, check out my post on how to create a Harry Potter movie night in the burrow.
To recap what you will need to create this magical Harry Potter Halloween party see the list below.
- Harry Potter Hogwarts envelopes
- Hogwarts rob and tie
- Ollivander wand
- Sorting Hat
- Hedwig

I hope you have a Happy Halloween and enjoy decorating your muggle home. For more, not so scary Halloween decor ideas, check out our Country Halloween Decor and how to make witch broom too. The witch broom would make great little wizards flying brooms too.
Happy Decorating!

If you enjoyed these ideas, please sign up for emails, so you don’t miss out on more fun decorating tips and ideas HERE.

10 thoughts on “DIY Harry Potter Flying Letters Halloween Room Decor”