
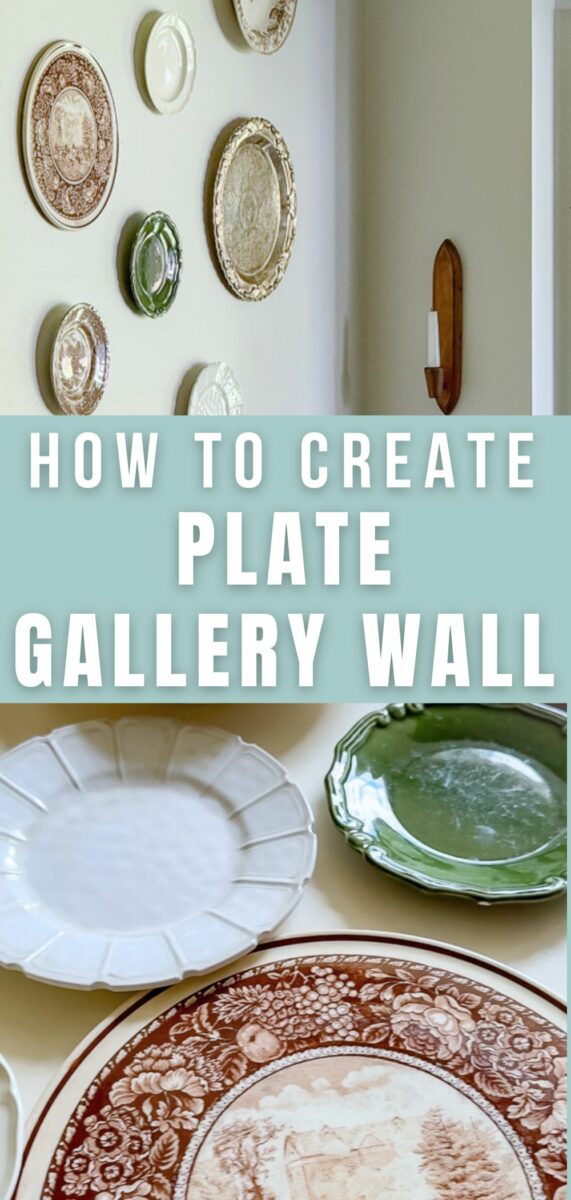
Have a stack of pretty plates you’ve been collecting and don’t know what to do with them? A plate gallery wall might be just what your home needs. It’s a fun way to turn vintage dishes into wall decor that feels cozy, collected, and full of charm.
Let me show you how we created one at my daughter Savanna’s house. She wanted a new look in her breakfast nook, and this simple DIY added so much personality to her space.
But before we dive into how to create a plate gallery wall, here are a few tips on curating a collection of new or vintage plates.
How to Choose Plates and a Color Scheme for Your Plate Gallery Wall
Before you hammer anything into the wall, take a moment to think about your style. What kind of look are you going for? Cozy cottage? Classic farmhouse? Elegant and vintage?
Start by picking a color scheme that ties everything together. You don’t need all your plates to match perfectly, but having a few colors in common will help the wall feel intentional.
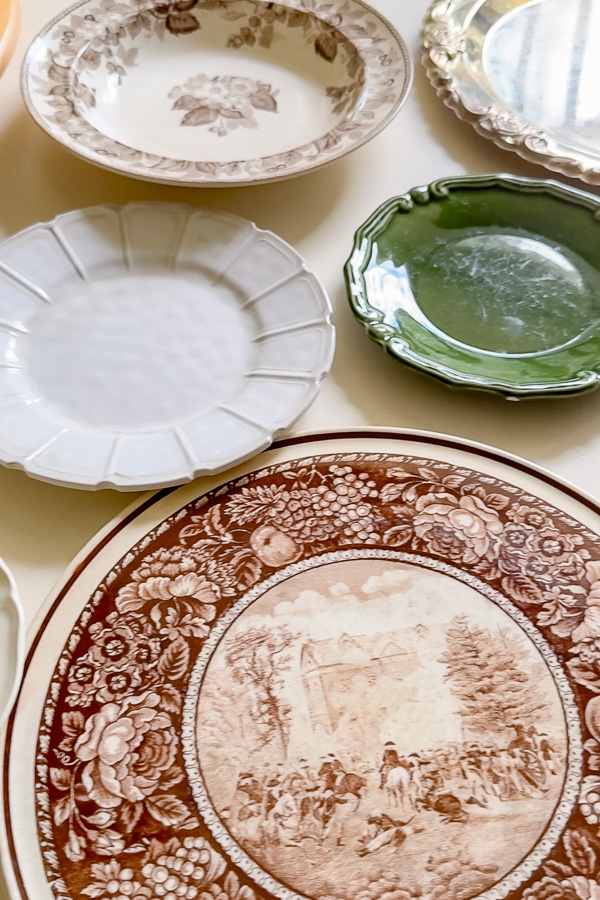
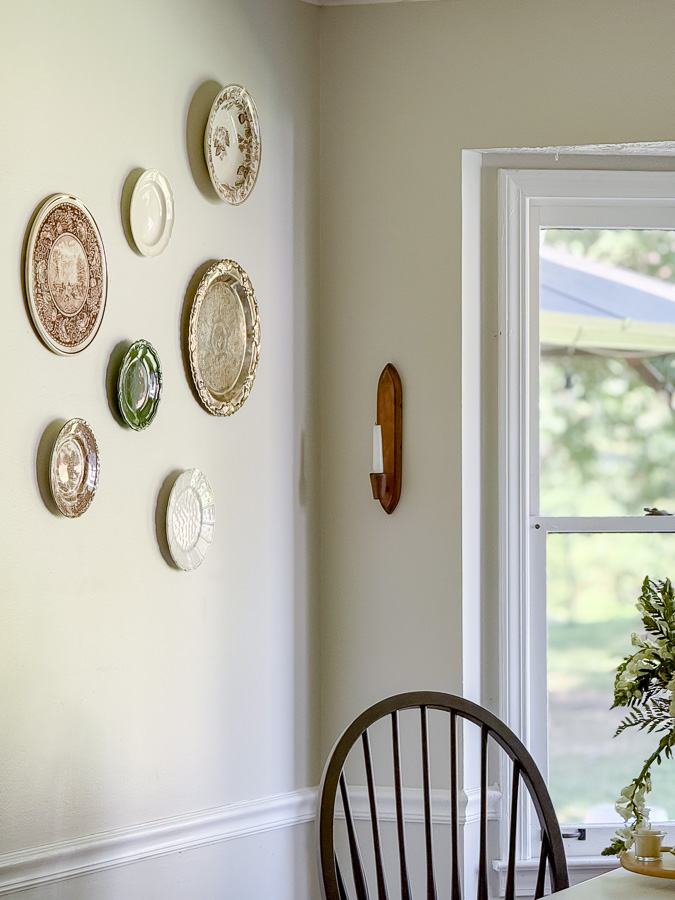
Savanna chose warm browns, soft greens, and creamy white vintage plates. Some were ironstone, others were china, and a few had delicate patterns that added charm. You can do the same with:
- Blue and white transferware for a traditional look
- All white ironstone for a clean, cottage feel
- Pastel florals for something soft and feminine
- Mixed metals and silver trays to add a little shine
- Or a mix of black and white plates for contrast
Look for different shapes, sizes, and textures. Mixing in a larger platter, a small plate, or even a silver tray gives your wall more dimension.
Keep your eye out at thrift stores, estate sales, or your own cabinets. Pull out anything that fits your color palette or adds a special touch. Even a family heirloom can become a beautiful decorative element.
Once you’ve gathered your favorite plates, it’s time to pick the perfect wall.
Ready for 100 More Decorating Ideas?
Over the years, I’ve gathered so many ideas beyond what I can share in one post. That’s why I wrote Vintage Nest — a collection of 100 thrifted, vintage, and antique finds with decorating tips for every room.
How to Plan and Hang a Plate Gallery Wall
A plate gallery wall is a lovely way to bring charm and personality into your space. It works beautifully in a dining room, kitchen, living room, or even an entryway or hallway.
Before you start hanging, gather your dinnerware and test a layout. Savanna used dinner plates, dessert plates, bowls, and a larger platter for a collected look.
Lay your plates out on a large table or the floor. Arrange and rearrange until it feels just right. Think of your plates like artwork. You want your eye to move around the design.
Once you're happy with the layout, take a photo with your phone. This makes it easy to remember what goes where when you're ready to hang them.
Step 1: Pick a Spot and Gather Plates
Start with a blank wall that needs something special. Plate walls look beautiful above a dining room table, next to a doorway, or even going up a staircase.
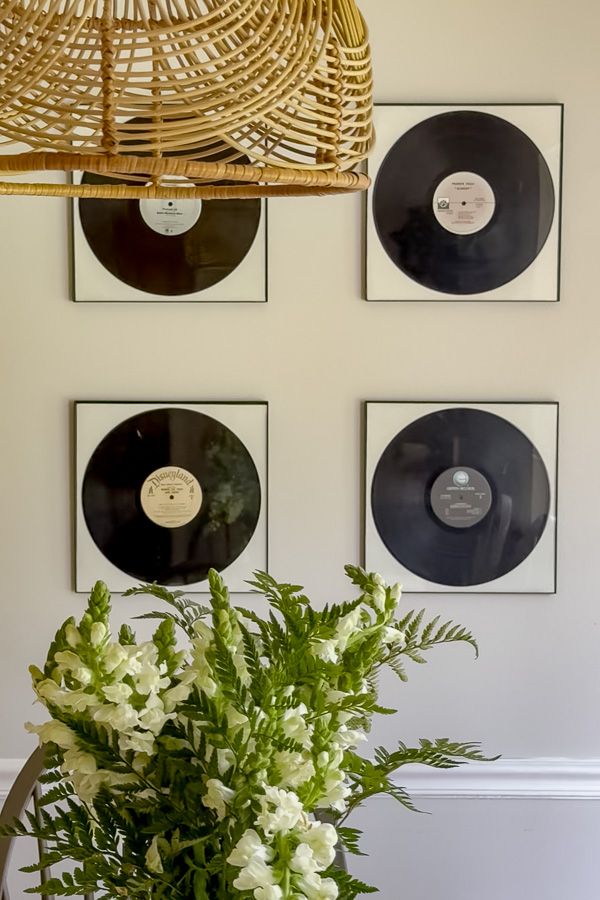
In my daughter's house, she wanted to replace the records on the wall with plates. Here is the before photo.
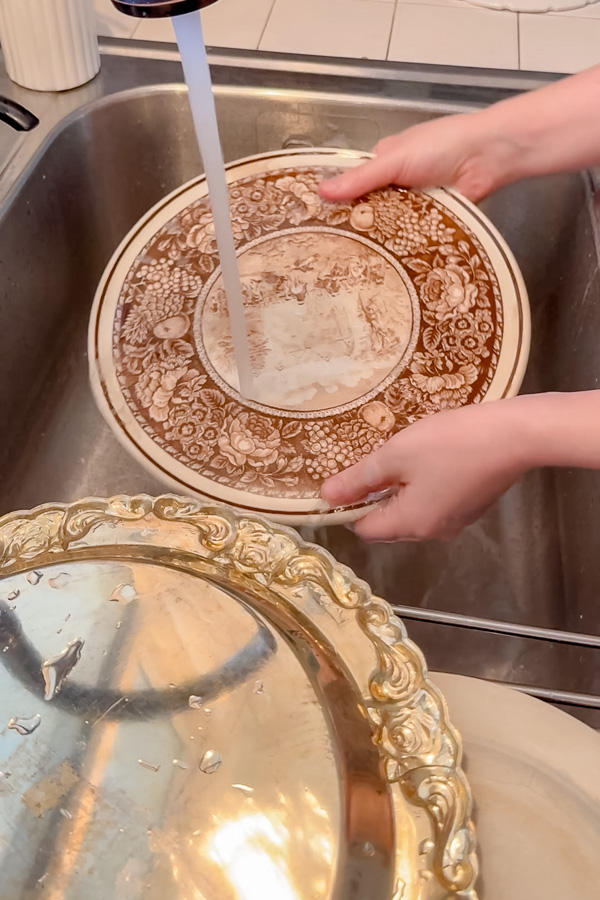
Step 2: Clean and Prep the Plates
Wash the backs of the plates with hot water and a little dish soap. Dawn dish soap is great because it removes any grease residue. Remove any stickers or leftover residue. Let them dry completely before moving on.
Step 3: Apply Adhesive Discs
We used invisible plate hangers called adhesive DISCS. These are perfect for keeping your hangers hidden so the plates look like they’re floating.
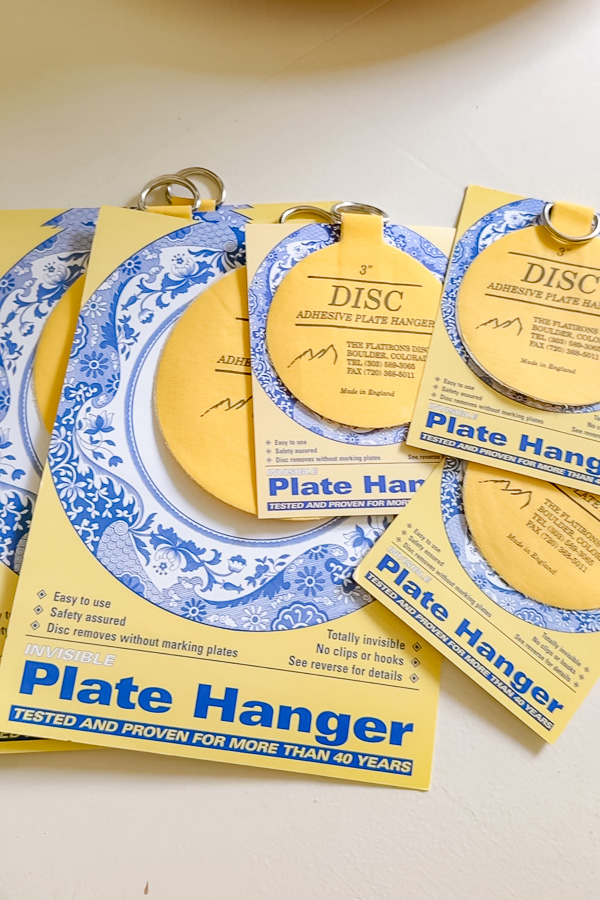
There are many other options for hanging plates that I will share soon.
If you’re going with these DISCS, here’s how we used them.
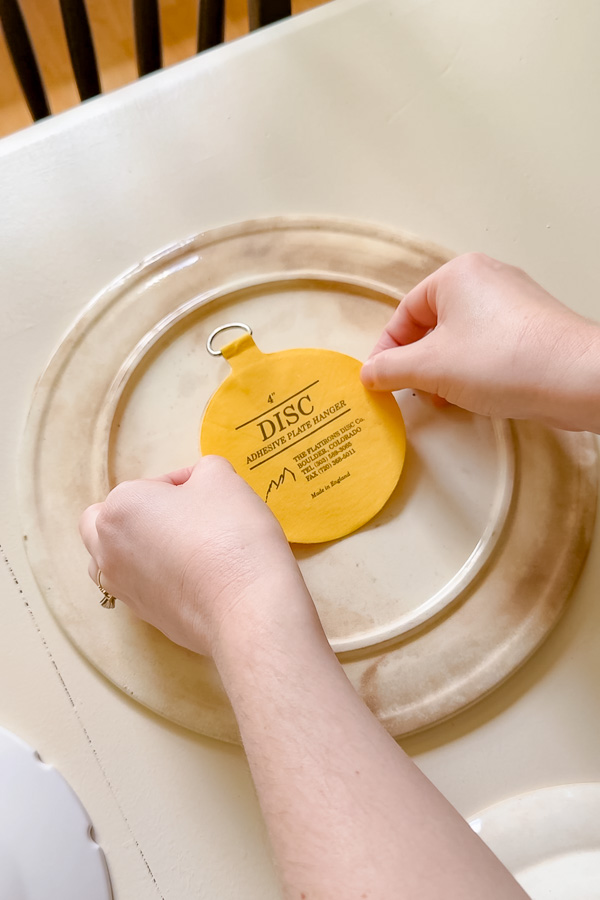
Rub water onto the back of each disc like finger painting. Do this for about a minute, then let the disc rest for five minutes. Rub again with water for a minute and let it sit for 2-3 minutes.
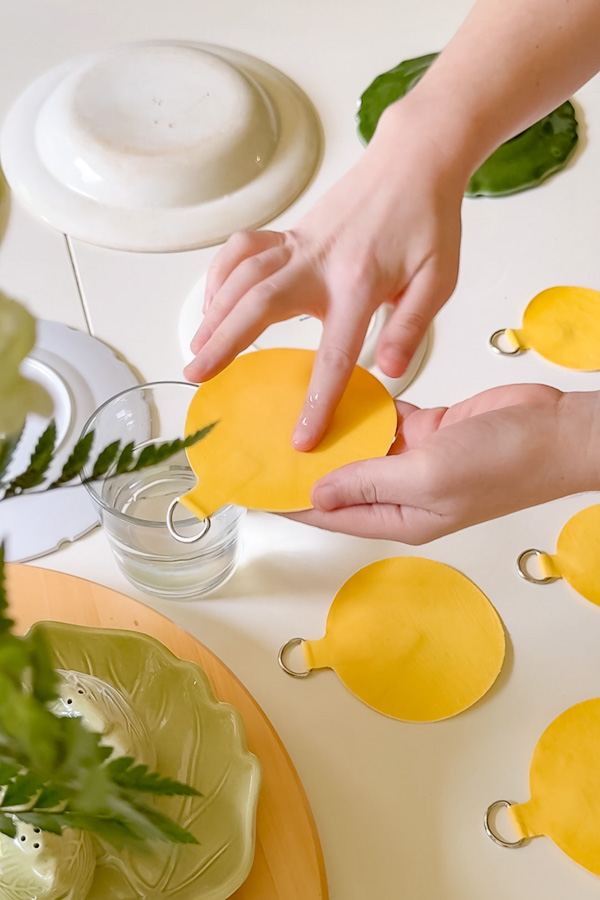
Next, press it onto the center back of the plate. Make sure your design is pointing in the right direction.
Smooth out any air bubbles with your fingers or an old credit card.
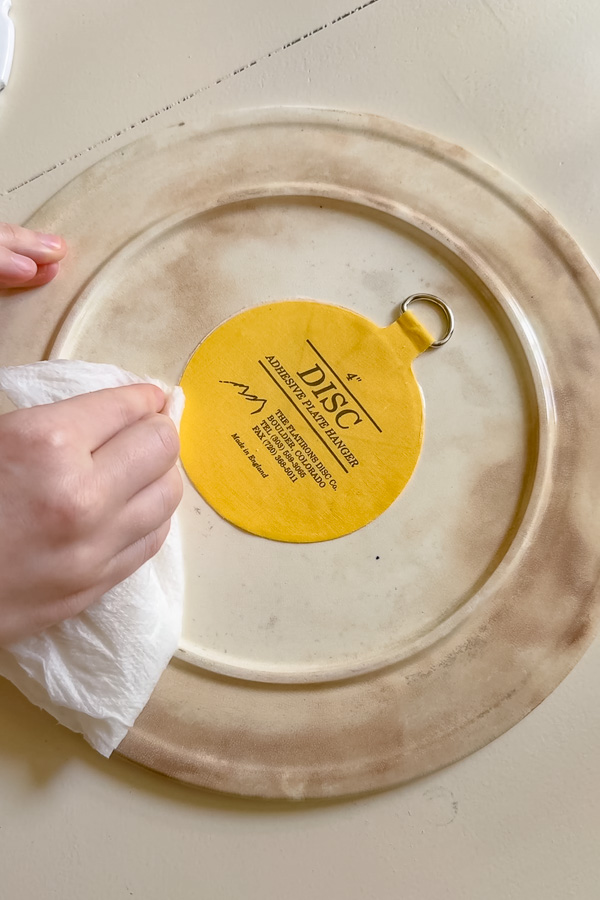
Use a damp paper towel to wipe away extra glue. Let everything dry overnight.
Note: These DISCs worked beautifully. I read reviews where people said it didn't work for them, but I think the important thing is to follow the directions and wait a day or two before hanging. It is essential to let the glue dry well.
Step 4: Hang the Plates on the Wall
Use a pencil and measuring tape to mark where each plate will go lightly. We started with the top middle plate and worked out from there.
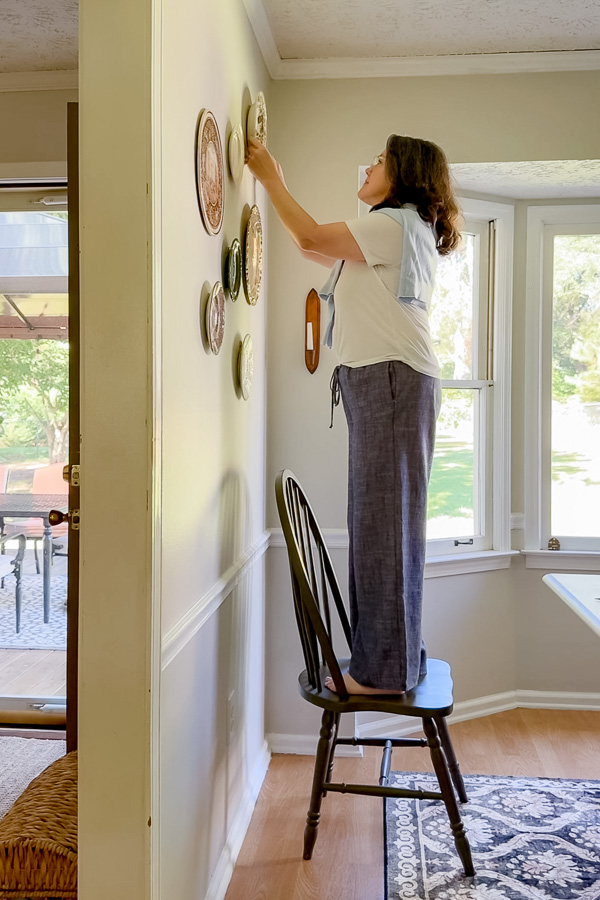
Gently tap in a small nail or picture hook where you’ve marked the spot. Then hang your plate and step back to see how it looks. Continue with the next plate nearest the one you just hung.
Keep adding plates to your wall until you have them all hung. We used double-sided tape to help hold some of the plates in an upright position if they were not hanging perfectly straight.
Hanging Tip: If you prefer a plan, cut out paper circles the size of your plates, label them (like “green plate” or “brown scene plate”), and tape them to the wall. Rearrange until you like the layout, then hang your plates using those as a guide.
Designer Tip: Go Asymmetrical
Savanna’s wall isn’t perfectly lined up, and that’s part of what makes it special. Don’t be afraid to create an asymmetrical layout. It leaves room to add more new plates over time and gives your wall more personality.
Where to Use a Plate Gallery Wall
This DIY works in so many places. Try it in a:
- Dining room
- Living room
- Entryway
- Kitchen
- Over a console table or open shelving
- Even in unexpected spaces like a bathroom
Pair With Other Gallery Wall Projects
Pairing plates with other wall art ideas can create a fuller, more layered look. If you enjoy gallery walls as much as I do, you’ll love my post on the art of hanging art, which includes layout tools, tips for using masking or painter’s tape, and ideas for mixing plates with framed art and mirrors.
You might also enjoy learning how to print and frame large printable art for your home. It’s perfect for combining with plates or even using paper templates to experiment with placement before hanging anything.
Final Thoughts
There’s something special about turning everyday dishes into meaningful wall decor. Whether it’s your grandma’s best china or a handful of thrifted treasures, a plate gallery wall is a beautiful way to add charm and tell your story.
The best part? You don’t have to finish it all at once. Start small and let your collection grow over time. Each new plate adds to the character and makes your home feel even more personal.
Happy Decorating!
