
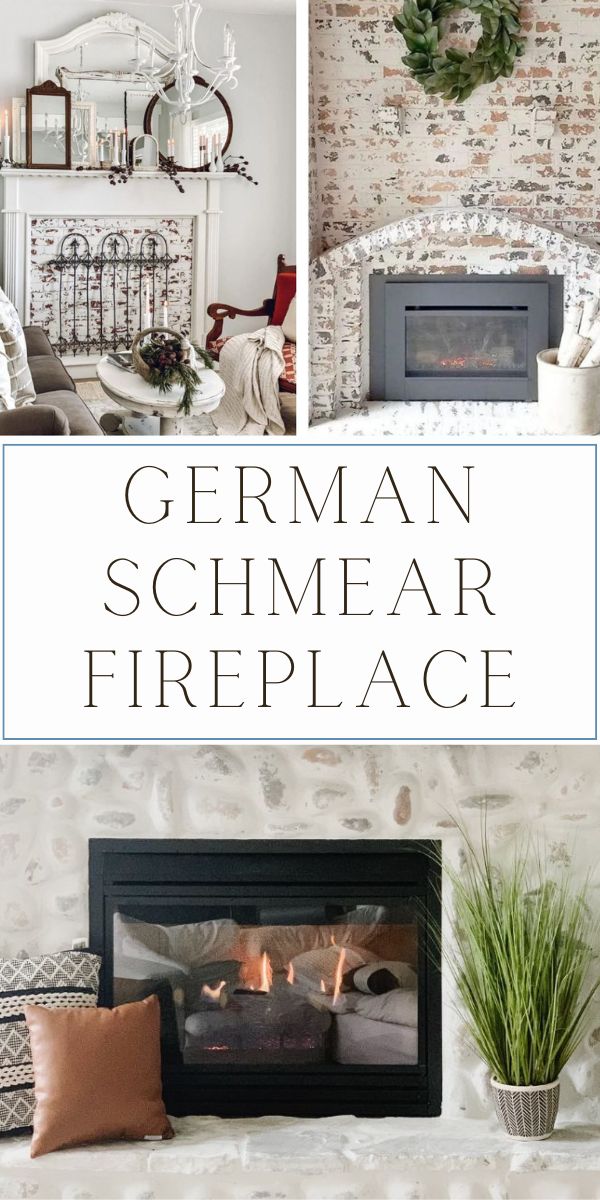
Do you love the look of old European brick and stone cottages? If so, then you will like the look of German schmear. One of today's hottest design trends, we will talk about what German schmear is, how to get the German schmear look, and German schmear fireplace ideas.
Years ago, I wrote a post sharing fireplace makeover ideas, and german schmear was one of the examples. I was surprised at how many people were interested in this vintage look technique, so that post has inspired me to dig deeper to learn more and devote a post to this technique along with German schmear fireplace ideas.
German Schmear
Before we look at fireplace ideas and get into the nitty-gritty of this topic, let's begin by discussing all the ways this technique is spelled.
In my quest to research, I came across these spellings — german smear, german spread, german shmear, german whitewash, german wash, german mortar schmear, german mortar wash, and german schmere. If you see any of these spellings, they are probably talking about this gorgeous technique.
Okay, now that we got that out of the way, let's talk about what is German schmear.
What is German Schmear
To sum up, what is german schmear, it is an old European weathered brick or stone look where diluted concrete mortar is applied to the brick or stone and removed while it is wet. This mortar wash technique is used on exterior and interior like walls and fireplaces.
How to Apply German Schmear
I have painted a few brick and stone fireplaces in my day but, honestly, I have never used the German smear technique. But I did purchase all the supplies and applied them to bricks I had in the yard.
Now I want to do a fireplace. This is a great way to change the look of your exterior, fireplace or interior brick walls.
I have a post on how to paint a brick fireplace, and if you are looking for solid coverage, then this is what you want, but if you want a weathered vintage look where some of the brick and stone show through, then keep reading.
The German schmear technique is simple but time intensive and may take a little practice to get the consistency right. After all my research, here are steps to applying German schmear to brick or stone and a list of supplies.
German Schmear Supplies
- Mortar mix (I am using grey for my project, but many people in this post used white mortar mix)
- 5-gallon bucket
- Drill mixing attachment
- Drill
- Grout sponges
- Heavy-duty piping bag
- Rubber gloves
- Painters paper
- Painters tape
- Trowel
- Bucket of water
- Ladder
How to Apply German Schmear to Fireplace
- The first thing you want to do is cover the area around the brick or stone you want to german schmear with floor protection paper and tape it down with painter's tape.
- Mix 70% mortar mix to 30% water in a 5-gallon buck with a steel paint mixer that attaches to a drill (mix slowly to keep the mortar from flying out, then let it sit for 10 minutes).
- Next, mix the mortar again and then apply the mortar mixture in the joints using a heavy-duty piping bag (work in small areas)
- Then use a trowel to move the wet mortar mixture around and over the surface of the brick and stone.
- Remove excess mortar with a grouting sponge as much or as little according to the amount of coverage you want (rinse out the sponge as needed in the bucket of water)
- Remember to do this in small sections and remove the mortar quickly so it doesn't dry.
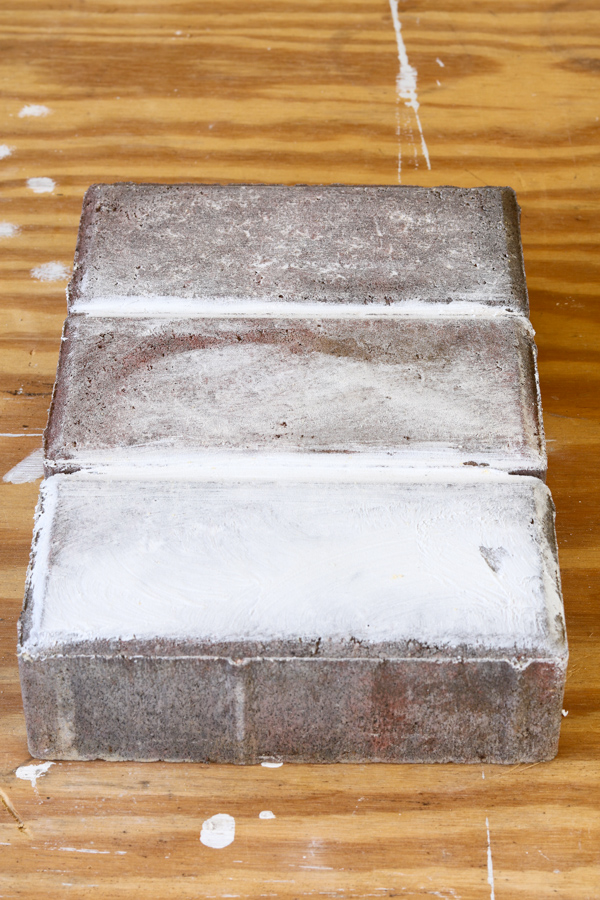
Here are photos where I tested cement mortar in a gray color and joint compound to red bricks. In my research, several people used joint compound instead of the traditional mortar mix, so I decided to do both, and I have the DIY in my YouTube video here.
At first, the mortar example was very gray, and I had doubts, but I loved the German smear brick the next day!
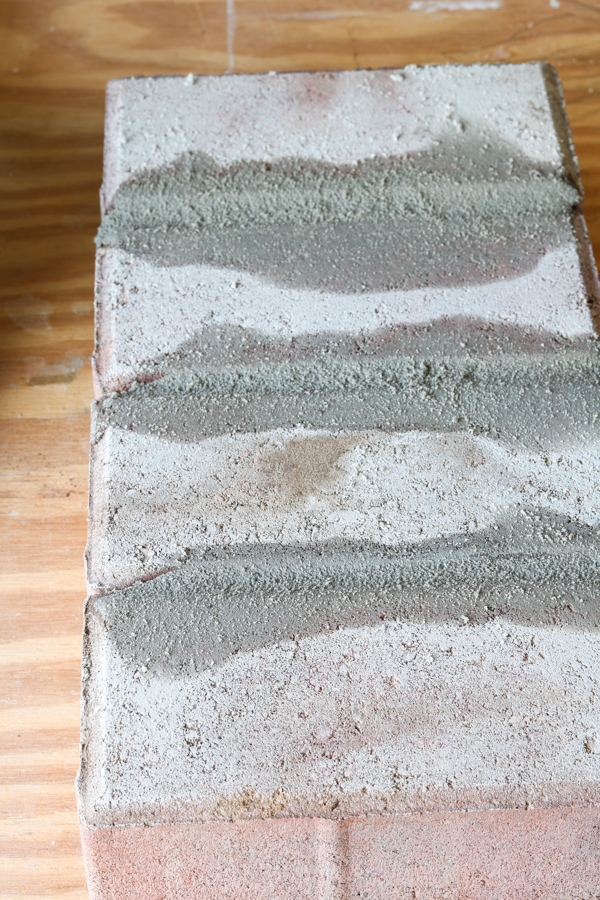
The joint compound technique seemed easier, and it turned out amazing too. But after thinking about it for a day, I realized the mortar mix wasn't that hard. You see, it was my first time mixing Quickcrete.
Now that I have done it once, it will be easier. I definitely would do it again, especially on the exterior.
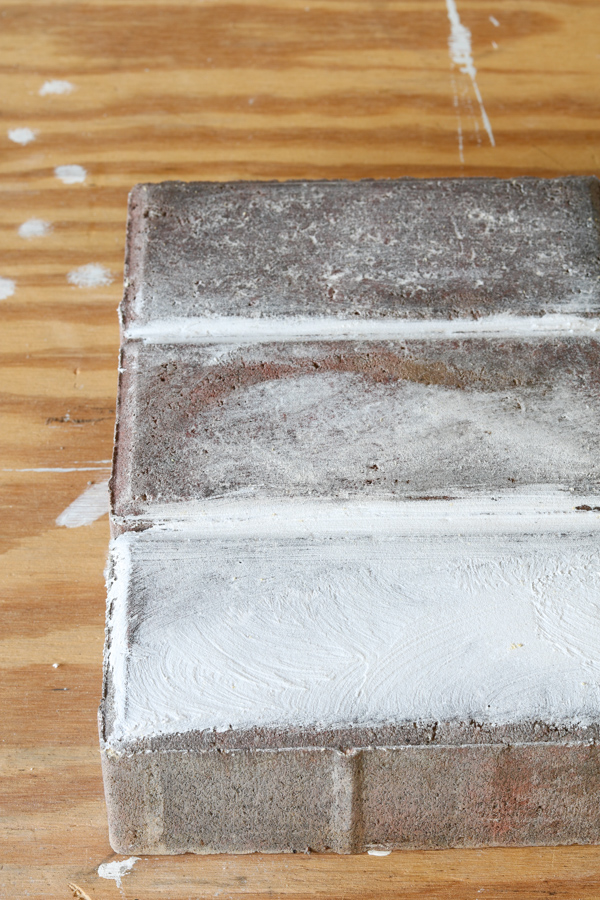
My Finished Product
Check out the final result. Look how pretty they both turned out after they were dry. Overall I think both techniques are great except for one thing. If using this technique on the exterior, I would do the mortar option because it is more durable than joint compound.

Project tips:
- Practice first: Make sure to practice on an area that is not noticeable or on something other than your fireplace.
- Other mediums: There are other mediums to use than traditional mortar. You can use joint compound or spackle to get the look, and they come out crisp white colored. However, for exterior, I would use a mortar wash.
- Secure tape: When taping around your fireplace, press down the edge so that mortar won't go under the tape. It also helps to use a wide 4″ tape if you only use tape around the edge on the sides and top. This is an easy step you don't want to miss.
- Permanent application: Remember, once mortar dries, it is permanent, so wipe away the mortar soon after you apply it to the masonry.
- Mixing the mortar: While working, you will need to mix the mortar from time to time.
- Two-people job: Several people have shared that having two people makes this project easier.
Now we know what German schmear is and how to get the look; let's look at some German schmear fireplace examples.
German Schmear Fireplace Ideas
First, let's look at brick fireplaces. I really feel this technique has such a beautiful old world look. It goes nicely with cottagecore, farmhouse, and vintage styles.
Remember when we were talking about the technique, and I said to test out how much German schmear you want? The best part about these German schmear fireplaces is the level of smear applied. This will give you a good idea of what you want.
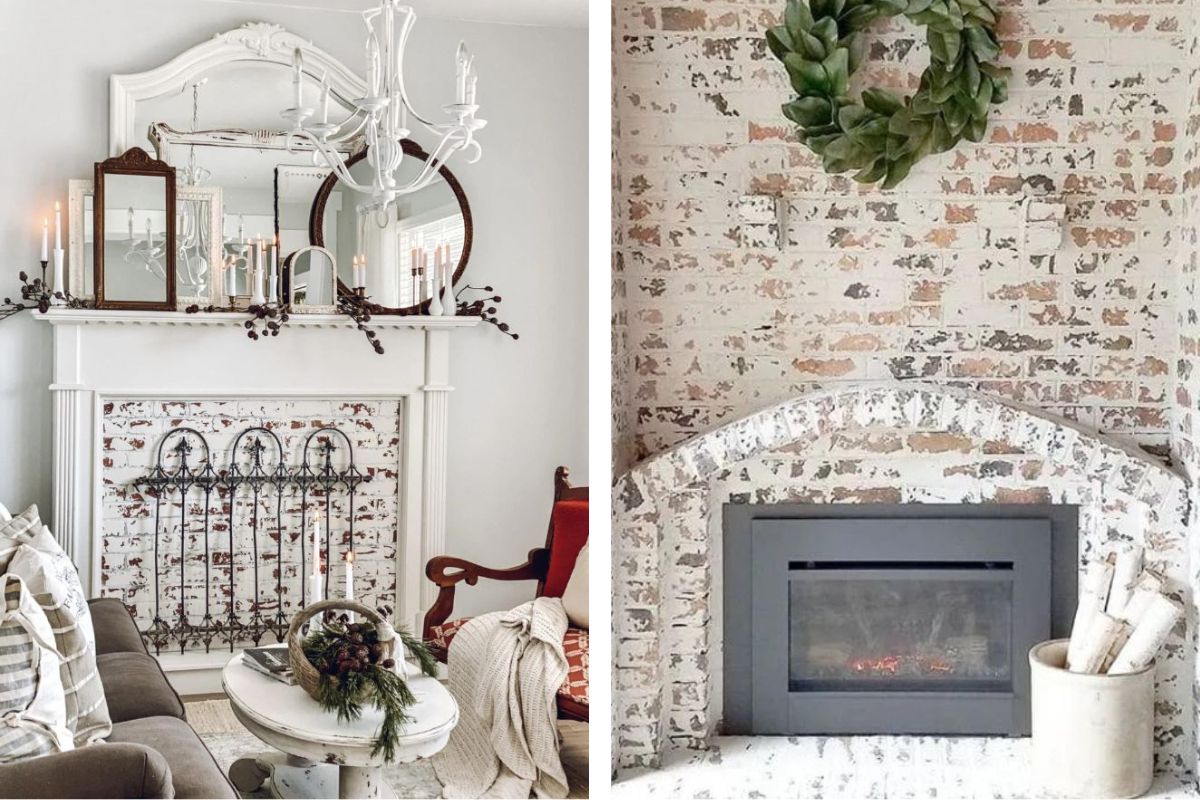
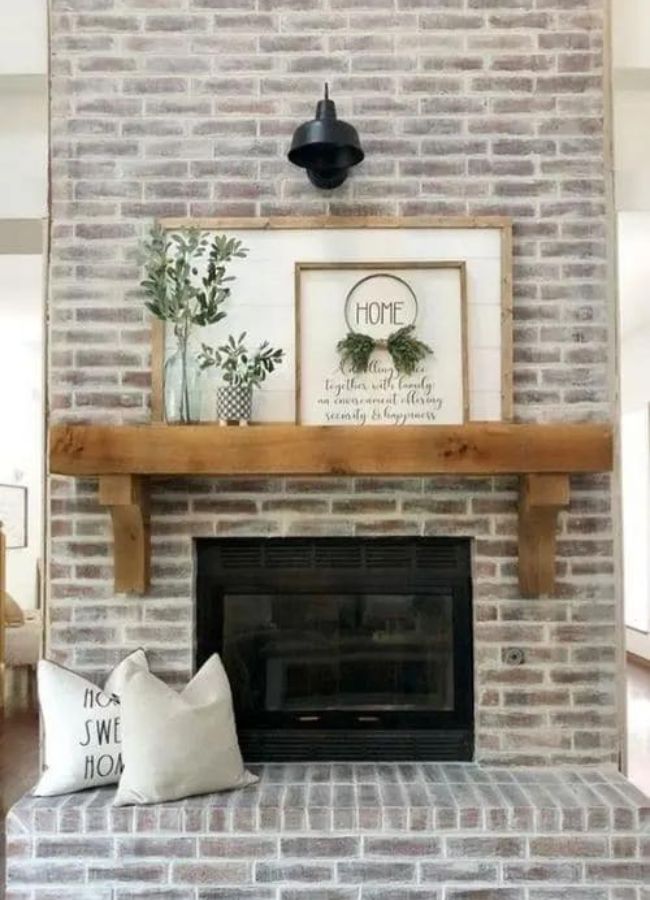
Traditional German Schmear Brick Fireplace
I love how this fireplace by Our Cozy Little MN Home turned out. The German smear fireplace has a heavy to medium finish, which gives it a beautiful finish that lightens it up and lets the color of the brick peek through.
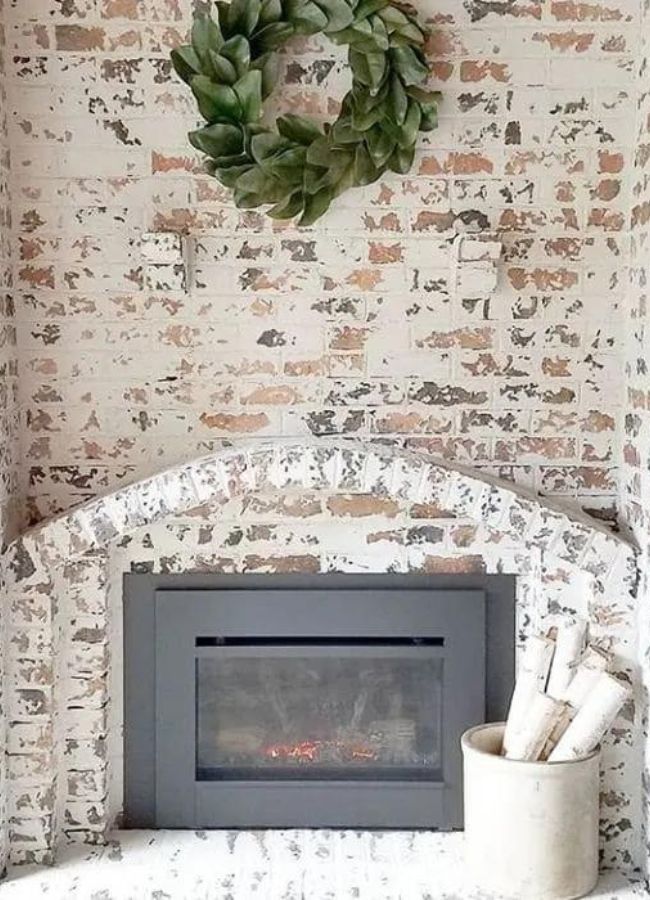
German Schmear Brick Mortar Lines
Another great example of german schmere is this old fireplace in a 1905 house. For this fireplace Design Central Project used joint compound instead of the traditional mortar mixture and focused on applying only in the joints, leaving a thin film over the bricks. Another gorgeous example!
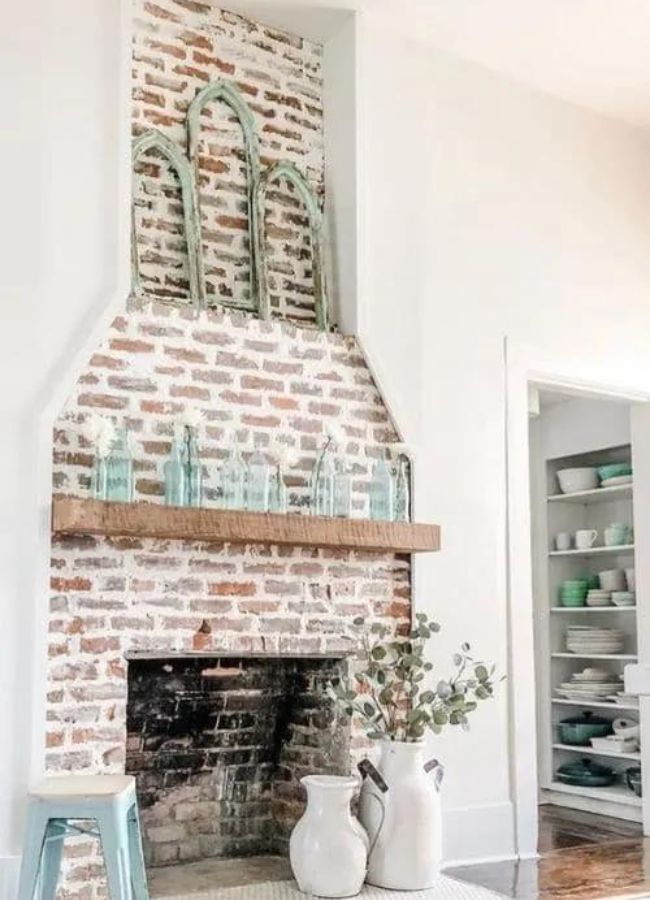
Light German Schmear Brick
The next brick fireplace example of german schmear is light coverage. Allie with MrsDIY on Instagram, applied a little mortar mixture to her joints and then spread it out over the brick surface to give a light wash of german schmear. This look can make your living room feel warm and cozy.
What a beautiful way to lighten your bricks and leave the brick color simultaneously!
German Schmear Faux Fireplace
Our last brick fireplace is by Emily at LeCultiveur. This is an excellent example of applying this euro vintage cottage aesthetic to a faux fireplace. Emily has all the details in her post DIY faux fireplace post.
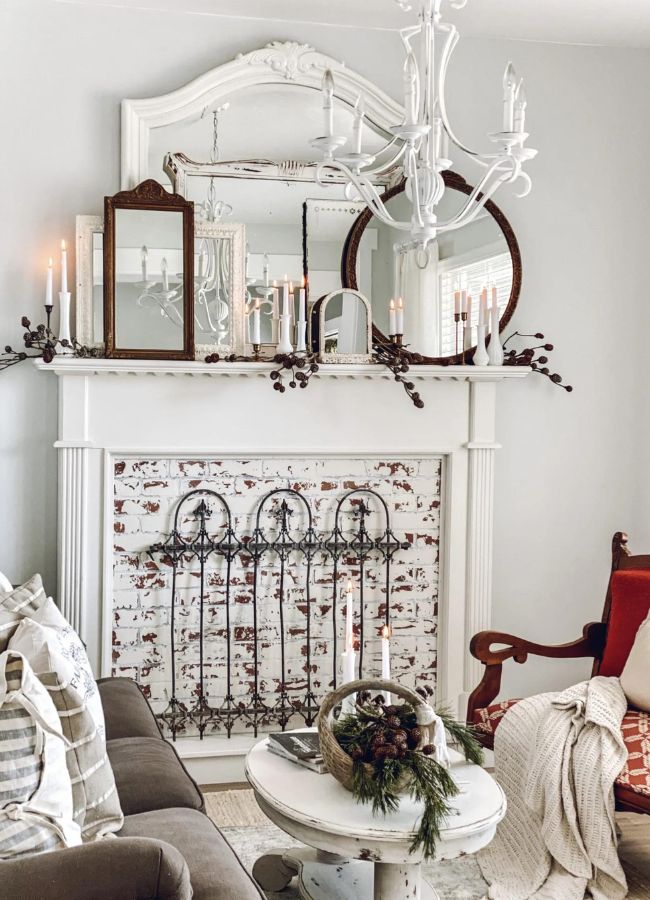
Her technique is different from the traditional application of a mortar mixture. She used spackle to achieve a German schmear on the red brick look, which turned out so pretty. Using joint compound is an excellent idea because it is less messy, and if you want your smear to be white, then spackle is a pretty bright white color.
See how many ways you can apply this technique to brick fireplaces. The amount of schmear you use is really a personal preference about how much coverage you want. You can do the same on the exterior of homes. Now let's look at examples of stone.
German Schmear Stone Fireplace
If you have a stone fireplace that needs brightening up, then german schmear may be just what it needs. Here are a few examples of adding this technique to your fireplace place facade.
Full Coverage German Schmear Stone Fireplace
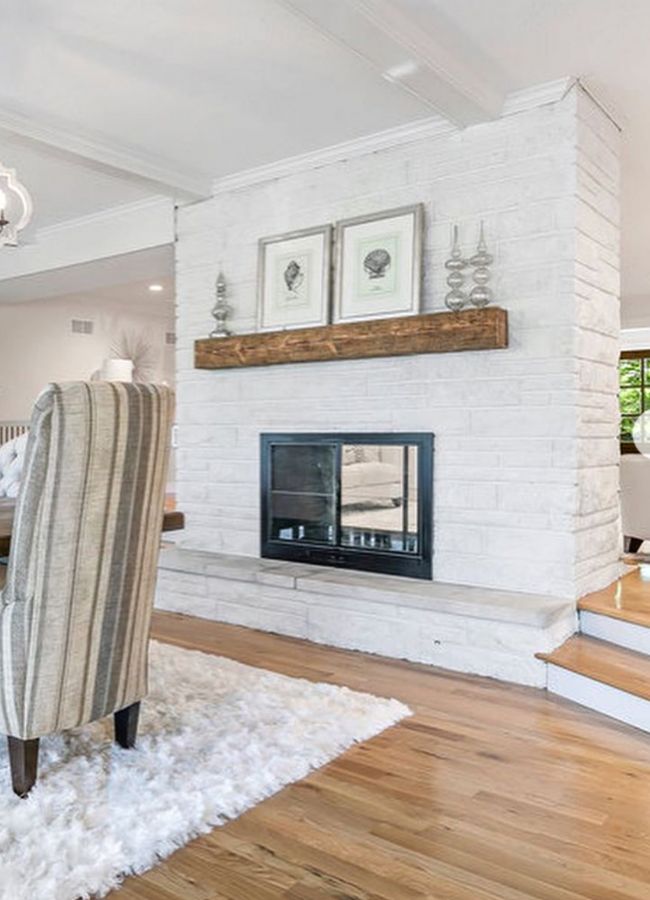
A beautiful German schmear application on the stone is this fireplace by Angie at allthethingsangie on Instagram. Instead of leaving some of the natural stone showing, they decided to fully cover the stone for a nice white look.
Using a 50/50 ratio of water to mortar and applying with a paint brush, Angie achieved the fully covered German schmear look.
Partial Coverage German Schmear on Stone Fireplace
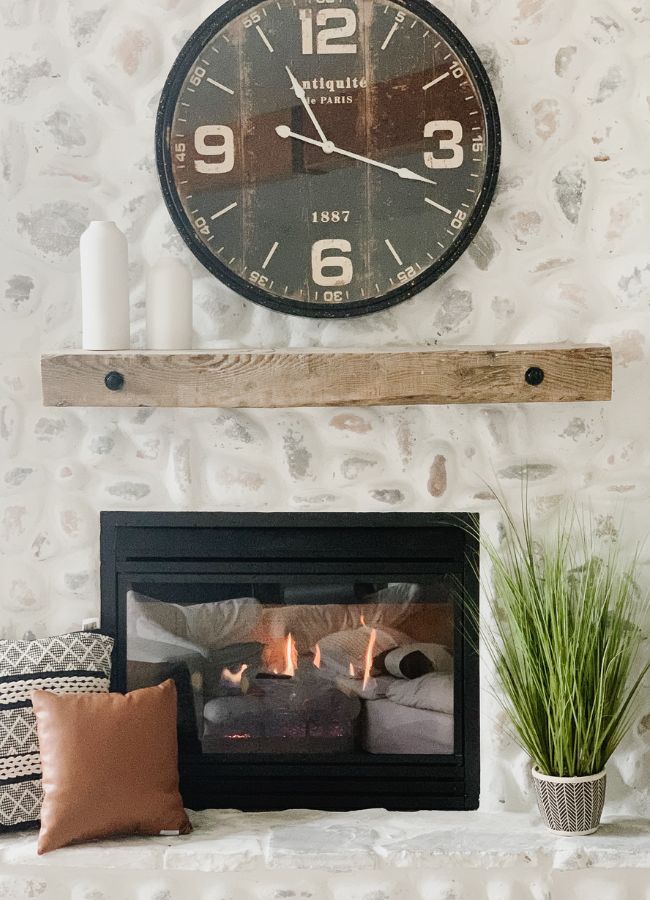
And last, I wanted to include another stone fireplace covered in white German schmear, but this one hints at the stone color underneath. Isn't this a gorgeous stone fireplace?
Krista has detailed instructions on how they achieved this look in her blog post on how to German schmear a dated river rock fireplace.
Final Thoughts
I hope you have found this article about German schmear helpful. During my research, I learned a lot about this technique, and I am ready to try it after practicing it.
As you can see, there are different ways to apply it depending on your desired results but this is definitely a doable DIY project you can do in your own home that will change the look of your living space.
Who is ready for a German schmear brick fireplace makeover?
The best article I found on German smear was by Bob Villa. This is a good read if you want more information about German schmear.
Other posts you might be interested in are:
- Popular Sherwin Williams Grey Paint Colors (there is a floor in this post that has a German schmear finish)
- How to Hang a Wreath on Brick (This will be handy when you finish your fireplace refinish. It is handy for hanging picture on brick and stone too.)
- Board and Batten Fireplace
Now, where are you considering putting German schmear in your home? The exterior, fireplace, and interior brick walls are all great choices for this home improvement project and give new life to your red brick fireplace.
Share in the comments which idea you liked the best and if you have ever German schmeared. Comment any tidbits, advice or stories about this technique.
Happy Decorating!

How to Apply German Schmear
One of today's hottest design trends is German schmear. Learn how to get the German schmear look and get German schmear fireplace ideas.
Materials
- Mortar mix
- 5-gallon bucket
- Rubber gloves
- Painter's paper
- Painters tape
- Bucket of water
Instructions
- Cover the area around the brick or stone you want to german schmear with floor protection paper and tape it down with painter's tape.
- Mix 70% mortar mix to 30% water in a 5-gallon buck with a steel paint mixer that attaches to a drill (mix slowly to keep the mortar from flying out, then let it sit for 10 minutes)
- Next, mix the mortar again and then apply the mortar mixture in the joints using a heavy-duty piping bag (work in small areas)
- Then use a trowel to move the mortar mixture around and over the brick and stone.
- Remove excess mortar with a grouting sponge as much or as little according to the amount of coverage you want (rinse out the sponge as needed in the bucket of water)
- Remember to do this in small areas and remove the mortar quickly so it doesn't dry.
Notes
- Practice first: Make sure to practice on an area that is not noticeable or on something other than your fireplace
- Other mediums: There are other mediums to use than traditional mortar. You can use joint compound or spackle to get the look, and they come out crisp white colored. However, for exterior, I would use a mortar wash.
- Secure tape: When taping around your fireplace, press down the edge so that mortar won't go under the tape. It also helps to use a wide 4" tape if you only use tape around the edge on the sides and top.
- Permanent application: Remember, once mortar dries, it is permanent, so wipe away the mortar soon after you apply it to the masonry.
- Mixing the mortar: While working, you will need to mix the mortar from time to time.
- Two-people job: Several people have shared that having two people makes this project easier.