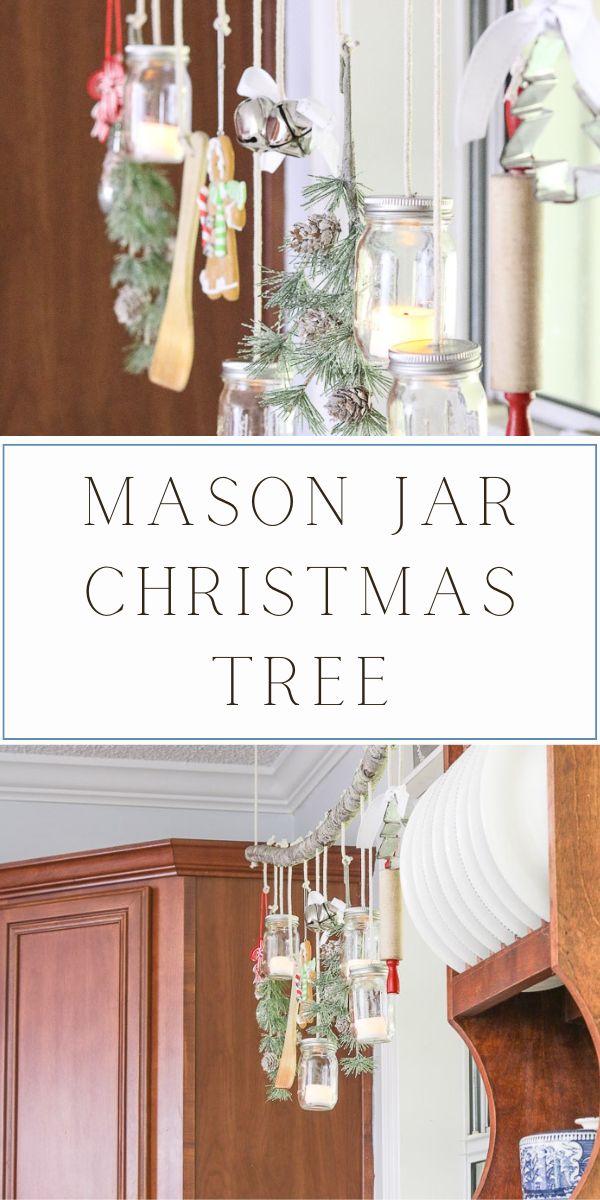
This Christmas put a new twist on an old tradition with a hanging Ball® mason jar Christmas tree. Whether you live in a dorm, apartment, or any size home this mason jar Christmas decoration will fit into any space. Make this natural Christmas tree and ornaments with the whole family.
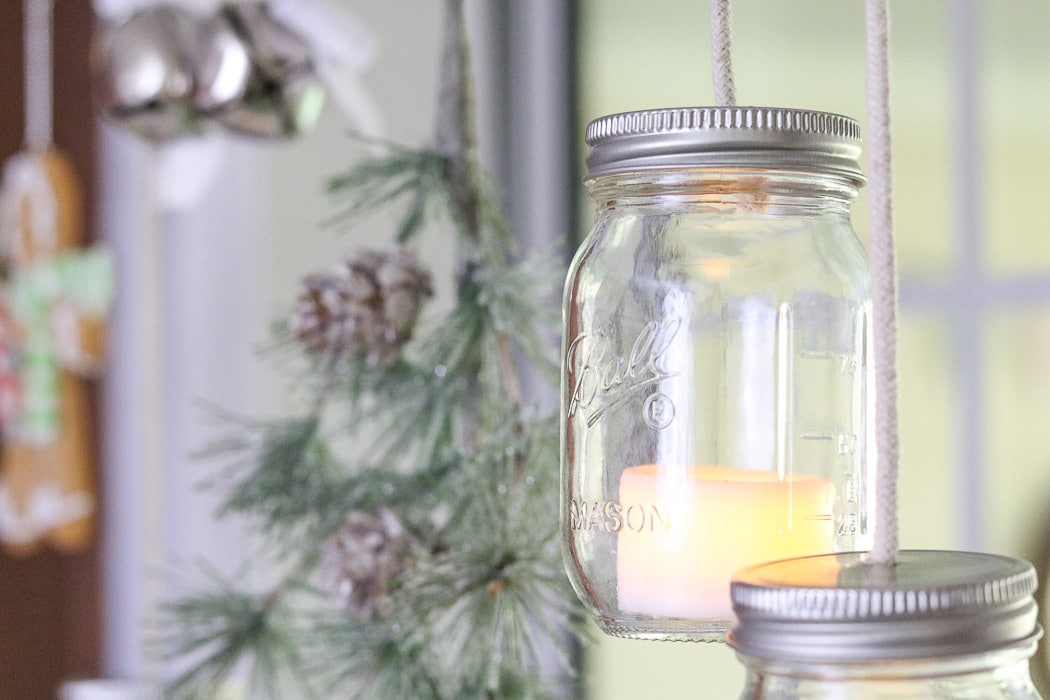
This mason jar Christmas tree decoration and ornaments will brighten up your home for the holidays.
This post is sponsored by Newell Brands, makers of Ball® Jar Fresh Preserving Projects: however, all thoughts and opinions are my own.
Ball® Mason Jar Christmas Tree
One of our favorite parts about Christmas is decorating the Christmas tree. We even like to add trees to other areas of our home like our back porch.
So, for years I have wanted one of those delicious kitchen Christmas trees with cooking utensils, mason jars, gingerbread men and you get the picture.
Anyways, the problem is space. Yes, I didn't have enough room for that culinary tree until now.
If you are in the same boat as me here is a Ball® mason jar Christmas tree that will fit any room.
Besides the best gifts come wrapped in a jar so why not decorate your tree with them too. ????
Getting Started
You will need these items to create your Ball® mason jar Christmas tree. I found most of them at Joann Fabrics. The other things I already had at home.
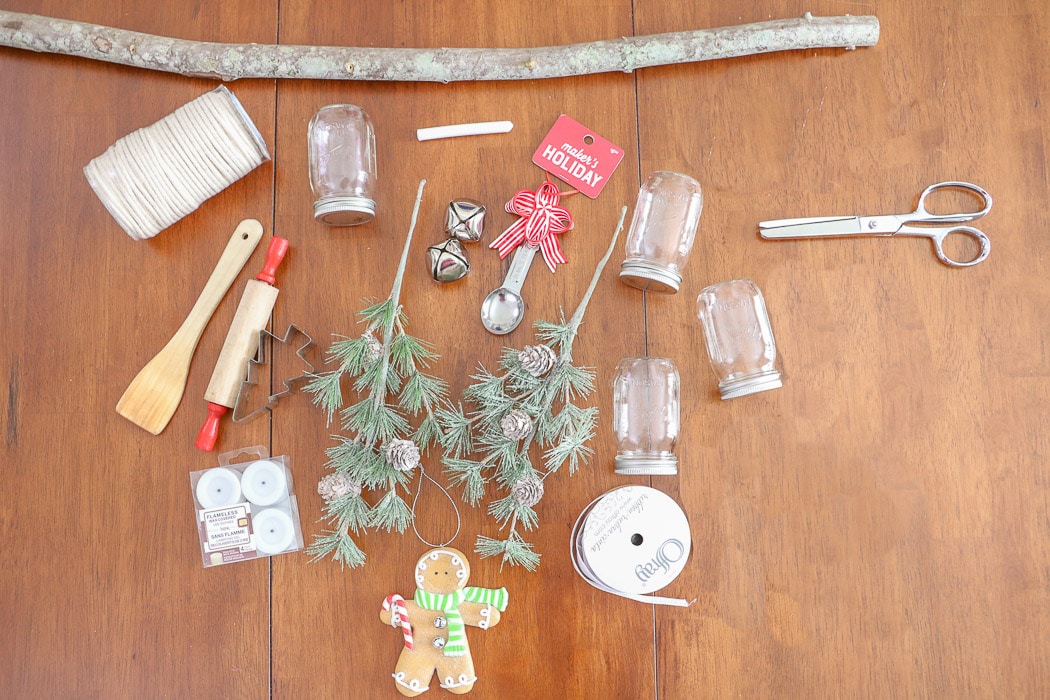
- Tree branch
- Drill with 1/4″ drill bit
- Macramé cord
- Miniature Ball® mason jars
- Christmas greenery
- Chalk
- Scissors
- Christmas ornaments
- Ribbon (optional if making the bells)
- Bells (only if you want to add the bell ornament)
- Hook with screws on end for hanging the tree
Now, if you're going to make some of your ornaments, you may need a few smaller drill bits, eye hooks and so on.
I had a few kitchen items that belonged to my girls when they were little. So, I thought how sentimental it would be to add them to this holiday tree.
Tree Branch
Now measure the space where the tree branch will hang and determine it's length. Cut the limb to that measurement.
Your next step is the find the natural bend in the tree.
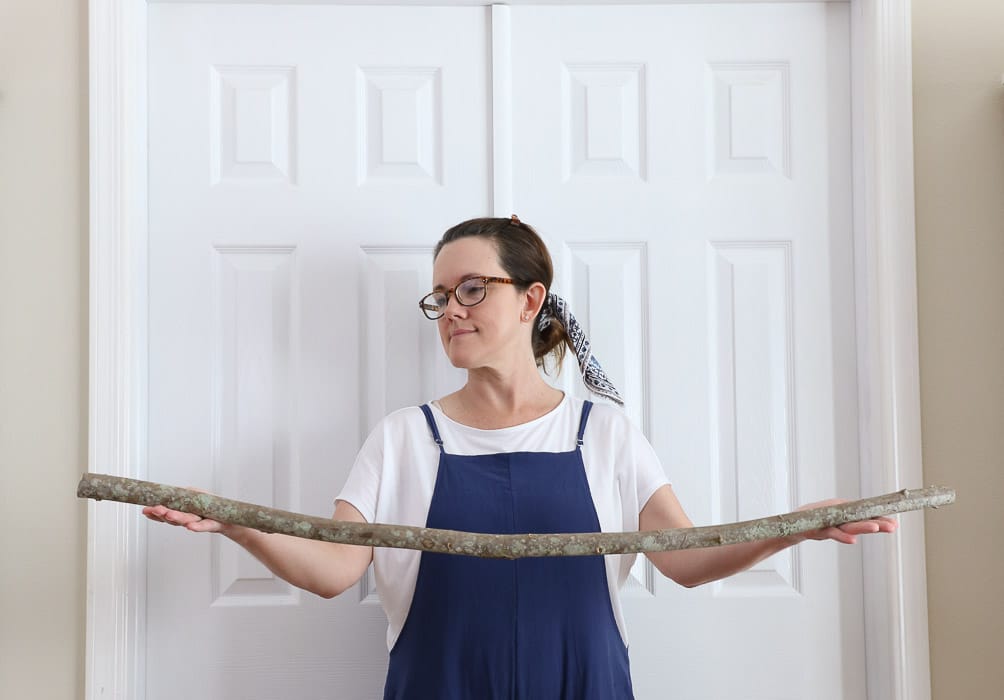
Hold the limb in both hands like in this picture and let it turn naturally to how it wants to hang.
Now you know how to hang your ornaments. Lay this branch on the table and let's start the next step.
Create Ornament Pattern
Next, lay the ornaments across the bottom of the branch just like you want them to hang from the ceiling.
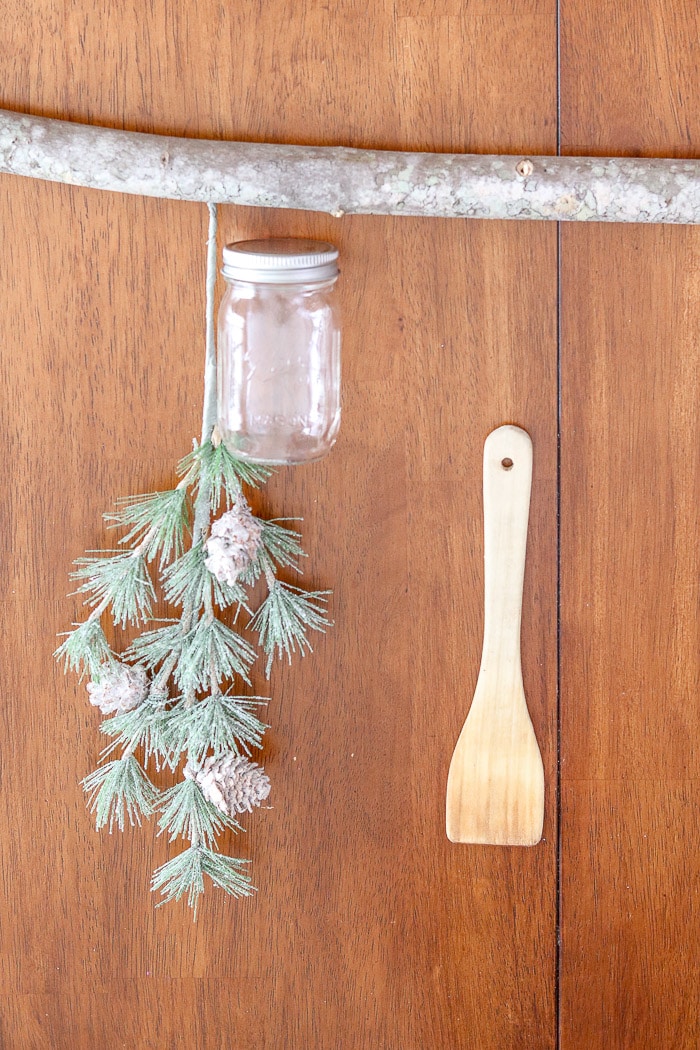
Think through how low or high you want them to hang.
Mark Branch with Chalk
Now make a mark with the chalk on top of the branch where you will need to drill the holefor each ornament.
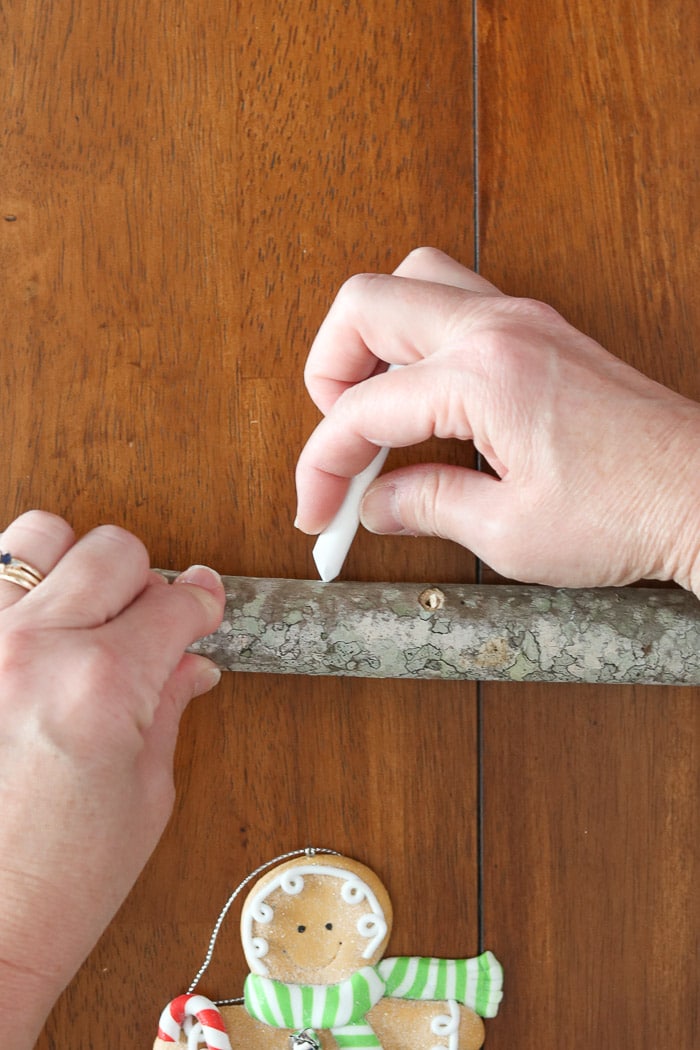
Drill the Holes
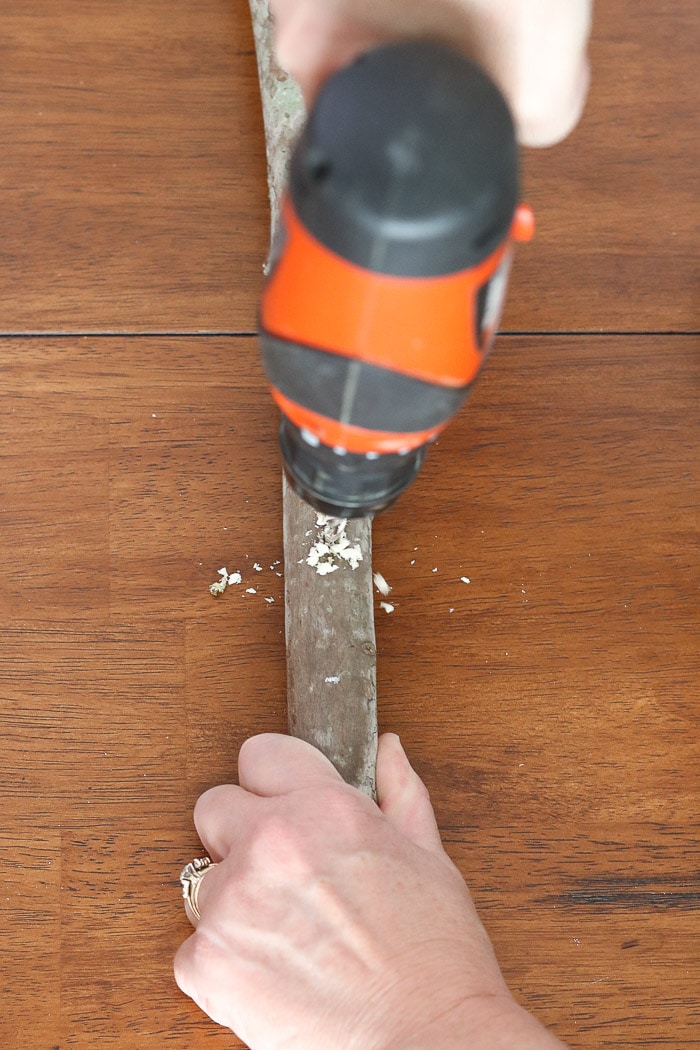
Next ,drill the holes through the stick. I found this part to be much easier than I imagined.
I lifted up on one of the branch so I wouldn't drill into my table.
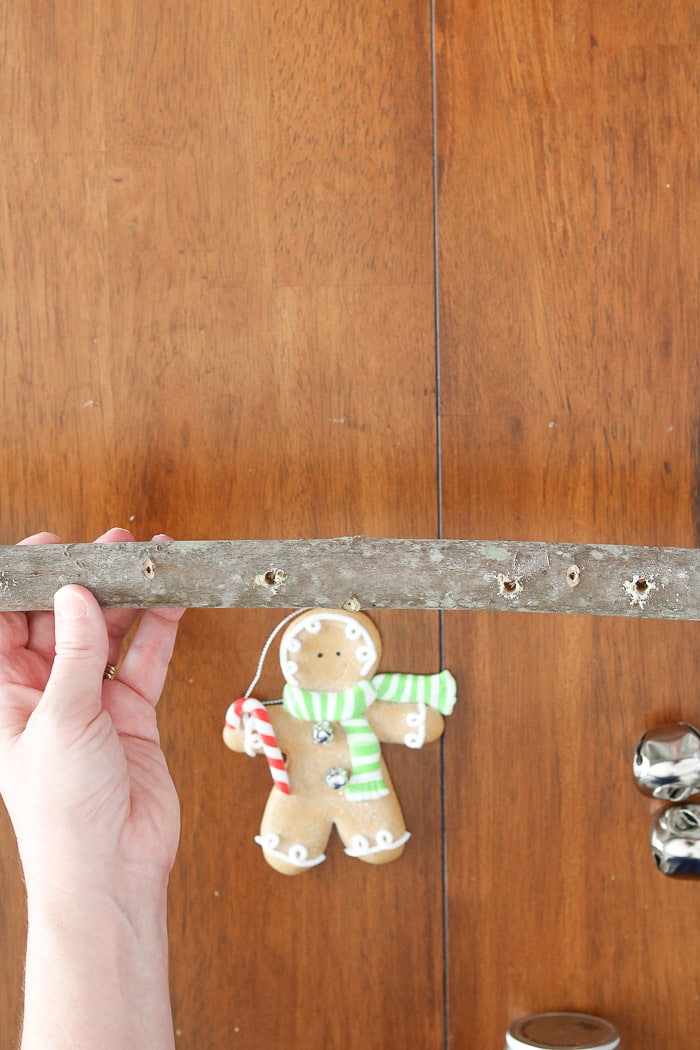
Here is what it will look like with all the holes.
Ball® Mason Jar Ornament
It is time to make the Ball® Miniature Mason Jars into Christmas ornaments.
Simply take a nail and nail it through the lid of the jar. Here is another example of it being easier than I imagined.
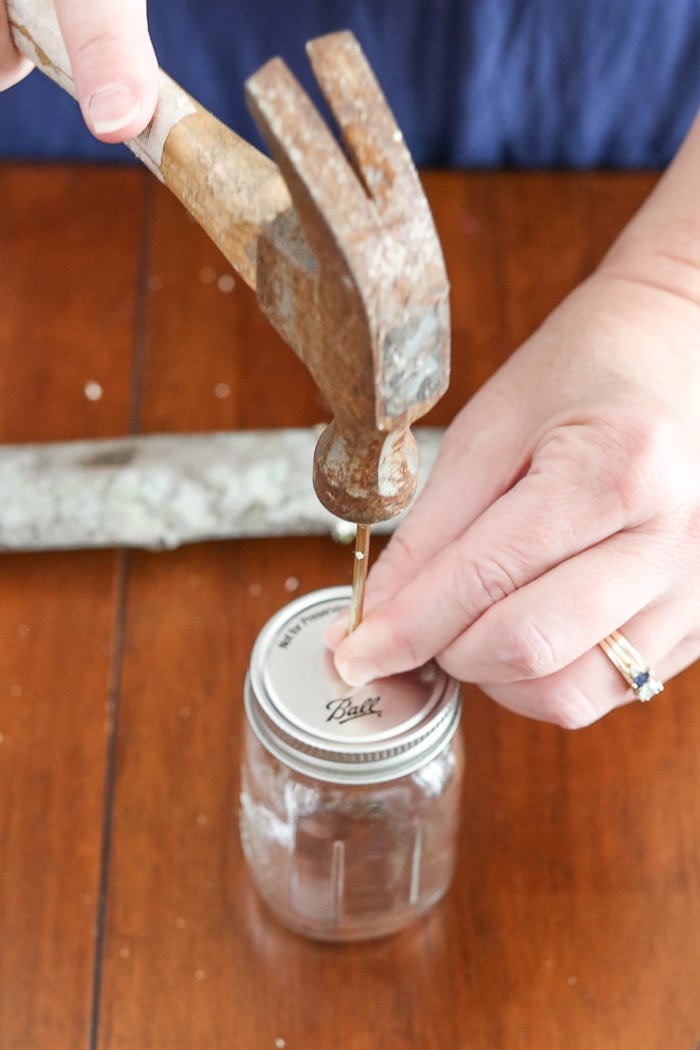
Now measure out the macramé to the length you want the mason jar to hang and cut it with an extra 3 inches. Thread the macramé through the lid and tie a knot.
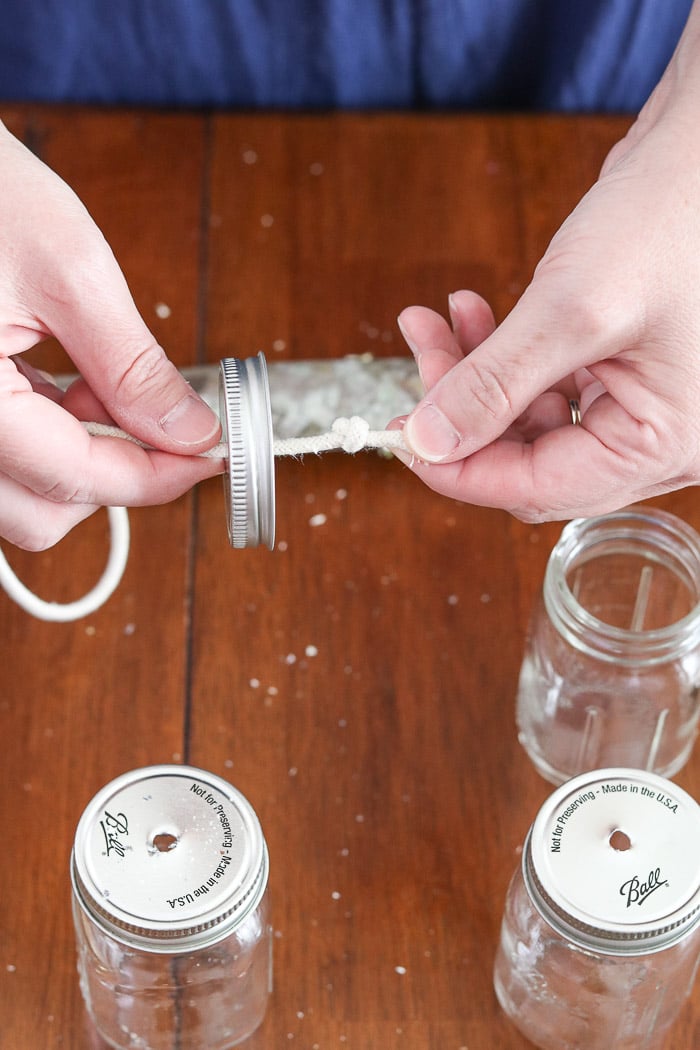
Add a battery powered tea light candle in mason jar and screw the lid back on.
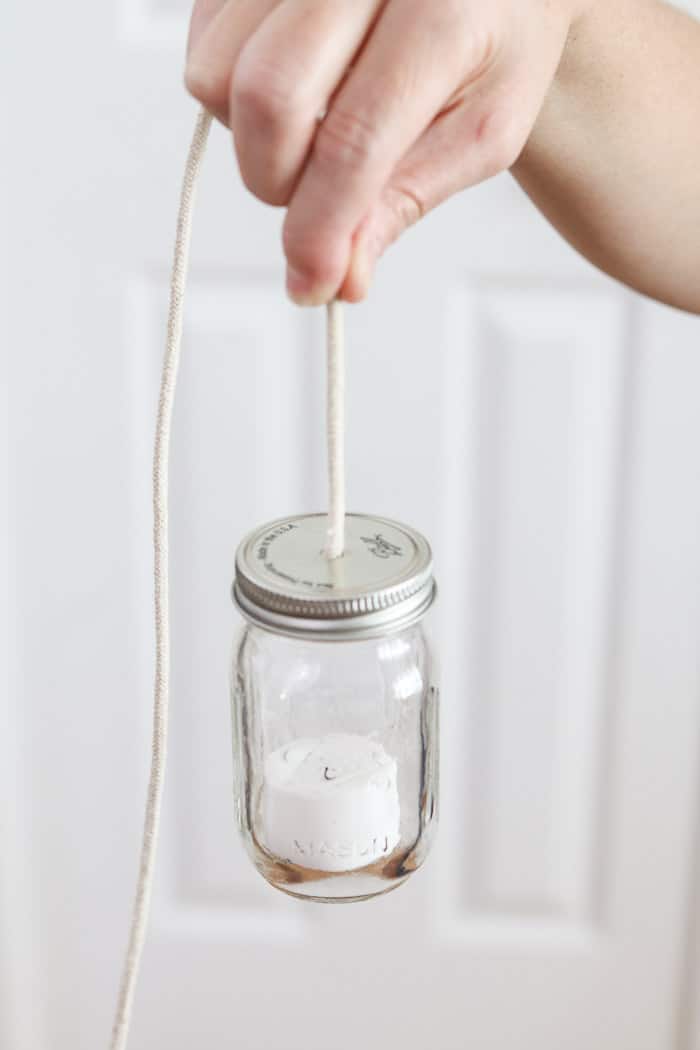
Your ornament is done. You can add anything inside like snow or even paint it a Christmas color.
Let your creativity flow.
Measure the Macrame
It is time to cut and measure out all the macramé pieces that will hang under the branch.
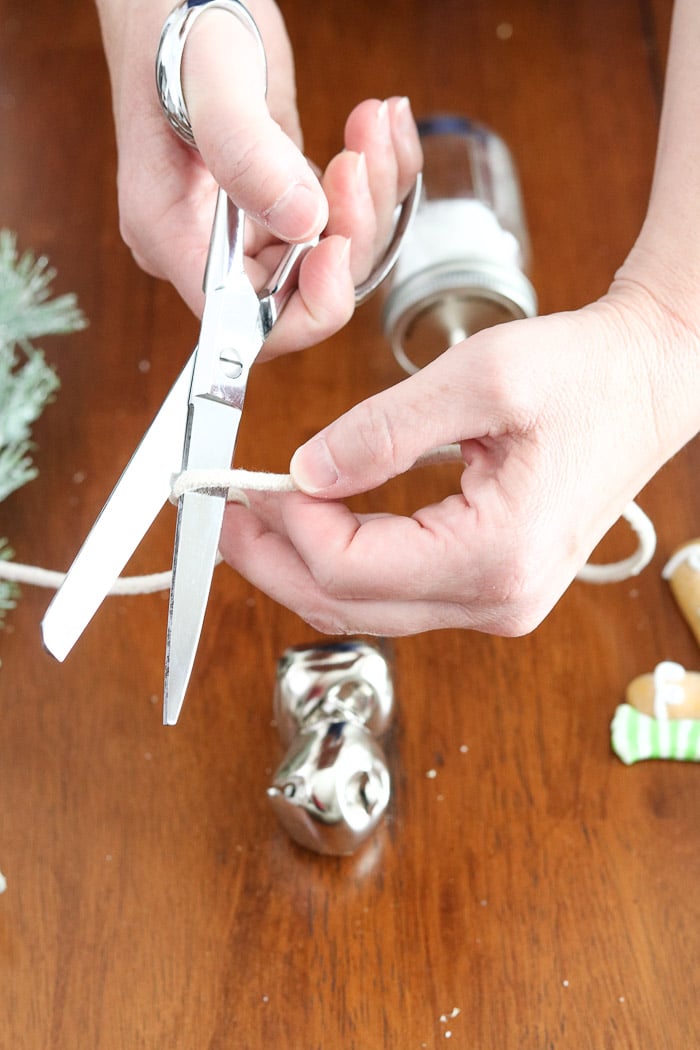
Lay out the macramé to see the length and cut it an extra 3 inches.
It is always better to have to much than not have enough cord. You can cut the cord after you are finished.
Hang the Ornaments
Well, we are getting close to be completed. It is time to hang your ornaments.
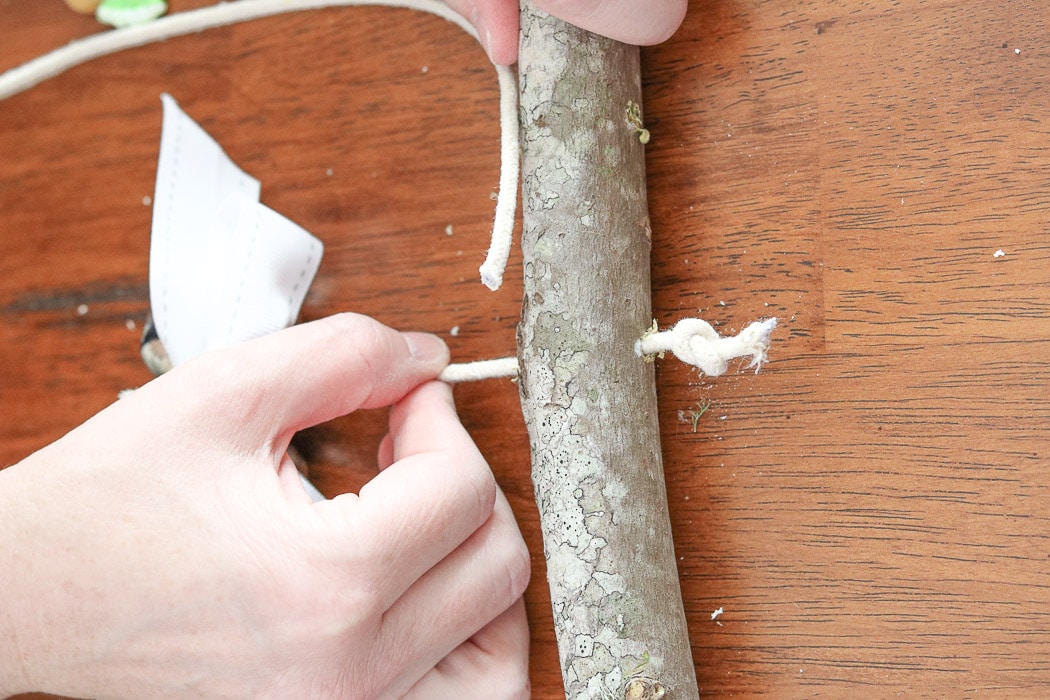
Simply run the macramé through the hole in the branch.
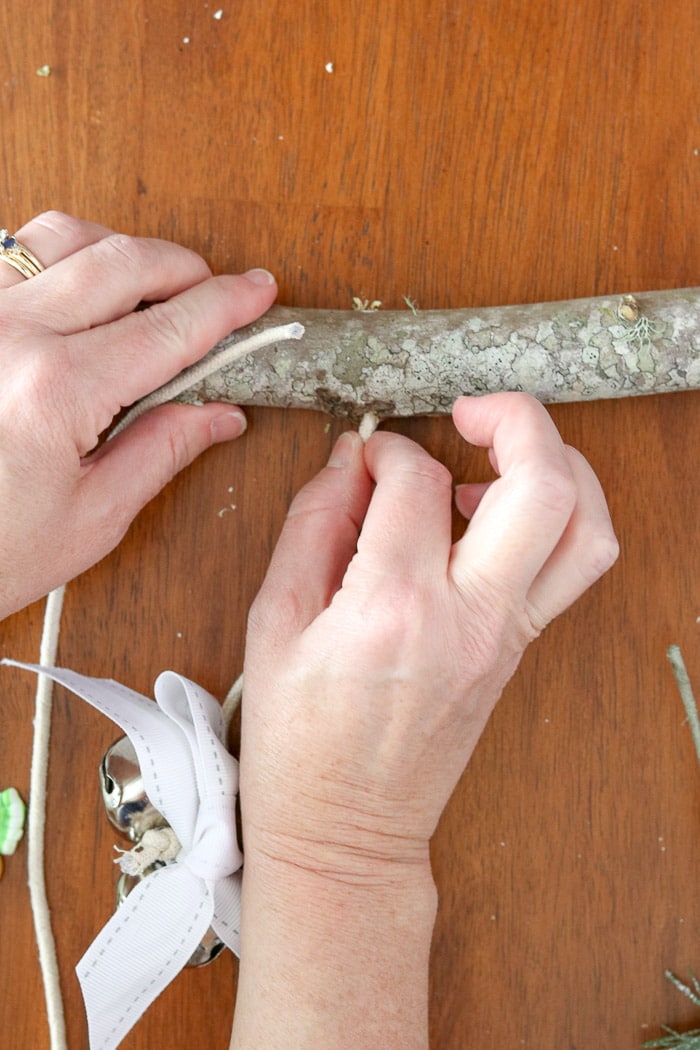
And tie it into a knot on the top.
Repeat
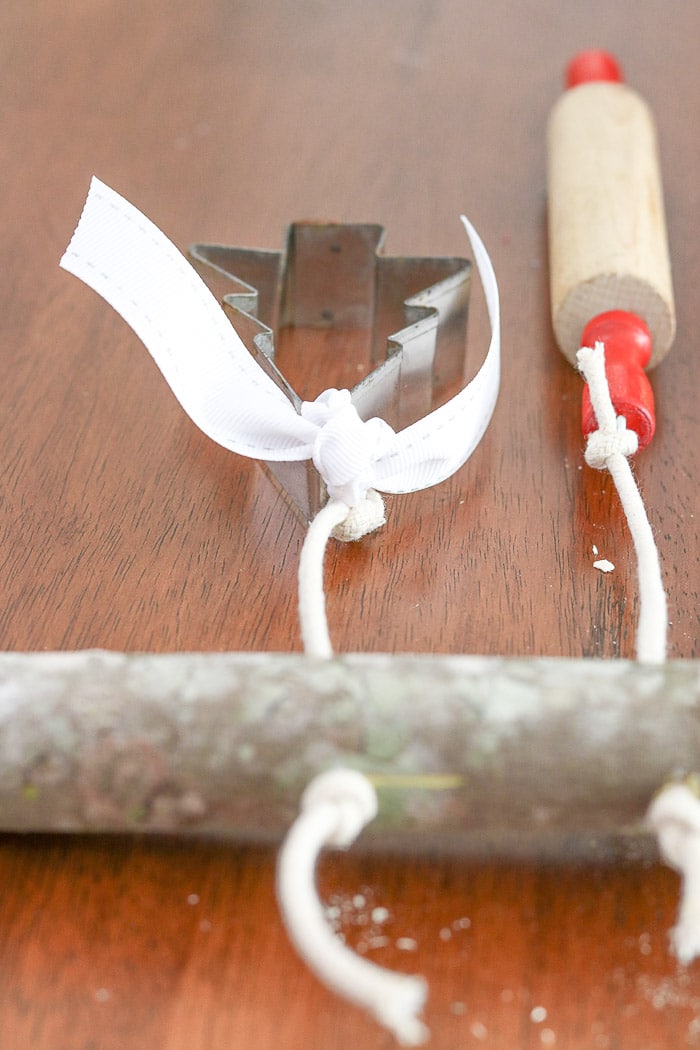
Repeat the threading and knotting with each ornament until you are finished.
Hang the Ball® Mason Jar Tree
Before you bring the tree to the space where you want it to hang grab your hooks, measure the length at the ceiling and screw in the hooks.
Think about how far you want your tree to hang from the wall. I decided on about 6 inches but it all depends on your space. Do what works the best for you.
Determine How Low the Tree will Hang
Here is where you will need some help. Ask a friend or family member to either hold your tree up so you can determine how long to cut the end cords or hold it up yourself if you trust their judgement.
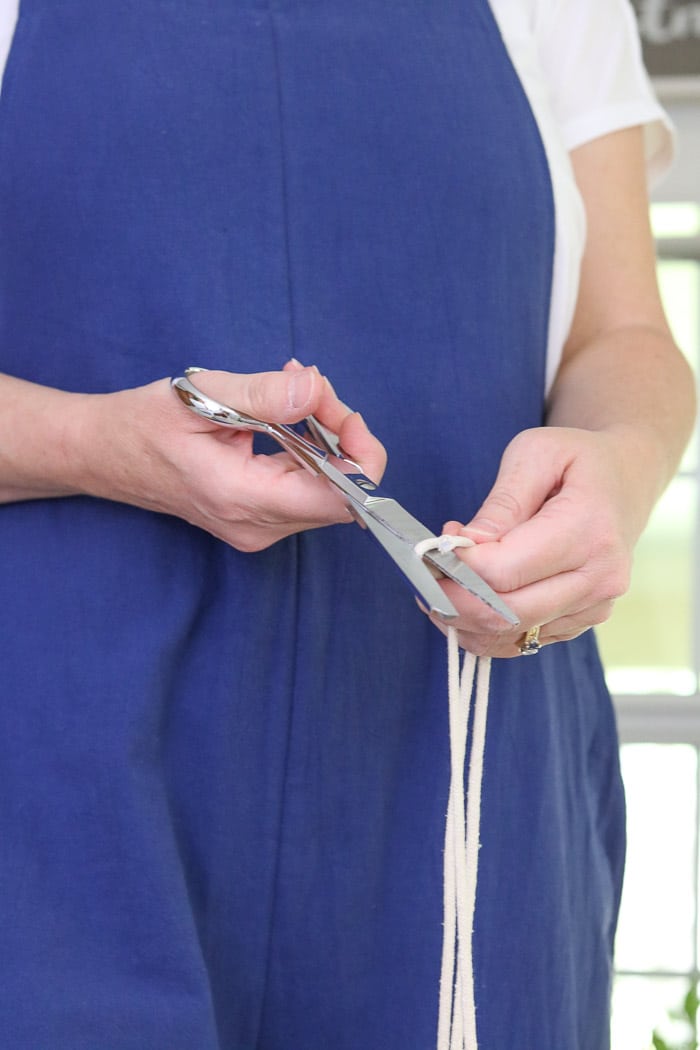
Once you have an idea of how low you want it to hang from the ceiling add at least an extra 6 inches to the measurement and cut the cords.
Tie the End Cords
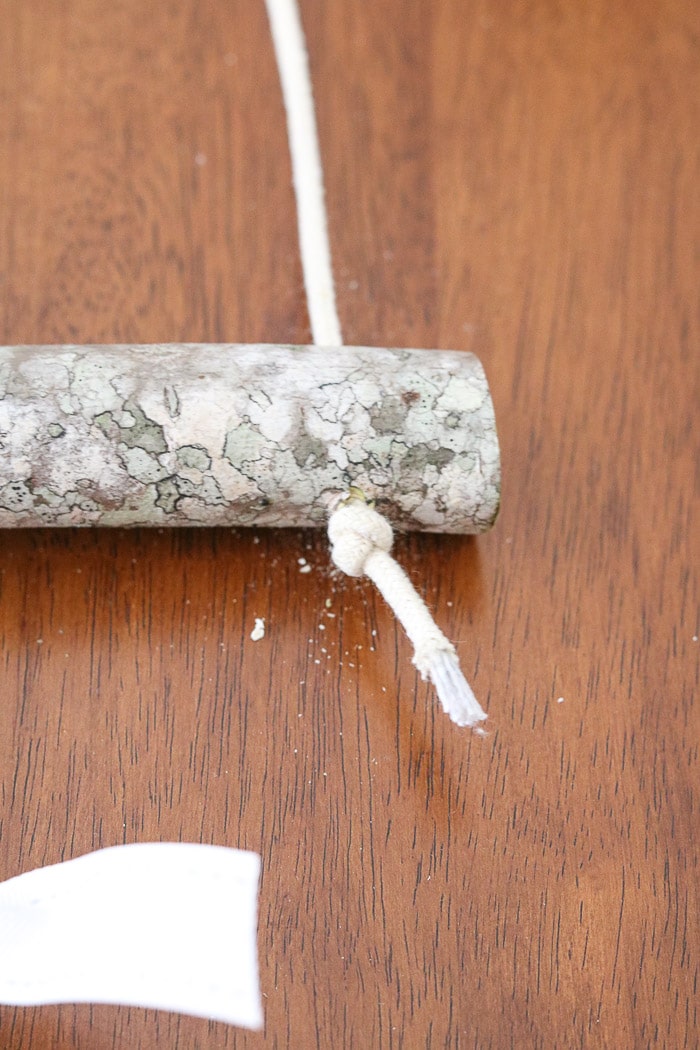
Drill the holes in the ends and thread the macramé. Make a knot under the branch where the ornaments are hanging.
Tie Knot at Ceiling Hook
Now have your friend help again with this step. One person will need to hold the cord at the hook and once you have it at the height, you want it to tie one side into a knot.
Repeat this on the other side asking your friend is the branch is straight. Tie the second knot.
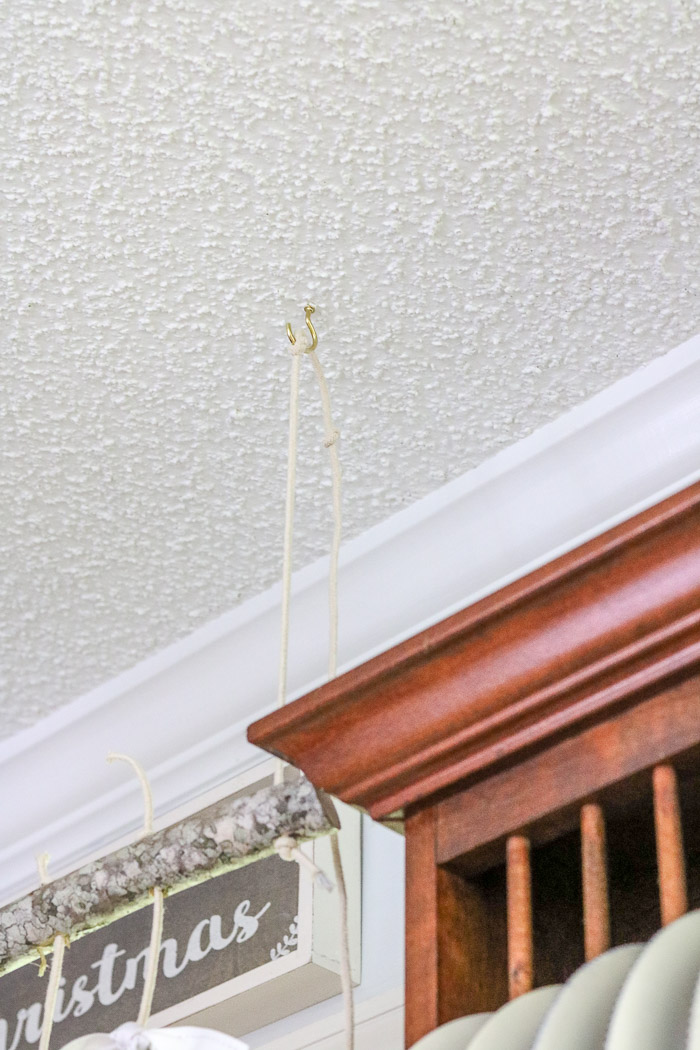
Cut the Cords
Now cut the cord at the hook.
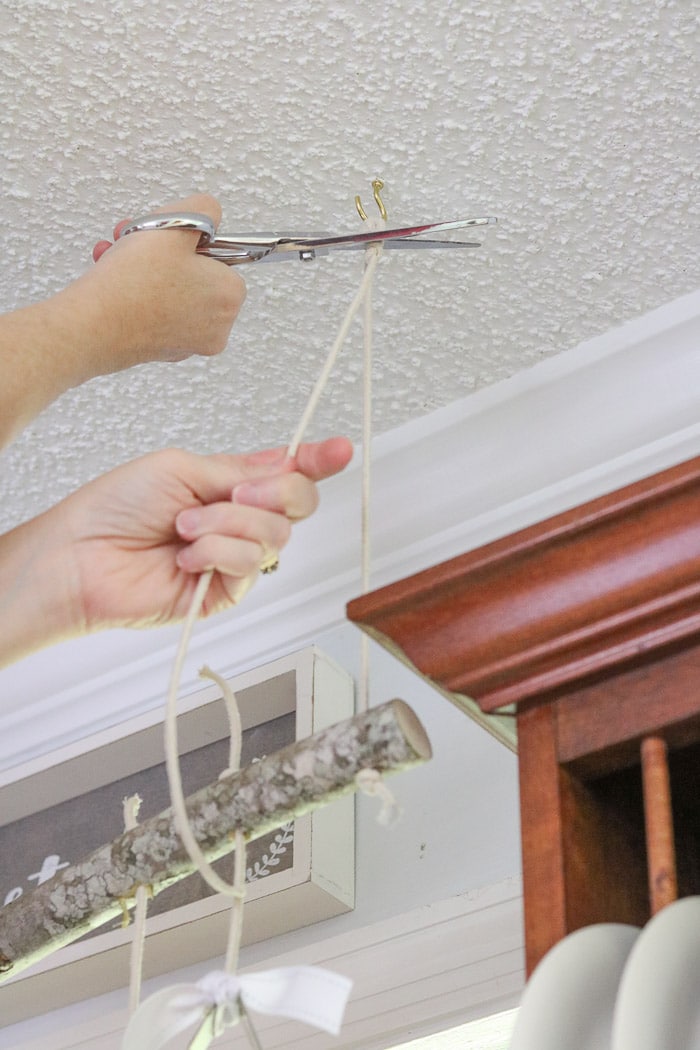
Then cut the extra cording on top of the branch.
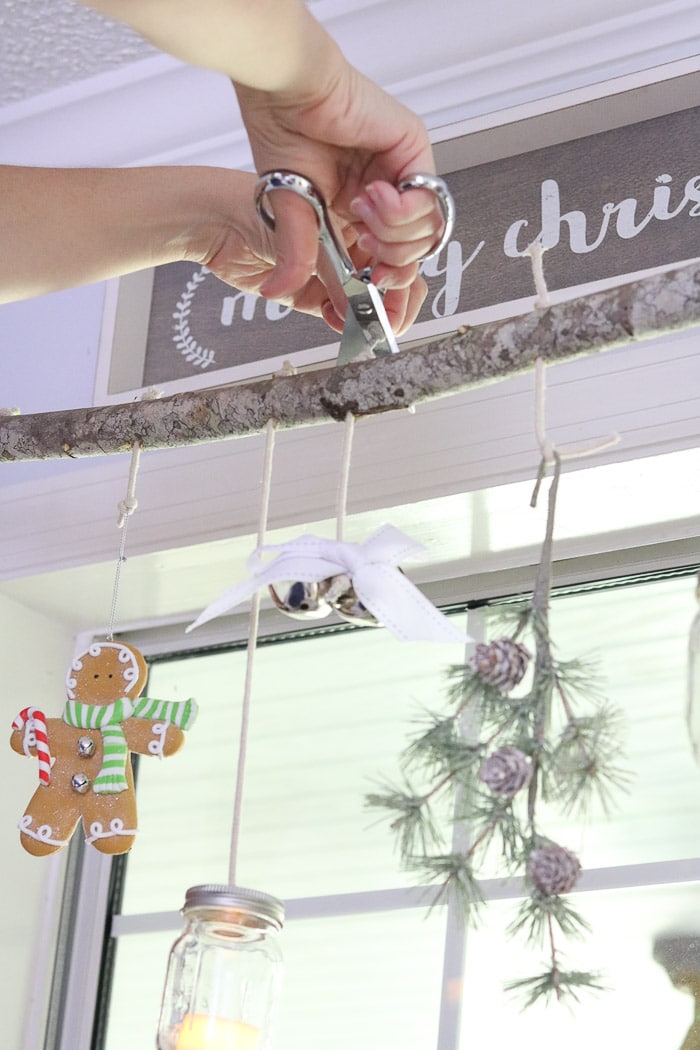
Position the Ornaments
If any of your ornaments are facing the wrong direction simply twist the knot on top of the branch to turn them.
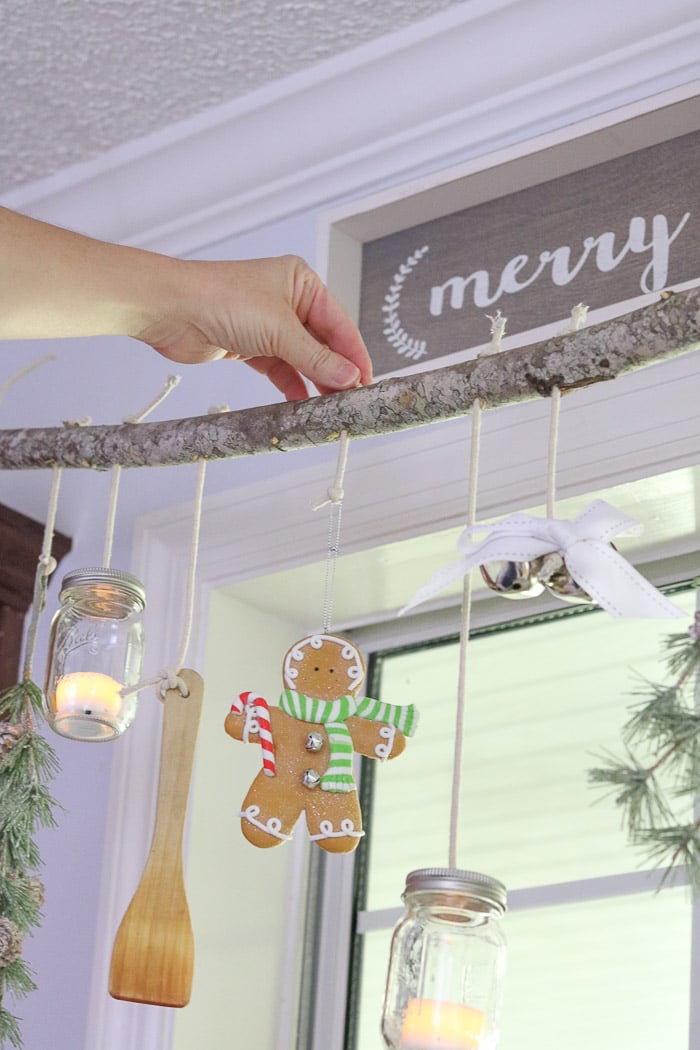
Yay! Your tree is all finished. Here is a photo of how ours turned out.
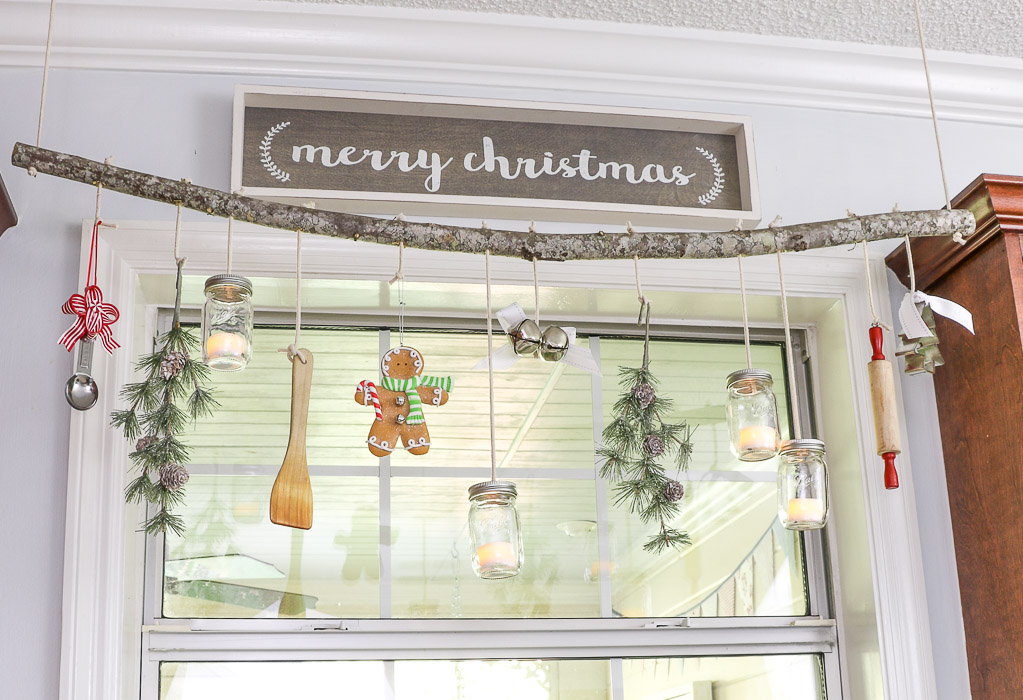
And another one. 😉
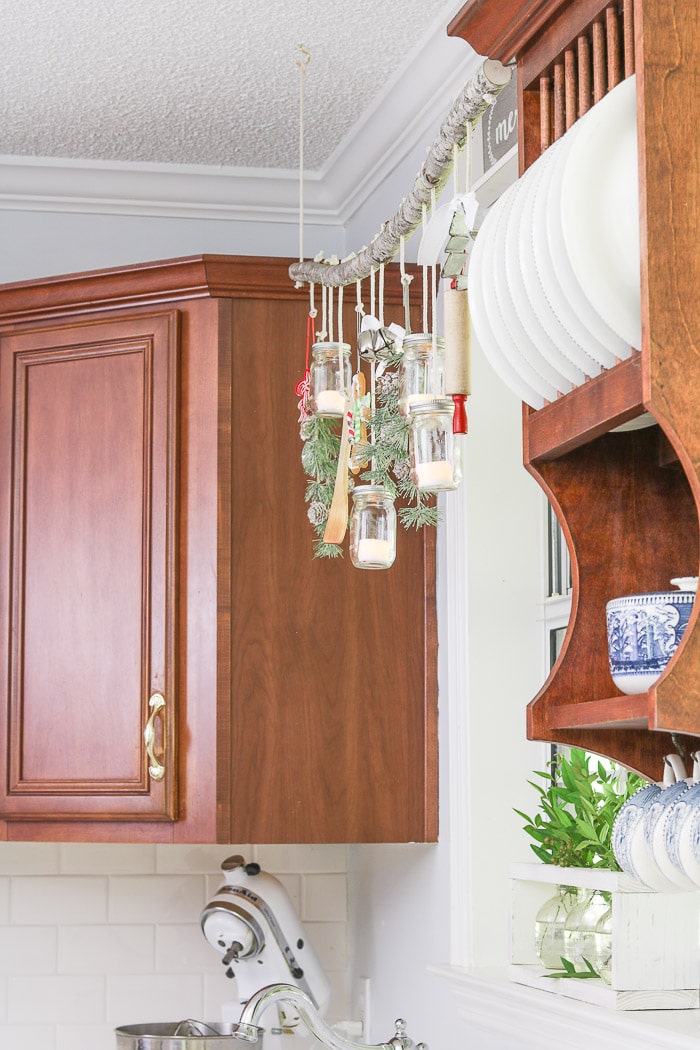
CONCLUSION
And there you have a Ball® mason jar Christmas tree that will fit anywhere.
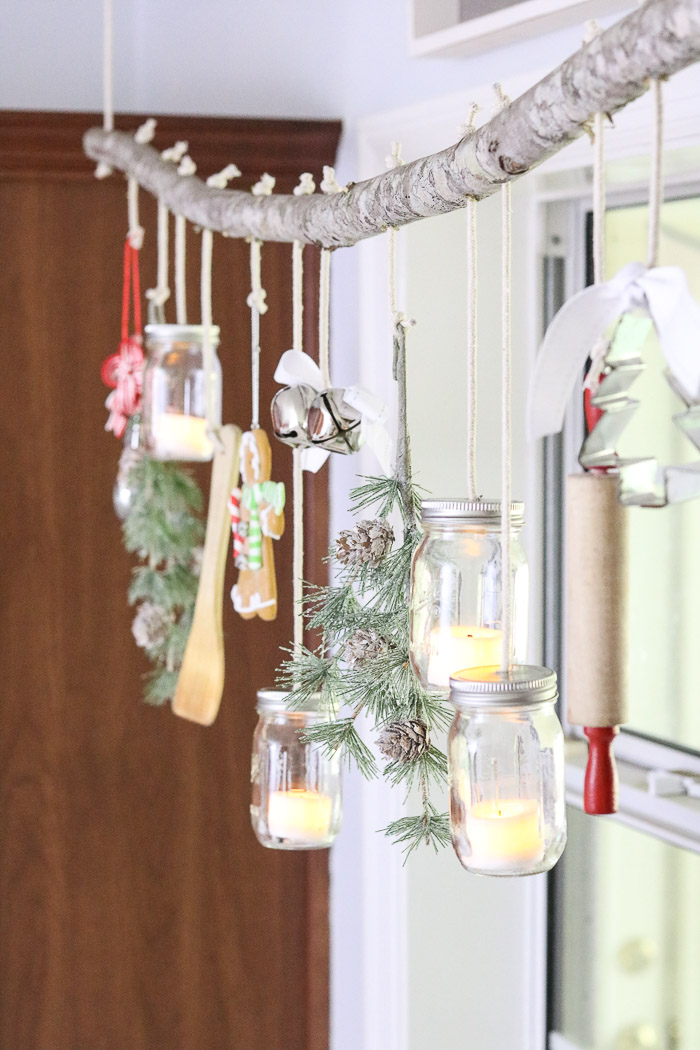
Here are a few last minute tips.
Practice drilling on a piece of the branch you cut off. It is always good to practice first.
Next, hold your branch with one hand and wedge the other end of the branch with your foot or something when drilling all the holes. I found this to be the easiest way to drill the holes.
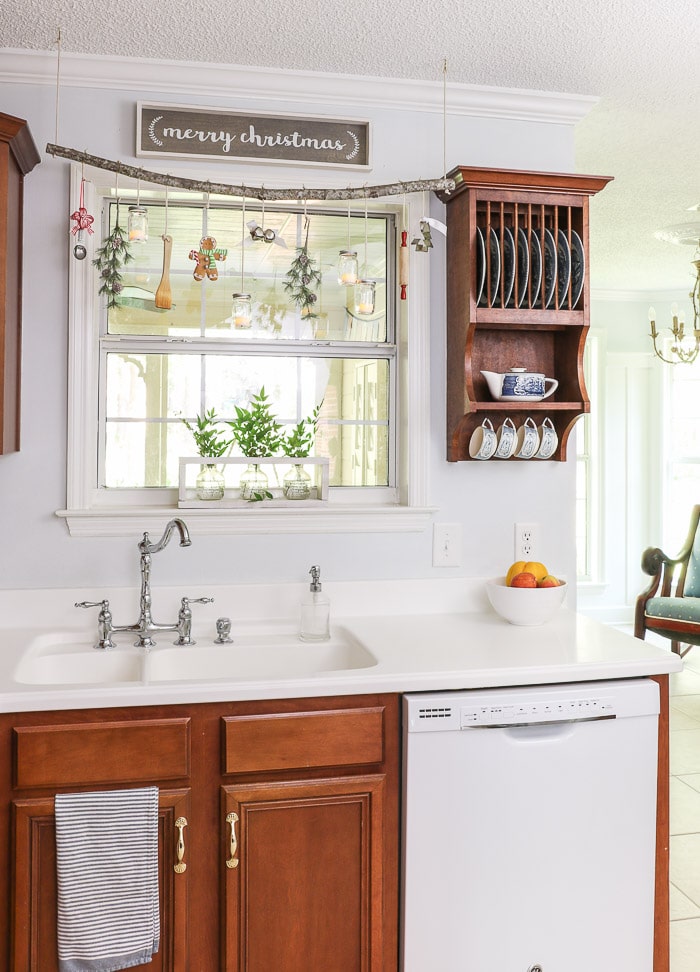
I hope you have enjoyed this tutorial on how to make this farmhouse style Ball® mason jar tree. Decorating with mason jars for Christmas is so much fun!!
Let us know what ornaments you would put on the tree.
And if you love the farmhouse style holiday decor get more inspiration with these ideas in my entryway.
Happy Decorating!

If you enjoyed this post sign up for emails HERE for Life on Summerhill, so you don’t miss out on any new trending styles for your home.
This is so adorable! I never thought about using those cute mini mason jars as Christmas ornaments!
This is a really cute ideas. Thanks Linda