Learn how to make an upholstered headboard the cheap and easy way with this step by step tutorial. With a few tools, a drop cloth, and a used metal headboard you can create a DIY upholstered headboard in one day.
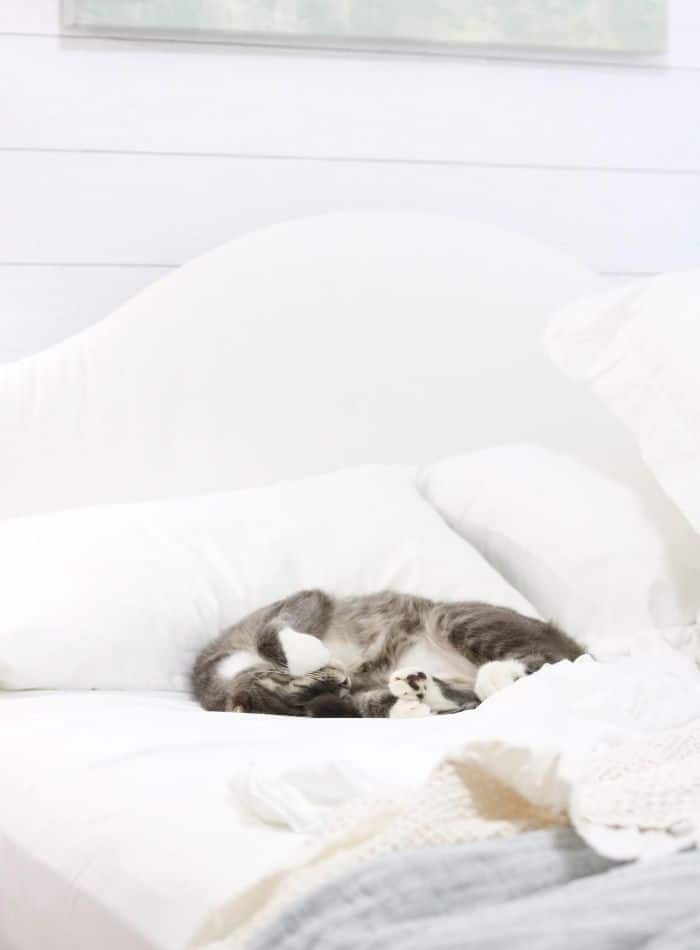
I could not wait to share how to make an upholstered headboard after sharing our cheap small bedroom ideas post. Probably one of the easiest and inexpensive projects I have created this year. It will give your existing headboard a whole new look.
The instructions for this project are 3 simple steps and can be done on any size bed. Who knew you could change the type of headboard you have so easily?
How to Make an Upholstered Headboard
The key to making this DIY headboard a budget-friendly project is upcycling. First things first, start by finding an old metal headboard. Once you have your bed you can begin to collect these other materials to convert a metal headboard to upholstered.
Prefer Watching Over Reading?
Supplies Needed to Make an Upholstered Headboard
You can find your supplies at your local hardware store or home improvement store, such as Home Depot.
- Metal headboard frame
- Pegboard
- Tape measure
- Zip ties
- Fabric Scissors
- Quilt batting
- Drop cloth (bleach if you plan to bleach it white)
- Electric staple gun and staples
- Jigsaw
- Pencil
- Sawzall (optional)
DIY Upholstered Headboard
Let's get started on our DIY project.
To begin, if your metal headboard has anything you want to remove as I did here with the spindles on the corners go ahead and remove it.
You do not have to do this step but it makes this converted metal headboard to upholstered headboard look exactly like an upholstered headboard.
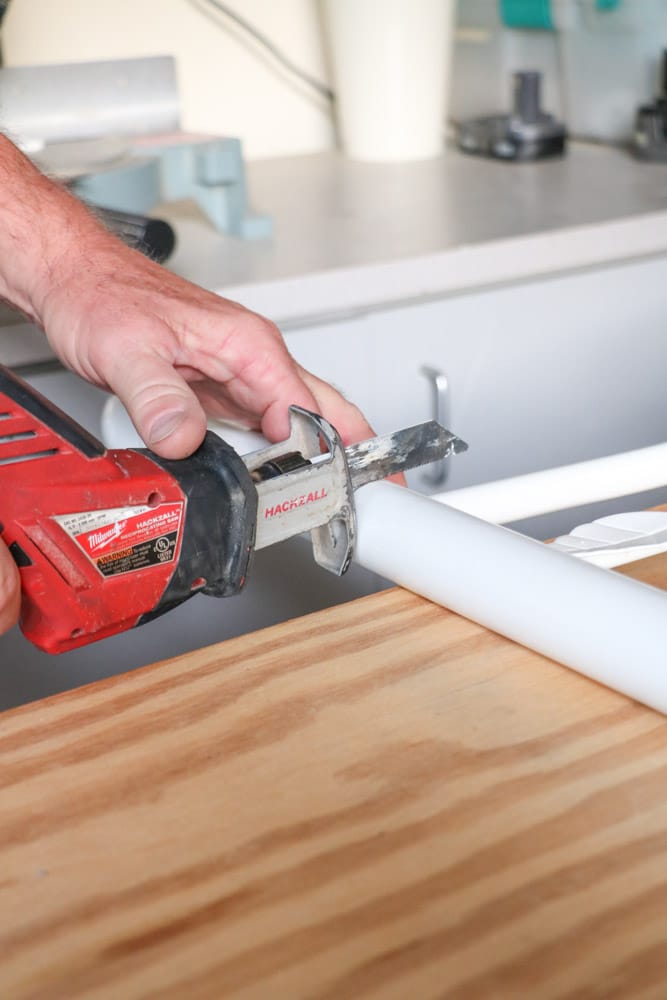
To remove the spindles we used a Sawzall and cut off the posts. You do not have to remove the posts but I wanted to for the look I was going for.
Step 1: Cut Pegboard
Next, lay the pegboard on a flat surface then lay your metal headboard onto the pegboard. I lined up the edges so I could save myself some cutting. It also ensures the bottom is indeed a straight line. The metal headboard will be the backside of the headboard.
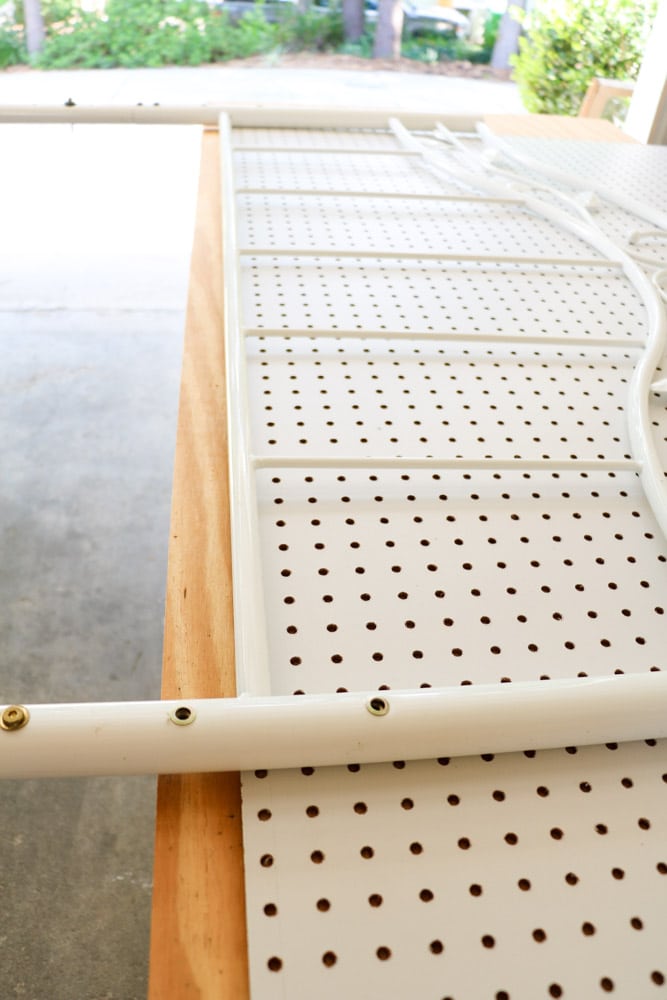
Now trace around the edges of the metal headboard. This will give you an outline of the headboard. Because I lined up the bottom of the headboard, I only needed to cut along the side and top of the headboard.
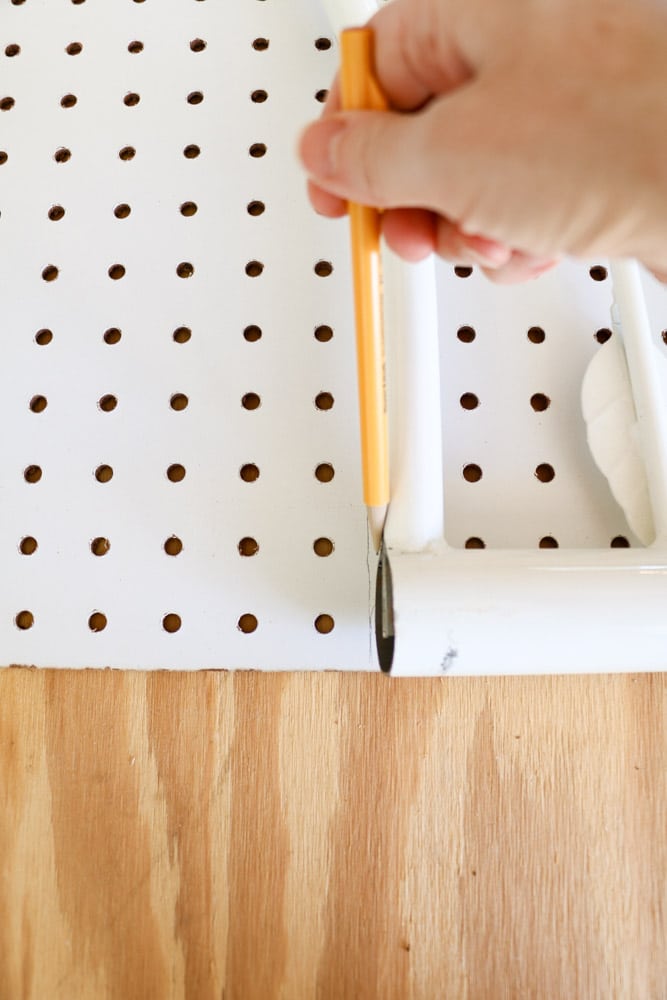
And then using the jigsaw cut along the line.
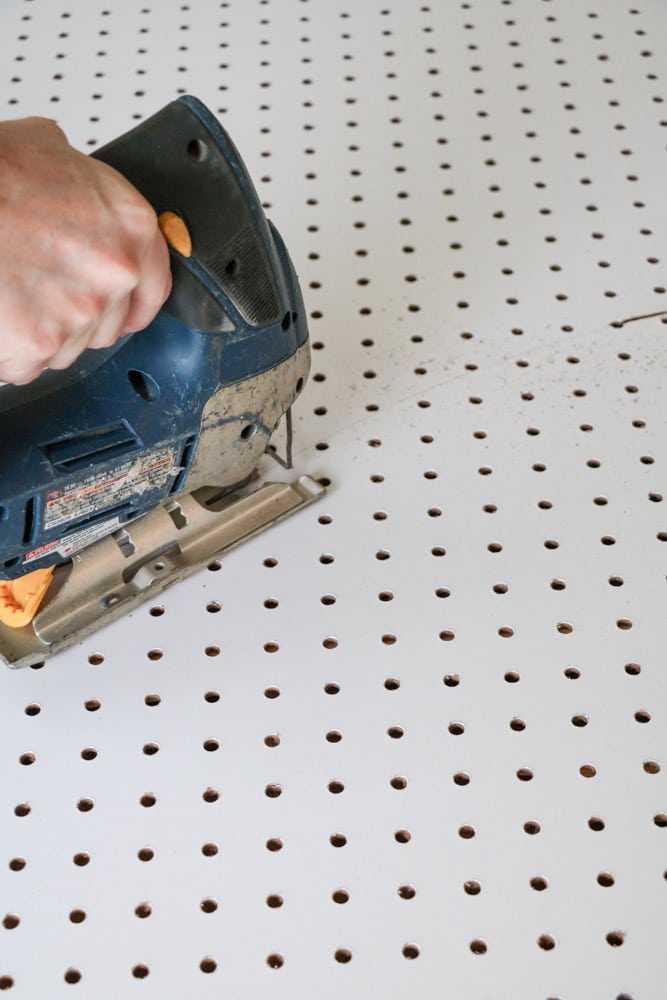
Sidenote: You can use a piece of plywood but make sure to drill some holes for when you tie it to the frame. Any size drill bit would work to make the holes.
Step 2: Attach with Zipties
The next part is simple. Thread zip ties through the back of the pegboard and around the metal headboard then zip it shut pulling it tight. That's why I chose pegboard over a sheet of plywood. It's so easy!
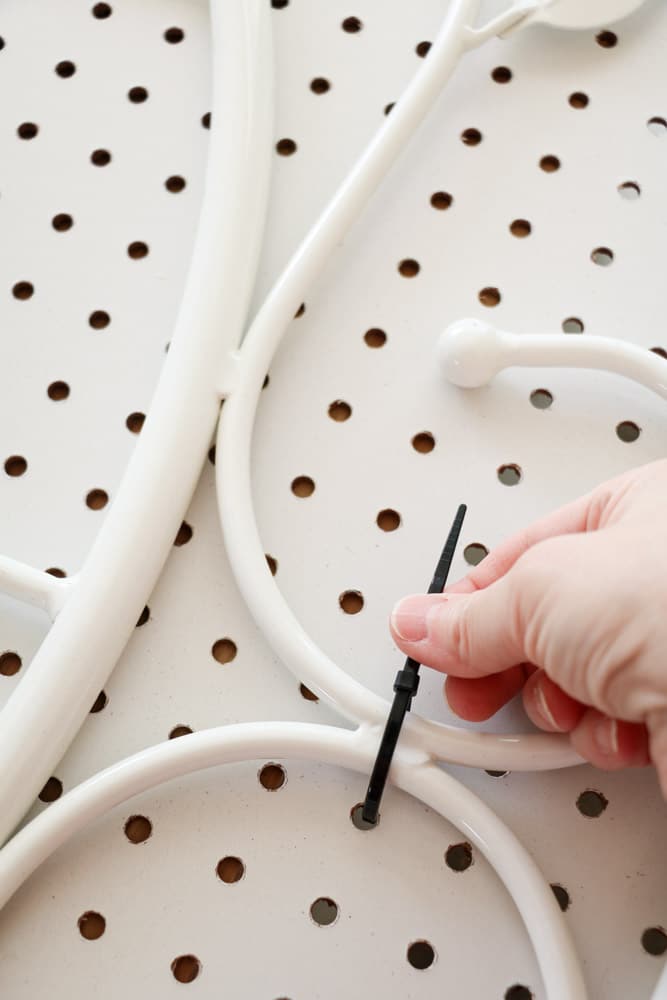
Then cut the excess off with scissors or I used wire cutters.
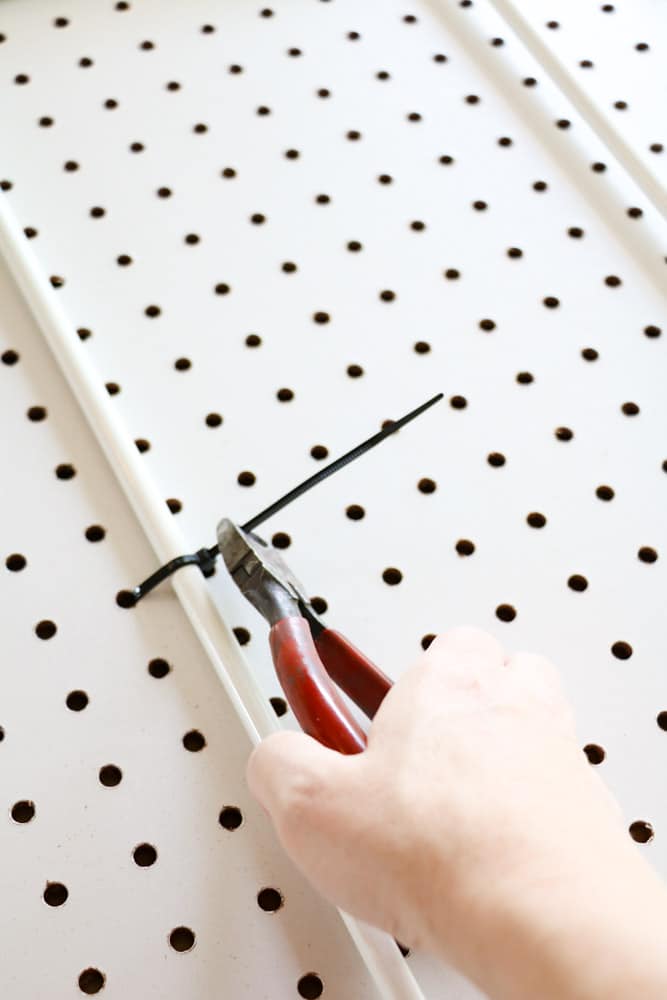
You be the judge on how many zip ties to use. I feel like the more you tie the metal headboard and pegboard together the more secure it will become.
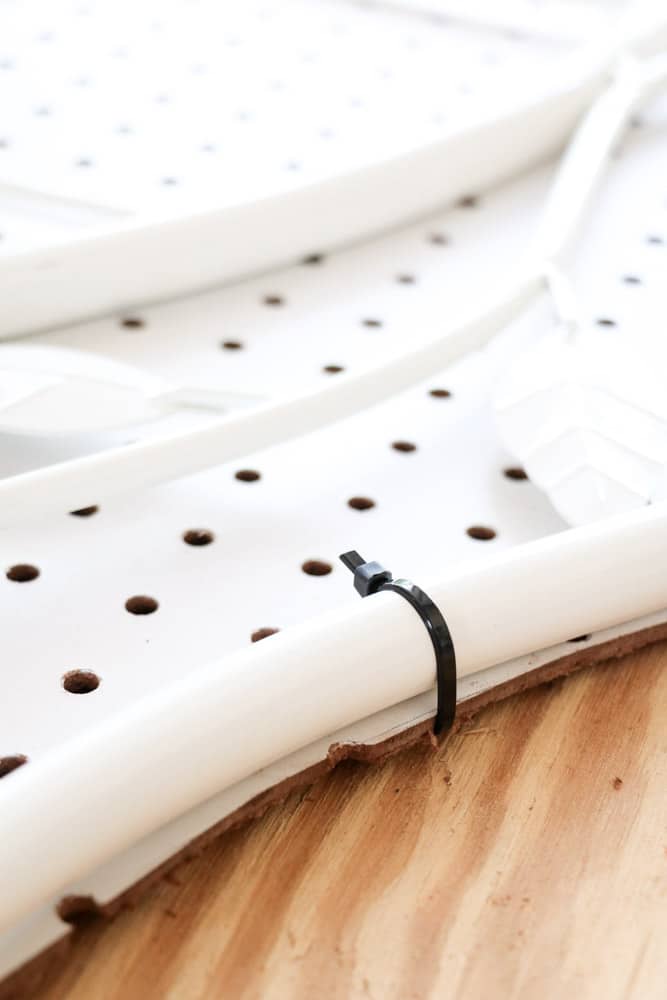
Step 3: Add Fabric and Quilt Batting
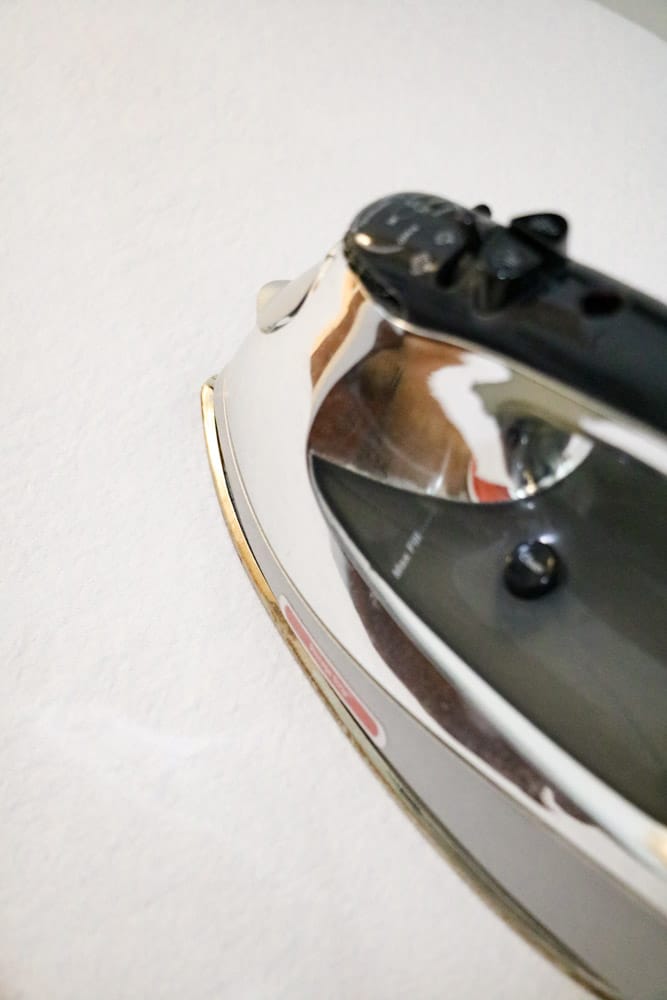
Before we start upholstering iron out your headboard fabric to get any wrinkles or creases out. It is much easier to do it now. You'll want the front of your headboard to be as smooth as possible.
What is the best fabric for upholstered headboard?
You might be asking what is the best fabric to use for an upholstered headboard. The answer to that is a upholstery weight fabric or a canvas material like this drop cloth.
Next lay the upholstery fabric or drop cloth on a flat surface smoothing out all wrinkles.
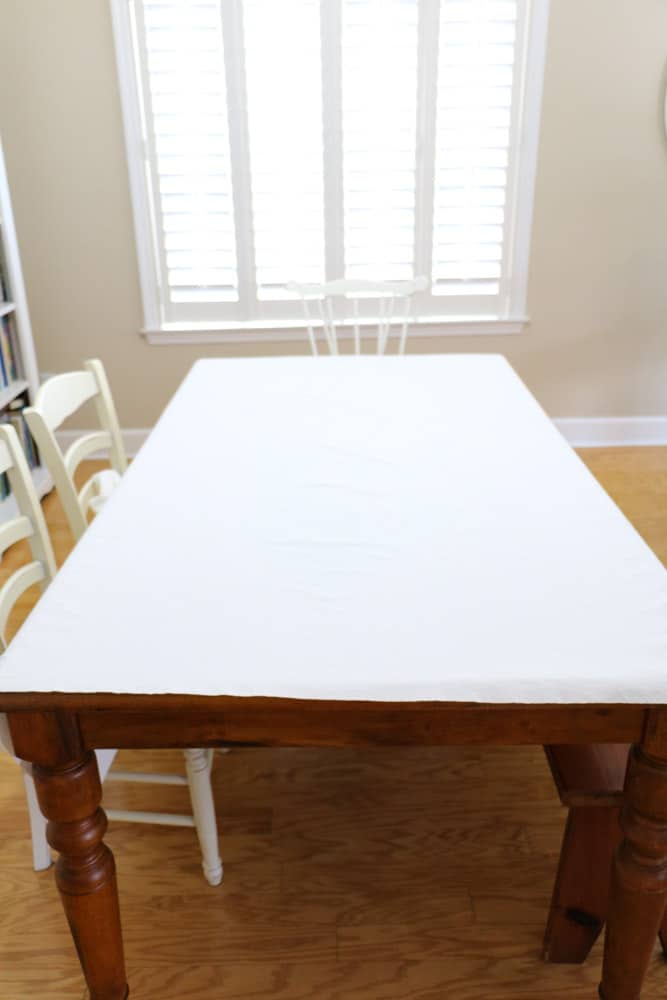
Then lay the quilt batting over it or you can us upholstery foam. I laid out three layers of batting.
(Update: you can use spray adhesive between each layer like professional upholster do but I didn't use it and it is holding up nicely after years of use.)
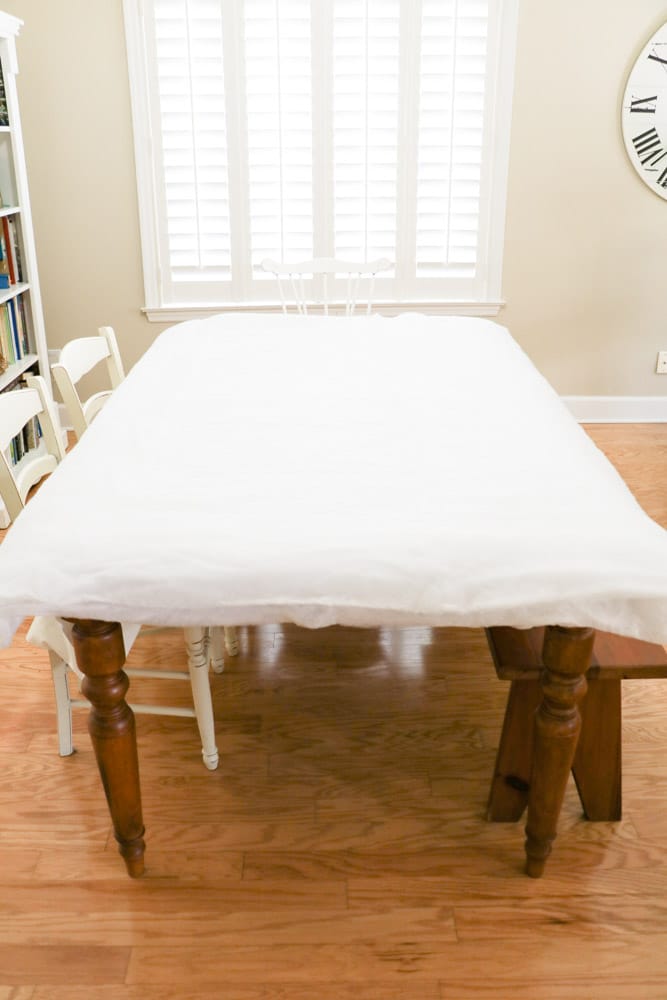
Then lay the metal bed down on top of the fabric and batting with the pegboard side down.
Now find a place to begin and pull the fabric and quilt batting around the frame of the metal bed and staple it down with the staple gun. No sewing required. Continue to do this moving in one direction.
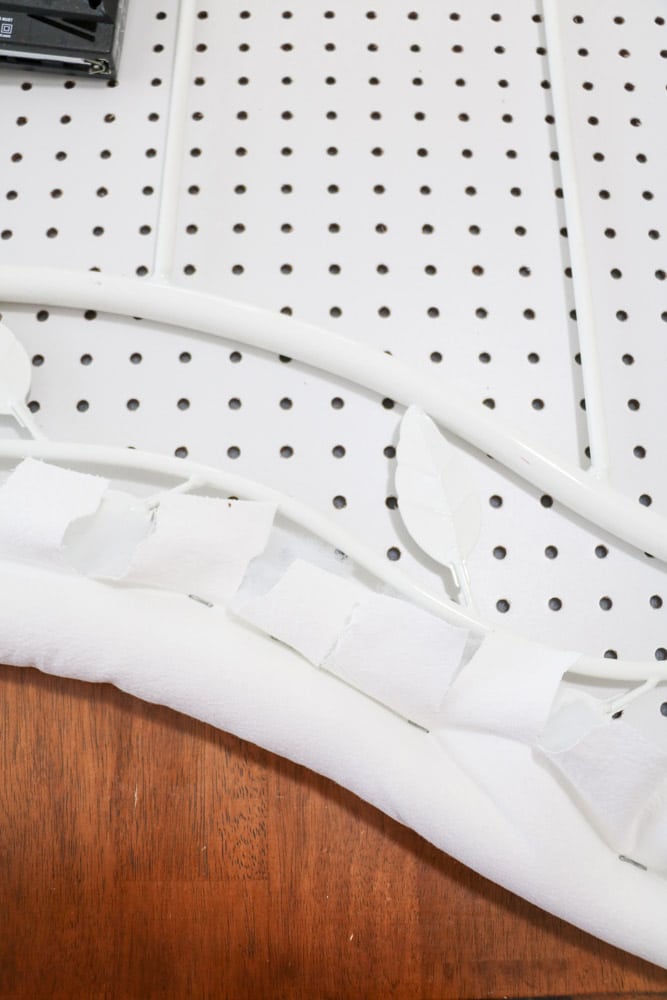
If you get to a place that has a curve you will need to cut slits into the fabric so the fabric moves gracefully around the curve rather than folding. On inside curves, I cut v shapes but on outside curves, I cut straight cuts or slits.
The front of the headboard will look smooth and beautiful.
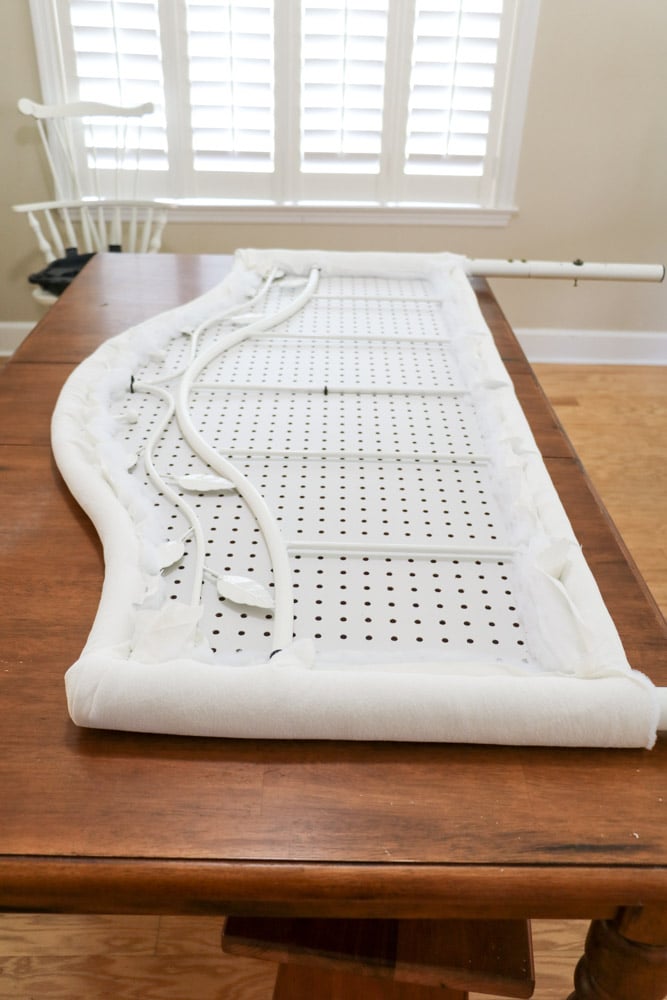
Also, if you find a place where you cannot wrap the fabric use zigzag scissors to cut the edge. This will keep the fabric from fraying. As you can see, there is a small amount of fabric left and you'll want to trim any excess fabric beyond that.
It will keep the back of the headboard neat.
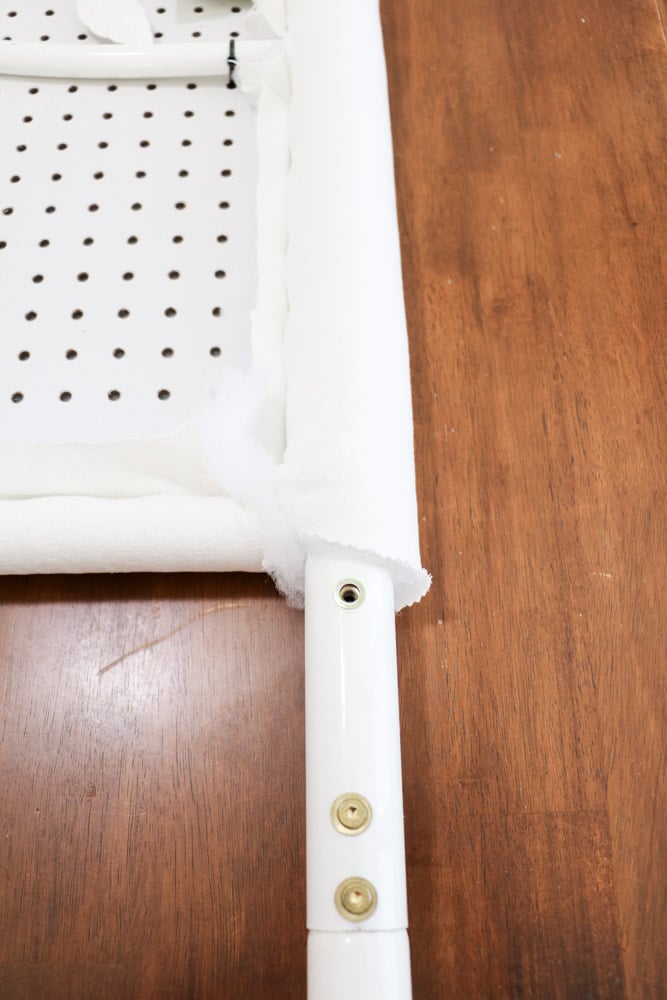
Guess what? You are finished!!! You have your own DIY fabric headboard. Your headboard's new look makes it look like a new headboard.
Now all you need to do is attach it to your bed frame and add your favorite mattress.
How much does it cost to make an upholstered headboard?
Good news – this DIY project won't cost you a lot of money.
If you are using an old metal frame, pegboard, bleach drop cloth and quilt batting, this headboard is cheap costing around 50.00.
You can also cut wood instead of using an old metal frame and again this project would be under 75.00. Or use an old wooden headboard. This project makes a big impact when it comes to changing the look of your bedroom or guest room.
Final Thoughts on Converting Metal Headboard to Upholstered
Can you believe how quick, easy, inexpensive, and beautiful this headboard turned out and with only a limited amount of tools?
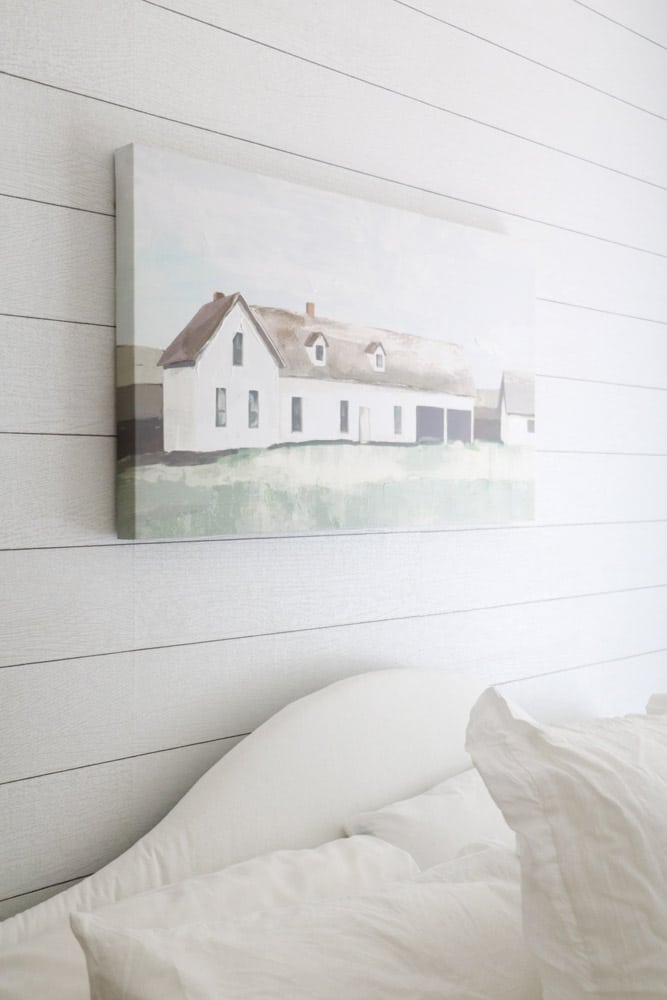
Here are a few last tips on making this headboard. If you want a tufted look you can add buttons using an upholstery needle. Tufting is such a classy look.
If you get your fabric from a fabric store, be sure to use an upholstery weight fabric or linen which is a thicker fabric or a drop cloth like I did.
If you want to bleach your drop cloth know that not all drop cloths are created equal. I have found some that will not bleach so tap any blue drop cloth text to take you to the one I buy.
Last, to bleach your dropcloth just put it in a top load washer with hot water and lots of bleach and let it sit for 6 to 8 hours agitating the tub every hour.
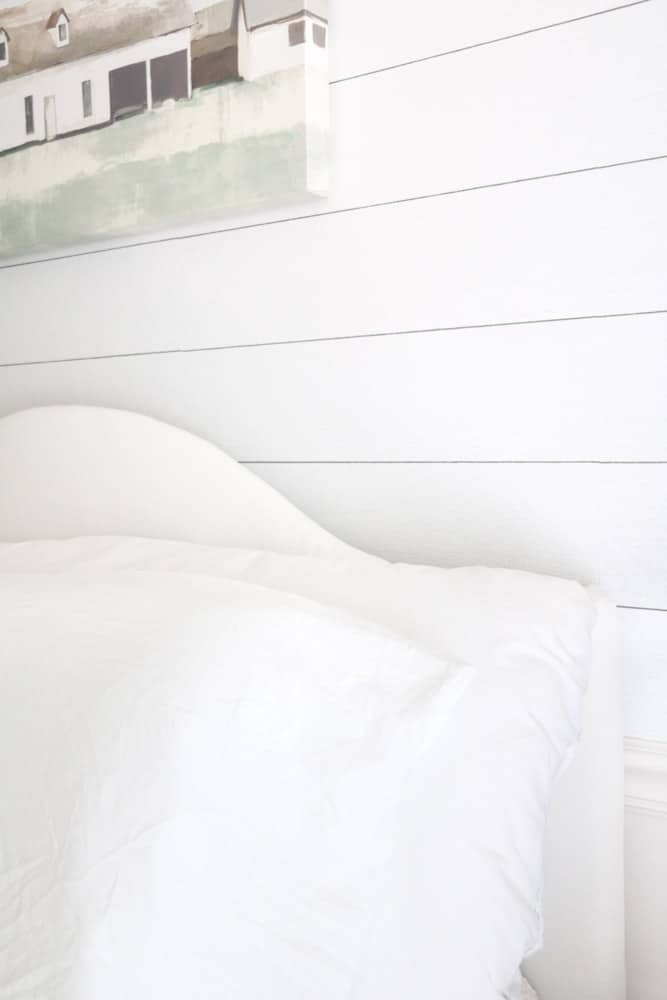
I hope you enjoyed this headboard tutorial. And if you would like some other simple DIY projects to check out this easy DIY basket pendant light or how to install peel and stick wallpaper like this shiplap wall in the guest bedroom.
I hope you have found this post to be helpful and here are pictures of the final product.
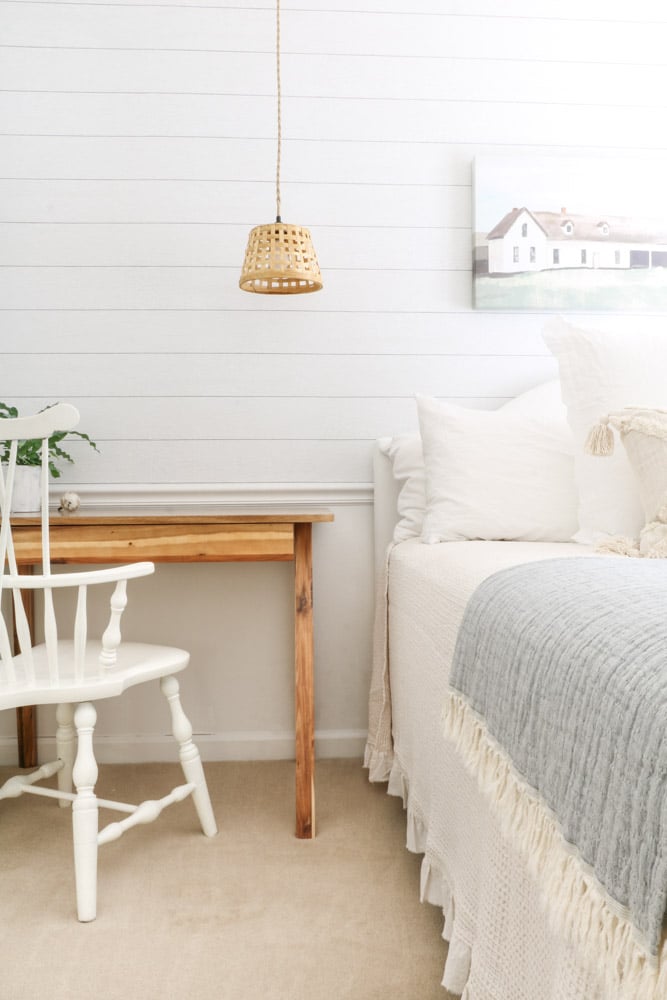
Now it is your turn. Ready to make your own headboard?
For more inspiration and ideas for small bedrooms check out these bedroom ideas for small rooms.
Happy Decorating!


1 thought on “How to Make an Upholstered Headboard (3 Simple Steps)”