
Have you ever looked at your TV and thought… why does this big black box ruin everything?
I felt the same way.
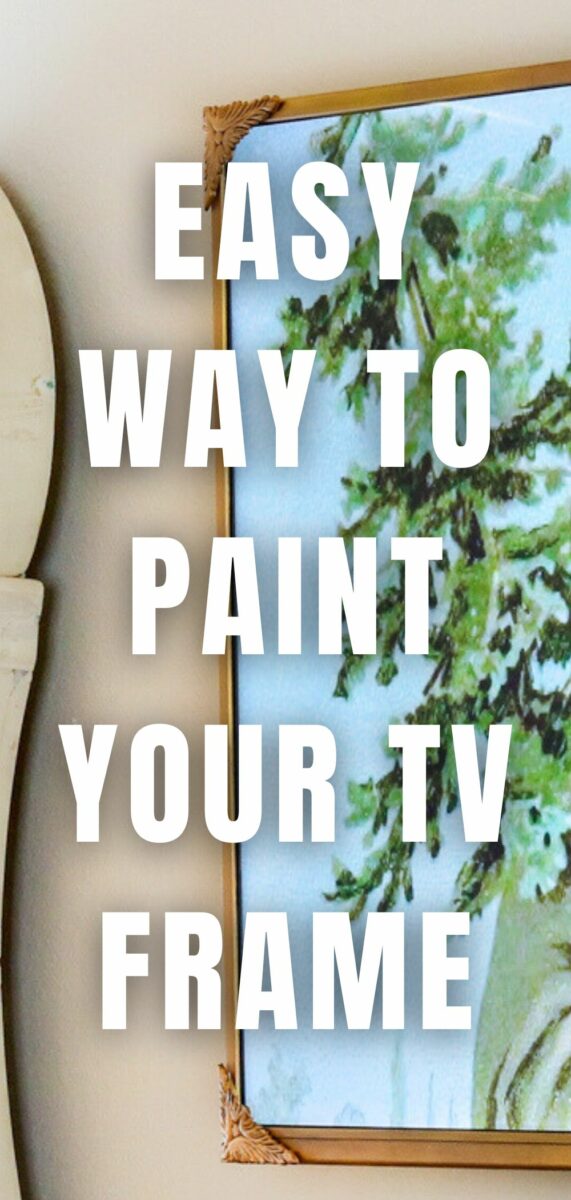
So instead of buying a pricey frame TV, I tried something a little bold. I decided to paint my TV frame, and four years later, it still looks amazing.
In this post, I’m sharing exactly how to paint a TV frame step by step, along with a few tips I wish I knew before I started.
I originally thought about building a frame, but then I had a simpler idea—to paint the TV frame instead. It was my first time trying it, and it turned out even better than I imagined.
So today, I am sharing step by step how to paint your TV frame. What you'll see here is modeled from a Samsung frame TV. I was inspired while looking at Samsung Frame TVs.
Can you Paint TV Frames?
Yes, you can paint a TV frame, and it’s easier than you might think.
With a little prep and the right paint, it holds up beautifully and can completely transform the look of your space.
Rather Watch Than Read:
How to Paint TV Frame (Step-by-Step DIY)
Gather Your Supplies
The first step in all DIY projects is to gather your supplies. Here's what you need to make your TV frame look like a picture frame. The great thing is that it doesn't cost much money.
- Cleaner like Windex
- Painter's tape
- Fine grit sanding block
- Paper towels (damp to remove grit and clean tv)
- Artist paint brush
- Outdoor acrylic paint (DecoArt Outdoor Acrylic Color Splendid Gold)
- Rub ‘n Buff
- Brown wax (Dixie Belle is what I used)
- Double-sided foam tape (I found mine at Dollar Tree)
- Soft cloth to remove wax (or use an old sock as I did)
- Wood ornate corner embellishment
Designer Tip:
If you’re nervous about painting your TV, test a small hidden corner first. Once I saw how well the paint adhered, I felt so much more confident finishing the project.
1. Clean your TV
The first thing you'll want to do is clean your TV thoroughly. I used paper towels and Windex. Be sure to clean the whole thing, the TV screen, in addition to the frame.
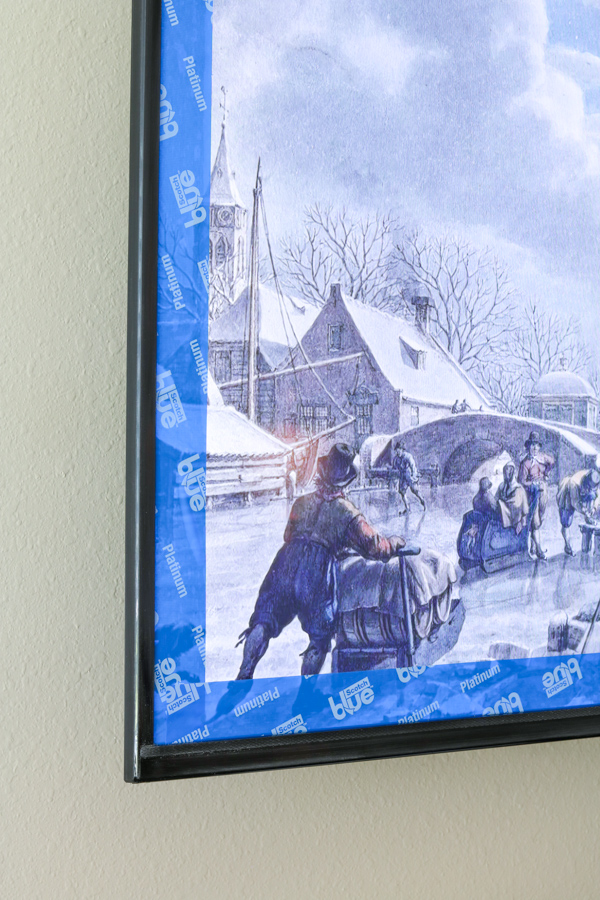
2. Tape the Inside
The next step is to use painter's tape to cover the inside of the screen to prevent paint from getting on it. As you put the tape on, be sure to get it as tight against the frame as possible. If you can, and depending on the frame fit, it's a great option to push the tape down inside of the frame. Along the other side of the tape, you can lightly attach it to the screen.
Side note: Turn the TV on to increase the contrast between the screen and the frame. It will make things much easier.
3. Sand the Frame and Remove the Grit
Next, take your sanding block and rough up each flat surface of the frame and the side. Once you've sanded all four sides, use a damp rag or paper towel to remove any grit.
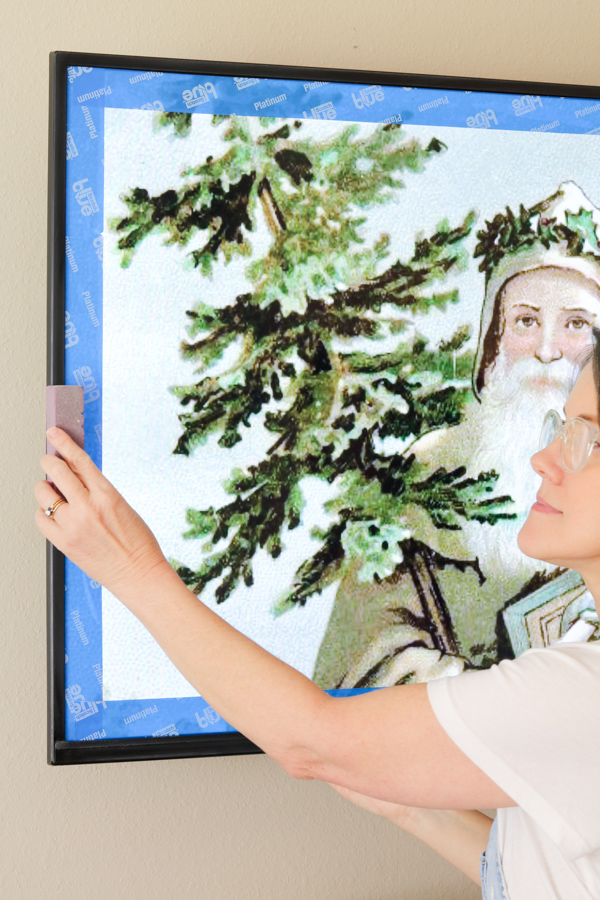
Take your time with this prep work, as it will make the rest of the project go much more smoothly.
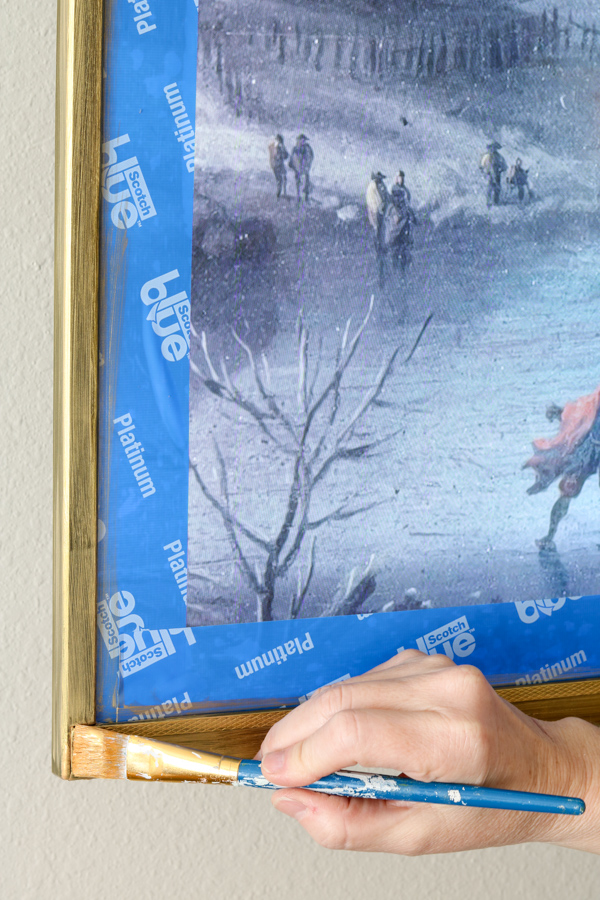
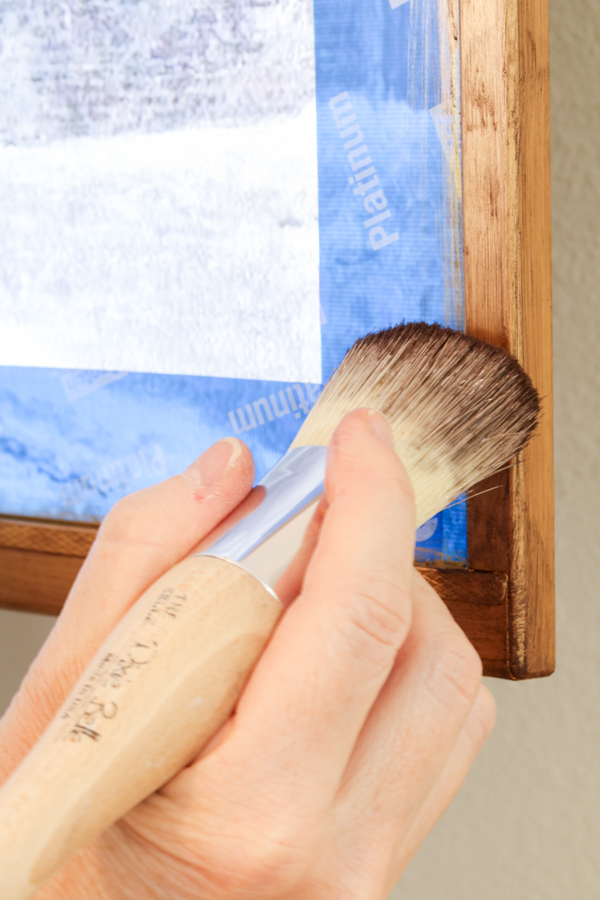
4. Paint the frame with three coats of outdoor acrylic
Before you start painting, look for any clear part on the frame that may be where your remote communicates with your TV sensor. It's usually on the bottom of the TV, but it could be at the top of the TV. Be sure to avoid painting over that area.
Here's a tip – one of the best ways to save time is to use a primer before you start painting. I didn't do that, and it took more coats of paint to cover the black of the frame than it would have if I had primed it first.
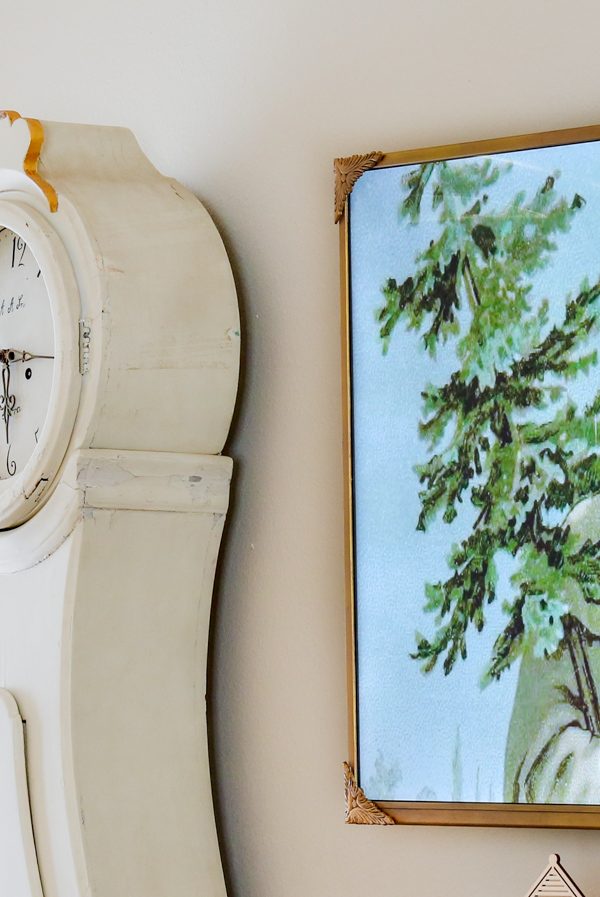
I'm going to use a gold outdoor acrylic paint to paint the TV frame. I am going for a vintage frame look. It goes on thinly, so you'll need to add multiple coats. Let each coat dry for 15-20 minutes before adding the next coat.
Here's a tip – once you finish painting a side of your TV frame, it's a great idea to take your paint brush and run it in one long stroke along the side to blend the paint.
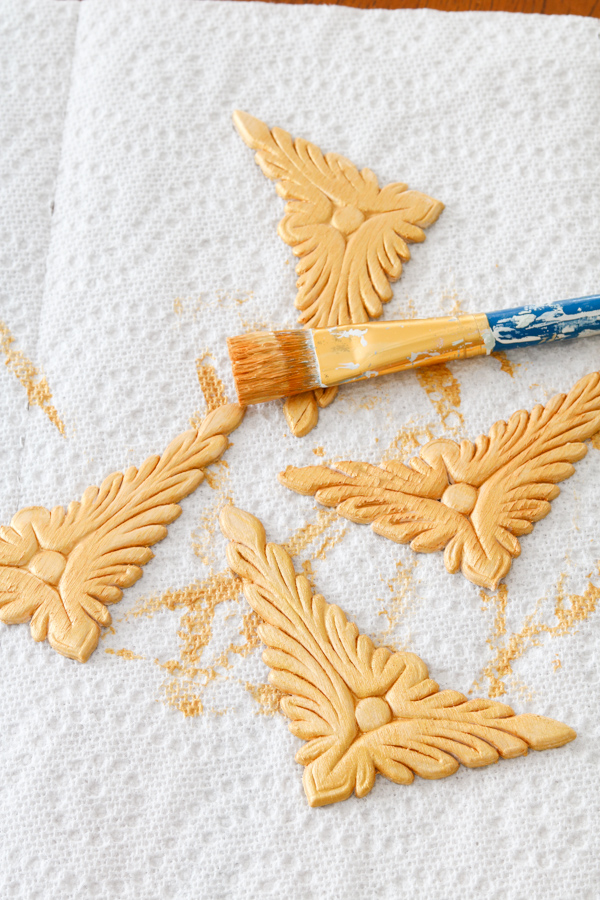
While the paint on your TV frame dries, you can use the time to paint the embellishments that will go along the corners of your TV. I have ornate pieces of wood for each corner and will paint them with several coats of the gold outdoor acrylic paint, just like I am doing with the TV frame.
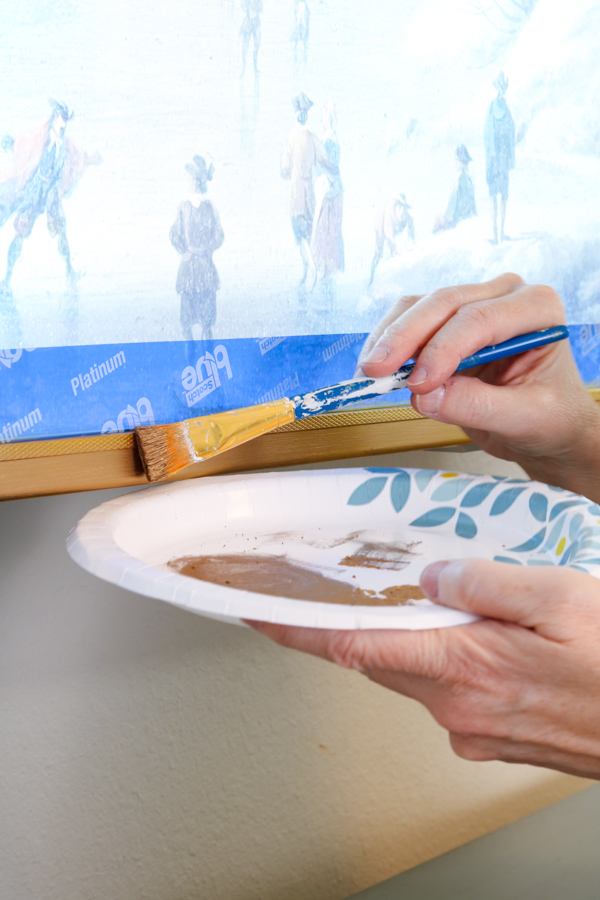
5. Paint Rub ‘n Buff (if you want an antique look)
After three coats of paint have dried, I'm going to put Rub n' Buff over the gold. To do this, I simply put the Rub ‘n Buff on a paper plate and, using the same paint brush, dab it into the Rub ‘n Buff and then wipe it over the gold paint. You'll do this to the embellishments and the TV frame.
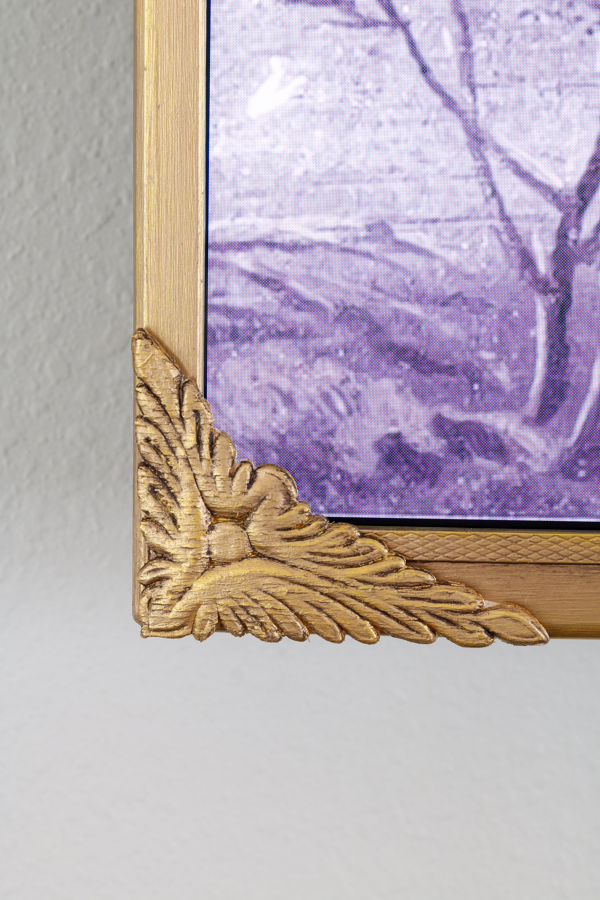
6. Add Dark Wax and Buff it Off
Once the Rub ‘n Buff has dried, use a brush to add the brown wax to the embellishments, which will add a darker color to the creases, and is a great way to add depth and give them a nice vintage look. After you add the wax, buff off the wax with a soft cloth.
You do not need to add wax or rub n' buff if you are not planning to do a vintage looking frame.
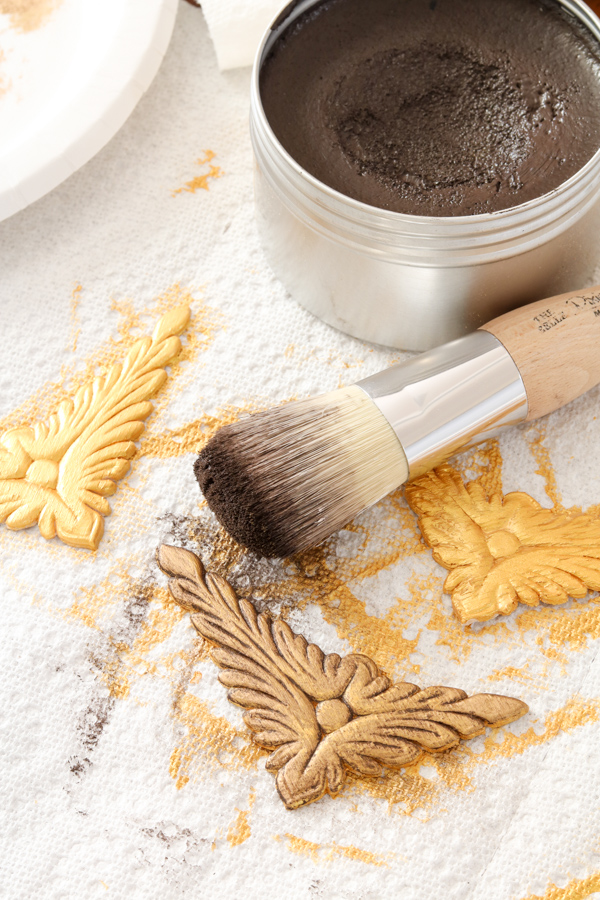
Paint the wax onto the TV frame in a circular motion first, then go back over it with a straight buffing motion. Then you'll use the soft cloth to buff the wax, and you'll end up with a nice patina.
Once that's done, you can slowly and carefully remove the painter's tape.
7. Add ornate wood pieces
Lastly, I cut small pieces of double sided foam tape, attached them to the wood embellishments, and attach them to the corners of the TV frame.
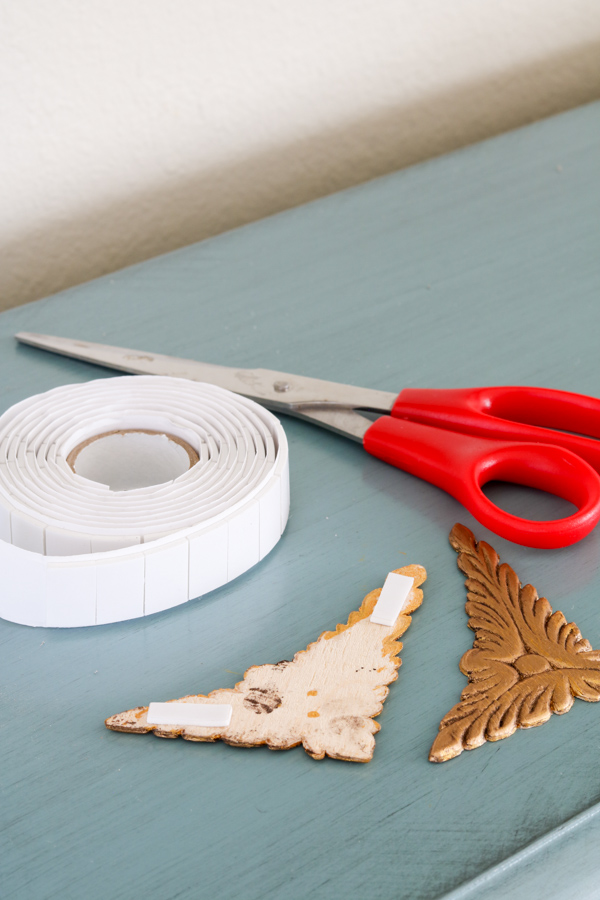
They add an elegant touch to a simple frame that's perfect!
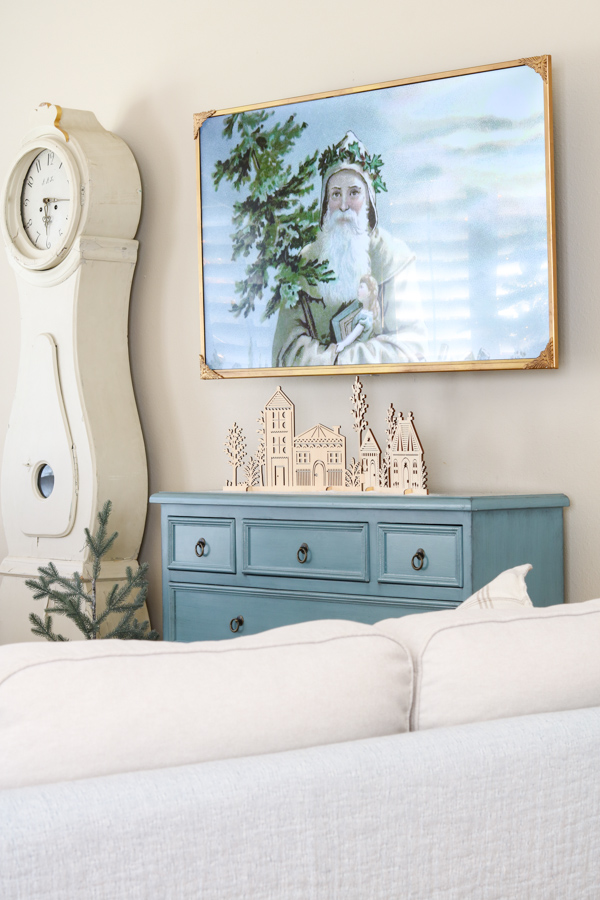
Your flat panel TV is now one more of the beautiful things in your home; an art piece for you to watch your favorite show on.
Does Painted TV Frame Hold Up Over Time?
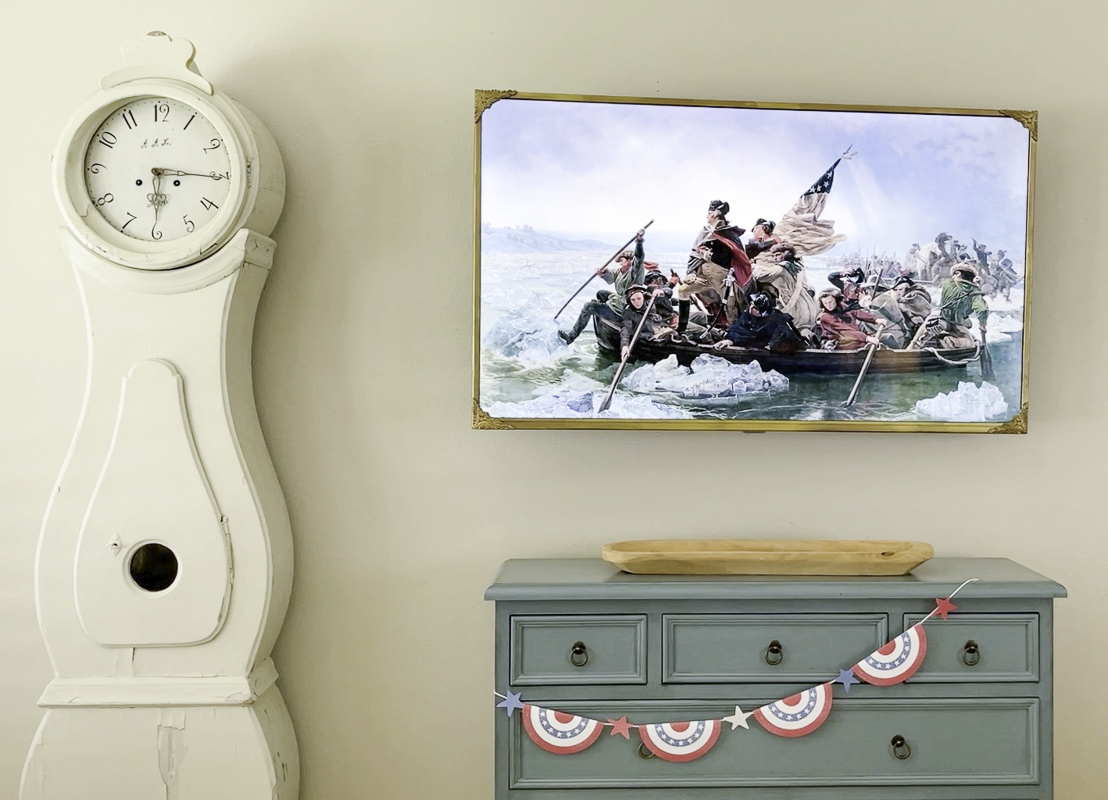
I painted my TV frame in 2022, and I can honestly say I would do it again in a heartbeat. It has held up beautifully with no peeling or chipping. Even with regular use, it still looks like a custom frame.
If you're on the fence, this is your sign. It truly transforms your TV into something that looks intentional and decorative instead of distracting.
The photo below was several years after I painted it. I used this famous photo for the 4th of July. The painted trim is holding up very well.
This next photo is four years later, and to make the frame look even more impressive, I selected a YouTube video with an integrated frame.
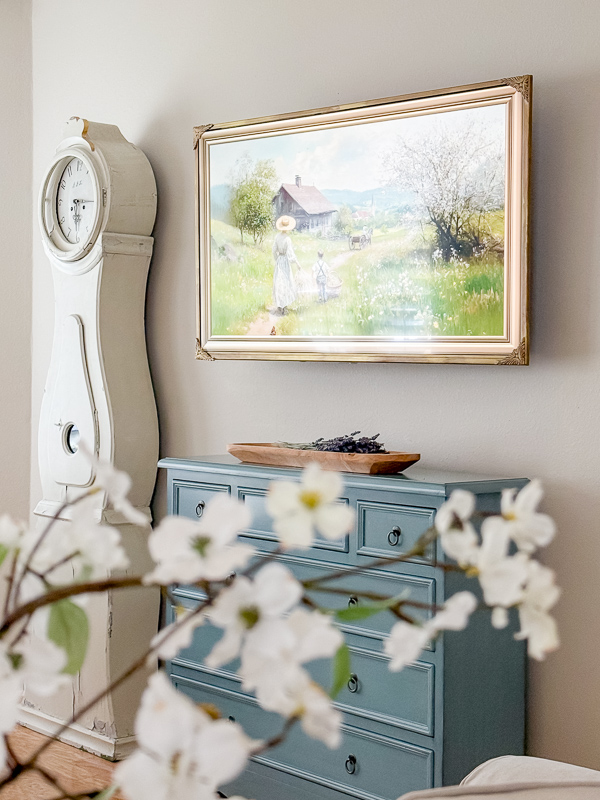
Here is the YouTube video I selected for my painted TV frame. It truly adds a lot with the integrated frame.
FAQ: Painting a TV Frame
Can you really paint a TV frame?
Yes! As long as you prep it properly, the paint adheres well and lasts.
Will painting damage your TV?
Not if you avoid vents and sensors and prep correctly.
What kind of paint should you use?
Outdoor acrylic works great because it’s durable and flexible.
Do you need to sand the frame first?
Yes, lightly sanding helps the paint stick better.
Final Thoughts
You can complete the new look of your TV by displaying digital art on your TV screen. I created a playlist of Vintage tv art on my YouTube. It makes your TV look just like a piece of art in a wood frame! It completely changes the look of your family room.
Your TV wall can now be a gallery wall. You can learn more about how to hang a gallery wall here. Or if your TV is in your bedroom, your newly painted TV frame would wonderfully complement an antique vintage aesthetic bedroom.
So what do you think? Would you be willing to paint your TV frame? I know it can be intimidating, especially if you have a new TV. However, it was really easier than I thought it would be.
Whatever the size of your TV, I think you'll be happy with the results. I'll keep you updated on how it holds up. If you decide to paint your TV frame, I'd love to hear how it goes!
Happy Decorating!


How to Paint Your TV Frame
Learn how to paint your tv frame (mine is a vintage frame style) and where to find art on YouTube for your television.
Materials
- Cleaner like Windex
- Painter's tape
- Fine grit sanding block
- Paper towels (damp to remove grit and clean the TV)
- Artist paint brush
- Outdoor acrylic paint (DecoArt Outdoor Acrylic Color Splendid Gold)
- Rub 'n Buff
- Brown wax (Dixie Belle is what I used)
- Double-sided foam tape (I found mine at Dollar Tree)
- Soft cloth to remove wax (or use an old sock as I did)
- Wood ornate corner embellishment
Instructions
- The first thing you're going to want to clean your TV well. I used paper towels and Windex. Be sure to clean the whole thing; the TV screen in addition to the frame.
- The next step is to use painter's tape to tape off the inside of the screen to ensure you don't get any paint on the screen. As you put the tape on, be sure to get it as tight against the frame as possible.
- Take your sanding block and rough up the each flat surface of the frame and the side. Once you've sanded all four sides, use a damp rag or paper towel to remove any grit.
- I used a gold outdoor acrylic paint to paint the TV frame. It goes on thinly so you'll need to add multiple coats. Let each coat dry for 15-20 minutes before adding the next coat.
- While the paint on your TV frame dries, you can use the time to paint the embellishments that will go along the corners of your TV.
- After the paint has dried, put Rub n' Buff over the gold. To do this, simply put the Rub 'n Buff on a paper plate and, using the same paint brush, dab it into the Rub 'n Buff and then wipe it over the gold paint. Do this to the embellishments and the TV frame.
- Once the Rub 'n Buff has dried, use a brush to add the wax to the embellishments which will add a darker color into the creases, and is a great way to add depth and give them a nice vintage look. After you add the wax, wipe off any excess with a soft cloth.
- Paint the wax onto the TV frame in a circular motion first, then go back over it with a straight buffing motion. Then you'll use the soft cloth to buff the wax and you'll end up with a nice patina.
- Once that's done, you can slowly and carefully remove the painter's tape
- Cut small pieces of double sided foam tape, attach them to the wood embellishments, and attach them to the corners of the TV frame.
Notes
- Before you start painting, look for any clear part on the frame that may be where your remote communicates with your TV sensor. It's usually on the bottom of the TV but it could be at the top of the TV. Be sure to avoid painting over that area.
- Once you finish painting a side of your TV frame, it's a great idea to take your paint brush and run it in one long stroke along the side to blend the paint.
Source of corner embellishments please and thank you
Hi Susan! Thank you for bringing it to my attention that I left off the wood embellishment on the supply list. I just added it in the post. Click on the blue writing to carry you to the store where I bought it.
Thank you for this!
You’re welcome!