
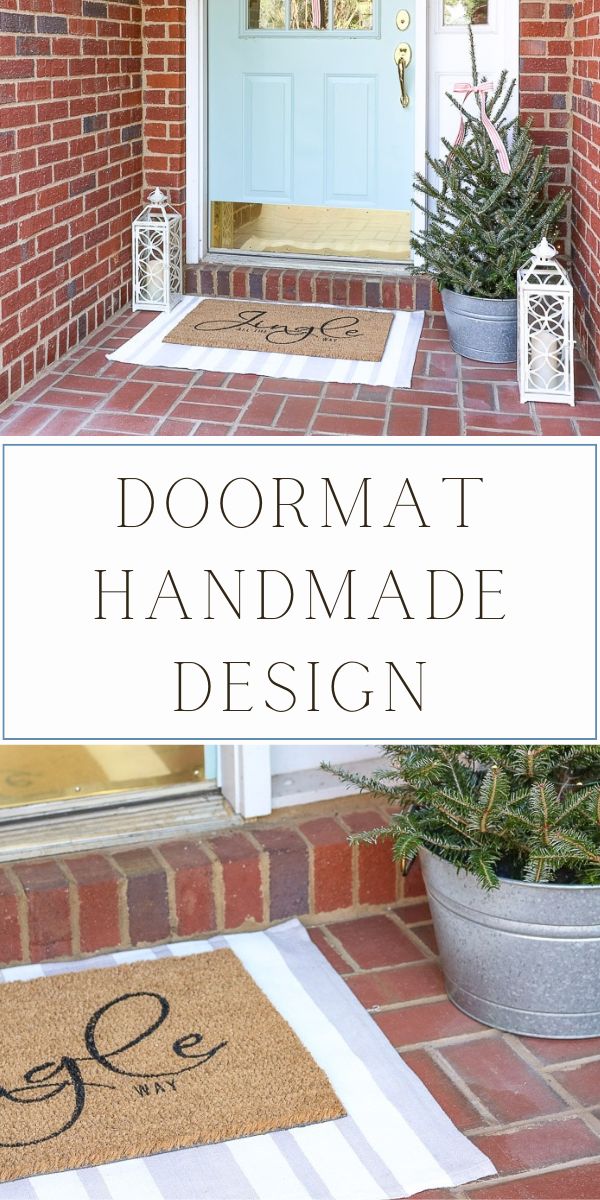
Design your own doormat with these simple steps. Personalised door mats are fun and pretty. This step by step tutorial will show you how easy and inexpensive it is to make personalized custom floor mats.

I discovered during the holidays just how easy it is to design your own doormat.
After searching and searching for the right saying, I finally decided to tackle creating my own personalized doormats.
With something this simple to create, I knew I wanted to share it with you.
Design Your Own Doormat
Before you begin any project, it is good to collect all the things you will need to design your own doormat.
Custom Doormat Supplies
- Blank coco coir solid doormat (mine is from Amazon, but I linked one from Target that is cheaper)
- Outdoor acrylic paint
- Stencil or vinyl design cut on Cricut or Silhouette vinyl cutter
- Small artist paint brush
- Scissors
- Xacto Knife
- Painters Tape
Shop Supplies:

How to make a custom doormat
Your next step in this personalized floor mat project is to create a vinyl stencil if you weren't able to purchase one.
I used a silhouette vinyl cutter to create my design.

Measure how big you want the lettering to be and then make sure the writing is to scale on the silhouette computer software.
I had to cut my design on two pieces of vinyl. Here is a picture showing the top part of the plan.

It was much easier than it sounds so don't be intimidated by this part of the project.
However, if you do not have a vinyl cutting machine, there are loads of options on Etsy.
Weed Lettering from Vinyl
First, weed out all the letters from the vinyl.
Remember you are creating a stencil, so the part you to want to keep is the outside of the letters. The inside is where you will be painting.

Peel the Backing Off of the Vinyl Stencil
Before you peel the backing off cut a straight line across the bottom close to the letters and the top of the bottom row of letters.
Peeling the back off is a slow and tedious step. Take your time thinking through the letters and how they meet.
You can avoid this step if your letters can fit on one vinyl sheet, but in my case, I had to piece them together.
Once I felt like they would fit together like a puzzle I peeled the back off of the top piece and lay it on the coco coir solid doormat.

Next, I peeled the bottom piece and with some help lay it on the bottom half lining up the letters.
You will notice I had to use some painters tape in one spot to hold it together.
Paint the Stencil
When stenciling you want to be careful not to let the acrylic outdoor paint bleed under the stencil. So you work from the top of the stencil surface into the open area where your design will go.
But coco coir material needs a little more than a swiping motion.
Use your brush and dab down into the fibers.

You will be surprised at how it wasn't bleeding all over the place. The design was coming out beautiful!
Very exciting!
Pull the Vinyl
Now that all the letters have been stenciled it is time to pull the vinyl.
Let me encourage you to put the trash can nearby.
As you pull the vinyl up from one side carefully try to keep it from getting any paint on the coco coir doormat.
Then discard of the vinyl.
Clean up the Design
Next, take your paintbrush and add a little acrylic outdoor paint here and there to make the design darker and full.
Take your time and be careful not to get paint on the mat where it doesn't belong.
And guess what? Now you are all finished. Yay!
It is time to style your beautiful rug at your front or back door and you know I have an idea for you.
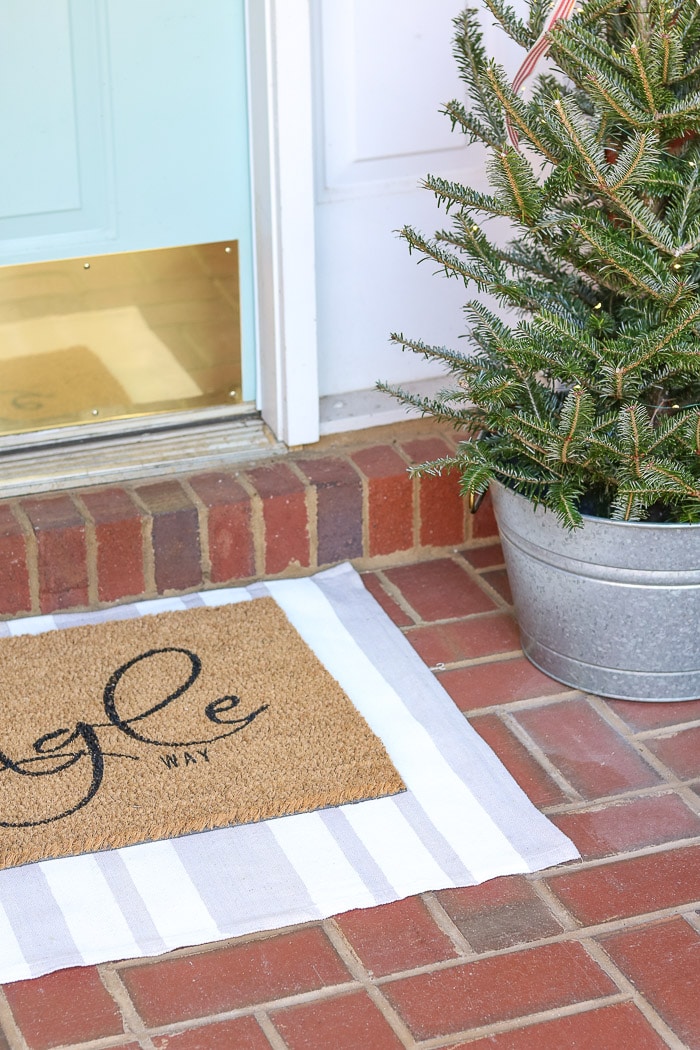
Layered Rugs
Layered rugs are super popular right now.
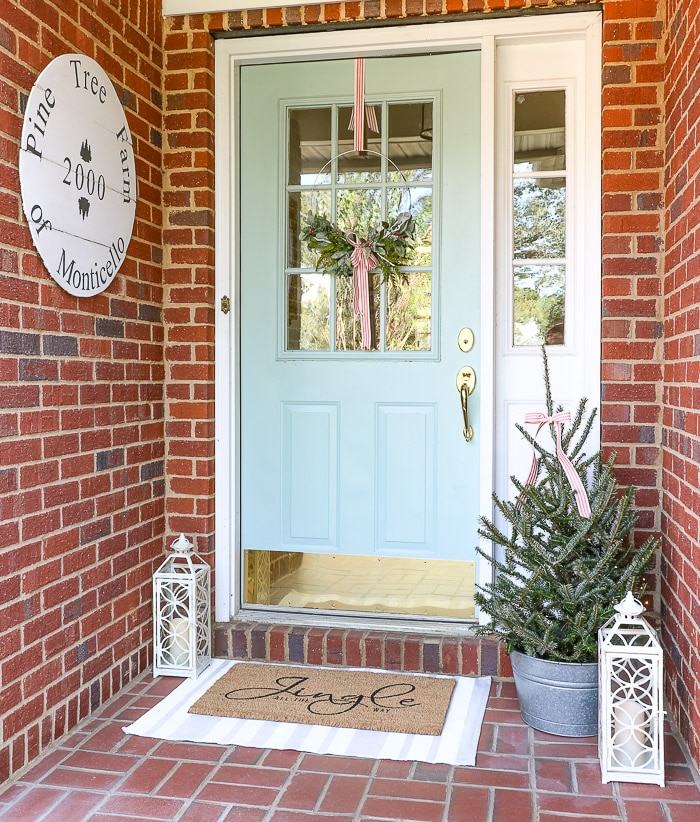
You can make a rug to go under your new personalised door mat using this chalk paint drop cloth DIY floor mat.
This chalk painted floor mat is under our “jingle all the way” personalized doormat.
Conclusion
Now you know how to personalize a solid doormat it is time to get some other ideas for your porch.
And if you need help with styling your front porch here are small front porch decorating tips from the spring and some amazing modern front door ideas.
Remember it is easy to design your own doormat.
Happy Decorating!

If you enjoyed these ideas, please sign up for emails, so you don’t miss out on more fun decorating tips and ideas HERE.
What a wonderful idea! I love your blog!
Thanks Marty!! 🙂
Great idea and your front porch is gorgeous!
Anne
What is the font you used for “jingle” I’ve been SEARCHING!
Hi Jayme! That is a good question. It looks like I used SNF Infinity Bold. If there is anything else I can help with please let me know.
How much do you charge for the svg Jingle all the way
Hi Sara! I do not have it available to purchase but I will check into it and get back with you here in comments.
Hi Linda
Can I buy this svg from you please. I could not find the font.
Thanks Sara