
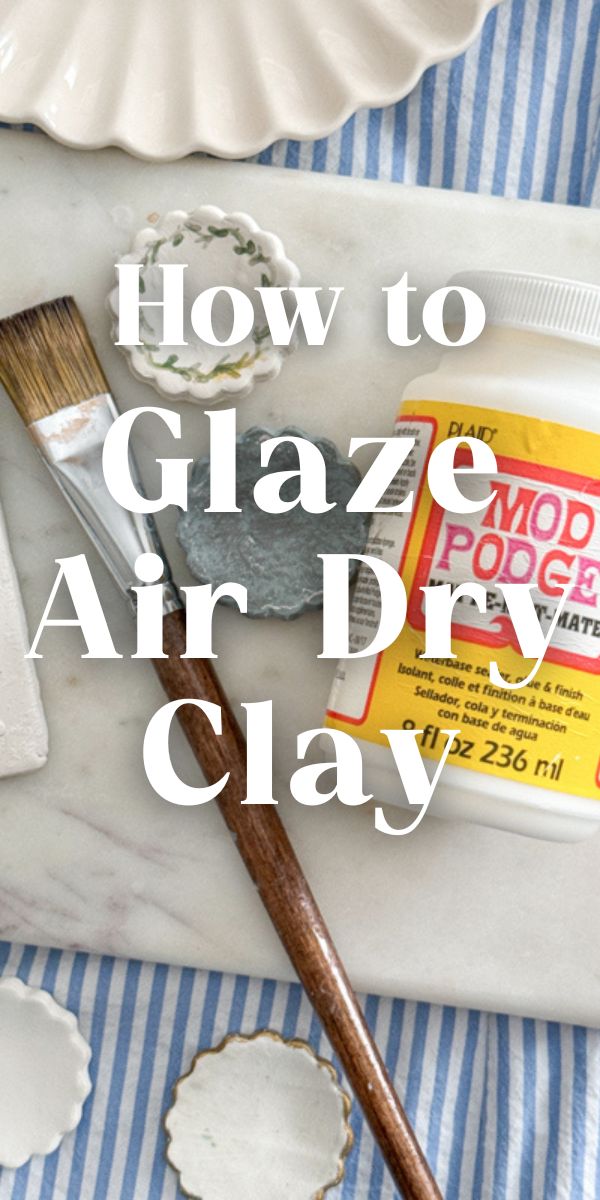
While you can't glaze air-dry clay using a kiln, you can still achieve a stunning glazed pottery effect with the help of varnishes and sealants.
Sealing your air-dry clay sculpture is a fantastic way to add a protective layer that preserves all your meticulous efforts. I will show you how to seal air dry clay crafts in a few different ways.
I do a lot of air-dry clay projects like bowls, garlands, Christmas tree decorations or other seasonal decor.
Unlike conventional pottery clay, air-dry clay doesn't require firing to harden, which is incredibly convenient!
However, this convenience also means that air-dry clay can still absorb moisture and may soften if it comes into contact with water. Applying a sealant adds a layer of protection to your creation.
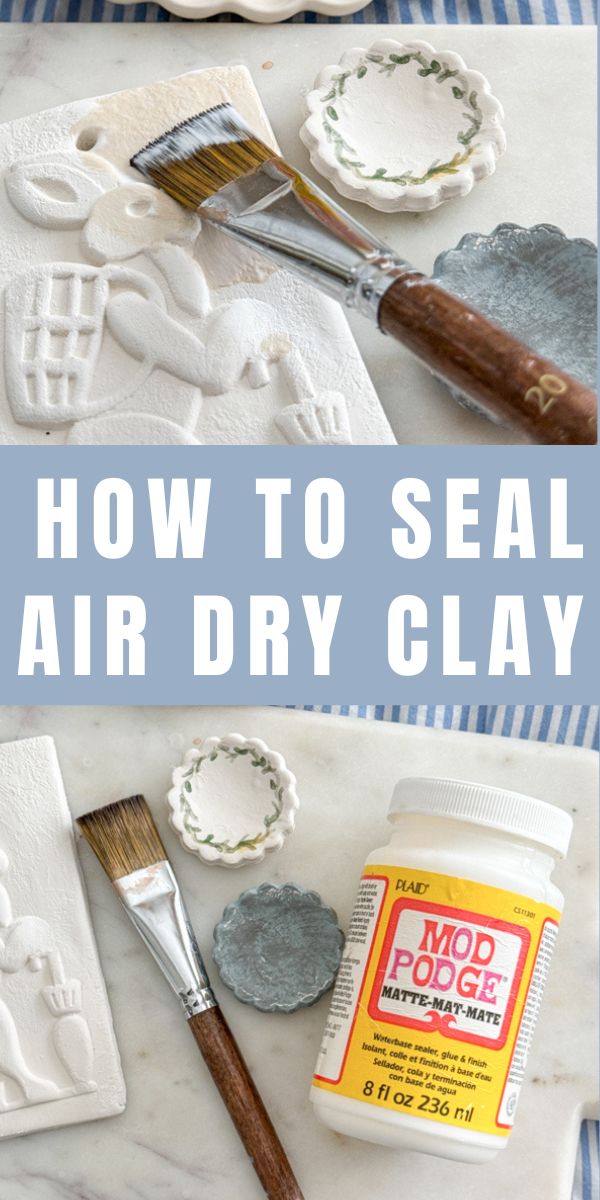
How to Seal Air Dry Clay
Although making air-dry clay entirely waterproof is impossible, you can make it water-resistant. To get the best results, ensure your clay model is completely dry—in the traditional way.
It will take around anywhere from 24 to 72 hours—before applying your sealant. Or, if you're short on time, check out my post How to Bake Air Dry Clay in Oven.
It's also a good idea to run a lightly damp cloth over your creation so you don't get any unsightly dust bumps in the finish.
There are several methods to help seal your clay. Today, I'll share all the tips and tricks I've learned to seal air-dry clay projects perfectly every time.
If you decide to paint your air dry clay craft with the paint of your choice, be sure it's completely dry before adding the sealant. Now, let's dive right into the ultimate guide of how to seal air dry clay!
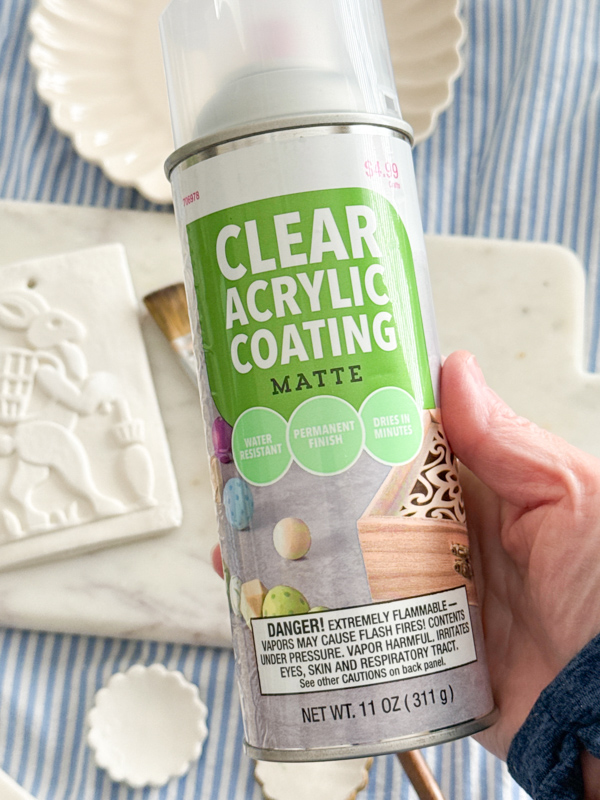
Clear Acrylic Sealer Spray
This is one of my favorite methods for sealing air-dry clay. Clear acrylic sealer spray is one of the easiest techniques, so it's great for beginners and provides a nice, durable finish.
I appreciate how quickly acrylics dry and give an even coat without any brush marks. It's excellent for small shapes and trinkets because it's lightweight and doesn’t add unnecessary bulk or texture.
It’s equally effective for larger projects, as the glossy sprays allow you to cover extensive areas quickly and leave a beautiful finish.
How to Use Clear Acrylic Sealer Spray
- Ensure your clay piece is fully dry and rid of dust.
- Take it outside or to a well-ventilated area.
- Spray a thin, even acrylic spray coat from about 6-8 inches away. If you've ever used a can of spray paint, it's a similar process.
- Let it dry. Repeat in thin coats if needed.
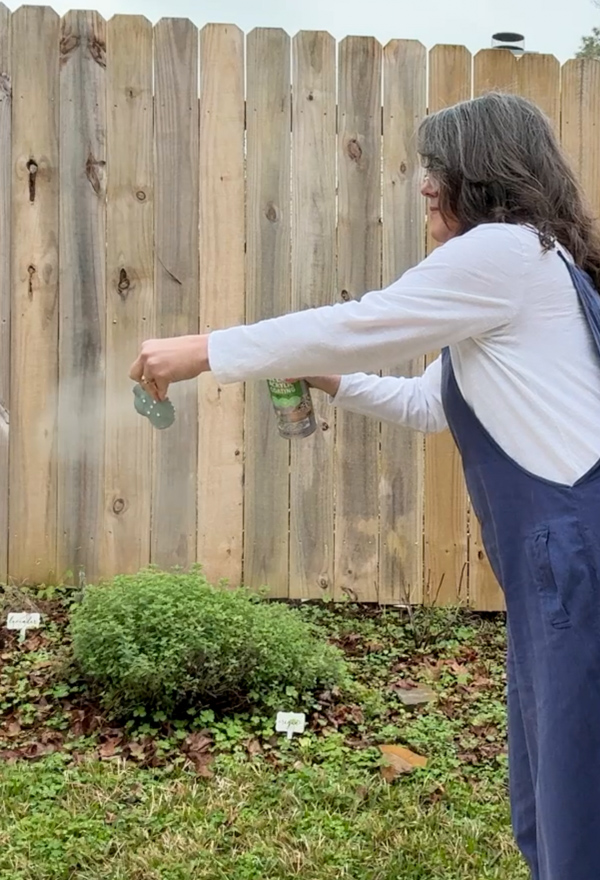
I don't recommend holding your creation and spraying it, but on this day, it was starting to rain, so I had to do something quick. If you can hang your piece, that works the best so you can get all the way around it. Otherwise, set it on something and spray one side at a time.
Decoupage Sealant
Mod Podge is a popular choice and another favorite way to seal air-dry clay. It’s non-toxic, easy to apply, and can double as a sealant and a finish.
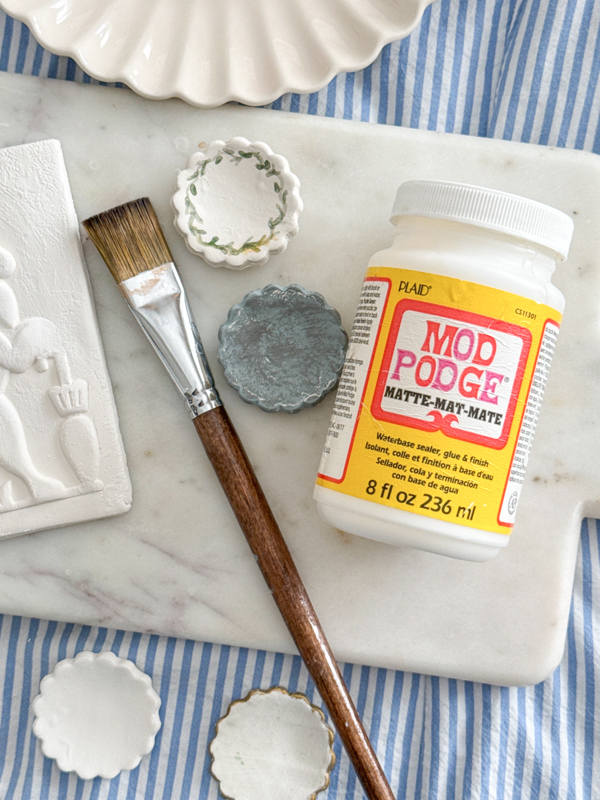
It offers flexibility, as you can find it in glossy or matte finishes. I especially love using matte Mod Podge for air dry clay artwork, and I want to have a nice sheen without the high gloss.
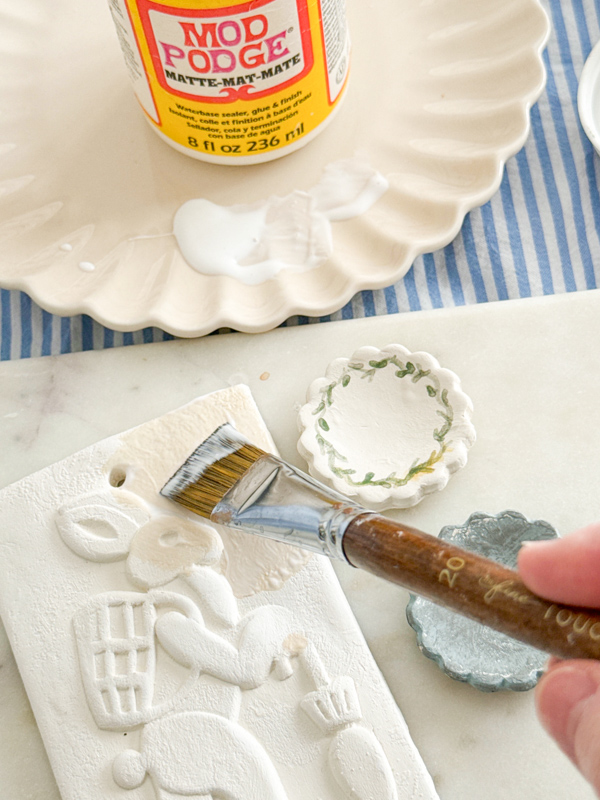
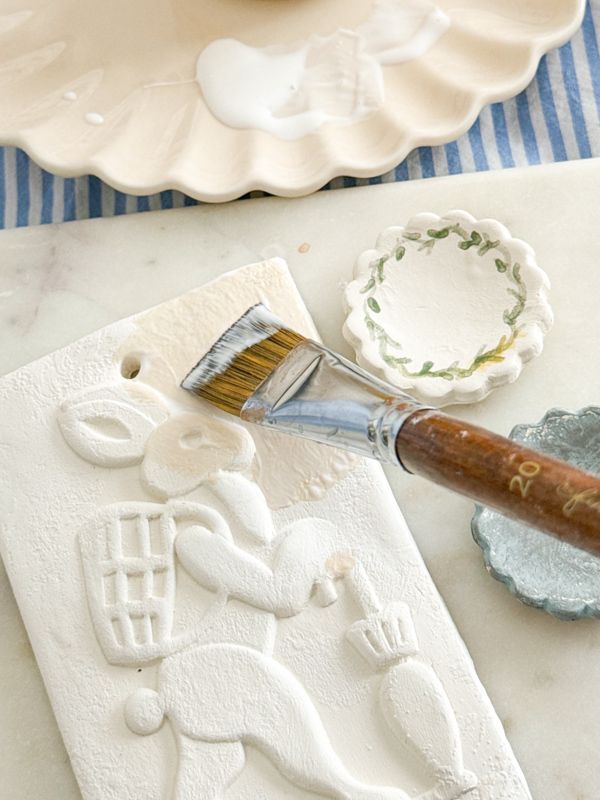
How to Use Decoupage
- Use a clean, soft brush or foam brush to apply a thin layer of Mod Podge over your entire project.
- Let it dry completely (about 20-30 minutes).
- Apply a second layer if you want extra durability.
Polyurethane Varnish
Do you want a really sturdy, professional glossy finish? Polyurethane sealer creates a super-durable layer on your clay and is excellent if you’re making something that will be handled frequently while avoiding bulking.
Truth be told, I have never used varnish on air dry clay, but I came across this YouTube by Red Rocking Bird, and she explains it very well. Here is what I have learned:
How to Use Polyurethane Varnish
- Like with the other options, ensure your clay is completely dry.
- Brush on a thin, even layer of polyurethane varnish gloss, avoiding streaks, or dip your air dry clay creation into the varnish. (Red Rocking Bird recommended Triple Thick Gloss Glaze by Deco Art)
- Let it dry entirely (about an hour) before adding another coat if needed. Enjoy the high gloss surface finish.
I recommend applying one thin layer of varnish at a time and drying between layers instead of one thick layer. This allows everything to dry evenly and prevents cracking.
DIY Epoxy and UV Resin
I haven't tried this method yet, but I've heard amazing things about it and spent some time on research. I have plans to try this in the near future.
This is a great way to go if you want to avoid chips or breakage in your creation and make your clay water-resistant.
Epoxy resin is a bit more involved and takes some practice, but it creates a glassy finish for extra protection and is waterproof. This is a great waterproofing method if your craft will be exposed to liquids.
Use your epoxy resin in a well-ventilated area or wear a mask.
How to Use Epoxy Resin
- Prepare your resin following the package instructions.
- Pour or brush a thin layer over your clay piece, smoothing it out as you go.
- Let it cure completely – this can take up to 24 hours, so be patient. Some require UV-curing, so check the product instructions before use.
I have also heard about UV Resin, which is a popular finish similar to epoxy but less intimidating. It is easier to use because it uses UV rays to harden, so you can put it outside on a sunny day or purchase a UV light to harden the finish.
After doing some research, I found this brand of UV Resin to be the best for air dry clay and is easy to use. In addition to the UV resin, you will need a UV lamp to harden the finish.
DIY Glue and Water Mixture
If you’re in a pinch and don’t have any fancy sealers on hand, you can make your own with some white PVA glue (like Elmer’s) and water.
It’s not as strong as the other options, but it’s better than nothing and works for decorative purposes and pieces that won’t be handled much. And it's safe for kids to help with.
How to Use DIY Glue and Water Mixture
- Mix equal parts PVA glue and water until you have a thin, paintable consistency. Add a small amount of water if it's too thick.
- Brush it over your clay piece, ensuring a smooth application and even thickness.
- Let it dry completely.
Sealing Air Dry Clay with Clear Nail Polish
If you have a small project and need something you might already have around the house, consider using clear nail polish. Here’s how to get a great clear coat with polish:
- Make sure your surface is dust-free and completely dry.
- Apply a thin layer using the brush that comes with the nail polish.
- Allow the polish to dry completely before adding another layer if needed.
See how easy it is to seal your air dry clay with clear nail polish.
Final Thoughts on Sealing Air Dry Clay
Sealing air-dry clay is essential to protect your clay creation and enhance its appearance. I've only used the decoupage and spray acrylic sealer methods, but each method mentioned here has its merits depending on your specific project needs.
These sealing techniques can extend the life of your clay project by making it moisture-resistant and adding long-lasting durability. With a little effort and the right materials, you can ensure your air-dry clay projects look fantastic and last longer.
Looking for More Air Dry Clay Inspiration?
Looking for more air dry clay tips or air dry clay techniques and crafts? Check out these posts:
- How to Paint Air Dry Clay
- How to Bake Air Dry Clay in Oven
- Craft Your Own Air Dry Clay Flower Frog: A Fun DIY for All Ages
- How to Seal Air Dry Clay
Happy Decorating!
