
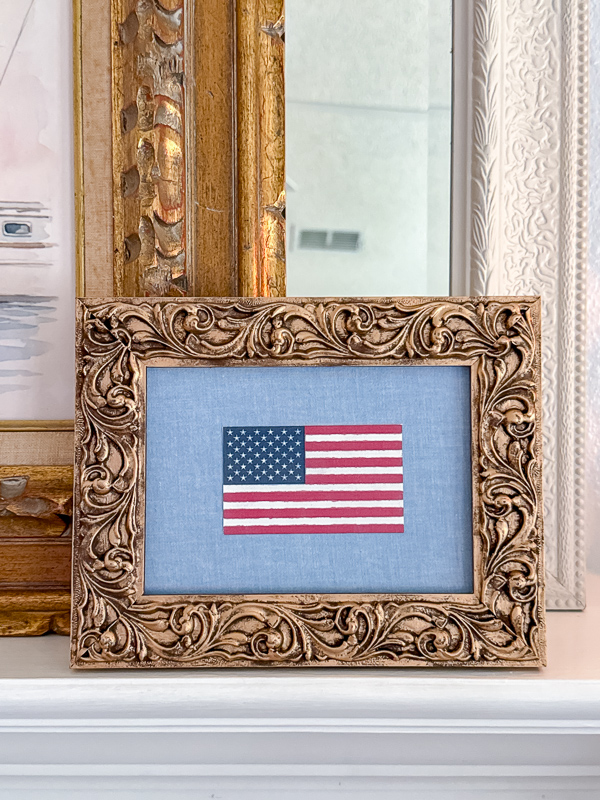
You have probably seen them all over social media, framed American flags with a gorgeous fabric background that look like something from a high-end boutique. The good news is you can make one yourself for much less.
You can frame an actual stick flag simply by removing the material from the stick. To make it look old, you can tea-stain it or use a worn, tired one for a timeless, vintage-framed American flag. But if you want a unique size or historic flag, you will need my idea.
Keep reading to see how to print your American flag and frame it on fabric, and stay tuned for printable vintage flags and at the end when we frame a vintage American flag to give as a gift.
DIY Framed American Flag Art
What You Need for This Project
Here is everything you need to pull this together. Most of it you can find at a craft store, order online, or pick up at the thrift store.
- American flag printable — available in my Etsy shop in both 5×7 and 8×10 sizes (note actual size of flag is smaller than frame size)
- Canvas printable paper — I bought mine at Hobby Lobby (watercolor canvas) or online (for a crisper print, use printable canvas paper)
- Peel and stick foam board — find it at Hobby Lobby for the best price
- Chambray fabric — or any woven fabric with texture (more on this below)
- Spray mount
- Squeegee or old credit card
- X-ACTO knife and ruler — or a rotary cutter or scissors
- Cutting mat
- A thrifted frame in your chosen size
A Quick Note About the Printable
When you download the flag from my Etsy shop, you actually get three flags — the classic American flag, a Betsy Ross flag in historically authentic colors, and a special 250th anniversary design. I will tell you all about them a little further down in the post.
How to Make DIY Framed American Flag Art Step by Step
This project comes together faster than you think. Just follow these five steps, and you will have boutique-worthy patriotic wall decor in no time.
Step 1 — Download and Print Your Flag
Head over to my Etsy shop and download the American flag printable in the size that fits your frame — I have it available to fit 5×7 and 8×10. (Note: the flag size is smaller than the frame so you can see the beautiful fabric behind it)
Once your download is open on your computer, load your watercolor canvas paper into your printer and press print. That is truly all there is to it — no special settings, no adjustments, just print.
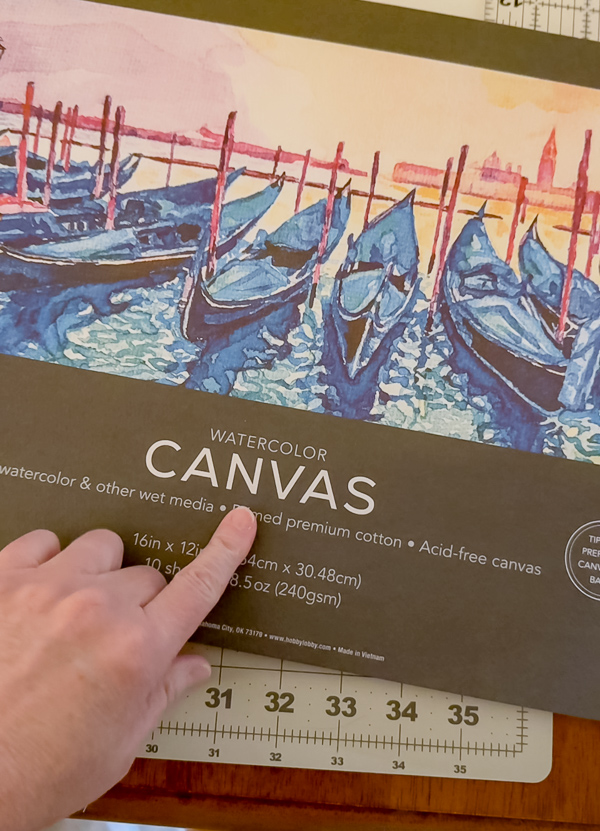
The watercolor canvas does something really special to the image, and I will talk more about that in just a minute. Here are more details on how to print on canvas paper at home.
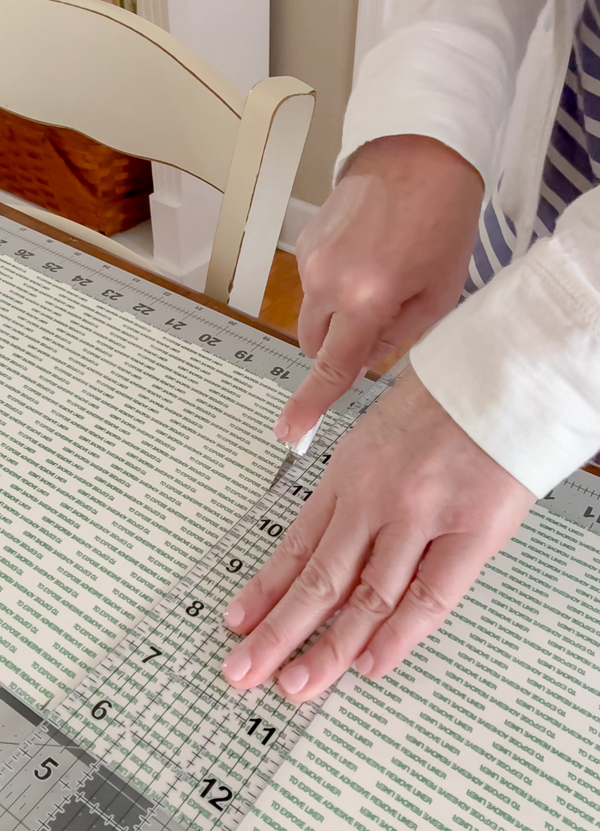
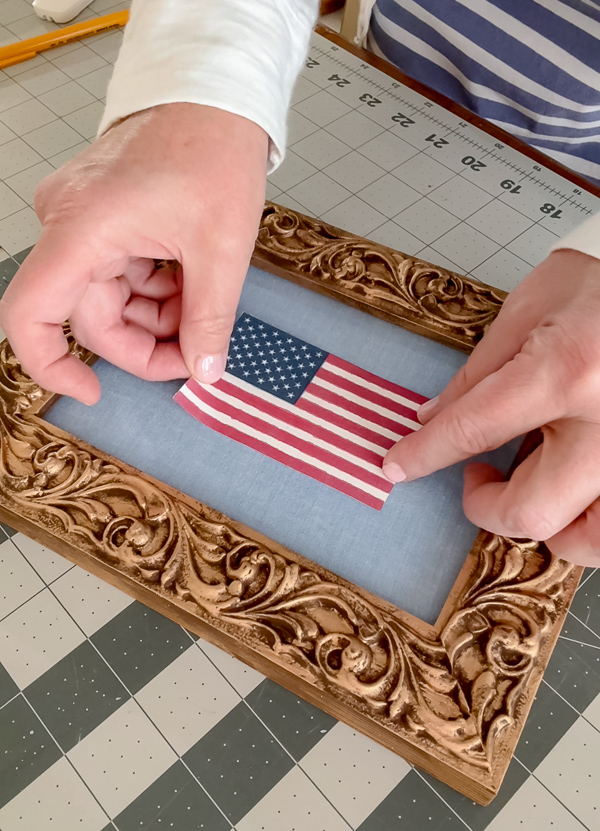
Step 2 — Cut Out the Flag
Once your flag is printed and dry, it is time to cut it out. For the cleanest, straightest edge, use an X-ACTO knife with a ruler.
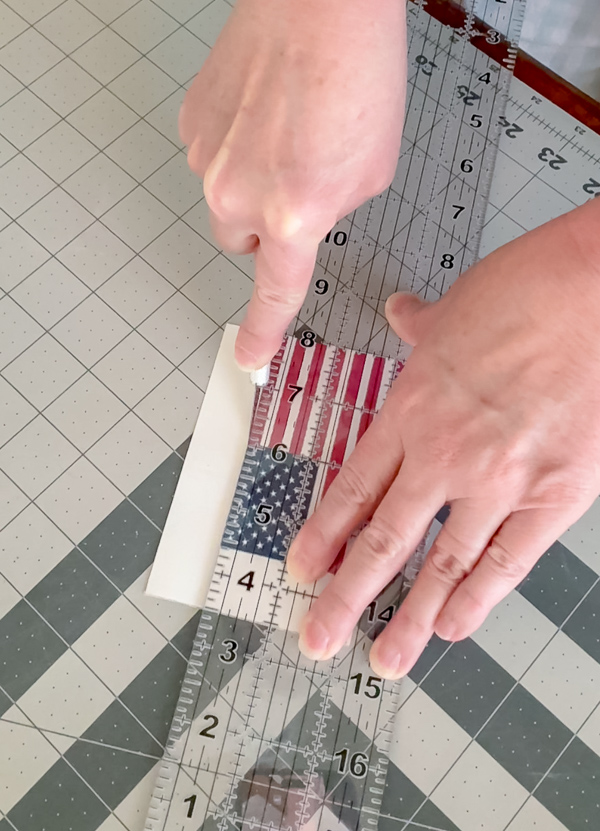
A rotary cutter or a good pair of scissors will also work just fine. It just depends on what you have on hand.
Step 3 — Prepare the Foam Board and Fabric
Cut your peel and stick foam board to fit snugly inside your frame. This will be the base that holds everything together.
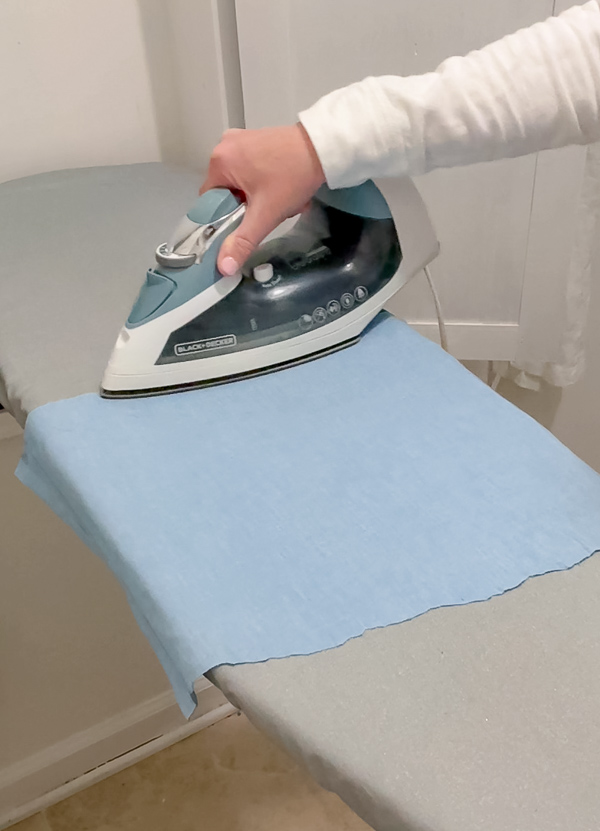
Next, give your fabric a good press with a steam iron until it is completely flat — this step really matters.
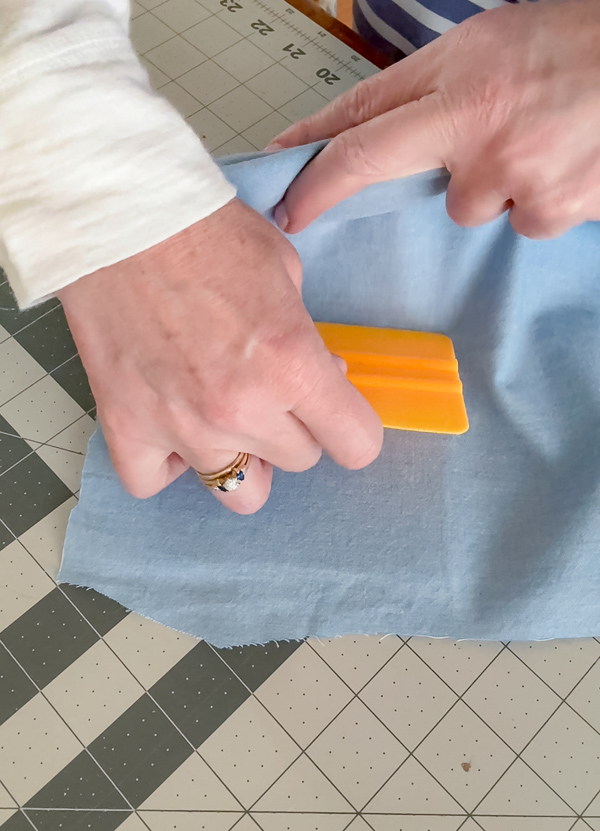
Then peel the backing off the foam board and use a squeegee to slowly smooth the fabric onto the sticky surface, working out any bubbles as you go.
Step 4 — Mount the Flag onto the Fabric
Now for the fun part. Take your printed flag and spray the entire back side with spray mount.
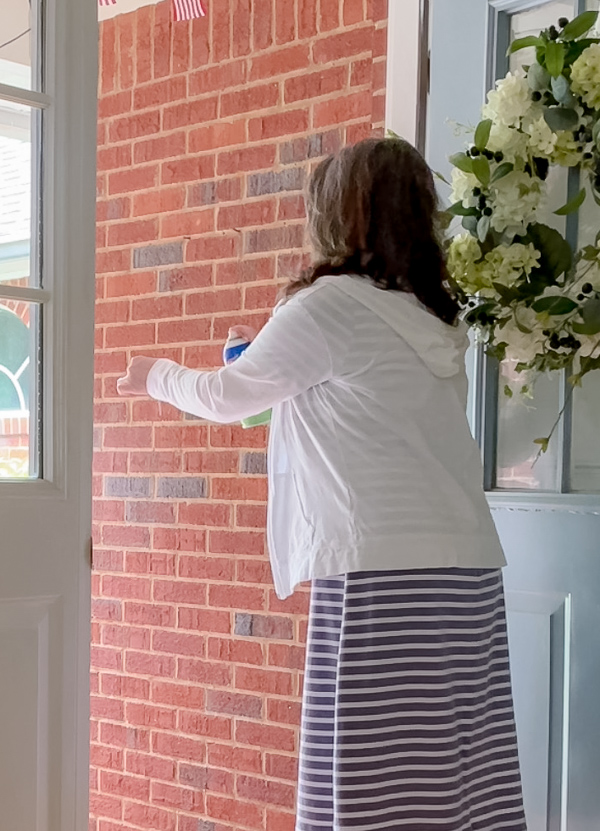
This is me spraying it out of my front door because it was raining outside, but normally I walk out into the yard. LOL!
Center it on the fabric-covered foam board and press it down gently. Use your squeegee to smooth it outward from the center.
One of the great things about spray mount is that if you need to lift and reposition the flag, you can — it still holds firmly once it is in place.
Step 5 — Frame It
Drop the finished piece into your frame, or, like me, add the fabric-covered mat first, then the flag. Either way, you are finished.
Stand back and take a look. I promise you are going to love it.
Why Watercolor Canvas Makes This Project Special
This detail takes this project from average to boutique. When you print on watercolor canvas, the ink has a slight softness to it — a gentle bleed that gives the image a painterly, almost fabric-like quality.
It does not look crisp and computer-generated. It looks handmade and beautiful, like something that belongs in an antique shop or a country cottage.
Three Flags in One — What You Get in the Printable
When I first created this printable, it was just the classic American flag. But the more I worked on it, the more I wanted to give you something really special. So I kept going.
Now, when you download the printable, you get three flags.
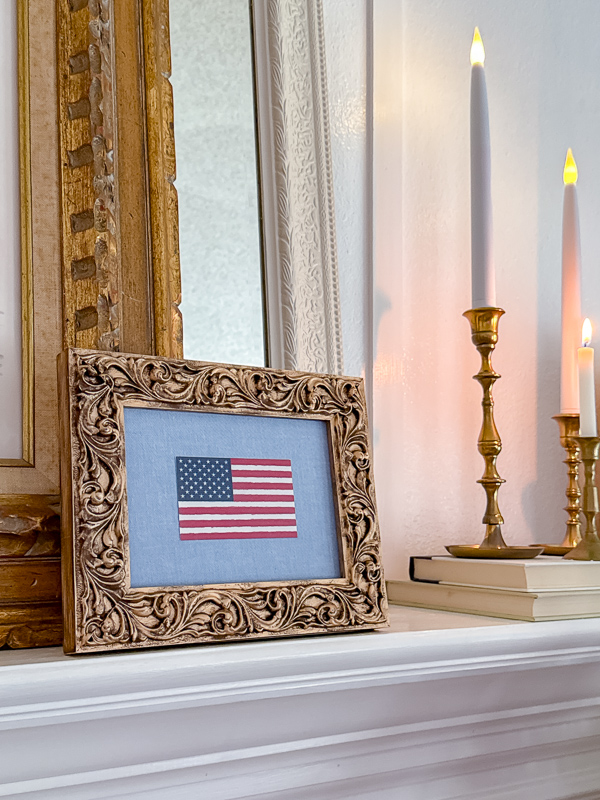
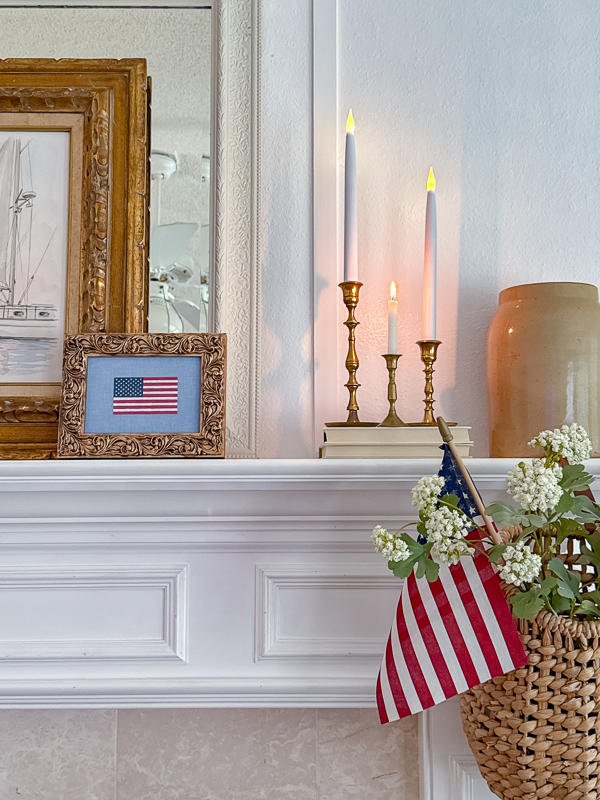
The Classic American Flag
This is the one you have already seen framed in the tutorial above. It prints beautifully on watercolor canvas and looks like fabric rather than paper.
The Betsy Ross Flag — Colored the Way It Would Have Really Looked
This one took some research, and I loved every minute of it.
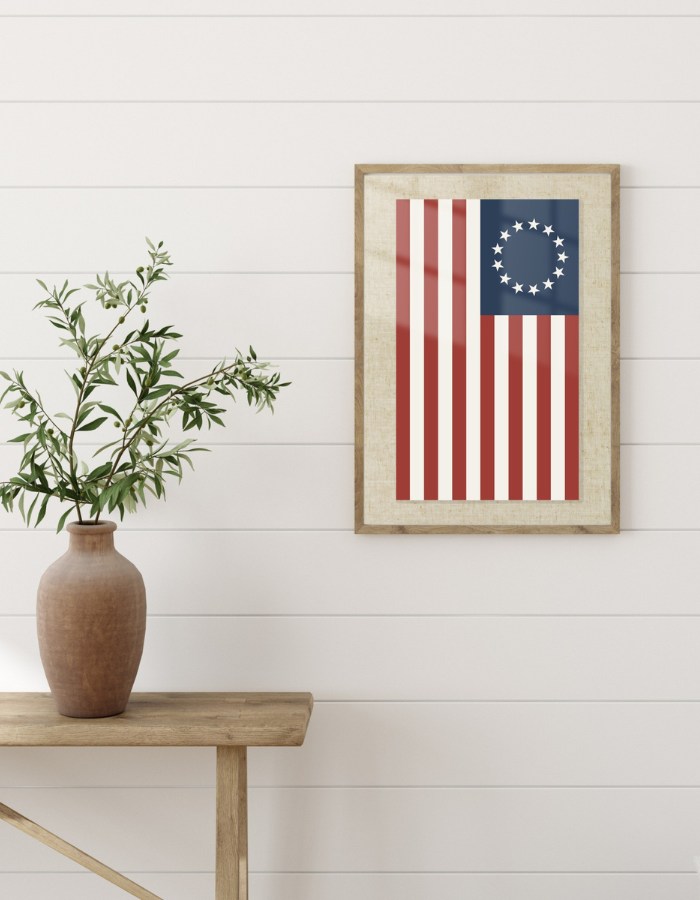
The red, white, and blue we see on flags today are bright and bold because of synthetic dyes. But back when Betsy Ross was sewing that first flag, those dyes did not exist. Colors came from vegetables, berries, and even insects.
The reds were softer and earthier. The blues were deeper and more muted. The whole palette had a warmth to it that modern flags just do not capture.
I spent time researching what those original colors would have looked like and did my best to recreate that authenticity in this design. The result is a Betsy Ross flag that feels genuinely old, like something you might find tucked away in an antique shop.
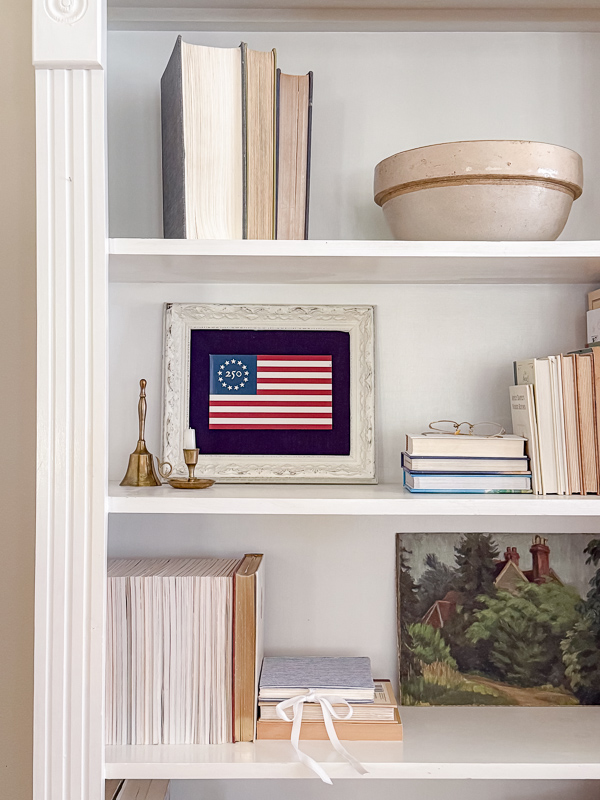
The 250th Anniversary Flag — A Vintage Celebration
With America's 250th anniversary here, I wanted to create something to mark the occasion.
I started with the same authentic vintage Betsy Ross design and added a beautiful vintage font inside the circle of stars that reads “250”. That is it. Simple, meaningful, and stunning.
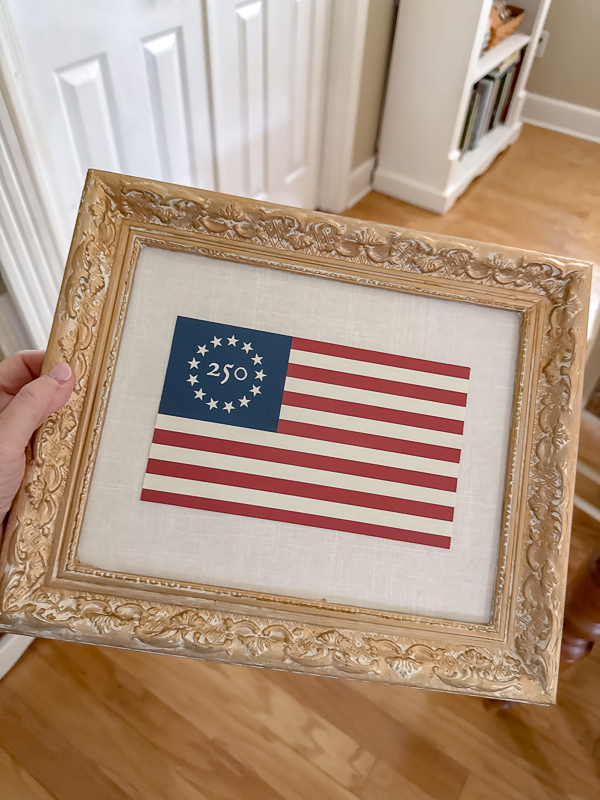
I printed mine on regular printable canvas paper, framed it in an old, white-painted, ornate frame I already had, and used a navy linen background I cut from a linen shirt I found at Goodwill for a dollar or two.
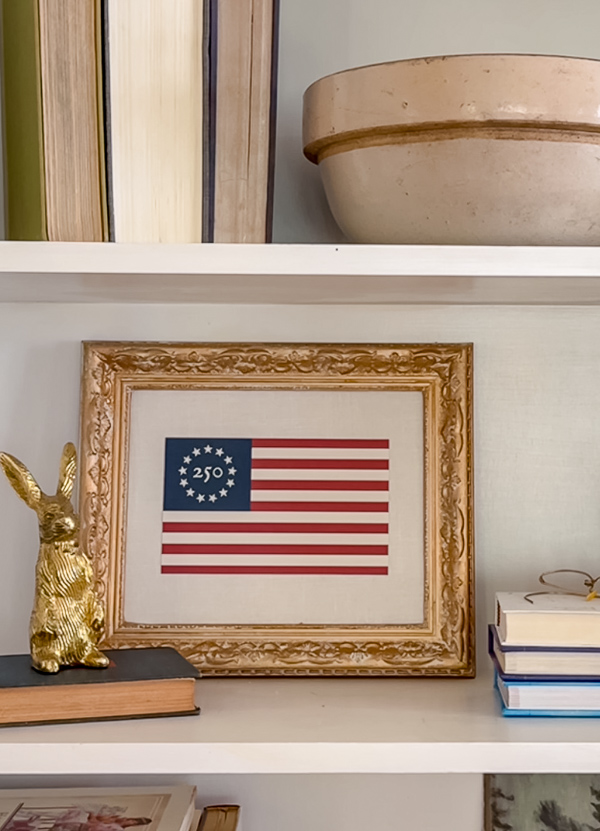
The navy linen paired with that vintage flag is just gorgeous. If you have been looking for a meaningful way to mark this milestone year in your home, this is it.
Framing a Stick Flag to Make it Look Vintage
Now, let's say you have a stick flag hanging around and you want to make it look vintage and frame it. Here are the simple steps.
Bring a pot of water to a boil and drop in three or four tea bags. The more tea bags you use, the darker and richer the color will be.
Once the water is a deep amber color, remove it from the heat and let it cool for a few minutes before adding your flag. These cheap stick flags can be finicky in heat; boiling water may cause them to shrink or pucker, making them hard to lay flat.
Once the water has cooled, add your flag and watch it closely. For a rustic, worn look, let it steep longer. For just a soft antique tint, pull it out sooner.
Once you have the color you love, hang it outside to dry in the sun. When it is completely dry, follow the steps above to make your fabric mat and apply the flag with spray mount.
Creative Ways to Display Your Framed Flag Art
One of the things I love most about this little piece is how versatile it is. Here are some of my favorite ways to style it.
Layer it on your mantel. I propped mine right in front of a larger framed sailboat printable on my mantel — the flag sits in front, and the art anchors the whole mantel. It is such a pretty, layered look.
Use a small easel. Tuck it onto an easel inside a bookcase or set it on an entryway table for an easy seasonal vignette.
Hang it as part of a gallery wall. It pairs beautifully with other framed art, vintage maps, or botanical prints in a patriotic gallery wall display.
Lean it on a shelf. Simply lean it against the back of a bookcase shelf for a relaxed, collected look.
Hang it on the front of a bookcase. This is one of my favorite unexpected tricks — tap a small nail right into the front face of a bookcase and hang the frame there. It adds so much charm and personality to a room.
Wherever you decide to decorate with your framed American flag, I know it will be so beautiful.
For more inspiration, try my post on Year-Round Americana Decor. It has many ideas similar ot this framed American flag, and for more ideas, try this Decorating with American Flags post. The ideas are endless.
Frequently Asked Questions
Can I use a fabric other than chambray?
Absolutely. Any woven fabric with a little texture works beautifully. Think gingham, ticking stripe, white or tan linen, or a soft floral, whatever coordinates with your decorating style and colors.
Is spray mount permanent?
Not right away, which is actually a good thing. You can lift and reposition the flag if you need to adjust it. Once it is smoothed into place, it holds firmly and stays put.
Final Thoughts
Pick up a thrifted frame, grab the flag printable from my Etsy shop, and give this a try. It comes together in less than an hour and looks like something you would find in a boutique for forty dollars or more.
That is the kind of DIY that never gets old. I mean, think about it – American flag art is timeless. Share in the comments where you are thinking of decorating with a framed American flag?
Happy Decorating!
