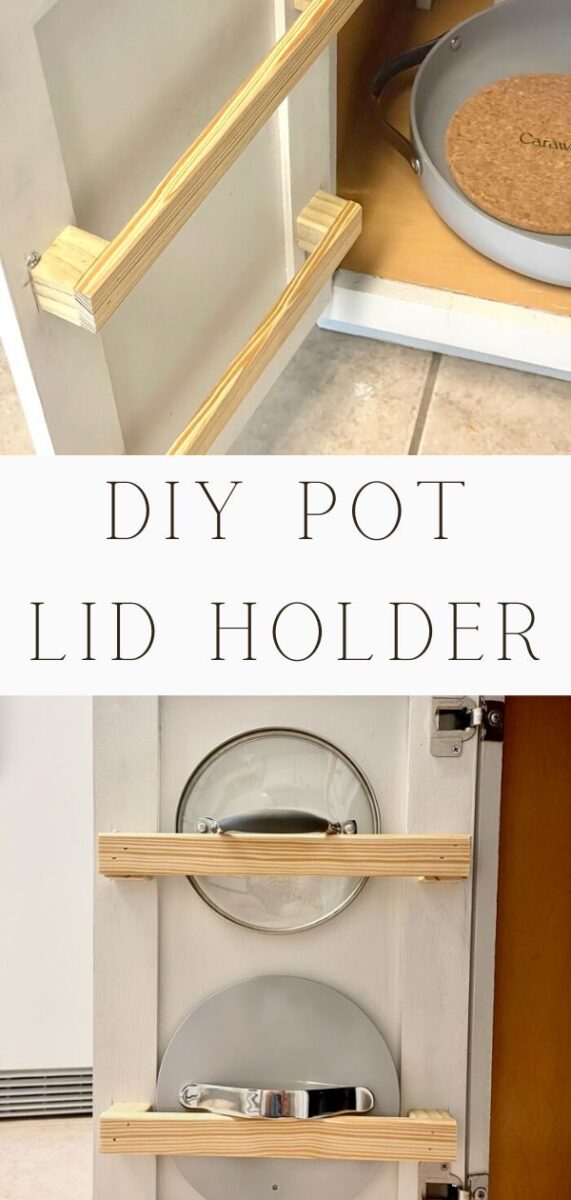
This DIY pot lid holder tutorial is simple to follow and will make your kitchen organization look amazing and more efficient. These cookware lid holders are nested on the inside of your cabinet doors out of the way and easy to access. With only a few supplies you can have your whole cookware cabinet organized in no time.
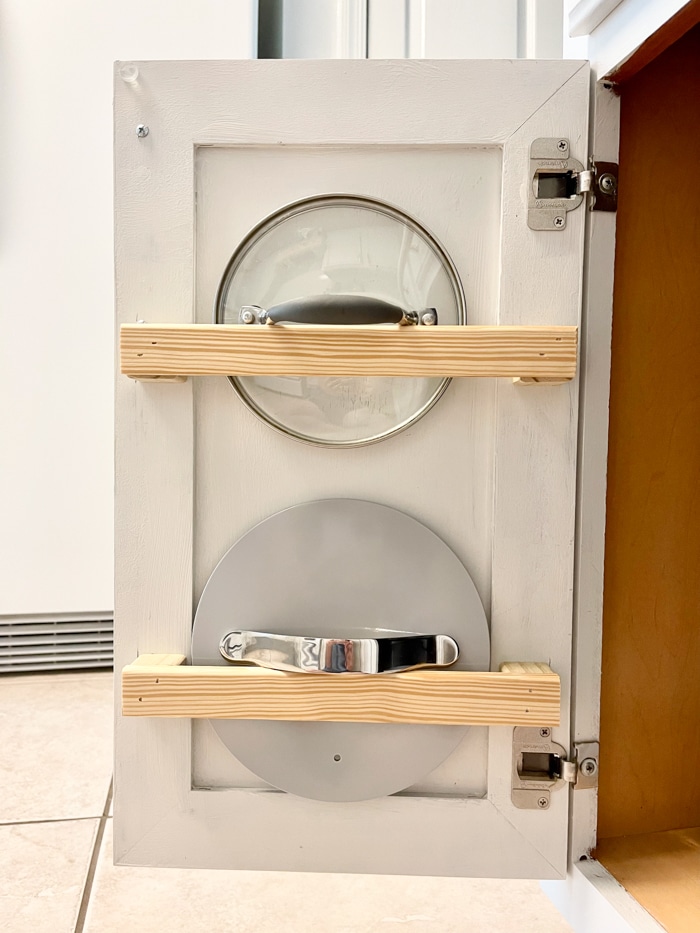
While visiting my daughter and son-in-law I was excited to see Jesse had done a DIY pot lid holder project on his kitchen cabinets. Immediately I knew this was the answer to my overwhelming cookware lid holder problem.
After talking to Jesse I also discovered this to be a simple project that almost anyone could do without a handyman or woodworker. It is the perfect solution to your pot lid chaos.
DIY Pot Lid Holder
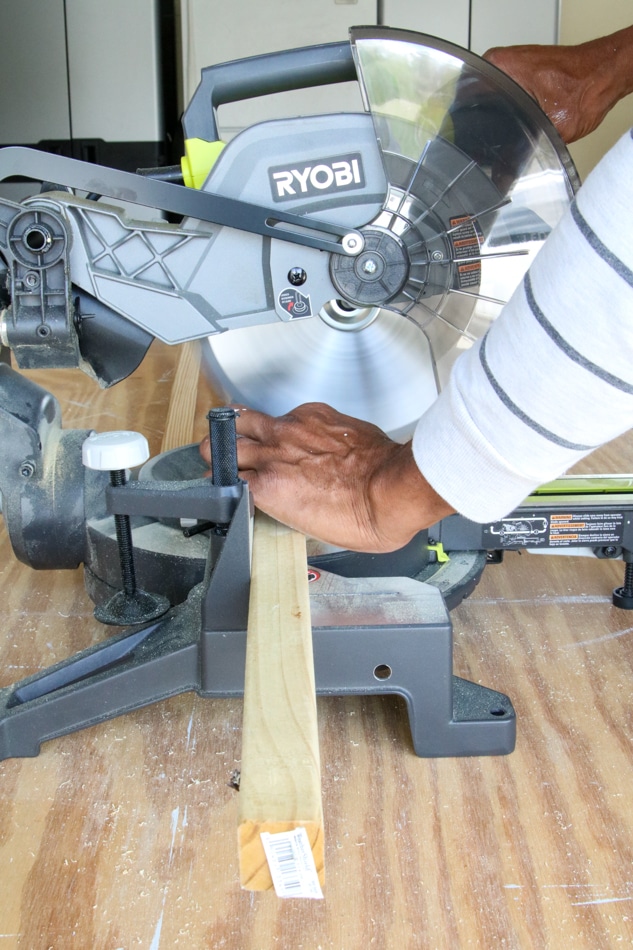
With all DIY projects, you will need a few supplies, and this project calls for simple tools. I used my miter saw but if you don't have one and really want to make it easy for yourself ask your local hardware store if they would cut the pieces for you.
Here are the supplies needed to organize your pot lids on the inside cabinet doors. I got all my supplies at Home Depot.
- 36″ x 2″ x 2″ wood square end balisters (you only need one if you are doing two cabinet doors)
- Pine lattice moulding
- 2″ finishing nails for brad nailer
- Nail gun (optional) or hammer
- Miter saw
- Measuring tape
- Small level
Pot Lid Organizer DIY
Now let's get to the nitty-gritty and start making your pot lid organizer. And at the end, I am sharing my pans cabinet along with tips on organizing it too. First, let's cut the blocks.
Cut Blocks for Pot Lid Organizer
Depending on how many cabinet doors you plan to store your lids will determine how many blocks you will need. I only did two doors so I only needed eight blocks. That is two per lid holder.
Now simply cut each block at 1″ long. Sand the edges of any splinters and your blocks are ready.
Nail Blocks to Inside Cabinet Door
Next, let's nail the blocks on the side of the cabinet door to make the pot lid rack.
Keep in mind that your lid holder may not go all the way to the edge on the inside of the cabinet door. If your door is an overlay style you will need to leave space for it to shut. My door overlay is about 1/2″ on each side. But not all doors have an overlay style. Some are inset doors. In that case, you don't have to worry about the overlay.
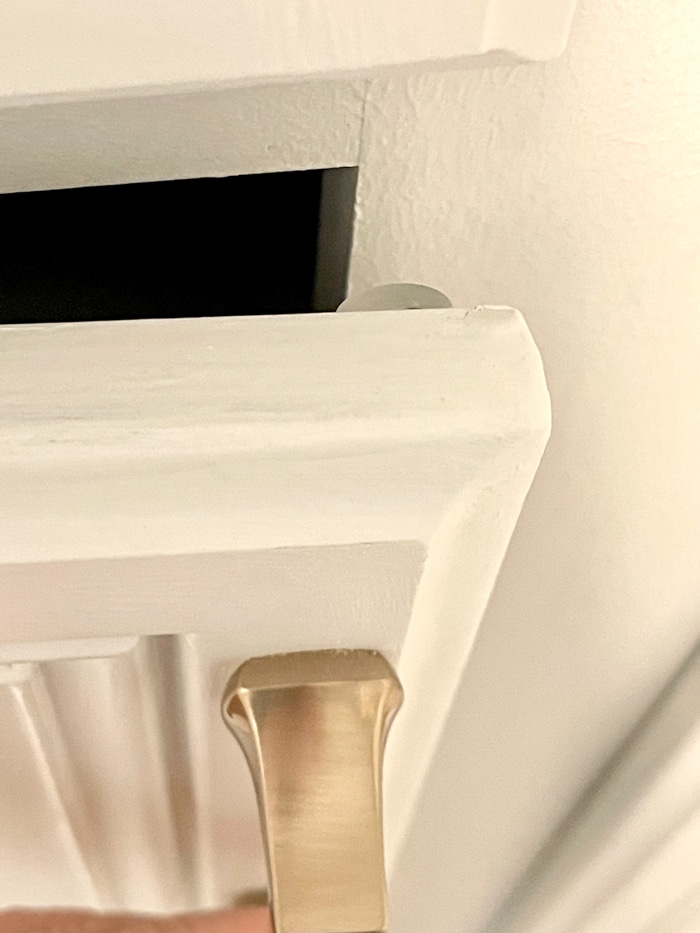
Place one block on one side of the frame or edge of the door. The inside of my door has a frame so I set mine on the frame. If you don't have a frame then you can sit yours anywhere.
Once you find the spot where you want your first block to sit nail it in with your nail gun or finishing nail. But make sure you are considering the slot width. Measure your pot lids to make sure they will fit.
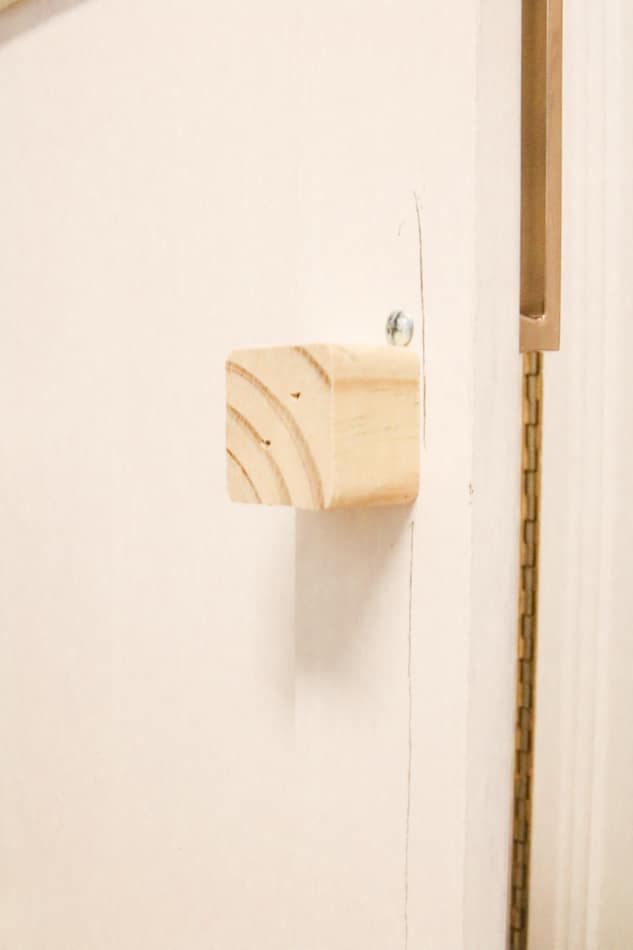
Now to measure over from the other side of the door and place your other block. Grab your level to make this easy or measure down from the top.
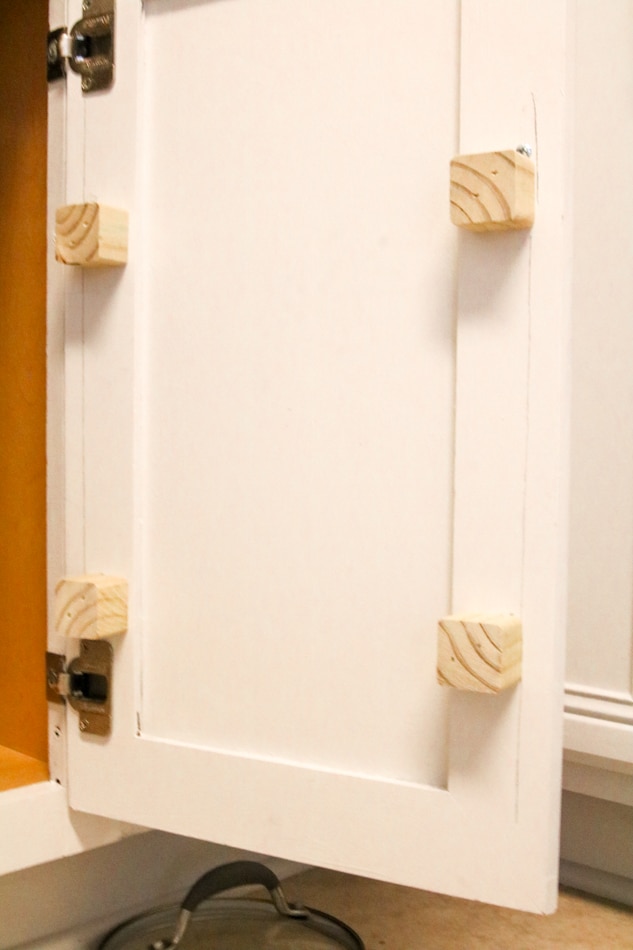
Measure Inside Cabinet Door
Next, you will need to do some measuring. We are measuring to cut the long piece of lattice strip that will sit on the blocks to hold the lid.
Measure across from the outside of one block to the outside of the other block.
Cut the lattice strips based on the measurements and then sand the splinters off the ends.
Nail the Lid Holder Rack Rails
Next, sit the lattice strips on the blocks and nail down the lid holder rail. And guess what? You are done. See how easy this DIY pot lid holder project is. I love how it turned out and it is solid construction.
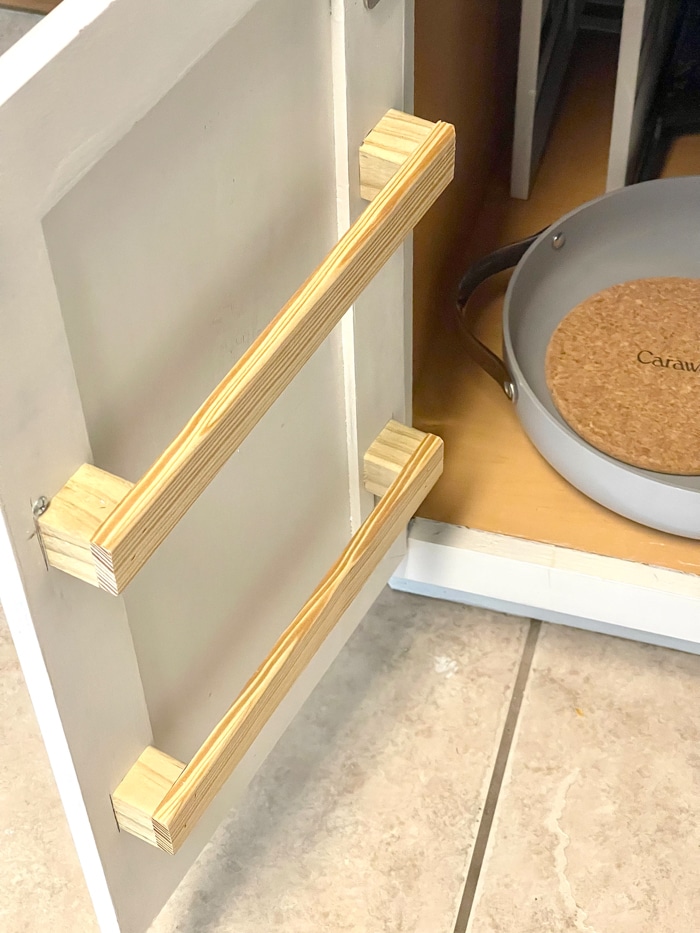
DIY Pot Lid Storage
Last, grab your lids and place them on the inside of the cabinet. You will notice they nestle in nicely. Now when I need a lid all I have to do is open the door and pick it up. I don't have to bend over and reach inside the cabinet.
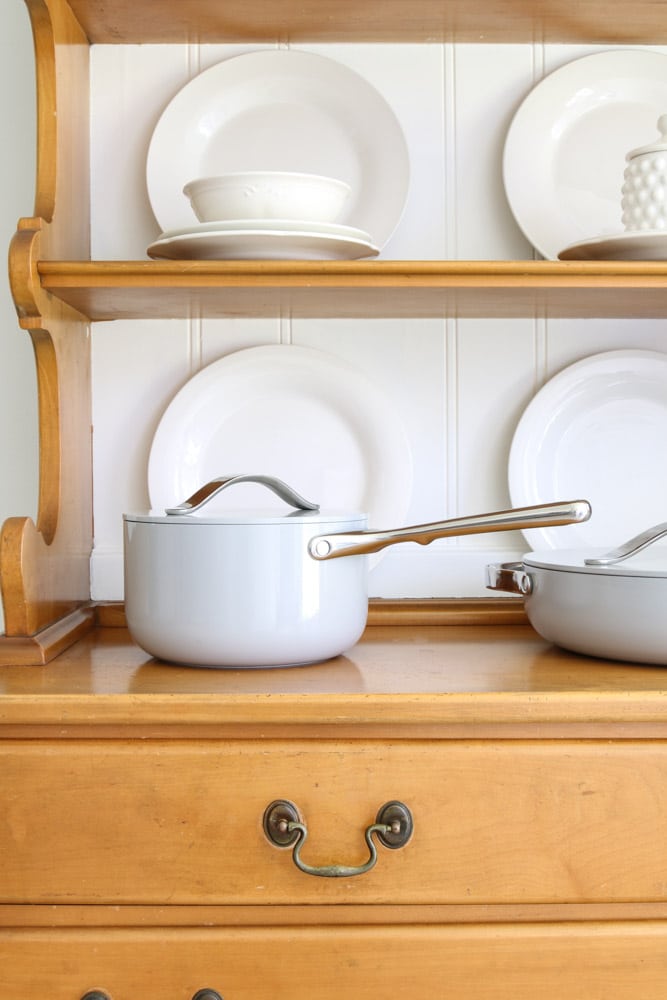
What inspired me to get my cookware cabinet organized are these Caraway pots and pans. Because I am eating more fresh foods now and cooking more and my pots and pans are old with Teflon inside I decided to move towards better cookware.
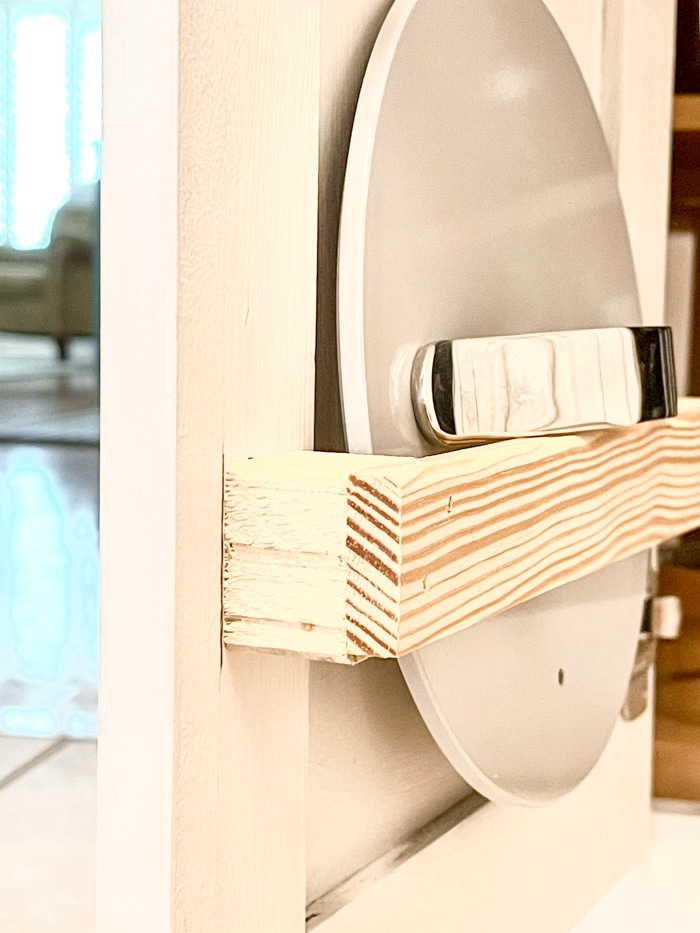
I have had the Caraway cookware now over 6 months and they are by far my favorite to cook in. Plus the way I organized my cookware station is making cooking easier too.
Large Pot Lid Storage Idea
As you may notice different size lids sit on these pot lid racks but the larger pot lids won't fit. I have a solution for that too.
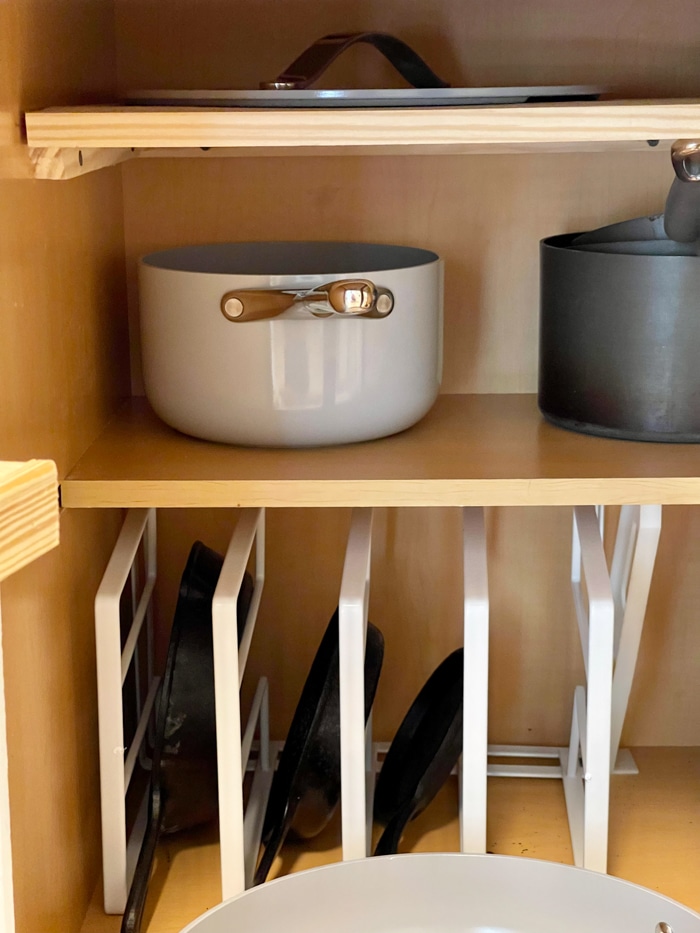
I actually moved my cookware to a different spot in the kitchen and I also added shelves on the inside at the very top of the cabinet for the larger lids and pot racks. If you have more room at the top you can make multiple lid racks but I only had room for one if you include my pot organizer.
Cookware Storage Idea
I was able to add a large lid shelf and another shelf as a pot and pan organizer. You see, all this wasted space in the top of your cabinet is useful real estate. There is a lot of space up there for a pan organizer. A great way to create vertical storage for a selection of pan lids, dutch ovens, and large cookware.
Isn't this a great idea! We have pretty much changed our pot holders cabinet to work more functionally.
Conclusion
Now when I need a lid it only takes a second. No more lids falling everywhere or pots stacked one on top of the other with the lids turned upside down on the pot.

You may have noticed I also bought a pans organizer for my cast iron skillets. It works for now but I am thinking of building something in the back for them too.
Now that we have your cookware cabinet organized here are more organizing kitchen posts.
- Microwave in pantry DIY
- Kitchen zone organizing
- Storing and displaying vintage dishes in a farmhouse hutch
I hope this DIY project has been helpful. If you are in need of new cookware check out Caraway Home. They are very durable and beautiful too.
Happy Decorating!

DIY Pot Lid Holder for Kitchen Cabinet Doors
Pot lid racks for the back of your kitchen cabinets.
Materials
- 36" x 2" x 2" wood square end balisters (you only need one if you are doing two cabinet doors)
- Pine lattice moulding
- 2" finishing nails for brad nailer or smaller (this is based on the thickness of your cabinets plus the block and lattice strip)
Tools
- Nail gun or hammer
- Miter saw
- Measuring tape
- Small level
Instructions
- Cut block 1" (2 blocks per pot rack) and sand the edges
- Nail block on the inside of cabinet door near the outside edge. Make sure if your cabinets are overly style to leave room for when the cabinet door is shut. Put two rows of racks spacing them apart the height based on the height of your pot lids.
- Measure outside of one block to the outside of the other block.
- Cut the lattice strips to the measurement and sand the edges.
- Nail the lattice strips to the top of the blocks
- Place pot lids into racks.
Notes
You can paint your pot lid holder. To paint the wood prime it first and then add two coats of satin paint.
