
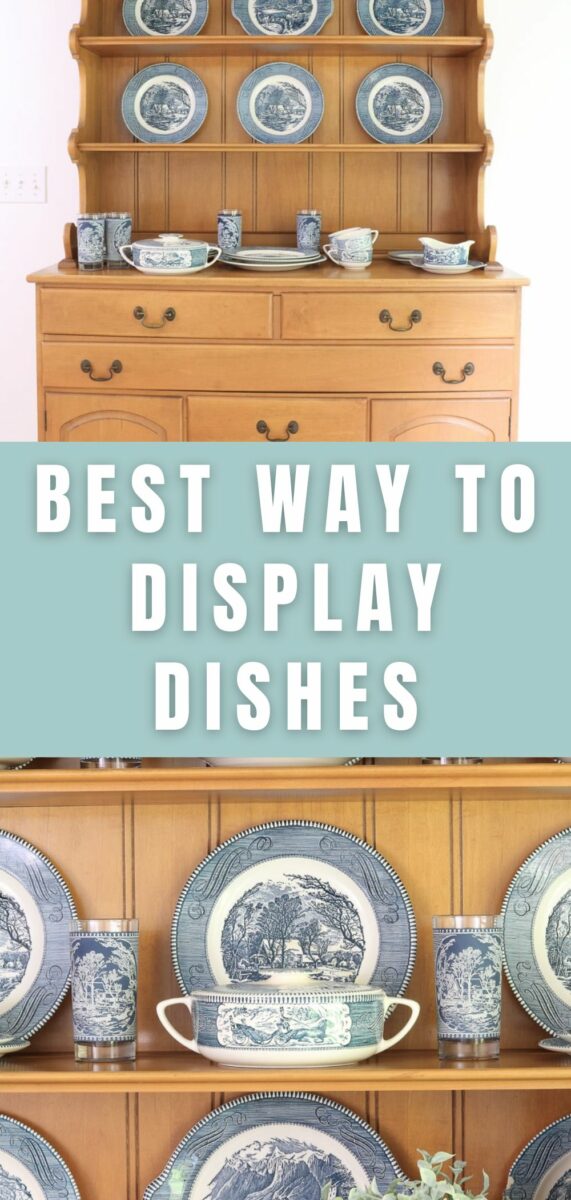
Do you know that warm farmhouse kitchen feeling? You know the one at grandma's house? Well, today I am talking about how to achieve that very look by showing you how to store and style beautiful vintage dishes in my old farmhouse hutch.

STORING AND DISPLAYING DISHES IN A FARMHOUSE HUTCH
When I was growing up, I used to love looking in my Ranny's farmhouse hutch at her Currier and Ives dishes. The country prints on the plates like the Old Grist Mill design would make me dream of visiting a place just like it.
So, when my sweet Ranny passed, I was super lucky to get all her Currier & Ives dishes.
RATHER WATCH THAN READ?
THE PERFECT HUTCH
If you are lucky enough to have some vintage dishes, then take some time to find just the right piece for storing and displaying them as I did in my wainscot sitting room in my kitchen.
In my case, I search thrift stores until I found this piece that reminded me of the farmhouse hutch in the dining room on the Andy Griffith show which is one of my favorite old-timey shows.
WHAT YOU NEED TO CREATE A BEAUTIFUL DISPLAY IN YOUR FARMHOUSE HUTCH
To begin, make sure you have all these items to create that warm farmhouse hutch feeling in your kitchen.
- Farmhouse hutch
- Dishes like my Currier and Ives
- Serving pieces
- Vintage plates
- Platters
- Bread plates
- Cups and saucers
- Glasses
- Accessories (anything will due, but I am putting my accessories in this list to help)
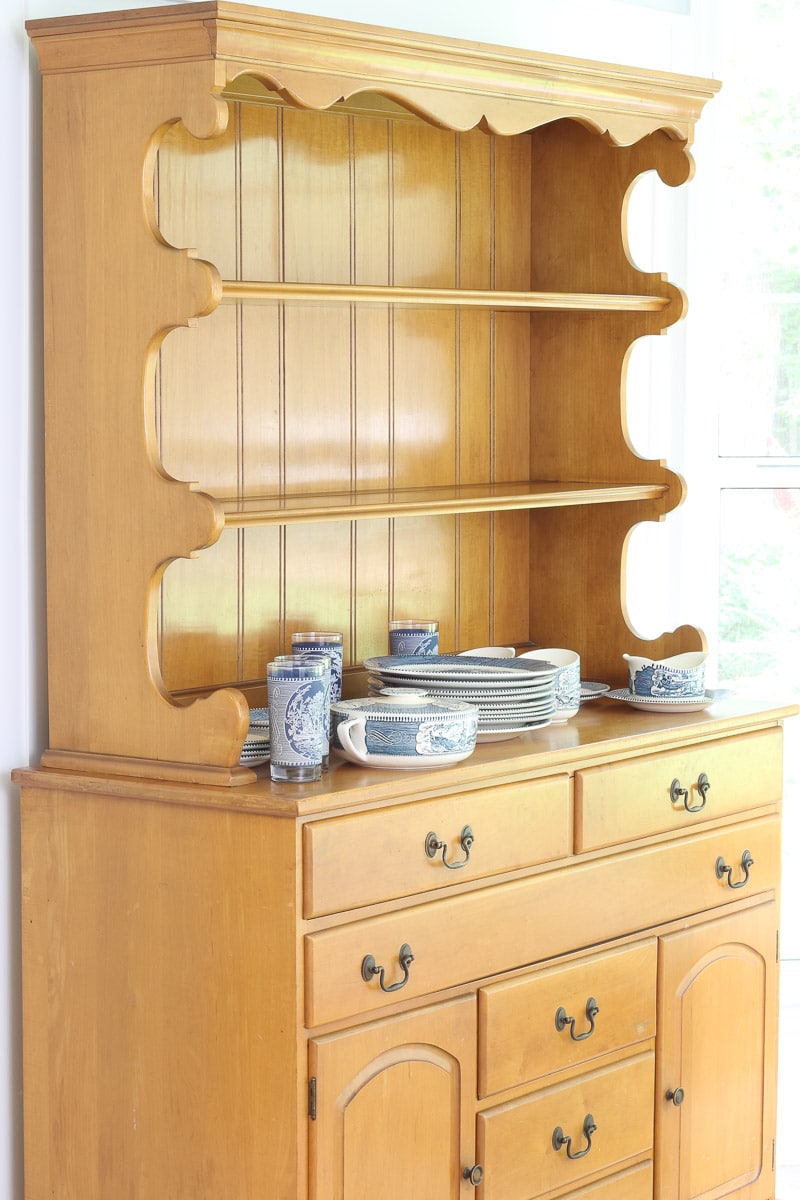
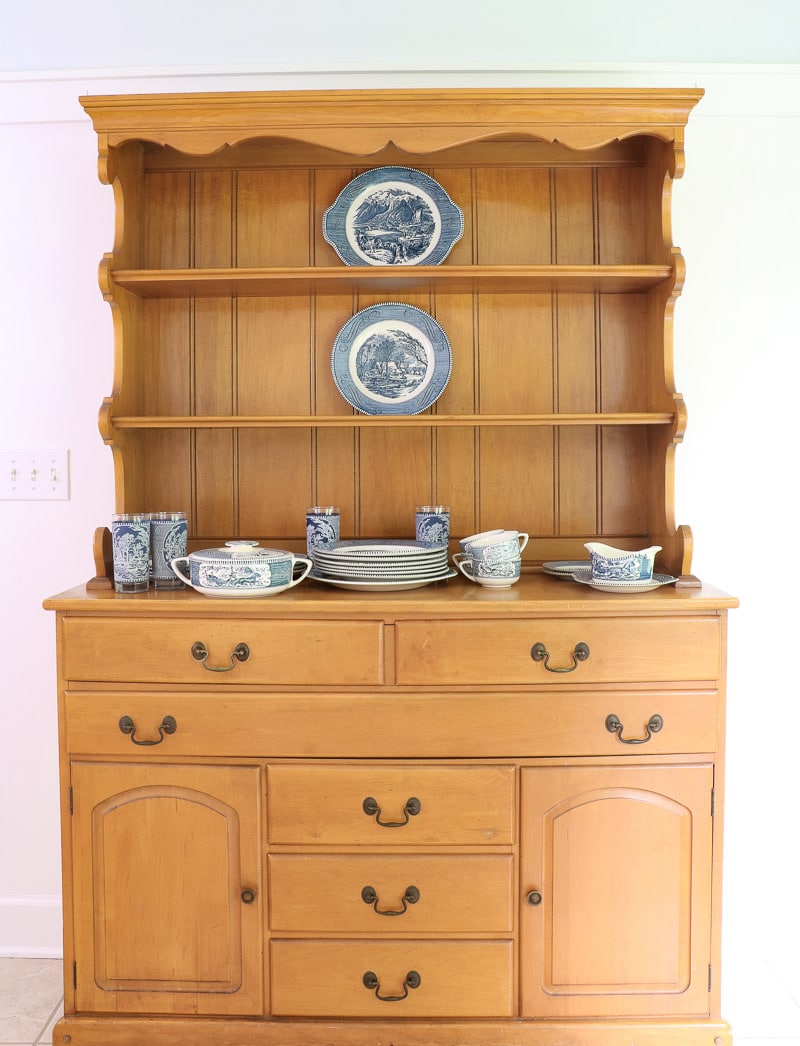
PLACE CENTER ITEMS FIRST
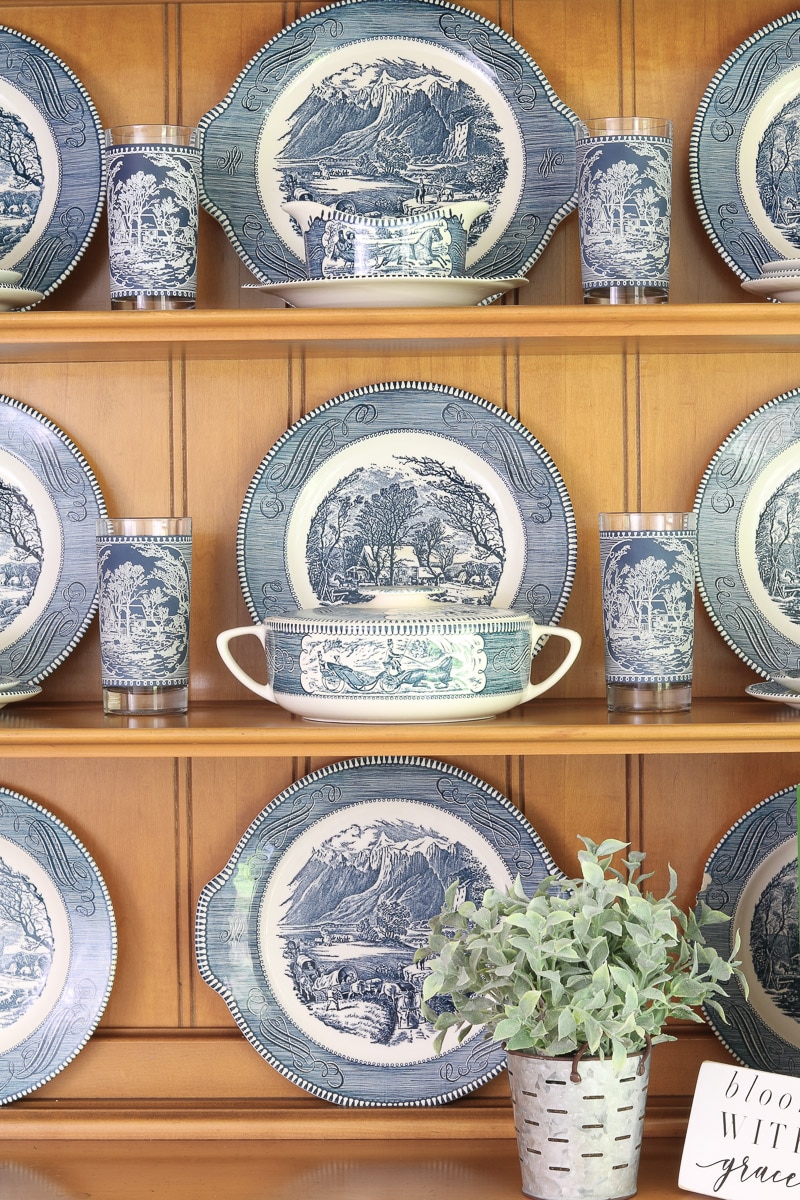
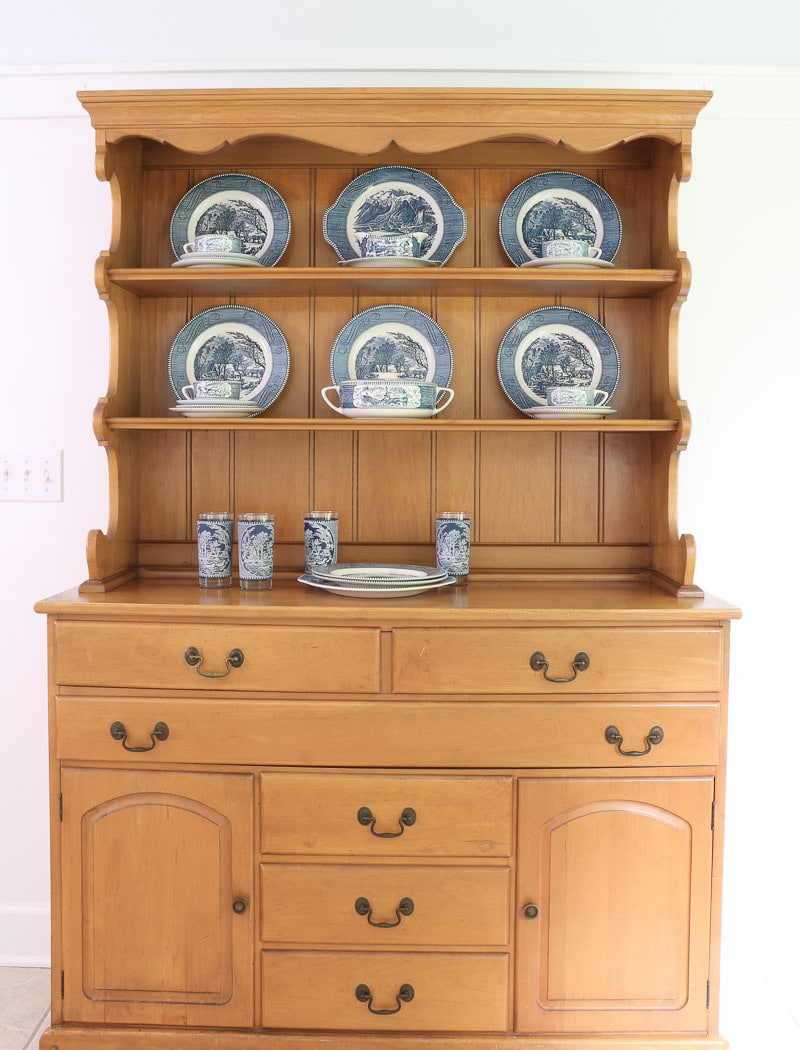
When I begin working on a farmhouse hutch, I start in the middle, and I think symmetry. I usually start with the larger pieces first like this platter. Begin by placing your tray in the very center and dinner plates if you do not have enough platters.
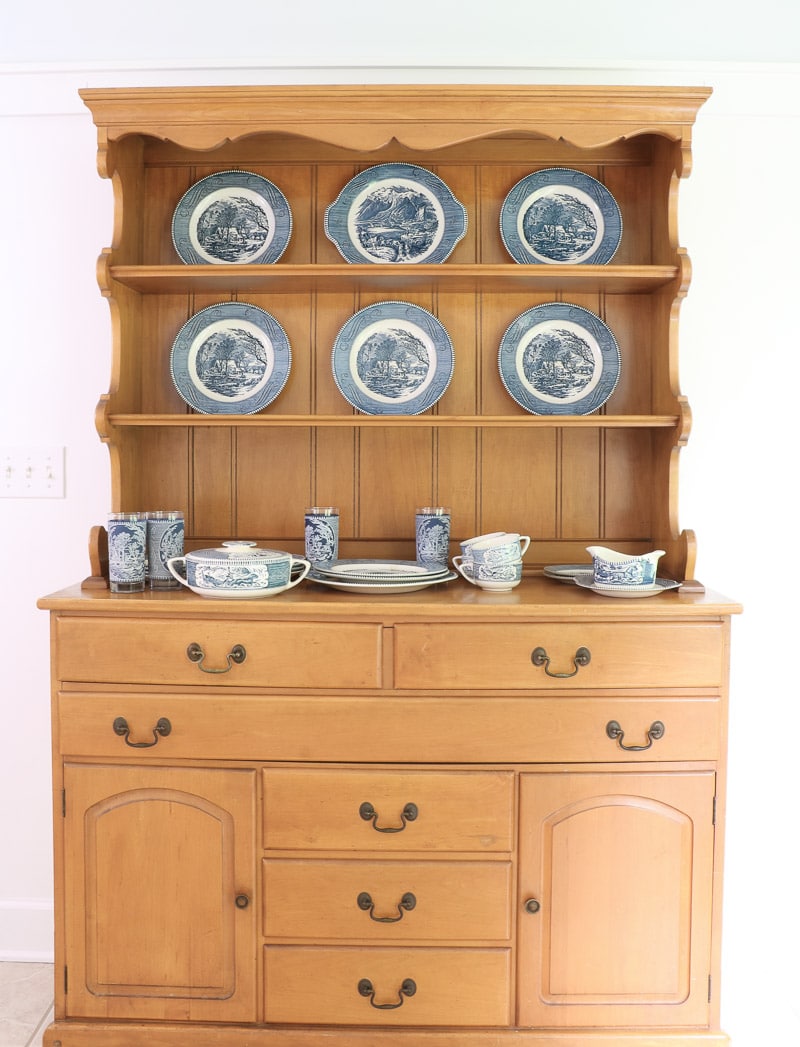
ADDING THE DINNER PLATES TO THE SIDES
Now add your dinner plates to the sides which will start creating the symmetry. Take some time to make sure the dishes are centered between the platter and the side of the cabinet.
In my case, there are vertical lines behind the dishes so I used them to determine the placement of each piece.
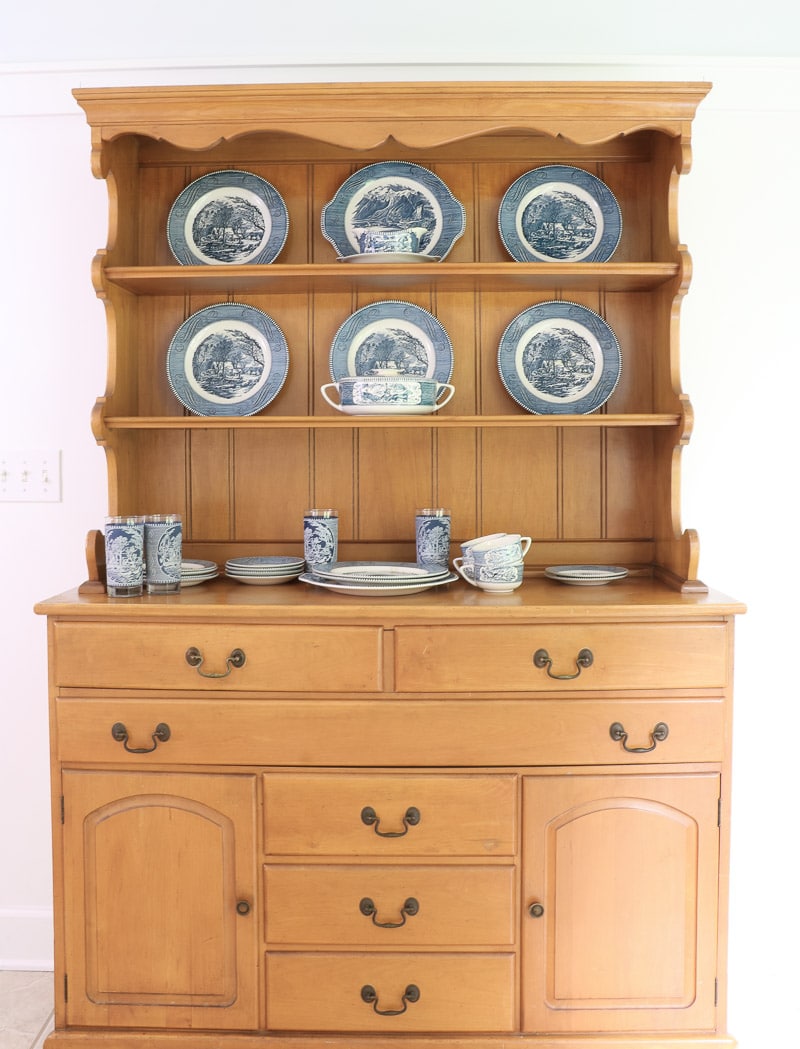
SERVING PIECES
Remember me talking about the platters help create the centerpiece of your symmetry? Well, now it is time to add another layer to that centerpiece. Grab some serving pieces to go in front of your platers or dinner plates on your farmhouse hutch.
The reason why I place the serving pieces in the middle is that usually I only have one of those items, so they need to be front and center. Plus they don't repeat so I cannot create symmetry with them on the sides. You need at least two of each piece to go on the sides.
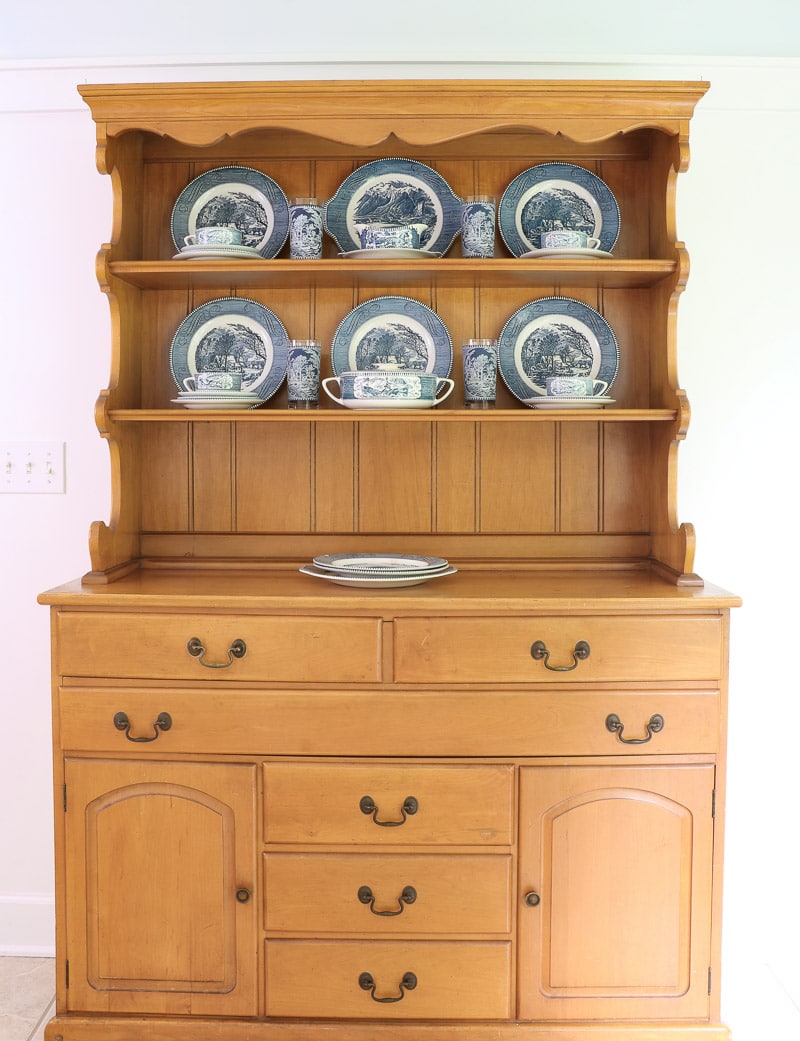
DISPLAYING SMALLER PLATES, CUP, AND SAUCERS
Can you see how it is coming together now? The next step is just like adding the dinner plates on the sides. Grab any smaller plates and layer them one on top of the other. Then place your cup and saucers on top.
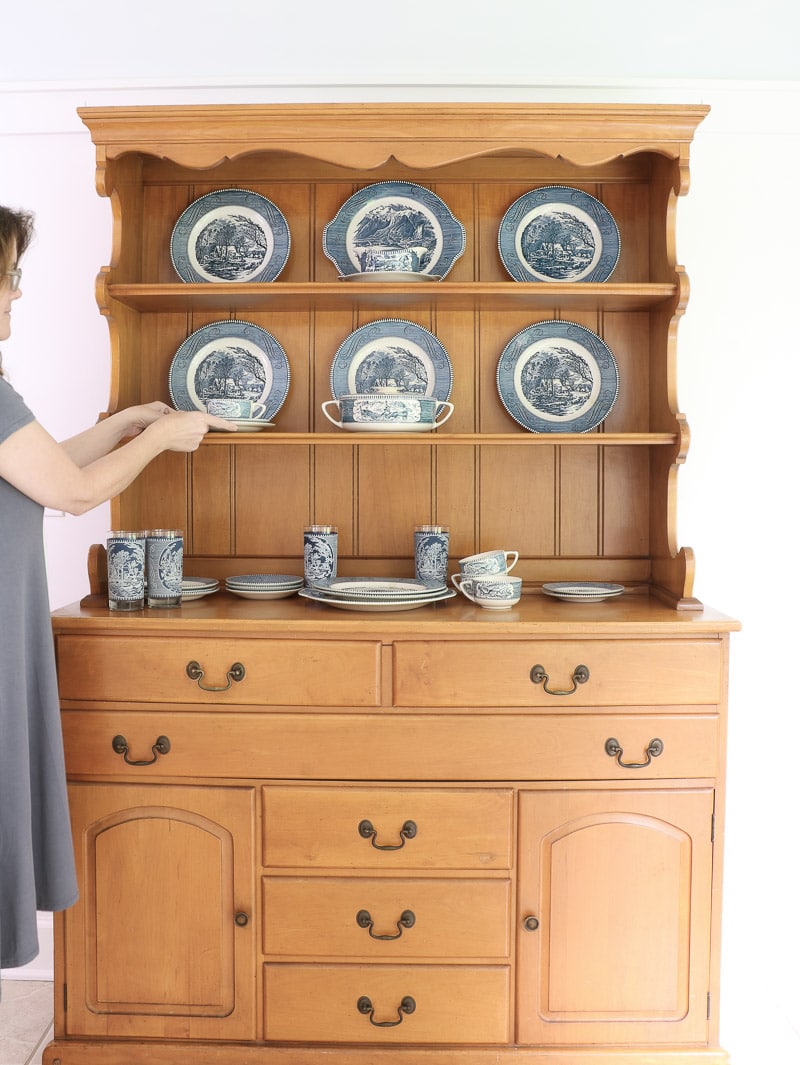
By layering your small plates under your cup and saucers, you are creating a great place to store them and giving the cup and saucer a little height.
CURRIER AND IVES GLASSES
We are almost finished. Now it is time to place all your glasses. Start in the center and place glasses on each side of the serving pieces.
If you only have two glasses place them on the center shelf. If you have four display them as I do on this farmhouse hutch. It is best to use even numbers in symmetry so if you have more go ahead and place them on the ends between a dinner plate and the cabinet wall.
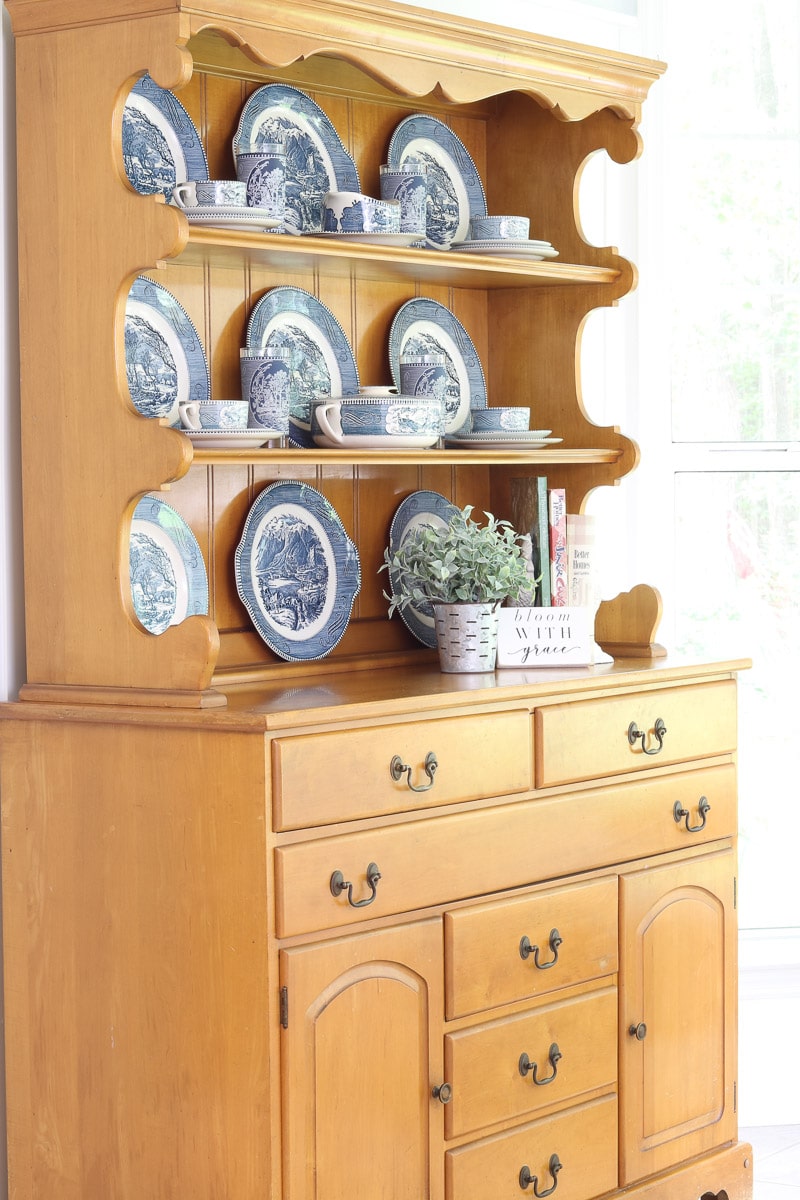
MORE PLATES AND ACCESSORIES
To finish this vintage hutch add some plates to the back of the bottom shelf and then some accessories to give it more charm.
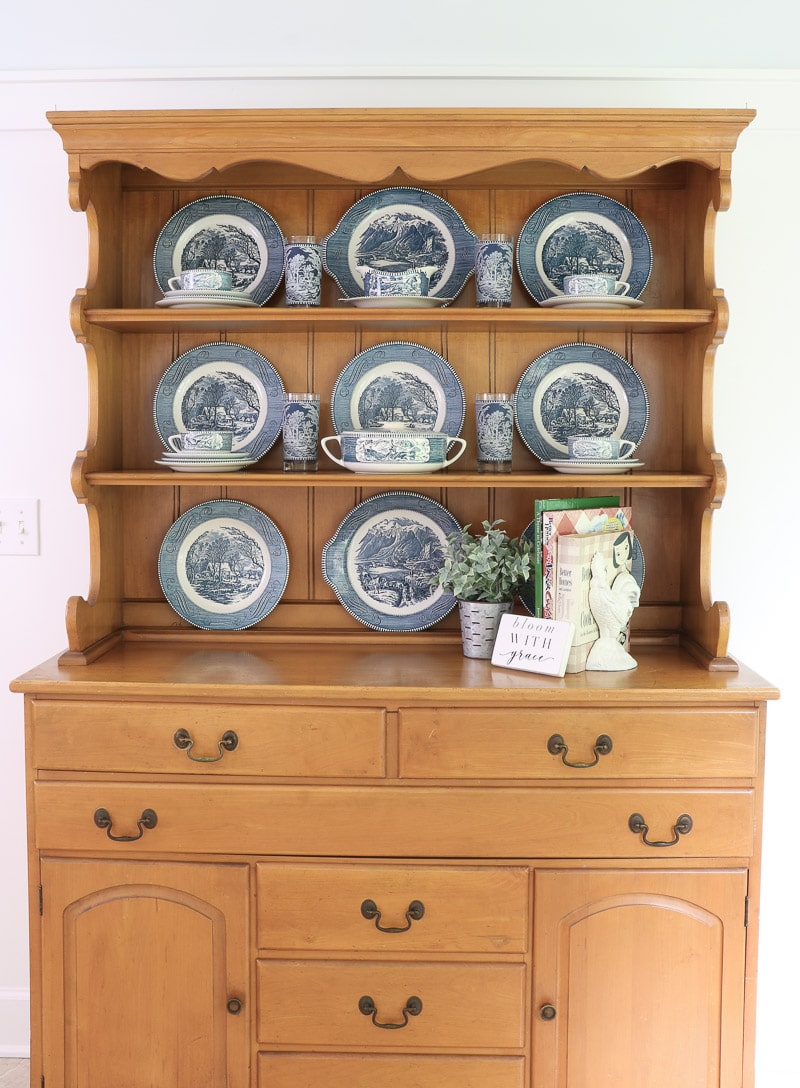
Because my vintage hutch is in my kitchen, I decided cookbooks would add more of that warm farmhouse style like my Ranny's house. So I pulled a few old and new cookbooks, my mom's roosters which I painted white. Oh, and by the way, I think these roosters are door stops. LOL!
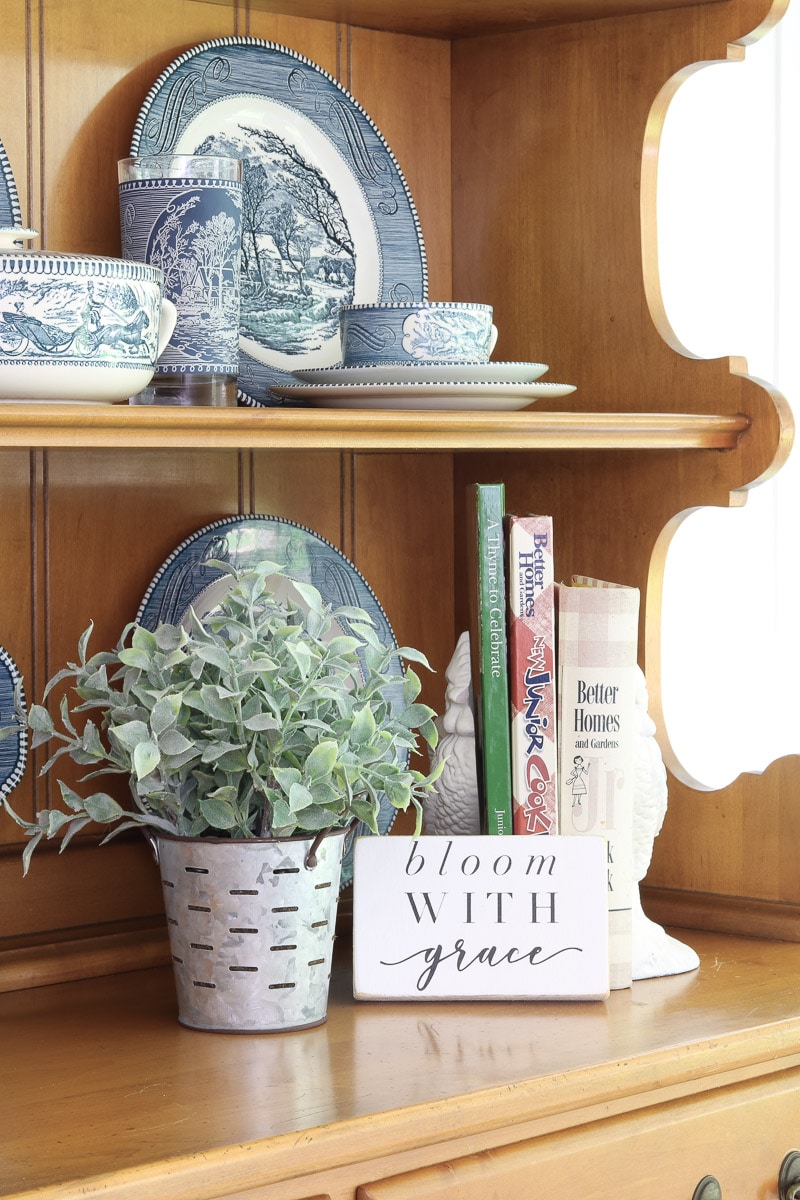
Next polish the look with more charm with a plant, books, and a small wooden plaque. I love this “Bloom with Grace” piece by Farm to Table Creations.
CLICK BELOW TO SHOP THE POST:

Conclusion
Well, now you have a beautiful place to store your lovely dishes and it adds that warm and cozy farmhouse feel.
After I wrote this post I decided to paint the back of our hutch with chalk paint. Here is how to paint with chalk paint if you would like to paint your hutch too.
I hope this post has been helpful! Have a beautify day and…
Happy Decorating!

ABSOLUTELY LOVE your dishes !
Thank you!!
Love it!
Thank you! 🙂