

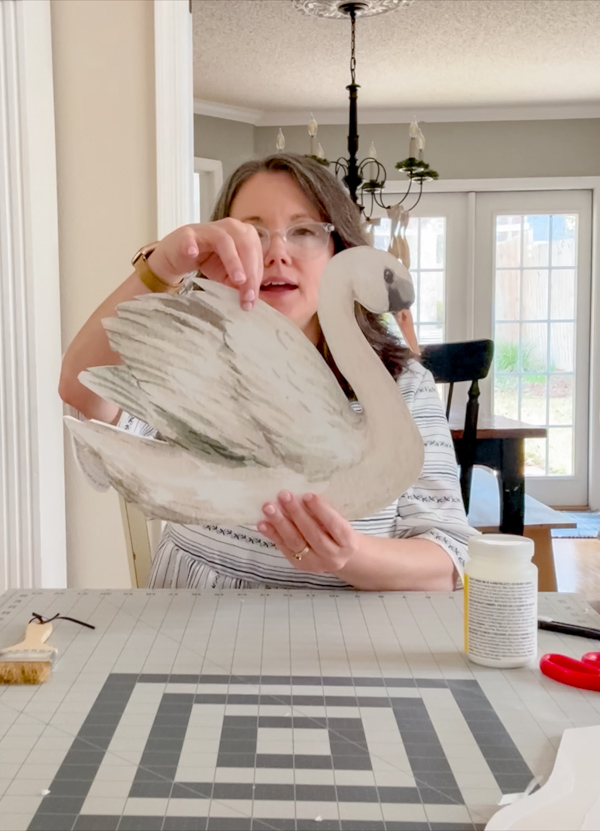
This DIY watercolor swan wall decor is a beautiful way to create oversized party decorations and seasonal wall art from a simple printable download.
Whether you're planning swan wedding decor, styling a swan bridal shower, decorating a swan princess birthday party or bedroom, designing a nursery, or adding soft spring decor to your home, this statement piece works in so many settings.
And the best part? It starts as an affordable printable from my Etsy shop that you transform into large-scale decor with just a few supplies.
Let me walk you through every step so you can make it without frustration.
How to Make DIY Watercolor Swan Wall Decor
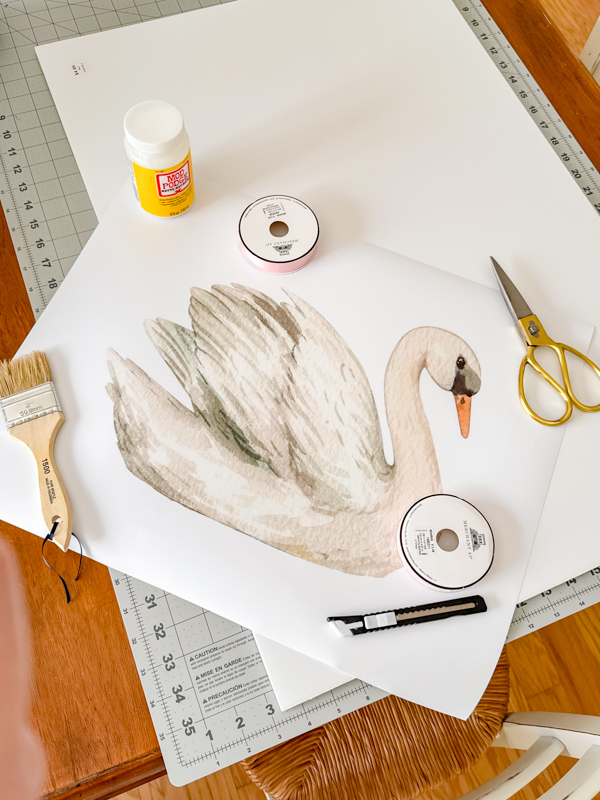
Supplies You’ll Need
- Watercolor swan printable (downloaded from my Etsy shop)
- Two poster prints (same size — I used 16 x 20 and printed at Walgreens)
- Peel-and-stick foam board or foam board + spray mount
- Sharp X-Acto knife (quality blade recommended)
- Decoupage (such as Mod Podge)
- Soft brush
- Ribbon (about 36 inches per swan for hanging)
- Smaller ribbon for neck bow (optional)
- Ice pick or nail (to make a hole for hanging)
- Clear tape (to connect the swans)
- Credit card or craft squeegee
- Blow dryer (optional but helpful)
A sharp X-Acto knife truly matters here. A dull blade drags and tears instead of giving you those crisp edges.
Step 1: Download the Watercolor Swan Printable from My Etsy Shop
Visit my Etsy shop to purchase the watercolor swan printable. Download the digital file to your computer.
Upload the files to Walgreens or your preferred print shop and order two posters in the exact same size (make sure one is facing left and the other facing right). I printed mine as 16 x 20 posters, but you can resize them depending on your space or event.
Printing two is important because the swans will face each other with their heads touching.
Choose poster paper rather than canvas so the edges can be cut cleanly later.
Step 2: Rough Cut the Swans
Before attaching to foam board, cut around each swan, leaving about a ¼-inch border.
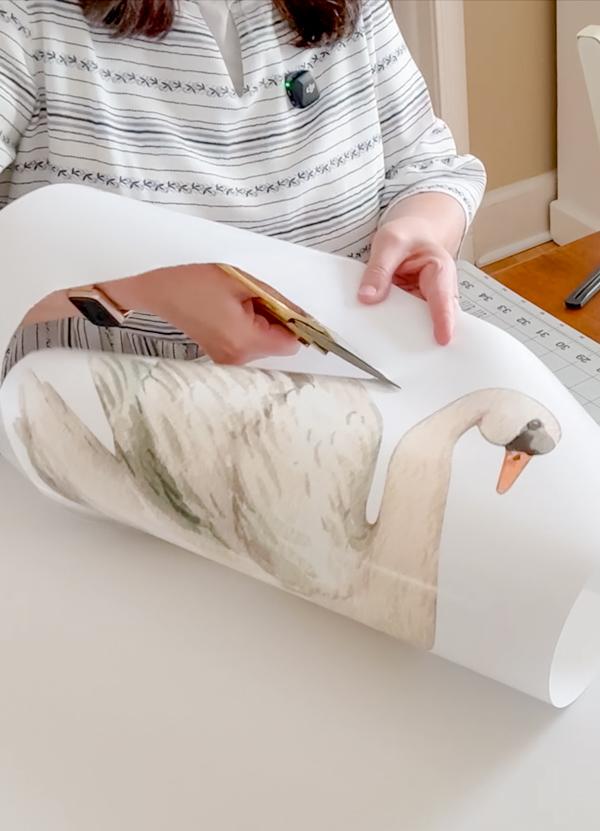
Do not cut directly along the edge yet. That small border prevents tearing and makes positioning easier.
Step 3: Apply the Print to Foam Board
If using peel-and-stick foam board, peel off the backing and press the swan down slowly.
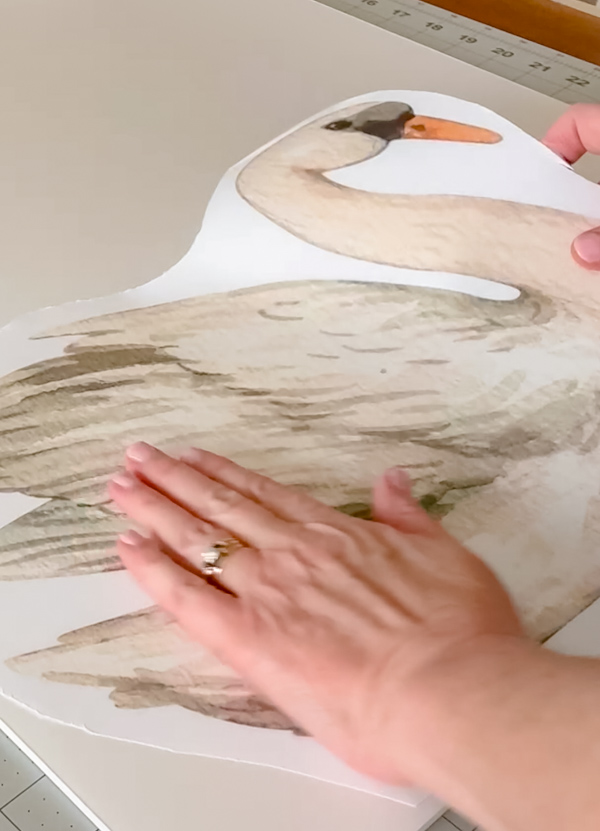
As you apply it, use a credit card or small squeegee to smooth from one side to the other. Work slowly and press firmly as you go. This helps prevent bubbles.
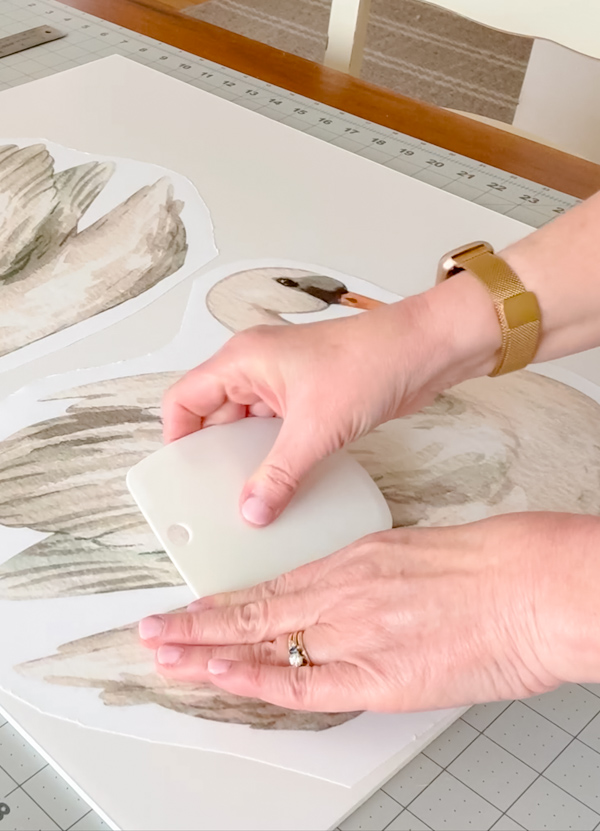
If you’re using foam board with spray mount, spray it evenly and smooth it out the same way. If small bubbles appear, gently lift the print right away and re-smooth. Catching them early makes a big difference.
Note: If you’re using peel-and-stick foam board, once the swan is applied, it’s almost impossible to lift and reposition to remove bubbles. Take your time and carefully attach the swan little by little, using a squeegee or your hand to smooth it as you go.
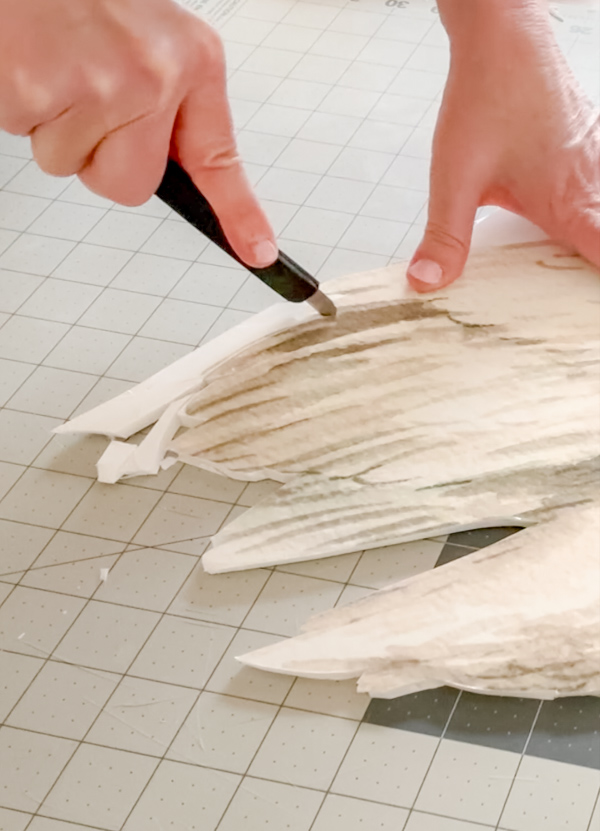
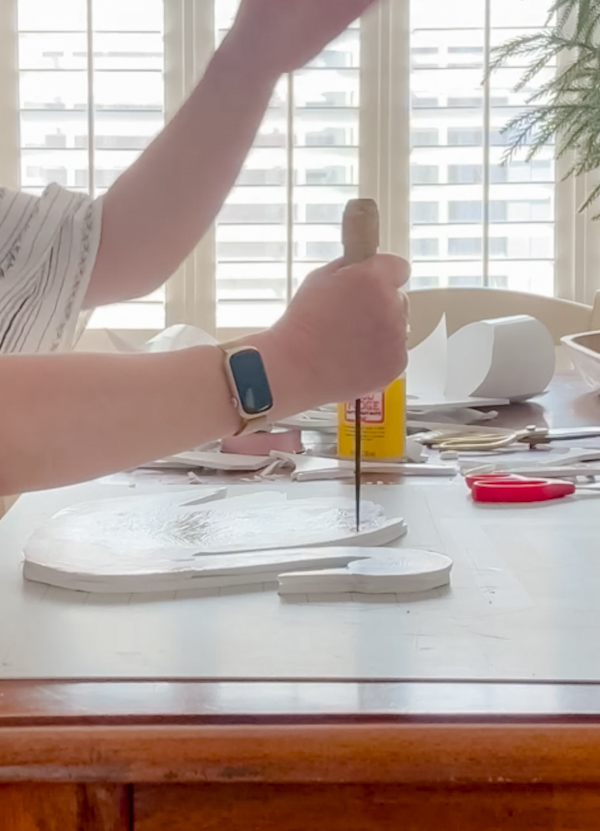
Step 4: Precision Cut with a X-Acto Knife
Now cut directly along the edge of the swan. Use slow, controlled strokes and cut in small sections. Let the blade do the work. If it starts dragging, change the blade.
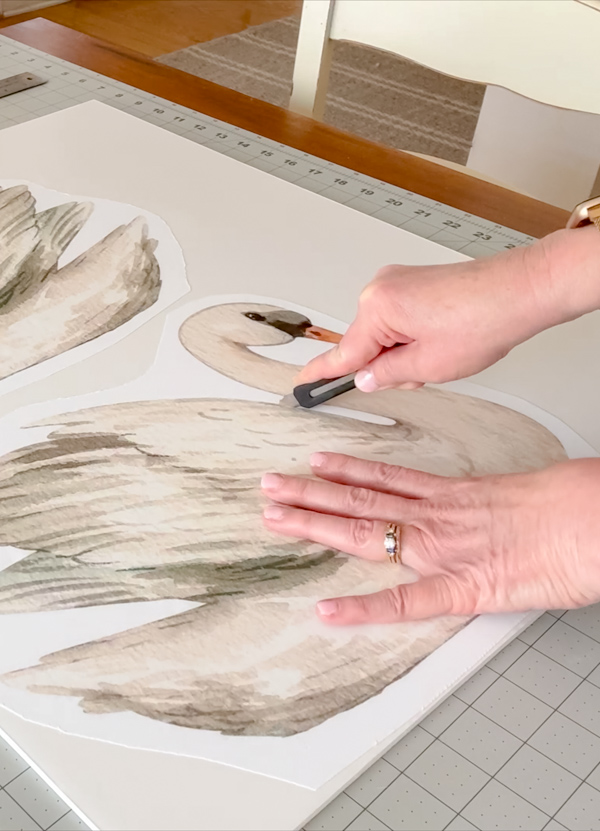
Learn from me. When cutting my second swan, I learned to cut the foamboard about ½ inch away from the swan to remove the excess foamboard. I used sharp scissors.
Once that’s done, carefully trim right along the edge of the swan with your sharp X-Acto knife. As you cut, remove small pieces of foam board at a time—it’s much easier to handle small sections than large ones.
Step 5: Apply Decoupage for a Art Finish
This is the step that makes it look like real painted artwork. Brush a thin, even coat of decoupage over the entire surface using smooth strokes in one direction. The decoupage removes the shine from the poster print and gives it a soft watercolor look.
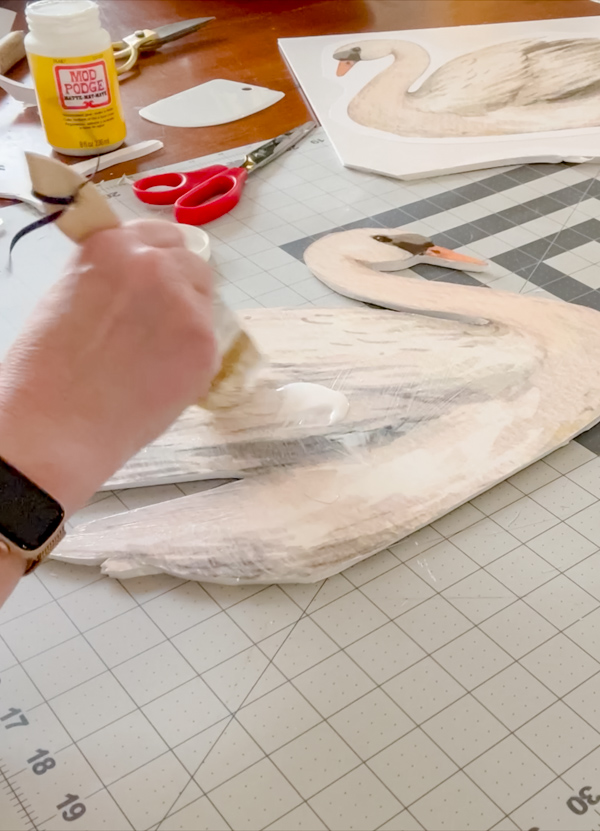
If you still notice tiny bubbles, don’t worry. The decoupage finish helps disguise them.
Now here is a tip: use a blow dryer on low to speed up drying if needed. Let it dry completely and before moving on.
Step 6: Mark the Hanging Hole Carefully
Hold the swan upright and place your finger near the top to test where it naturally balances. If the hole is too far forward or backward, the swan will tilt when hanging.
Note: Hanging your swan with ribbon is optional. You can hang your swan art without using ribbon.
Once you find the perfect balance point, mark it lightly. Use an ice pick or nail to push through from front to back.
Lay the swan with the hole on top of the second one and mark the exact same spot so they hang evenly. Matching hole placement is important.
Step 7: Thread the Ribbon
Cut about 36 inches of ribbon to hang each swan, or however long you need the ribbon to be. Thread the ribbon through the hole.
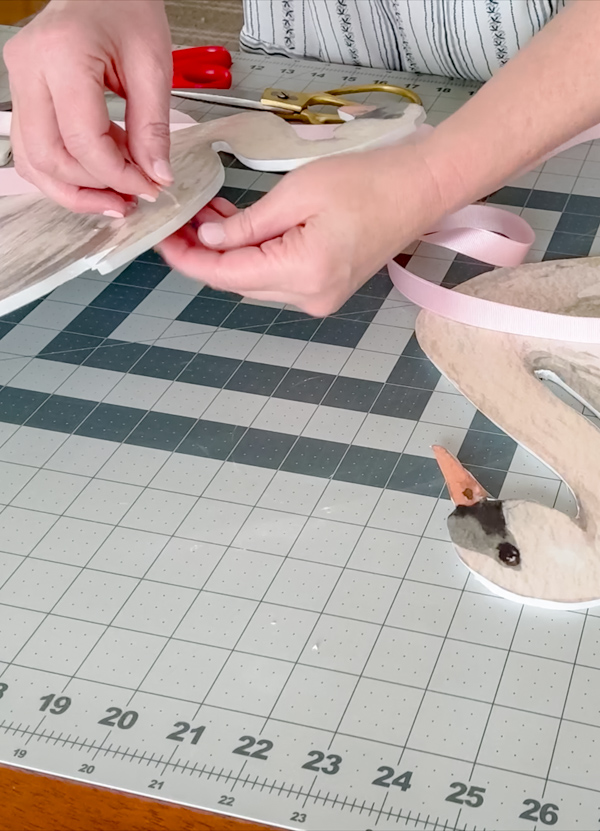
Adjust the length depending on how low you want them to hang.
Step 8: Attach the Swans Together
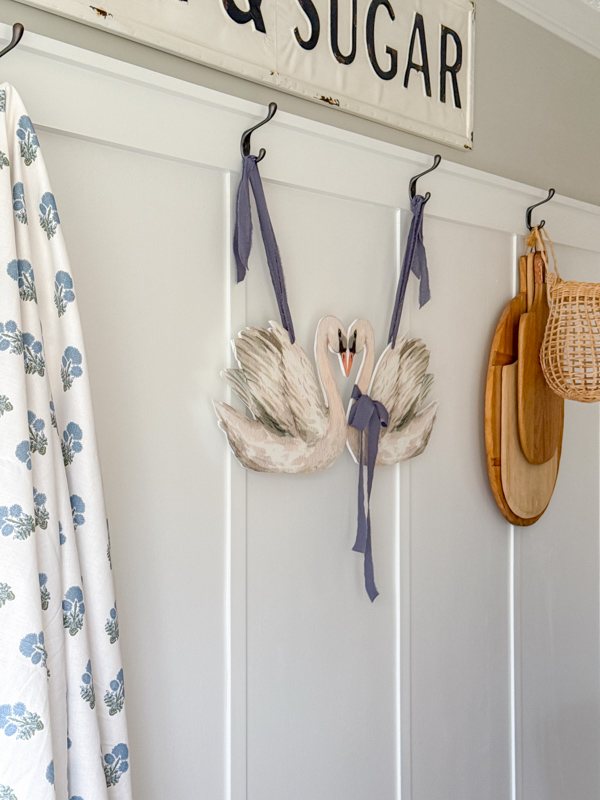
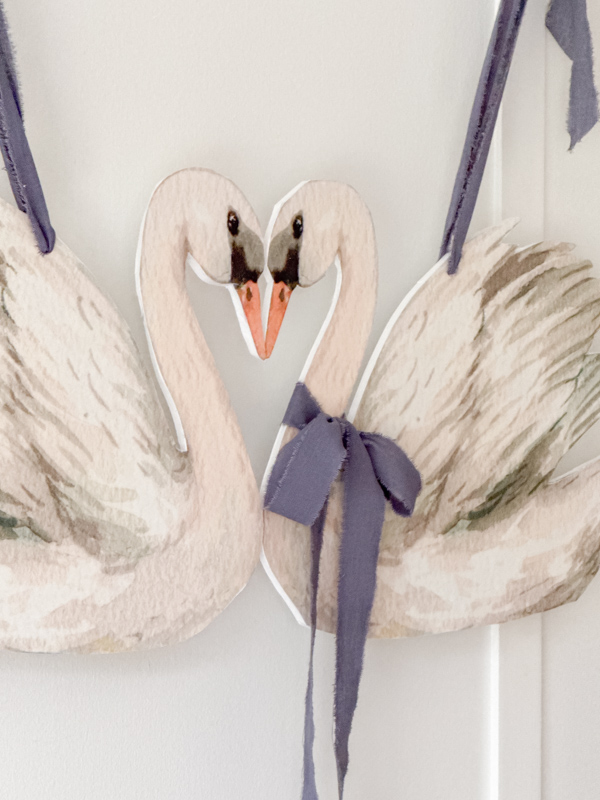
Turn both swans upside down. Position them so their heads and beaks touch.
Use small pieces of clear tape anywhere they naturally meet. This gives the piece stability but allows you to separate them later if needed.
Be gentle when lifting. The tape is mainly to keep them aligned.
Step 9: Add the Decorative Neck Bow
Tie a bow around the neck of one swan. You can create a soft droopy bow or something more structured, depending on the event. This small detail makes a big difference in the overall look.
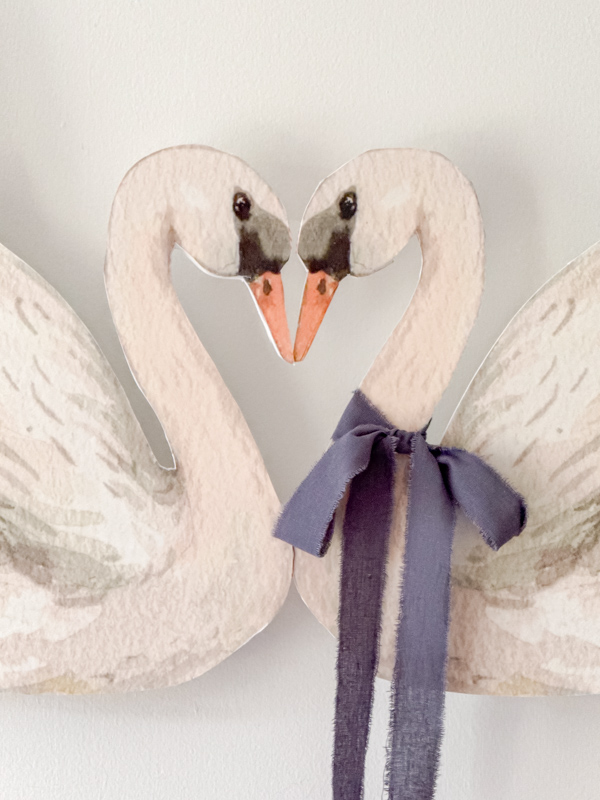
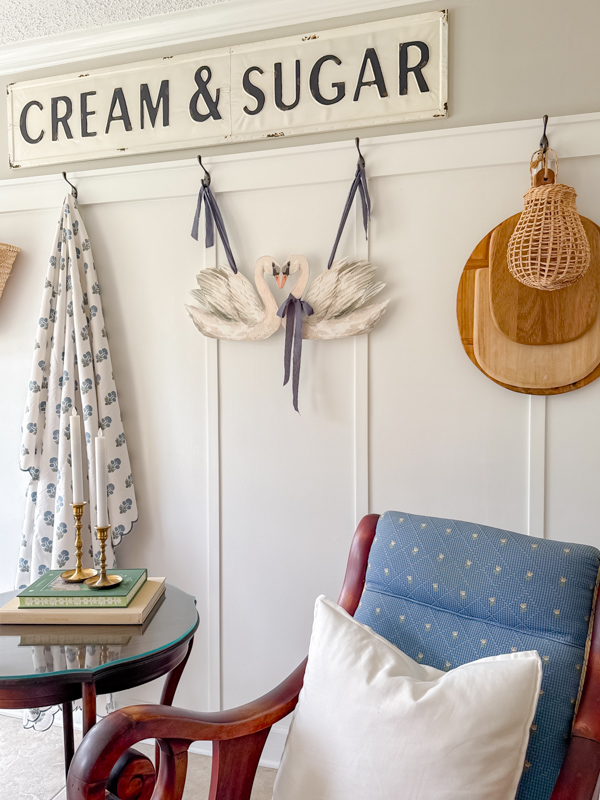
Guess what, you are all done. Did you notice I used pink ribbon but ended up with blue? The pink was for Valentine's Day, and the blue is for spring, which happens to match my home decor. Let's look at ideas for decorating and using your large printable wall decor.
Creative Ways to Use Swan Wall Decor
This DIY watercolor swan wall decor works for so many occasions:
- Swan wedding decor backdrop
- Swan bridal shower decoration
- Baby shower focal wall
- Swan Princess birthday party
- Nursery wall decor
- Girls tea party
- Spring wall decor
- Valentine decoration
- Photo booth backdrop
Simply change the ribbon color to match your event.
Red or pink works beautifully for Valentine’s Day. Dusty blue and purple feel perfect for spring. Soft pastel pink is sweet for a nursery. Matching bridesmaid dress colors makes it ideal for a bridal shower.
Because it’s a printable, you can resize it and reuse it for multiple events and print as many times as you want. The download comes in 20 x 16 inch or 14 x 11 inch. If you want a different size, send us a message on Etsy.
I decided to match these swans to my home decor and use them for spring, along with other decor like this block-print shower curtain hanging on the hook. I am not finished decorating for spring, so stay tuned.
Final Thoughts
This DIY watercolor swan wall decor proves that printable art can become statement decor with just a few thoughtful steps.
With foam board, ribbon, and attention to detail, remember you can create wedding decor, bridal shower decor, nursery decor, or seasonal wall art that looks custom and intentional.
If you are planning to make one, I’d love to know what occasion you’re using it for. Please share in the comments.
And if you’re planning a shower or party, you might also enjoy my floral baby shower ideas, Southern bridal shower inspiration, or last year’s vintage spring decor posts for more styling ideas.
Happy Decorating!
