Try these Harry Potter table decorations and invite all your muggle friends. You will create a memorable dessert party with these easy ideas for Halloween, birthday or just for fun. So grab your magic wand and let's get started decorating this delicious and sweet tablescape.
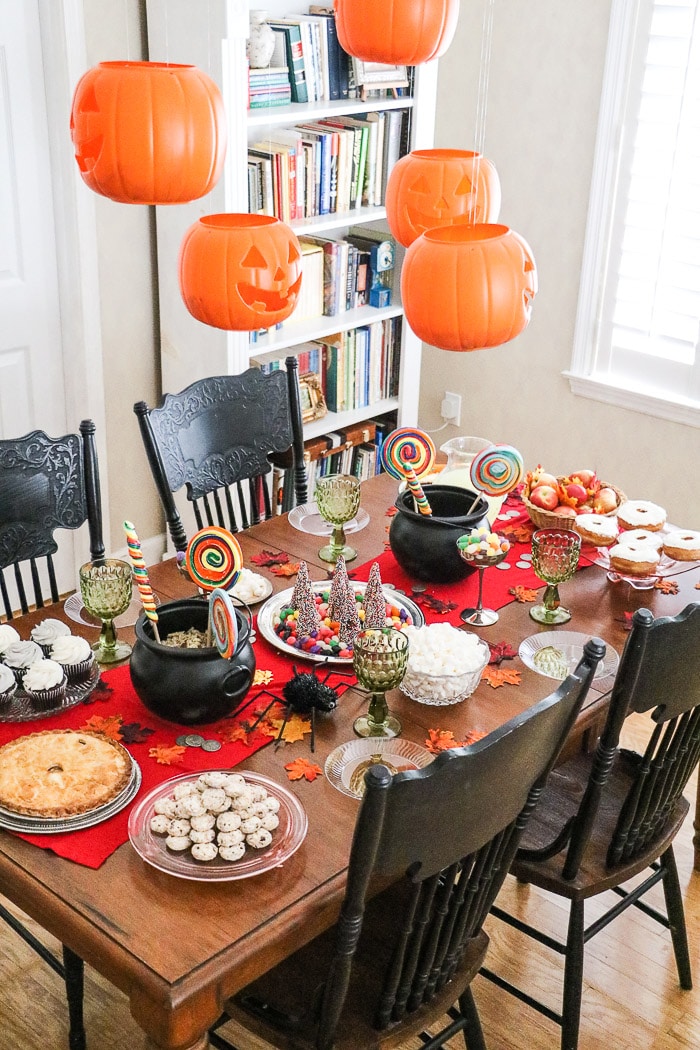
The world of Harry Potter is such a fun story to follow! But what is even more fun is creating Harry Potter table decorations for your family or friends. This year for Halloween I decided to add to my Privet Drive entryway. And create a Hogwarts Halloween banquet from the great hall at Hogwarts for my niece and nephews.
They were all smiles as they came in and smelled all the candy and baked goods!! Here are the steps to create this memorable event. I hope your guests will feel as special as mine did.
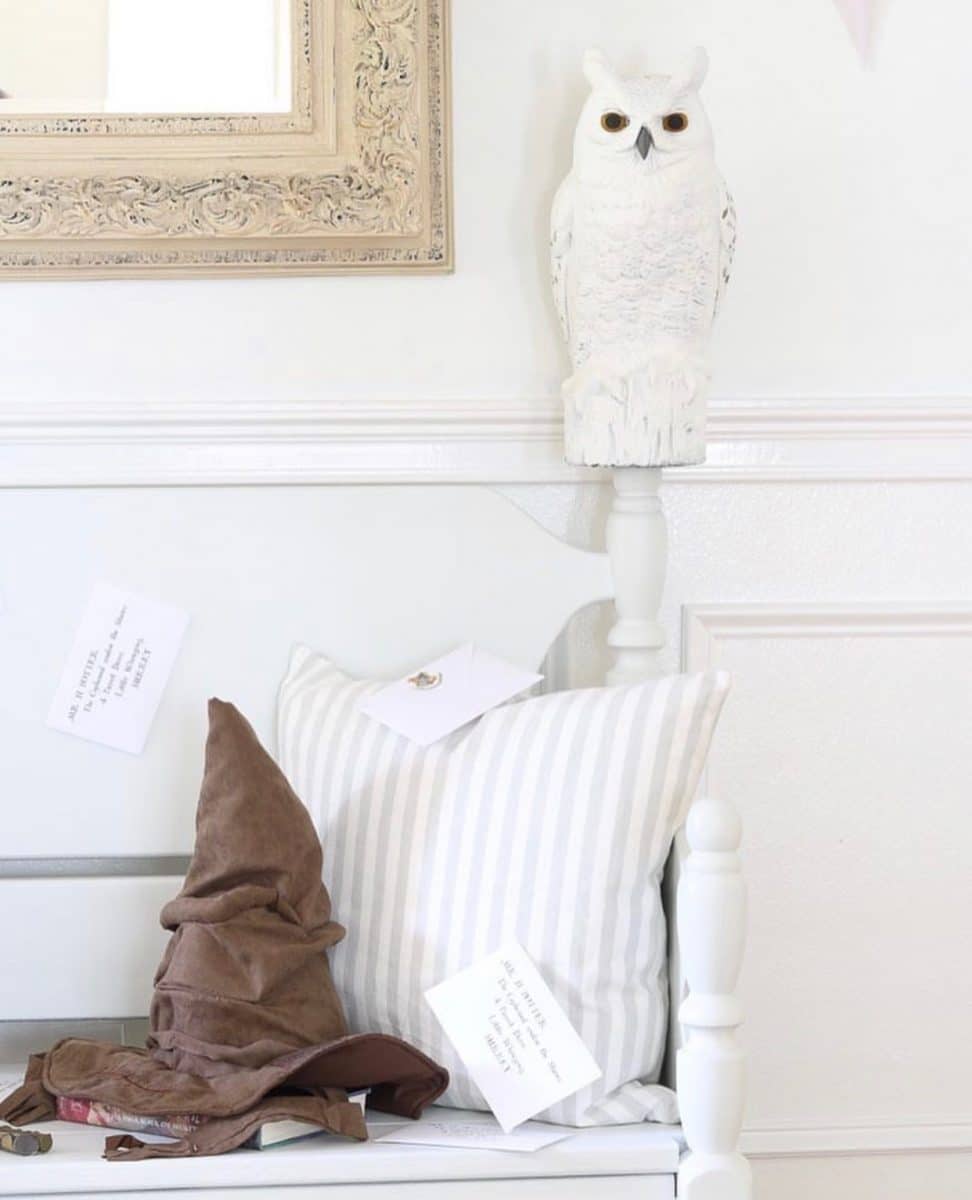
Harry Potter Table Decorations
To start any project you will need some supplies. Here is a list of Harry Potter party supplies that you will need to create these Harry Potter table decorations for your themed party.
- Plastic pumpkins
- Utility Knife
- Sandpaper
- Glaze I used a Dixie Belle brand
- Artist paintbrush
- Paper towels
- Fishing line
- Thumb tacks
- Red fabric for a runner or red table runner
- Fall leaves
- Large silver tray or clear
- Different size silver or glass trays and bowls (I found some at Dollar Tree) (I used 8)
- Two cauldrons
- Black rice or something to go inside the cauldrons
- Large lollipops
- Marshmallows
- Gumdrops
- Jelly beans
- Apple pie
- Carrot cake
- Apples and a basket
- Donuts with icing
- Butterbeer cupcakes (I used Mel's recipe from Flours on my Fingers)
- Danish Wedding cookies
- Waffles cones
- Chocolate icing
- Sprinkles
- Goblets (these are gold in the movie but we had green ones on hand)
- Clear dessert plates
- Lemonade and glass pitcher
Many items I found at the Dollar Tree, Amazon, and the bakery at our local grocery store. Now that we have everything let's walk through the steps on how to set the table, Harry Potter theme centerpiece, and make the floating jack-o'-lanterns and candy forest.
Floating Jack-o'-lanterns
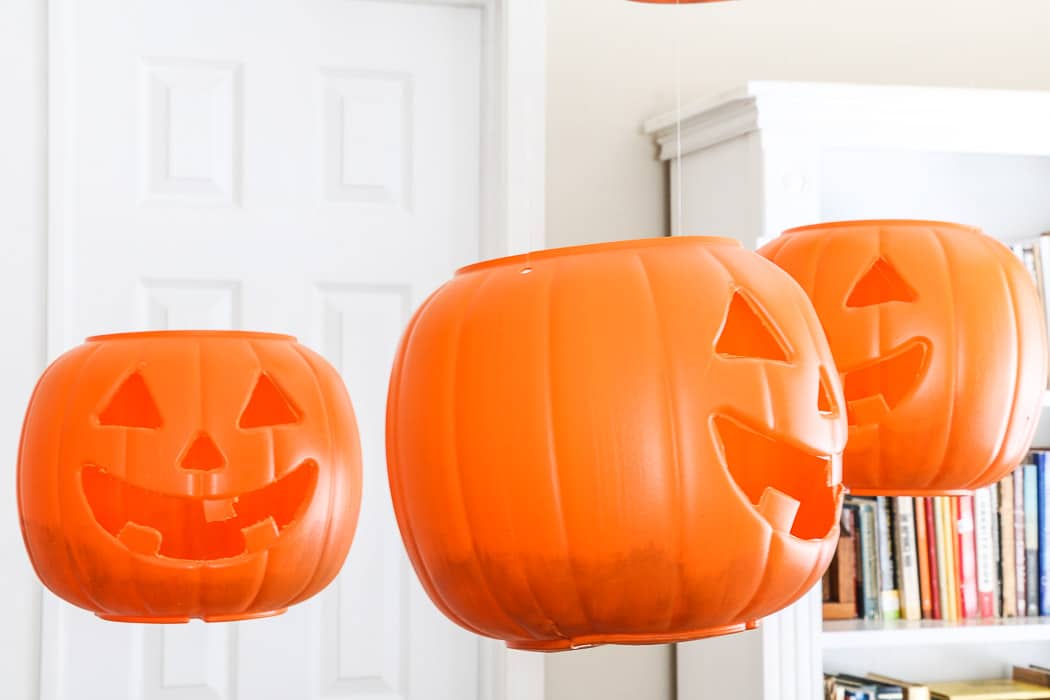
Remember in the movie during the Halloween banquet there were jack o lanterns illuminating and floating in the banquet hall? Well, our table needed some floating pumpkins, and here is an easy and inexpensive way to create them.
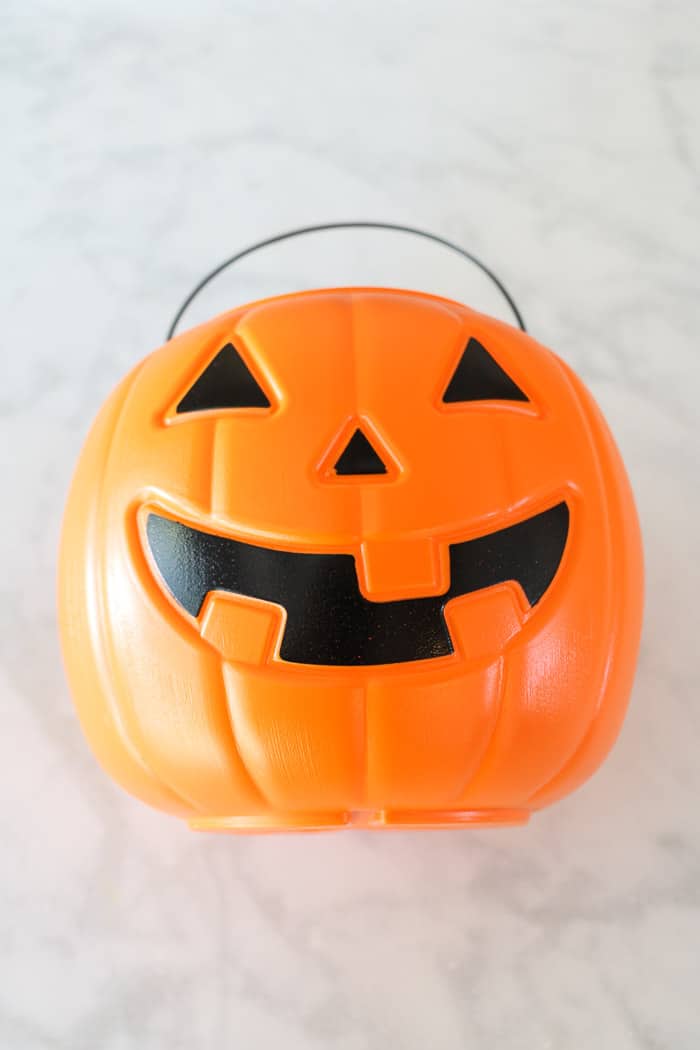
First, take a pumpkin candy holder like this.
And cut the handle office with scissors.
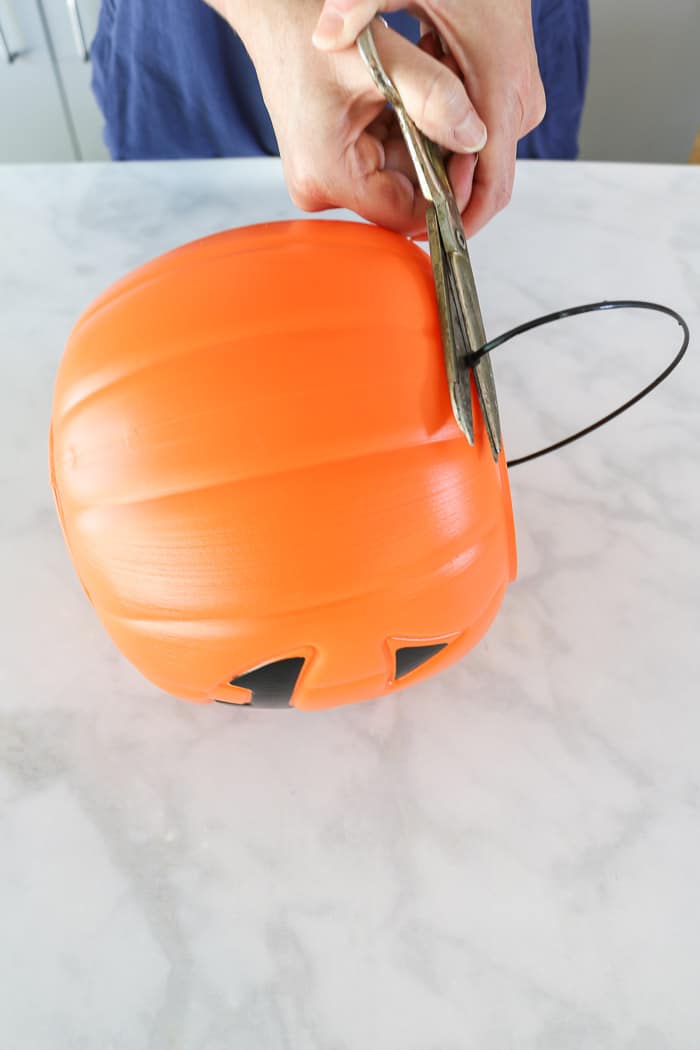
Next cut out the eyes, nose and mouth. Use a utility knife. First score where you want to cut then push down with the knife and it will slide right in along where you scored.
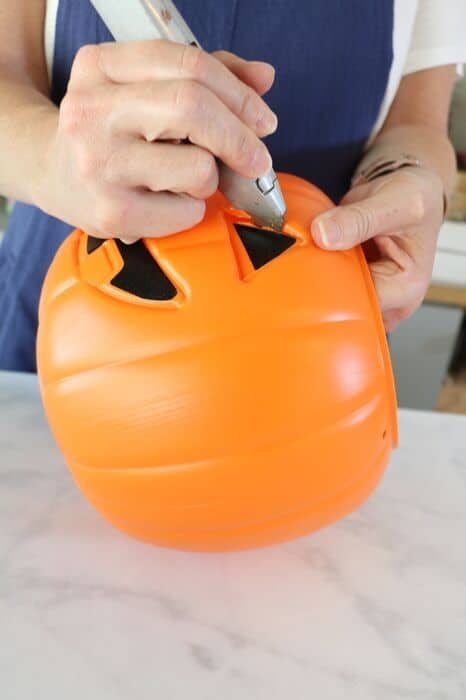
A side note that I tried a Dremel and I found the utility knife to cut a cleaner line and was quicker.
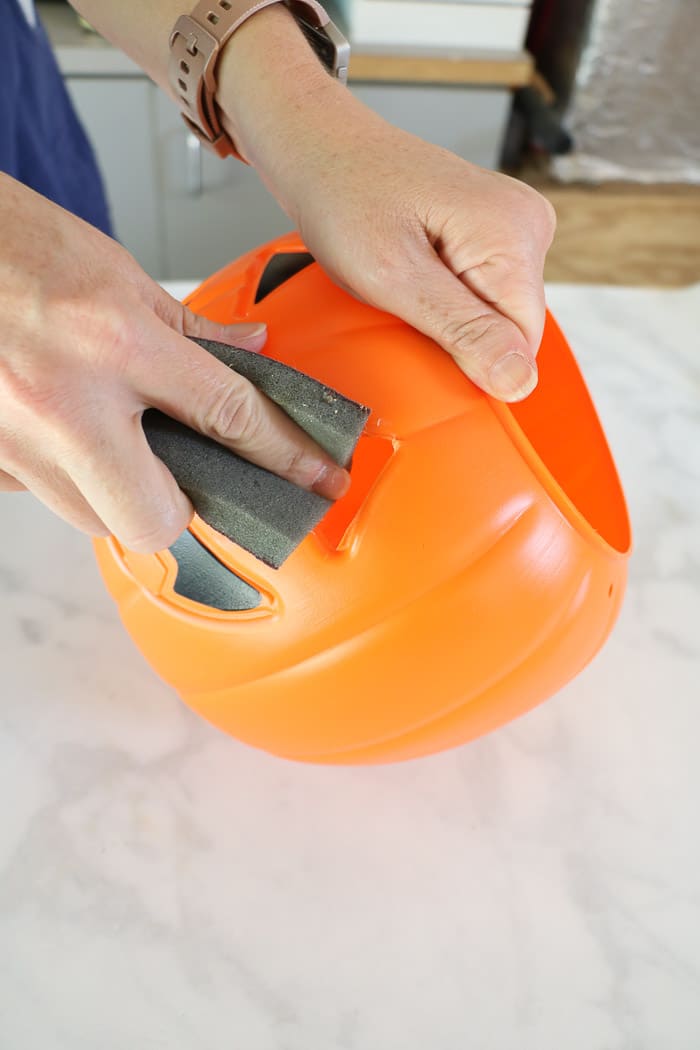
Now sand down any areas that look rough. I used a sponge type sandpaper.
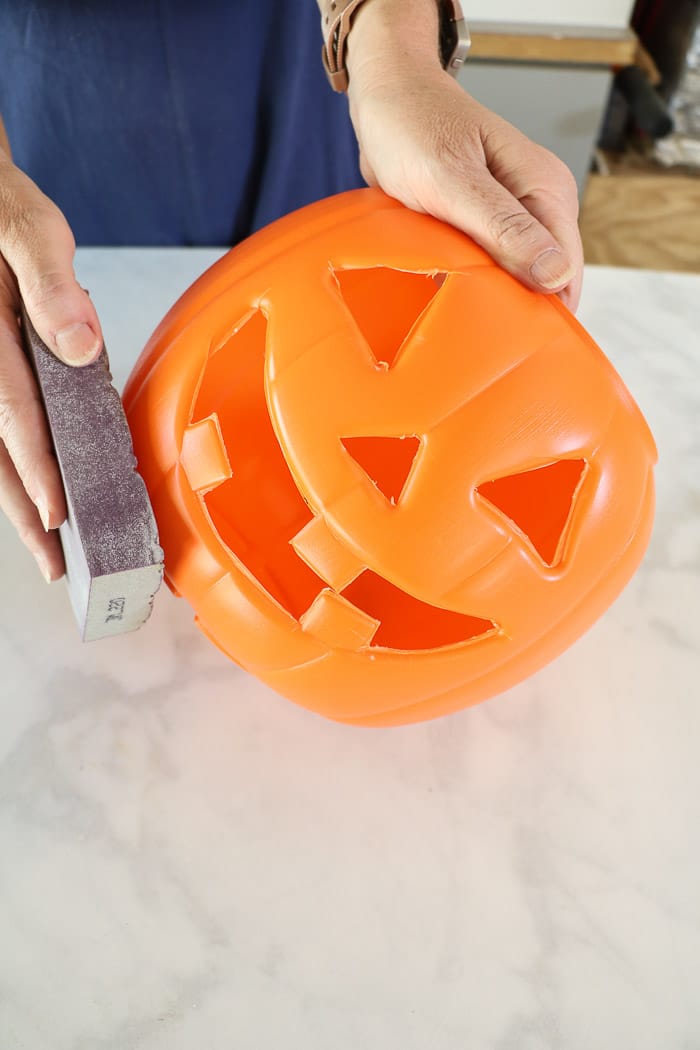
Follow this step with sanding along the bottom. This is where we are going to add a shadow to the bottom of the pumpkin.
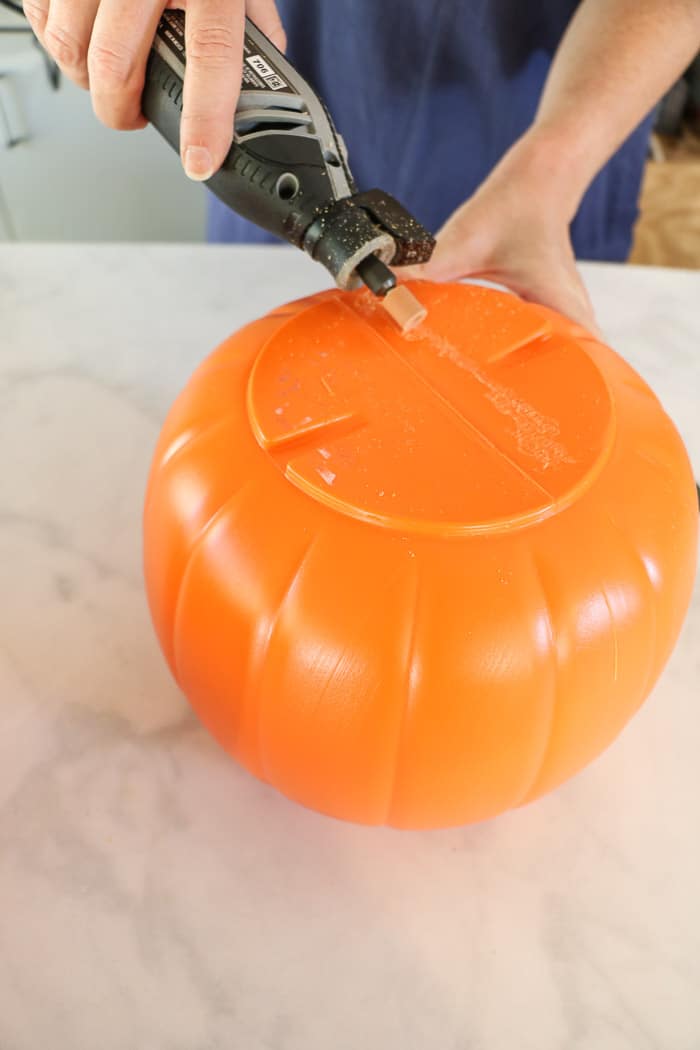
Then sand or use a Dremel to sand down any numbers on the bottom. We tried several things to remove the writing but we finally resorted to sanding it away.
One thing I just thought of that might work is Goo Gone or a Magic Eraser. You might want to try those.
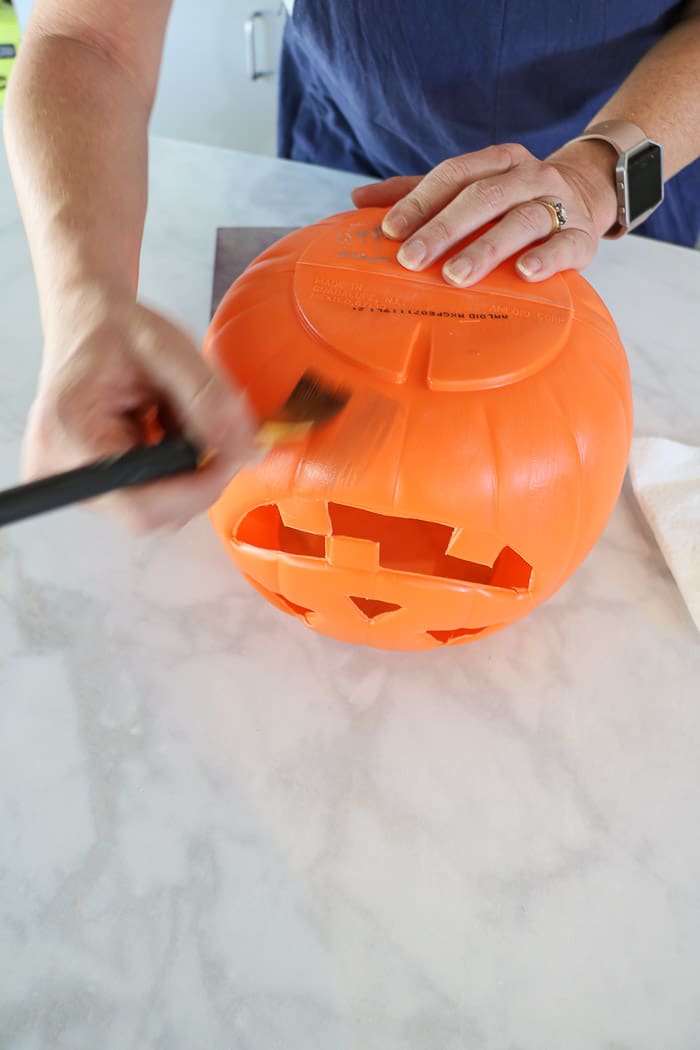
Brush on a glaze from the bottom up a few inches. Keep it light and apply a small amount. I kept a paper towel nearby to wipe off some of the glaze from the brush so I wouldn't over apply the glaze.
Also, you might notice the writing on the bottom of this one. We got wise after doing this pumpkin to remove the writing first.
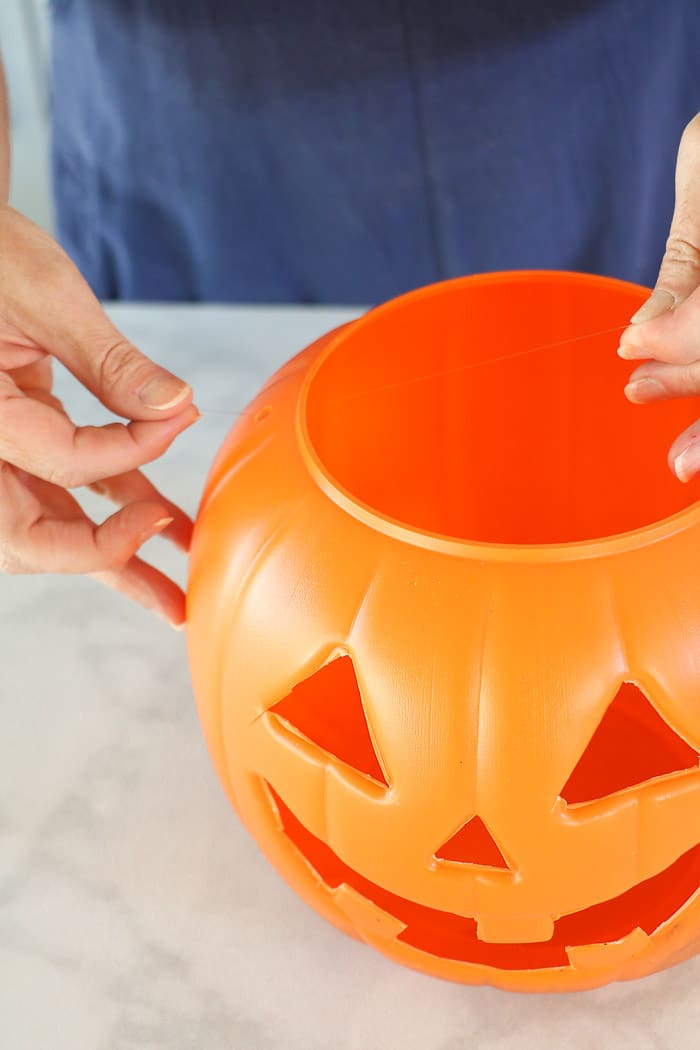
Next measure some fishing line about 8 feet long. Then thread though one hole from where the handle was then straight through the center of the pumpkin and out the other handle hole.
Then take the two ends of tie them together in a knot.
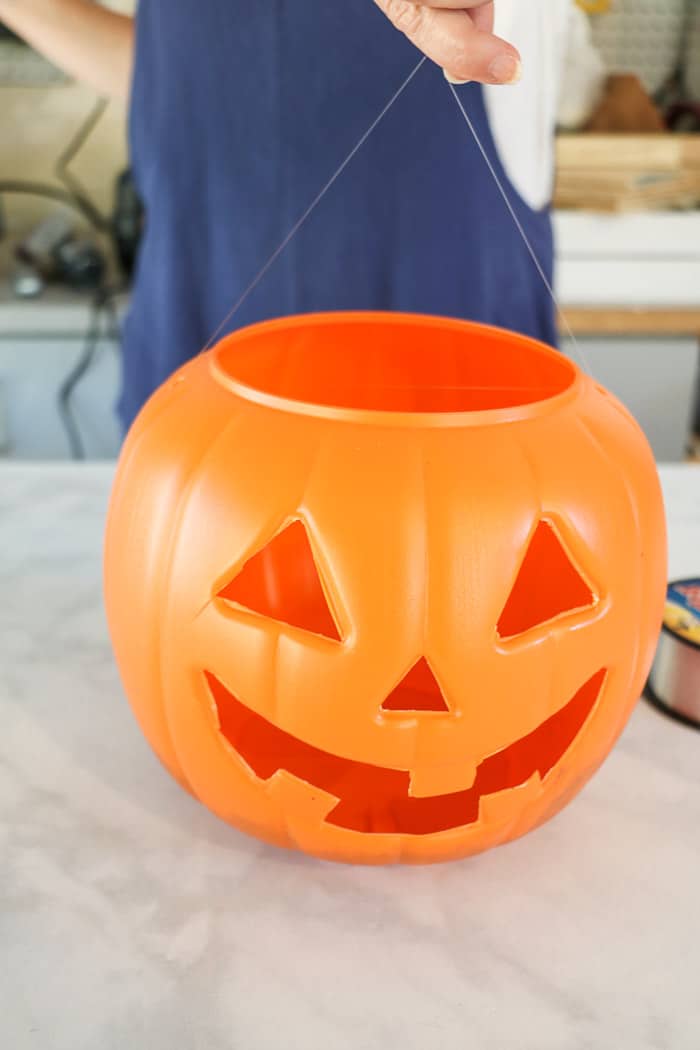
It will look like this when you are finished.
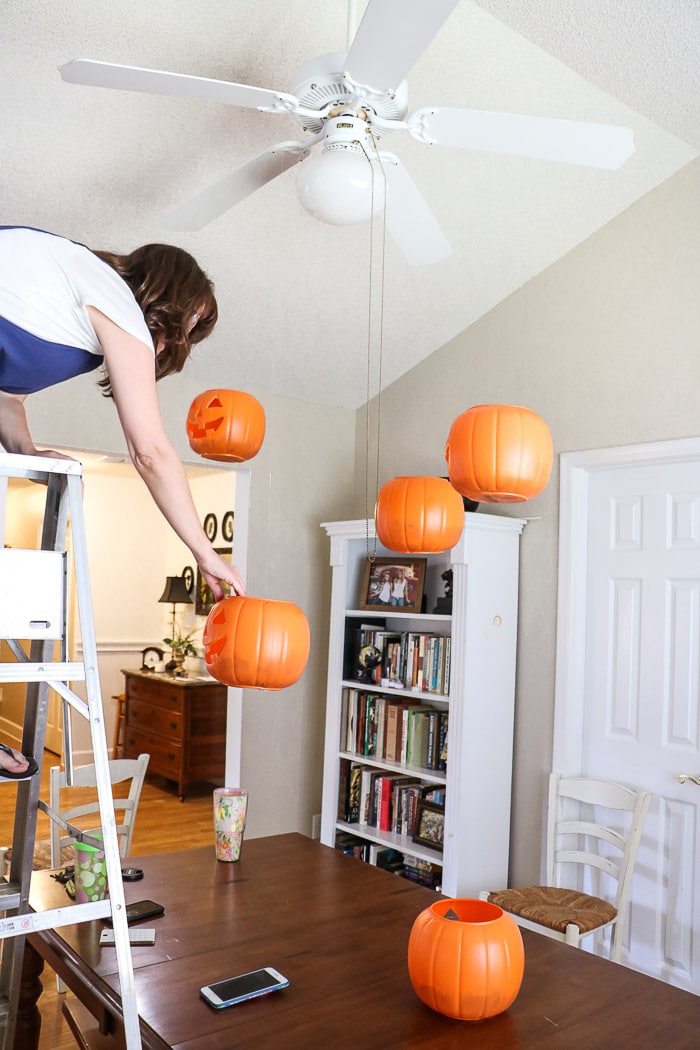
Next, you can hang your pumpkins from the ceiling with thumbtacks or you can hook the fishing line through the blades of a fan as we did over this table.
Now let's start preparing the table.
Prepare the Table the Night Before
The day before the party I planned out the table and had everything ready except for some bakery items. Here are the steps I took to prepare the Harry Potter party decorations.
Lay Runner on the Table
First, you will need a table cover. Lay a red runner on the center of the table. Your runner can drape down the ends of the table or just sit on the top. Our runner sat on the top.
You can use a scarf, runner, or even a piece of fabric.
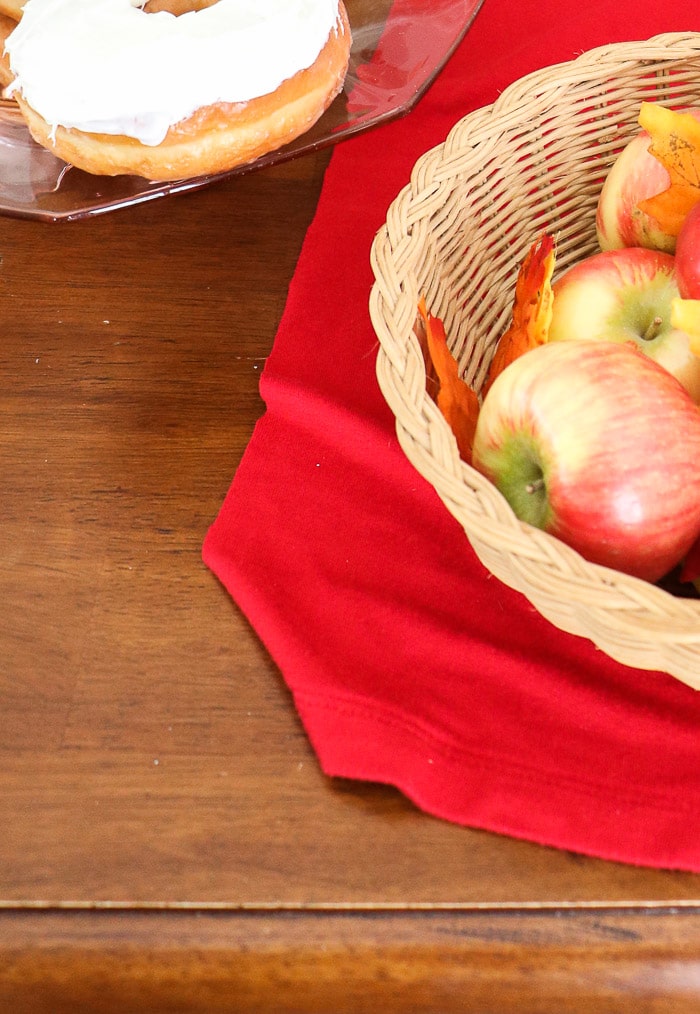
Sorry I didn't have a photo showing how we sat the runner on the table. We forgot to capture that moment. 🙂
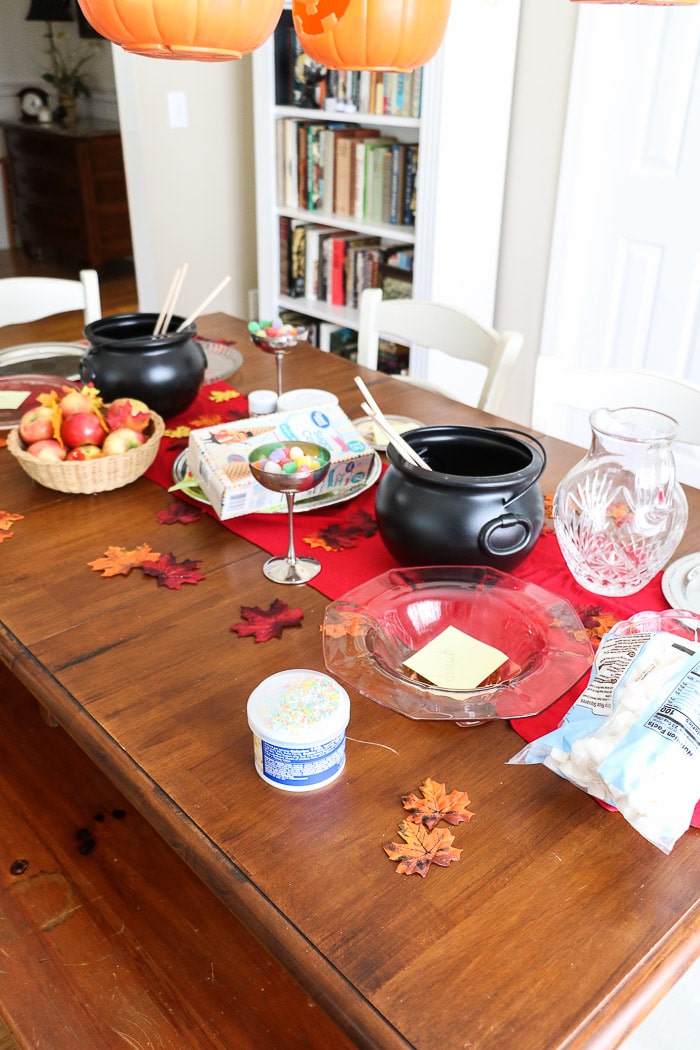
Next I started sitting out all the bowls, trays, cauldrons and so on. Begin by placing a large round silver tray in the middle and then the two cauldrons on each side. Continue with all the other smaller bowls and trays.
Then I placed the packaged foods on the trays or bowls where they would go.
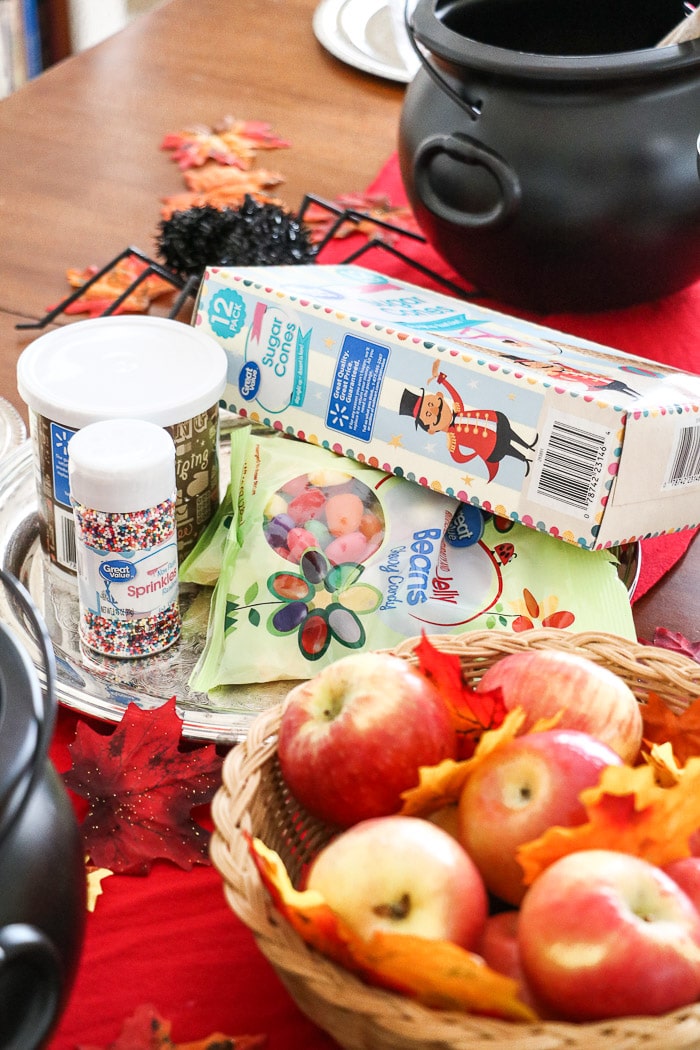
Next I wrote on a post it notes each food item planned and placed the note on the bowl or plate where it would go tomorrow.
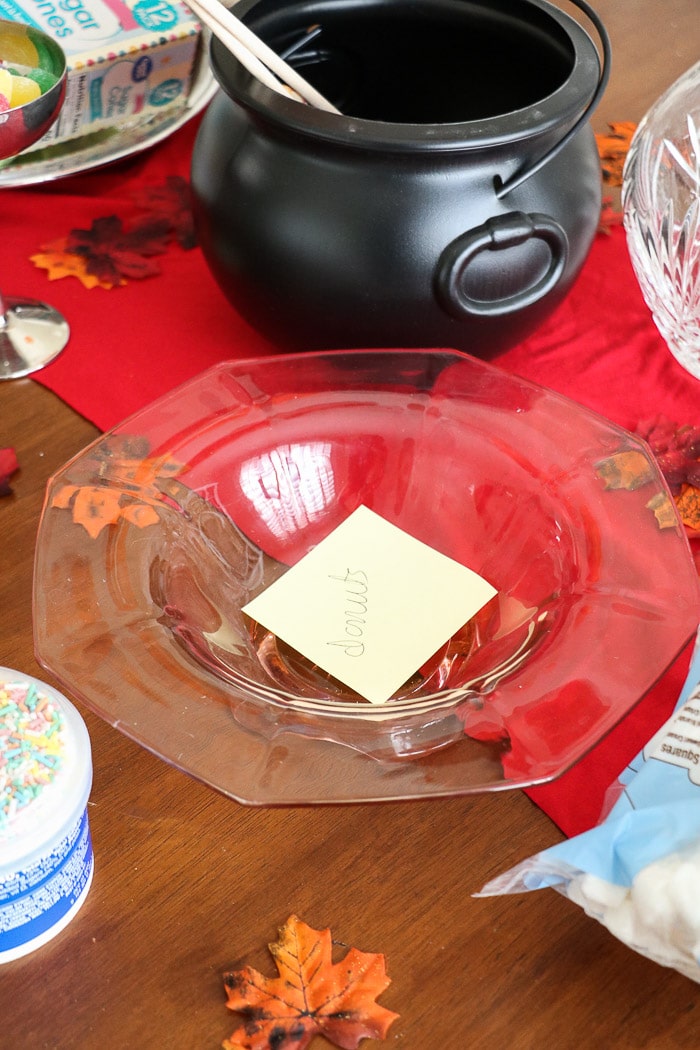
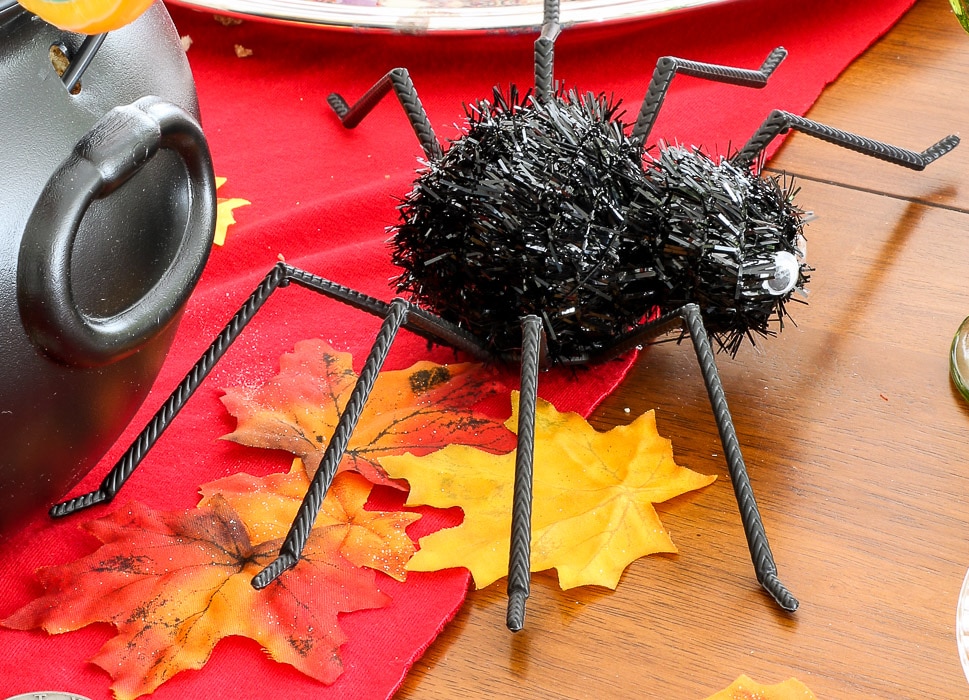
I then added the leaves and the spider. In the movie there was bat on the table but I found this spider at the dollar store and figured he would do.
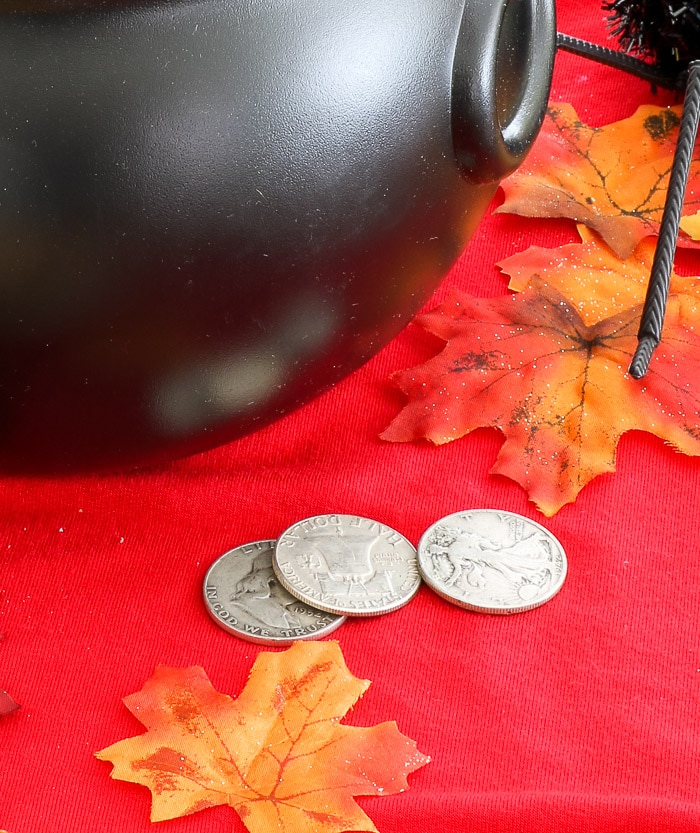
And then add some gold chocolate coins or use real coins if you cannot find the gold chocolate variety.
Next bake the butter beer cupcakes and put them in the frig. For directions on how to make Mel's butter beer cupcakes tap the image below to hop over to her website for details.
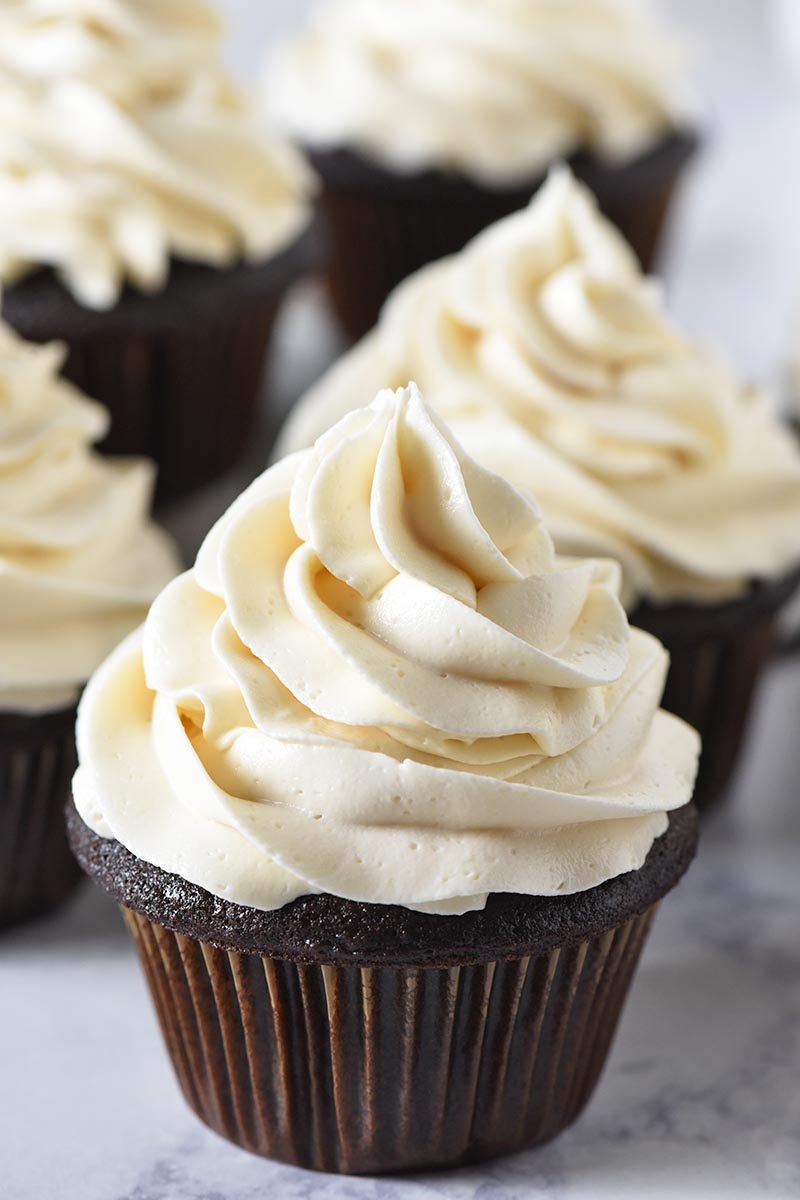
Place your finished cupcakes in the fridge until it is time for the party.
Now I am ready for tomorrow. This whole project could be done in one day but if you break it into two days you will be more rested the day of the event.
Party Day Finishing Touches
It is almost party time! Yay!
These DIY decorations are coming together. Start the day by sending someone to pick up any bakery items or go to the store early that morning.
Candy Forest Centerpiece
We are not sure what this is on the table in the movie but it turned out exactly as it did on the Halloween banquet table in Harry Potter. We decided to call it a candy forest because they sort of look like trees.
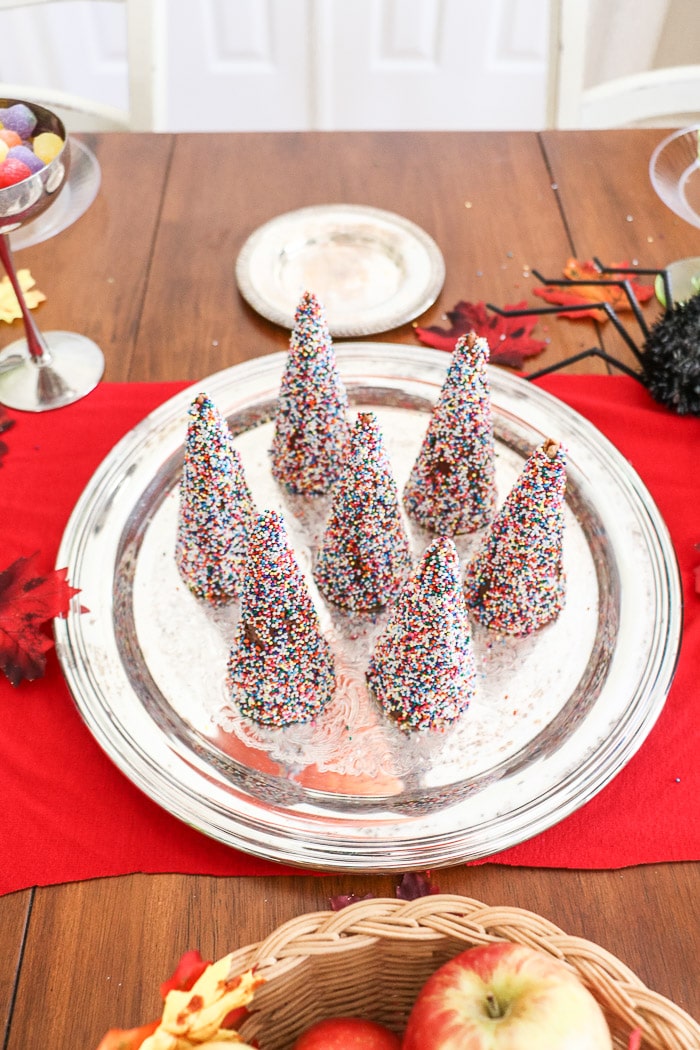
Okay let's start making the candy forest by following these steps. This will be one part of the centerpiece for your table. The lollipop cauldrons will be the other part of the centerpiece. But first, let's go through the candy forest steps.
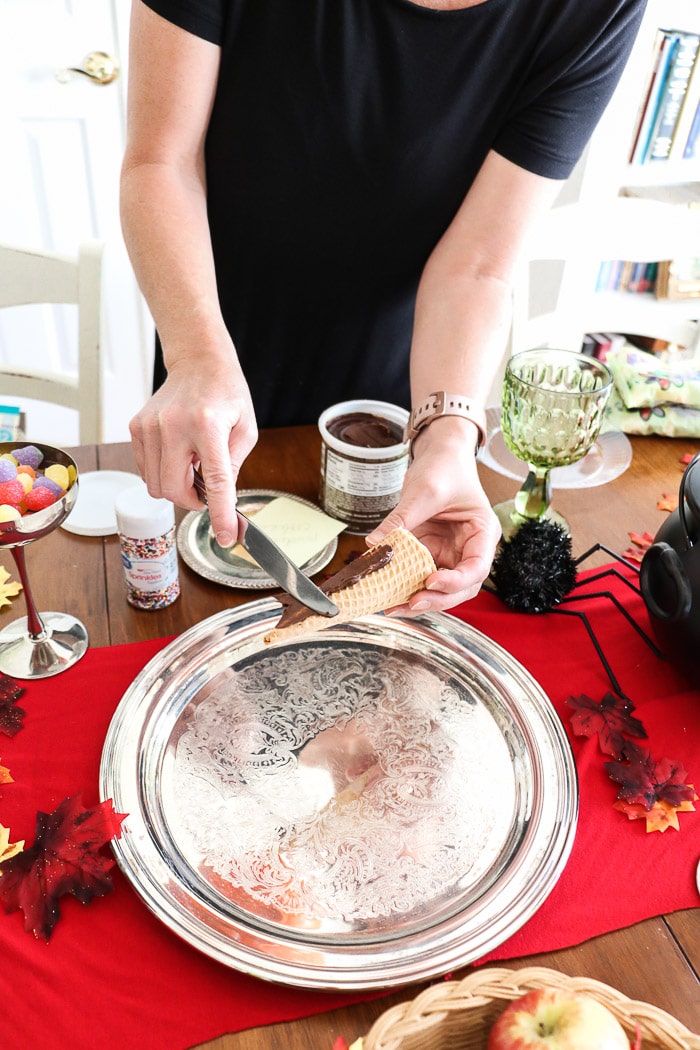
Start by spreading chocolate icing on the waffles cones.
Then fill up one of the disposable dessert plates with sprinkles and roll the waffle cone in the sprinkles.
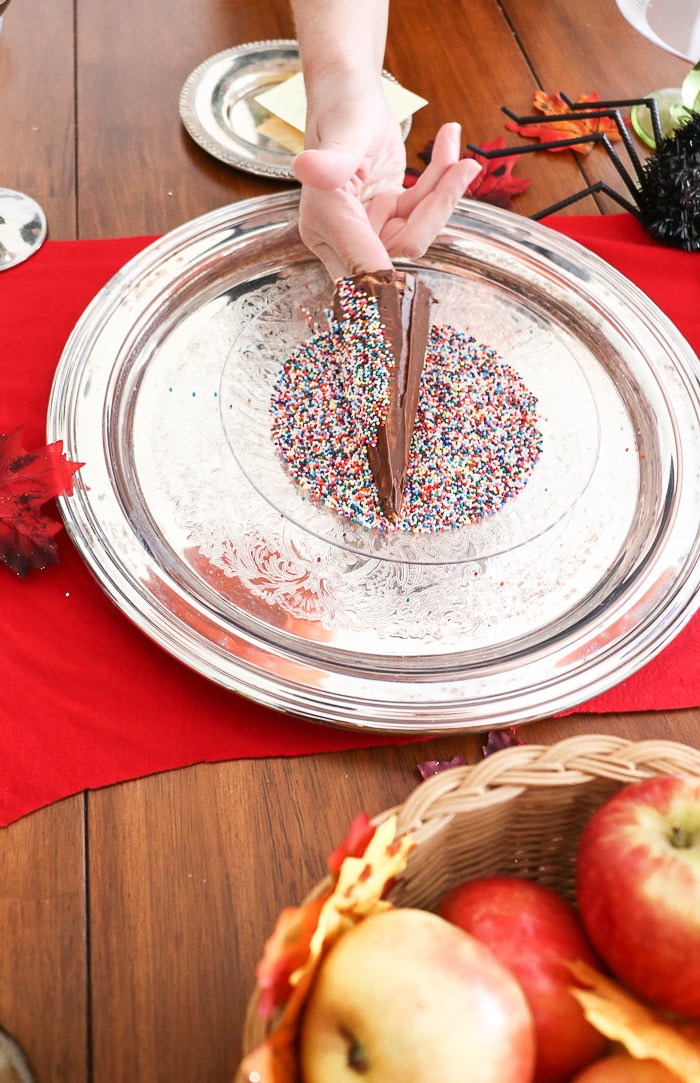
Keep rolling it until it completely covered in sprinkles then sit it upside down on a large round silver tray.
Repeat this step until all the trees are made and placed on the silver round tray.
Next add some jelly beans carefully around the trees. I used two bags of jelly bean to fill up the tray.
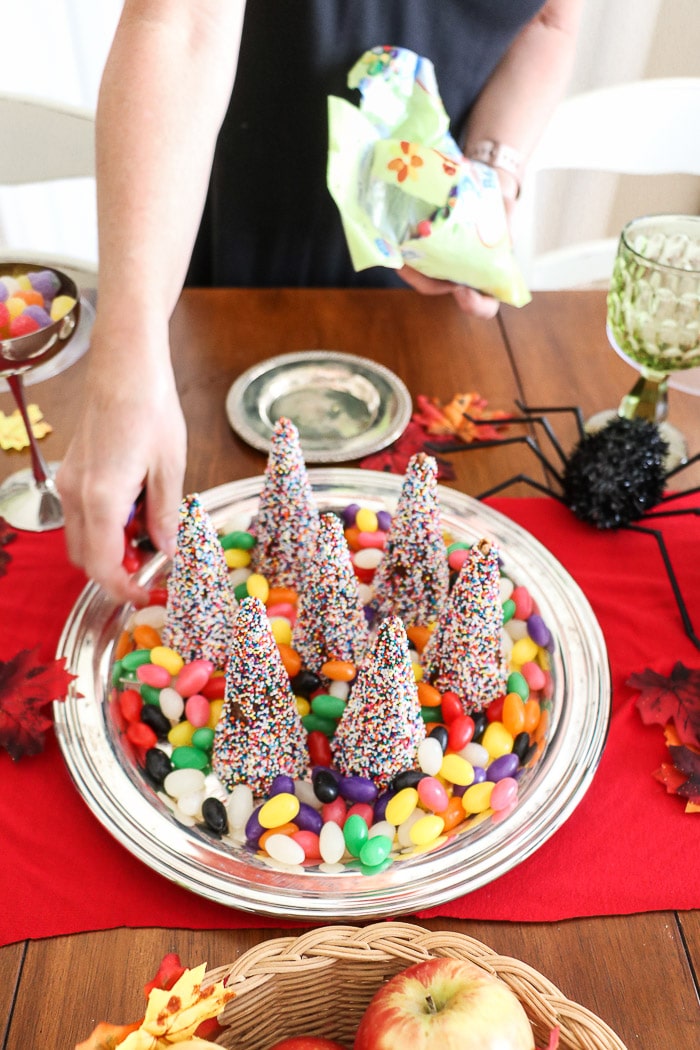
And your candy forest is finished. Place it in the center of the table if you crafted it in the kitchen or somewhere else. Which is a good ideas because we did it on the table and those tiny sprinkles went everywhere. LOL!
Lollipop Cauldrons
The next step is rather easy. With the cauldrons already in place fill them with something like black rice or black beans. We forgot these fillers so I used some stuffing mix from my pantry. It wasn't perfect but it would do for now.
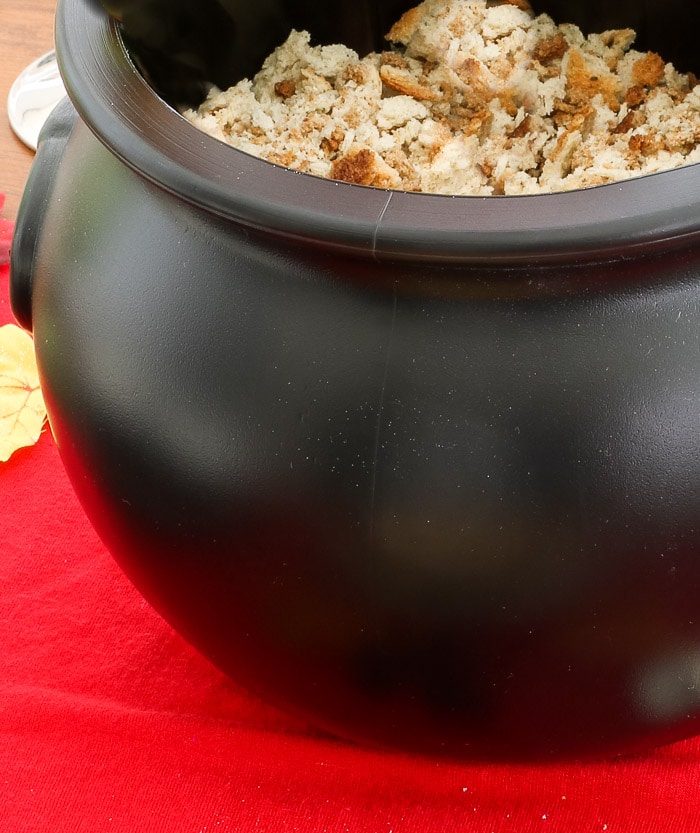
Next take the wrappers off of the lollipops and sit them down into the filler inside the cauldron.
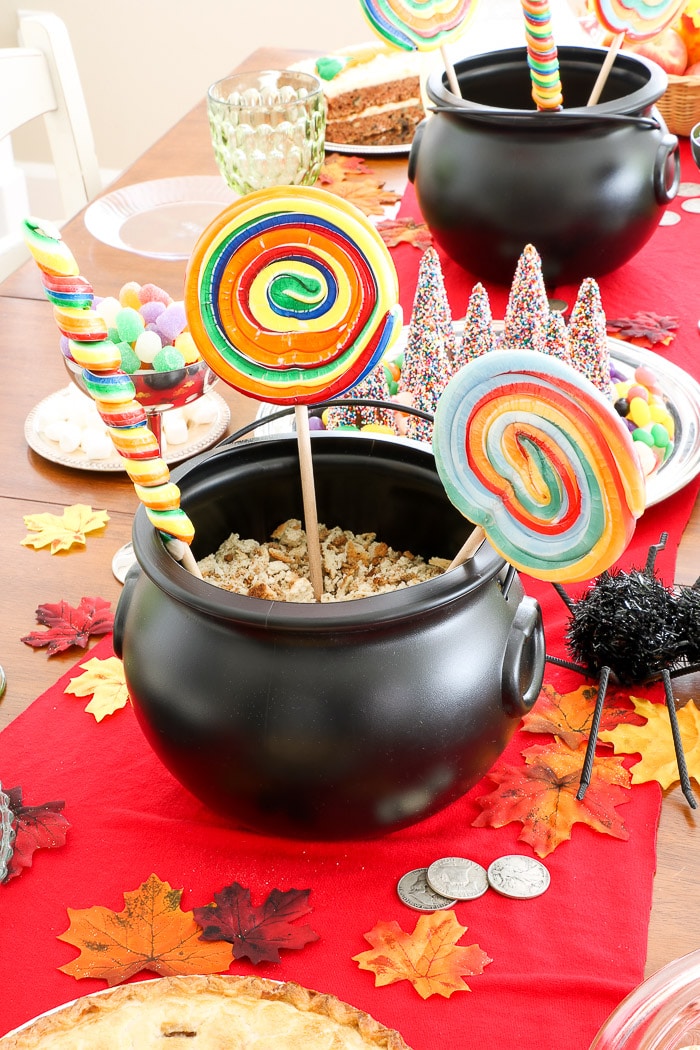
The filler will help the cauldrons from tipping over and it will help the lollipops to sit up more inside.
Set Out All the Baked Goods
Now it is time to place all the bakery goods on the table.
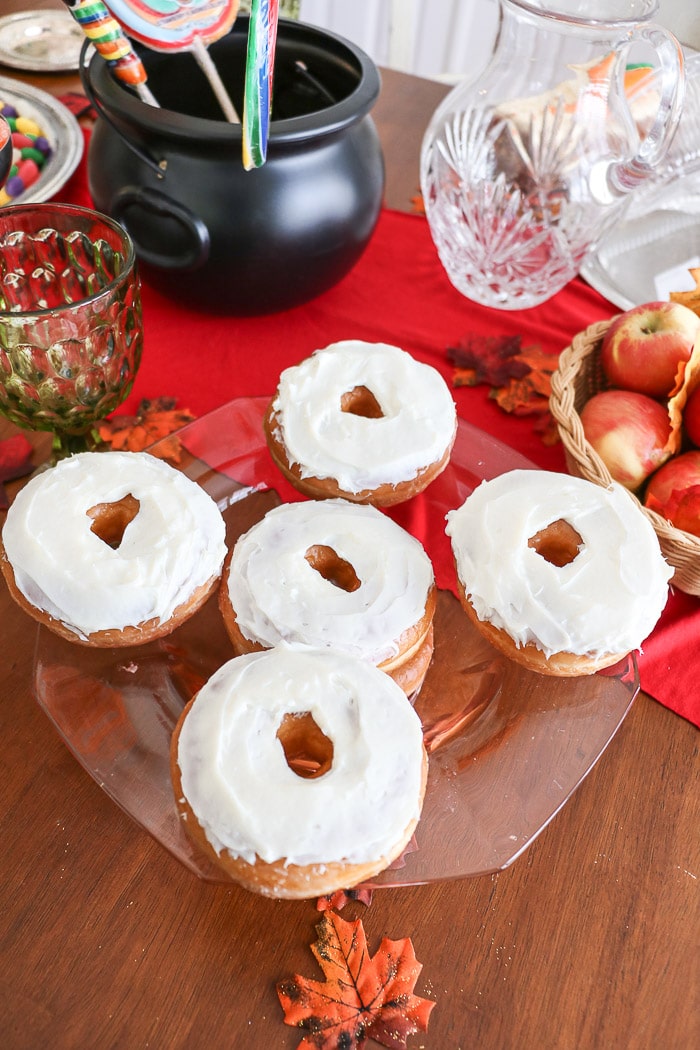
Place the donuts on a tray or inside a bowl. In the movie the donuts had icing on them so we added some icing to these donuts.
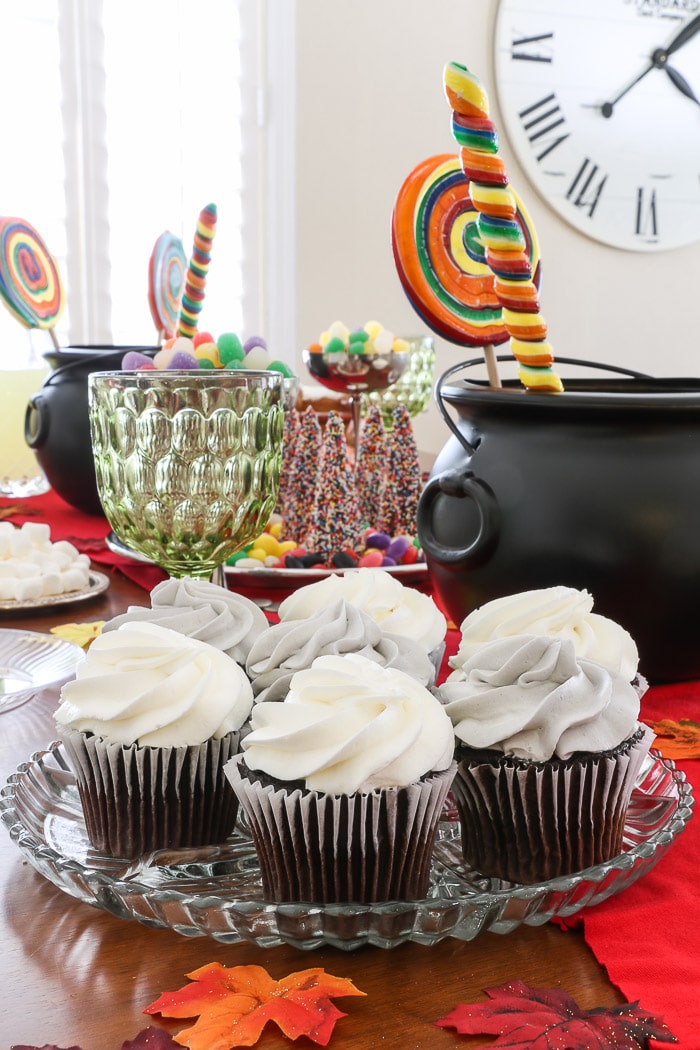
Sit the butter beer cupcakes on the tray where they belong.
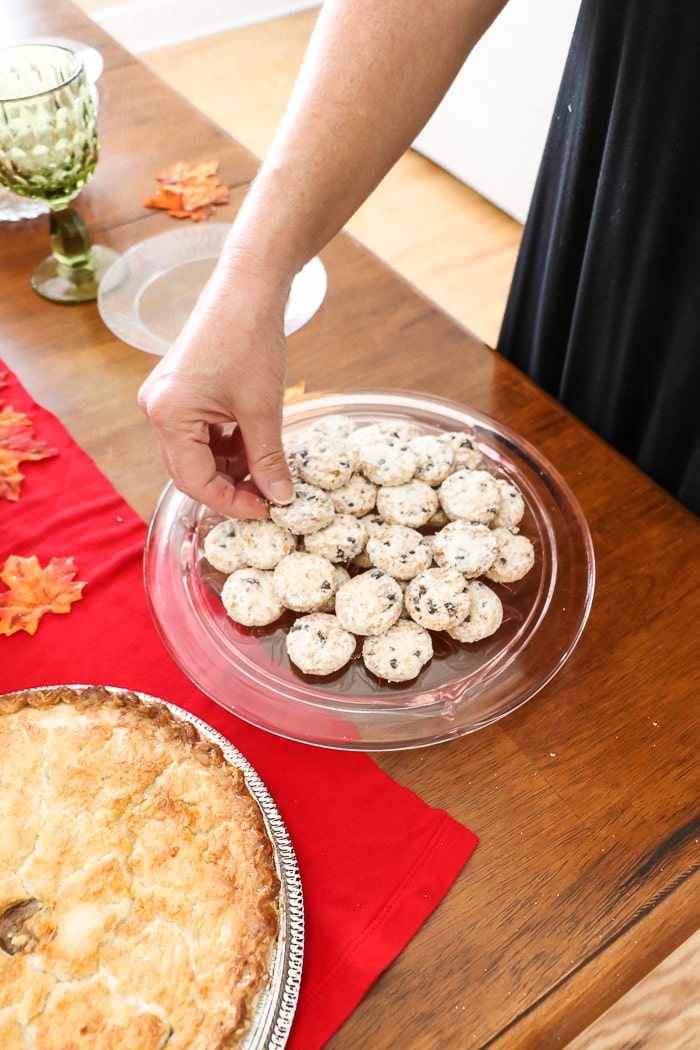
Stack the danish wedding cookies into a pyramid or tower. To create a pyramid of cookies, and by the way you can use any kind of cookie for this, simply start around the edge of the tray and make a circle of cookies and fill in the center.
Then repeat that process making another row and fill in the center. Keep repeating this step until you get to the top and you have only one cookie left for the top.
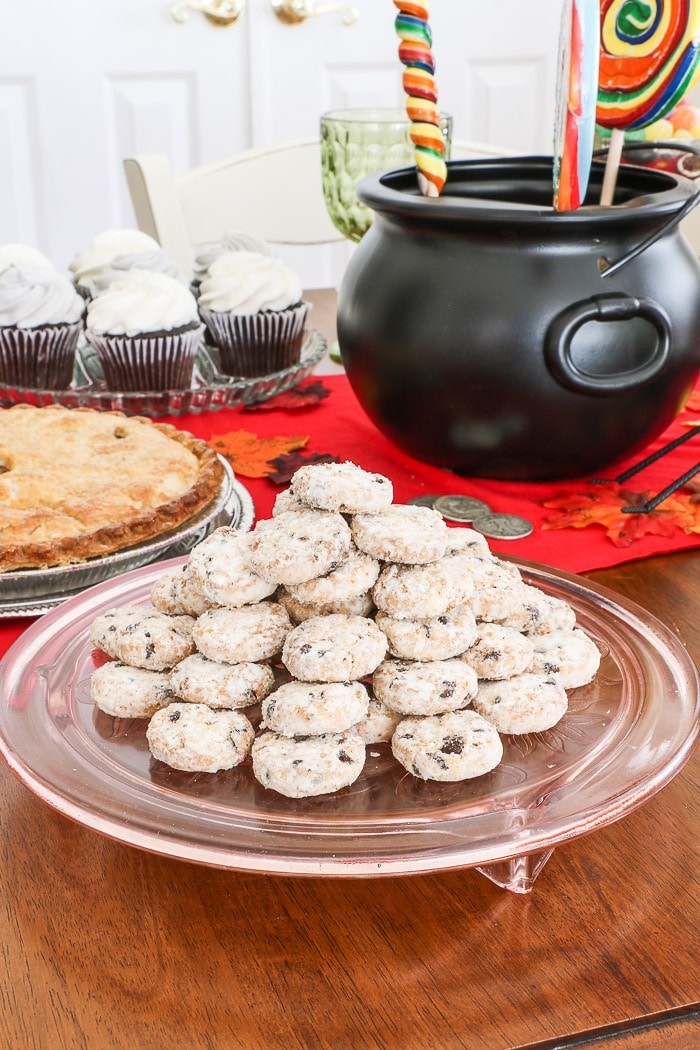
It will look like this when you are finished.
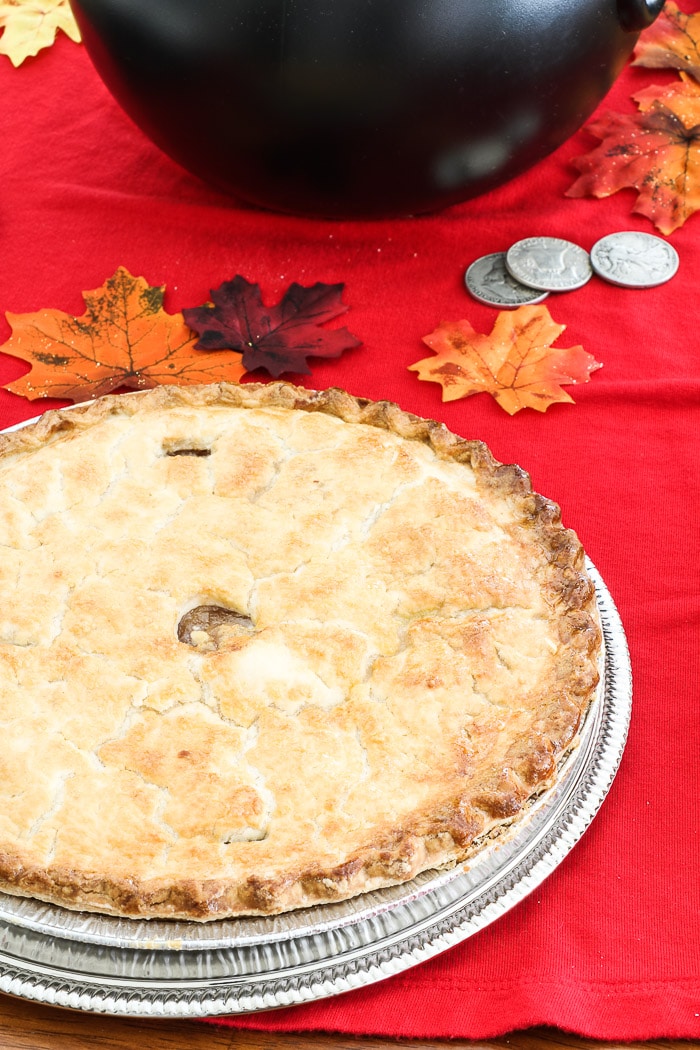
Place the pie on the tray. Our pie was in a silver tin so we decided to sit it on a silver tray so you wouldn't notice.
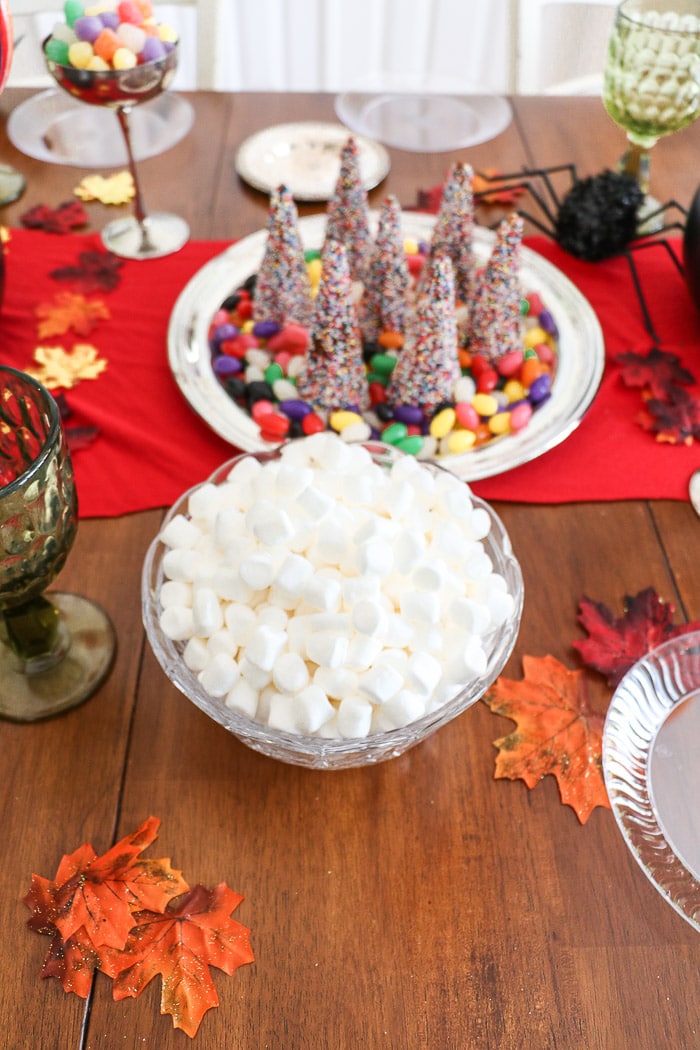
Fill some bowls with marshmallows.
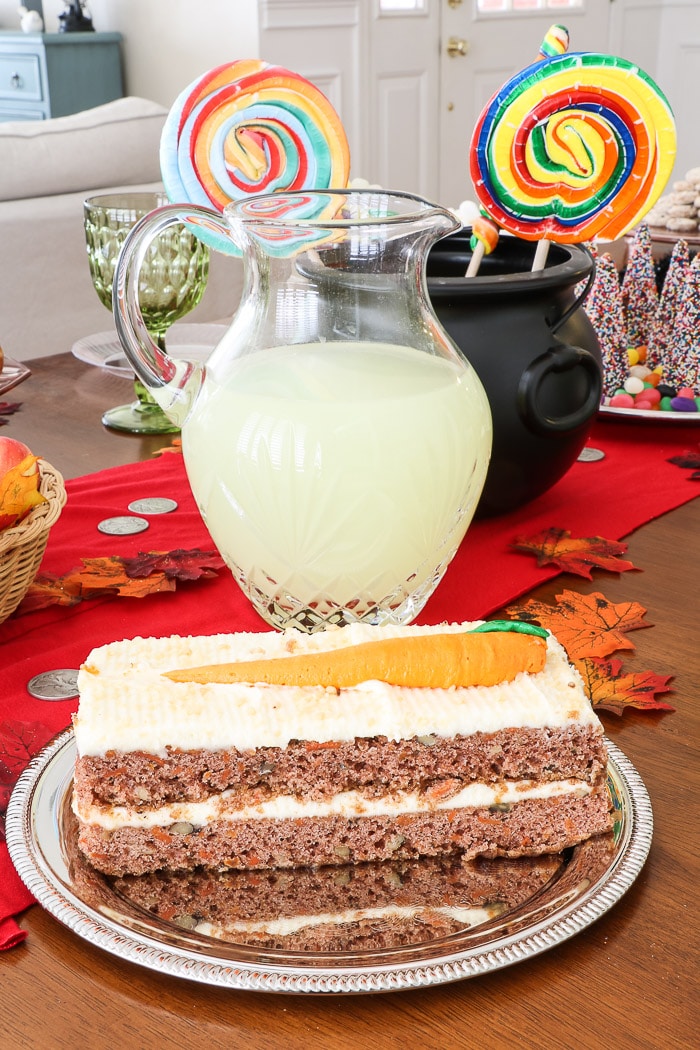
Sit your carrot cake on a tray. In the movie they had cuttings of carrot cake with icing carrots on top but we couldn't find cuttings so we opted for one whole carrot cake.
And make some lemonade to go into the pitcher. We used powdered lemonade to make ours.
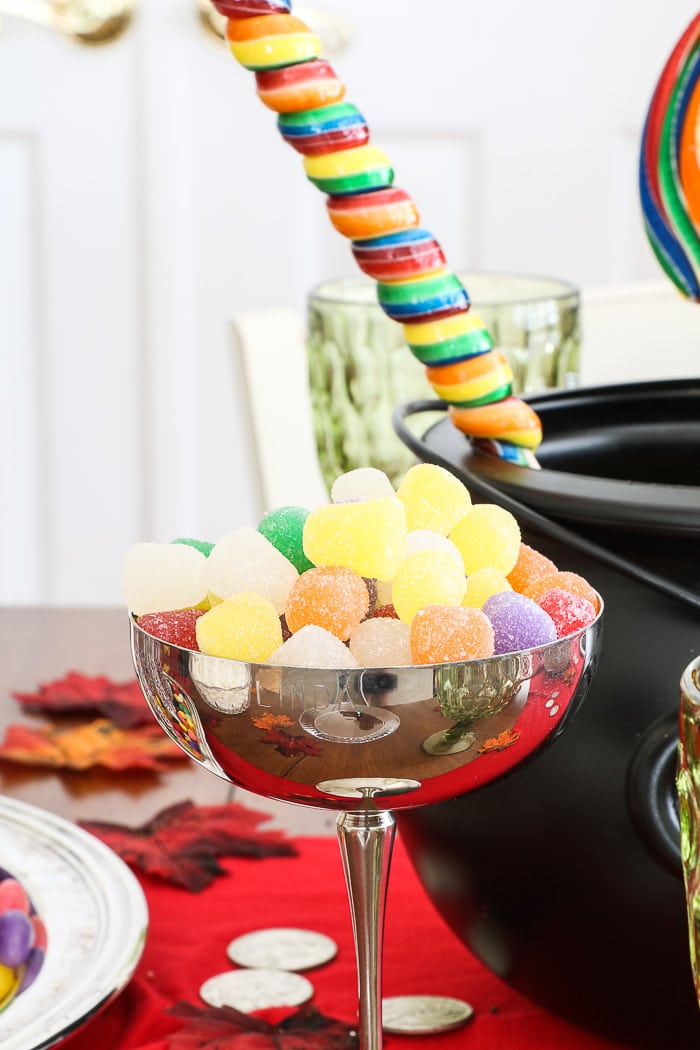
Fill a silver margarita glass or small bowl with gum drops. I decided to use two of these to balance more color across the table.
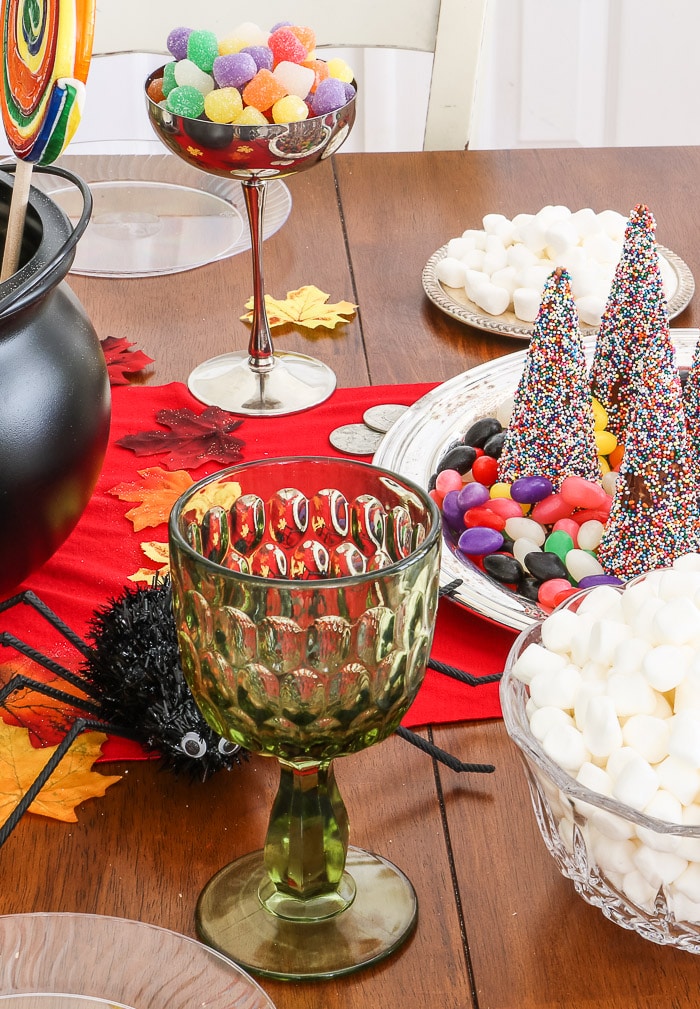
Place the goblets and clear dessert plates on the table. You can do this the day before but Nicole was bringing the goblets so it had to wait until the day of the party.
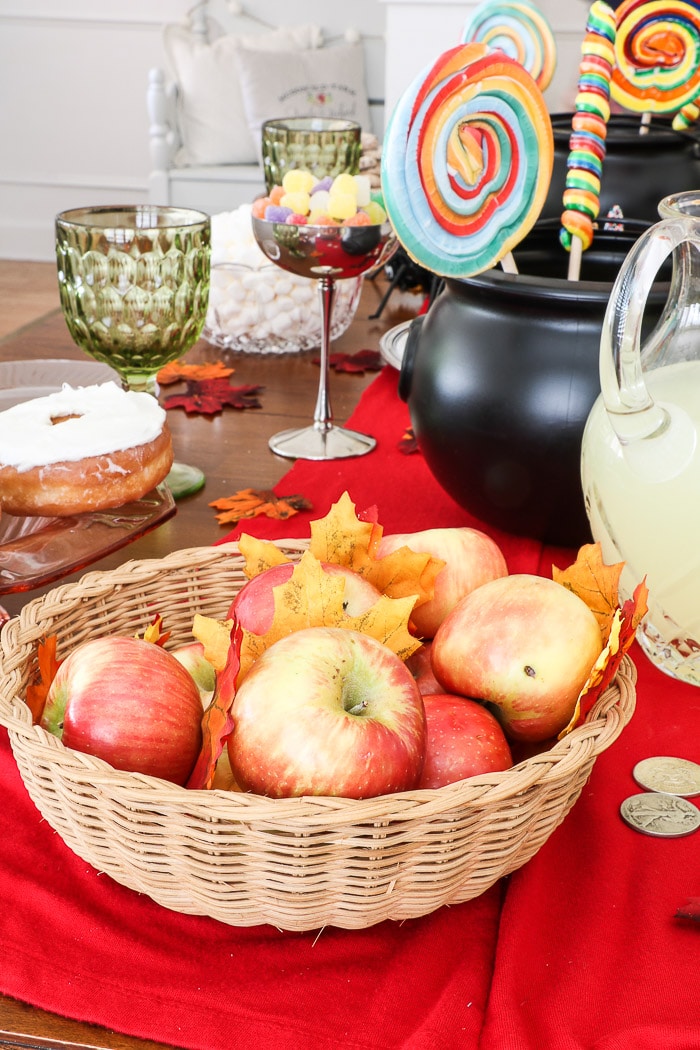
Add the apples to the basket and put some more leaves in the basket.
Now that the table is ready here is one last look at everything.
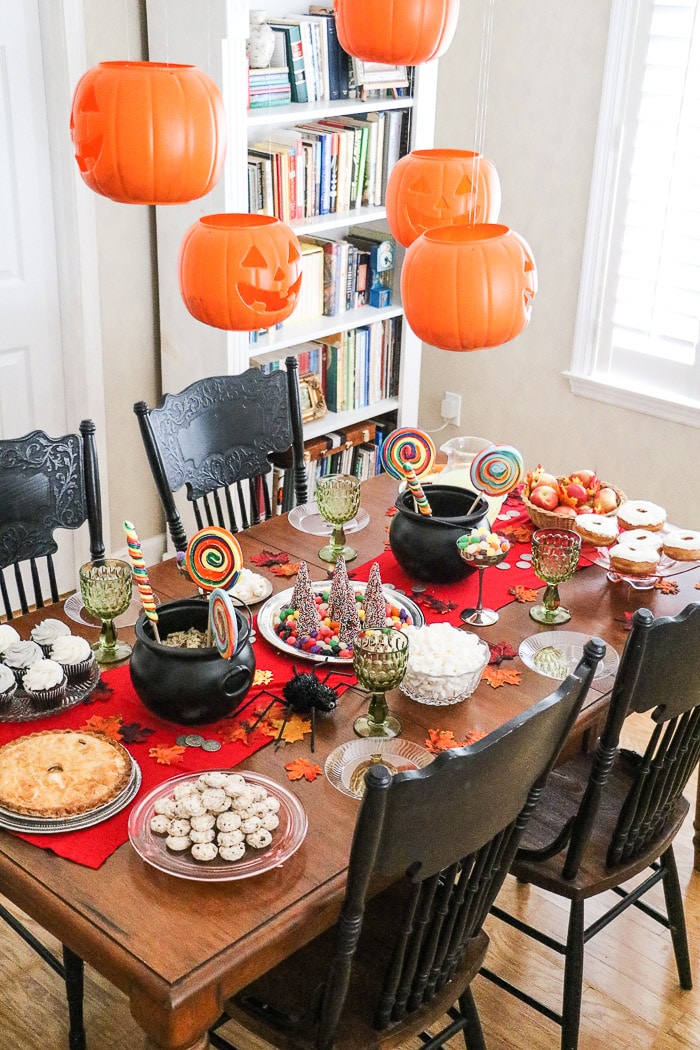
Oh, and have you noticed we changed the chairs? Something about the white chairs and bench didn't give us the Hogwarts vibe. So we pulled out the black chairs from our formal dining room.
Time to Party
Guess what? It is time to celebrate Halloween with some muggles or a little wizard or two. Haha!
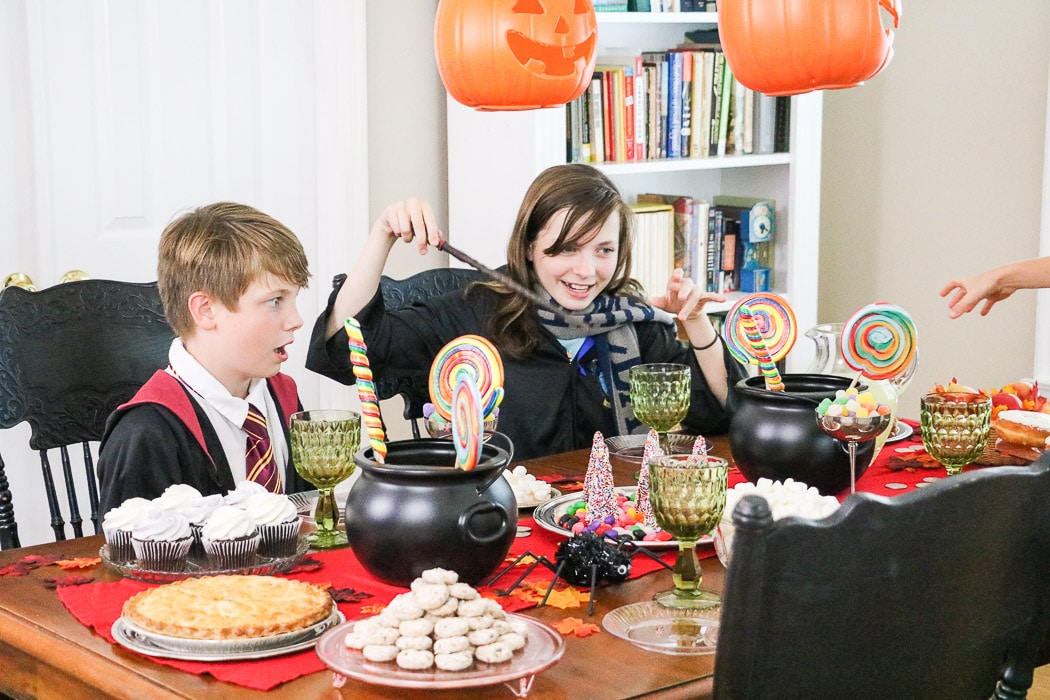
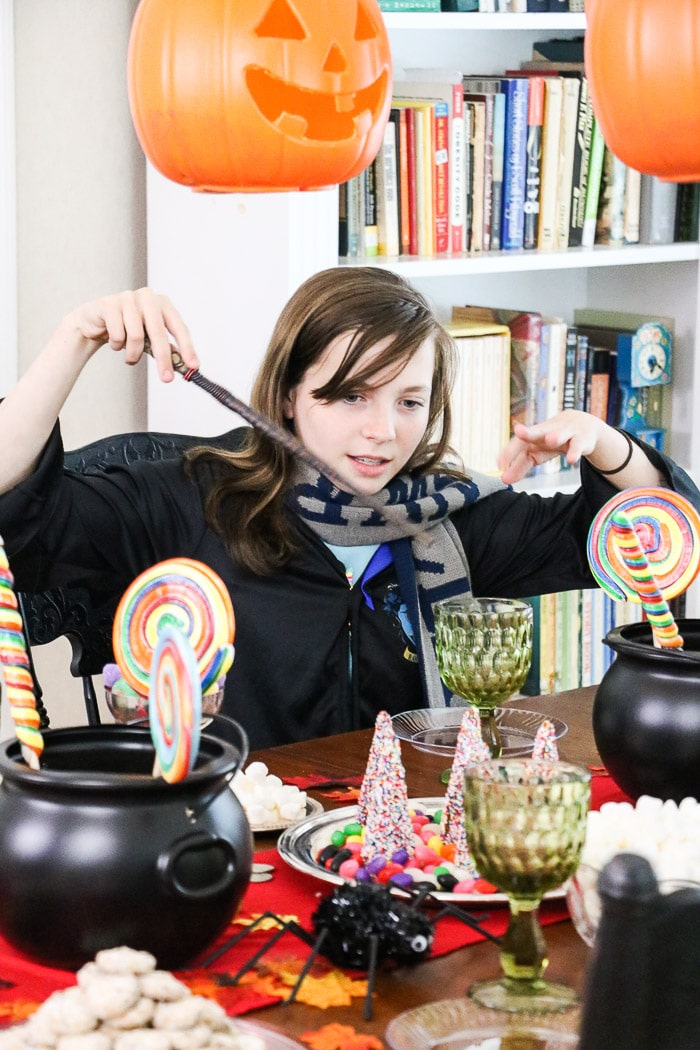
I love how they got into the part by wearing their capes and bringing their wands. They made the best Harry Potter party guests!
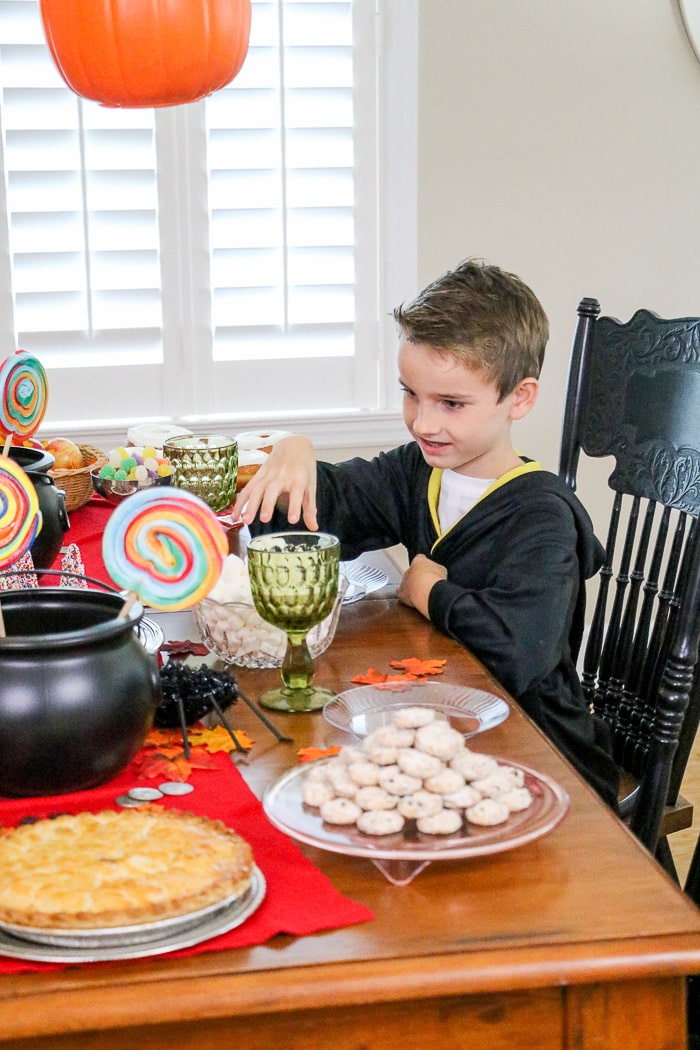
They couldn't wait to get their hands on some of the goodies.
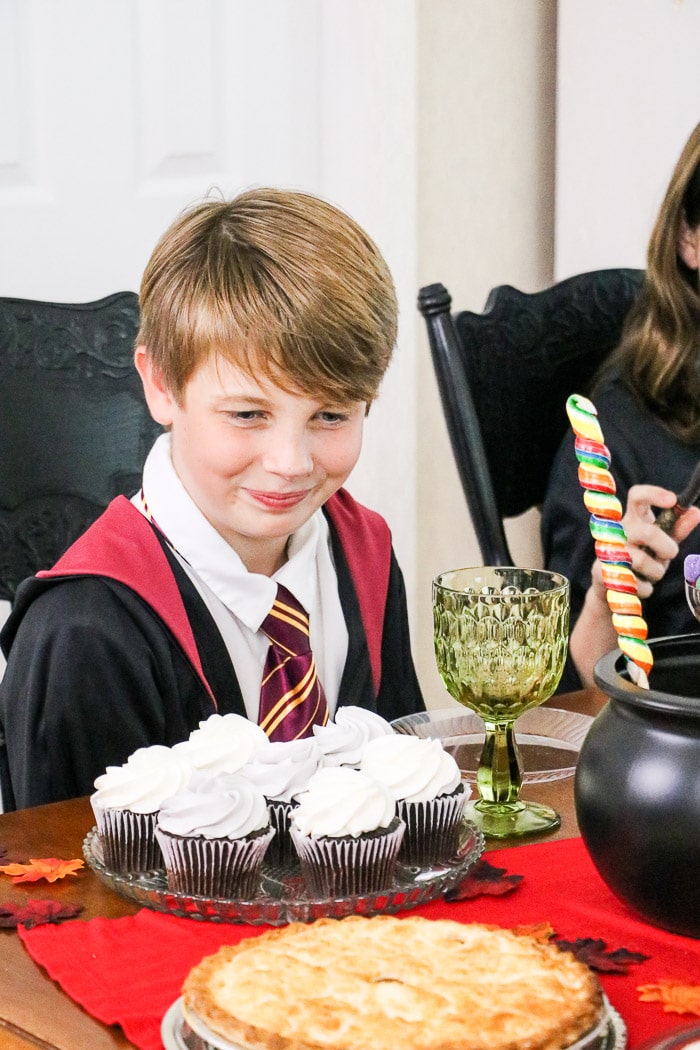
And those butter beer cupcakes look so tempting!
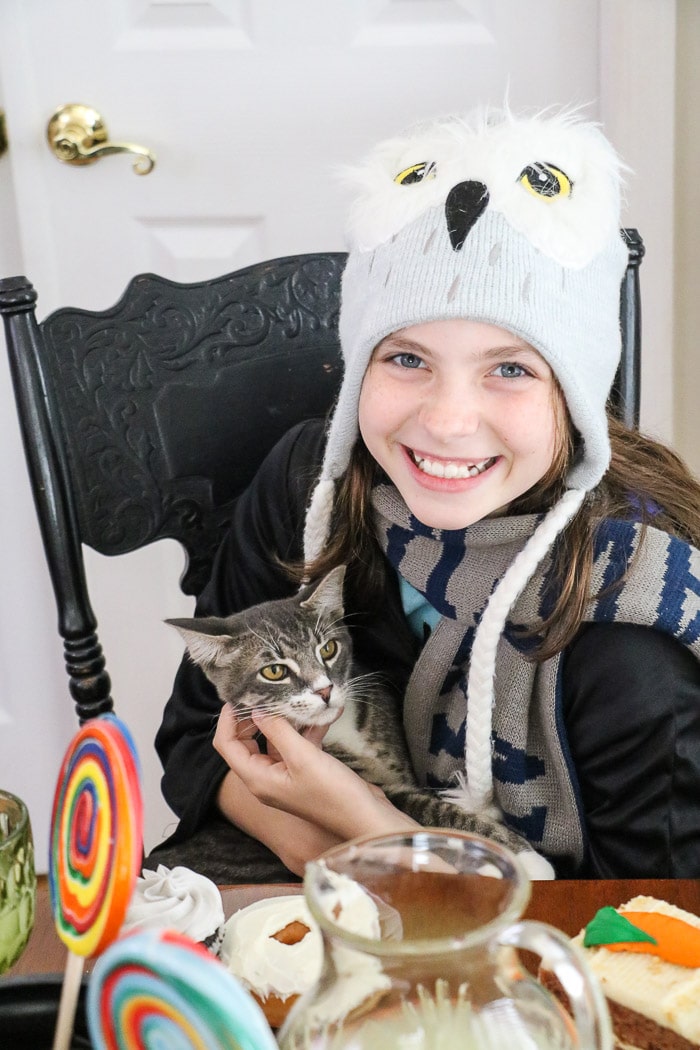
But our favorite moment was when Mrs. Norris, I mean Kit, decided he wanted some treats too.
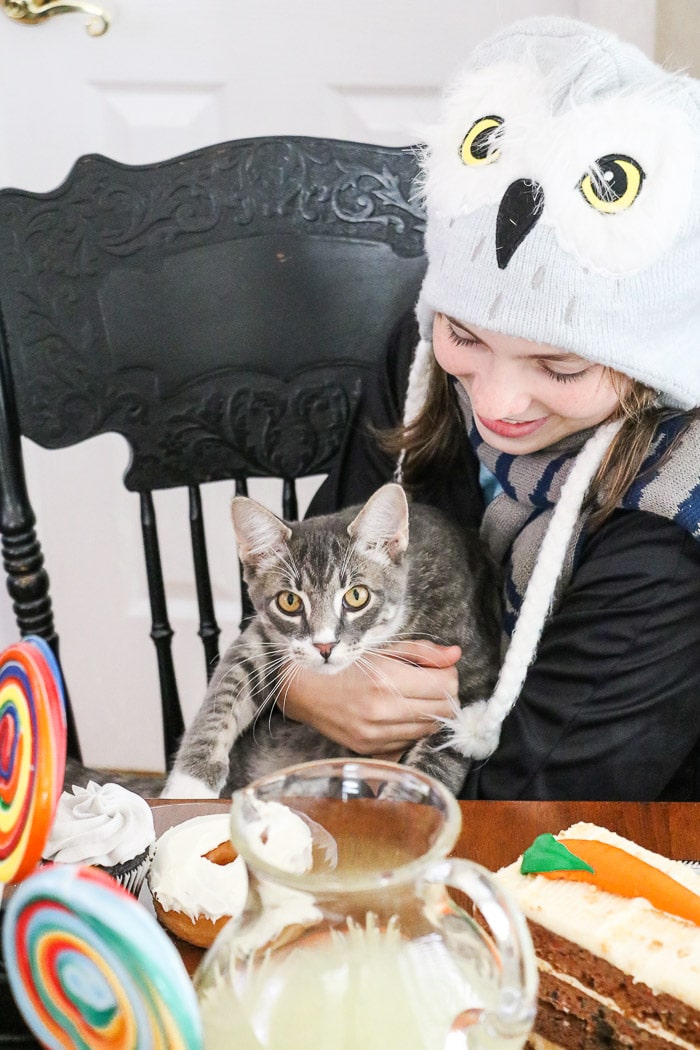
I think these Harry Potter table decorations were a hit! How can you not smile when you enter a room that smells like a candy shop?
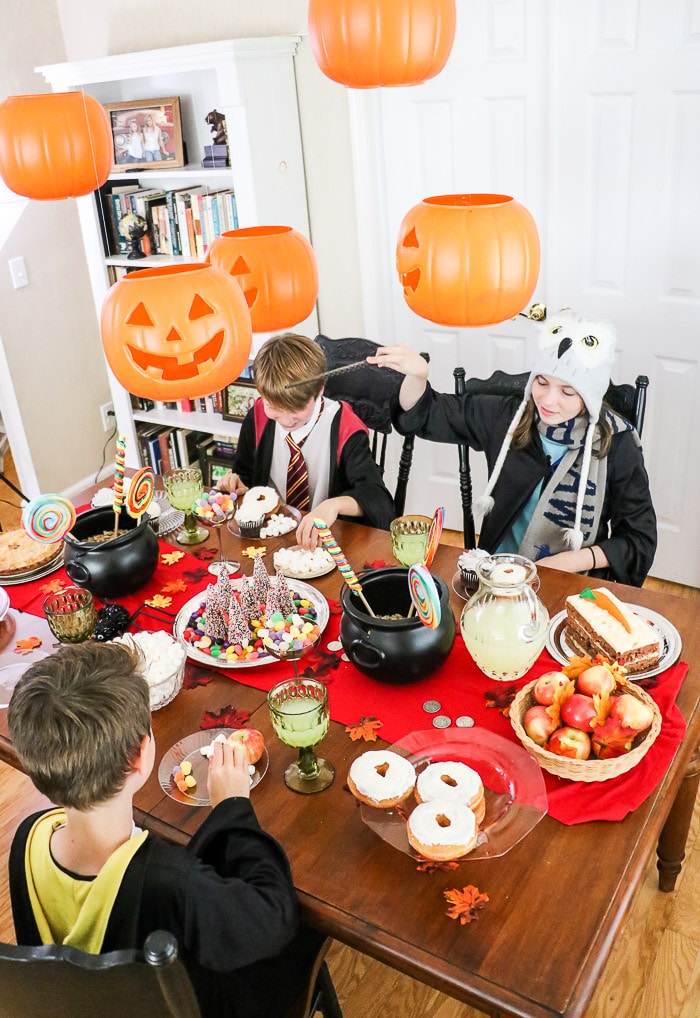
Conclusion
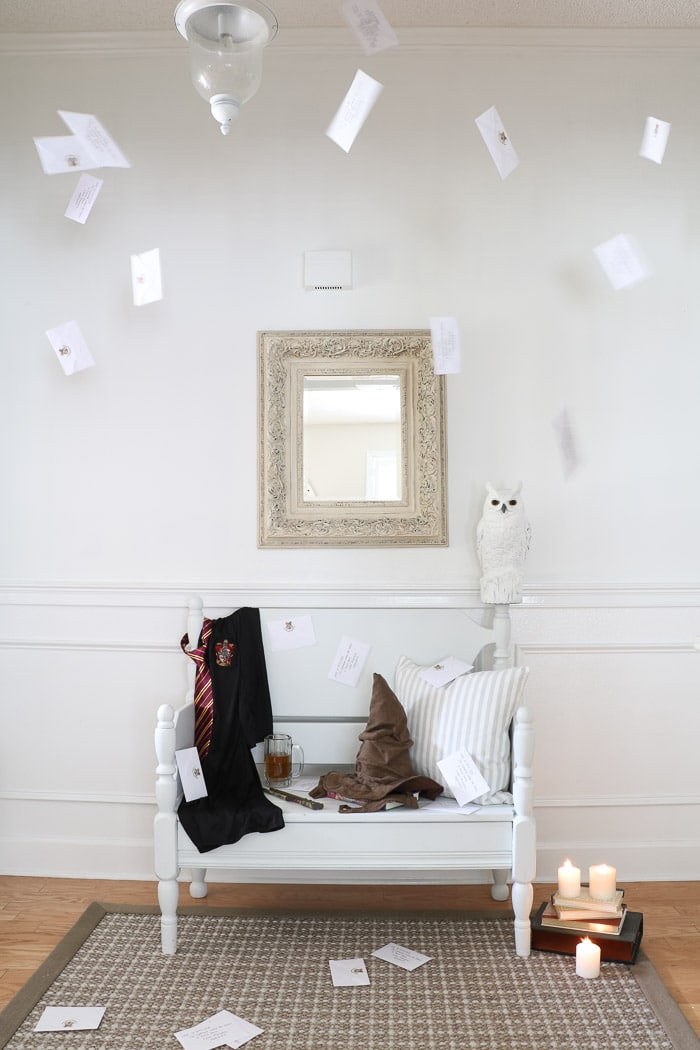
Before we end the fun if you want to really create a Harry Potter vibe follow my Privet Drive entryway with flying letters from Hogwarts decorations post.
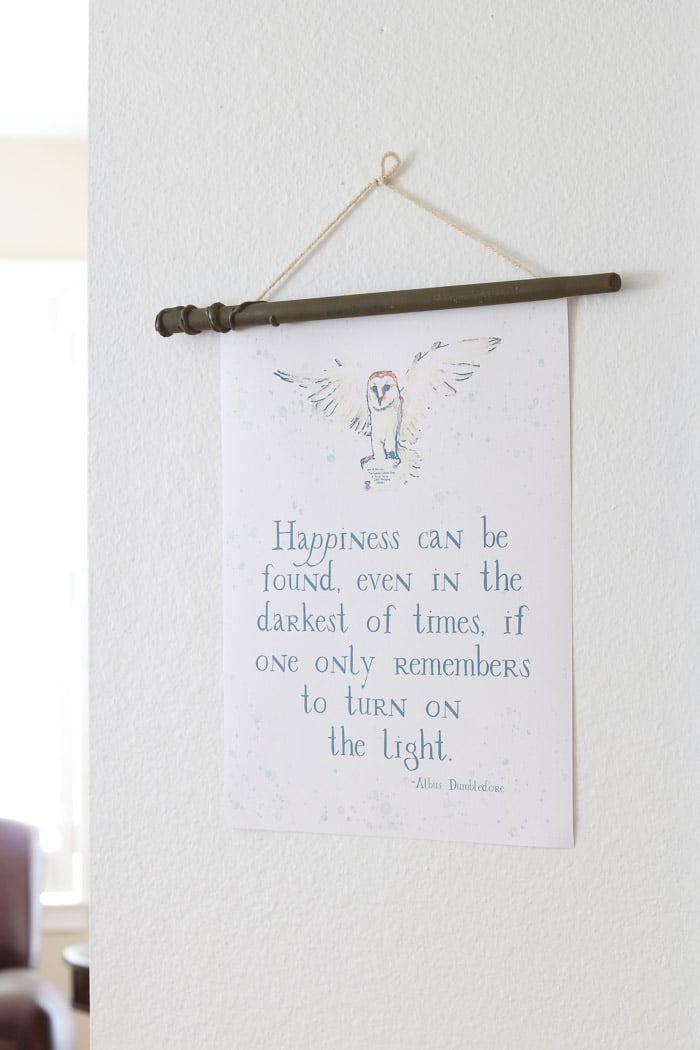
And add even more fun by printing out the Harry Potter free printable of a Albus Dumbledore quote and frame it with this easy to make magic wand frame.
The afternoon was great but this event would have been even better if it was in the evening and the floating pumpkins were illuminated. To bring life to your pumpkins add some battery powered tea lights.
Simply turn them on and drop them into the buckets. I used two tea lights per jack-o'-lantern. It really gave them a glow.
Also, this tablescape is great for a themed birthday party, Halloween party, fun dress-up party, movie night or baby shower. You can replace the candy forest for a Harry Potter birthday cake if it is a birthday party.
No matter the event ask your guests to wear their favorite character Halloween costumes, bring wands, hats, scarves, or anything to add to the fun. I love how my niece and nephews wore capes from all the Harry Potter houses like Gryffindor, Slytherin, and Hufflepuff!
And if you are thinking of doing this for Halloween why not create this party table outside and hang the floating pumpkins in the trees or under a porch over the table. Fill all the trays and such with wrapped candy for trick or treaters to come and pick a few goodies for their bags.
And last, don't forget some fun Harry Potter music. I used our google home but you can use an Alexa too. For ideas on on creating a cozy movie night, check out my post on creating a Harry Potter movie night in the burrow.
I hope you have been inspired to create a Harry Potter tablescape for your next party or Halloween event. What is your favorite part of the tablescape? Please feel free to share in the comments.
Looking for more Harry Potter inspiration? Check out this post Magical Harry Potter Room Makeover.
Happy Decorating!

1 thought on “HARRY POTTER TABLE DECORATIONS FOR THE BEST PARTY EVER”