
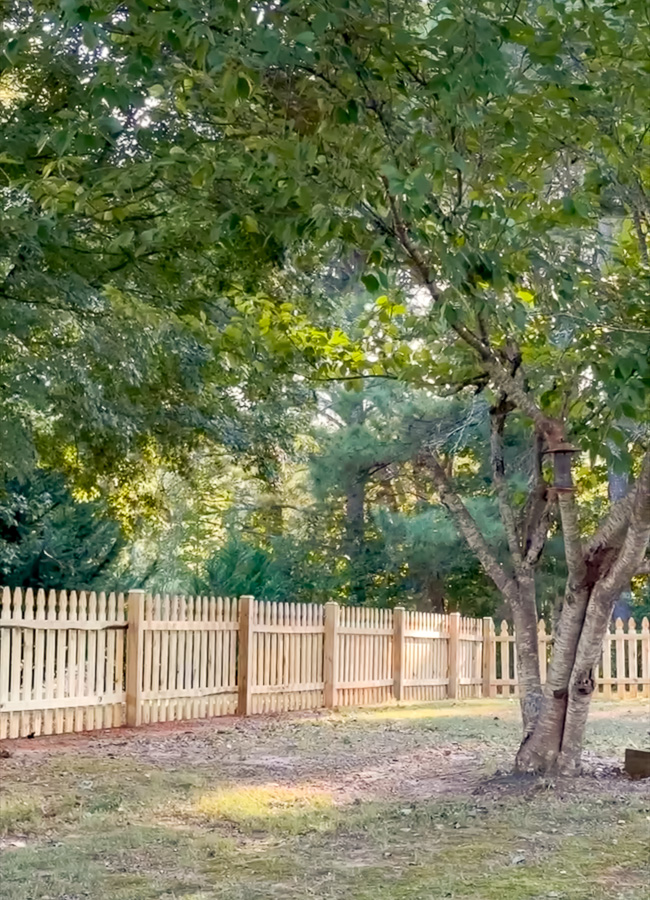
Every neighborhood has that one fence that makes you slow down and smile. For Savanna and Jesse, that dream fence was a classic English cottage picket fence; charming, timeless, and a perfect fit for their home.
With the help of a few tools, some weekend effort, and supplies from Lowe’s, we brought their vision to life. If you’ve been dreaming of adding that storybook charm to your own yard, here’s how to build a picket fence from start to finish — beginner friendly and step-by-step.
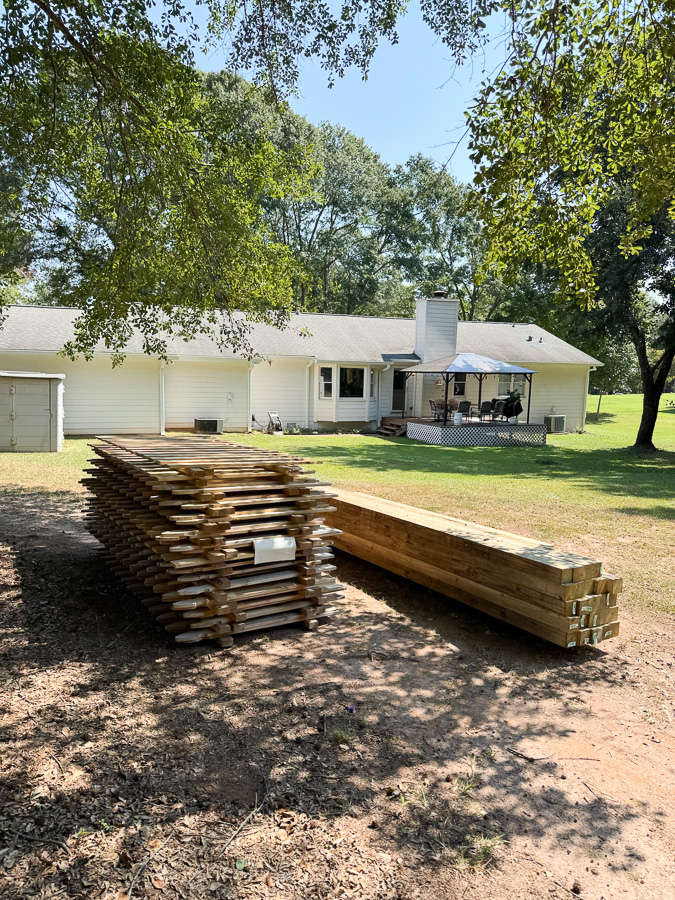
Supplies You’ll Need
All the materials for this project came from Lowe’s. You can find everything we used saved on my Lowe’s storefront here.
Supplies:
- Severe Weather 3.5-ft x 8.0-ft Pressure Treated Pine French Gothic Spaced Picket Fence
- Fast Set Concrete Mix
- 4x4x8 pressure-treated posts
- Wood deck screws
- Post hole digger or rented auger
- Post level and string line
- Hammer and shovel
- Wheelbarrow
- Circular saw
- Brushless cordless drill
- Nail gun (finishing and full-size)
- Black gate hinges and latch
- Black cane bolt for double gate
- Arched garden arbor
- Post caps
- Wall planter (for gate decoration)
Step-by-Step: How to Build a Picket Fence
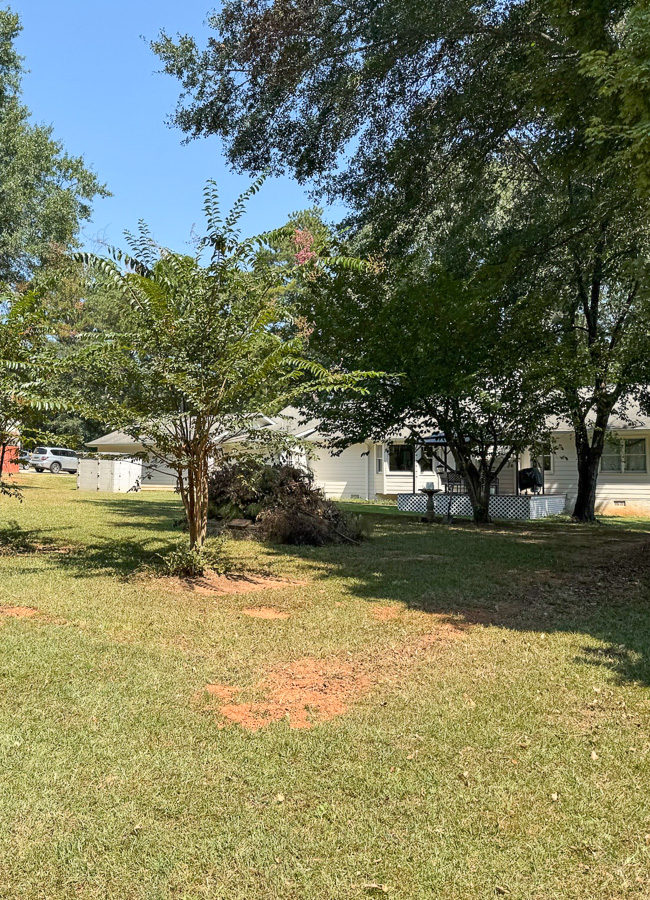
Step 1 – Clear and Measure Your Fence Line
Start by clearing the area where the fence will go, removing any old fencing, plants, or debris. Once the space is ready, measure and mark where each fence post will go.
Tip: Consistent spacing between posts will keep your fence line straight and balanced.
Step 2 – Dig Post Holes and Set Fence Posts
Next, dig the post holes using a rented post hole digger or auger, or the old-fashioned way with a post hole digger. The depth depends on your fence height, but a general rule is one-third of the post should be below ground.
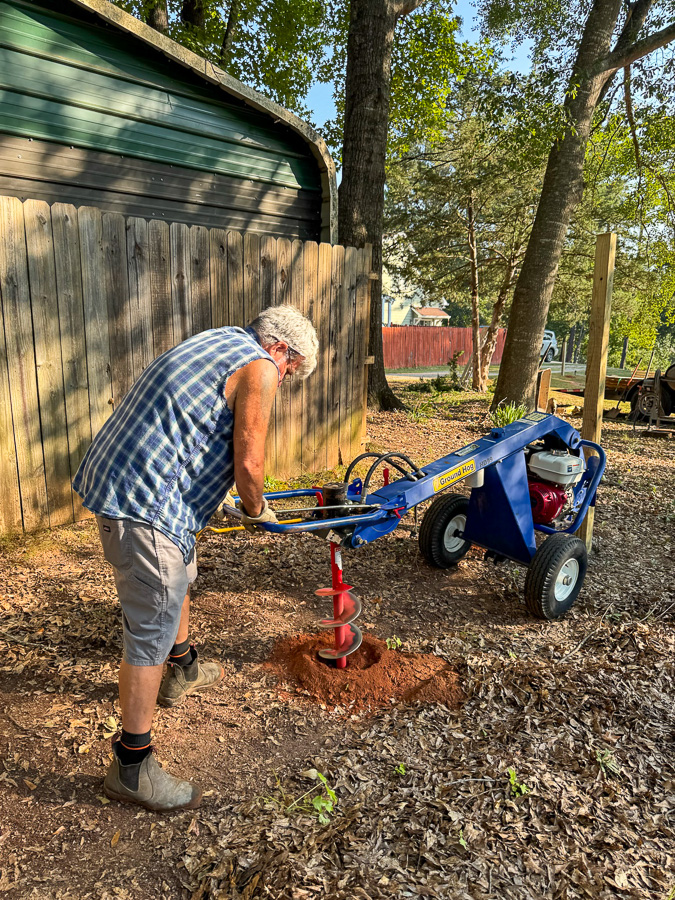
Place each 4×4 post in the hole and fill it with Fast Set Concrete Mix. Use a post level to make sure each post stands perfectly straight.
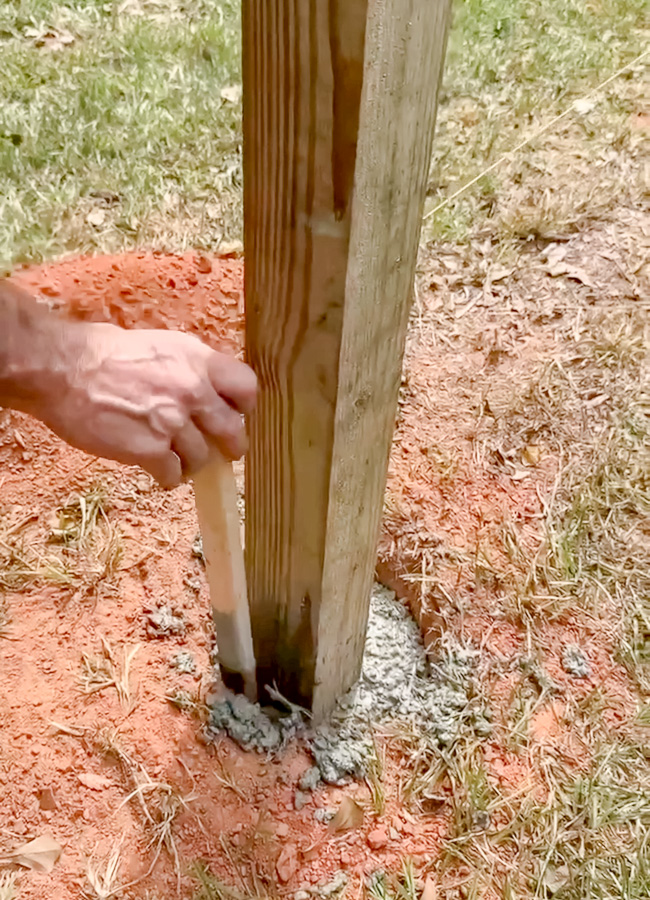
Let the concrete harden fully before moving on; this is the foundation of your fence, so patience pays off here.
Step 3 – Create a Level Line
Once the posts are in place, tie a string between them to make a level guide. This will help you attach your pickets evenly and keep the fence straight across the yard.
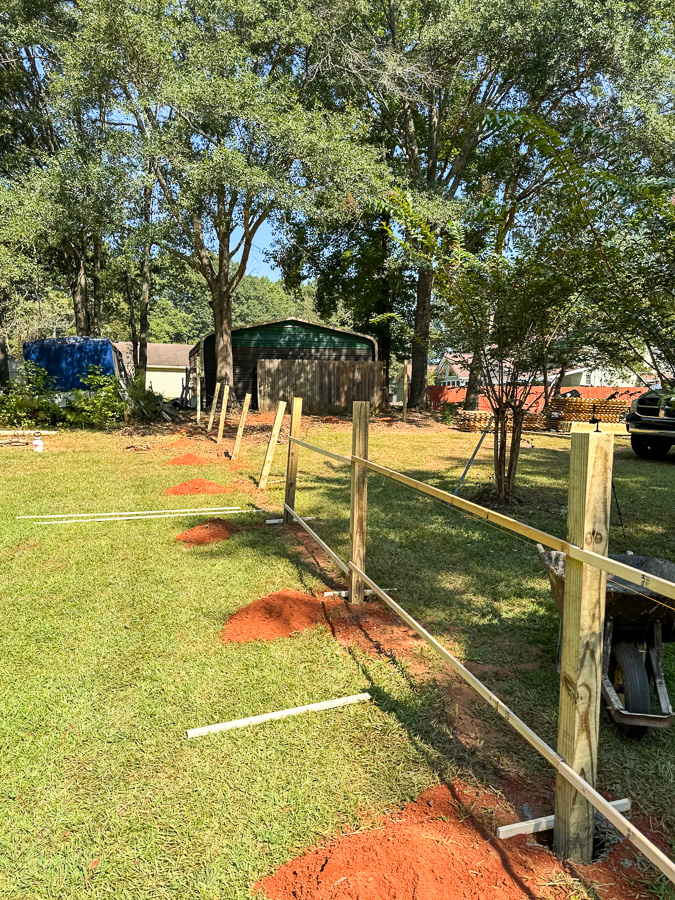
If your yard slopes, keep the string level and adjust individual pickets later for a smooth look.
Step 4 – Attach Fence Panels or Pickets
We used pressure-treated wood picket panels for most of the yard, securing them with a finishing nail gun.
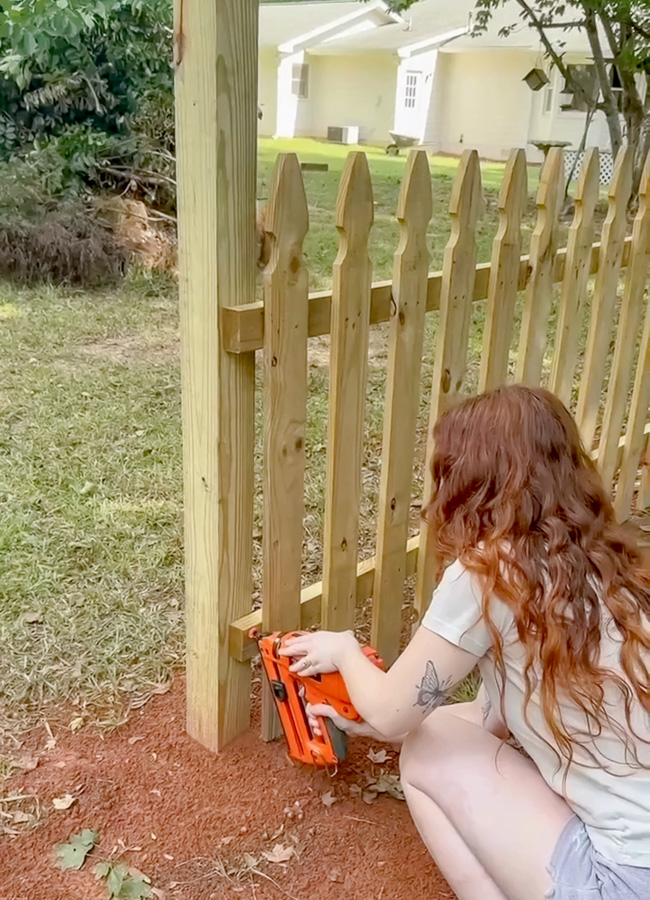
If you’re working on uneven ground, detach the individual pickets from the panel. Line them up to your string and nail them in place one by one. Once everything is level, go back with a full-size nail gun to reinforce and secure them permanently.
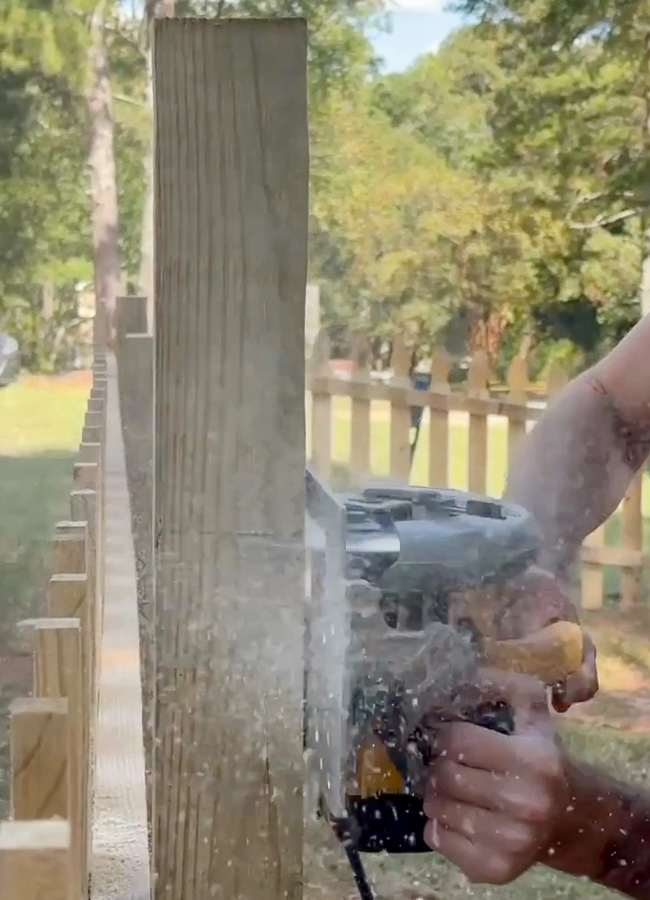
Step 5 – Trim Posts and Add Post Caps
After your fence panels are in place, use a circular saw to trim the tops of your posts so they’re even. Then, add post caps for a polished, finished look that also helps protect the wood from rain.
Installing the Gates and Arched Arbors
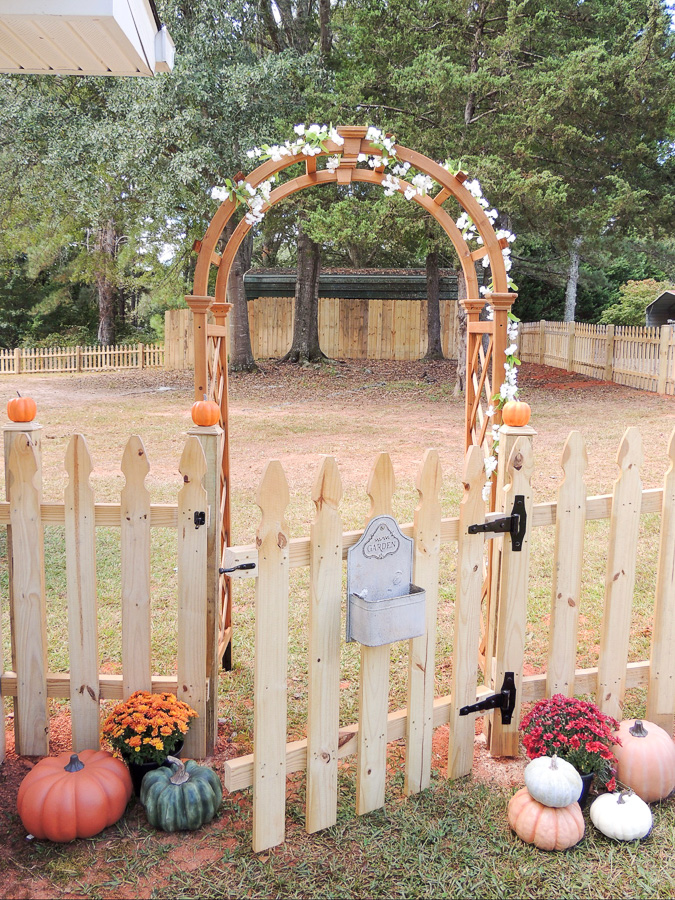
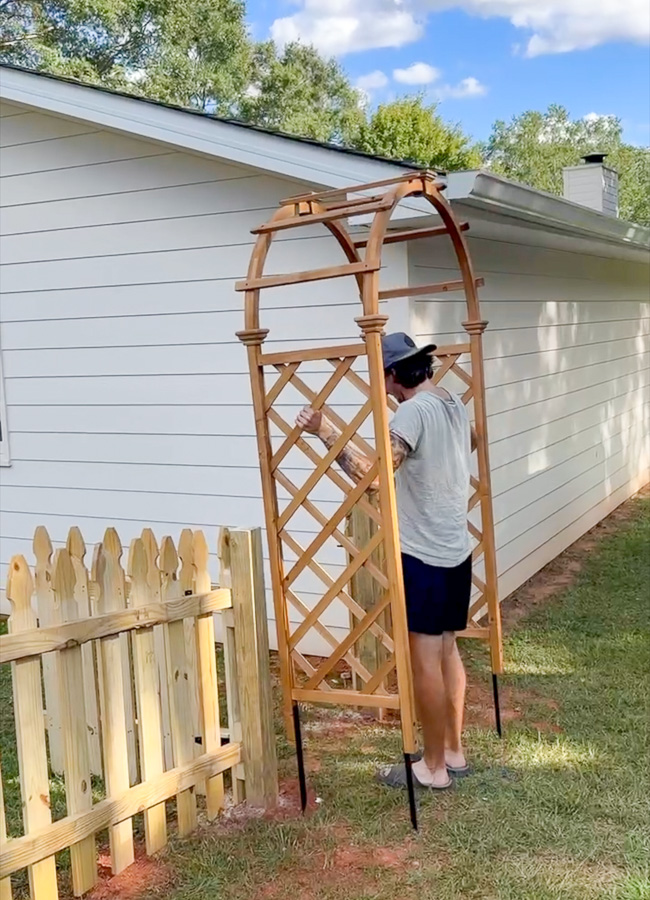
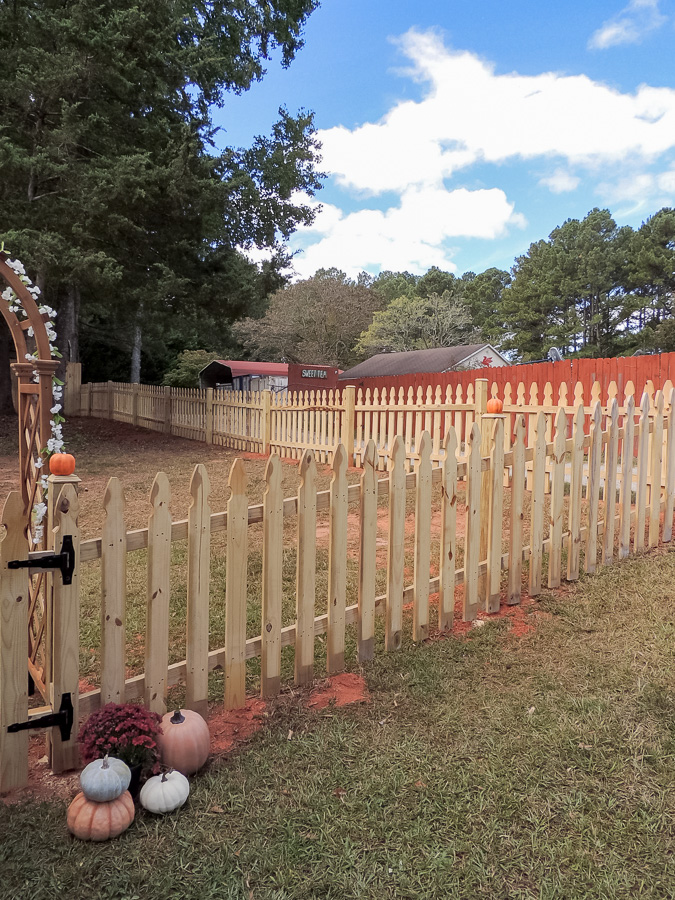
For extra cottage charm, we installed two side gates with arched garden arbors and a double gate in the back for wider access (perfect for the lawn mower).
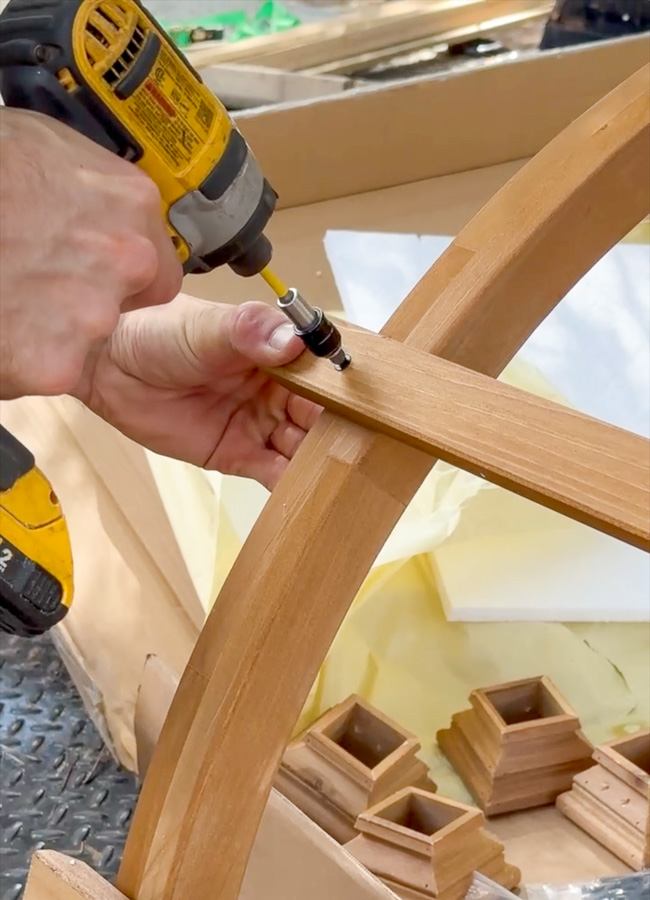
The arched trellis arbors were surprisingly easy to assemble and instantly added that English garden feel we were going for. We also attached black gate hinges and latches, and added a cane bolt to secure the double gate.
To complete the look, we planted jasmine vines to grow up the arbors and hung a wall planter on the gate for decoration.
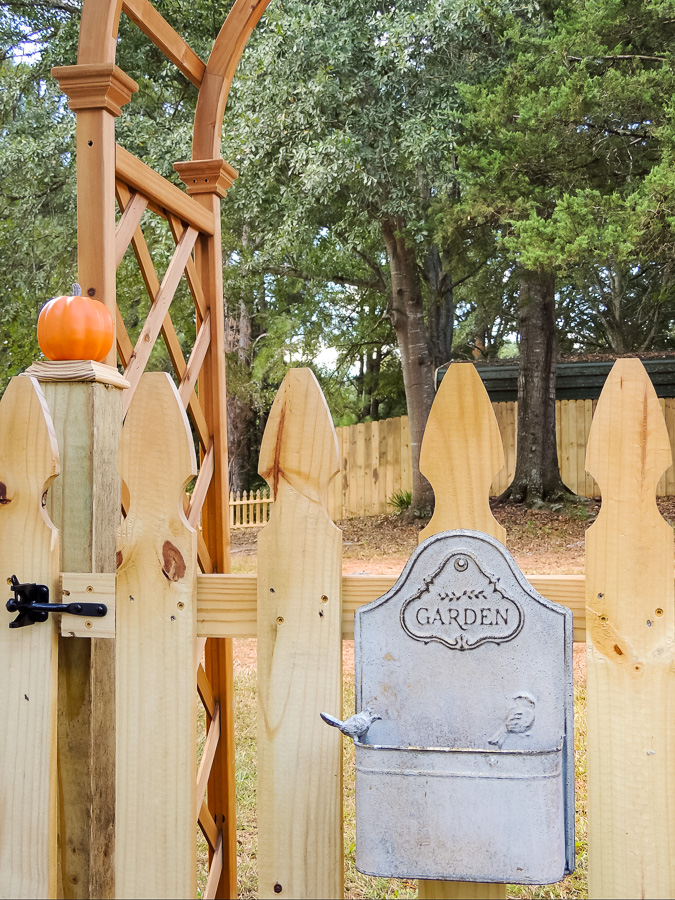
It just happened to be fall so Savanna added pumpkins and mums to give even more charm for the photos.
Finishing Touches and Future Plans
Once the wood cures, Savanna and Jesse plan to paint the fence Sherwin Williams Shoji White to match their home’s exterior. If you’re looking for ideas, here are some great options in my post about Sherwin Williams White Exterior Paint Colors.
More Projects at This Home
We’ve had so much fun transforming spaces at Savanna and Jesse’s house! You might enjoy these projects, too:
Watch the Process
If you’d like to see the full build in action, head over to my Instagram highlights where we shared every step, from digging post holes to hanging the gates.
Final Thoughts
Building a picket fence is one of those projects that transforms a house into a home. With a long weekend of work, some tools, and the right supplies from Lowe’s, you can bring that classic English cottage charm to your own backyard, too.
Thanks for joining me on how to build a picket fence. Have you ever installed a picket fence? If so, share any tidbits or hacks that you found helpful in the comments so we all can learn from each other.
Happy Woodworking!
