
Are you looking to add a touch of elegance and charm to your home decor? Decoupage art is a fantastic way to achieve a classic painted or vintage look on various surfaces.

In this blog post, we will explore how to decoupage and provide tips and tricks for creating stunning pieces that capture the essence of traditional masterpiece paintings or vintage art designs. These techniques are easy for beginners to create timeless art for your home.
Update: If you are here because you saw my video on how to decoupage printable art and are interested in the botanical tree you can find it here for sale in my Etsy shop or tap the image above.
Understanding the Basics of Decoupage Art
At its core, the decoupage technique involves the decorative process of adhering paper or fabric cutouts onto various objects and surfaces, followed by coating them with a protective layer of decoupage to give a varnish or sealant finish.
This centuries-old technique enables artists to embellish and transform everyday items into works of art, ranging from furniture and frames to smaller trinkets. By the time you finish reading this article your creative juices will be flowing and you will want to decoupage everything.
Decoupage is creators secret weapon!
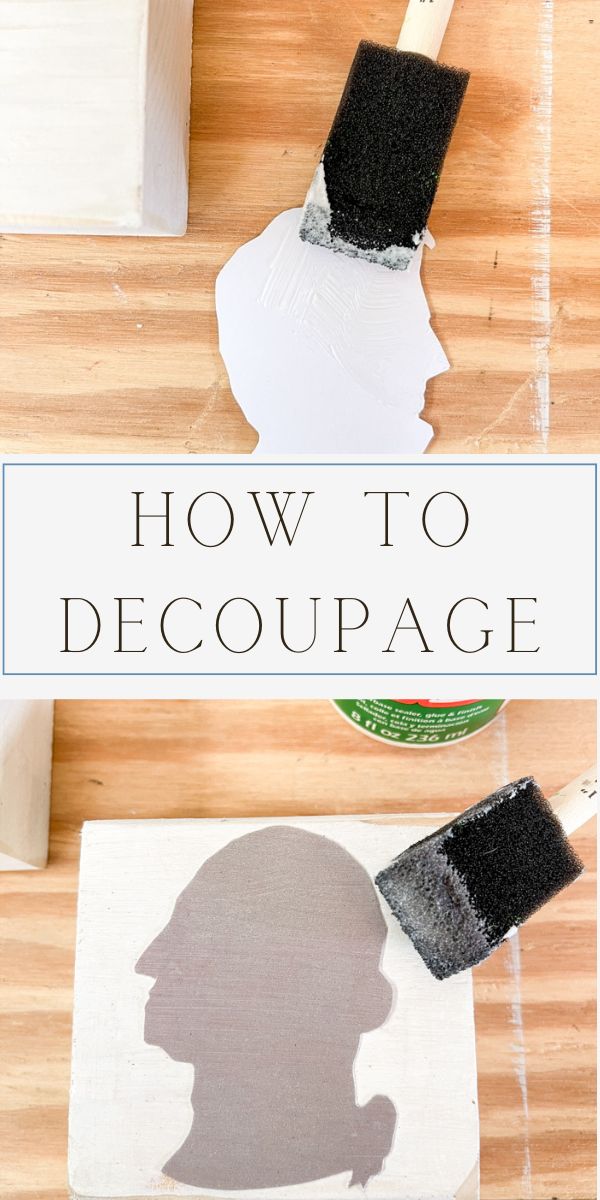
How to Decoupage
In this post, we will be focusing on decoupage crafts and using decoupage to give your art a classic, vintage look with step by step instructions.
Beginning your journey into decoupage requires assembling a few essential tools:
- High-quality adhesive
- Mod Podge
- Sharp scissors or craft knife
- Sponge paint brush
- Your choice of decorative elements, such as a printables (we have loads in our Etsy shop here)
Once you have your materials ready, you're set to explore the endless creative possibilities that decoupage offers, allowing you to breathe new life into old objects or create new pieces with a personal touch.
Be sure to work in a well-ventilated area when creating your decoupage art especially if yorur project is large. For the most part there isn't any odor but it is always wise to work in a well ventilated area.
Choosing the Right Materials for Your Project
Selecting the ideal materials for your decoupage project is pivotal in achieving the desired aesthetic, be it a sophisticated painted effect or a time-worn vintage vibe.
When striving for a look reminiscent of classic art paintings, prioritize choosing images that are vintage and/or nostalgic.
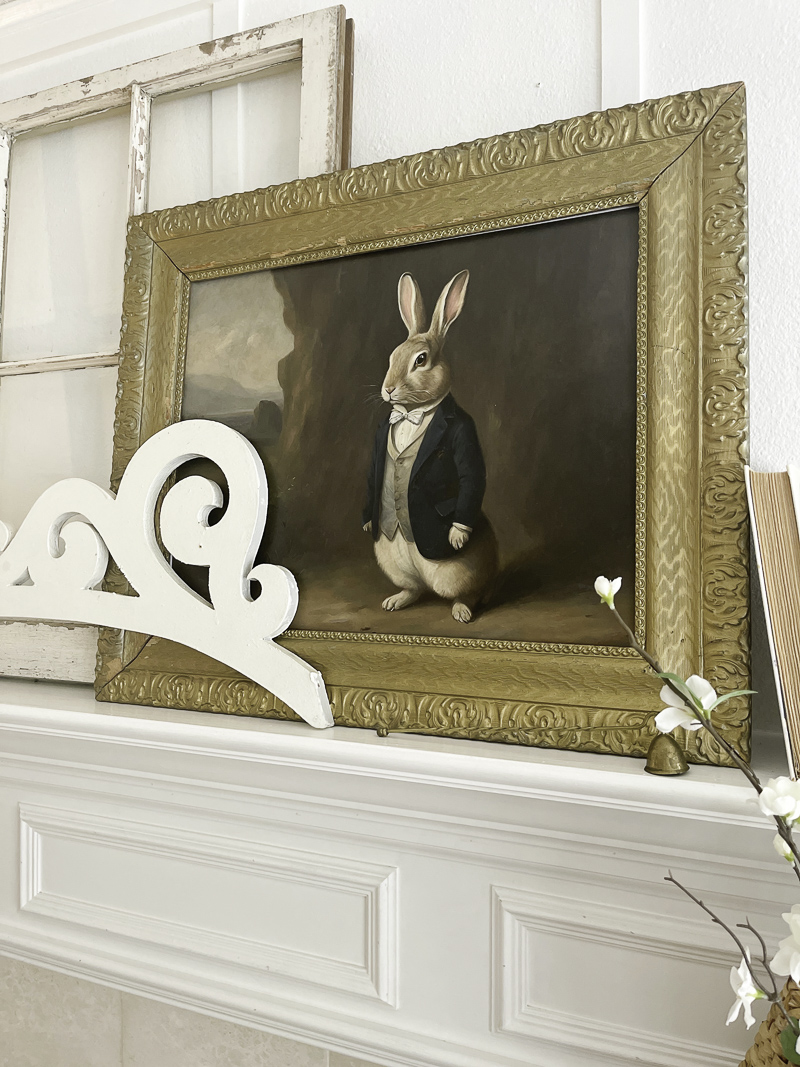
High-resolution prints can mimic the depth and texture of actual brush strokes, lending an authentic painted appearance to your work and adding decoupage on top gives it realistic artist brush strokes like we did in the photo below of our Anthropomorphic rabbits.
On the other hand, achieving a vintage ambiance calls for materials that evoke a sense of history and nostalgia. Seek out paper or fabric with muted tones, historical motifs, or even artificially aged to introduce an element of bygone eras.
Additionally, the texture and finish of your chosen materials can significantly impact the overall feel of the project. Matte papers and fabrics may lend themselves well to rustic or antique styles, while glossy or semi-gloss options can mimic the sheen of oil paintings.
Preparing Your Surface for Decoupage
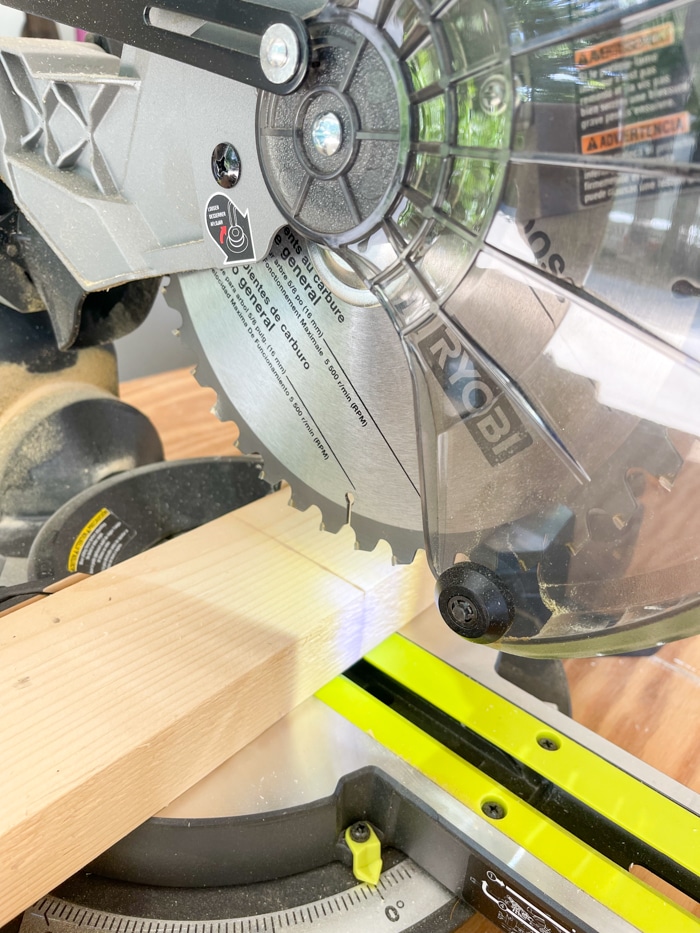
Begin by choosing the background for your project. Our favorite decoupage project are printable art so cut your foam board or wood backing to the desired size.
To ensure your decoupage art adheres seamlessly, properly prep your chosen surface is crucial.
Begin by thoroughly cleaning the surface to remove any dirt, grease, or existing finishes that may interfere with adhesion. For items with a glossy or non-porous finish, a light grit sandpaper is recommended to create a texture that the glue can more effectively bond to.
If you're dealing with a wood surface, wipe away any dust with a slightly damp cloth after sanding.
This preparatory phase lays the groundwork for a polished and professional-looking final piece, ensuring that the beauty of your decoupage art stands the test of time. Plus if the sandpaper grit is still there the decoupage will be rough and gritty.
Techniques to Decoupage Like a Pro
Perfecting the technique of decoupage requires patience and a meticulous approach. But first let's adhere your printable to the background. If it is a small design such as these President Silhouettes then you can easily attach it with the decoupage.
If you are working on a piece of art apply a thin layer of spray adhesive to the foam board or wood and the print. Ensure it's spread evenly to avoid lumps that might mar the surface's smoothness.
This is my technique for decoupaging any size art piece.

Place the print gently onto the surface, starting from one edge and carefully smoothing it out towards the opposite side to eliminate any trapped air bubbles or creases.
This method helps maintain the integrity of the image and prevents any unsightly wrinkles that could detract from the overall appearance of your project.
Once positioned, a light topcoat of decoupage glue or Mod Podge sealer can seal the deal, acting as a protective top coat that can give your decoupage a smooth or vintage artwork finish.
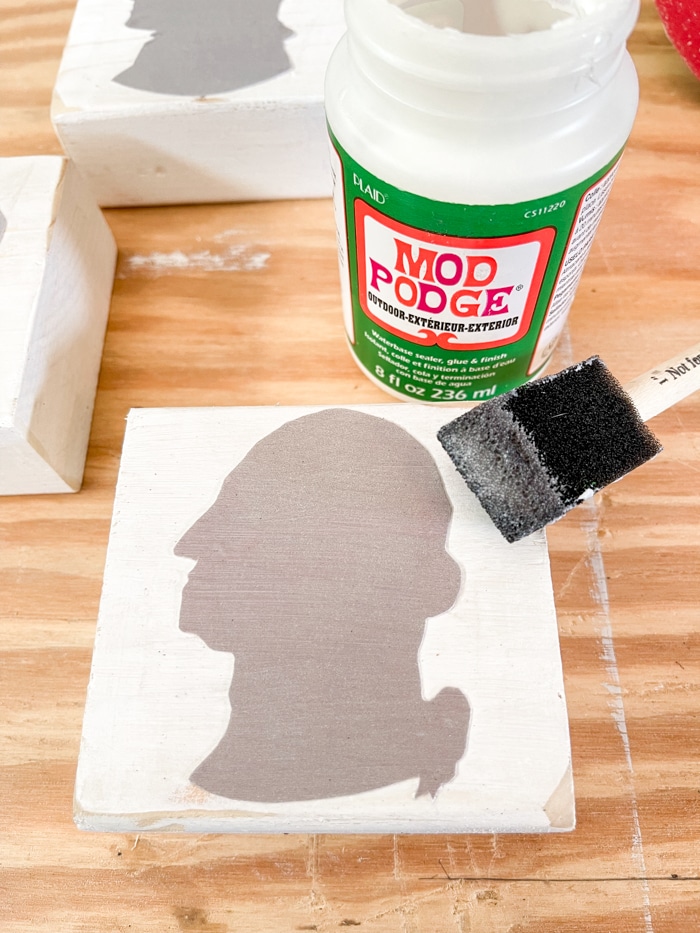
I find foam brushes or artist paint brushes work best when adding a layer of Mod Podge. You can create a smooth finish or use your brush in random strokes to mimic brush strokes.
This strategic application not only secures your art but also sets the stage for a flawless finish reminiscent of the classical or vintage look you're aiming to emulate.
Adding a Painted or Vintage Flair to Your Decoupage
Elevating your decoupage project with a painted or vintage look involves a blend of creativity and technique.
For a painterly effect, incorporating touches of acrylic paint can add dimension and richness to your piece.
Gently blend colors at the edges of your cutouts, or use thin brushes to create delicate strokes that mimic those of a brush on canvas. This can give the illusion of depth and texture, making your decoupage art appear as if it was painstakingly painted by hand.
To achieve a vintage aura, aging techniques can transform your work into a relic from the past. Lightly sanding the edges and surfaces introduces a worn, distressed look, while applying a tea stain or using distressing ink can add a sepia-toned patina, suggesting an antique quality.
Employing these methods selectively can imbue your piece with a sense of history and character. Experiment with layering and mixing these techniques to develop a style uniquely your own. Allowing your decoupage projects to stand out with a sophisticated painted or authentically vintage appeal.
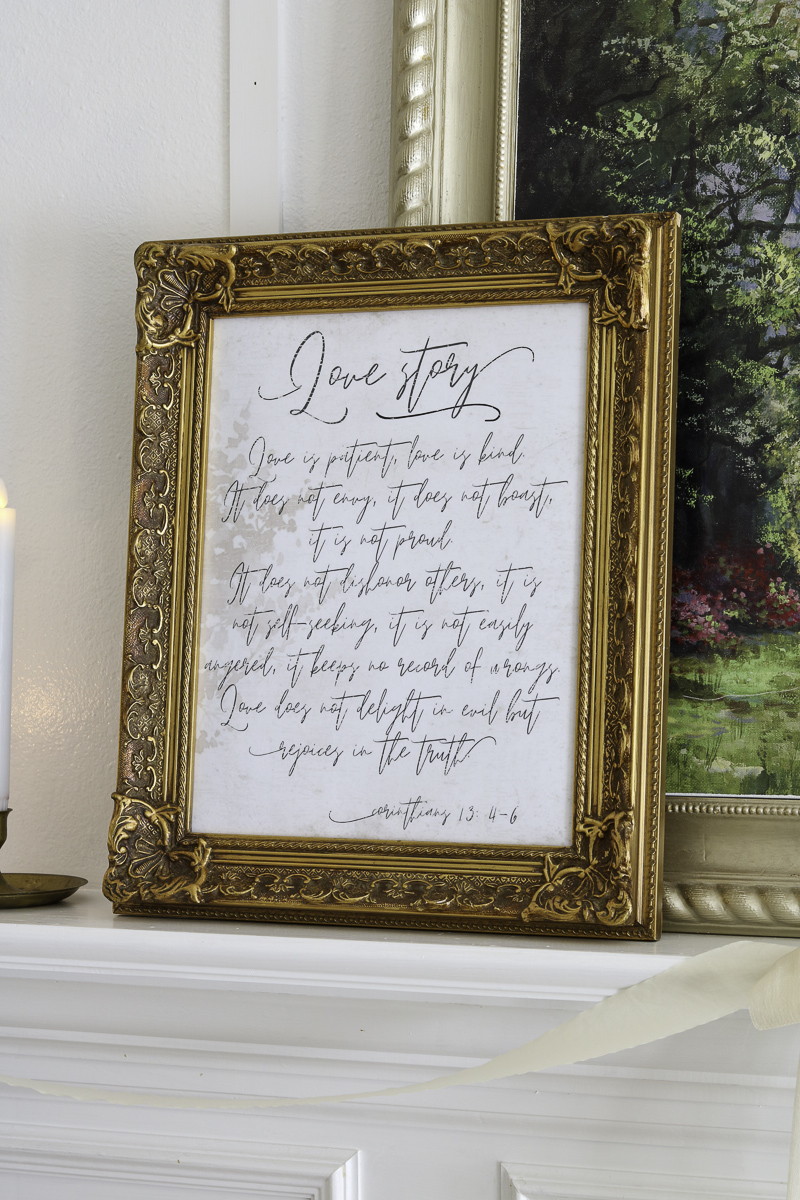
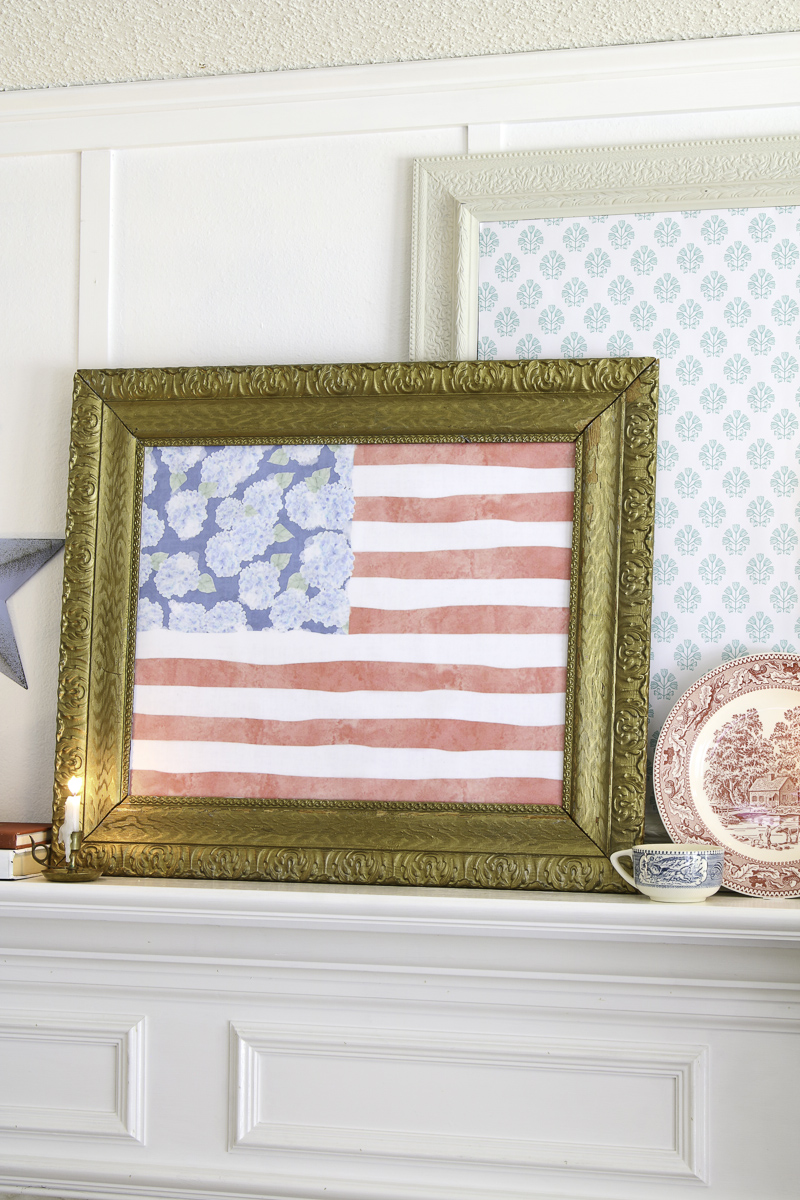
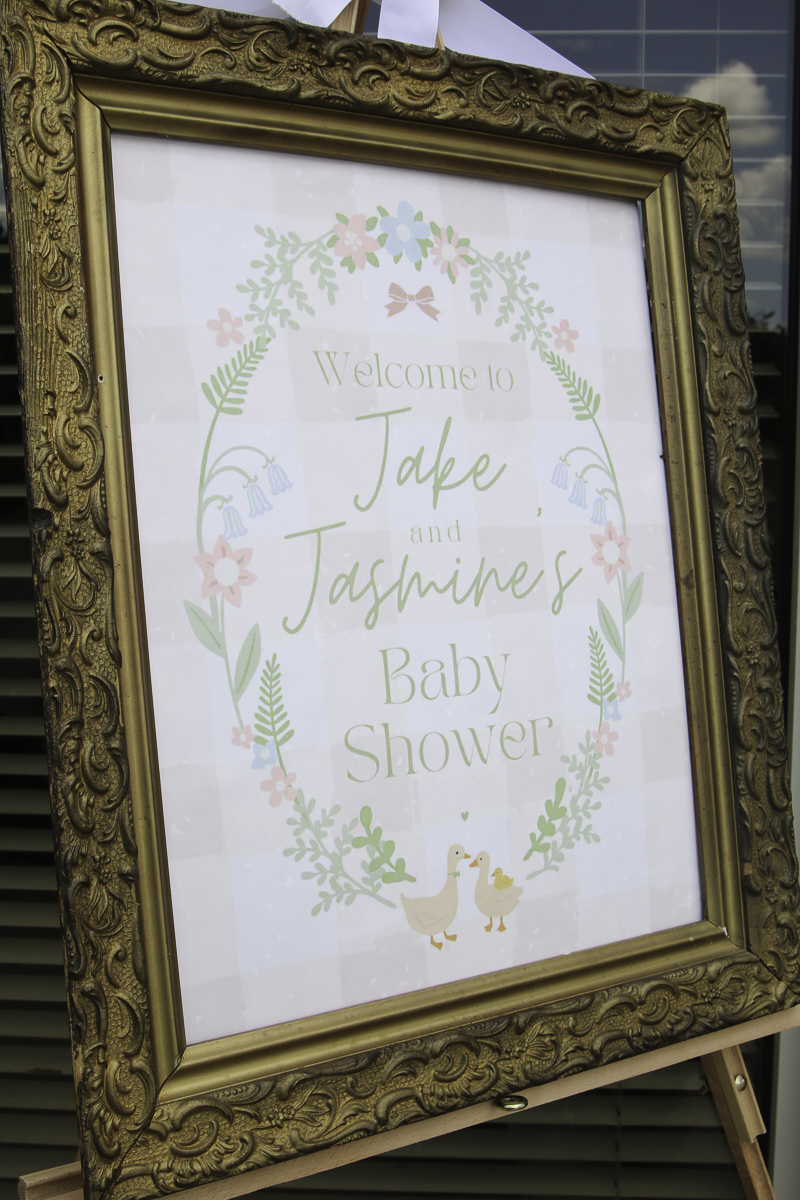
Frames for your Decoupage Art
Now we're getting to the good part, which is framing your decoupaged piece. Make sure everything is good and dry before you go to this step.
You can find beautiful picture frames for your decoupage art at thrift stores.
This helps keep your cost down and you can reuse the frame for different seasons or events.
A store I love to browse for frames is Hobby Lobby and Ikea. Their selection is fantastic.
Final Thoughts on Decoupaging Art
Embarking on the journey of decoupage art opens the door to a world of creative possibilities. The skills and techniques we've explored serve as your foundation to transform the mundane into the magnificent. You can capture the essence of time-honored paintings or the allure of vintage aesthetics.
The wonderful thing about decoupage is that it is an inexpensive way to make beautiful art. You can thrift or upcycle frames, inexpensive printables, scrapbook papers, wrapping paper, tissue paper, wallpaper, or even book pages. Be creative and try various ways to create your own unique decoupage art.
Remember, the magic of decoupage lies in the details—from the selection of materials to the final protective sealant Each step is an opportunity to refine and perfect your craft. The world of decoupage art is vast and endlessly inspiring. Leave your mark with each piece you create.
Looking for more decoupage inspiration? Check out these posts:
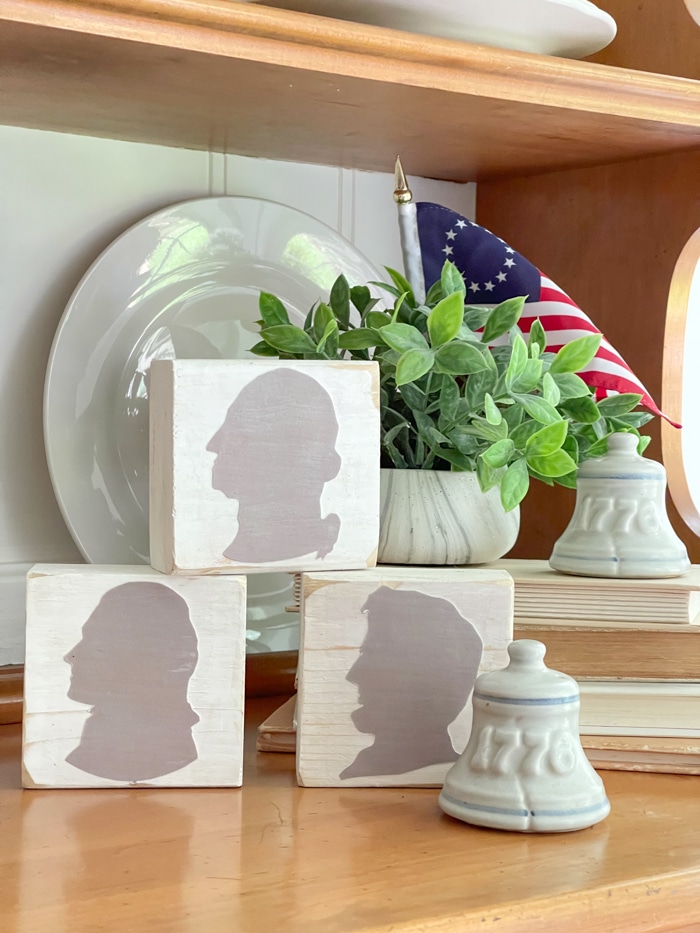
- Easy DIY Presidents Silhouettes Decoration for the 4th of July
- Charmingly Cute: Decorating with Rabbits
- Decorating a Home with Love Using DIY Valentines Day Decor Ideas
Happy Decorating!
