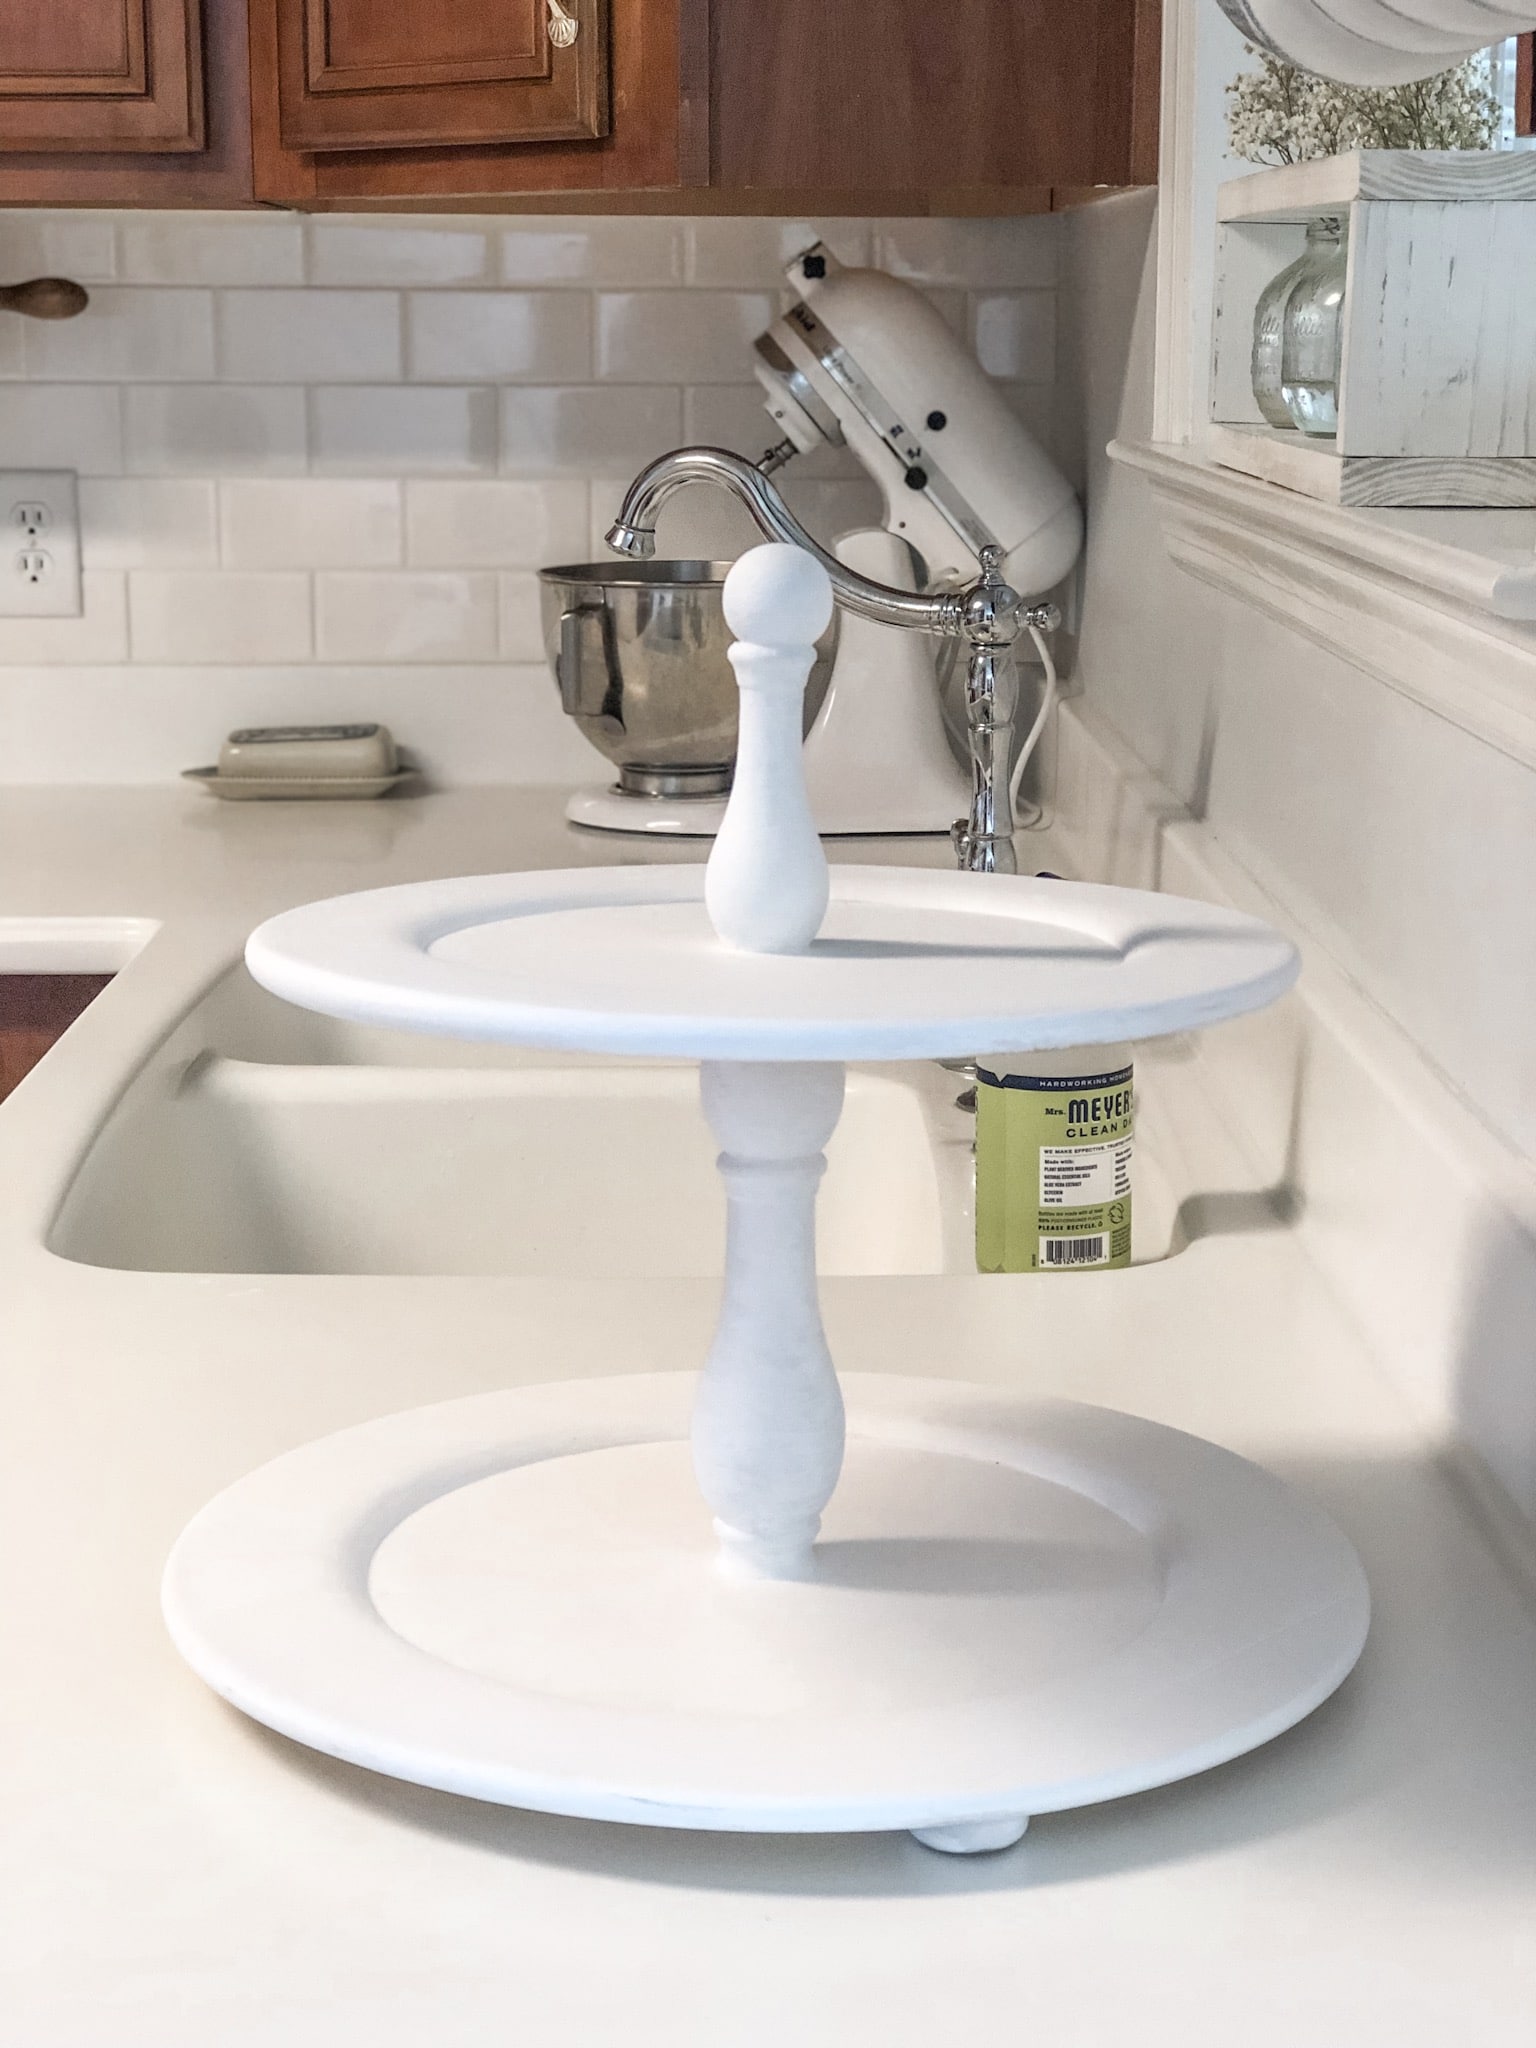
Farmhouse tiered tray decorating has become more and more popular. So today I am sharing how to make a tiered tray for all your accessories and holiday goodies.
What is a tiered tray?
A tiered tray is made of plates stacked one on top of another and divided by dowels of some sort. In times past they were used to serve food, but today people are using them to create vignettes with accessories on them.
Whenever a holiday arrives people start looking to find ideas for their tiered trays.
The most popular tiered tray post roundups on my website are the Christmas tiered trays, Valentine's day tiered tray and of course, Rae Dunn tiered tray.
I mean gee-whiz! You cannot have a farmhouse style tiered tray without some Rae Dunn. LOL!
How to make a tiered tray
Okay so enough chatting, let's get on with the DIY.
Getting Started
As always begin by pulling out all your tools.
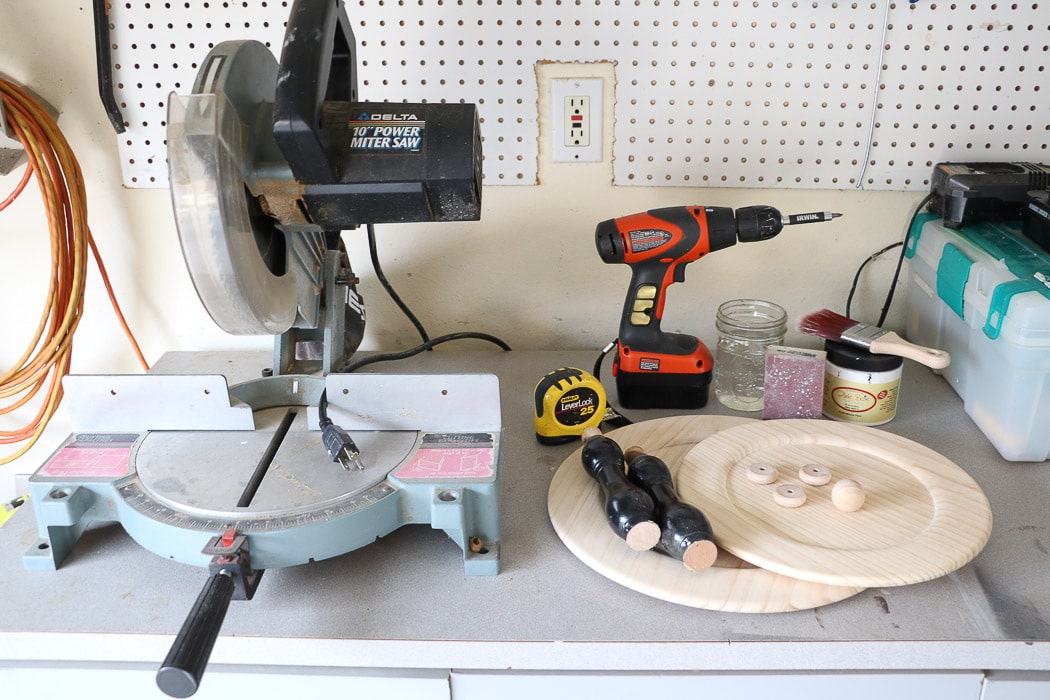
Here is what I used to create the two-tiered stand.
- small wood plate
- large wood plate
- wooden feet
- wood ball
- dowel or up-cycled spindles
- measuring tape
- drill
- vise grip
- double-sided screw
- small wood screws for feet
- 1″ wood screw for first dowel and plate
- screwdriver
- saw (optional)
- paint (I used chalk paint)
- cup of water
- sandpaper
- Paintbrush
Attach Feet
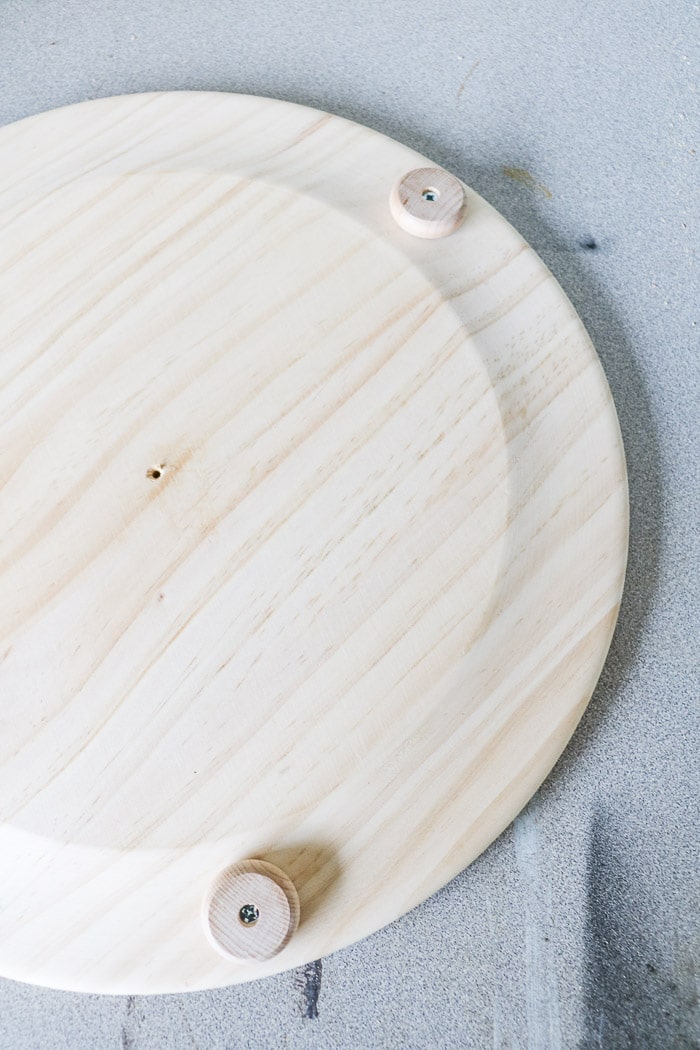
Begin by laying the feet on the bottom of the larger plate in a triangle shape. Measure and make sure they are distanced evenly apart. Next, create a pencil mark inside the hole and then drill the holes and screw on the feet.
If you need the screws to inset into the feet, so they don't scratch your table when you use the tiered tray, drill with a larger drill bit into the hole of the foot just two times around. The indention will allow the screw to inset.
Fasten the first dowel to the large bottom plate
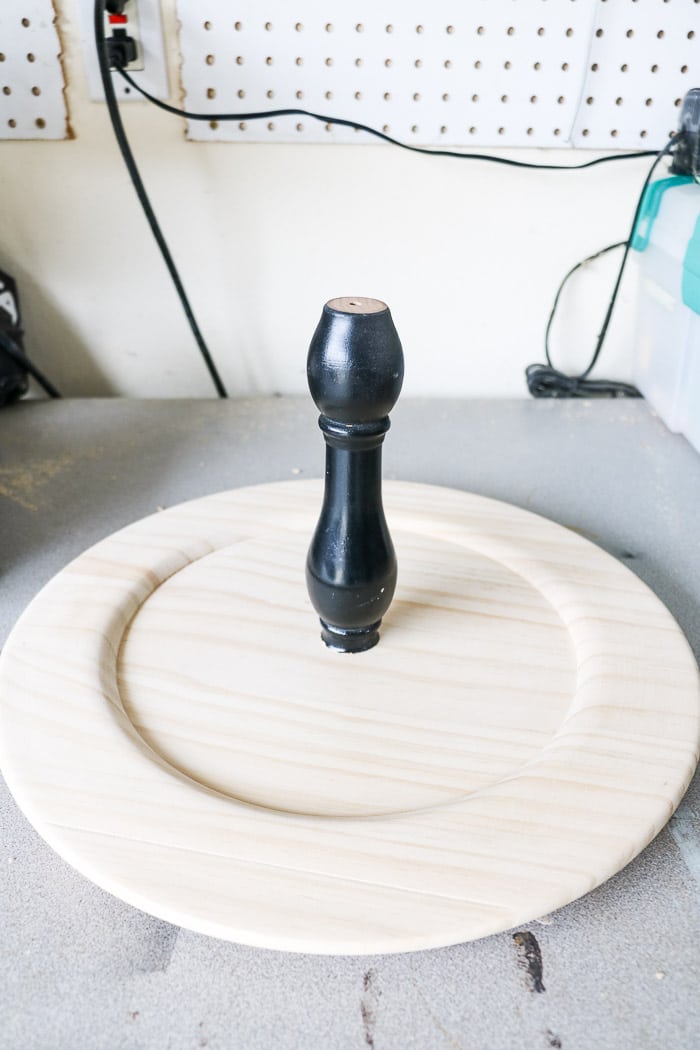
Cut the longer dowel to 7 inches.
Drill a hole into the center of the large plate. Make sure it is perfectly centered.
Drill a hole into the bottom of the dowel.
Join the plate and dowel together with the screw that has a flat end on it.
Connect the smaller plate
Drill a hole into the top of the dowel that is attached to the larger bottom plate.
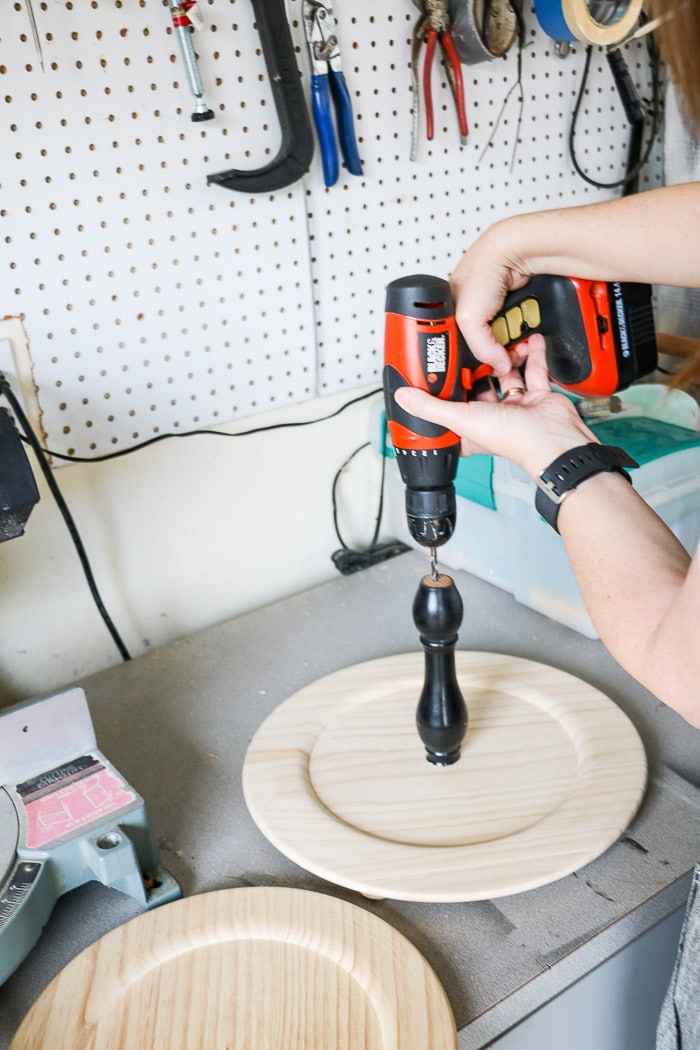
Take your double sided screw and clamp your vise grip to one end and start screwing it into the 7-inch dowel.
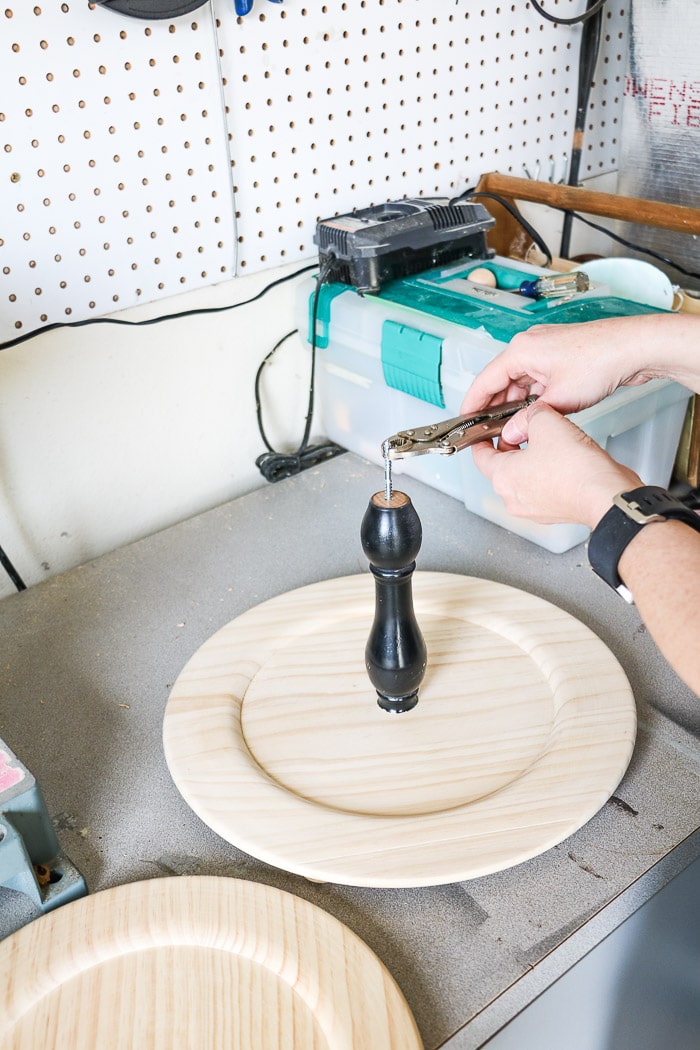
Now screw the top plate down.
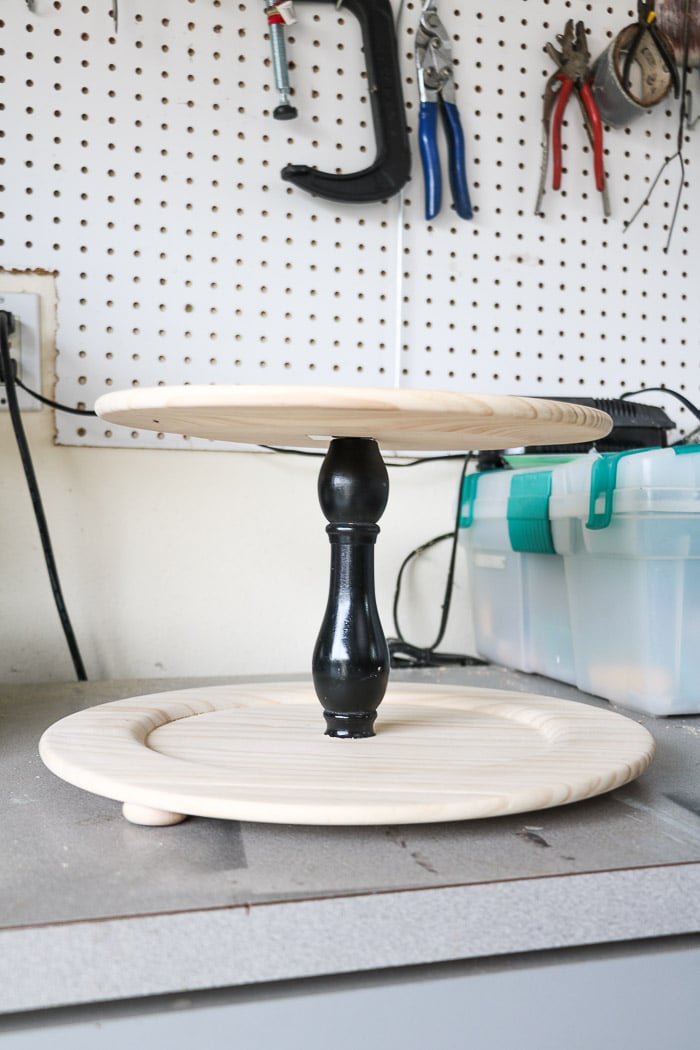
You will see the screw coming out of the top of the plate.
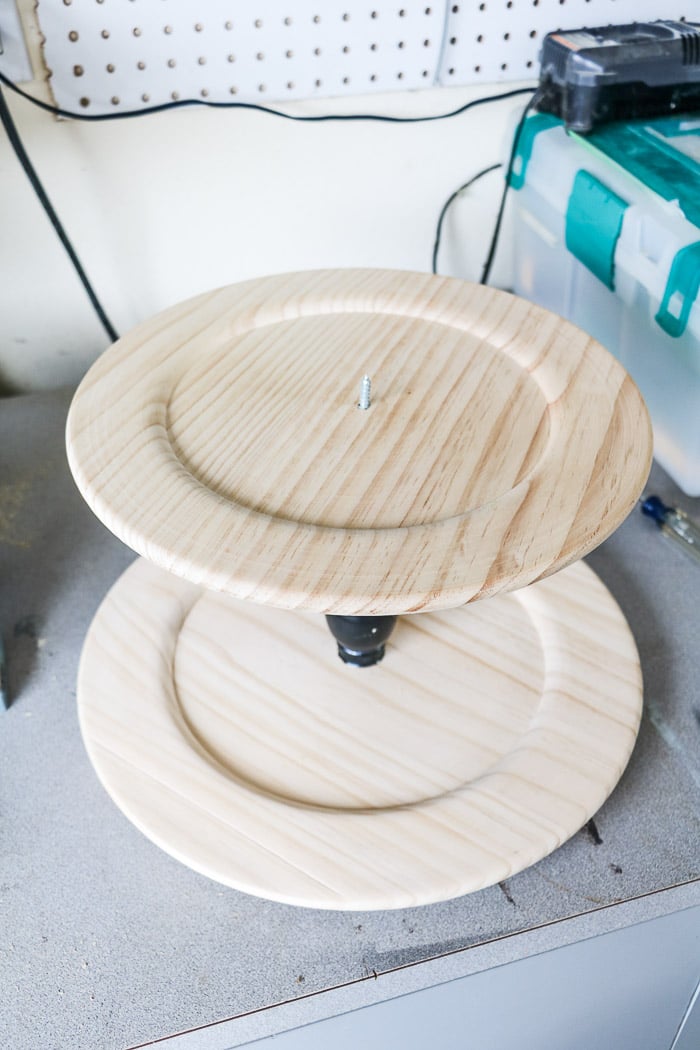
Attach the top dowel
Start by cutting the top dowel down to the size you want. I made mine about 4 inches.
Drill a hole on the bottom of the dowel to screw it into the top plate.
Now screw on the top dowel.
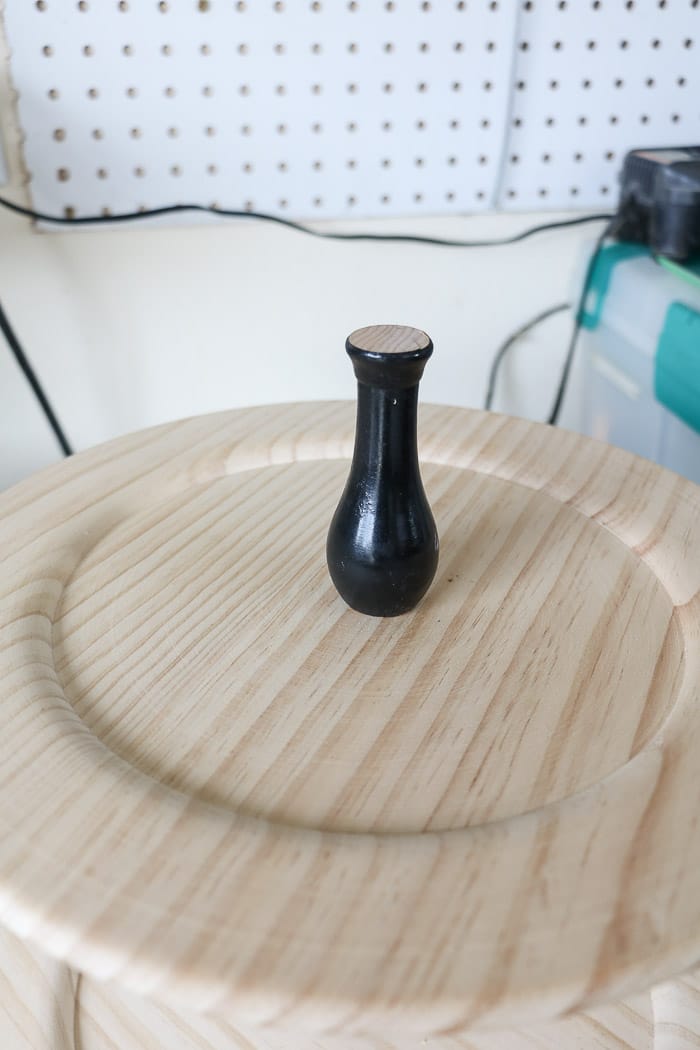
We are almost finished!
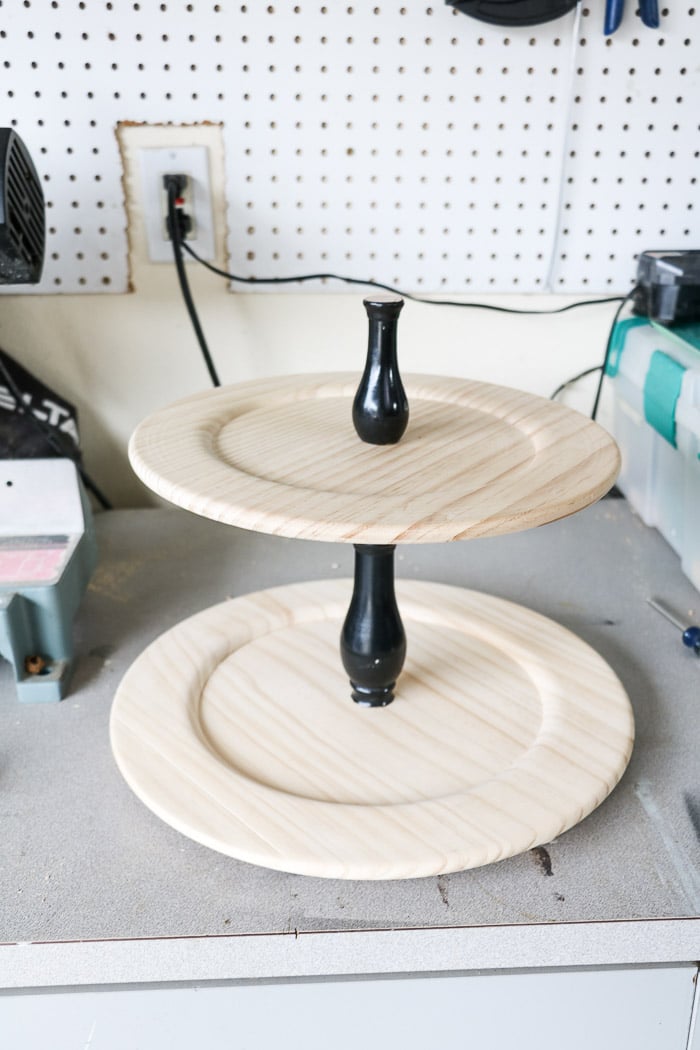
For the last step use some wood glue to attach the ball to the top.
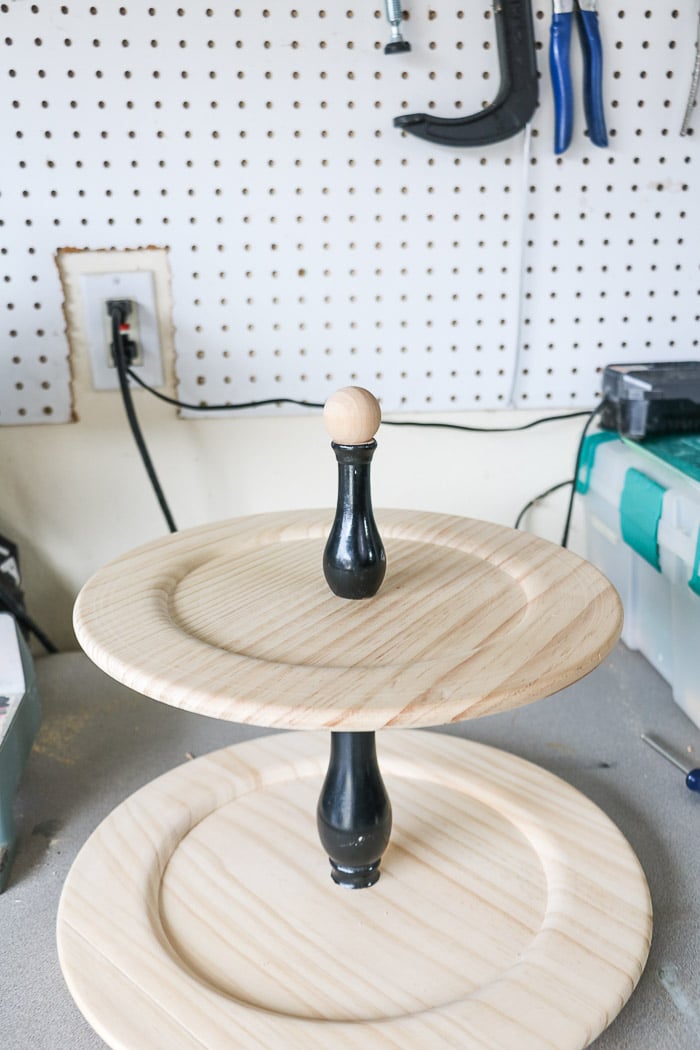
It also looks nice to attach a handle to the top.
However, if you choose to add a handle, I would drill another hole and screw it in rather than using glue
Conclusion
Now, all we have to do is paint the tiered tray.
I like the look of chalk paint, so I painted my tray using the chalk paint technique I used on my hutch.
See how easy it is to make your tiered tray?
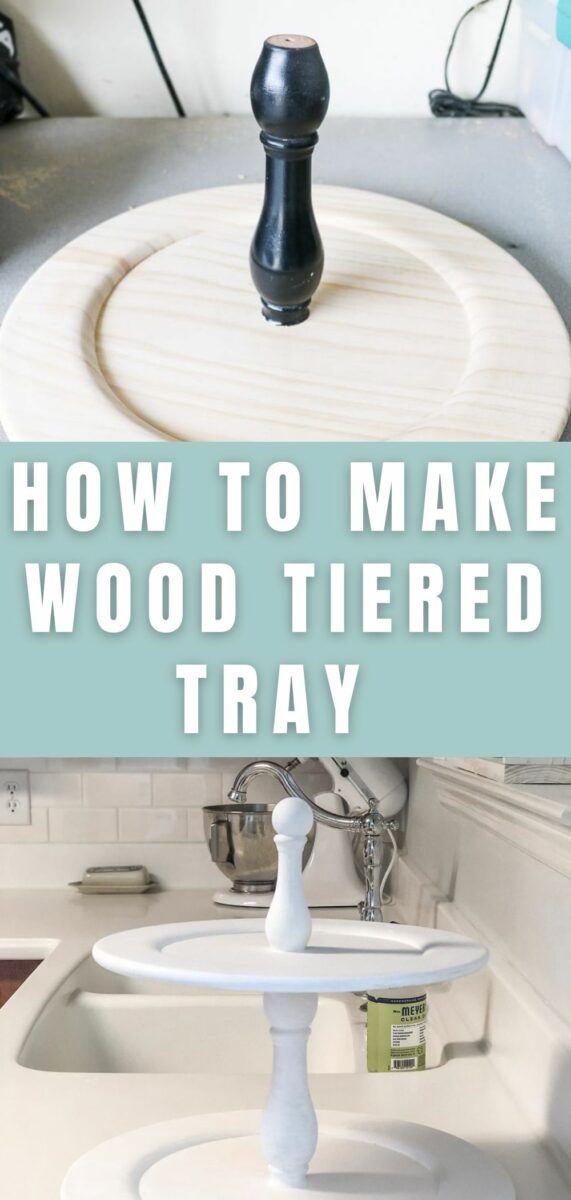
Here are the steps again on how to make a tiered tray.
- Collect supplies and tools
- Attach the feet
- Fasten the first dowel
- Attach the top plate
- Connect the top dowel
- Glue on the wooden ball
- Paint with your favorite paint
And there you have it, your very own charming farmhouse-style tiered tray! Now I wonder what fun things will go on your shelf?
Happy Decorating!

If you enjoyed these ideas, please sign up for emails, so you don’t miss out on more fun decorating tips and ideas HERE.
I noticed that your wooden plates have rounded edges (inside), but the ones you reference for source (Amazon) have hard edges. Did yours come with rounded edges or ddi you have to sand them down?
The ones I used were from Hobby Lobby. The edges are rounded. I tried to find the closest to what I had on Amazon but if you have a hobby lobby you can find the ones like mine in the area where they have all the unfinished wood items. I hope that helps! Let me know if you have any other questions.
Great ideas
Thank you!!
Where did you find the wooden feet?
Hobby Lobby
How would you make this food safe?
Hi Sandra! That is a good question. I created this tiered tray for decorations so I am unsure about food safety. Wish I could be of more help.