
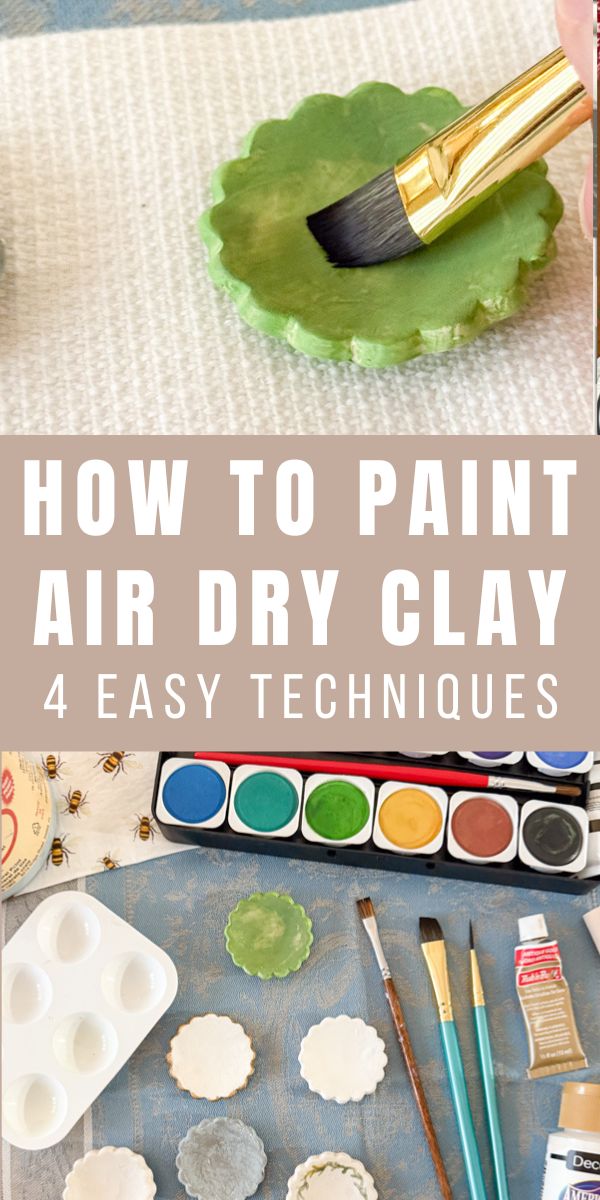
If you've ever wondered how to paint air dry clay for the best results—or which type of paint works best—this guide will walk you through the process.
This step-by-step guide to painting air dry clay will cover everything from surface preparation to paint application and sealing.
Whether you're using acrylic paint, chalk paint, watercolor or rub n buff, each option provides a unique look and requires specific techniques.
Air dry clay is a fantastic medium for creative projects. From craft projects with your kids to air dry clay sculptures, the possibilities are endless.
But painting it the right way can make all the difference in achieving a smooth, long-lasting finish.
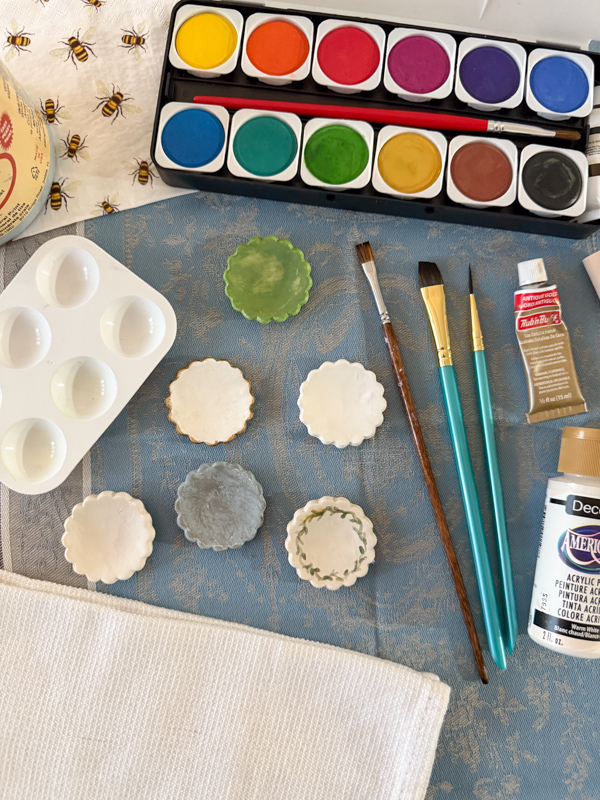
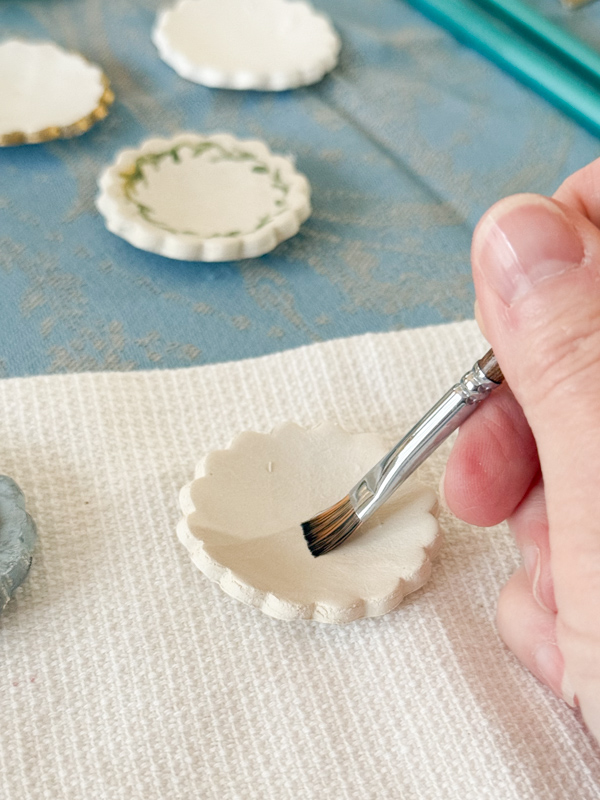
After years of painting air dry clay, I thought it is time to share my pro hacks and best tips to get a beautiful finish. We are using a project, these ring bowls, as examples in this post.
RATHER WATCH THAN READ?
How to Paint Air Dry Clay
Before we start painting there are few things you need to know to prepare the surface for the best paint results.
Preparing Air Dry Clay for Painting
Before painting, the clay must be completely dry. Allow at least a minimum of 12 hours for full drying, depending on the thickness of the piece and location.
Drying times will vary according to your climate. The drier the climate the faster it drys. If you have a lot of humidity in your area, give it a little longer.
Some articles suggest you can start painting before 12 hours, but I’ve found it’s best to wait until the next day or longer to ensure your air dry clay is completely free of moisture.
Now that your air dry clay is good and dry, there is one more thing to consider before painting.
If the surface of the dried clay pieces feels rough, sanding with fine-grit sandpaper can help achieve a smoother finish.
Dust should be wiped away before applying any paint. I use a slightly damp cloth to remove dust and when I say slightly, I mean almost dry.
Be sure your work surface is covered, you're in a well-ventilated area, and let's get started with these easy-to-follow instructions!
Acrylic Paint: Durable and Vibrant
Acrylic paint is one of the most commonly used and popular options for air dry clay because it provides full coverage without requiring a primer or sealer. It adheres well to the clay’s porous surface and dries quickly.
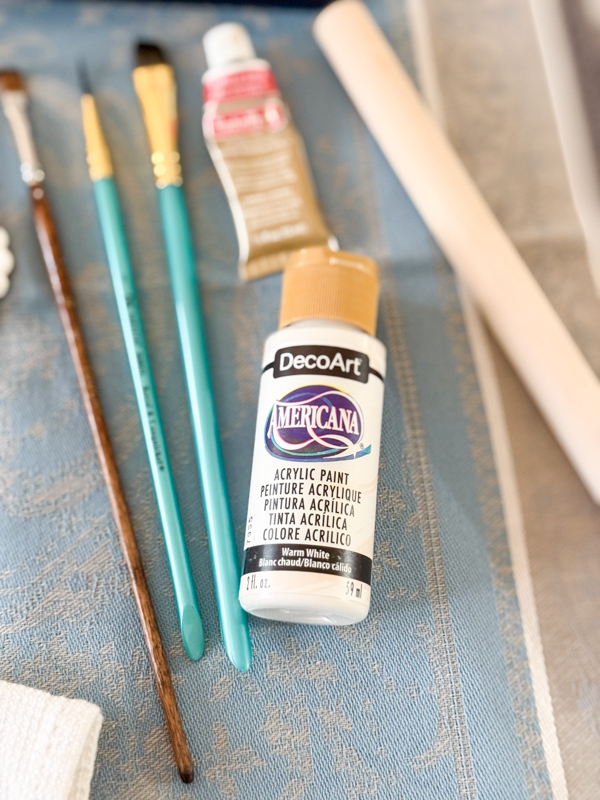
Supplies to paint with acrylic:
- Artist paint brush (you can use any type of small paint brush from craft brushes to finer artist brushes but synthetic works best)
- Acrylic paints (any brand and color works as long as it is acrylic)
Acrylic is also inexpensive and comes in many colors which makes it an easy paint option.
To apply acrylic paint:
- Use thin layers to prevent streaking.
- Allow each layer to dry before adding another coat for even coverage.
- Patterns or decorative details can be added once the base coat is fully dry.
- You do not have to add a sealer but if you do you can use a clear acrylic coating or decoupage.
Remember acrylic paint does not require sealing, but a clear sealer can enhance the finish if extra protection is needed.
Chalk Paint: Matte and Textured
Chalk paint offers a soft, matte finish that works well on air dry clay. It adheres without the need for a primer and provides a slightly textured chalky look.
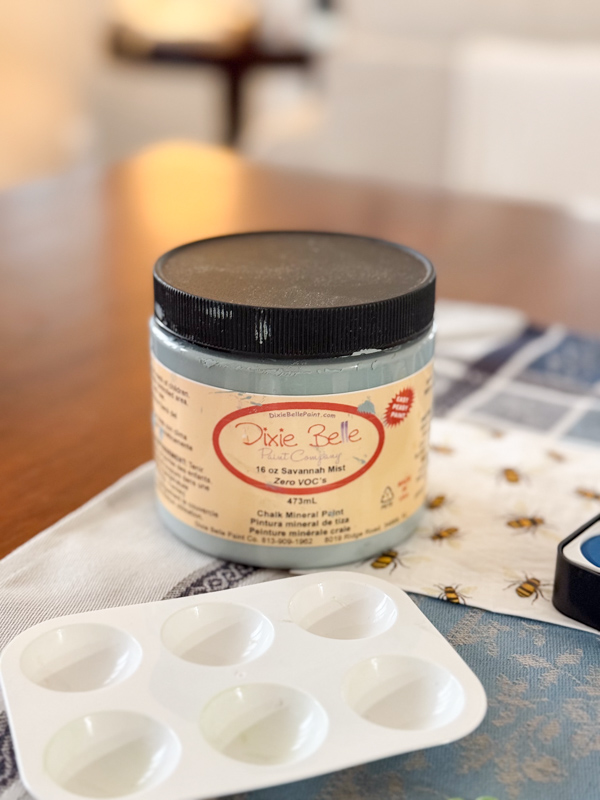
Chalk paint is more expensive and comes in many beautiful muted colors like this beautiful blue pastel chalk paint. If you are looking for a vintage look then chalk paint might be your medium.
Supplies to paint with chalk paint:
- Paint brush: I like to use an natural bristle brush but honestly I have used them all from synthetic to natural.
- Chalk paint: Any chalk paint brand works but my favorite is Dixie Belle. They come in larger containers which is perfect for larger projects.
When painting with chalk paint:
- Apply thin layers for the best adhesion.
- Let each coat dry fully before adding additional layers.
- Here is where chalk paint can be fun. To get a vintage look add a wax finish by applying the wax and then buffing it off.
- If you want to seal your chalk paint air dry clay project consider a clear wax or sealer. This can be used to protect the finish if desired. (You can use decoupage, too)
Remember a sealer is optional, it can help preserve the surface and prevent chipping with a glossy finish. However, the fun thing about chalk paint is if you want to really enhance a vintage look add tinted waxes to the dry painted finish.
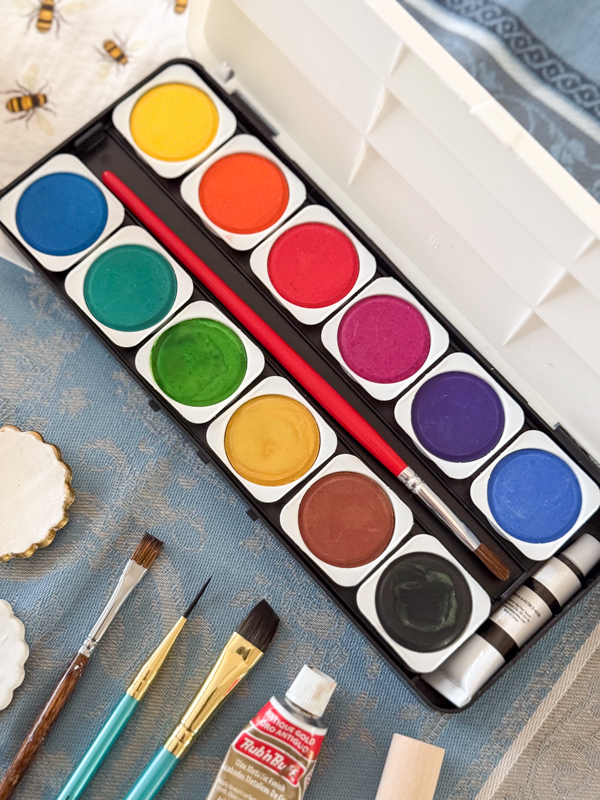
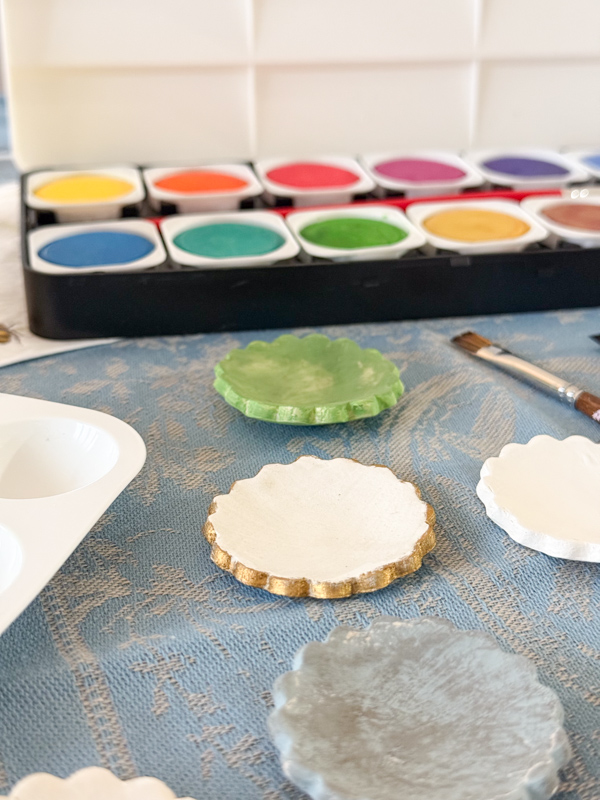
Watercolor Paint: Soft and Blended
Watercolor paint can be used on air dry clay, though it behaves differently than on traditional paper. Because clay is porous, it absorbs the pigment quickly, creating a soft, washed effect.
Supplies to paint with watercolor:
- Synthetic brushes works best. I bought a set of watercolor paint brushes from Hobby Lobby to do this project. They worked great!
- Any kind of watercolor works but better quality ones may be easier to work with.
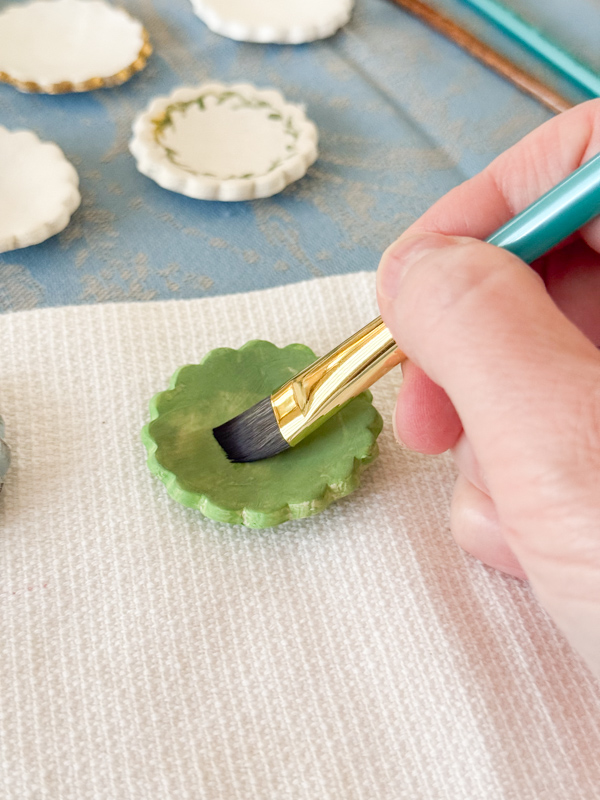
To achieve the best results with watercolor:
- Apply the watercolor paint to the dry surface, some people recommend lightly dampening the surface beforehand to improve blending.
- The trick is to work in thin layers of paint, building up color gradually. You will be amazed at how quickly the paint absorbs into the air dry clay. It really helps to do thin layers.
- A spray sealer is required to prevent smudging or reactivation of the paint. (I used a clear acrylic coasting spray but you can use decoupage too)
Without sealing, watercolor may remain vulnerable to moisture and wear over time.
When I did this project I did not lightly dampen the surface first and the results is a beautiful green cabbage looking finish. Now I want to make some cabbageware with air dry clay.
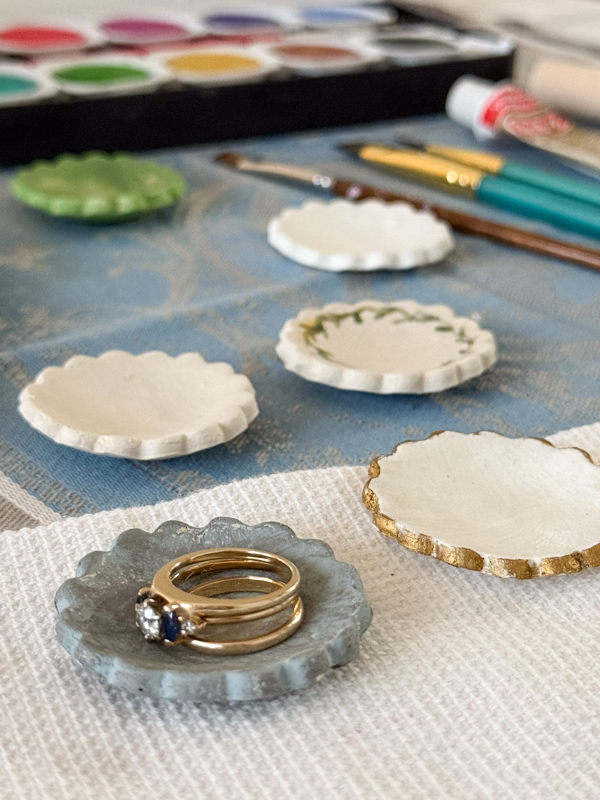
Rub n Buff Paint: Vintage Metallic Finish
I bet you never imagined me including Rub n Buff, but I have found it to paint air dry clay beautifully.
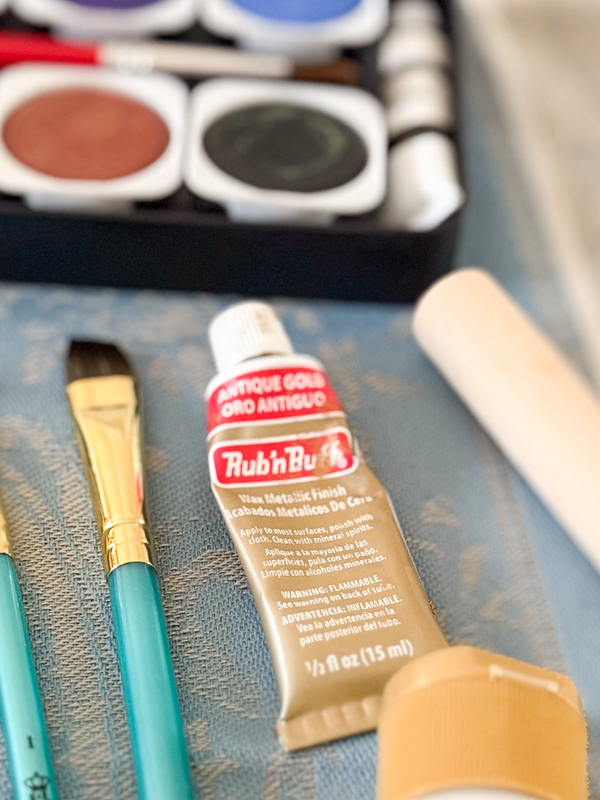
Rub n buff is great for painting details or the whole project. It is a wax based metallic paint and comes in many colors like antique gold and gold leaf.
Supplies to Paint with Rub n Buff:
- Synthetic artist brush, lint free cloth, sponge or finger
- Rub n buff paint (you can find it online on Amazon, Walmart or in Hobby Lobby)
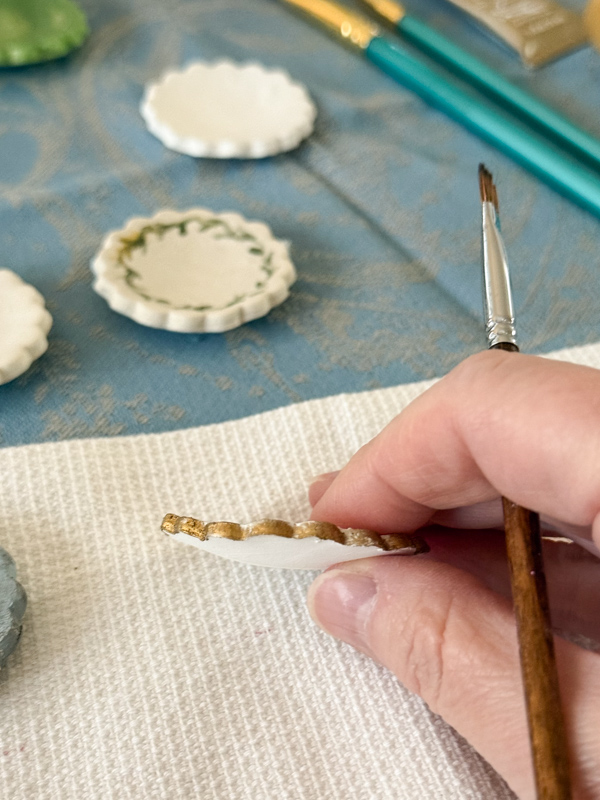
To achieve the best results with Rub n Buff:
- Before you begin adding rub n buff paint you can paint acrylic paint for a lighter finish otherwise you can paint right on the clay
- Squeeze a tiny amount onto a soft cloth, sponge, paint brush or your fingertip.
- Gently rub it onto the clay surface in circular motions, blending as you go.
- For detailed areas, use a small brush to work it into crevices.
Rub n buff is so easy to work with and comes out so fancy. You can also only brush it into crevices for a vintage look.
Adding Hand-Painted Designs
Once the base layer of paint is dry, decorative details can be added. Acrylic or fine-tip paint permanent markers work well for small patterns or intricate designs.
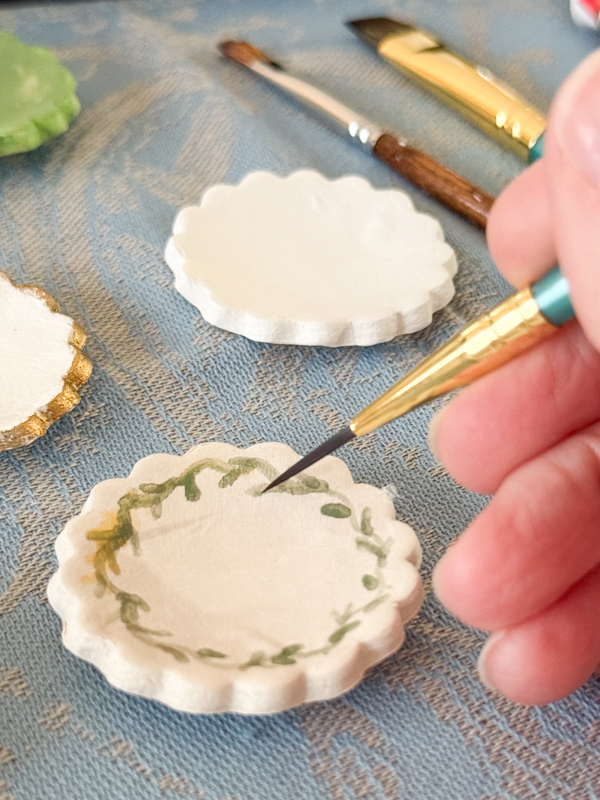
When using water-based paint, additional layers should be applied carefully to avoid lifting the previous colors.
I absolutely love using watercolor to add details to air dry clay. It is so soft and pretty!
Adding Decoupage Design
To take your design to the next level, consider adding a decoupage finish to seal your project.
Decoupage or Mod Podge serves as a great sealer for your air dry clay. You can create a matte or glossy surface. You can apply a clear coat to seal your design or use it to attach a design. I have seen people do this with paper napkins.
Adding Clear Acrylic Sealer
Another tried-and-true way to seal your projects is with a clear acrylic sealer. It’s incredibly easy to use—just spray it on and let it dry! It provides a nice finish and is water-resistant.
Final Considerations
Well what do you think? Are you ready to try any of these paint techniques on your air dry clay project? As you can see, from beginners to experts, air dry clay is a great medium to work in.

Each type of paint provides a different effect on air dry clay.
Acrylic is the most durable and versatile, chalk paint adds a rustic matte appearance, and watercolor creates a soft, artistic look but requires sealing. While Rub n Buff will give you that vintage antique look.
Understanding the properties of each paint type helps in achieving the desired finish.
Now remember to make sure your handcrafted air dry clay project is completely dry because any moisture will affect how the paint adheres. The dryer the better. So if you dust it with a damp cloth make sure you don't leave any moisture behind.
Looking for more air dry clay DIY ideas? Check out these posts:
- How to Make Clay Bowls
- Crafting Magic: How to Make Clay Mushrooms
- How to Make DIY Air Dry Clay Ornaments
- How to Bake Air Dry Clay in Oven
Happy Decorating!

Can I make jewellery with air dried clay?
Yes you can make jewelry with air dry clay. However I have never made jewelry but I know someone who has.
@Linda McDonald,
Thanks
I was wondering something.I don’t have a paintbrush,but can I paint with my fingers.I’ve tried this on paper,and it works well,but I dont know about air dry clay.
Hi Amber! That is a strong possibility. I have never tried it but I would give it a try. I have used a sponge brush and it worked pretty good too. Let us know here how it worked. Good Luck!