
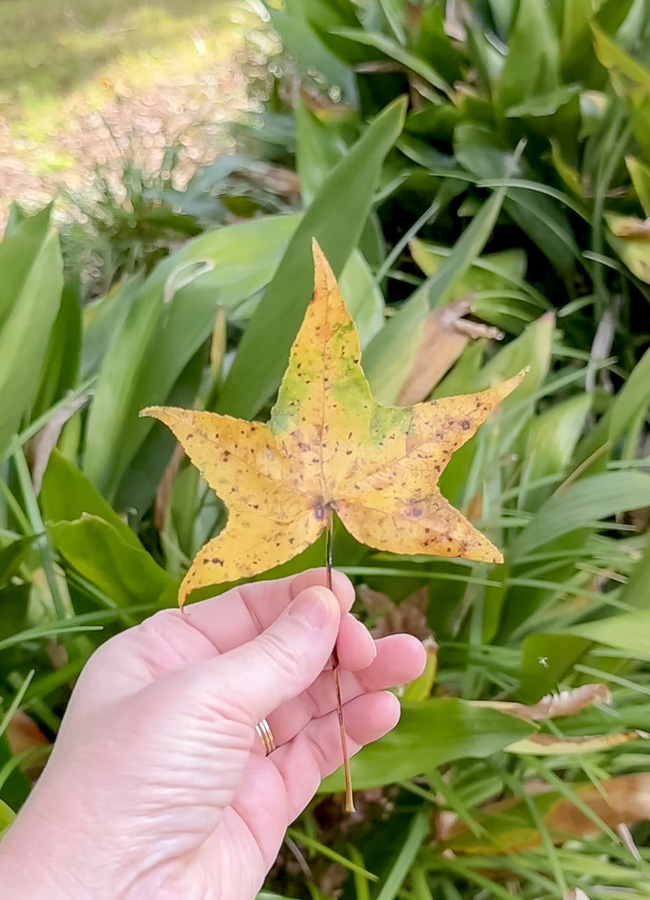
Every time I take a walk and see colorful leaves falling, my creativity starts flowing, and I think about how to preserve and decorate with them for fall. I love using real flowers and leaves in my home, but they never seem to last long.
Do you feel the same way? If so, I have a simple solution. Today, I’m sharing how to press and preserve leaves so they stay colorful and ready for decorating or crafting any time of year.
Way back when, my mom showed me how to press and preserve leaves, and over the years, I’ve tried a few different methods myself, some easy, some a little messy. So, let’s take a look at the ways to preserve leaves for your home projects.
Why Preserve Leaves?
Preserving leaves lets you bring a little bit of nature indoors. You can use them for table centerpieces, framed art, garlands, or simple wall decor.
Another lovely reason is for journaling. My husband loves going on nature hikes and often brings home leaves or feathers he finds along the way. Preserving them helps keep those memories intact.
Best Methods for Pressing and Preserving Leaves
There are many ways to press and preserve leaves, but ironing, books, and flower presses are the simplest and most effective methods I’ve found. Each one has its charm, depending on what you plan to do with your leaves. Let's look in more detail at six methods to preserve leaves for decorating and crafting.
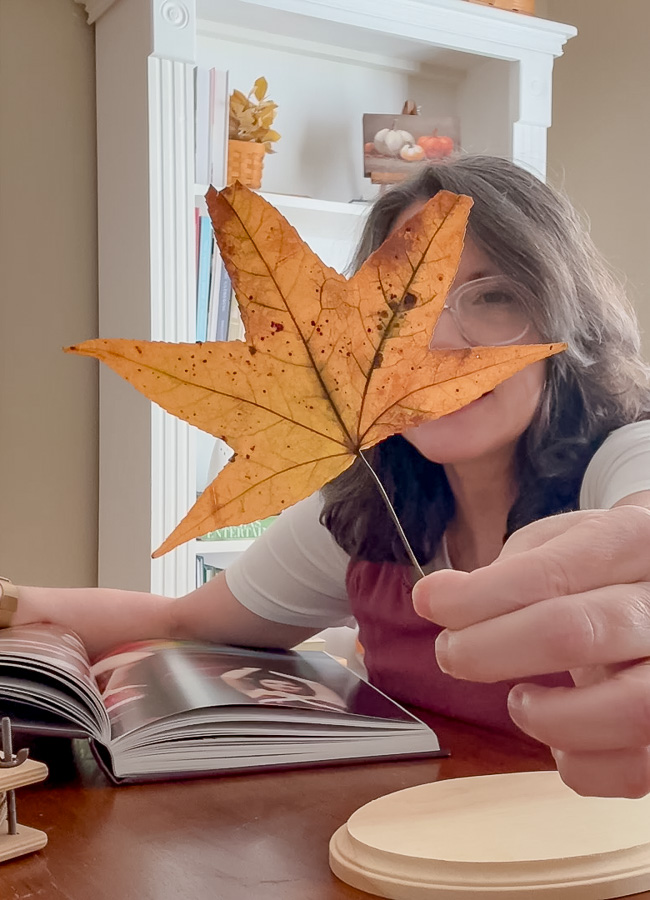
Pressing Leaves in a Book
This classic method is my favorite, especially for crafting. However, this method takes weeks. If you want a quicker process, scroll down to the ironing section. All you need is a thick, heavy book or a stack of books, parchment paper, or wax paper, and fresh leaves.

Start by choosing fresh leaves that are flexible and not brittle. Avoid ones that are too dry or curled.
Next, place each leaf between two pieces of wax paper or parchment paper. This keeps moisture from transferring onto the book pages.
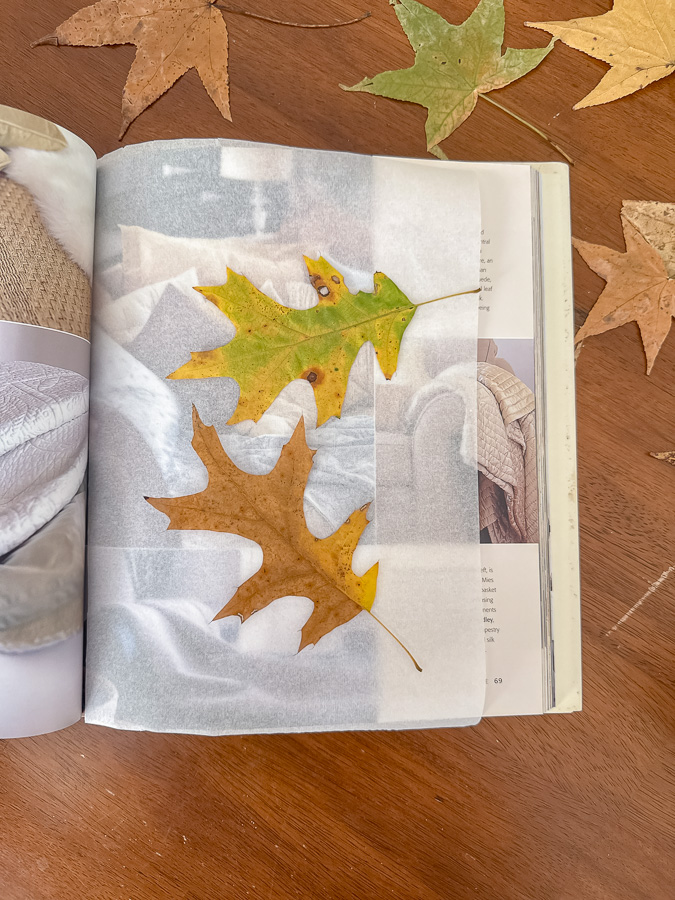
Slide your parchment “sandwich” into an old heavy book; I used a coffee table book, and it worked perfectly. If you don't have a heavy book, then set a stack of books on the book holding the leaves.
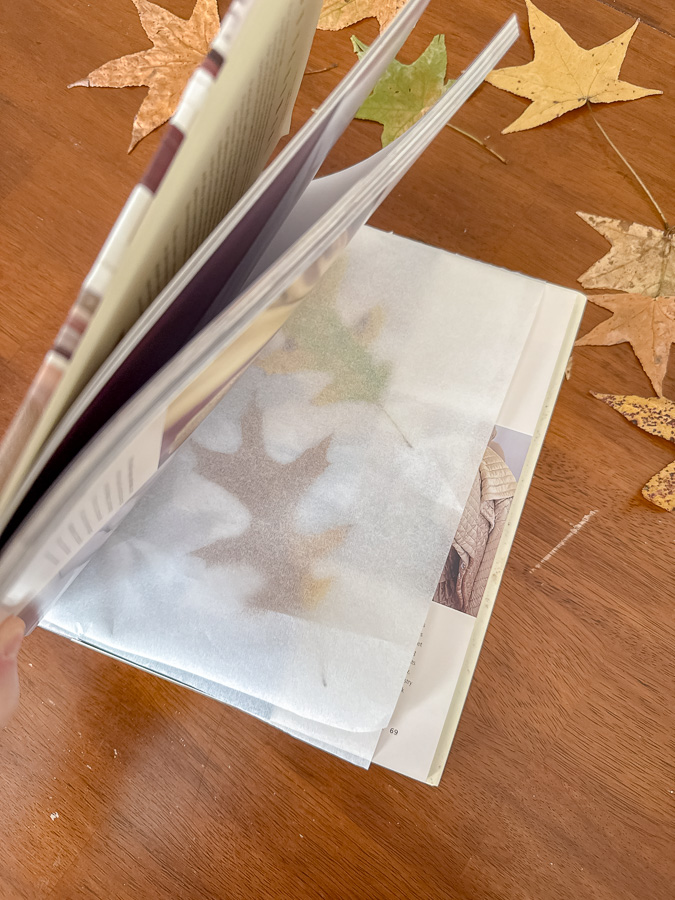
Once your leaves are in place, stack a few extra books or something with heavy weight on top. Then, simply walk away and let time do its work.
Check back the next day to see if it is flat enough. If not, give it a few more days. Your leaves will be flat as paper and perfect for decoupaging onto wood, framing, or layering into garlands.
Ironing Leaves Between Parchment Paper
This popular method works well when you want results faster. Supplies you will need are parchment paper, fresh leaves, an iron and an ironing board, and a heavy book.
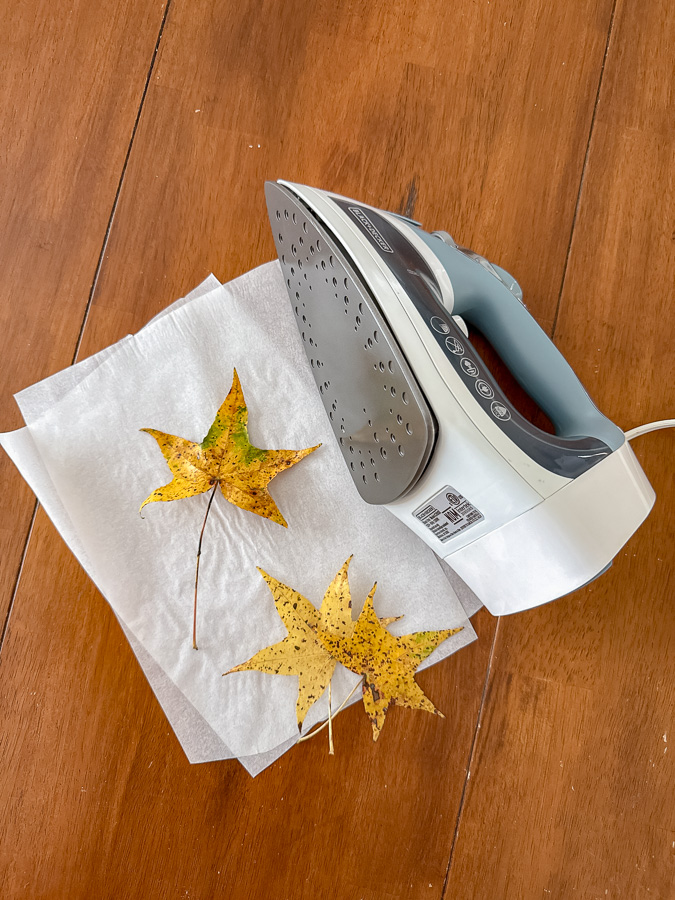
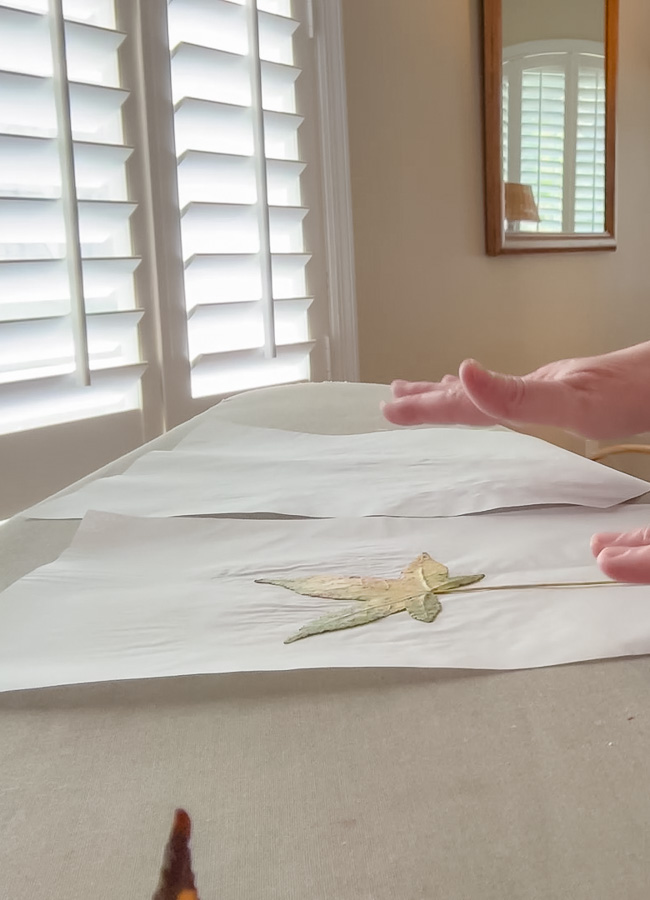
Start by placing your leaves between two sheets of parchment paper. Set this on your ironing board.
Turn the iron to a low heat setting and make sure the steam is off. Gently iron over the leaves for about 30 seconds at a time.
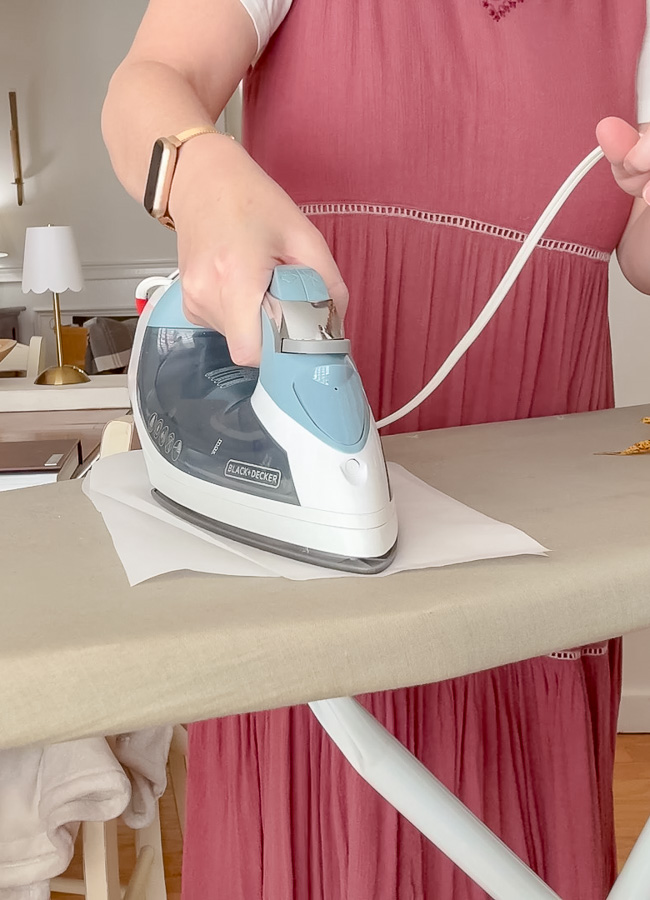
Let them cool for a few seconds and then set a heavy book on them. I have found that adding the book at the end really helps the leaf come out flat, similar to book pressing. After about five minutes, remove the book to find a beautiful flat leaf.
Using a Flower Press
If you often preserve leaves or flowers, a leaf press (also called a flower press) is a fantastic investment. This method works beautifully, just like the book process.
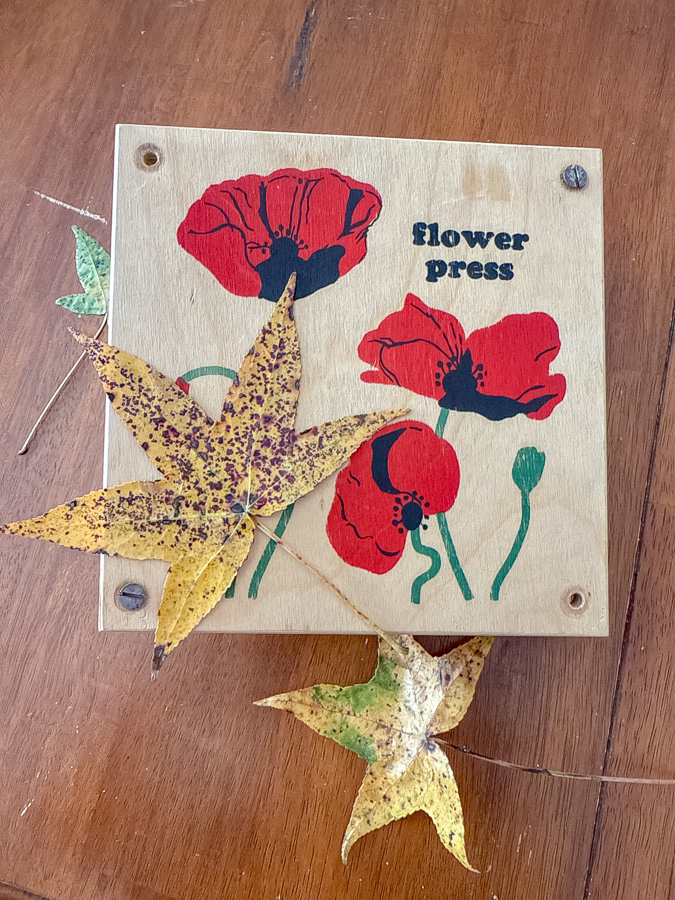
You will need fresh leaves, paper, and cardboard for inside the press, unless it comes with some.
A flower press is made of wood panels with screws on each corner to create even pressure. You layer your leaves between sheets of paper, tighten the screws, and let the press do the work.
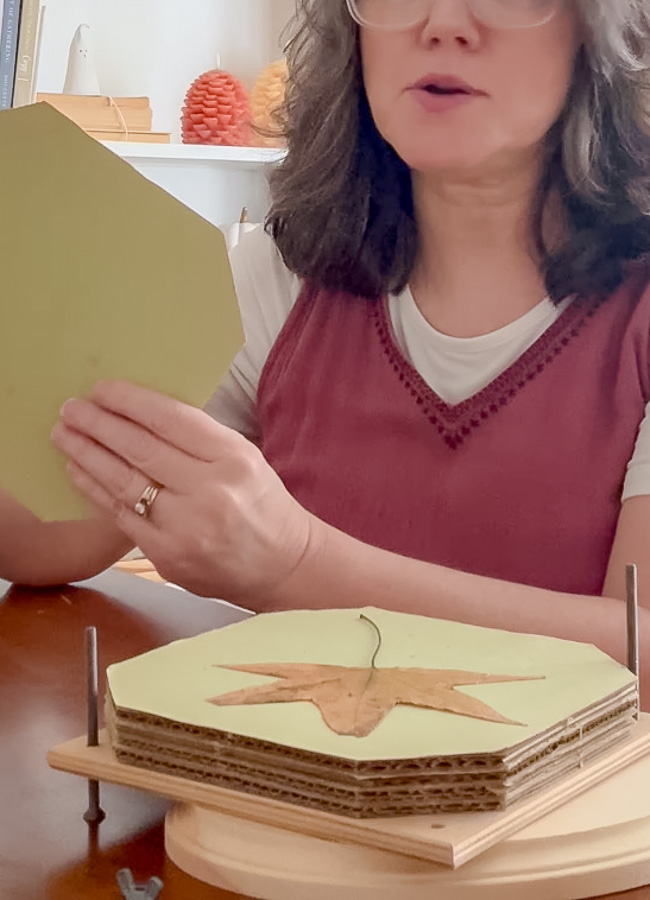
This method helps preserve every little detail, the texture, veins, and color, making the leaves beautiful for framing or adding to journals.
Optional: Glycerin Bath
Some people like to use a glycerin bath to keep leaves soft and flexible for wreaths or garlands. It’s a popular method if you want the leaves to stay pliable rather than dry flat.
I haven’t tried this one myself yet, but it’s another fun option to experiment with if you love natural decor.
Waxing Leaves to Preserve Them
Waxing leaves is one of my favorite ways to keep their beautiful colors. It’s perfect if you don’t need your leaves to stay completely flat.
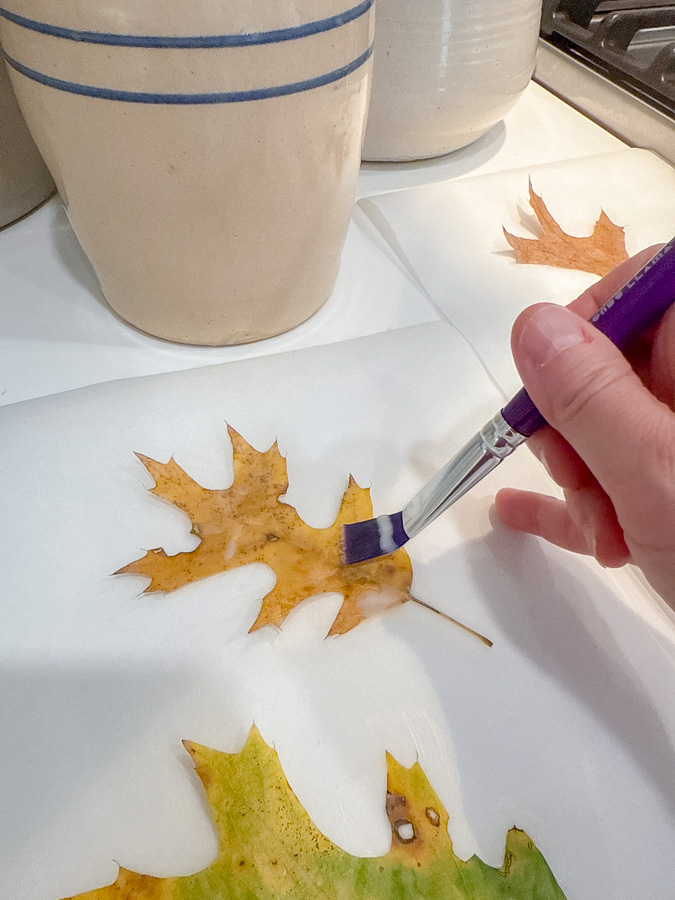
You will need beeswax, a double boiler, an artist brush, parchment paper, and something to stir the wax.
I like to use beeswax for this; it gives a soft, natural sheen that makes each leaf look freshly picked.
Start by melting wax over a double boiler. (You can see how I do this in my candle-making tutorial.) Then, lay your leaf on parchment paper and gently brush on a thin coat of melted wax.
Once it dries, flip it over and repeat on the other side. If you pick up the leaves after it has dried, you will notice excess wax hanging off the leaves. Simply use your fingers to pull it away.
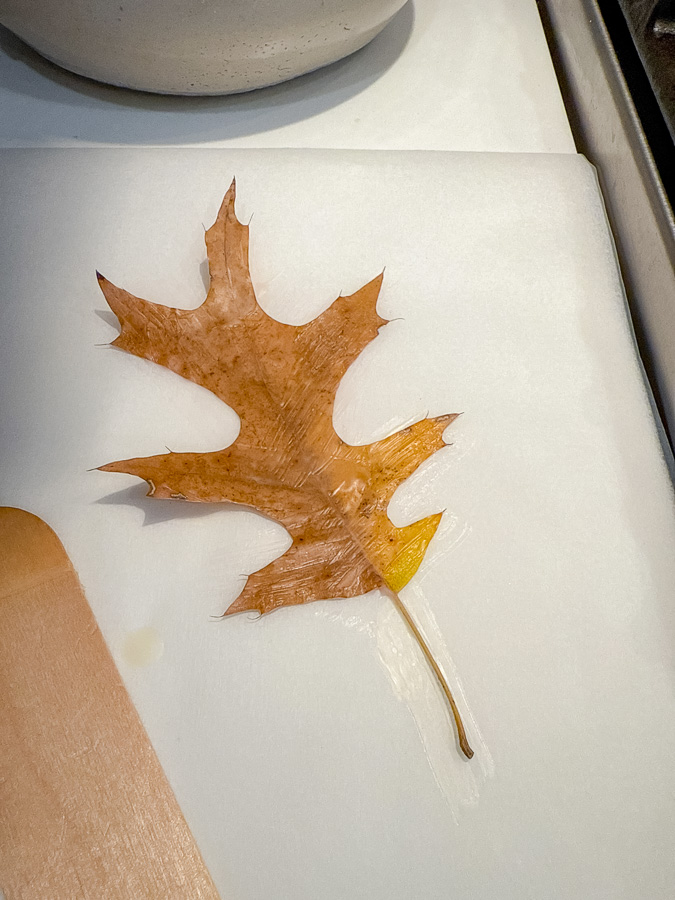
Did you know you can also dip the leaf in the wax? This works like a charm.
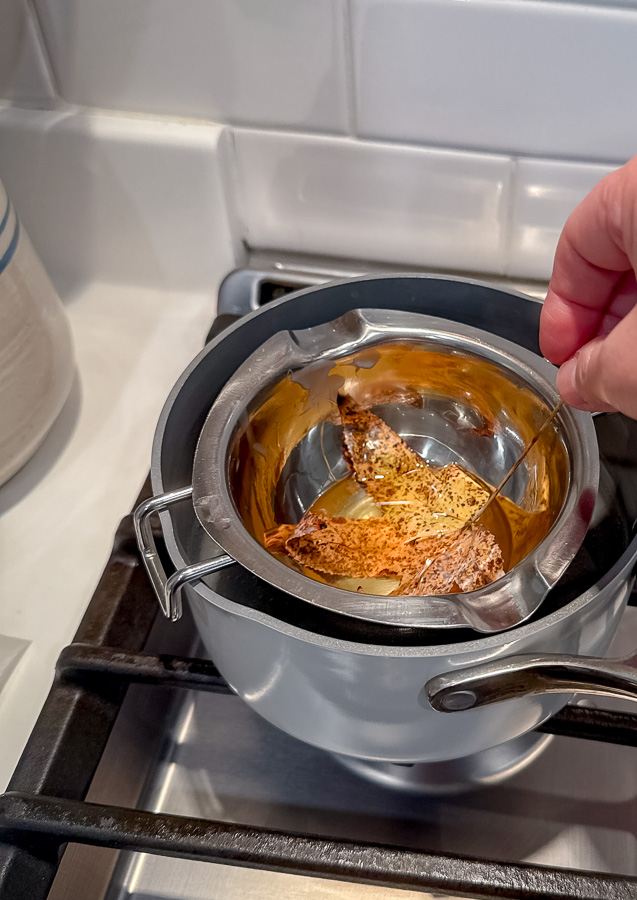
If you dip your leaves in wax, you won't have excess wax to pull off. It is much easier to do than you think, and you don't need a whole pot of wax. Suppose your leaf has a long stem; hold onto it while dipping it into the wax. If not, use some long twizzers or something so you don't touch the hot wax.
Remember, the wax is hot, so do this with caution!
It’s such a simple process, but the results are lovely, vibrant, slightly glossy leaves that look like they’ve been captured in time.
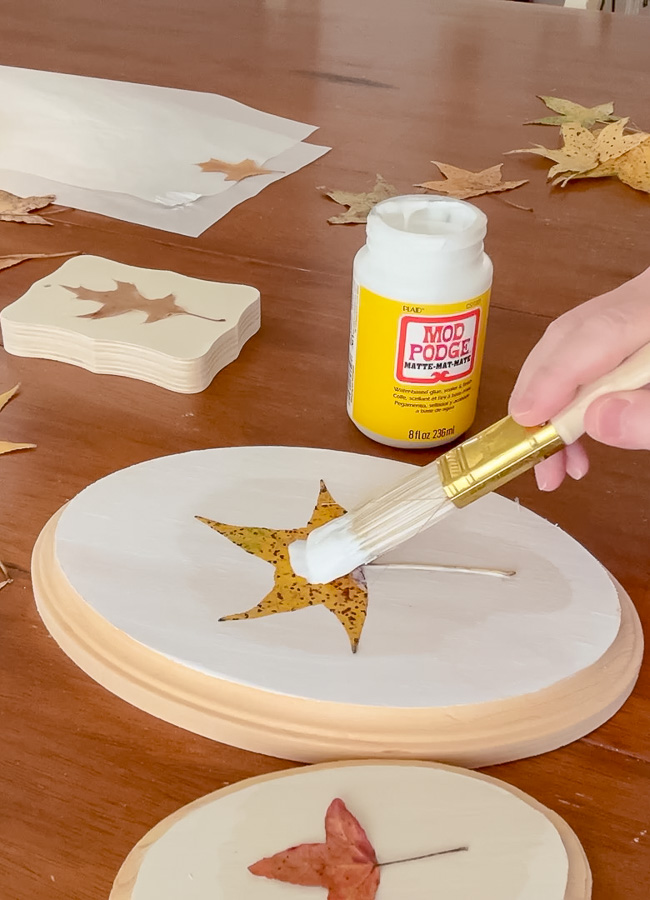
Preserve Leaves with Decoupage
Another easy way to preserve your leaves is with decoupage. You’ll need Mod Podge, an artist's brush, and a piece of parchment or wax paper.
Brush a thin layer of Mod Podge onto one side of the leaf and place it on the paper to dry. Once it’s dry, flip it over and paint the other side. After both sides are fully dry, your leaf is ready to use for decorating or craft projects.
You can display them in a bowl, frame them for wall art, or add them to gift tags for a natural touch. Or, for a fun twist, try painting your leaf onto a frame or piece of wood with decoupage. I’ll show you how to do that soon.
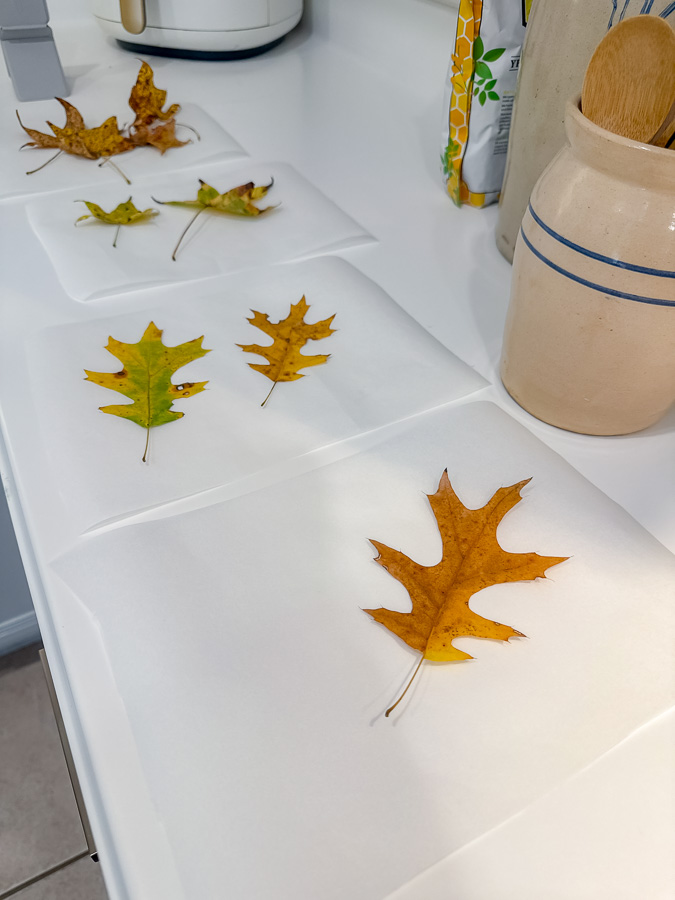
Tips for the Best Results
Here is a photo showing the final result of the leaves using some of the methods.
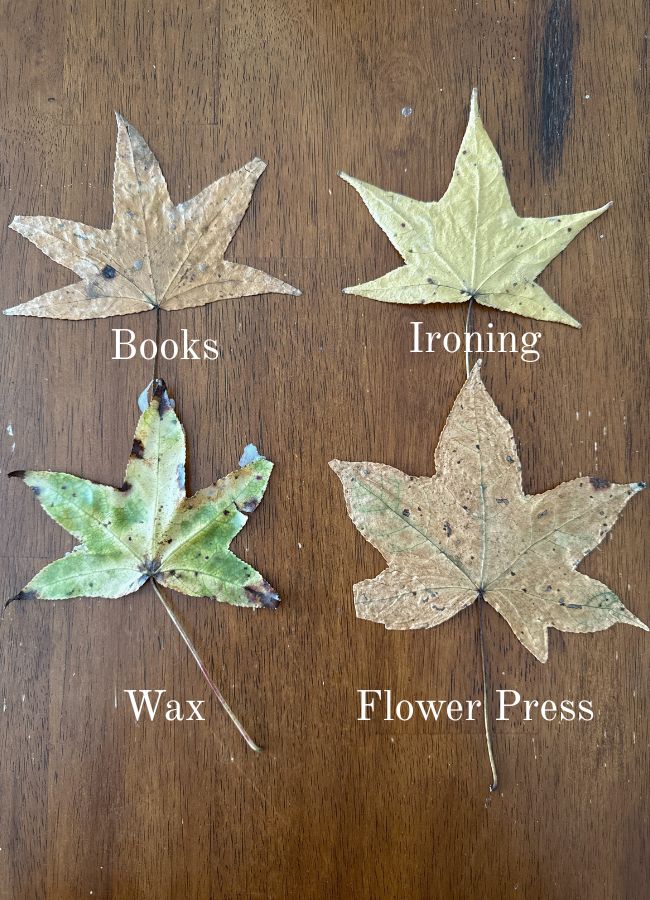
And here are some final tips to help your leaf preservation project turn out great.
- Pick fresh leaves that still have a touch of moisture but aren’t wet.
- Don’t layer too many together; give them space so air can circulate.
- If possible, work on a sunny day to help with faster drying.
- To preserve color longer, lightly coat finished leaves with acrylic spray or a thin layer of Mod Podge.
Creative Ways to Use Preserved Leaves
Once your leaves are preserved, the possibilities are endless! You can frame them as wall art, add them to a leaf garland (like this DIY fall paper leaf garland), or use them on gift tags, cards, and table settings.
There are so many things you can do with preserved leaves, but today I am sharing two ideas: decoupage leaf art and a bowl of leaves and pumpkins. Let's begin with leaf art.
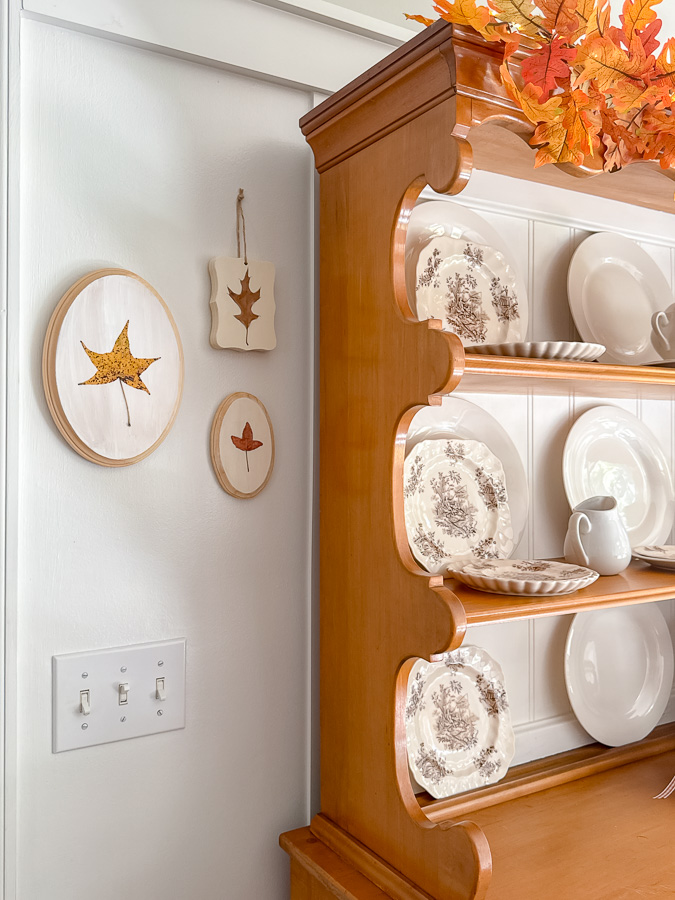
Decoupage Preserved Leaf Art
This DIY is relatively simple. All you need is a piece of wood (I picked up these pieces at Hobby Lobby and Dollar Tree), paint brushes, decoupage, and your pressed leaves.
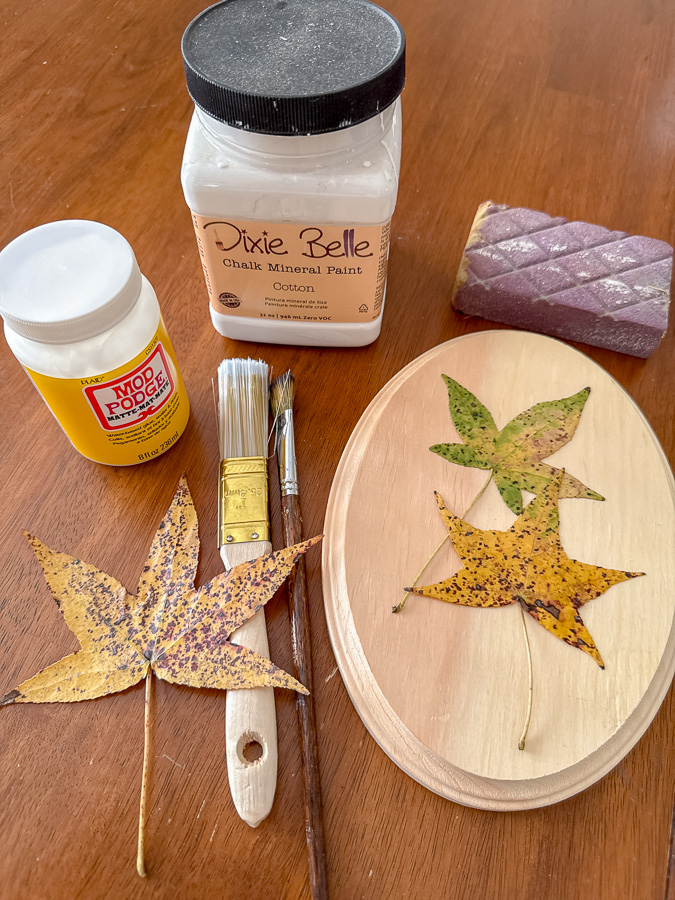
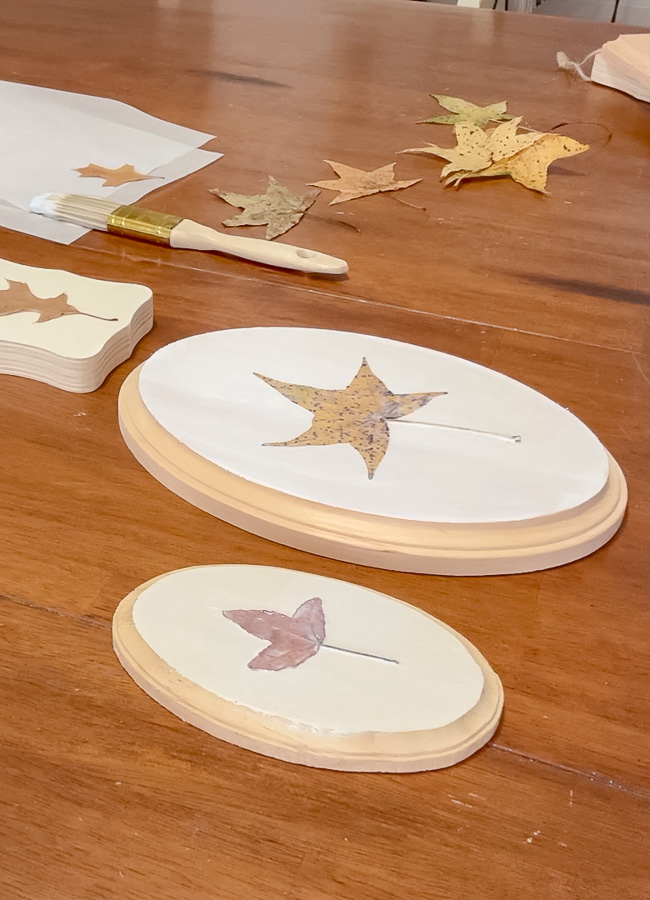
All you do is brush some decoupage onto wood, either painted or unfinished. Then sit your pressed dried leaf onto the decoupage and let it dry. Last, add more decoupage on top, let it dry, and you are all done.
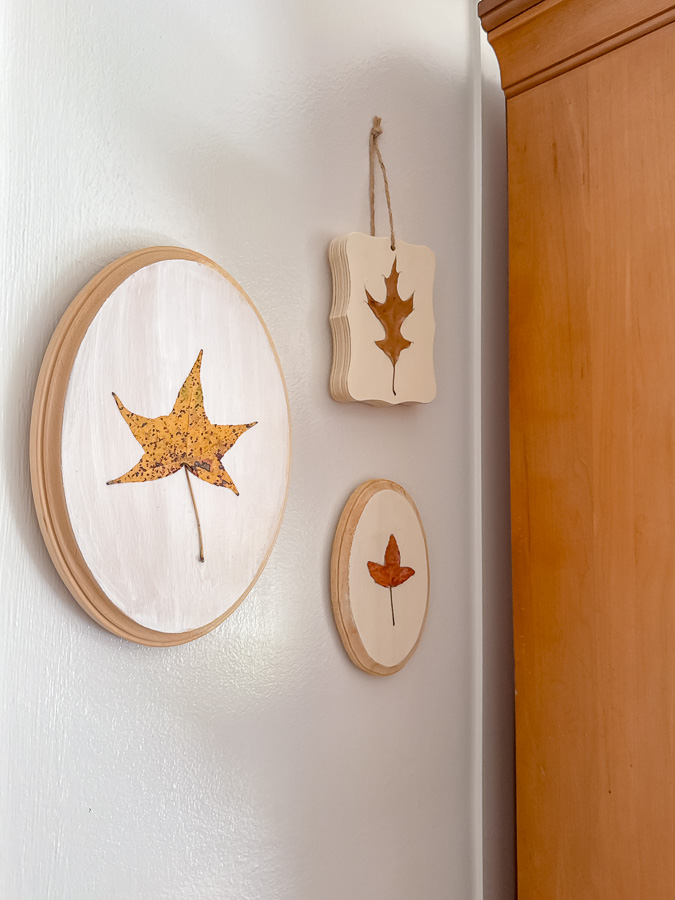
They turned out so pretty, and next to my hutch with all the autumnal color, they look cozy and right at home on the wall.
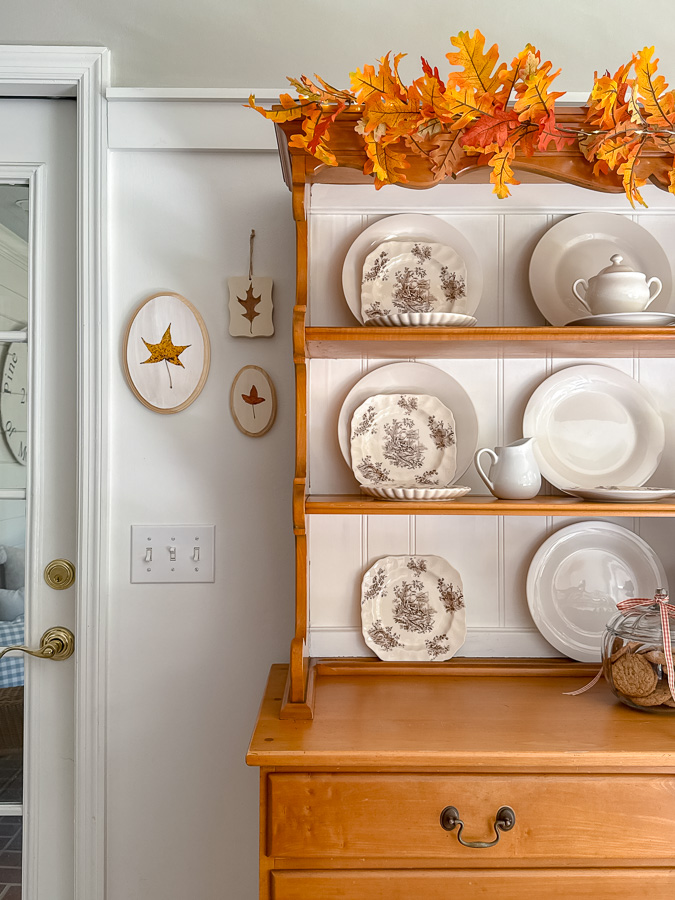
The decoupage didn't change the coloring but instead beautifully preserved the leaves.
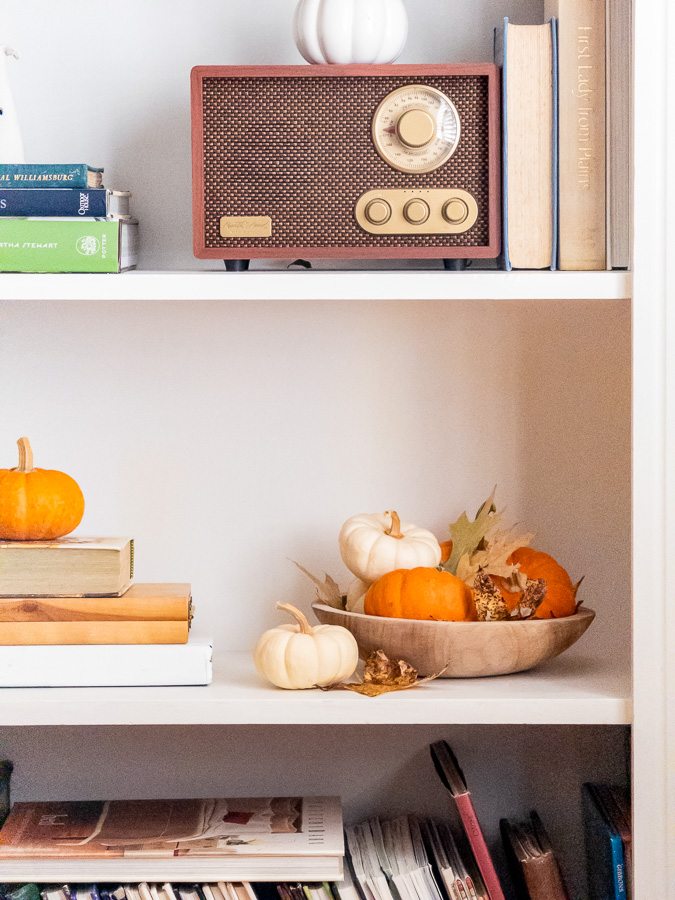
Wood Bowl with Pumpkins and Wax Leaves
One of the easiest and prettiest ways to decorate with preserved leaves is by tucking them into a bowl of pumpkins, like I did here.
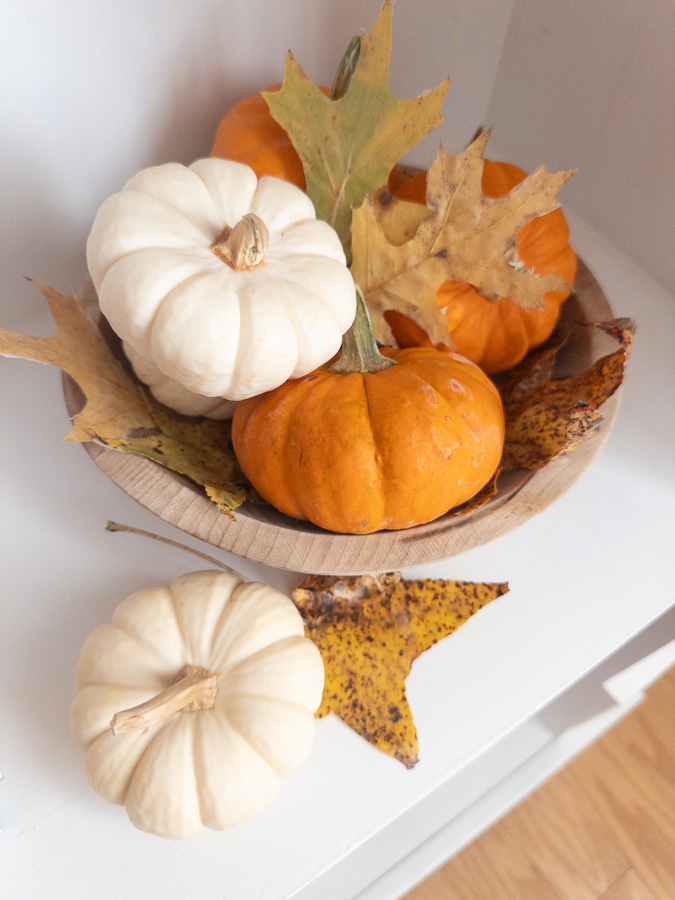
For this project, I used my wax-preserved leaves and nestled them between the pumpkins. It turned out so simple yet stunning, a lovely way to bring the beauty of the outdoors inside.
I added the bowl to my bookcase, and it fit right in with my other autumn decor.
Here are some other fun ways to use preserved dried leaves. If you enjoy documenting your outdoor finds, add a few to printable nature journal pages to capture the season. You can also pair them with dried oranges for a cozy, natural look. (Here’s how to dry orange slices for decorating.)
How Long Do Preserved Leaves Last?
When stored flat and dry, preserved leaves can last for many months, sometimes even years. Keep them in a cool, dry spot between pieces of wax paper or inside a folder.
If you’re using them for long-term decor, seal with Mod Podge or an acrylic spray to help protect their color and texture.
Conclusion: Bring Nature Indoors to Stay
Preserving leaves is one of the easiest ways to bring nature’s charm into your home. With just a few simple supplies, you can keep their beauty around for decorating, crafting, or journaling all year long.
So next time you find a leaf too beautiful to pass by, don’t let it fade away, preserve it, and enjoy it as part of your cozy home decor.
Happy Decorating!
