
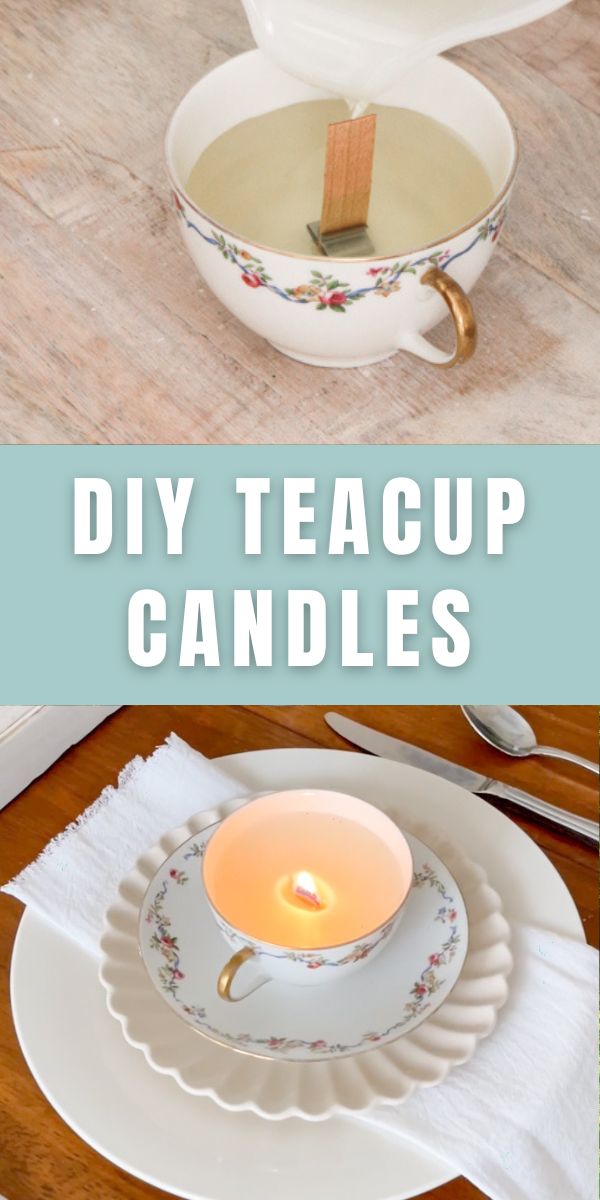
Candle-making is an enjoyable craft that can be done with simple materials found around the home. Have you ever heard of teacup candles? Teacup candles are unique customized candles that can be made in any kitchen.
These teacup candles make great gifts or items for yourself – you can make it your way! In this guide, we’ll show you everything you need to know to get started on making your very own teacup candle!
Today we are talking about how to make teacup candles using a sweet vintage antique tea cup. This cheap and easy project can be created with an old candle or wax pellets.
Before I begin talking about how to make teacup candles let me share that this is my first time candle making, and it was so easy. I ask myself why I waited this long to make a candle in any kind of jar.
I love making candles out of fruit like this how to make a candle from an orange and how to make a candle from an apple. These candles are super easy because you don't have to melt the wax. But I have never made a candle in a jar — meaning melting wax and all the steps.
But what really got me interested in making a candle was after I researched what to look for in clean burning candles. That was when I became interested in making my own candles.
You are probably wondering why I am teaching how to make a teacup candle rather than another type of container candle.
Well, I have several late 1800s pretty teacups that belonged to my husband's mom. They never get used, so I thought wouldn't it be pretty to make them into a candle?
Now that you know what made this all come about, let's start our DIY project by grabbing supplies.
How to Make a Teacup Candle
Here are the steps to making teacup candles, and the supply list is below but make sure to read all the way to the end because there are details that make it easier.
- Gather Your Supplies
- Prepare the Wax (add color and fragrance – optional)
- Prepare the Wick
- Pour the Wax
- Fill the Teacup
- Allow the Candle to Set
Step 1: Gather Supplies
Most of the supplies you will need you may already have at home. Except maybe the teacup. You can find vintage teacups at your local thrift store, charity shops, or second-hand stores. There are many places to find pretty tea cups!
Now collect all your supplies before you start melting the wax for your DIY candle.
What Do I Need for Making Candles in Teacups?
- Teacup
- Pot (Here is a special candle making pot)
- Glass bowl (preferably with a spout)
- Two 12″ taper candles (I am using beeswax candles from a local farmer's market store)
- Cotton or wood wick
- Glue gun with glue sticks
- Jumbo popsicle stick or anything you have on hand that you don't mind placing into the wax
- Paper plate
- Scissors
- Hot pads
- Cutting board or another hot pad to sit the tea cup on when pouring the hot wax inside
Update: Recently I learned that if you set your candle on a cooling rack the wax will settle better inside while cooling.
Can I Use Essential Oils in My Teacup Candles DIY?
Yes, you can use essential oils or fragrance oils in your teacup candle. If you use essential oils, ensure it has a high flashpoint to maintain the fragrance.
You'll want to use 10-20 drops of essential oil for a small 6 oz to 8 oz teacup. Some essential oils that do well include basil, cinnamon bark, lavender, lemongrass, patchouli, and ylang-ylang.
Shop Supplies:

How to Make a Candle in a Tea Cup
Candle making only requires a few easy steps. Basically, to make a candle all you have to do is melt wax and pour it into the jar or, in our case a pretty teacup, that already has a wick inside.
Let's begin with the first step, and that is planning out what to melt the wax in.
Step 2: How to Melt Wax for Candle
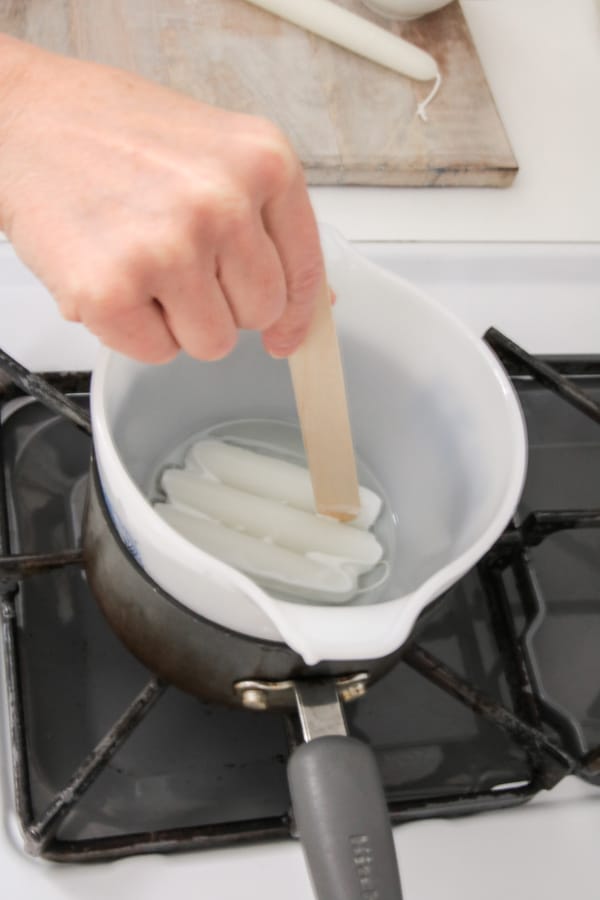
Before you start, make sure your glass bowl sits down inside your pot but does not touch the bottom, similar to a double boiler.
Once you have this part figured out, add water to the pot about 1/4 of the inside of the pot. Turn the burner on and wait for it to come to a low rolling boil.
While you are waiting for the water to boil, it's a good idea to get the wax ready.
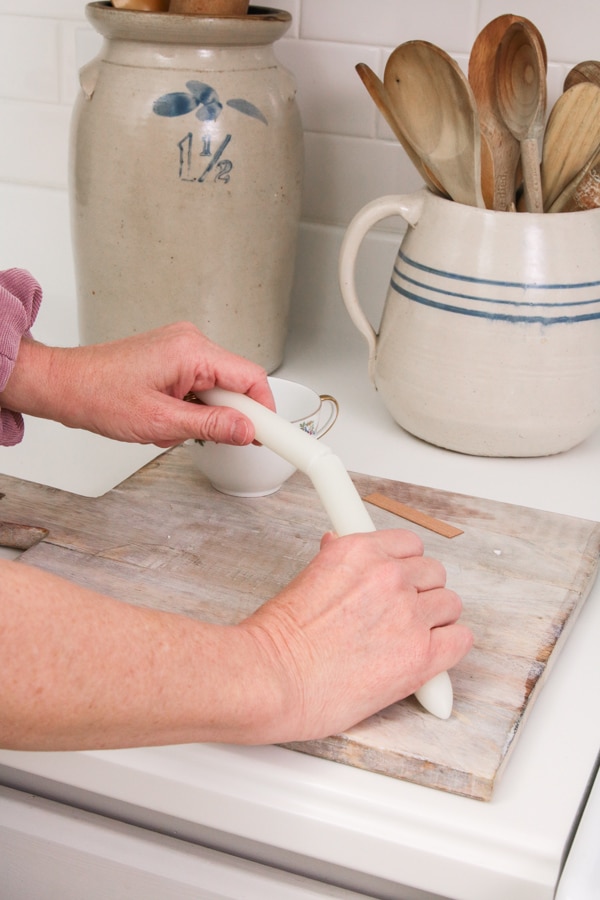
Let's break the taper candles into three smaller candles. I used both my hands, grabbed the candle in each hand and snapped it.
Once you have a break you will need to cut the wick inside with scissors.
Now check on the water and if it is boiling bring the burner down to close to low where the water comes to a low rolling boil. Then go ahead and sit the bowl into the pot and place broken candles inside.
I only put three pieces of a candle in at a time because my pot is small. Stir the wax pieces with a popsicle stick around until they melt.
If your water acts like it wants to come out of the pot around the glass bowl simply turn it down until it stops.
As the wax melts you will notice that the wicks come loose. Simply take the jumbo popsicle stick and lift it out of the bowl onto the plate.

Now add three more pieces of wax and stir them until they are melted.
Once the wax has melted, turn off the burner. The wax will stay in liquid form because of the warm water.
Next, place your cutting board close by and set the teacup on it. I placed my cutting board on the other side of my range. It is convenient to have it close by, but you can put it on the counter too.

Step 3: How to Set Up a Wick for a Candle
Now determine how long your candle wick needs to be and cut the wick. I measured from up against the cup and then cut the wick about 1/4″ shorter than the mark.
You want your wick to be 1/8″ above the wax once you pour it inside.
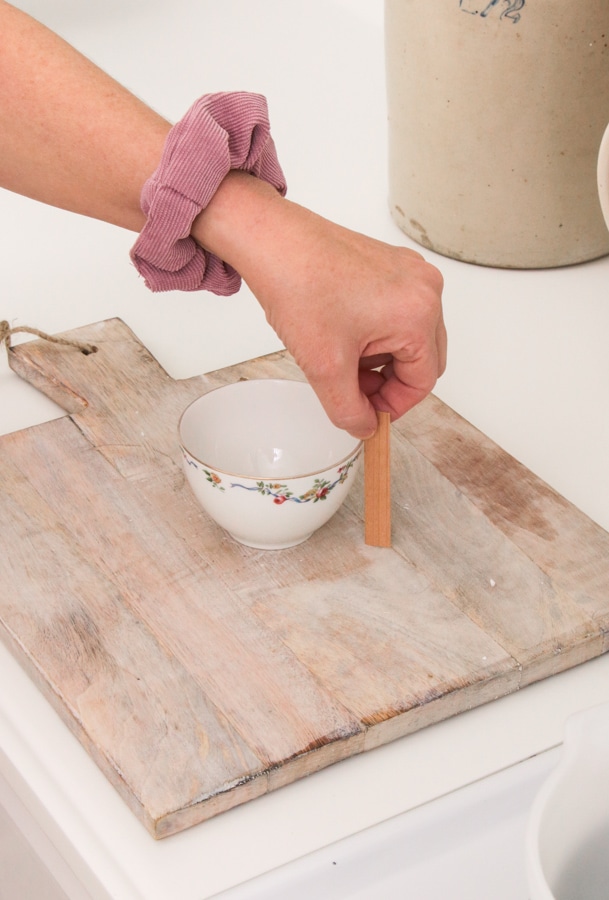
Then place the wooden wick into the metal frame wick holder.
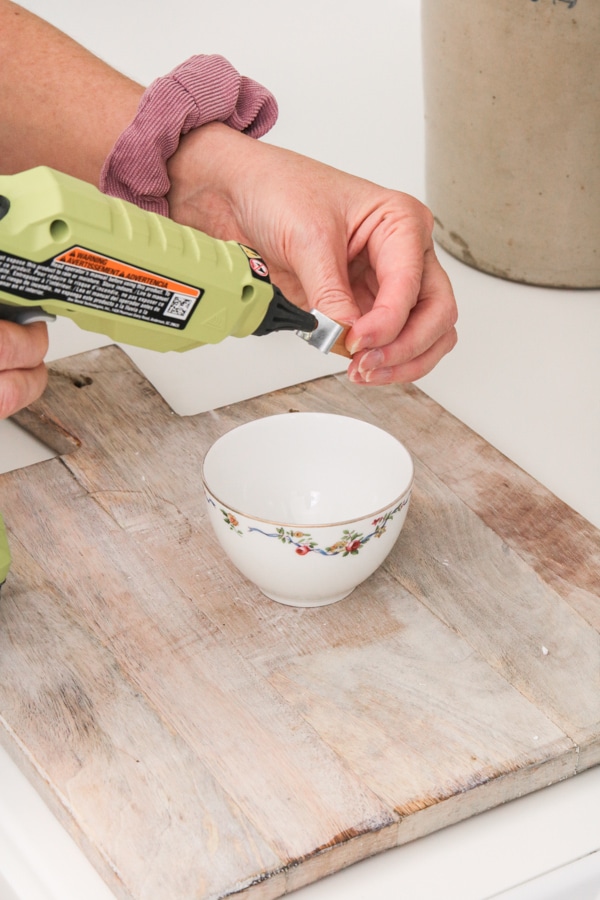
Next, use your hot glue gun to add a dab of hot glue to the bottom of the metal frame. Then place it inside on the bottom of your teacup in the center of the cup.
If you are using a cotton candle wicks, repeat these steps except cut the wick an extra couple of inches.
Once you place the wick into the bottom of the cup, take a wooden skewer or pencil and wrap the wick around it. This will keep your wick straight.
Step 4: How to Pour Candle Wax into Cup
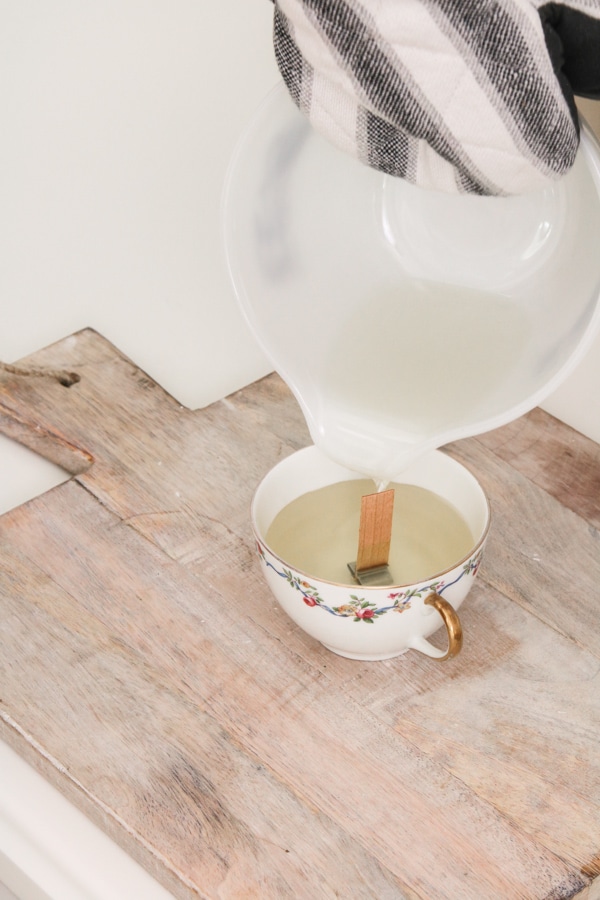
Now pick up the bowl with a hot pad or oven mitt and pour the melted wax into the teacup. This is where the spout comes in handy. It helps keep the wax from going where it shouldn't.
Step 5: Fill the Teacup
Pour the wax until it is about 1/8″ below the top of the wooden wick. Go slowly, you do not want to pour too much wax.
Step 6: Allow the Candle to Set
Next, let it sit, and the wax cool for at least four hours. Do not touch, bump or move the teacup candle.
If it is moved in any way, even if it looks like it is solid, it may cave into the middle a little. I know because I learned the hard way. Here is how it looks after 10 minutes.
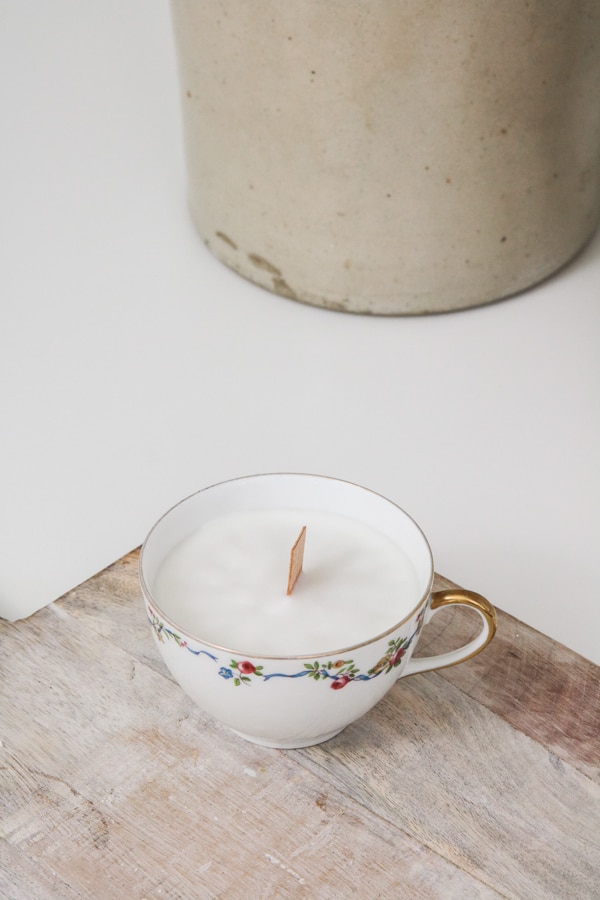
Here is how it looks after 4 hours.
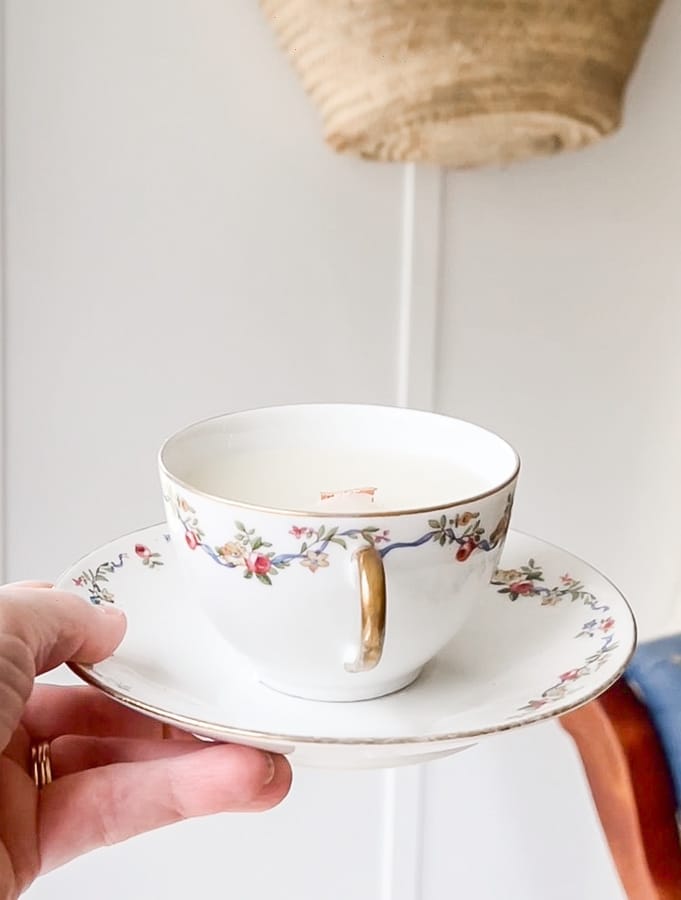
Once your teacup candle is hardened you are all finished. If your wick is still too long and needs trimming, simply use scissors and trim it down to 1/8″ above the wax.
When you go to light it, make sure to burn it for a while the first time so the wax melts out to the edges. This will help the candle to burn more evenly in the future.
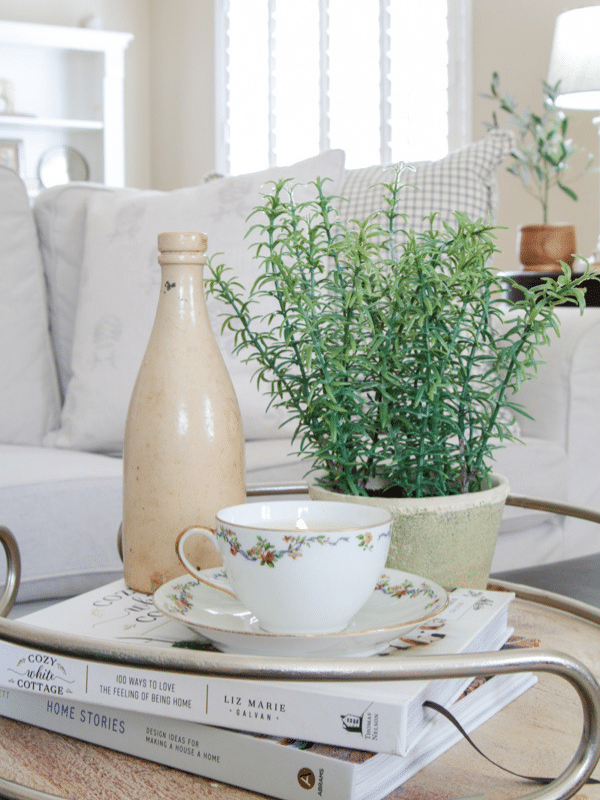
How to Decorate with a Teacup Candle
The best part is deciding where to display your tea cup candles. Here are some ideas on how to decorate with your teacup candle.
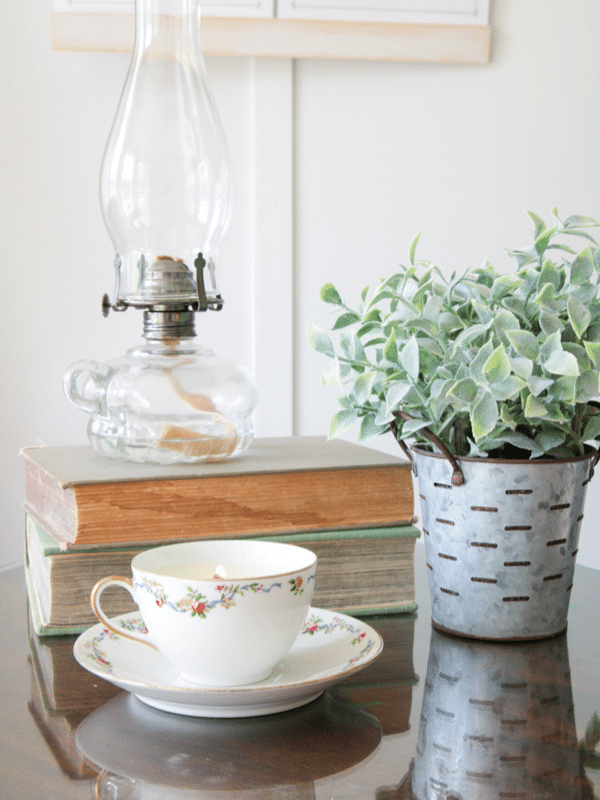
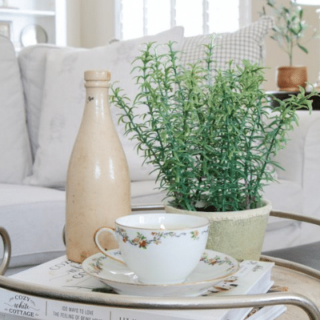
It looks amazing on an end table. Our sitting room off the kitchen is the perfect spot for tea so this teacup candle looks perfect nestled with these accessories.
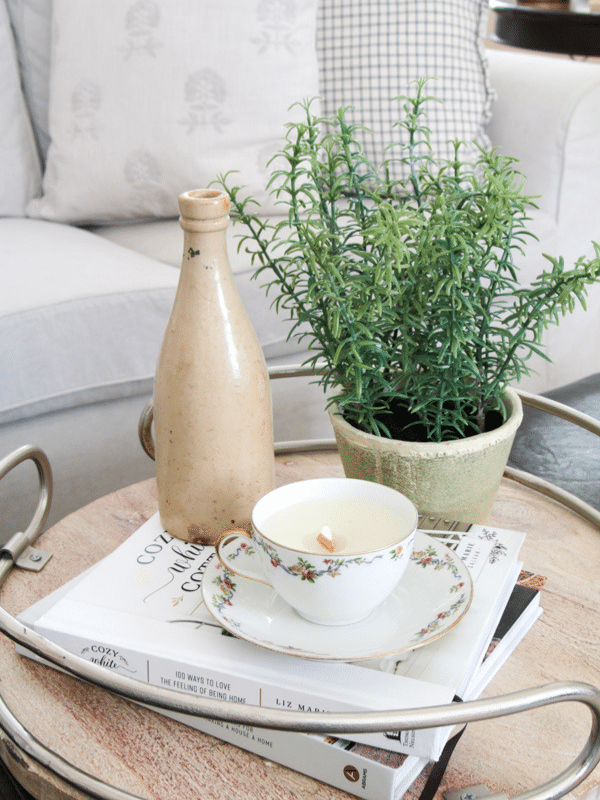
Your teacup candle also looks great on a coffee table. Our coffee table is a great place to burn it because it is not near anything that can catch on fire.
Find more great teacup decor ideas at my post 10 Charming & Fun Teacup Decor Ideas You’ll Want to Try Today.
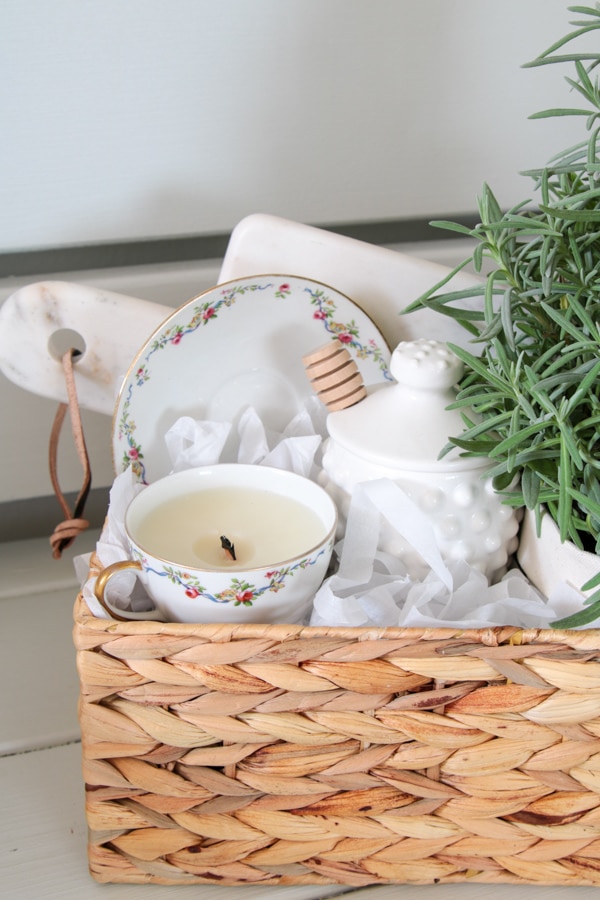
These sweet little teacup candles make great gifts. You can give it for Valentine's day or use it as a place setting for a special dinner, Mother's Day, or bridal shower. Then you can give it as a gift to all your guests to take home.
Can you imagine how special they will feel going home with the wonderful gift of an antique vintage teacup candle?
There are so many beautiful ways you can style your teacup candle.
Conclusion
You probably wonder why I used two taper beeswax candles instead of buying beeswax pellets. Well, I was so excited to start, and the only natural beeswax I could find were these candles.
I like to use clean-burning candles in my home, so I was looking specifically for beeswax.
You can also do this project with Dollar Tree taper candles unless you want organic or natural wax. This teacup candle would be super cheap if you already have the teacup and use Dollar Tree candles.
It's also fun to make teacup candles with different scents. You may also try using soy candles or soy wax flakes that you can find at your craft store.
It's even a great way to give new life to old candles. Remember that a different type of wax may have a lower melting point, so keep a close eye on your melting wax.
I hope you have found these DIY teacup candles inspiring. Do you have an old teacup sitting around?
DIY candles are a simple craft to try. There are so many fun ways to use your teacup candle. Whether you keep it for yourself or use it as a wonderful gift, it will give your old teacup a new purpose.
Now that you know how to make a teacup candle, why not try it out? Grab some supplies and use this guide to get started. If you make a teacup candle, share your experience and, if it works out, tag us on social media.
If you'd like to try some more DIY projects, check out these posts:
- 3 Easy DIY Glass Bird Bath Steps
- 5 Easy Steps to Make this Paper DIY Pennant Banner
- Simple DIY Paper Bag Planter
- DIY Valentine Simmer Pot & Heartwarming Gift Bag for Sweet Aromas
Happy Decorating!

How to Make Teacup Candles
Learn how to make teacup candles using a sweet vintage antique tea cup. This cheap and easy project can be created with an old candle or wax pellets.
Materials
- Teacup
- Two 12" taper candles
- Cotton or wood wick
- Glue sticks
- Jumbo popsicle stick or anything you have on hand that you don't mind placing into the wax
- Paper plate
Tools
- Pot
- Glass Bowl (preferably with a spout)
- Glue gun
- Scissors
- Hot pads
- Cutting board
Instructions
- Make sure your glass bowl sits down inside your pot but does not touch the bottom, similar to a double boiler. Add water to the pot about 1/4 of the inside of the pot. Turn the burner on and wait for it to come to a low rolling boil.
- While you are waiting for the water to boil get the wax ready. Break the taper candles into three smaller candles. I used both my hands, grabbed the candle in each hand and snapped it. Once you have a break you will need to cut the wick inside with scissors.
- Once the water is boiling, bring the burner down to close to low where the water comes to a low rolling boil. Then sit the bowl into the pot and place broken candles inside. I only put three pieces of a candle in at a time because my pot is small. Stir the wax pieces with a popsicle stick around until they melt.
- If your water acts like it wants to come out of the pot around the glass bowl simply turn it down until it stops.
- As the wax melts the wicks will come loose. Simply take the jumbo popsicle stick and lift it out of the bowl onto the plate.
- Now add three more pieces of wax and stir them until they are melted.
- Once the wax has melted, turn off the burner. The wax will stay in liquid form because of the warm water.
- Place your cutting board close by and set the teacup on it. I placed my cutting board on the other side of my range. It is convenient to have it close by, but you can put it on the counter too.
- Determine how long your candle wick needs to be and cut the wick. I measured from up against the cup and then cut the wick about 1/4" shorter than the mark. You want your wick to be 1/8" above the wax once you pour it inside.
- Place the wooden wick into the metal frame wick holder.
- Use your hot glue gun to add a dab of hot glue to the bottom of the metal frame. Place it inside on the bottom of your teacup in the center of the cup.
- If you are using a cotton candle wicks, repeat these steps except cut the wick an extra couple of inches. Once you place the wick into the bottom of the cup, take a wooden skewer or pencil and wrap the wick around it. This will keep your wick straight.
- Pick up the bowl with a hot pad or oven mitt and pour the melted wax into the teacup. This is where the spout comes in handy. It helps keep the wax from going where it shouldn't. Pour the wax until it is about 1/8" below the top of the wooden wick. Go slowly, you do not want to pour too much wax.
- Let it sit, and the wax cool for at least four hours. Do not touch, bump or move the teacup candle. If it is moved in any way, even if it looks like it is solid, it may cave into the middle a little.
- Once your teacup candle is hardened you are all finished. If your wick is still too long and needs trimming, simply use scissors and trim it down to 1/8" above the wax.
Notes
- When you go to light it, make sure to burn it for a while the first time so the wax melts out to the edges. This will help the candle to burn more evenly in the future.
- After each time you burn your candle trim the wick to 1/8" above the wax.
- Your teacup candle looks amazing on an end table or a coffee table.
- These sweet little teacup candles make great gifts. You can give it for Valentine's day or use it as a place setting for a special dinner, Mother's Day, or bridal shower.
- You can also do this project with Dollar Tree taper candles unless you are looking for organic or natural wax. This teacup candle would be super cheap if you already have the teacup and use Dollar Tree candles.