
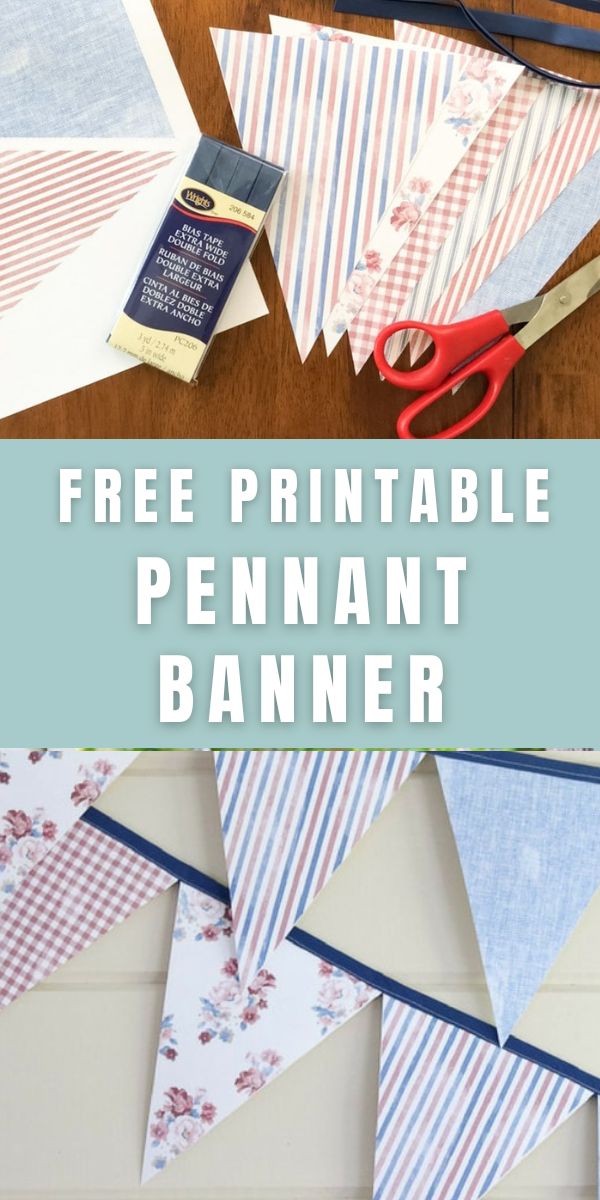
This paper DIY pennant banner is a perfect addition to your party decor or home decor. This inexpensive and easy pennant banner template will make adding it to your home a breeze. So get your sewing machine ready and dig into this fun and easy pennant flag banner tutorial!

This DIY pennant banner will add a sweet, classic look to your seasonal decor, patriotic decor, parties, or anywhere in your home. The vintage fabric design printed on paper is a small floral pattern, gingham, chambray denim, and ticking stripe.
Check back at our 4th of July decorating post to see how we styled it and other ideas in our home! Now let's get started making these pennant triangles.
DIY PENNANT BANNER
SUPPLIES
First, you will need to gather these basic supplies! Here is what you will need:
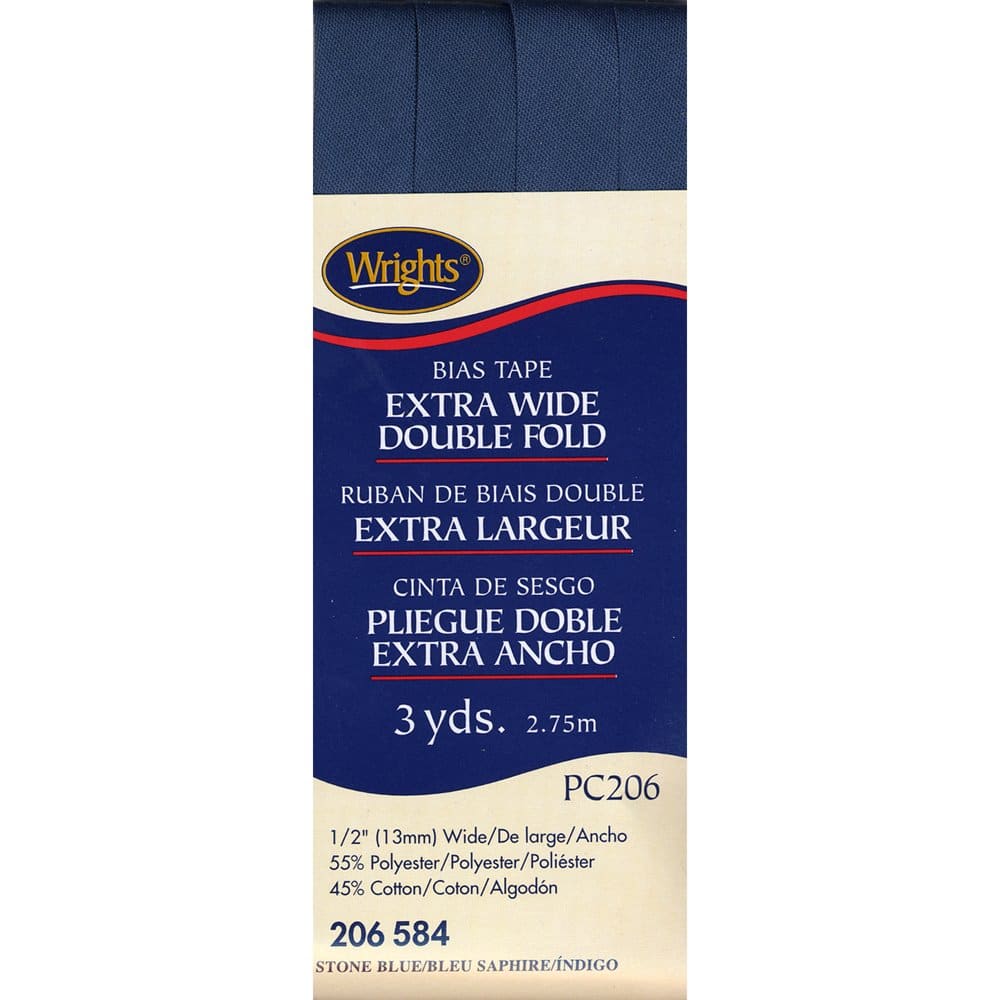
- Blue bias tape (extra wide, double fold)
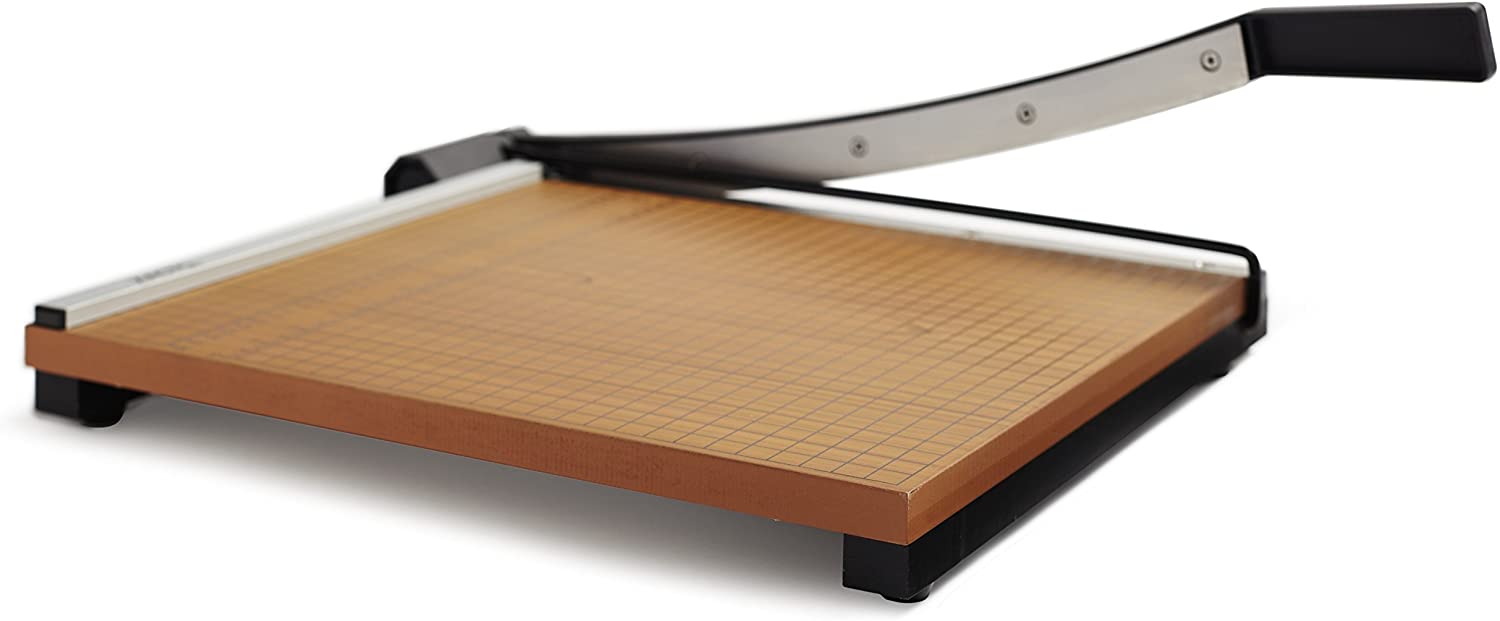
- Scissors or paper cutter (I prefer a paper cutter because it cuts more precise lines)
- The pennant free printable design that you can find from our free printable library (sign up for emails to receive access)
- Thread
- Sewing machine
- White thread
- Paper; we suggest using linen paper

HOW DO YOU MAKE A PENNANT BANNER
It is very simple to make a triangle shape pennant flag banner. You can make them with fabric or paper. All you need are a few simple supplies like glue or a sewing machine to adhere them to a piece of string or bias tape.
Now let's look at how to make a paper pennant banner with a sewing machine. After you have gathered all your supplies let's start by measuring the length of your banner.
STEP 1: MEASURE
In the first step, you are going to want to measure the desired length of your bias tape based on where you will be hanging the banner.
Some people like to hang their pennant banner flags on their mantle while others like hanging them on the wall. In that case, you will want to measure your mantle or wall and add about 10 to 12 inches to the tape you cut.
STEP 2: PRINT BANNER PIECES
In the next step, print out this quick template. Go to our free printable library to find them! You can find our library by going to Life on Summerhill's menu and selecting the Free Printable Library.
To gain access, simply sign up and join the family! We'll send you an access code so that you can get started on your pennant banner.

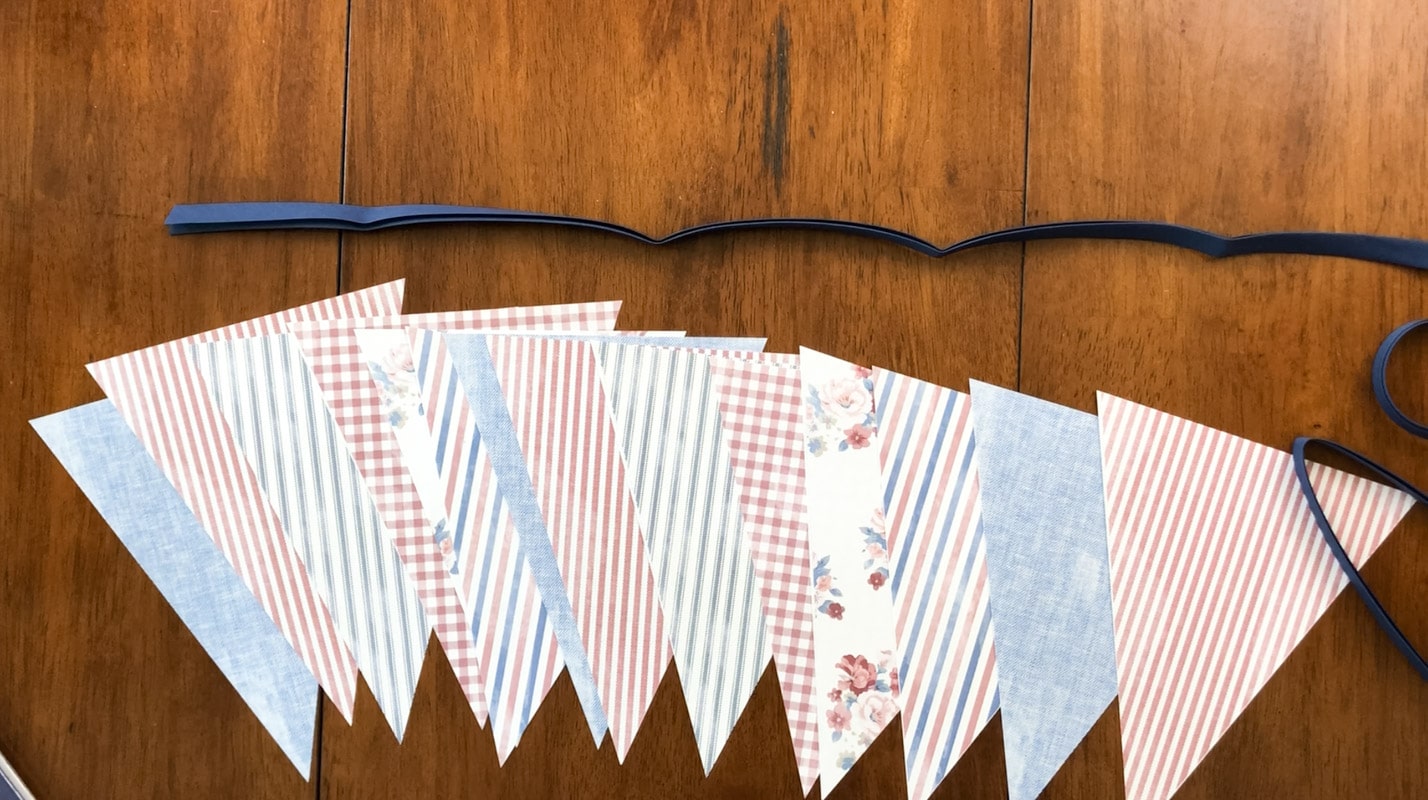
STEP 3: CUT OUT THE BANNER TRIANGLES
After you have printed out the pennant template, carefully cut out the pennant shape of each triangle so that each one is the same size.

STEP 4: CREATE PATTERN
Make sure to layout each triangle shape in the desired pattern. Hold them up to the bias tape side by side to make sure that you have enough of the pennants printed out.

Carefully place the pennants one at a time inside the fold of your cut bias tape. Place them right next to each other, but leave a little room on the ends (about an inch) to fold over and stitch later.
This video will show you how to do this and every step of the pennant banner.
STEP 5: SEWING
Now it's time to do some sewing or you can use glue! I raised the stitch to about 5.0 because I wanted a nice big, fat stitch on the bias tape.
And finally, stitch along the edge of the bias, setting the individual pennants in place in the tape. When you finish fold in the ends and stitch them in place.

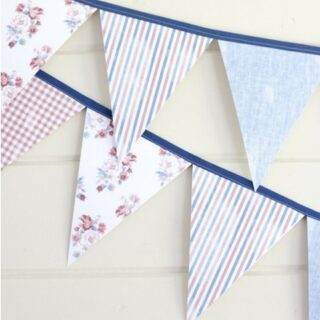
FINISHED PRODUCT
Your final step is to find a place to hang it. I used tiny nails to tack it to my porch wall but you can use command hooks or thumbtacks.

This banner is an adorable way to add character to any room, party or in my case porch for the 4th of July.

If you enjoyed this DIY, check out our Mother's Day Brunch post where we show step by step how to make an easy orange candle!
CONCLUSION
Well, what do you think? Are you going to make a pennant banner or did you have fun making this DIY pennant banner? These can be used in everyday decor, party decor, or whatever you want.
They are charming and can be a patriotic addition to any home. I think this pennant banner would be adorable in a playroom child's room and a baby shower.
If this has you in the mood to start decorating for the 4th of July, check out these Americana decorating ideas.
Let us know how your banners turn out! And don't forget to sign up for our newsletter to get access to our free printable library!
Happy Decorating!

If you enjoyed these ideas, please sign up for emails, so you don’t miss out on more fun decorating tips and ideas HERE.
HOW TO MAKE AN EASY PAPER PENNANT BANNER WITH FREE PRINTABLE TEMPLATE
5 simple steps on how to make a paper pennant banner. This triangle flag banner looks like vintage fabrics in light blue, red and white colors. Great for decorating any patriotic holiday, party, child's room or baby shower. Easy step by step instructions.
Materials
- Linen paper
- White thread
- Printable
- Bias tape
Tools
- Printer
- Sewing machine
Instructions
- First step is to measure how long you want your banner and add 10 to 12 extra inches. Then cut a piece of bias tape to that length and lay it out straight on a flat surface (you can find bias tape in the fabric section at sewing stores)
- Second step is downloading and printing this pennant banner triangles on linen paper. (You can use regular paper too but I used linen paper to give it a more fabric texture). You have four patterns to print. You can use all four or pick out only three. Print as many as you will need for the banner.
- Next cut out the pennant triangles
- Fourth step is to lay out the pattern in the same order over and over. I did red gingham, floral, red and blue stripe and chambray and then open the fold of the bias tape and place the triangle inside.
- Fifth sew along the bottom edge of the bias tape with a large stitch making sure to secure the stick at the beginning and end by moving forward and back several times. (You can sew this by hand or use glue to attach the bias tape to the paper pennants)
- Now you are all finished and can hang your flag banner anywhere.
Recommended Products
As an Amazon Associate and member of other affiliate programs, I earn from qualifying purchases.
6 thoughts on “5 Easy Steps to Make this Paper DIY Pennant Banner”