
Here you will learn how to make easy free printable wall art using ribbon. This is an easy custom wall art idea using any printable from my free printable library.
Free Printable Wall Art
Free printable wall art is a great way to add a custom look to your home. This easy DIY will show you how to frame your printable art cleverly using ribbon.
I will show you how to frame these Valentine's gingerbread house printables in this DIY project. This set of printable wall decor is one of my favorite things. But know that there are loads of free printables from all seasons, like fall, winter, spring, and summer. And most holidays like Christmas, the 4th of July, and more.
What is Free Printable Art?
Just in case you are new to the free printable art world, let me explain what it is. Many websites like this create beautiful custom designs and share them for free. It's an easy way to decorate your home for the season.
On this website, the printables are free, and all you have to do is subscribe to my email to have access. Once you have access, you can check back anytime to print designs for any project.
Some people use them for cards, centerpieces, or wall hangings like the one in this project.
So keep checking back monthly because more printables are coming. Now, let's waste no more time and show you how to make this charming wall art piece using ribbon and my free printable Valentine wall art.
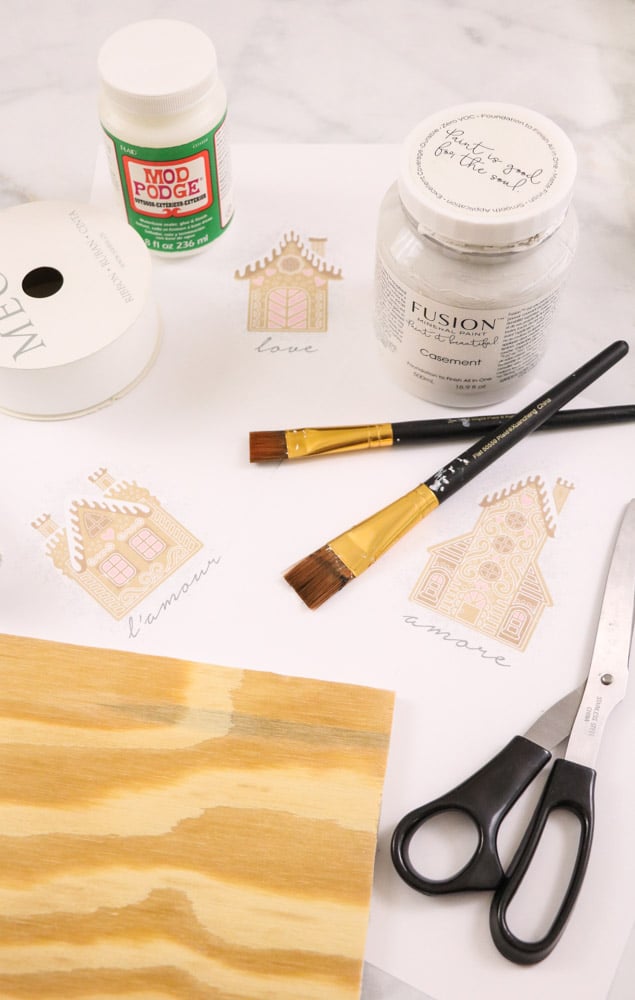
Printable Wall Art Supplies
Before you begin, pick out and print your favorite free printable art. Simply subscribe to my newsletter, and you will get an email with the link to the library.
You can print them out on your home printer or take them to your local print shop for printing. Please note – these free printables are intended for personal use only.
How Do I Decorate with Free Printable Wall Art?
Now that you have your custom art, gather all the supplies listed below to make this crafty framing project.
- Printable art
- 1 1/2″ ribbon
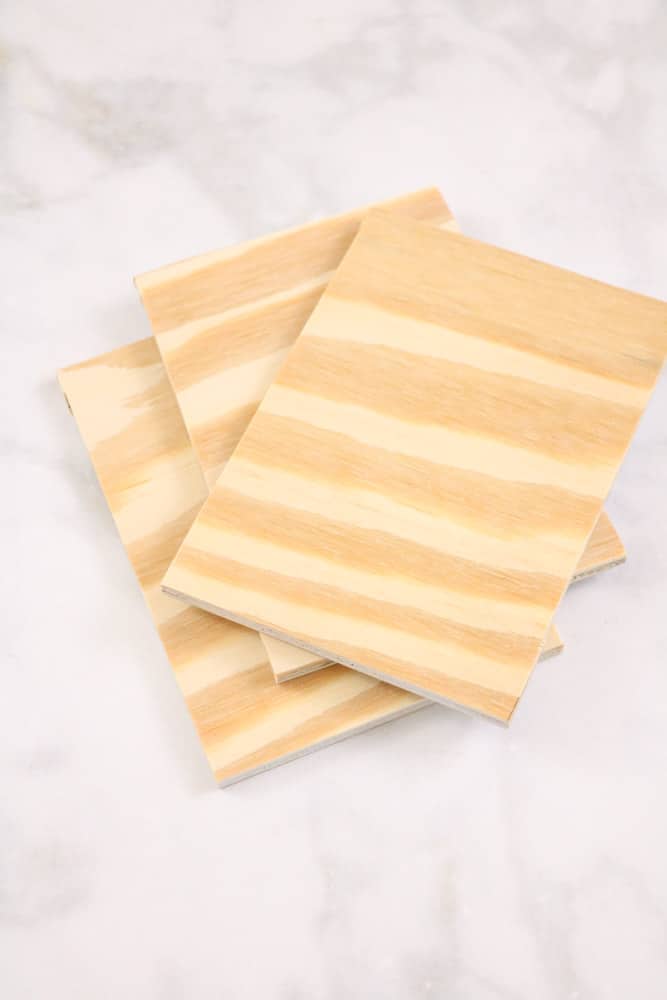
- 1/4″ thick wood or canvas
- Glue gun or staple gun
- 1 1/2″ binder ring
- Decoupage
- Craft paintbrush
- Paper towel
Cut Free Printable Art
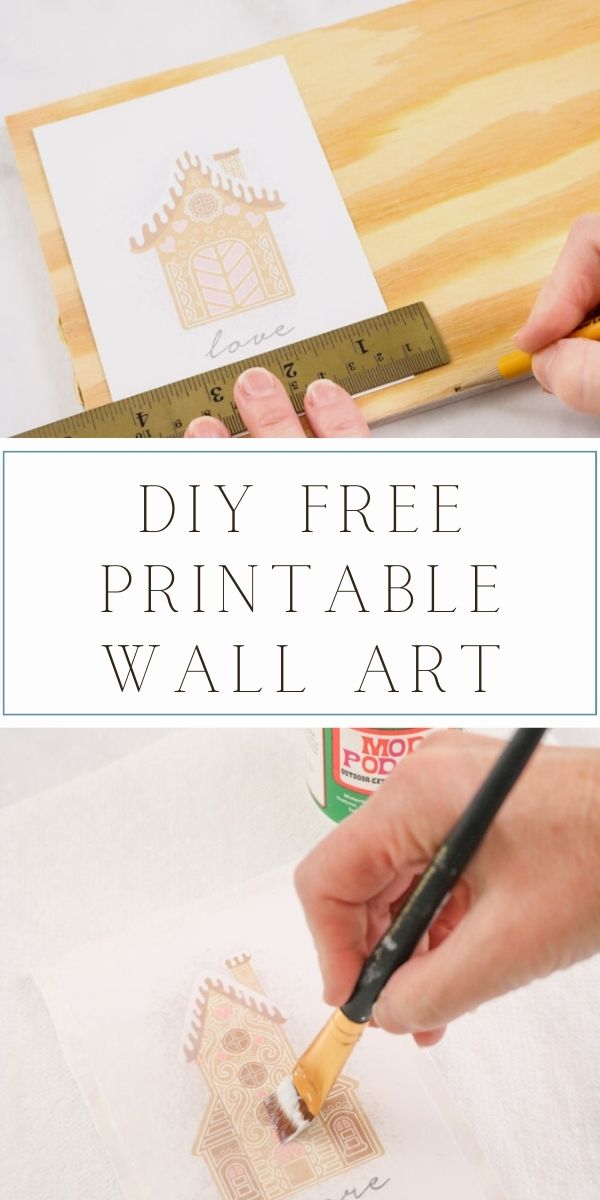
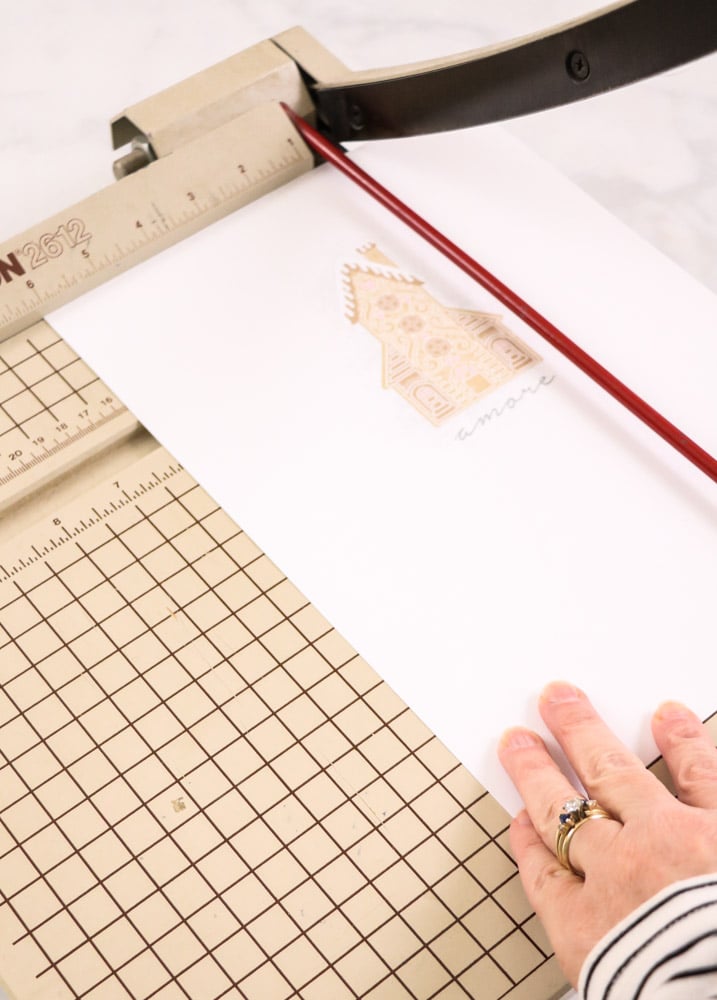
This project only takes a few simple steps. The first step in preparing your wall hanging is to cut the printables the same size or a little smaller than the canvas or wood cuttings.

I had some wood leftover from making a barn quilt, so I decided to use the leftover wood for this project. But you can be creative and use just about anything, even cardboard.

Cut Background
Now that you have the size of your printables, cut your wood, canvas, cardboard, or anything that you can paint and glue your printable art to.
If you are using wood like me, you can have the pieces cut at a hardware store or if you have a miter saw, you can cut it yourself as I did.
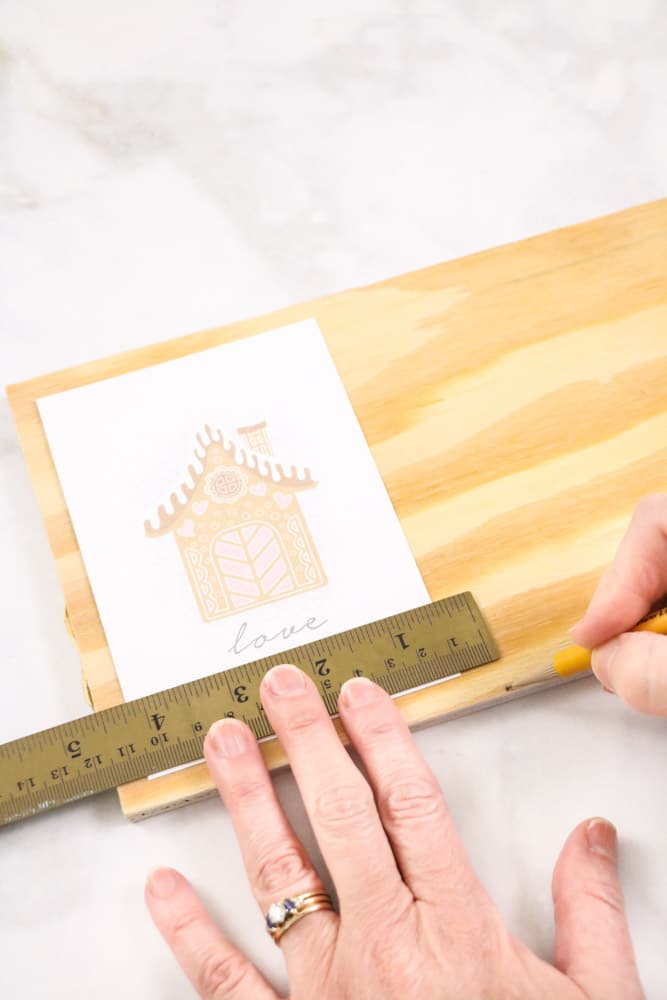
Sit your printable on the wood and mark where you want to cut it. This made it much easier for me to decide where to cut. Mark and measure all boards, then cut.
Paint the Background
Depending on the type of background, you may need some primer. My background was plain wood, so I used Fusion mineral paint. But if your background is reusable or has knots in it, then I would paint on a primer.
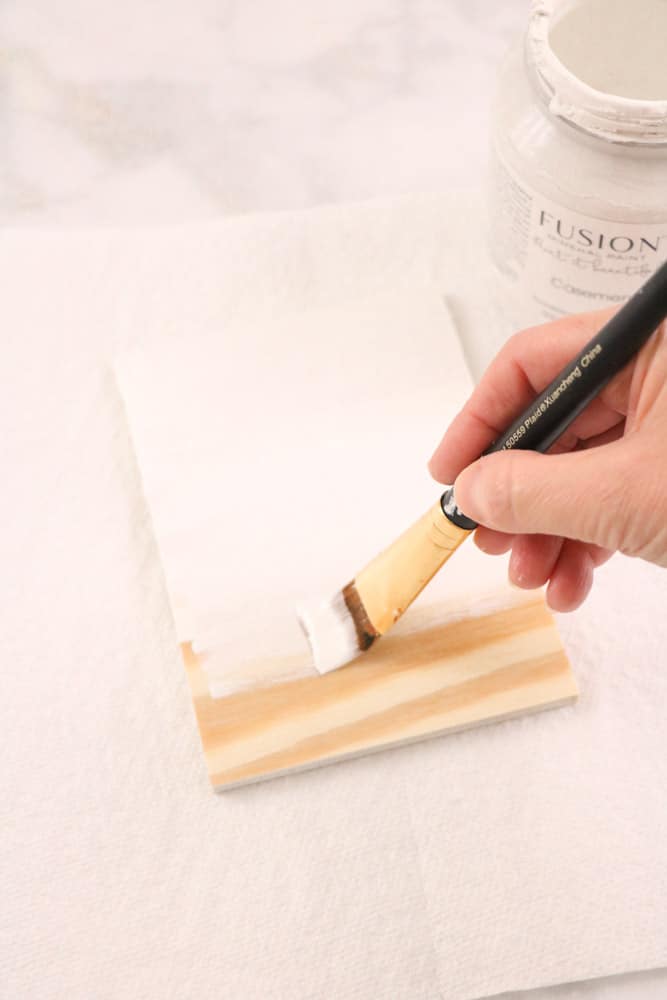
Once your background is dry, you can start to adhere the printable to it.
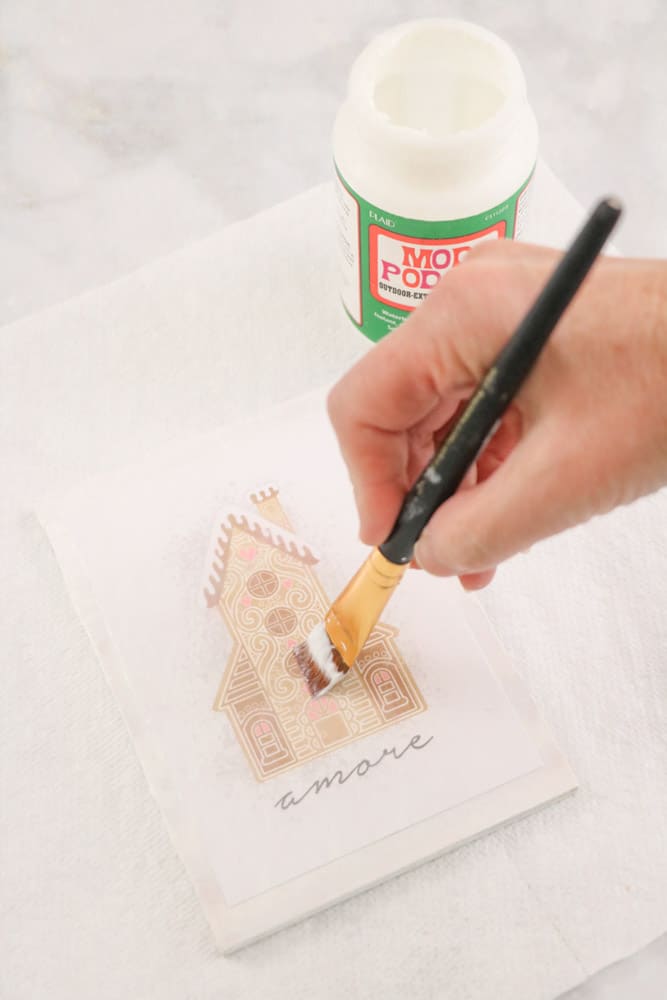
Decoupage Free Printable
The next step is easy. Simply take your craft paintbrush and spread some decoupage to the backside of the free printable art. Then brush on some decoupage to the board.
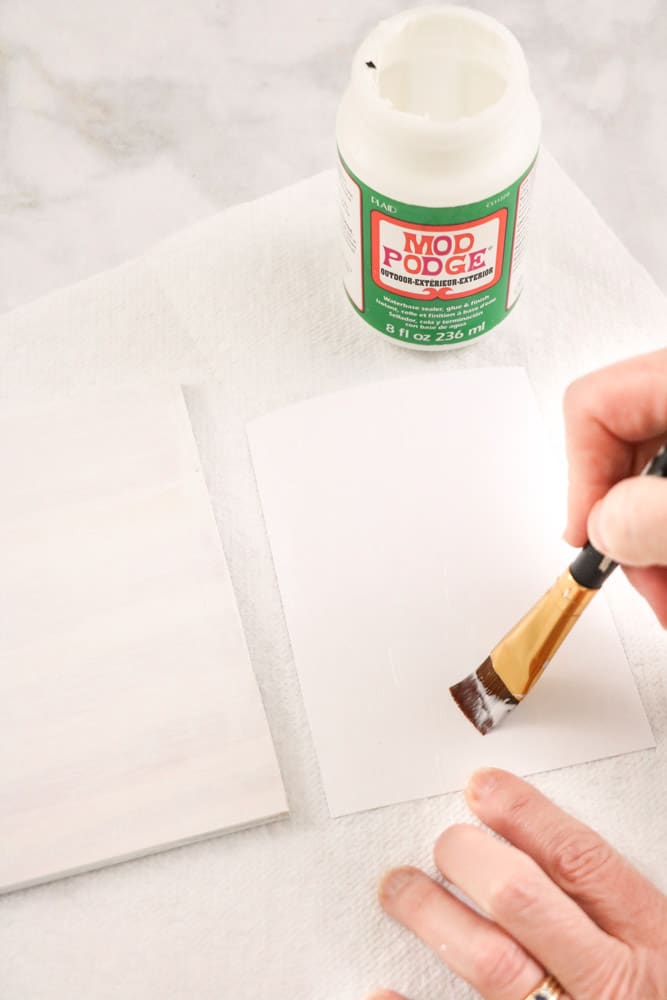
This is the best way I've found to do it. Applying the adhesive to both helps it stick better.
Now position your printable onto the backdrop and smooth it down from the center outwards. I used another piece of paper to smooth it into place.
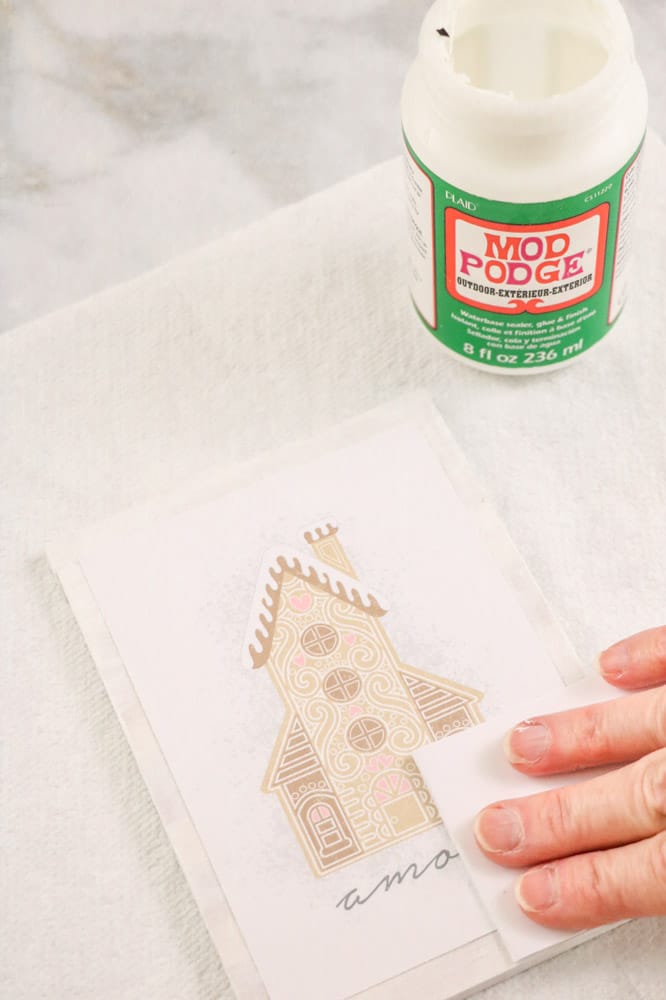
Next, take your paintbrush and work the decoupage under the edges. I did this by moving strokes from the outside inward. Then swirl more decoupage around over the printable art.
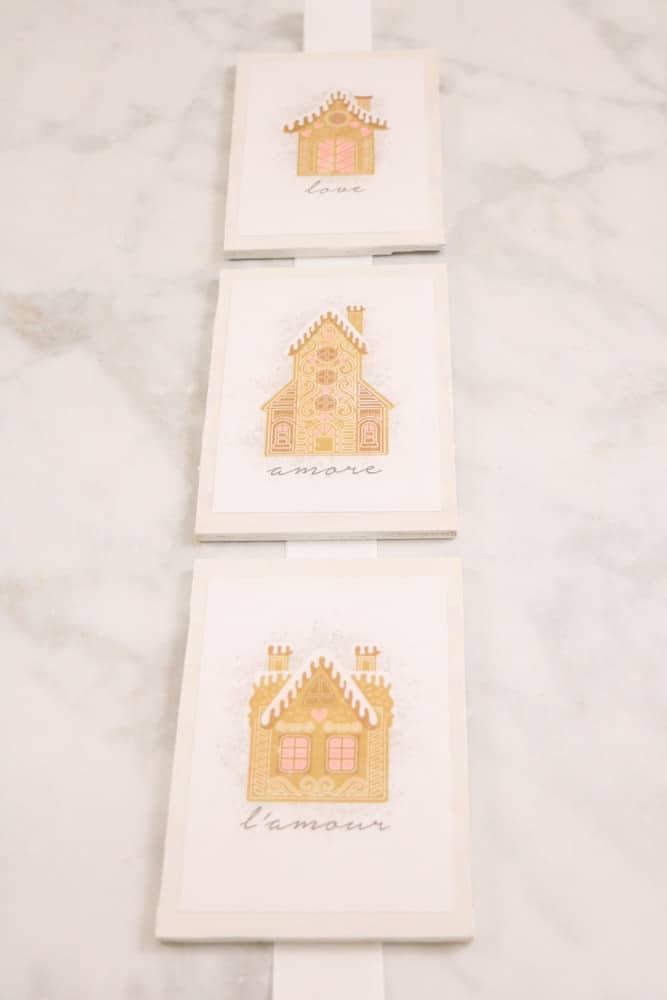
Let this dry for hours. I like to let it dry overnight to be safe. Isn't this a beautiful print?
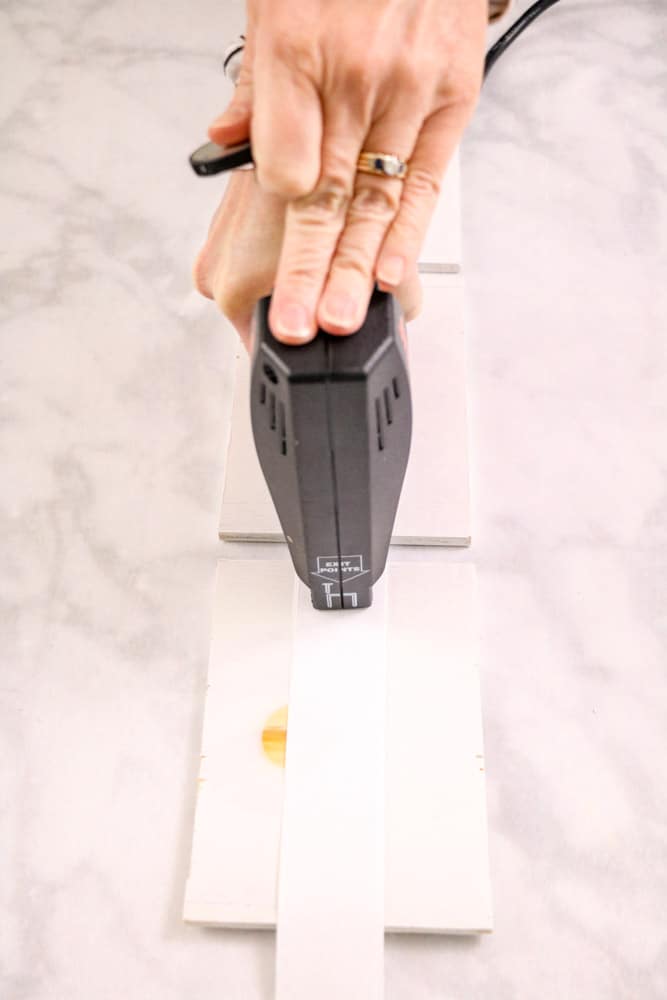
Attach the Art to Ribbon
In the next step, line up your art one over the other with the same distance in between. Measure out of ribbon and double it, then lay it under the art.
Next, turn all the art pieces over and lay the ribbon on top of the backside of the art.
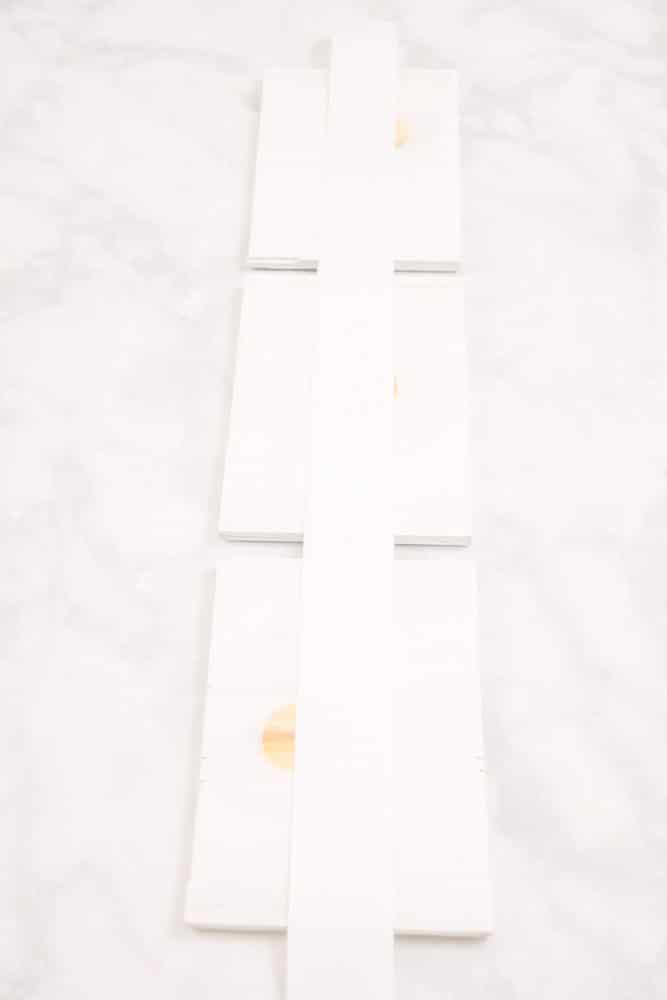
Now staple the ribbon to the wood or glue it if you use a canvas or cardboard and then staple it at the top and bottom of each art piece.
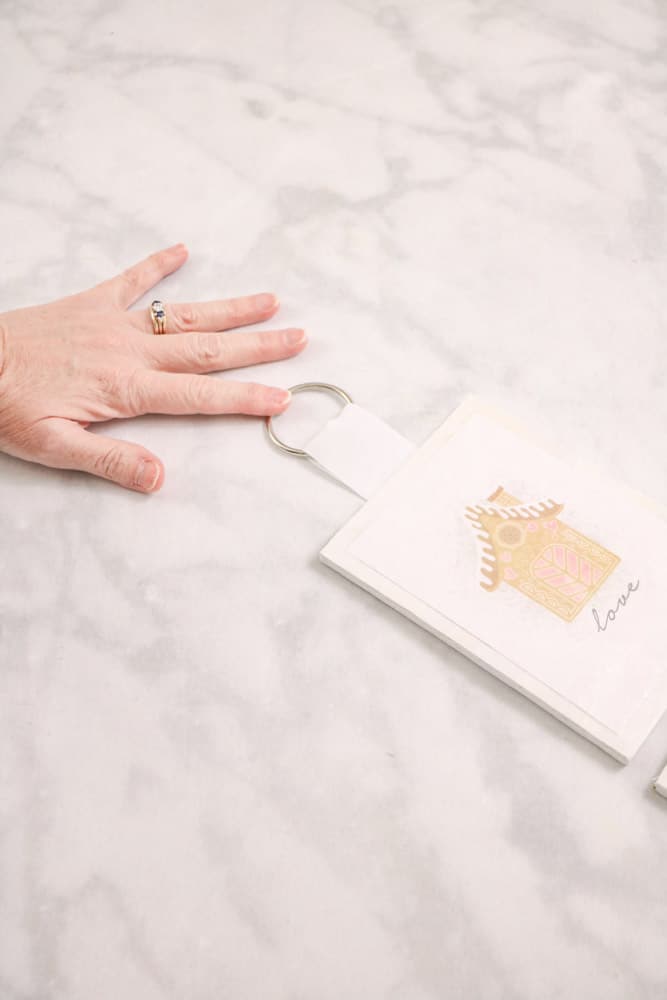
Attach Binder Ring
We are down to the last step, which is to attach the binder ring to the ribbon loop at the top. The binder ring is how you will hang the free printable wall art.
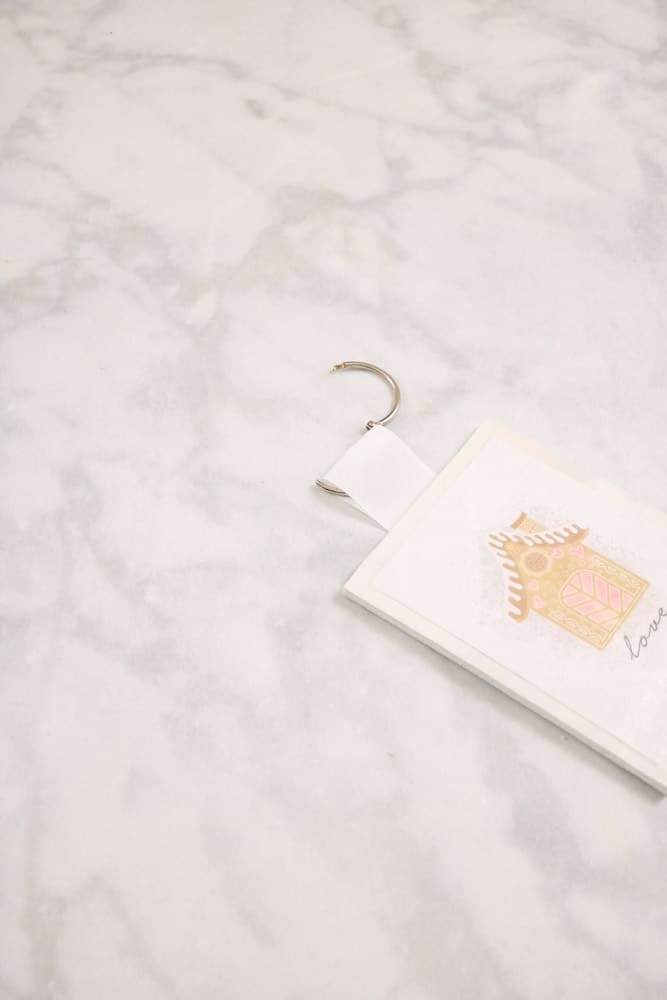
Simply open the ring, thread it through the loop, and then close it back.
Well, I forgot about one more thing. You will need to trim the ribbon on the bottom either at an angle or a v shape. Your set of printables is now beautiful new wall art.
Hang Your Free Printable Wall Art
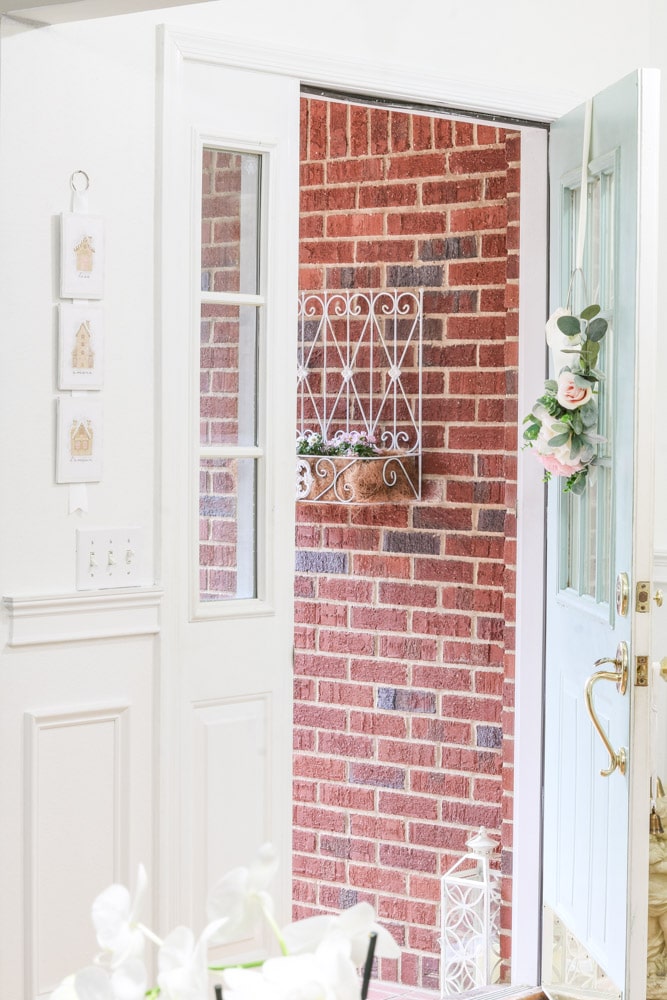
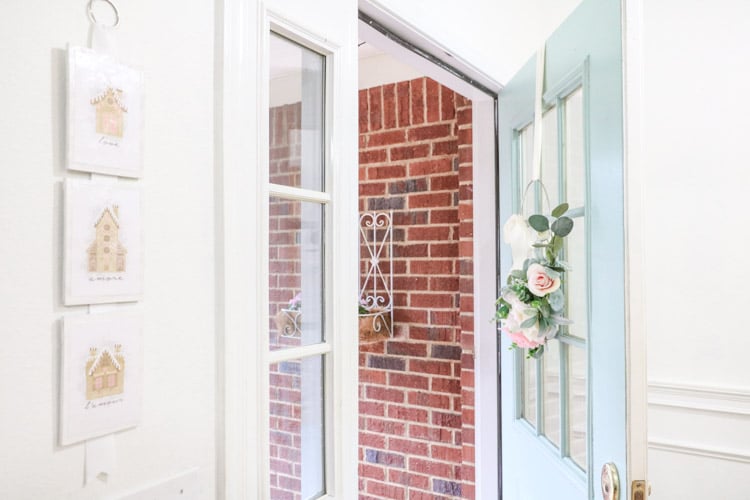
Now that you have some custom art, it is time to decide where to put it. A great place to put your art is on a small piece of a wall like I have here by my front door. It's the perfect size for this smaller size space. This would also make a perfect gift for a housewarming.
You can also hang it on a gallery wall. A gallery wall is perfect when you have larger size areas of blank walls. The living room, dining room, or a kid's room are all great places for a gallery wall.
Here is a post on how to hang a gallery wall. Or another post on gallery wall ideas. Put the printable in the wrong place or want to move it? Check out my post about How to Cover Nail Holes in Wall.
There are so many possibilities.

See how easy it is to create custom wall art with one of my free printables? The great thing is how flexible printables are.
There are many ways to use free prints without spending much money. You could even change them out each season or holiday for fun.
It's hard to think of a better way to decorate. Free art prints are a perfect, inexpensive way to celebrate each season with beautiful images.
I have some other ideas using free printable art. There are so many different designs to choose from and you can put your personal touch on it.
Free Printable Ideas
We don't just have free printable Valentine wall art. Check out this botanical art prints project using beautiful distressed white frames, pumpkin DIY wall hanging, or this adorable patriotic banner that would look amazing in a little boy's room. It's so much fun!
There are many more ideas. Shop through the free printable library, and once you find a printable you like, do a search, and it will take you to the framing project created for the printable.
Final Thoughts
Remember me asking if you love free things? Well, all these printables are my gift to you for being the greatest community any blogger could ask for. I know you'll find a great option that will complement your home decor from my collection of printable wall art.
Empty walls will be a thing of the past with your new free wall art prints. I'd love to hear about your favorite printables and art ideas!
Oh, and if you love decorating with gingerbread houses, tap on the link to get loads of ideas from other amazing bloggers.
Looking for more DIY ideas? Check out these posts:
- DIY Valentine Wood Crafts Banner Made with Love
- 7 February Chalkboard Ideas Smitten with Valentine's Day Messages
- How to Make a Vintage Doily Heart Garland
Have you made custom wall art with a free printable? I'd love to hear about it in the comments!
Happy Decorating!

1 thought on “EASY DIY WALL HANGING USING BEAUTIFUL FREE PRINTABLE WALL ART”