
Learn how to cover nail holes in wall with ease and no fancy tools. This is an easy project – in fact, it is beginner-level.
A few weeks ago on YouTube, I did a walk-through of my main living spaces and made a list of those pesky jobs lingering for years, like filling in the nail holes in my wall. Once I started this easy task, I had no idea why I procrastinated. I thought, why not show you how to cover nail holes in the wall, too?
This post contains affiliate links, meaning I receive a commission if you purchase using the links below at no extra cost to you. All opinions are all my own.
How to Cover Nail Holes in Wall FAQs:
What Do I Need to Cover Nail Holes in the Wall?
Remember me saying earlier that this is an easy DIY, and you don't need any of those fancy schmancy tools you see advertised on social media? Well, here is a list of supplies you need to cover those small nail holes where you won't see them ever again. Just a few simple items you can find at a hardware store if you don't already have them.
- Hammer
- Sanding block
- Spackle
- Paint that matches the wall
- Small paintbrush (I used an artist's brush)
Is it Complicated to Cover Nail Holes in the Wall?
It's not complicated at all to cover nail holes in the wall. It's a pretty quick fix, no matter the hole size. I will show you how to do it in a few simple steps and you'll be done in no time. This method works for tiny nail holes as well as larger holes. You only need the following steps:
- Step 1: Smooth the hole with a hammer if needed and sandpaper
- Step 2: Fill the hole with spackle and remove excess spackle
- Step 3: After the spackle has dried, sand it smooth
- Step 4: Paint over the spackled area
Step 1: Smooth the Hole
Smooth the hole with a hammer if needed and a fine grit sandpaper on the area until it's completely smooth.
Step 2: Fill the Hole with Spackle
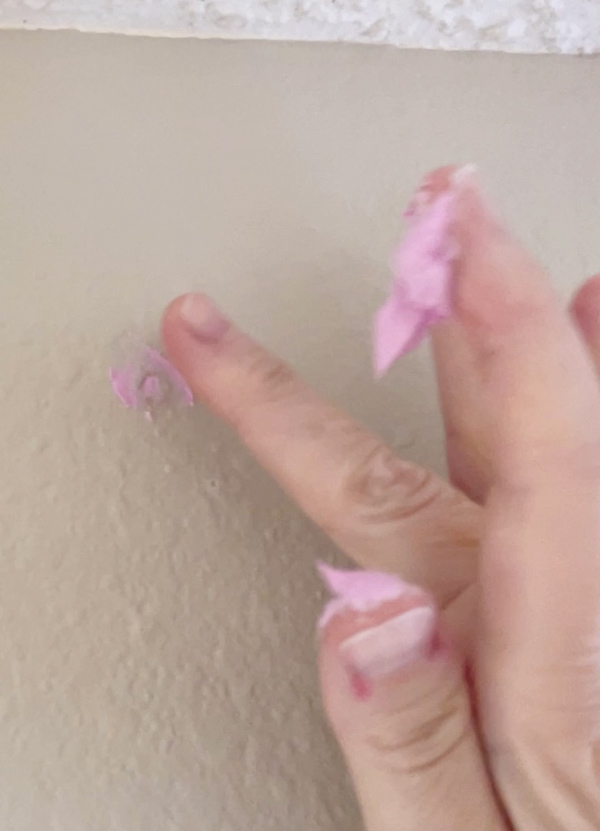
Fill the hole with spackling compound and remove the excess spackle. I don't use a putty knife, I use my first finger to scoop a small amount of spackle and place it over the hole. A little goes a long way. Then I use a clean finger to rub over it and smooth it out. Make sure there aren't any tiny holes in the spackle.
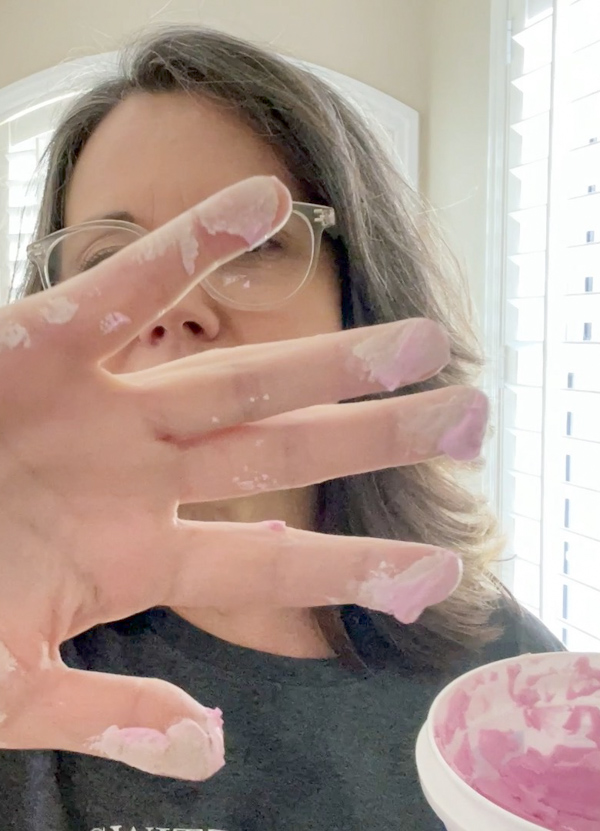
As you can see, it can get a little messy but I find I get the best results with this method.
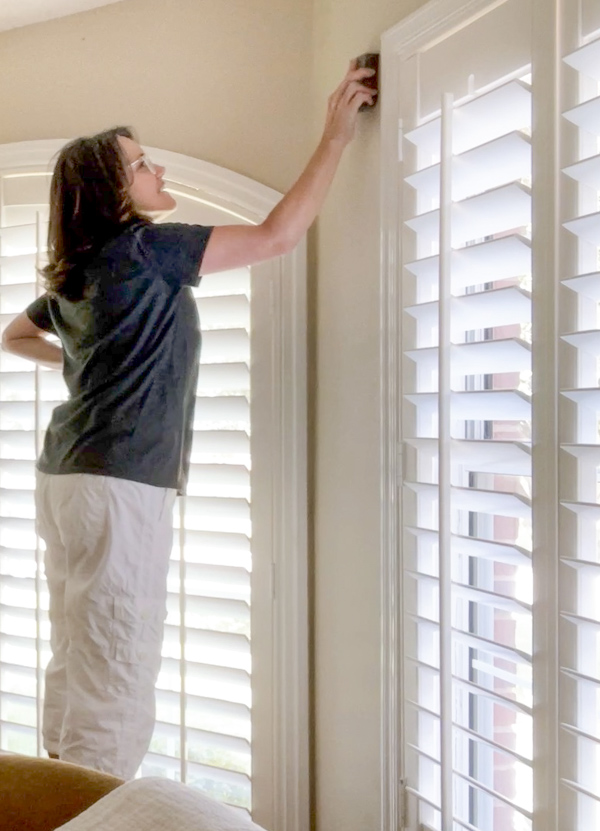
Step 3: Sand the Dried Spackle Smooth
After the spackle has dried, sand it smooth with a fine-grit sandpaper or sanding block. It should be level with the rest of the wall. You want a smooth surface.
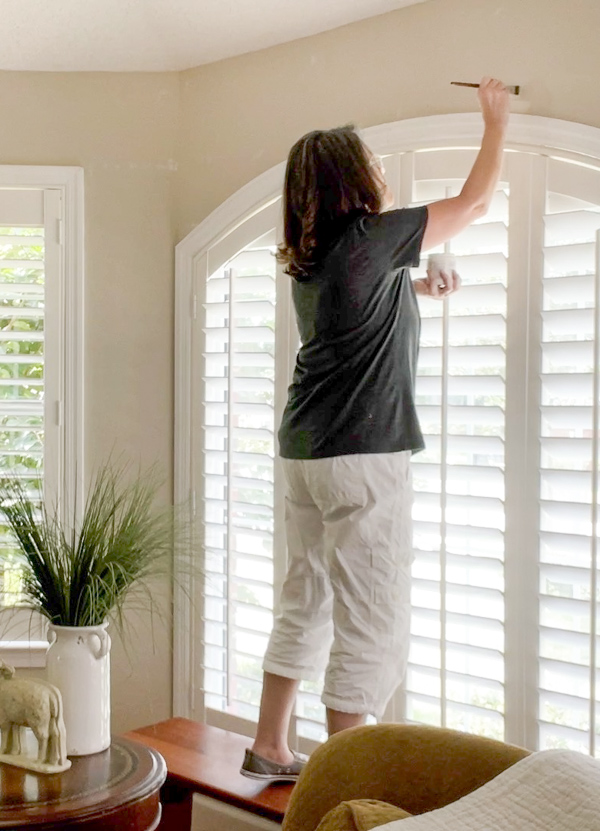
Step 4: Paint Over the Spackled Area
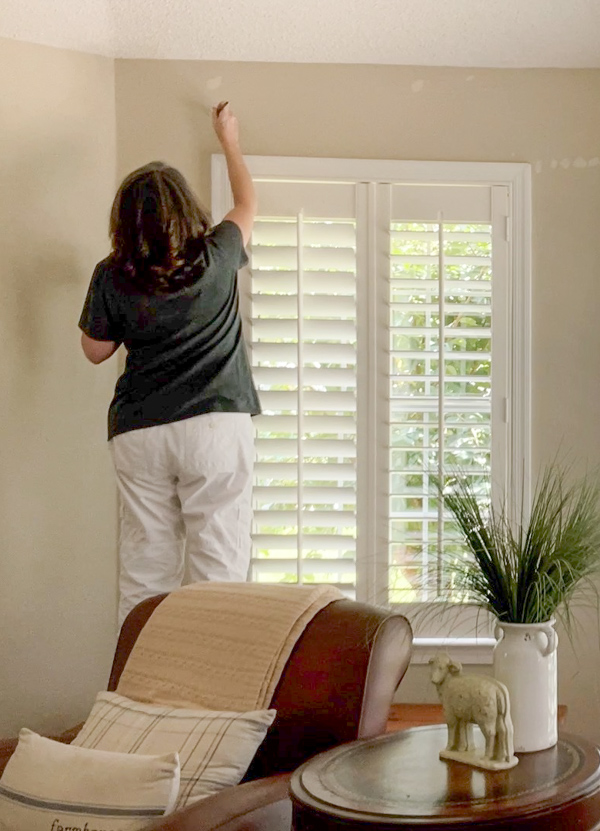
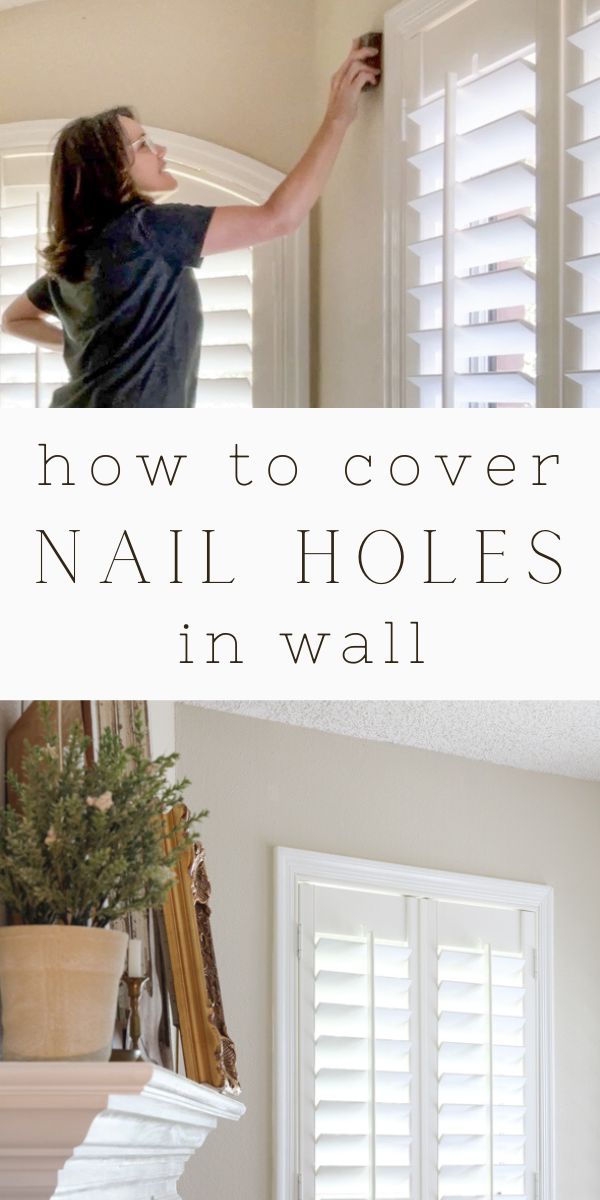
Now for the final step. Paint over the spackled area with a paint color that has been color-matched. I use an artist's paintbrush. Once it's dried, you should be able to tell if you need a second coat.
Here's a tip for getting the right color – to get a perfect match of the color of the wall, take a sample piece to your local paint store and they can mix you a perfect match.
Here's the finished product of this simple process. I now have completely smooth walls. The patched area is completely indistinguishable from the rest of the wall.
The wall surface is completely smooth. No more unsightly nail holes. I find this to be the best method and it couldn't be easier!
Conclusion
As you can see, covering an unsightly hole in the wall in a few easy steps is not hard work. And it doesn't take much time. Be sure to take your time and let everything dry between each step. You don't need any specialized tools or know-how. I find this easy fix is a great way to cover any size hole in the wall.
You can watch a step-by-step tutorial at my YouTube video here. For more posts about how to decorate your walls and keep them looking ship shape, check out these posts:
- How to Hang Peel and Stick Wallpaper (Step by Step Instructions)
- Best Way to Paint Over Wallpaper
- Easy Way to Hang Pictures and Create a Gallery Wall
Do you have experience filling holes in walls? I'd love to hear about your DIY methods and experience. Let me know in the comments and on social media.
Happy Decorating!
