Let's talk about how to dry orange slices the easy way. After testing out drying oranges in the oven and a dehydrator I am here to show you the easiest way to get dried orange peels for holiday decorating like Christmas garlands and craft projects.
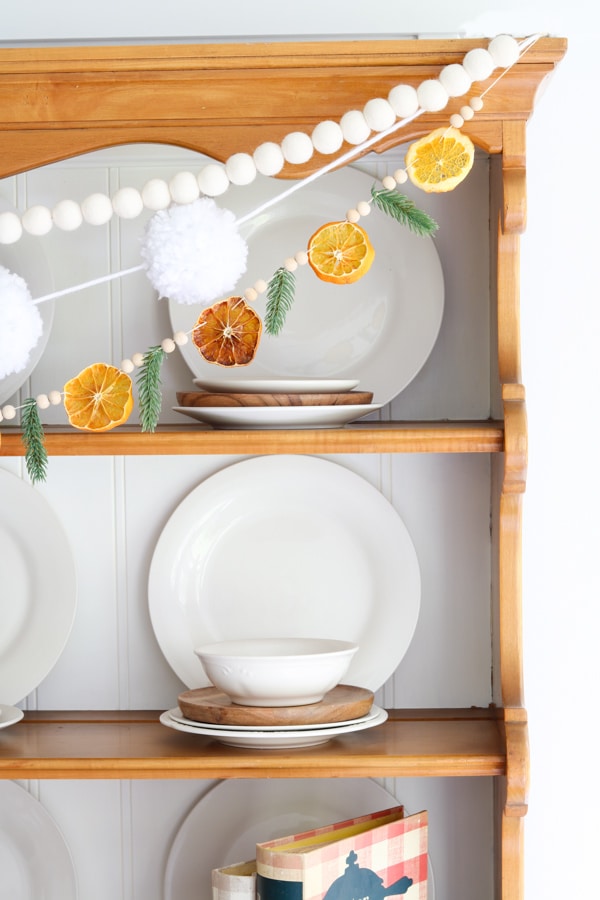
Earlier this year my daughter, Savanna learned how to dry orange slices. She must have made 100 dried orange peels for a baby shower. I saved some to decorate for Christmas but I wanted more. So that is when I started experiments on the easiest ways to dry oranges.
After trying several different ways of cutting them and then testing some in the oven and others in the dehydrator I finally found the easiest and most efficient way to dry them.
And guess what?
I am excited to share this simple method with you so you can save time and get the best-looking crisp orange slices.
How to Dry Orange Slices
Before we begin I always recommend gathering all your supplies. Here is a list of what you will need to make dried orange slices.
- Oven or dehydrator (I used my Kitchenaid convection toaster oven but you can use a regular larger oven)
- Fresh oranges (a firmer orange works better)
- Mandolin or serrated knife (Both worked great but the madelyn worked better for firmer oranges)
- Cutting board
- Baking pan (if you are drying in the oven)
- Parchment paper (if you are drying in the oven)
- Ziplock bag or mason jars for storage
Shop the post:
Prefer Watching Over Reading?
You can use an oven or dehydrator. I will talk about the pros and cons of each. Also, you can use any kind of orange but keep in mind if you use blood oranges it will come out to be a darker orange-red color which is a beautiful color.
Last, I picked satsuma oranges from a local orange grove here in Florida call Florida Georgia Citrus. They make jellies, juice, soaps and more, that you can buy online in addition to boxes of satsuma oranges.
Personally, I think satsuma oranges are the best oranges in the world. LOL!
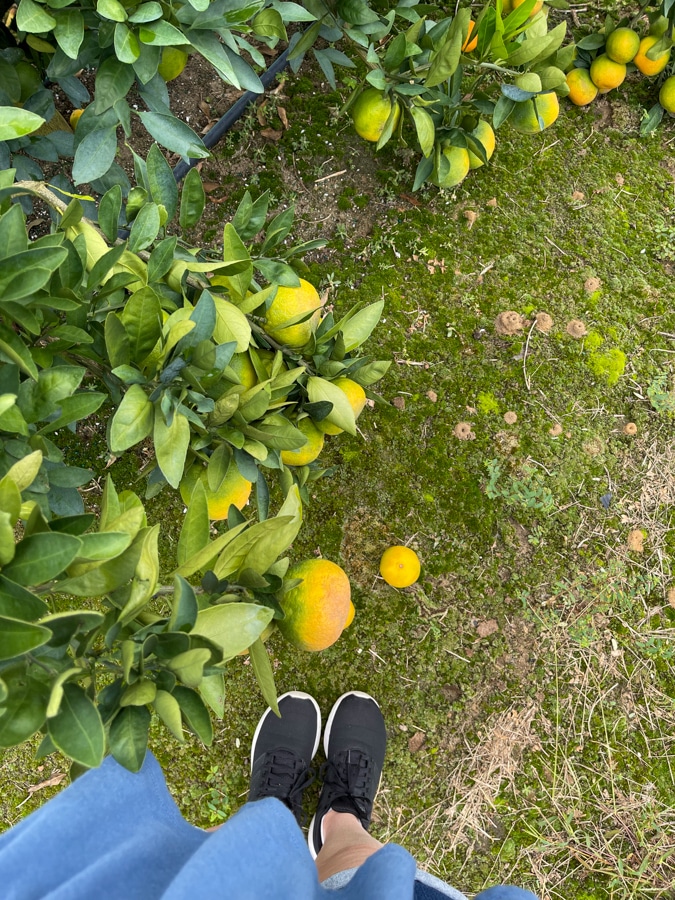
I could go on and on about these oranges. Can you tell? LOL! But let's get back to cutting and drying oranges.
Cutting your Oranges
You are probably thinking how hard is it to cut whole oranges?
Well, it is actually very easy if the orange is firm. Let's me repeat it is easy if the orange is firm. I found this out the hard way. Grab a cutting board and let's start cutting orange slices.
Cutting an orange with a Mandelin
My satsuma oranges were perfect for eating because they were soft. But they were not perfect for cutting on the mandolin. I cut them with a sharp knife but they would not work in the mandolin. However, the larger oranges worked beautifully in the mandolin cutter.
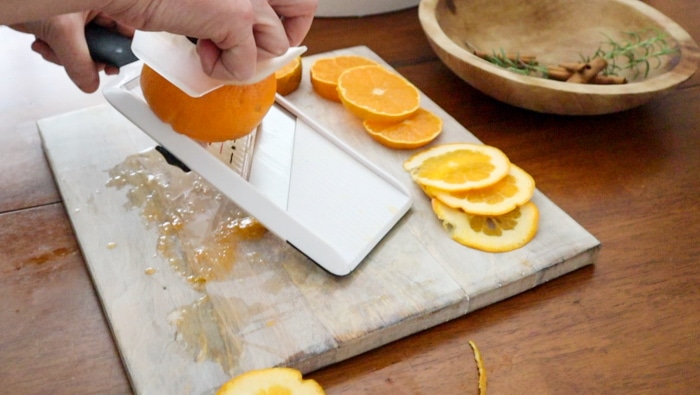
I loved the small size and will try this again when I get firmer satsumas. If you are eating satsuma look for the smaller oranges because I personally think they are tastier.
Okay, so I would use the mandolin slicer if I wanted all my oranges to be the same thickness. However, my mandolin only produced thinner slices at the largest setting. So I opted to cut them all with my serrated knife which is actually my bread knife.
Slicing Oranges with a Knife
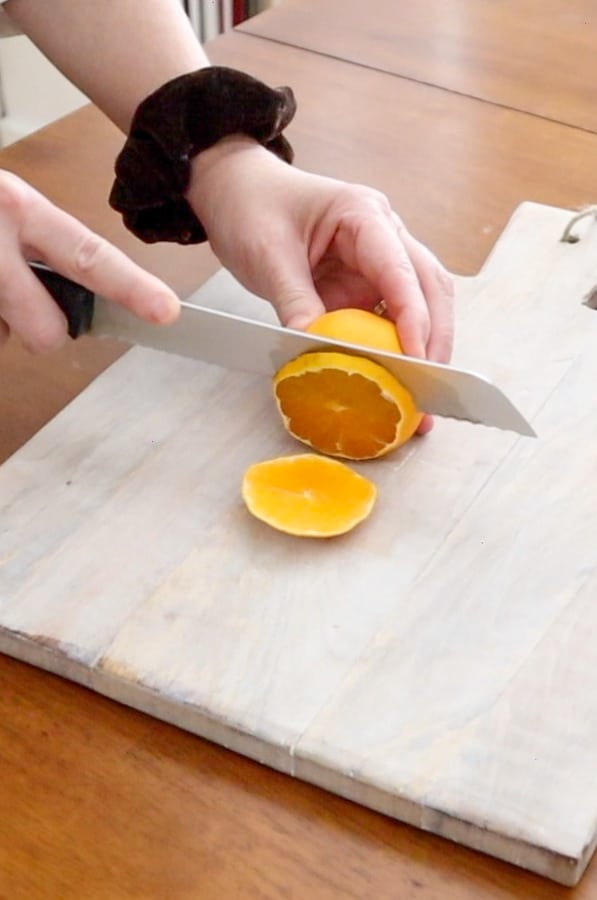
To make a long story short if you are pretty good at cutting things with a knife then I would simply use a bread knife instead of investing in a mandolin. However, if you are making more than 100 crisp thin slices then I would invest in a mandolin that cuts about a 1/4″ thick piece.
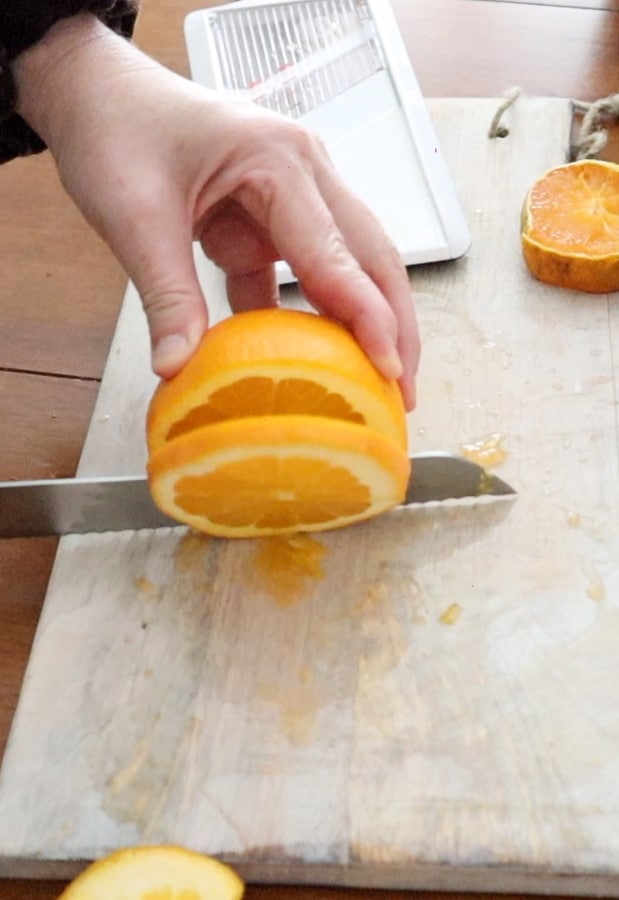
To cut slices of oranges simply hold the orange in one with your fingertips and first shave the end off where the stem was. Then place your knife about 1/4″ over from the cut end and cut back and forth moving your way through the orange.
Repeat this step until you get too close to the end. Then turn the orange around and shave the other end off. If you have enough to cut another 1/4″ simply use your fingertips to hold along the edge and slice down the middle.
How to Dry Orange Slices in the Oven
Next, we are going to talk about the oven and the dehydrator pros and cons when it comes to drying citrus slices. First, let's discuss the oven.
I used my small Kitchenaid convection toaster oven. I use it all the time to cook things because it is basically a miniature size of my oven so I thought why not save making my kitchen hot for hours and hours and use the little single layer oven instead.
Now place a piece of parchment paper on a cookie sheet or baking tray. Sit the orange slices on the parchment paper side by side. Make sure they are not touching each other or overlapping.
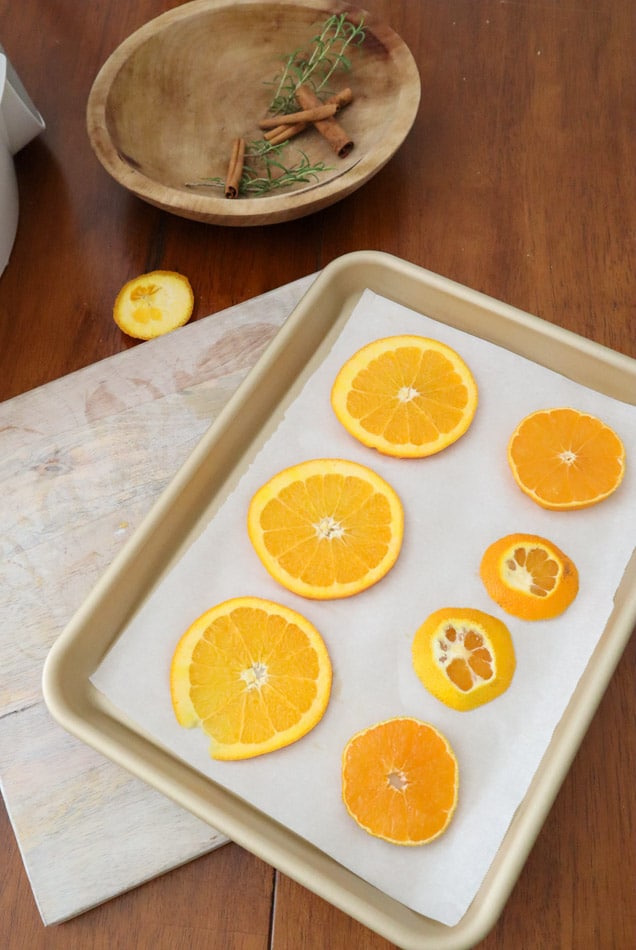
Then set your oven to 200 degrees and place your sliced oranges inside. If you're using a small toaster oven like me you will have to set it for one hour and then turn it back on again when it cuts off.
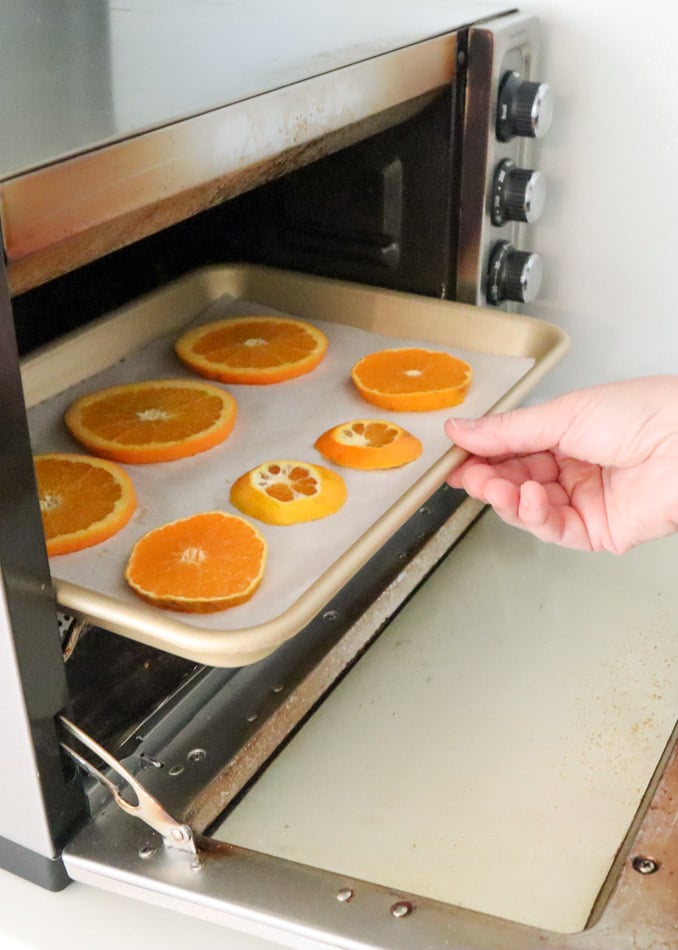
Once your orange slices are in the mini oven set an alarm on your phone to remind you. When the timer goes off check on the slices. I used my finger to tap on the soft orange part to see if it was sticky. If it is sticky then set your alarm for another hour.
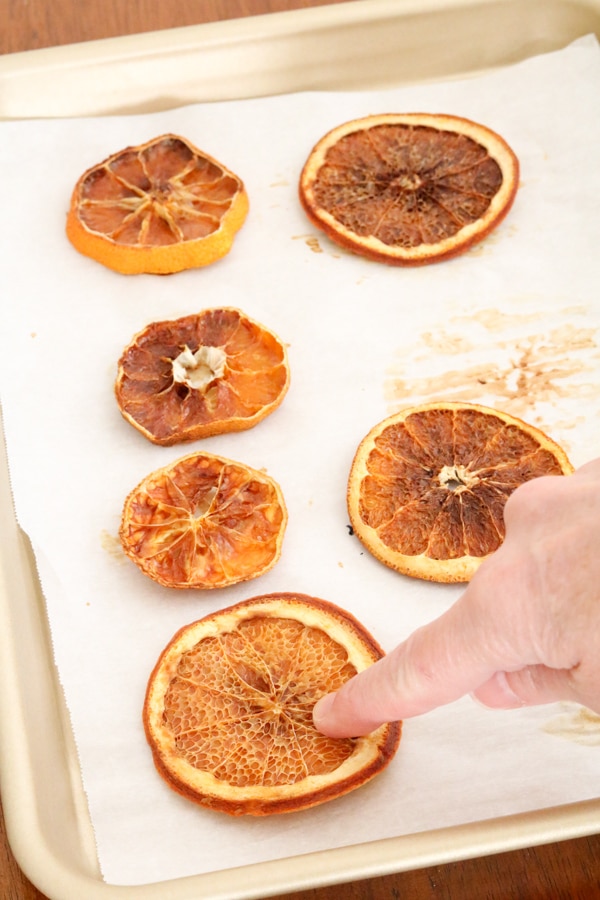
It took about four hours for all the orange slices to dry out. During the process, some of them dried before others. I pull them out when they were dry and continued to dry the others. If you leave them in too long they will get very dark looking and look burned.
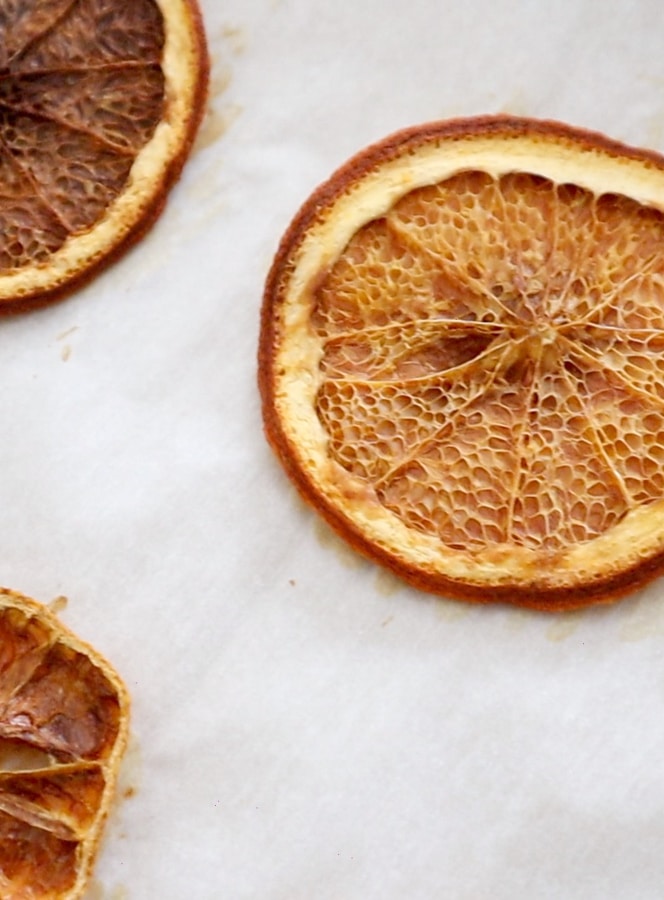
The small convection oven worked great. It worked faster than the dehydrator and the color of the oranges came out darker.
If you want orange slices faster then the oven is your ticket but if you want a more consistent color and you have more time then the dehydrator is better for you.
I think the oven method makes a more vintage-looking orange slice.
How to Dry Citrus in a Dehydrater
Next, let's see how things worked out in the food dehydrator. Simply place all your orange slices on the shelves of the dehydrator. Make sure to not overlap them. Give them lots of space for air to flow in and around them.
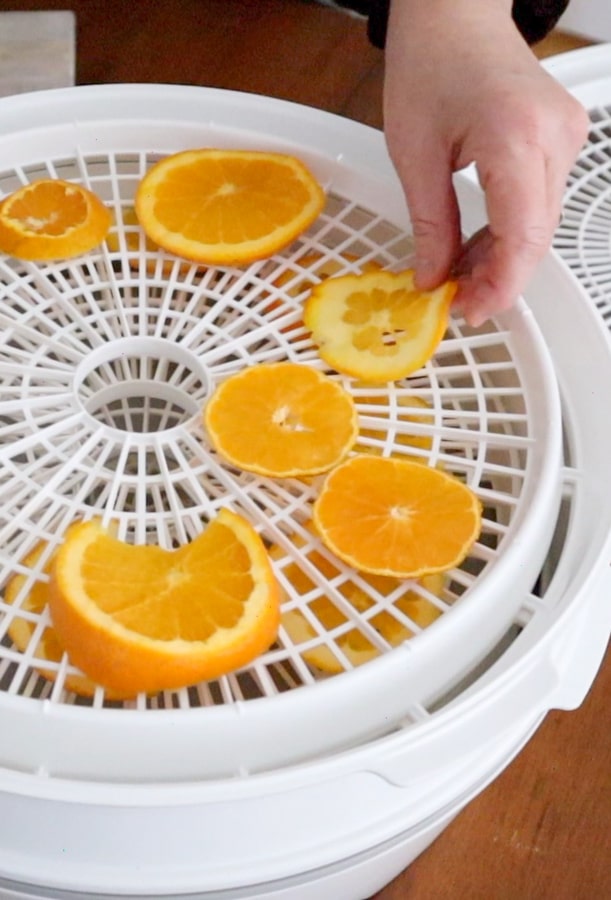
Now turn your dehydrator on and leave it for about 10 hours. After about 4 hours I checked on them and did the tap test to see if they were not sticky. There were some that were paper thin and they felt dry to the touch so I pulled them out.
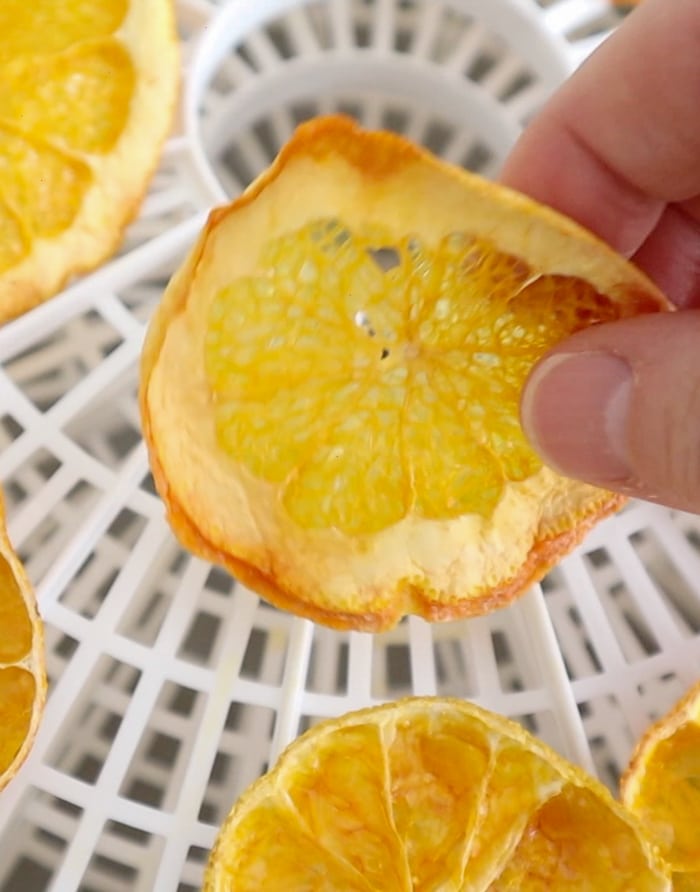
The dehydrator worked like a charm. The only drawback to this method is time.
You basically need all day to completely dry them. I would recommend prepping the project in the morning so it will run all day.
The dehydrator was less work because I didn't need to keep checking on it every hour. As you can see they all came out perfect.
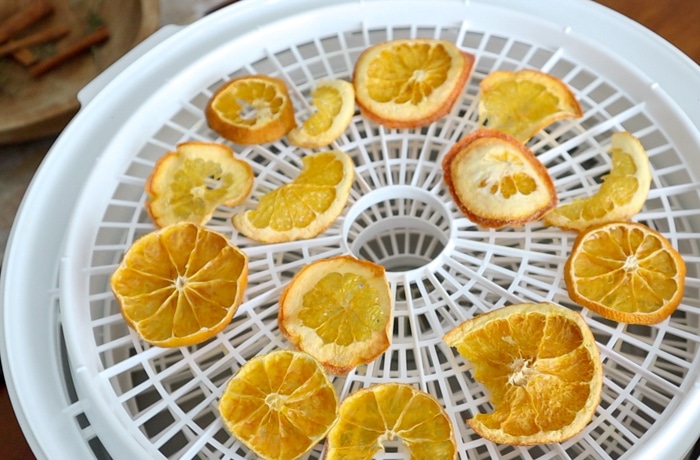
Now that you have all the scoop on dehydrated orange slices, let's talk about ways you can decorate with them and how to store them for the next holiday or event.
How to Store Dried Orange Slices
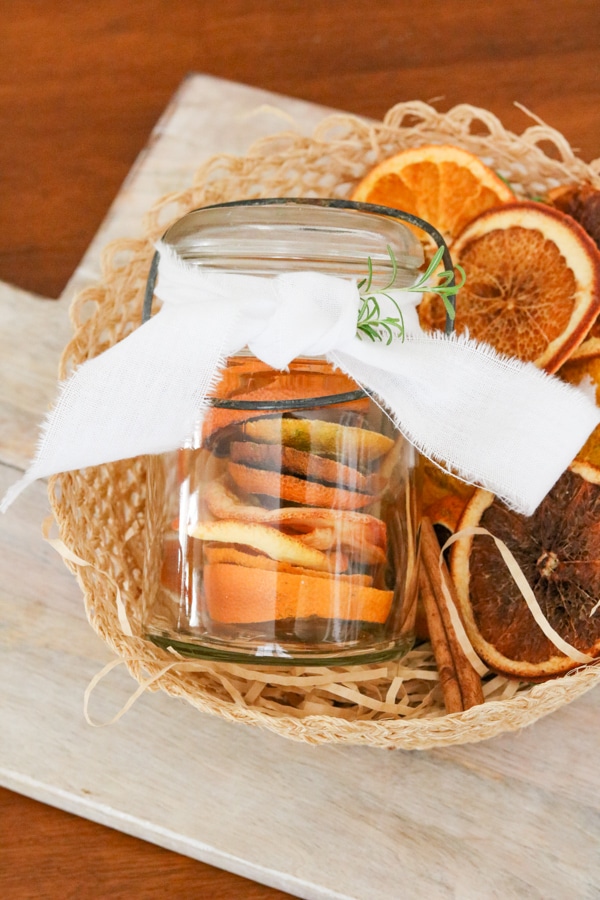
Once all your orange slices are dried and cooled simply place them in gallon-size Ziploc bags or you can either store them in mason jars or an airtight container and store them in a dry and dark place.
I kept the ones my daughter made seven months ago in my closet. They looked great when Christmas came and I wanted to decorate with them.
Dried Orange Slices Garland
There are several different ways you can make a garland with dehydrated oranges. You can simply add them to your Christmas garland as I did here on our mantel.

Or you can thread them with yarn or twine with a needle to make a citrus garland and hang them anywhere in your home.
I made this one for this year's Christmas decorations for my hutch. I used cutting from my artificial Christmas tree from Home Depot and wooden beads.

Or you can make them into Christmas ornaments to put on your Christmas tree. Simply thread twine into a yarn need and push the needle through the orange. Add a Star Anice spice to it for more decorations. And sit them in front of lights so they will glow and stand out more.

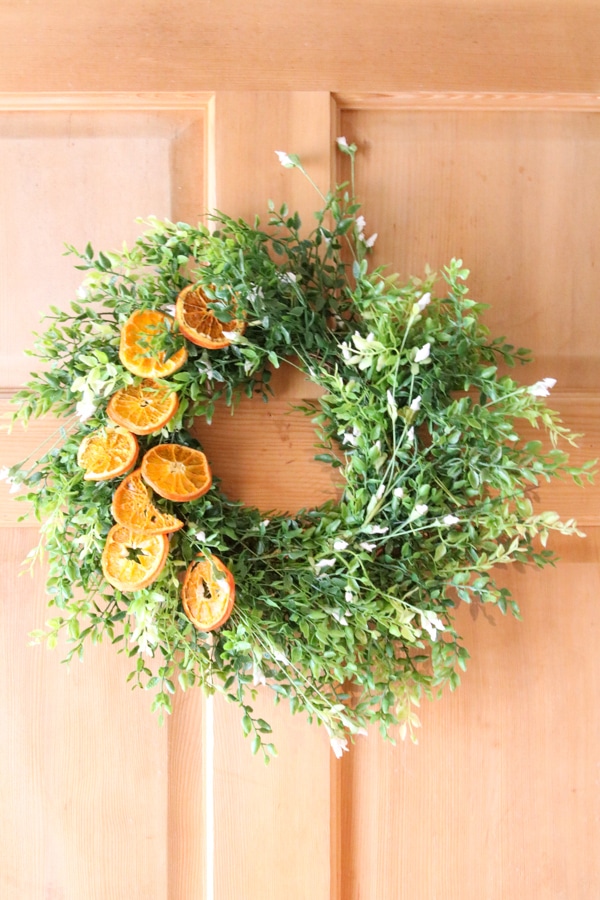
They also look very pretty on wreaths.
During the baby shower, we added orange slices everywhere including the wreath on the front door.
Keep in mind if you leave natural orange slices outside when it is humid and warm they will go bad. But if it is cold and dry outside then they will last a very long time.
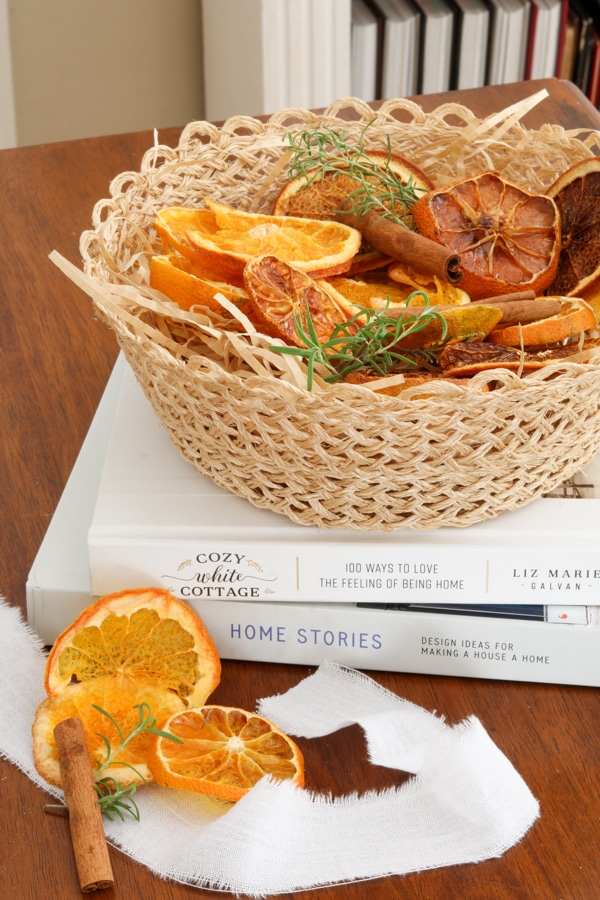
Or simply place them in a basket with cinnamon sticks and rosemary for decoration or to make the room smell good.
There are so many ways you can decorate with dried oranges. If you would rather purchase dried oranges there are lots of options on Etsy. Here are a few I found along with a garland and such.
Shop the post:
Conclusion
I hope this tutorial gets you excited to dry oranges for your Christmas decorations, your next event or to decorate your home this holiday season. This is a great low-cost project. If you have oranges in your fruit bowl then you might very well call this a no-cost DIY.
To wrap this up I thought you might like to know a little history about giving the gift of oranges and decorating with them.
I remember while visiting Colonial Williamsburg learning that colonists used fruit to decorate for Christmas. It was so pretty how they used greenery from outside and then apples or any fruit they had on hand and placed it in the greenery.

Another historical decoration using fruit was Versaille in France. While studying interior design history I learned that orange trees were shipping to Versallias in the 1600s to create an orangery.
Orange trees were considered exotic and otherwise a symbol of wealth and at the time this was the largest collection of orange trees in Europe.
Can you imagine going to visit the elaborate Versaille and seeing a tree with a bright orange fruit on it that you had never seen before?
But last and I think the sweetest, pun intended story, is during the depression people used to give the gift of oranges as holiday gifts because it was considered a delicacy.
I think about my husband and how he used to get fruit in his stocking. His mom was a teenager during the depression so she must have learned this during that time.
Today you can still give the gift of oranges and citrus fruit by having them shipped to friends and family. You can order them from Florida Georgia Citrus. Or you can make something with dried oranges and give it as a gift.
I teach how to make a candle from an orange. You can give them as gifts or decorate with them too. Homemade gifts are the best because you know someone spent a lot of time and love creating them just for you.
Happy Decorating!


