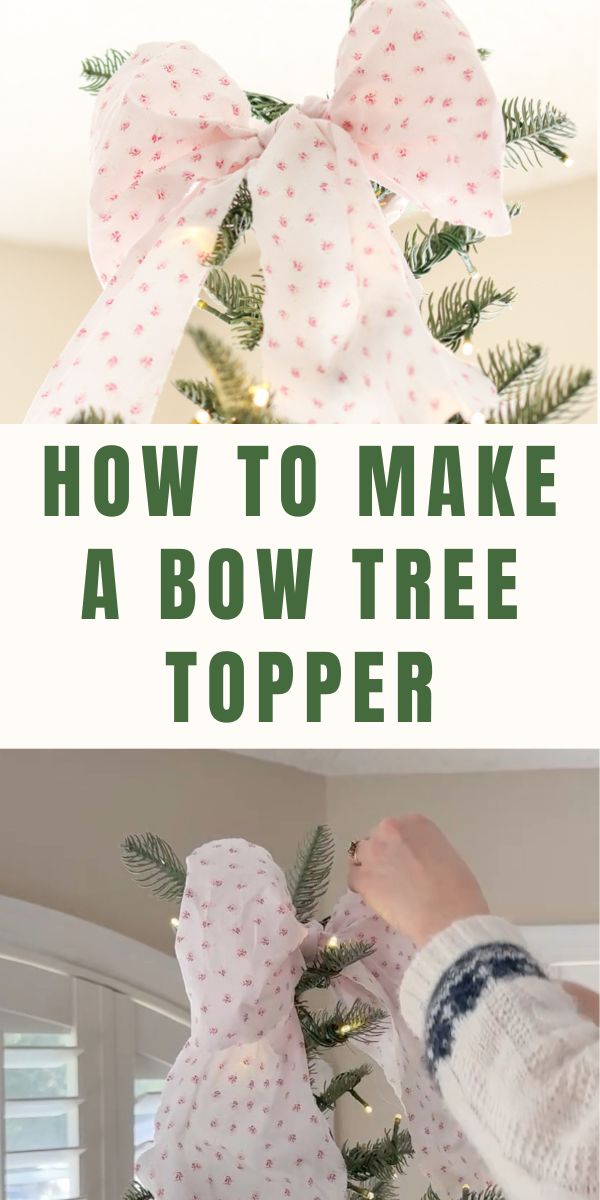
As the holiday season approaches, there's nothing quite like adding a personal touch to your Christmas decorations. One delightful way to enhance your tree is by crafting a DIY Christmas tree bow topper from fabric.
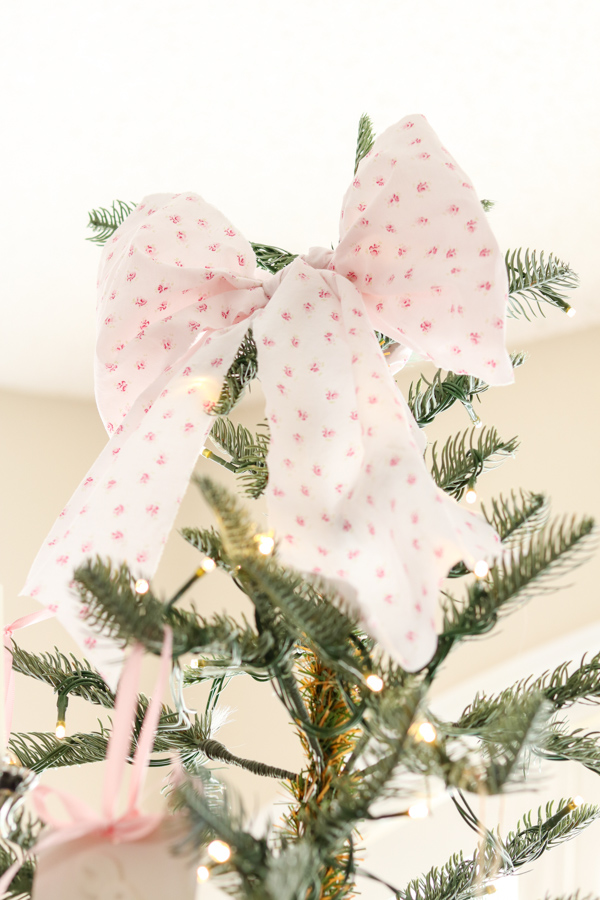
One of my favorite things about December is all the DIY opportunities. Not only does this project allow you to express your creativity, but it also brings a handmade charm to your holiday decor.
Crafting a Beautiful Christmas Tree Bow Topper
Christmas tree toppers are the finishing touch to your beautiful Christmas tree. Creating a bow from ribbon fabric to the top of the tree is easier and less expensive than you think.
Let’s dive into how you can create your very own medium-sized DIY Christmas tree bow topper from fabric.
Materials You'll Need
To begin this festive project, gather a few simple materials:
- Fabric (I am using some thrifted sheets)
- Scissors
- Measuring Tape
The key to a successful bow is choosing the right fabric. Opt for a material with body and stability, such as 100% cotton.
I personally used sheets I found while thrifting, which fit perfectly with my coquette Christmas theme. The stiffness of the fabric will help your bow maintain its shape.
If you want to learn more about creating ribbons from fabric, check out my blog post with detailed instructions, From Fabric to Fancy: How to Make Ribbon from Fabric.
Measuring the Fabric
Start by measuring 7 inches of fabric.
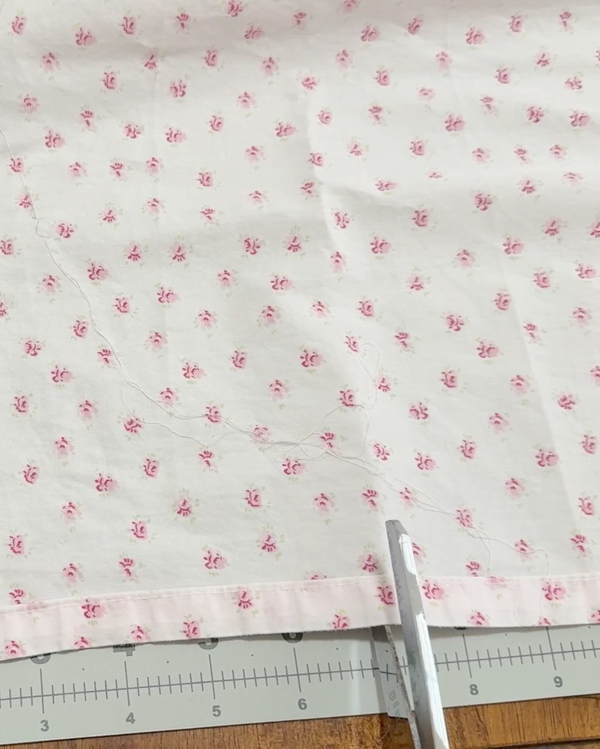
Rip your fabric along a straight line.
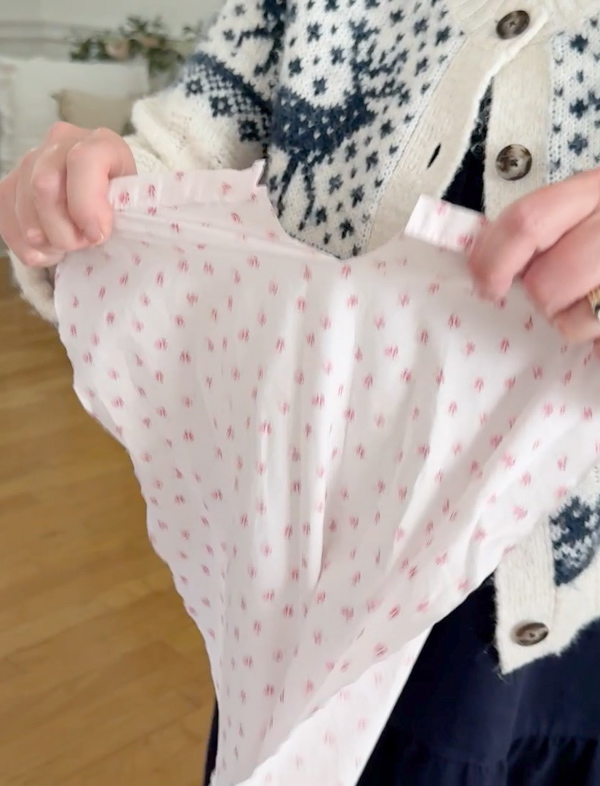
Note that not all fabrics will tear cleanly, so you might want to test yours first. If you encounter fraying, pinking shears and a bit of glue along the edges can offer a tidy finish.
If you are cutting a piece of fabric you will need a piece that is 7″ wide by 39″ long.
How to Tie a Bow to the Tree Top
Once your fabric is prepared, locate the center of the strip and position it behind the tree’s top branch. Tie the ends together securely. This provides the base of the bow.
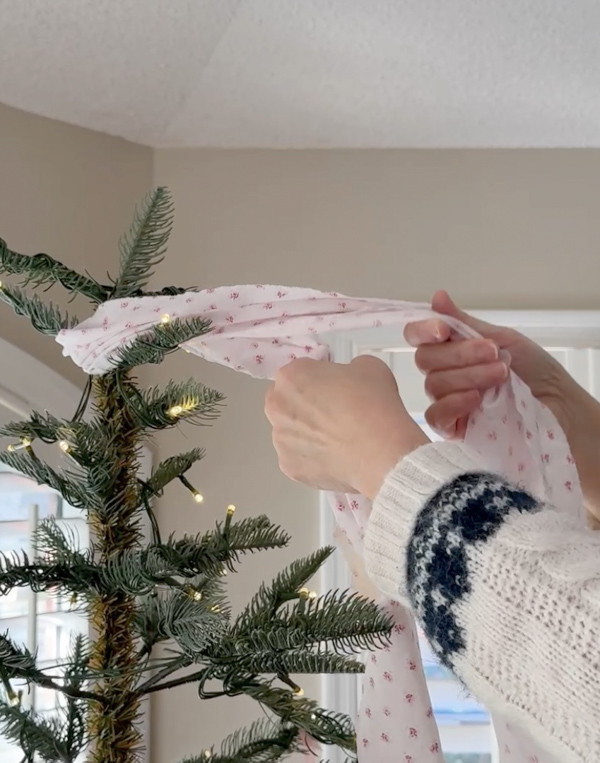
Next, create the first loop, or ear, on one side to your desired size.
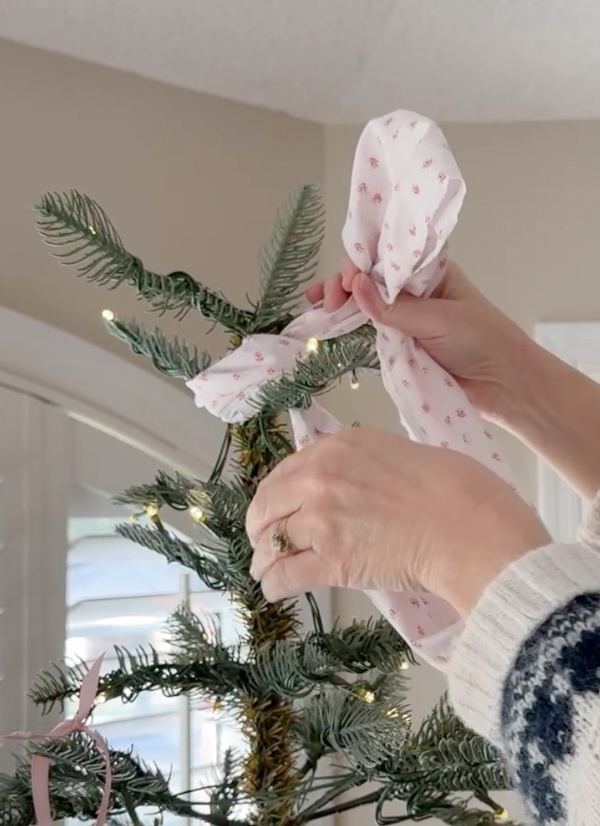
Repeat on the opposite side to form the second ear.
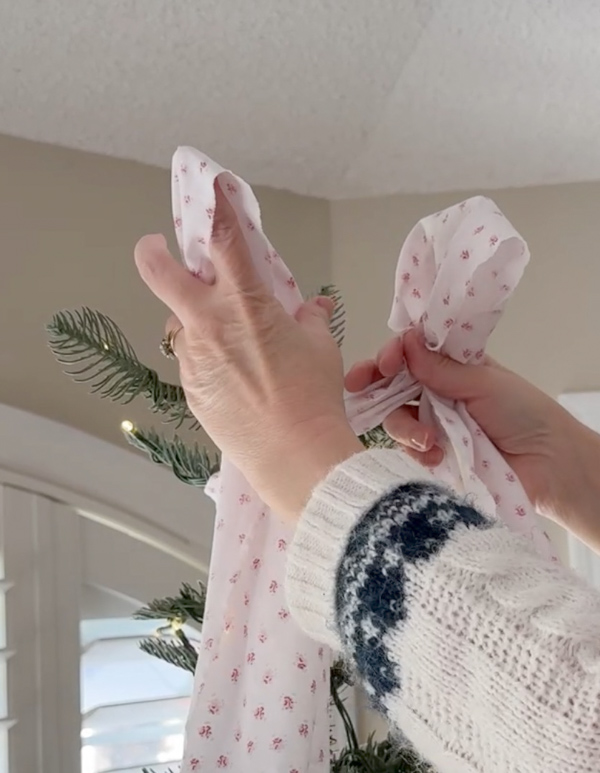
Carefully tie the ears together, ensuring the tails are tucked beneath them.
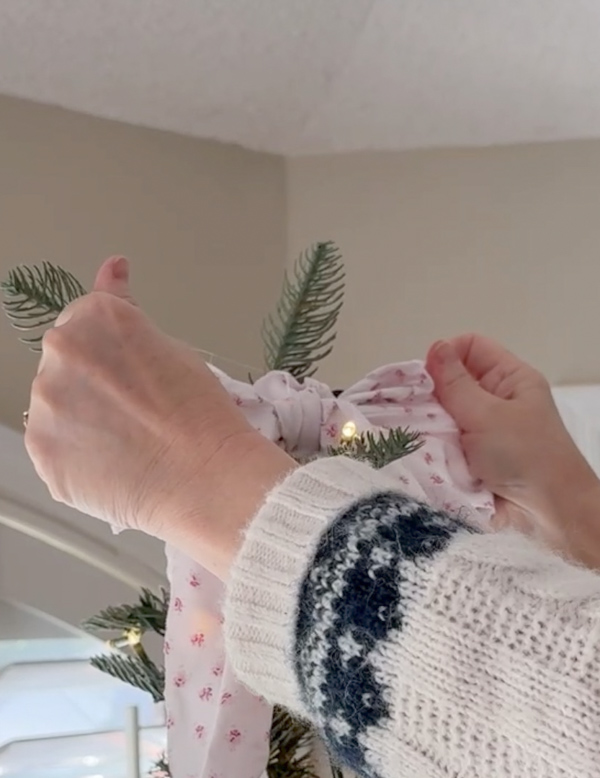
The magic of this project lies in the fluffing of the ears.
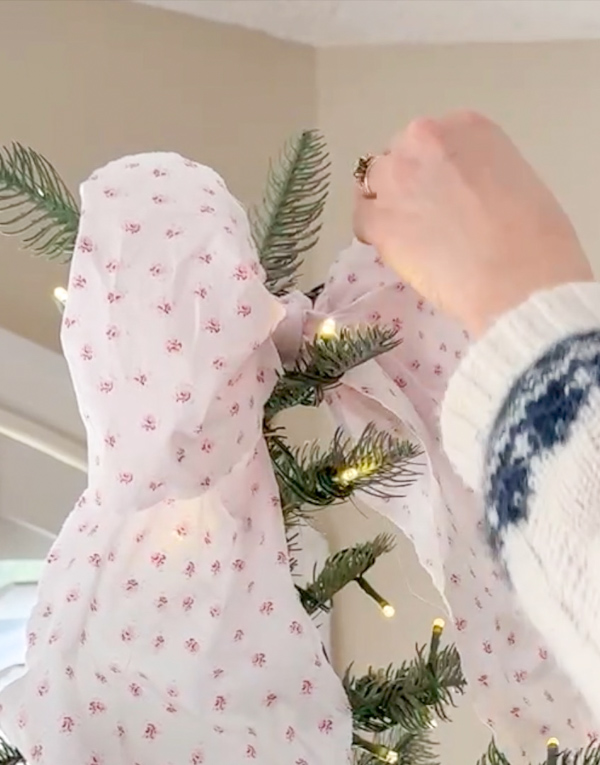
Thanks to the fabric’s firmness, the ears will stand out beautifully, giving your bow a plush and elegant look.
Cut the Tails
Now that your bow is tied and fluffed it is time to cut the tails. To complete your bow, take your scissors and trim the ends of the fabrics.
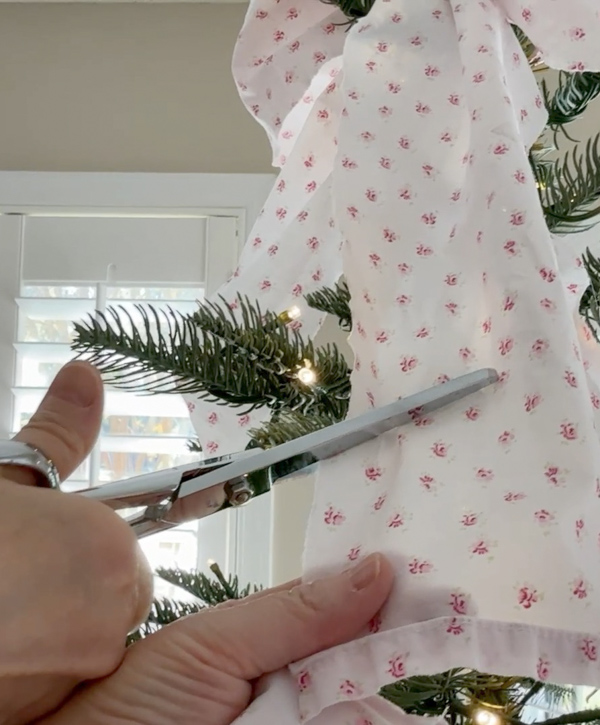
I chose to cut mine at an angle, but you can also opt for a V-shape. To achieve a V-shape, fold the bottom of your bow fabric end vertically in half and cut upwards at an angle.
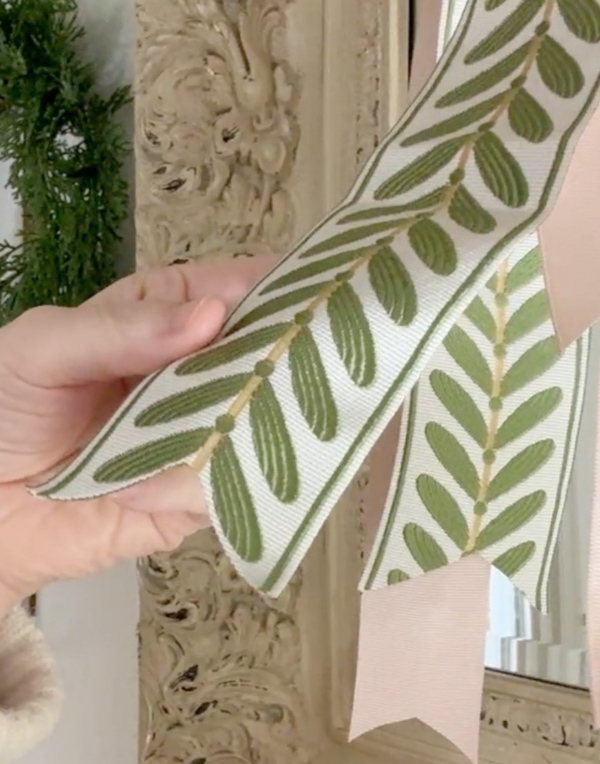
This adds a polished and festive touch to your beautiful bow.
Conclusion
And there you have it—a charming DIY Christmas tree bow topper made from fabric for the top of your Christmas tree. You're one step closer to a Pinterest-ready merry Christmas.
I love how this DIY oversized bow tree topper adds a playful touch of coquette style to my Christmas tree. This simple yet stunning project is a wonderful way to add a personal flair to your holiday decorations.
If you'd like to see the video tutorial about this stunning bow tree topper with more great tips, check out my YouTube video.
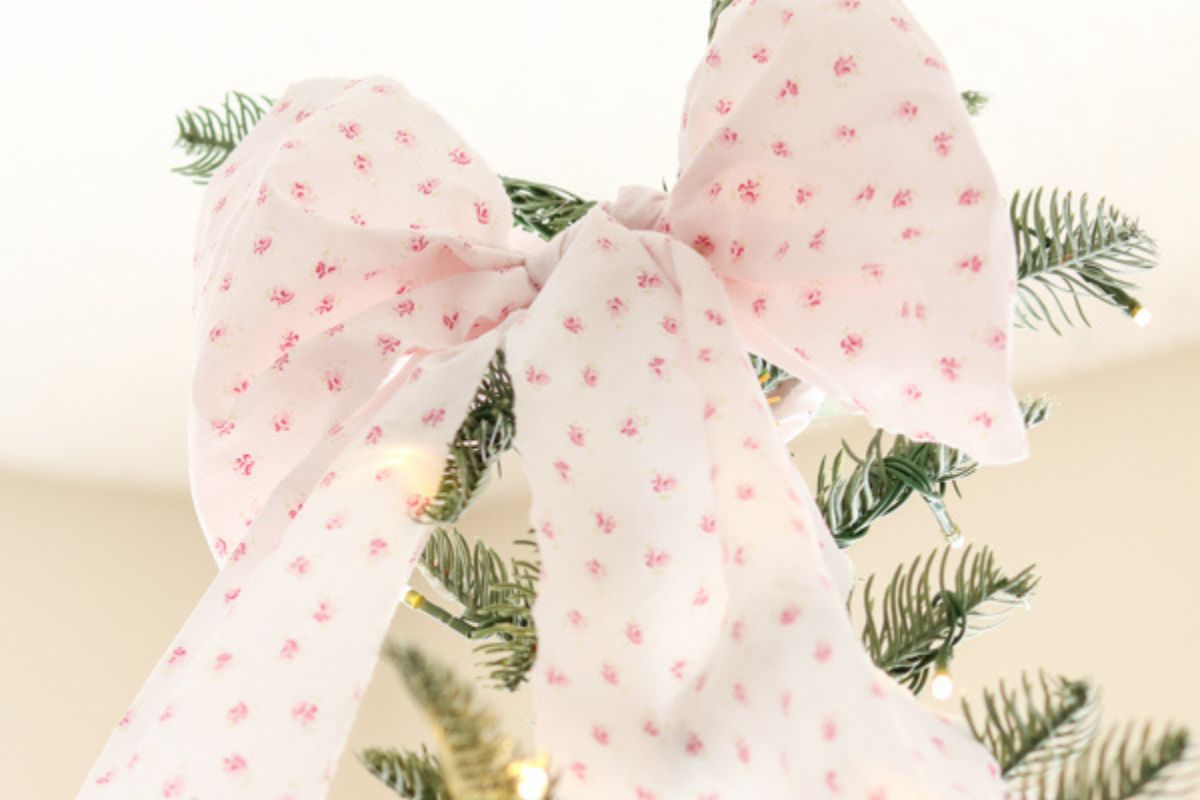
Not only will your tree look fantastic with your tree topper bow, but you’ll also have the satisfaction of knowing you created something special with your own hands.
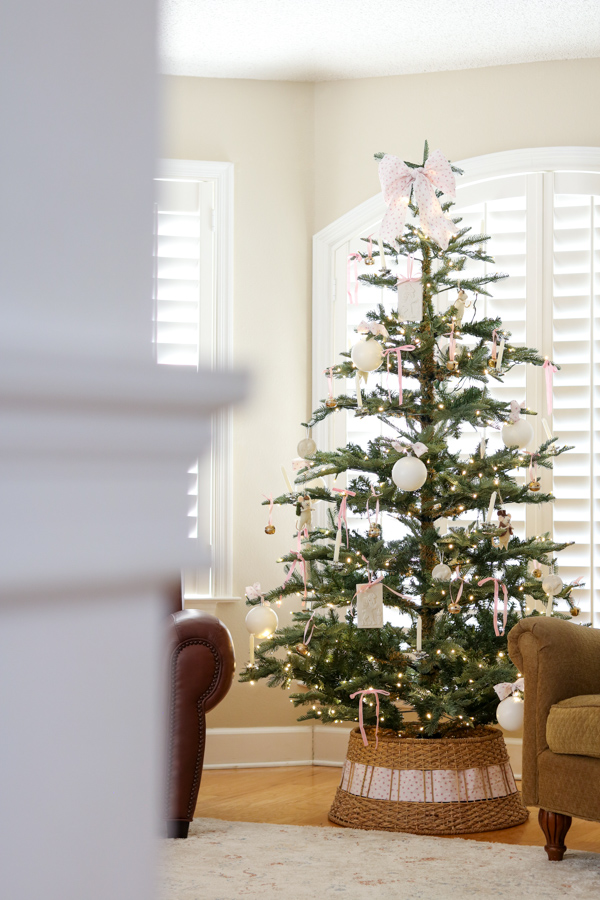
Will you be making a DIY Christmas tree bow topper made from fabric this year? I'd love to hear about your festive DIY in the comments! Happy Holidays!
More Christmas DIY Inspiration
Are you looking for more Christmas DIY Inspiration? Check out these posts:
- How to Make DIY Air Dry Clay Ornaments
- Make the Holidays Special with Handmade Christmas Stockings
- How to Make Velvet Ornaments: DIY Christmas Decor
- 30+ DIY Homemade Christmas Decorations to Brighten the Season
Happy Decorating!

