
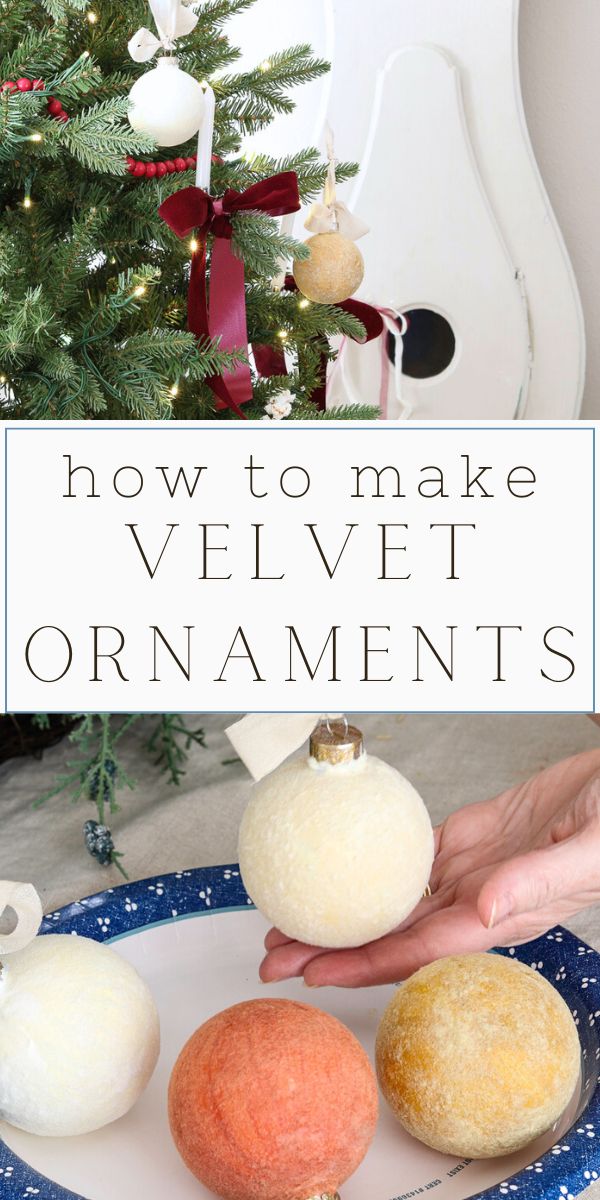
Looking for a way to add some luxurious and festive flair to your Christmas decor this holiday season? Look no further than velvet ornaments!
In today's blog post were talking about how to make velvet ornaments – a classy way to dress up your Christmas decorations.
Last year, I incorporated velvet ribbons into my holiday decorations and instantly fell in love with the rich, textured look it added.
When I discovered the viral Studio McGee velvet ornaments, I was heartbroken to learn they were no longer available. But instead of giving up, I decided to take matters into my own hands and create my own DIY version!
After searching and testing out different techniques, I'm excited to share the best way to make DIY velvet Christmas ornaments yourself.
Get ready to add a touch of luxury and elegance to your Christmas tree this year!
How to Make Velvet Ornaments
How Do you Make Ornaments Look Velvet?
You can easily make faux velvet ornaments by using a velvet flocking powder like the one I found on Etsy. It's simple to apply in just a few steps.
This is one of the easiest DIY tutorials you'll find for these beautiful handmade ornaments. Read on for the details.
What Supplies Do I Need to Make Velvet Ornaments?
Good news! All the supplies you need to make your DIY ornaments are available at your local craft store or on Etsy.
- Velvet flocking powder (available on Etsy)
- Painters tape
- Dish or paper plates
- Acrylic paint (color matching your desired flocking)
- Cardboard box or cup with rice
- Sticks or straws
- Modge Podge
- Foam brush
- Rub n buff
- Ribbon
Best Way to Make Velvet Ornaments
Step 1: Remove Cap & Prepare Ornament
Remove the cap from the ornaments and set it aside. The caps in the round ornaments I bought come out easily. Simply give it a gentle tug and it will come out.
Now place a stick, dowel, popsicle stick or whatever you have on hand inside the ornament and tape it to the stem of the ornament.
Step 2: Paint Ornaments with Acrylic Paint
Paint the ornaments with matching acrylic paint color and let it dry completely. Use an artist paint brush or foam brush and spread the paint on evenly. Make sure the paint covers the ornaments.
You don't want it to be see through if you want a nice uniform velvet look on your DIY Christmas ornaments.
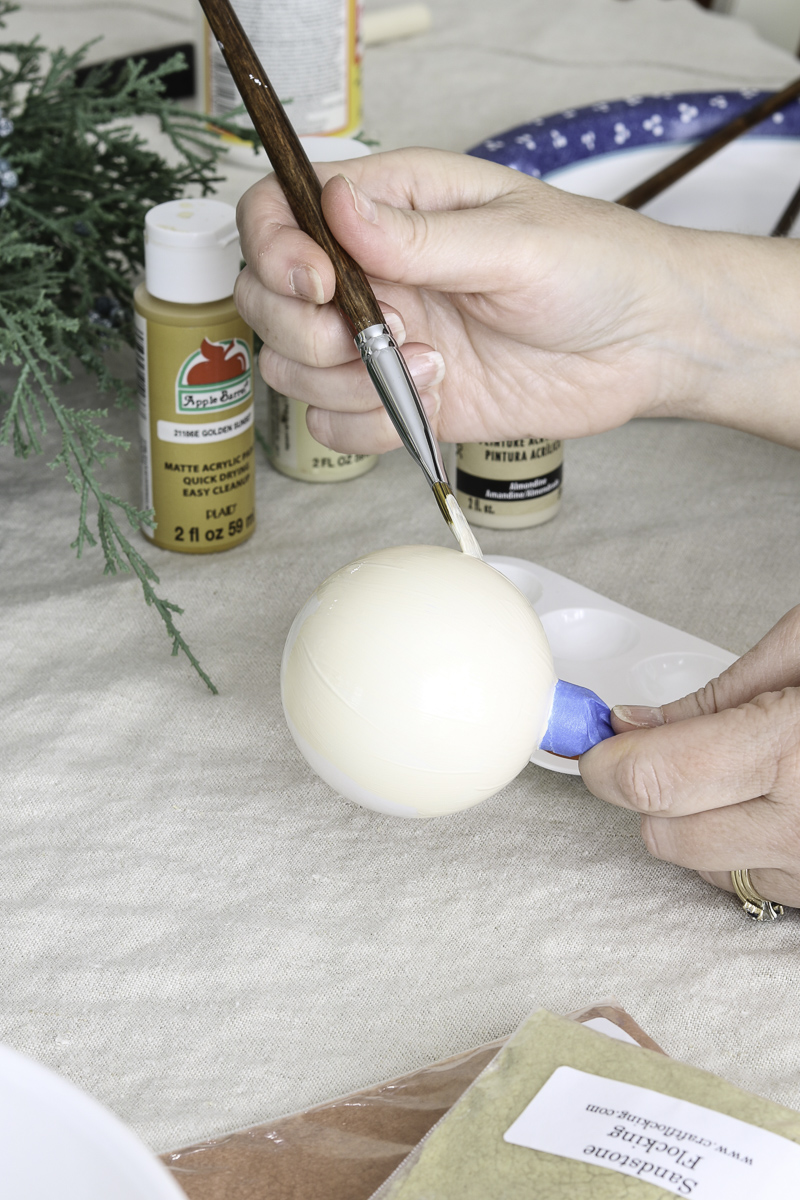
Let the paint dry before starting the next step.
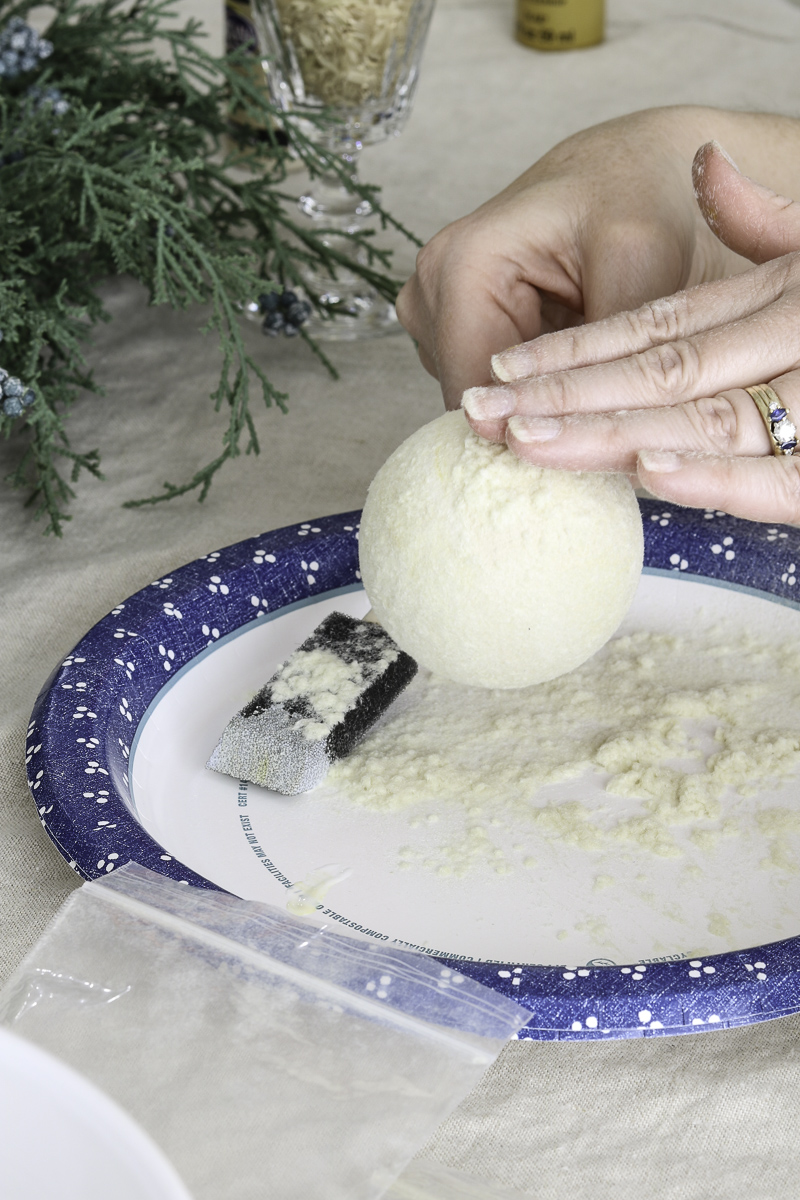
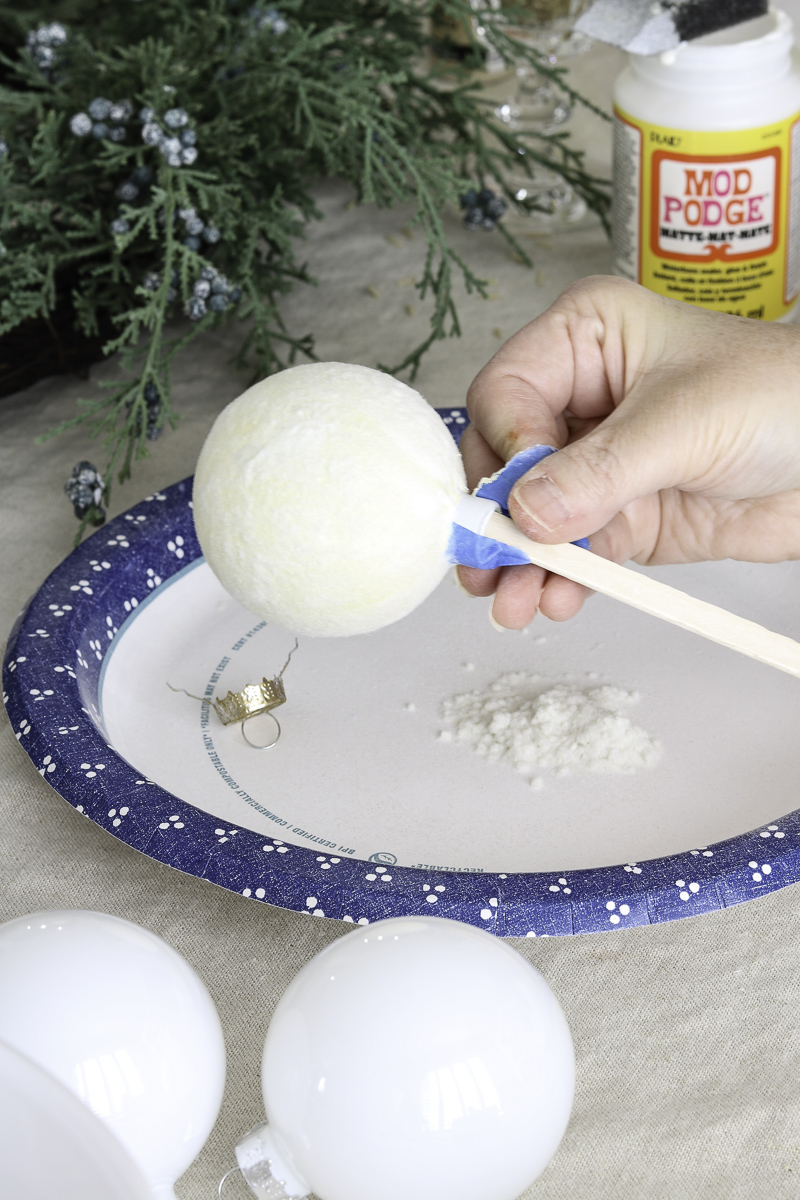
Step 3: Add Modge Podge
Brush Modge Podge onto one ornament. Only do one ornament at a time because you will need it wet in order to add the flocking.
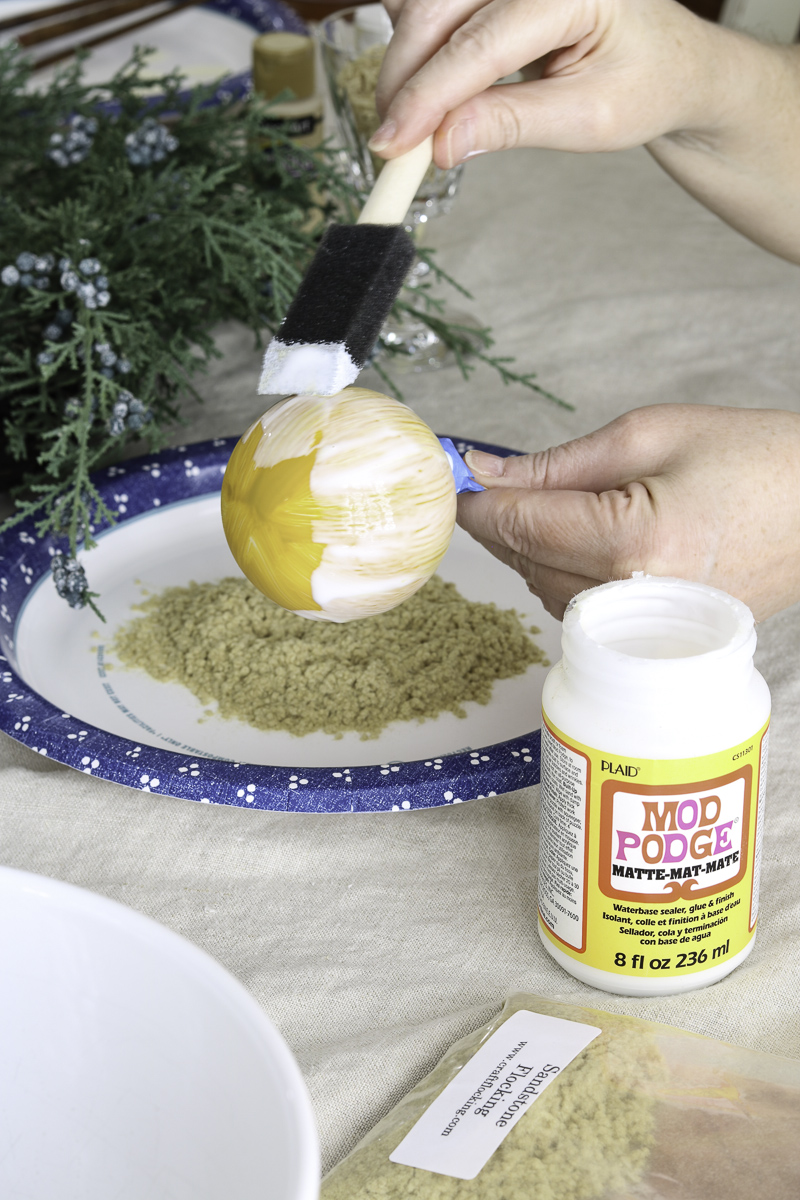
Step 4: Add Flocking
Now for the fun part. While the modge podge is still wet, sprinkle on the velvet flocking and shake it lightly to dust off the flocking.
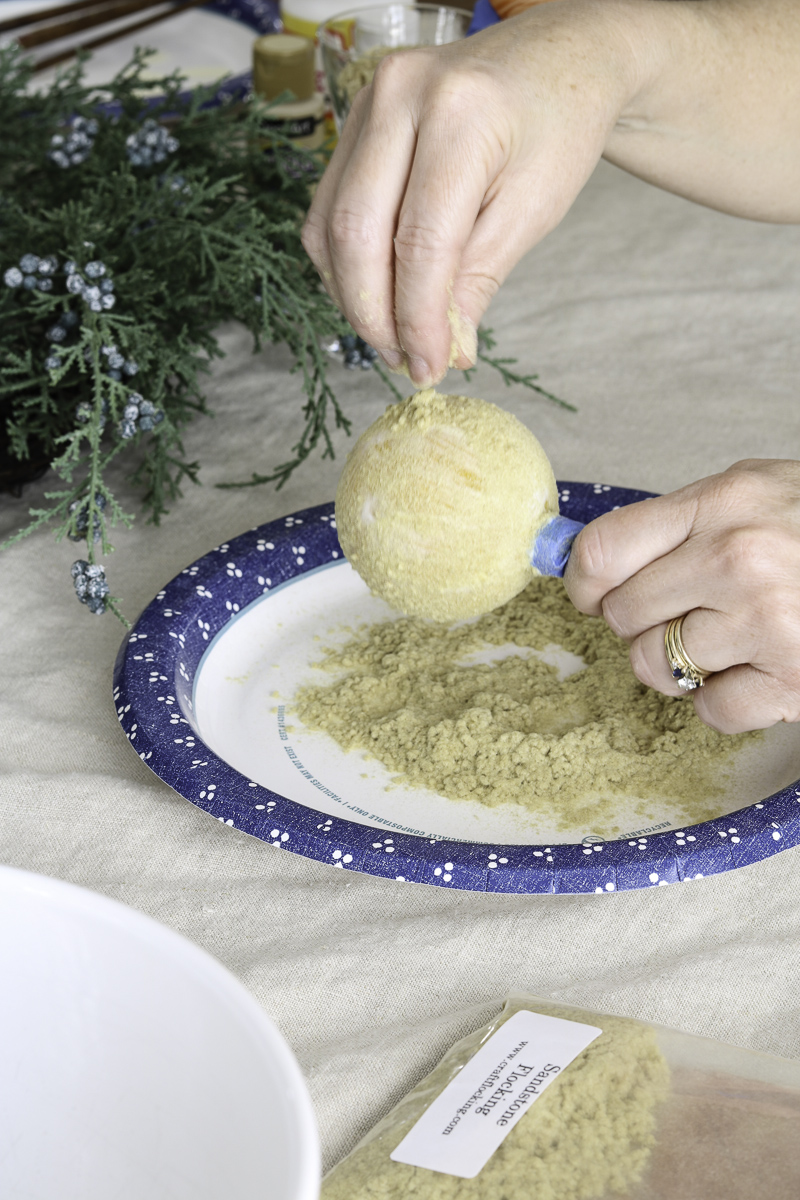
Once you have covered the ornament with flocking you can add more flocking and pat it down lightly.
Next, roll the ornament in the flocking for a fuller coverage. Press the flocking gently into the ornament to ensure it adheres well.
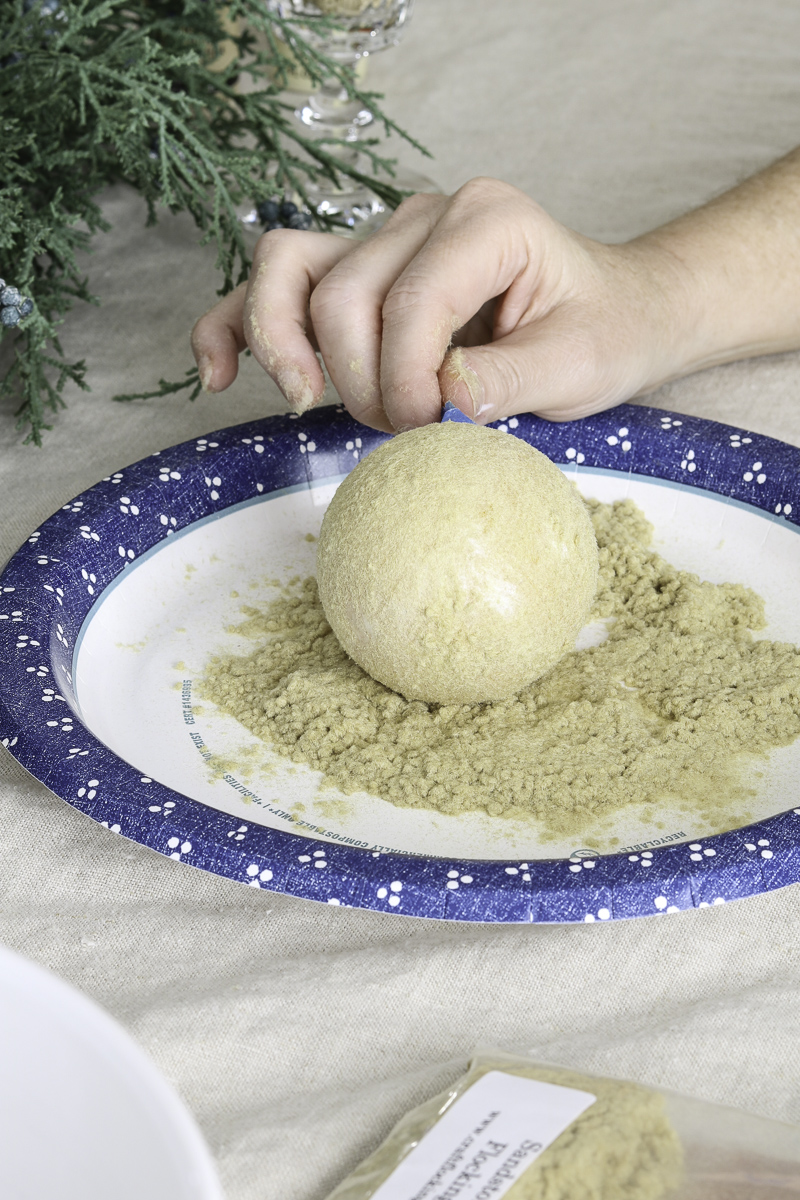
Tap the ornament gently to dust off any excess flocking and let the velvet ornament dry completely.
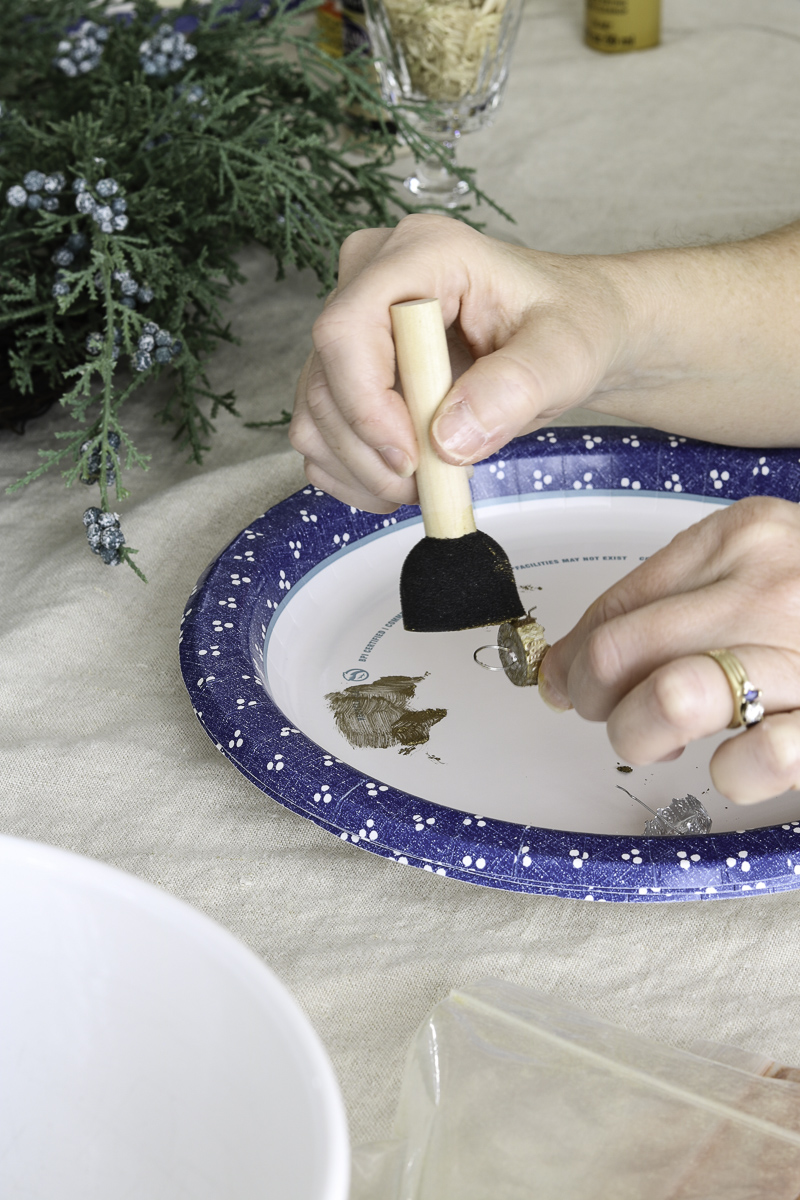
Step 5: Paint Ornament Hangers
Brush Rub n buff onto the ornament cap for a touch of metallic shine.
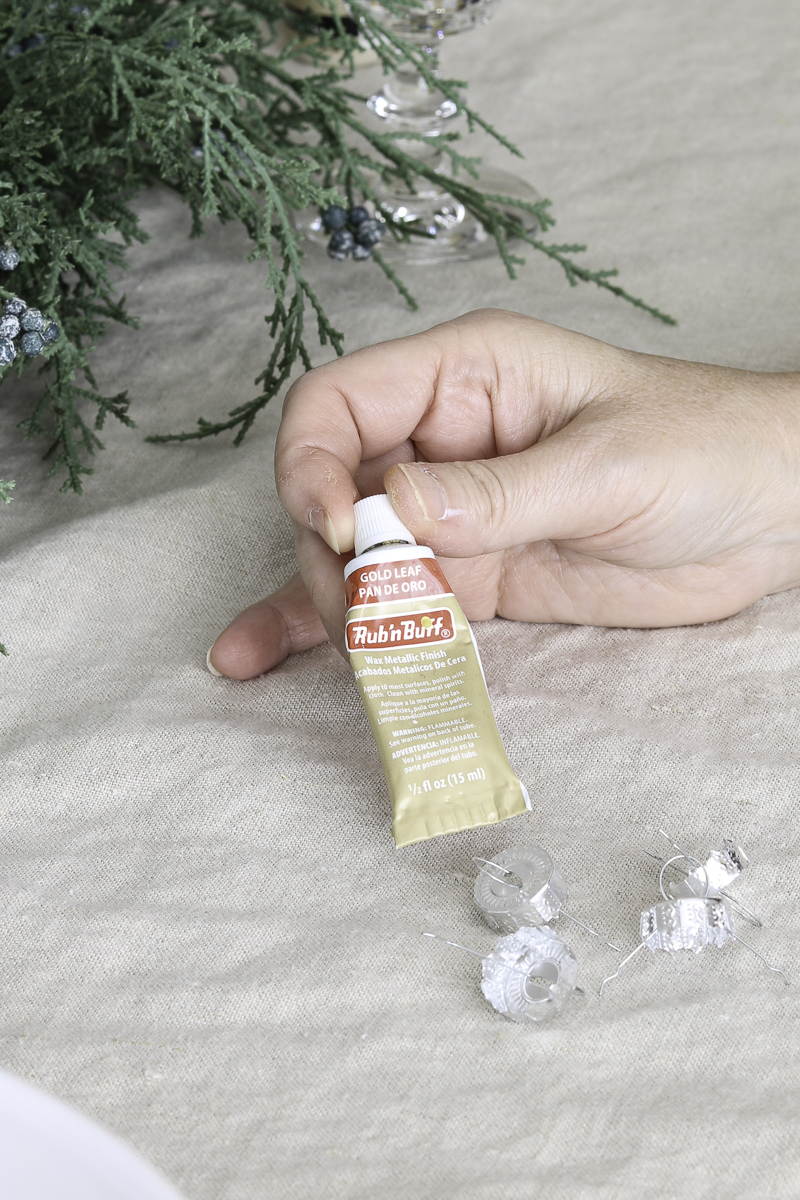
This part really dresses up the ornament with an antique gold finish. Use a foam brush or a crafters brush but I prefer the foam brush so I can trash it after I am finished because cleaning rub n buff is not so easy.
Step 6: Add Flocking to Ornament Stem
After the velvet ornament is completely dry remove the painters tape and stick. Then add decopauge to the stem and add more flocking.
Let that dry completely before starting the next step.
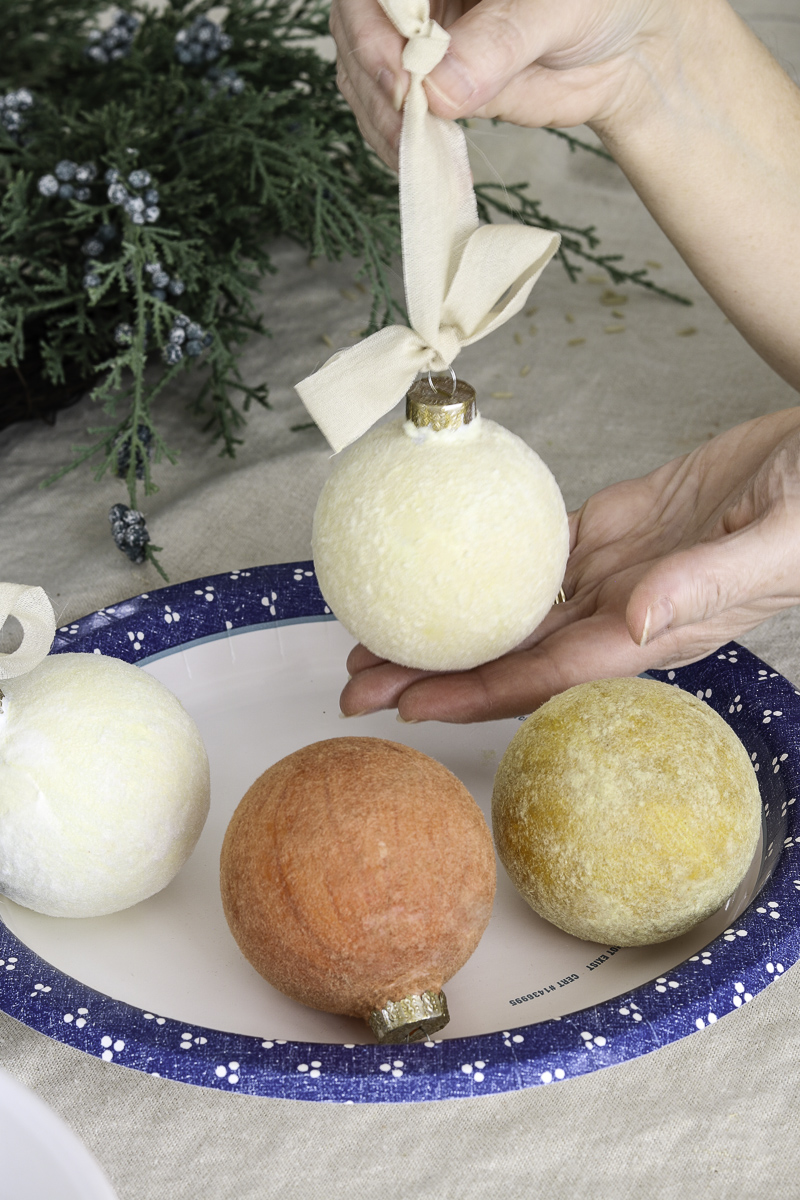
Step 7: Add Ribbon
Your gorgeous DIY is almost finished.
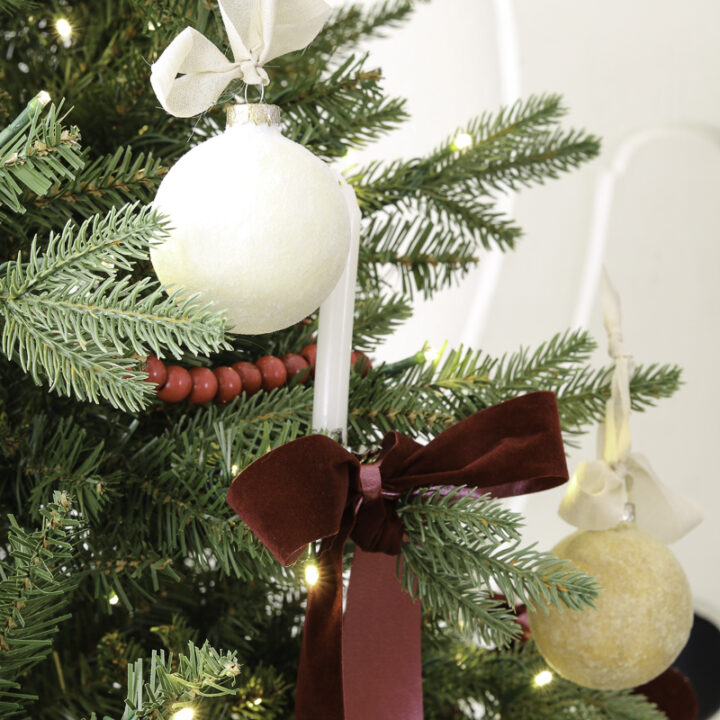
Add the freshly painted caps back on the ornaments and a beautiful ribbon to your finished ornament! The best designs are in the details.
The ribbon makes these handmade Christmas ornaments even classier. The end results are stunning.
Decorating Ideas with Velvet Ornaments
Time for the best part. Once you've created your DIY velvet ornaments, the possibilities are endless for incorporating the finished products into your holiday decor. Here are a few ideas:
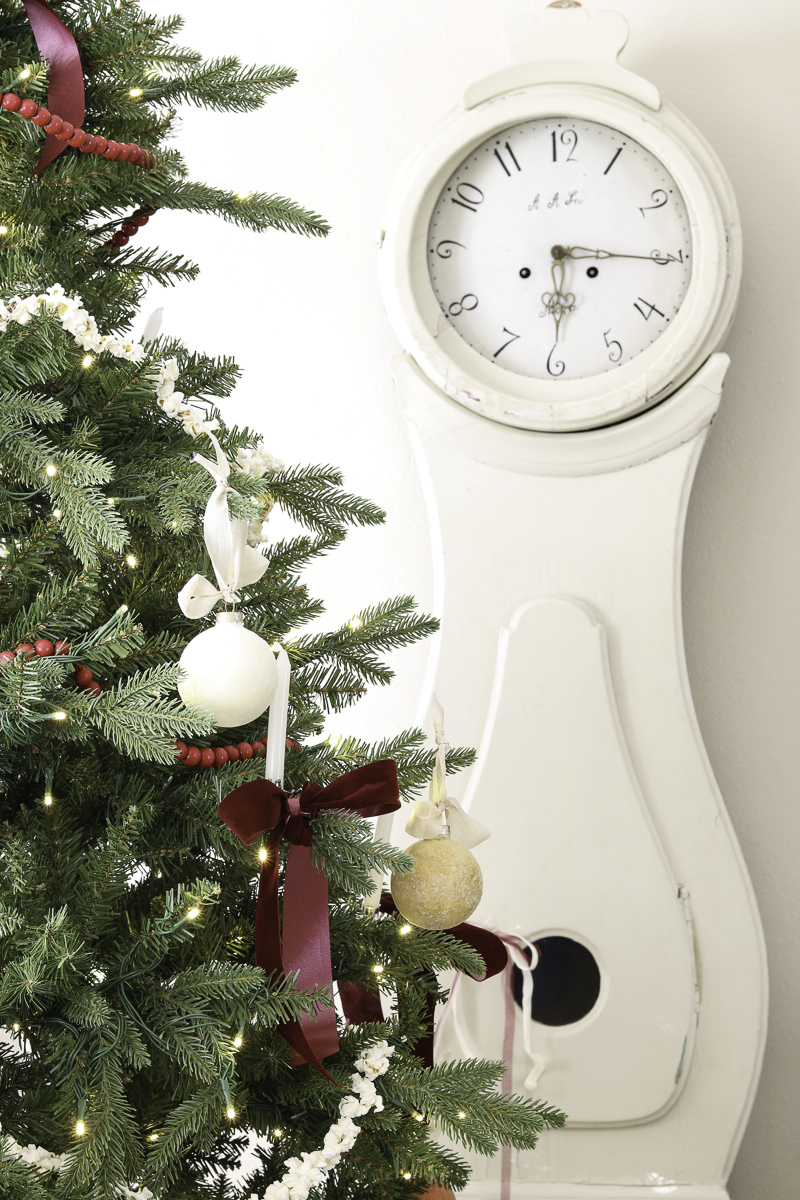
Hang Velvet Ornaments on a Christmas Tree
Velvet ornaments are a stunning addition to any Christmas tree. Your handmade ornaments add a touch of luxury and sophistication, and they're sure to make your tree stand out.
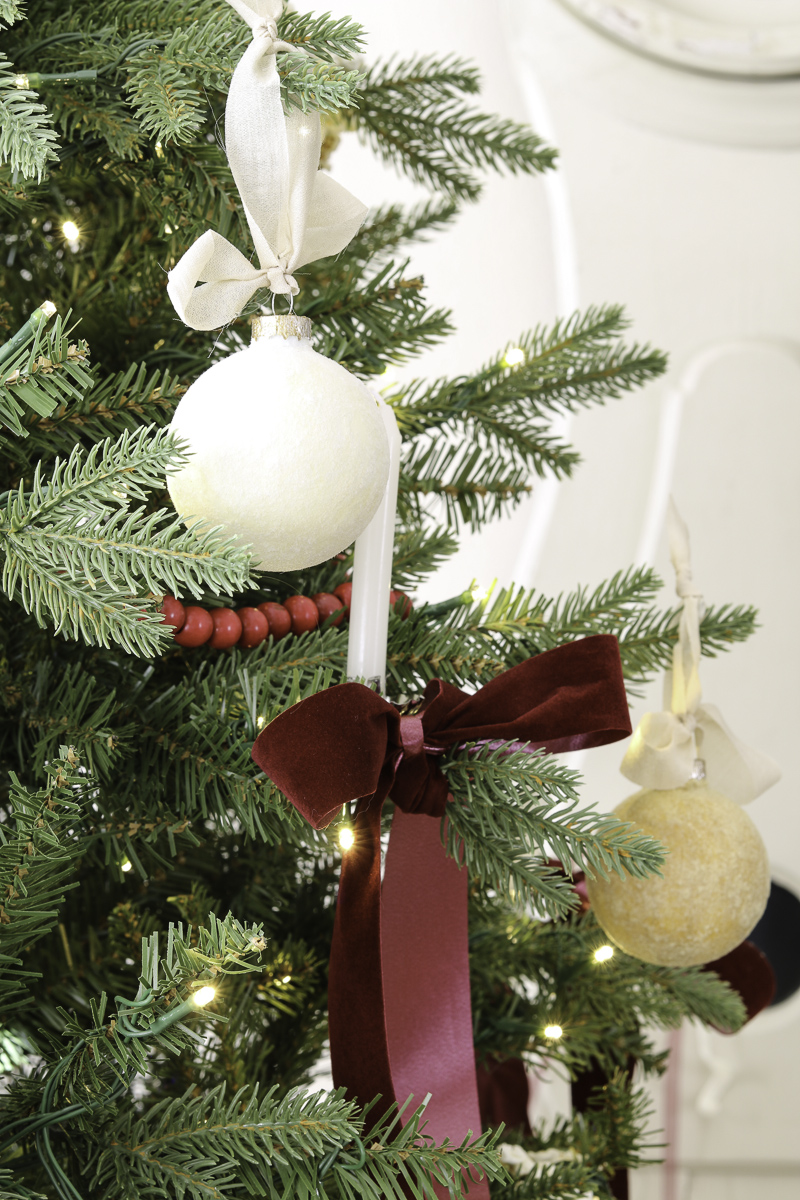
Look how pretty the velvet ornaments look with the velvet ribbon.
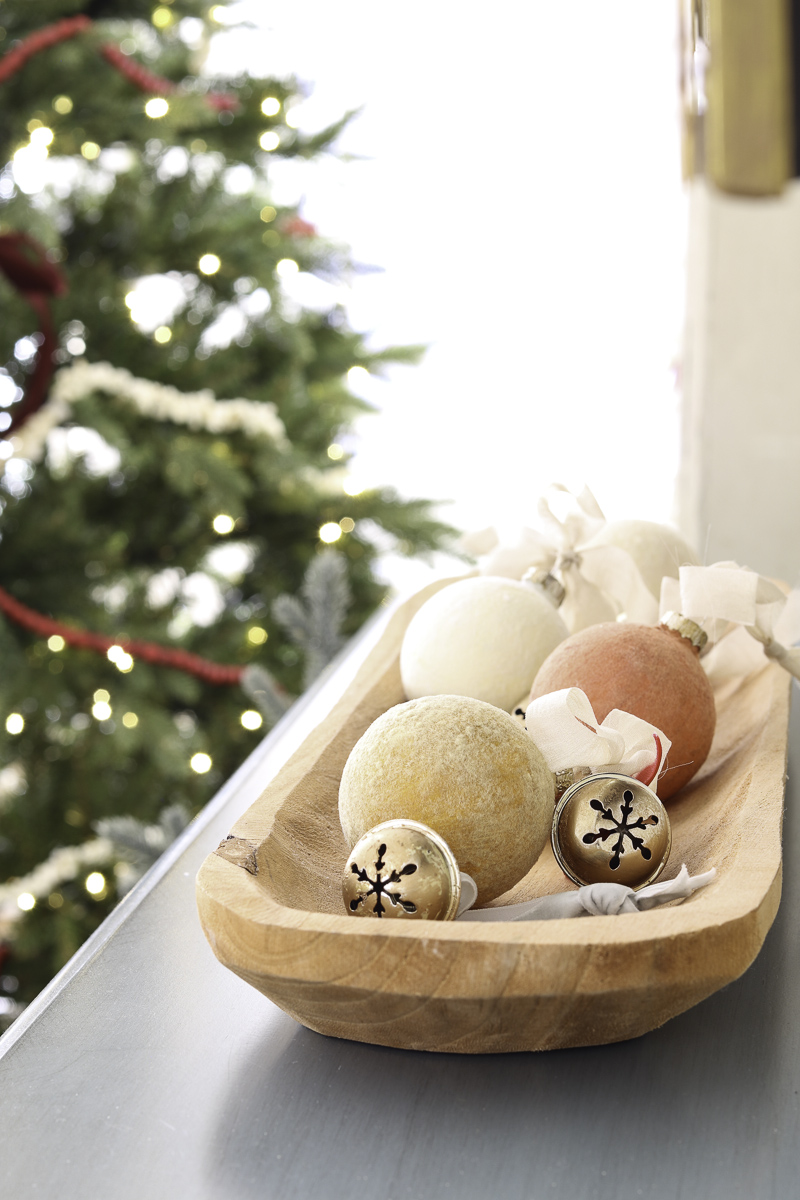
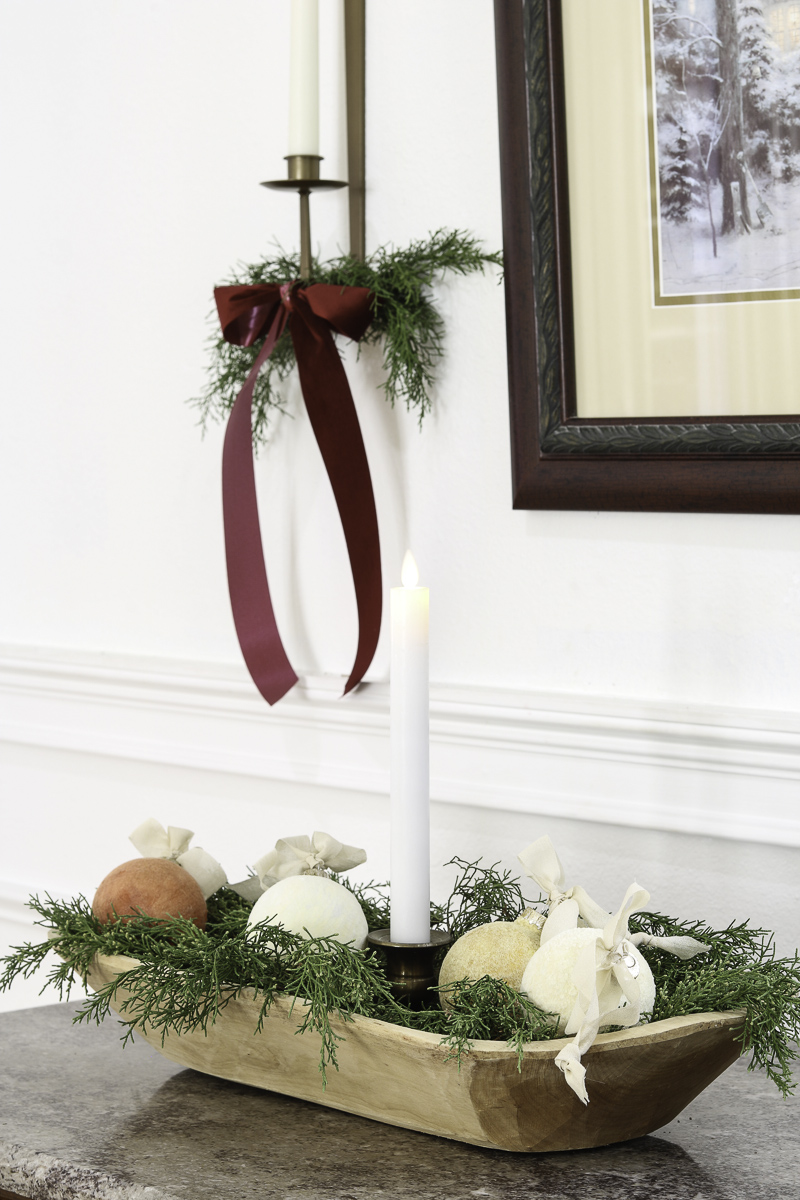
Decorate Bowls with Velvet Ornaments
Fill a decorative bowl with velvet ornaments for a simple yet elegant centerpiece. This is a great way to add a festive touch to any room in your home.
Dough bowls make excellent bowls for decorations and there are many things you can add to your bowl of ornaments like these jingle bells with ribbon.
You an also include greenery, a candle and your velvet ornaments.
Decorate a Garland with Velvet Ornaments
String your ornaments along a garland for a unique and eye-catching look. This is perfect for decorating your mantelpiece, staircase, or doorways.
Decorate a Wreath with Velvet Ornament
Fill a wreath with your ornaments for an ornament wreath or tuck them into a greenery wreath. The possibilites are endless and velvet ornaments will look amazing on any wreath.
Conclusion
I hope this tutorial has put you in the holiday spirit and inspired you to get creative and make your own velvet ornaments this Christmas.
With a little effort, you can add a touch of luxury and elegance to your holiday decor that's sure to impress your guests.
These homemade ornaments also make the perfect gift for your friends and family.
Looking for more Christmas DIY inspiration? Check out some of my other blog posts:
- How to Make Christmas Village Wreath
- How to Make Snow Flakes out of Paper Bags
- DIY Advent Calendar Printable Stockings
- Make the Holidays Special with Handmade Christmas Stockings
- 14 Decorated Christmas Tree Ideas for a Festive Holiday Look
Happy Decorating!

How to Make Velvet Ornaments: DIY Christmas Decor
Looking for a way to add some luxurious and festive flair to your Christmas decor this holiday season? Look no further than velvet ornaments! Learn how to make velvet ornaments - a classy way to dress up your Christmas decorations.
Materials
- Velvet flocking powder
- Painter's tape
- Dish or paper plates
- Cardboard box or cup with rice
- Sticks or straws
- Modge podge
- Rub n buff
- Ribbon
Tools
Instructions
- Remove the cap from the ornaments and set it aside. The caps in the round ornaments I bought come out easily. Simply give it a gentle tug and it will come out. Now place a stick, dowel, popsicle stick or whatever you have on hand inside the ornament and tape it to the stem of the ornament.
- Paint the ornaments with matching acrylic paint color and let it dry completely. Use an artist paint brush or foam brush and spread the paint on evenly. Make sure the paint covers the ornaments. You don't want it to be see through if you want a nice uniform velvet look on your DIY Christmas ornaments. Let the paint dry before starting the next step.
- Brush Modge Podge onto one ornament. Only do one ornament at a time because you will need it wet in order to add the flocking.
- While the modge podge is still wet, sprinkle on the velvet flocking and shake it lightly to dust off the flocking. Once you have covered the ornament with flocking you can add more flocking and pat it down lightly. Next, roll the ornament in the flocking for a fuller coverage. Press the flocking gently into the ornament to ensure it adheres well. Tap the ornament gently to dust off any excess flocking and let the velvet ornament dry completely.
- Brush Rub n buff onto the ornament cap for a touch of metallic shine. Use a foam brush or a crafters brush but I prefer the foam brush so I can trash it after I am finished because cleaning rub n buff is not so easy.
- After the velvet ornament is completely dry remove the painters tape and stick. Then add decopauge to the stem and add more flocking. Let that dry completely before starting the next step.
- Add the freshly painted caps back on the ornaments and a beautiful ribbon to your finished ornament!