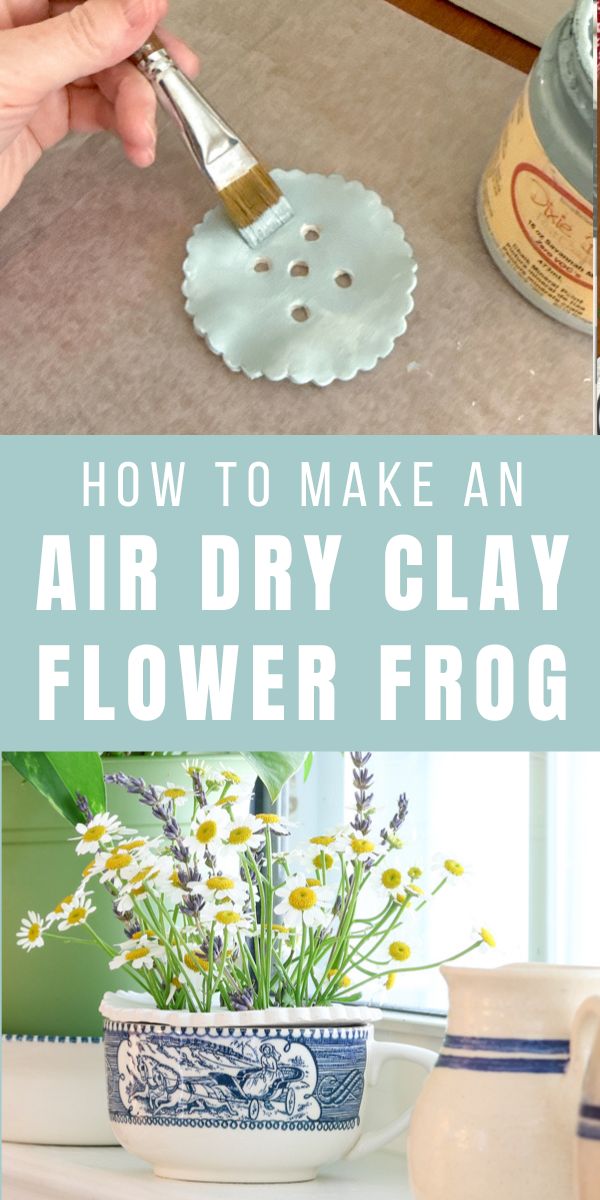
Have you ever wanted to make your own flower frog? Well, today’s your lucky day! I will show you how to create an air dry clay flower frog.
It’s a simple, whimsical craft that adds a touch of charm to any flower arrangement. Plus, it’s a fun DIY project for both kids and adults!
How to Make an Air Dry Clay Flower Frog
Making DIY air dry clay flower frogs is easy, and the results are so pretty. It’s the perfect project for anyone who loves flowers and crafting. You’ll have a beautiful flower frog ready to hold your blooms in no time!
Materials Needed:
- Crayola air dry clay
- Rolling pin (I use a wood dowel, but this rolling pin with adjustable thickness rings is so cool!)
- Round Cookie cutters (pick a cutter that is larger than your jar opening)
- Disposable straw
- Damp sponge (only needed to smooth out any blemishes)
- Jar or container for flowers (I used a repurposed Oui yogurt jar, mason jar, crock and teacup)
- Clear acrylic spray sealant or Decoupage
- Paint (optional but I used Dixie Belle Cotton and Savannah Mist)
- Fresh flowers with stems that fit into the holes (I used Chamomile and Lavender)
Step-by-Step Instructions:
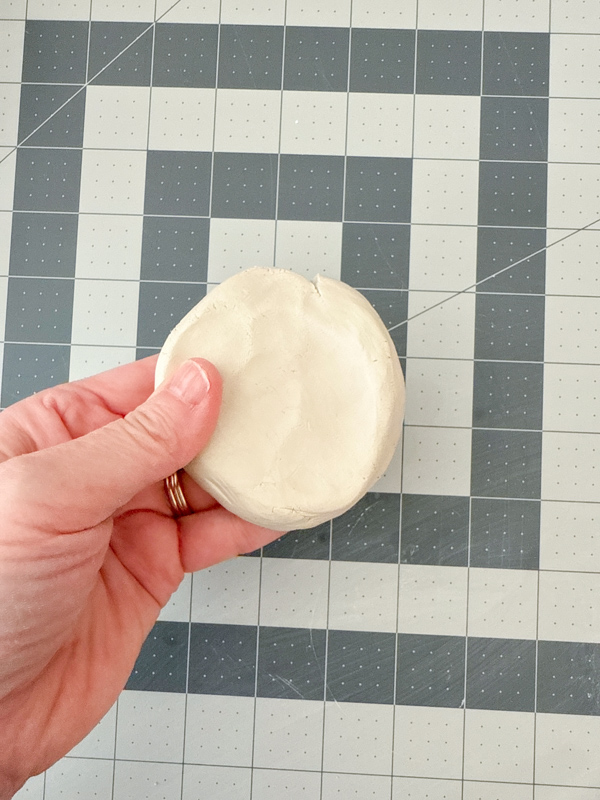
1. Warm Up the Clay
First, warm up the air dry clay in your hands. This makes it soft and easy to work with. Knead the clay until it feels smooth and ready to shape.
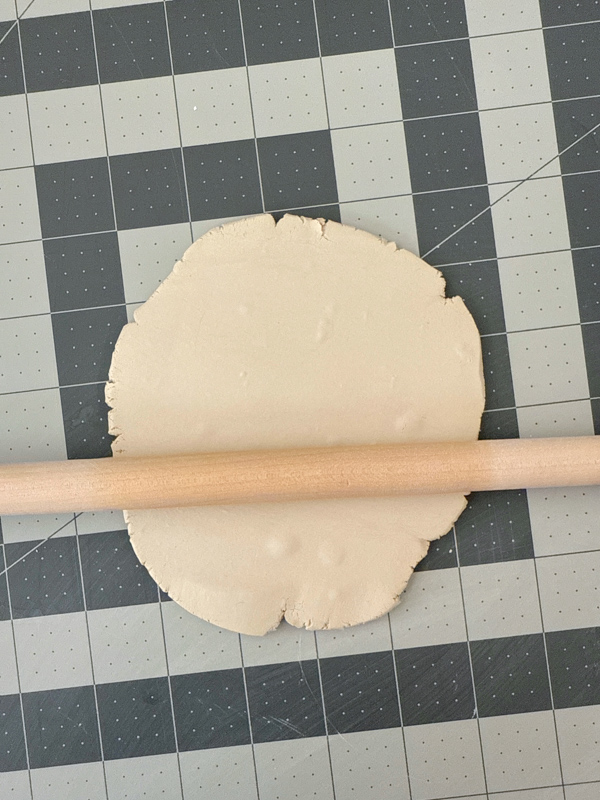
2. Roll Out the Clay
Roll the clay piece out with your rolling pin on a flat surface. Aim for about 1/4 inch thickness. Roll it large enough to fit the cookie cutter you want to use.
3. Cut the Clay
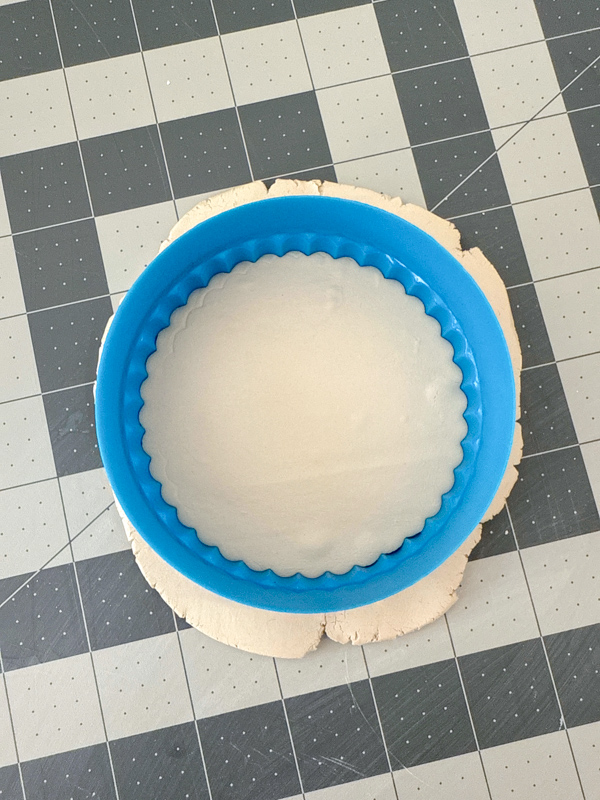
Press your cookie cutter straight down into the clay. The shape you choose will form the base for your air dried clay flower frog.
4. Remove Extra Clay
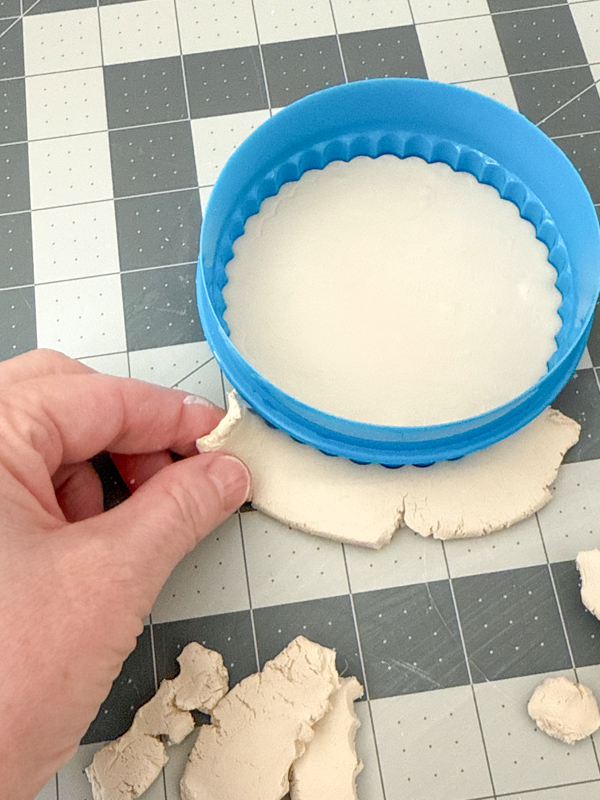
Carefully pull away the excess clay from around the cookie cutter. You should now have a cute little round shape for the first of your DIY flower frogs.
5. Lift the Cutter
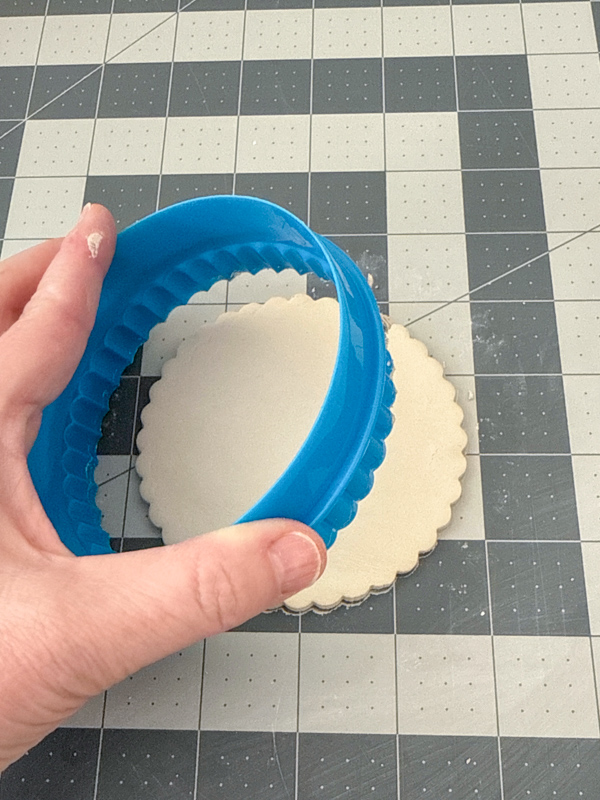
Gently lift the cookie cutter away from the clay. Handle it carefully to keep the edges smooth.
6. Make the Holes
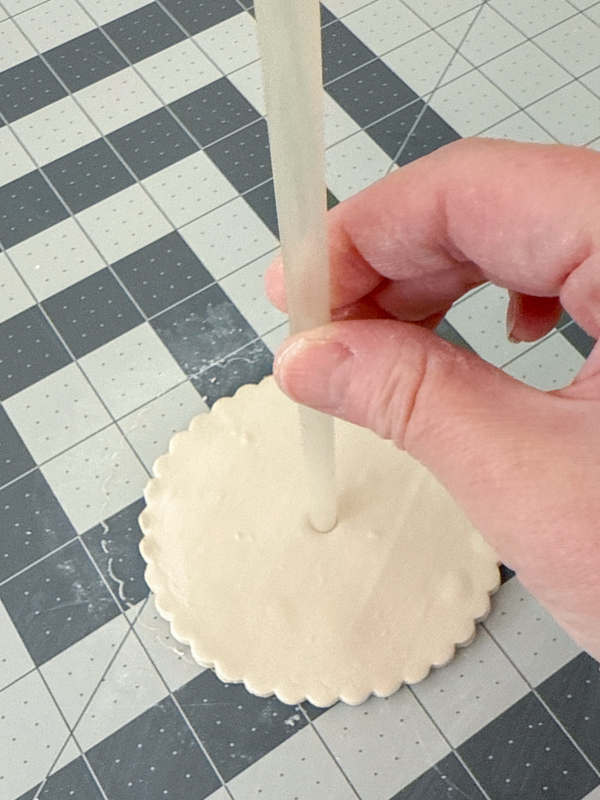
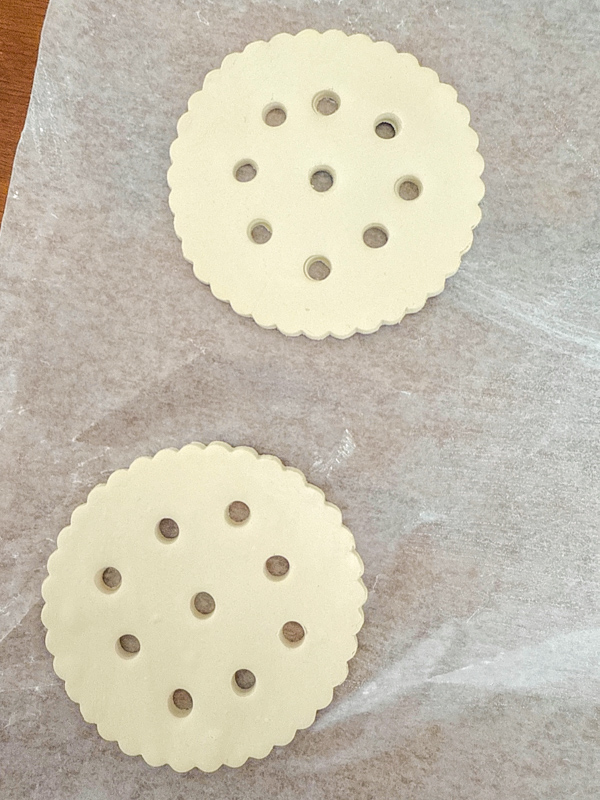
Use a straw (or even a marker cap) to make holes in the clay for the flowers. Start with a hole in the center, then create a circle of stem holes around it. These will hold your flower stems in place.
7. Let the Clay Dry
Let your flower frog air dry, or bake your clay to help it dry faster. Patience is key here!
In some climates, if there is a lot of moisture in the air, it can take 24-48 hours for the clay to dry without baking.
My flower frogs took three days to fully dry, and I baked them to speed up the process. Once it’s dry, you can start the fun decorating process.
8. Paint the Frog
Once it’s completely dry, paint the flower frog however you like. You can go with a bold color or a soft pastel. The choice is yours!
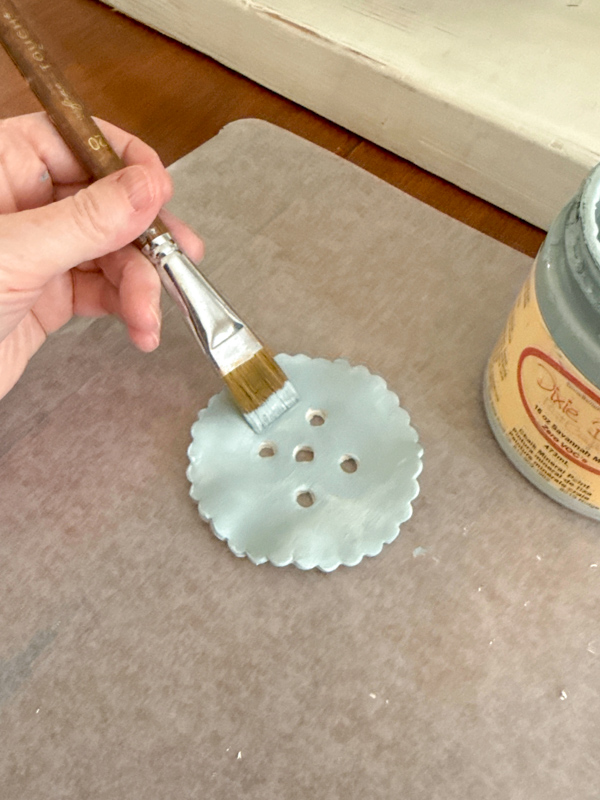
I used Dixie Belle Savanna Mist on this one and Cotton, a white color, on the others.
9. Seal the Clay
After the paint dries, spray it with a clear acrylic sealer to protect it and increase durability. Let it dry completely before you use it.
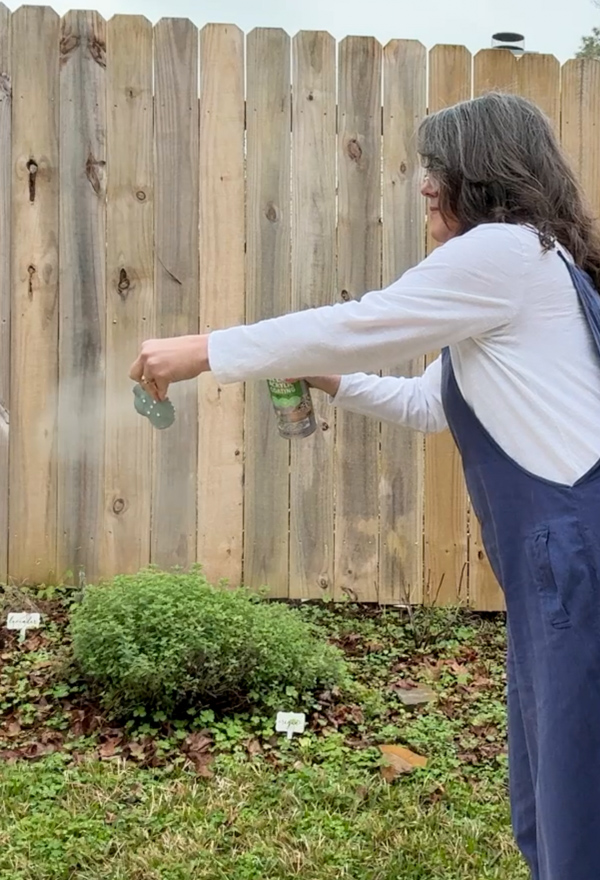
Funny story—I stepped outside to spray my airdry clay flower frog, only to realize it had just started raining! Instead of taking it out back to sit on a table, I had to spray it while holding it in my hand quickly.
Afterwards, my hands were slightly sticky. I couldn't get it to wash off my hands, but I didn't notice it anymore after that, so it must have rubbed off quickly.
10. Add Flowers
Now for the fun part! It's time for flower arranging.
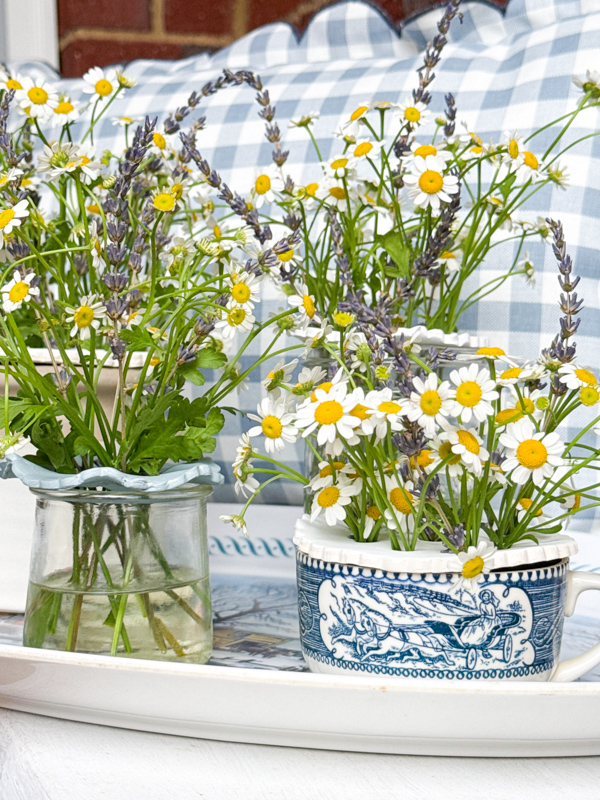
Place your air dry clay flower frog on a jar or container. Insert your flowers into the holes. Make sure the stems fit snugly, and you’ll have a beautiful floral arrangement ready to go.
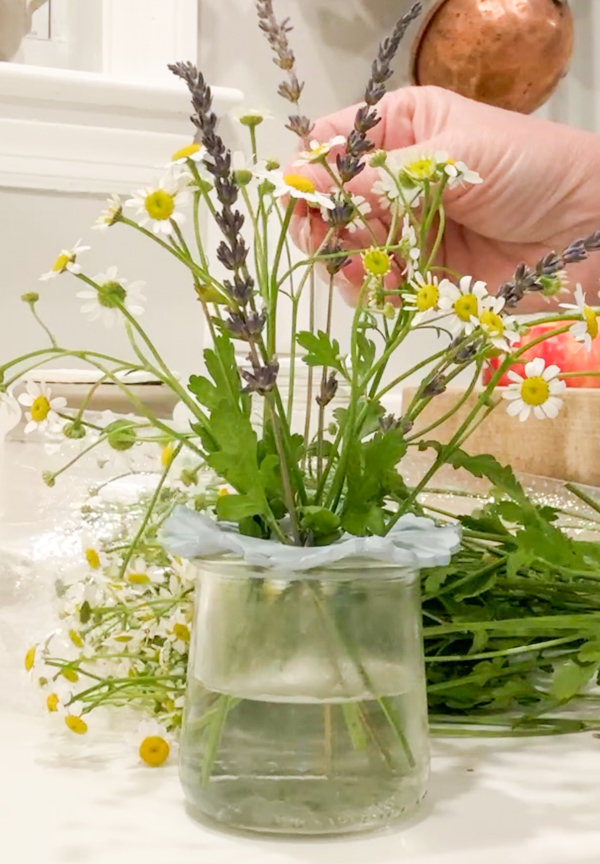
I choose chamomile and lavender for my little arrangements. These flowers have delicate stems, which I thought would be perfect for the smaller arrangement.
What is a Flower Frog?
If you’re wondering, “What exactly is a flower frog?” let me explain! A flower frog is a tool that holds flowers upright in place inside a vase or jar.
Flower frogs originated in Japan in the 16th century for ikebana — which means flower arranging. Flower frogs became popular in Europe and America in the early 20th century.
Traditionally, they’re made from glass or metal, but air dry clay works perfectly, too. This easy flower frog keeps your beautiful flower arrangements upright and looking pretty.
Pro Tips for Crafting Your Flower Frog
- Make sure the clay is completely dry before you paint and seal it.
- You can get creative with different cookie-cutter shapes for a fun, personalized frog.
- If you want a larger flower frog, roll out more clay and use a bigger shape, like a plate.
- For a smoother finish, gently rub a damp cloth or sponge over the edges.
- Choose flowers with stems to fit your holes!
- Consider using pattern rollers or lace to make designs on the clay
A Little Nostalgia
I’ve always loved vintage finds, especially the ones with a story. My grandmother had a lovely glass flower frog she used for her arrangements, and I was lucky enough to inherit it. Vintage flower frogs are so special!
When I stumbled upon Woodlark’s air dry clay flower frog on Instagram, I had to try it. She made the cutest ruffled edge frog using an old yogurt jar.
The wildflower arrangement she created was simply beautiful! That’s when I knew I had to make one myself.
Decorating with Your Air Dry Clay Flower Frog
Now that your air dry clay flower frog is ready let’s talk about where to place it. Here are a few home decor ideas:
On a Bookcase
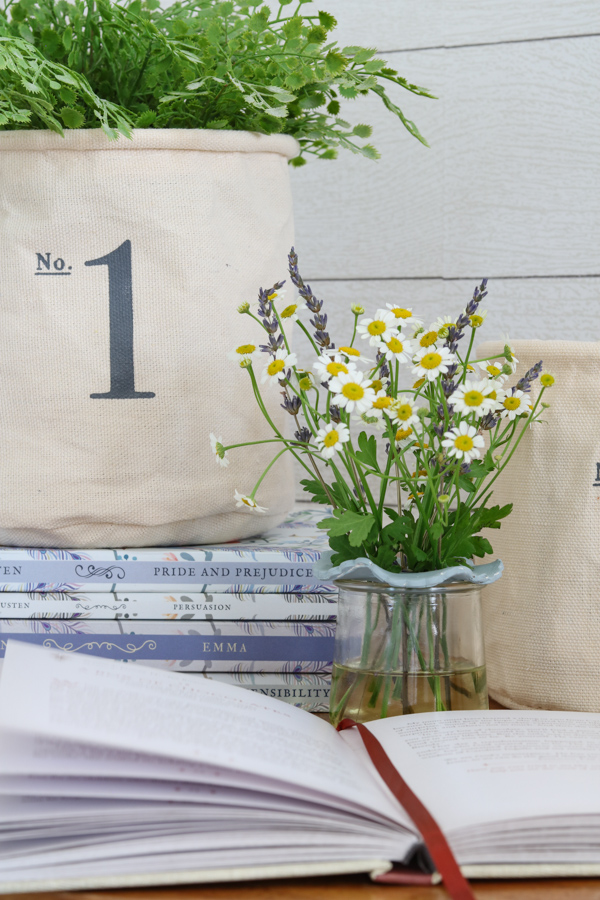
Add a touch of whimsy to your bookshelf with a little flower frog holding a few blooms.
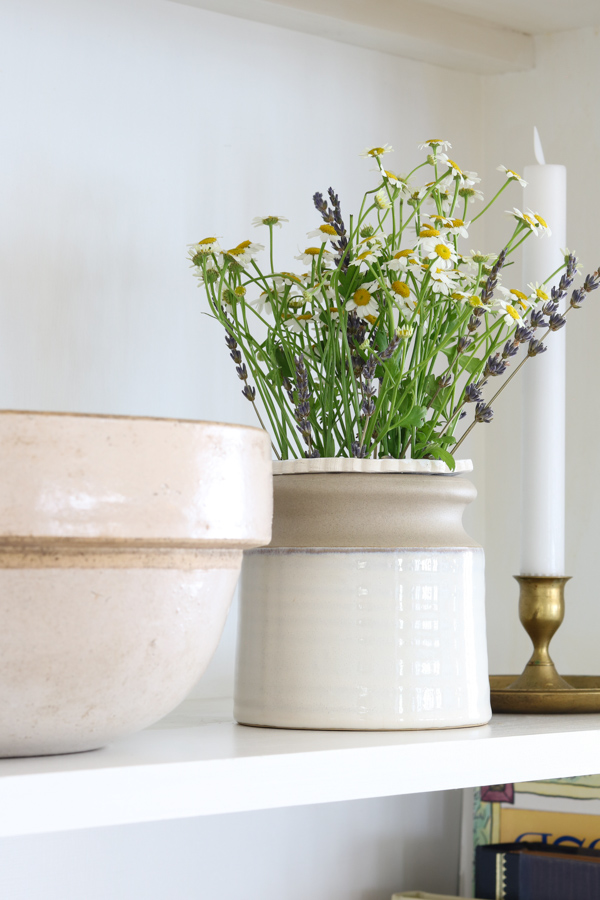
Tuck it between other decorations or sit it on a stack of books. The added color and texture will bring a little spring to your bookcase.
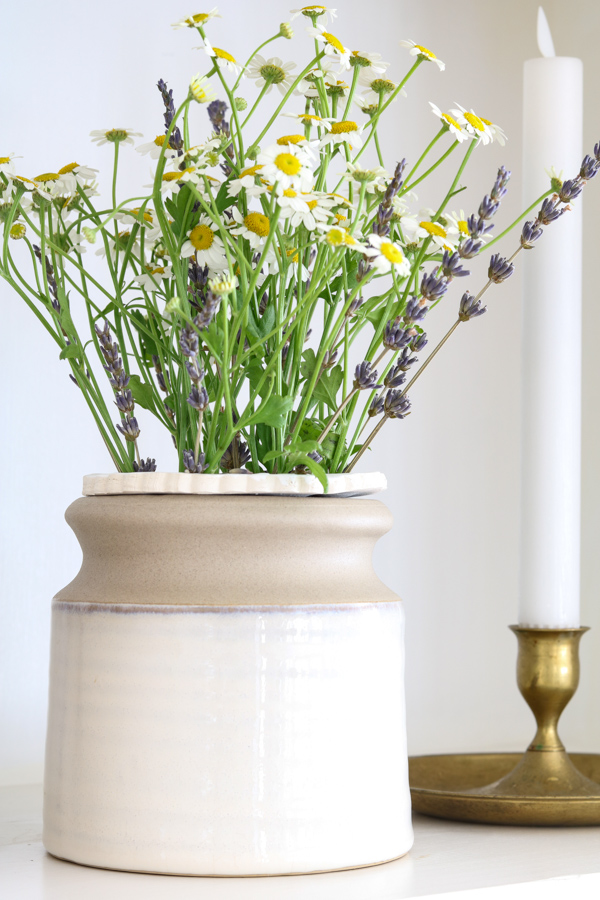
In the Bathroom
Place a jar with your flower frog on your bathroom countertop for a pretty, fresh touch.
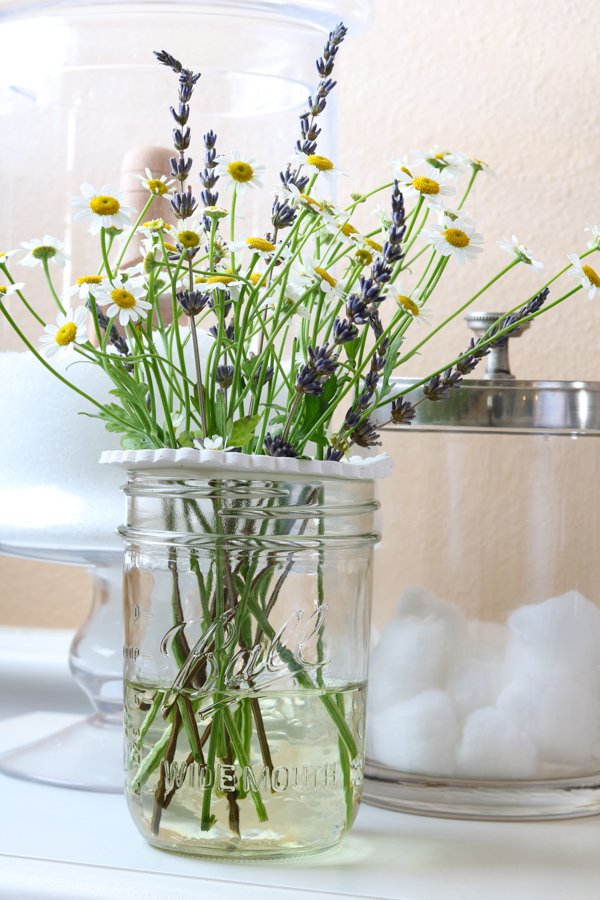
In the Kitchen
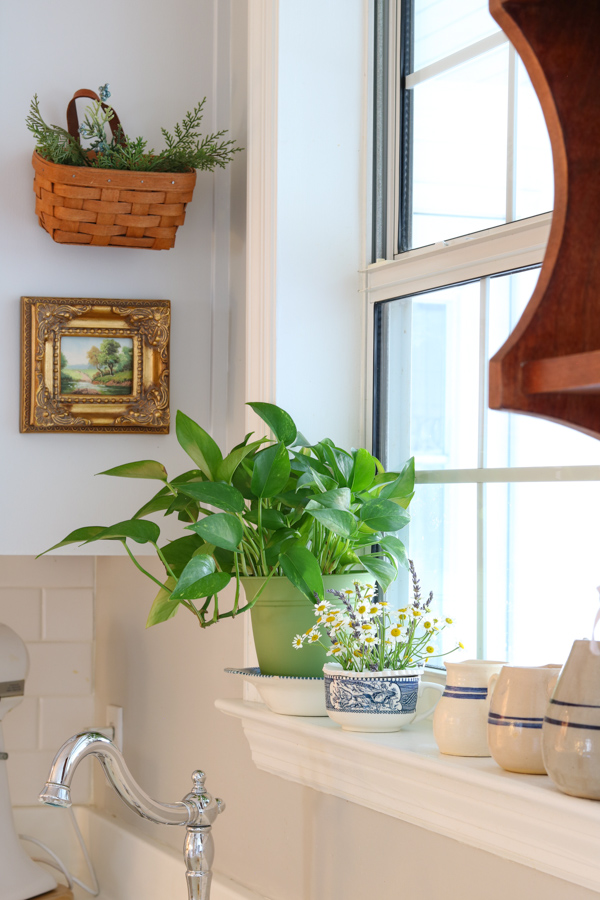
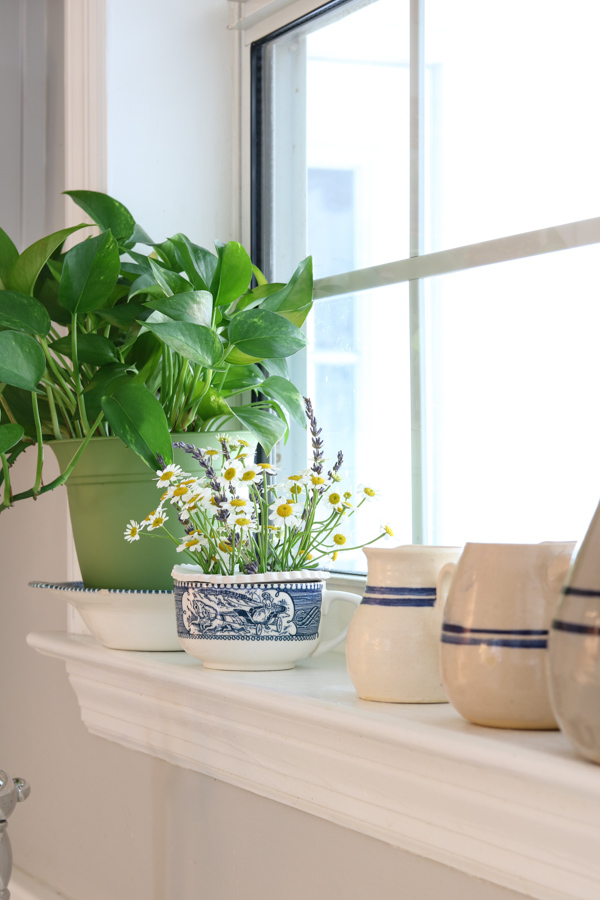
Set your flower frog in a teacup and put it on the kitchen windowsill for a pop of color or on a cutting board on your stovetop.
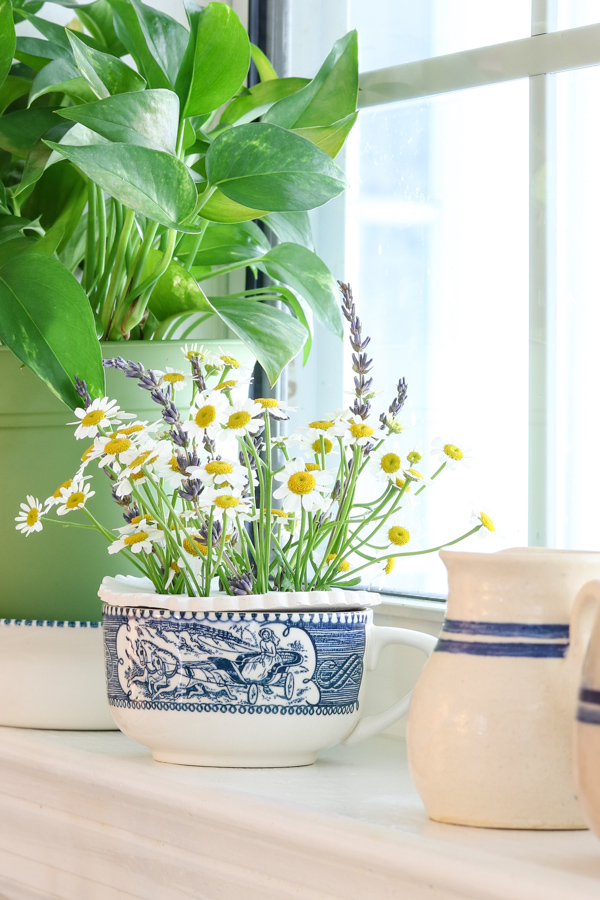
Adding a touch of nature to your kitchen will bring life into the decor. Using this air dry clay flower frog makes flower arranging easy and effortless. Once you place it in your kitchen, you will want to change out the flowers weekly.
In a Guest Bedroom or Kid's Room
Let your little ones get crafty and place their own flower frog on a bedside table. They will treasure their creation and love picking flowers outside to go in it.
And remember this tip when guests come to stay the night. Adding the little flower frog arrangement will make them feel so special.
On the Dining Table
Use your flower frog as a charming centerpiece for dinner parties or family meals. If you make more than one, you can display them in a row.
Conclusion
Creating your own air dry clay flower frog is a fun and easy craft project anyone can enjoy. With just a few simple steps, you’ll have a charming tool for your beautiful arrangements and a personalized decor piece for your home.
Whether you place it on a bookcase, coffee table, or even in the kitchen, your flower frog will add a little extra magic wherever you decide to put it.
So, grab your clay and get crafting—it’s time to use your creativity to bring a touch of beauty into your home!
What’s your favorite flower to arrange with a flower frog? Drop a comment below and let me know!
And if you enjoyed this project, you might also love these other air dry clay DIYs.
- How to Make Clay Mushrooms
- How to Make Clay Bowls
- DIY Air Dry Clay Heart Garland
- How to Seal Air Dry Clay
- Easy Air Dry Clay Ideas for Adults that Anyone Can Try
Happy crafting!

