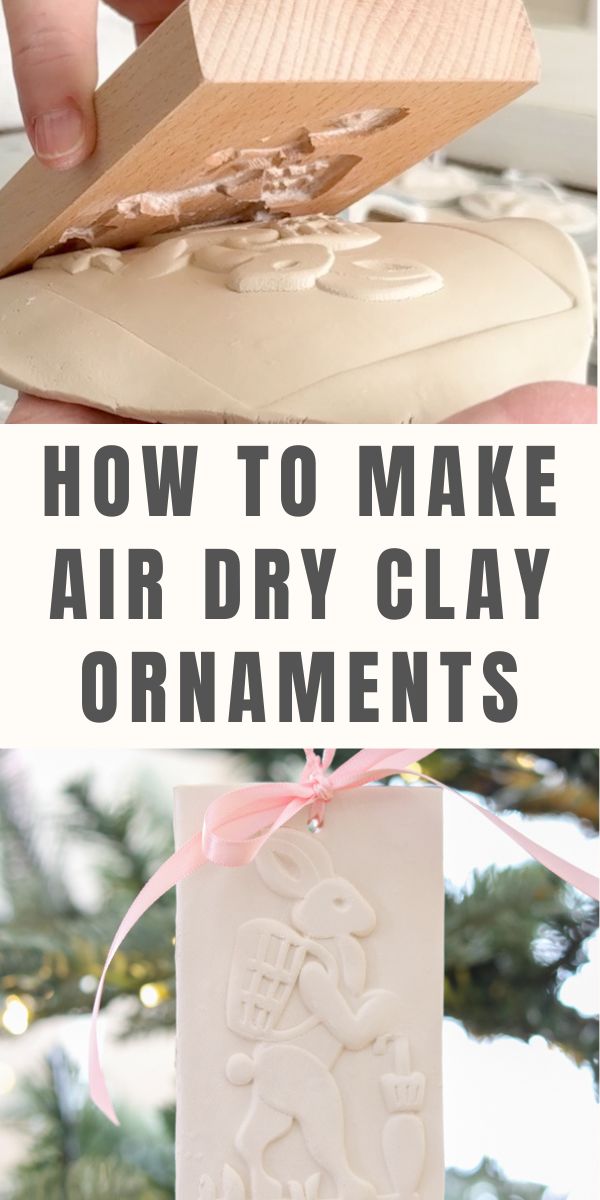
Creating your own ornaments can be a delightful and satisfying craft, especially when using air-dry clay and cookie stamps. This blog post will guide you through the simple steps to make charming DIY air dry clay ornaments with minimal supplies.
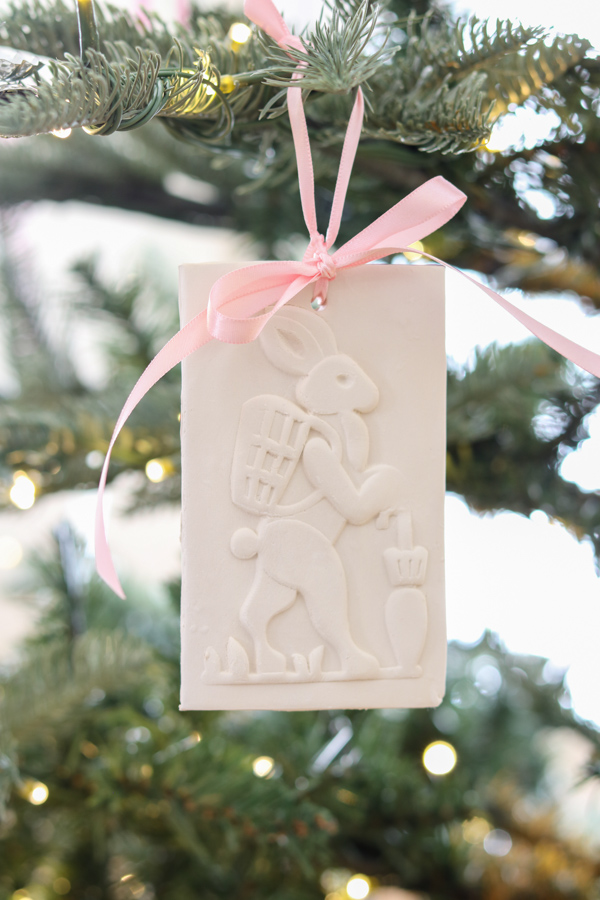
Whether you're crafting for a special occasion or simply looking to add a personal touch to your home decor, this Christmas craft is perfect for all skill levels. Follow along to learn how you can transform basic materials into beautiful creations that add a handmade flair to any setting.
How to Make DIY Air Dry Clay Ornaments
This step-by-step tutorial is easy to follow and fun for the whole family. It's one of my favorite air dry clay projects. Gather your supplies, and let's get started.
What You Need to Make DIY Air Dry Clay Ornaments
Making DIY air dry clay Christmas ornaments is so easy and only requires a few items. Here is what you need:
- Air Dry Clay
- Cookie Stamp or molds (this is the one I used, but you can also use cookie cutters)
- Ribbon
- Ruler
- Wooden Dowel
Steps to Make DIY Air Dry Clay Ornaments
Let's jump into the tutorial steps of making your DIY air dry clay ornaments using cookie molds.
Step 1: Roll Air Dry Clay into a Ball
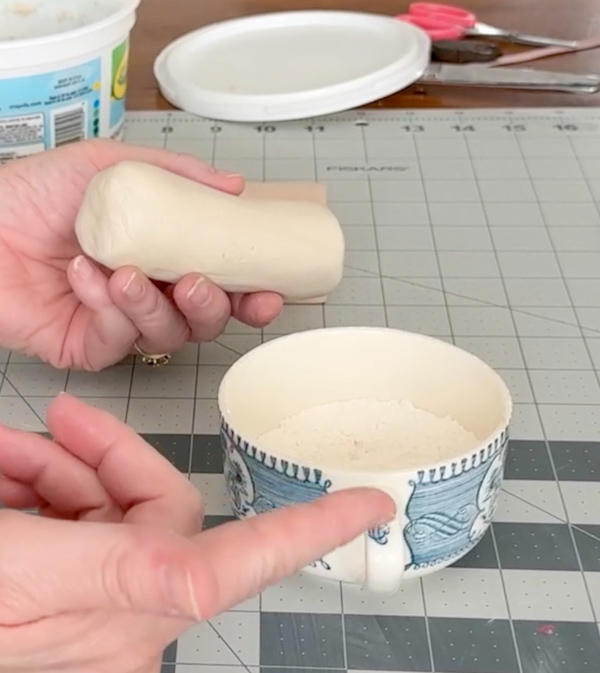
I use white clay for my ornaments. Warm up a large piece in your hands. Work it between your hands to make it the same length as the press.
Step 2: Roll Out Clay
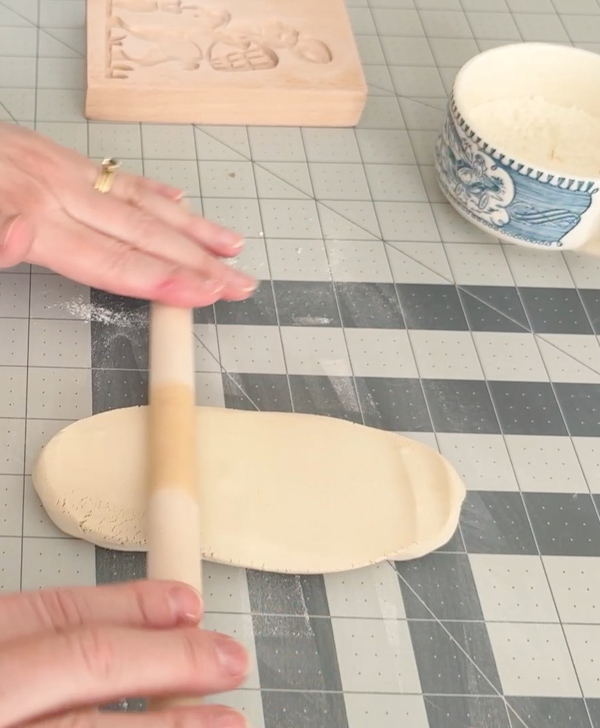
Sprinkle a bit of flour on your working surface and spread it with a paint brush so the clay won't stick.
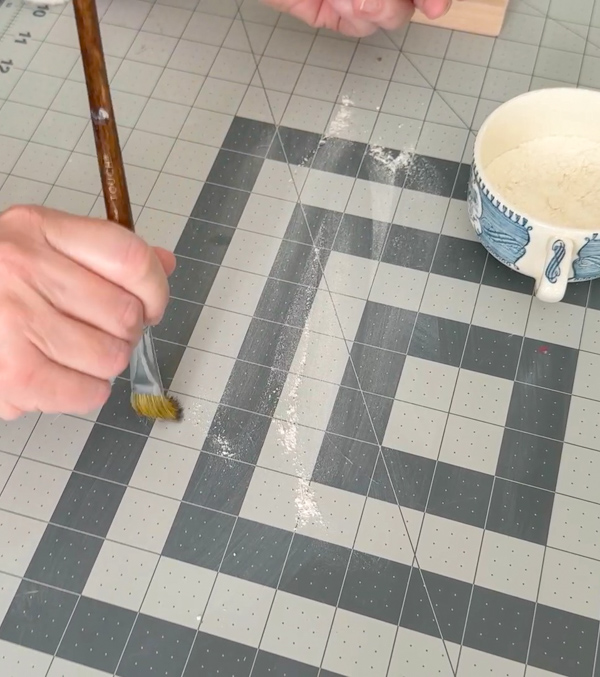
I use a wooden dowel like a mini rolling pin to work the clay into my desired shape.
Step 3: Add Air Dry Clay to Cookie Stamp
Add a little flour to the cookie press with your paintbrush.
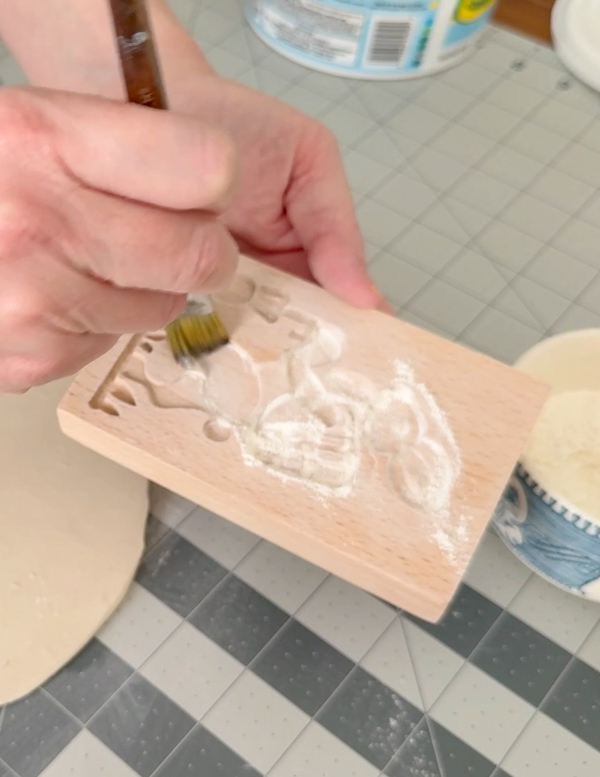
Gently lift the clay and choose which side you want the pattern on. You want a very smooth surface. If you see cracking on one side, you'll want that to be the back of the ornament.
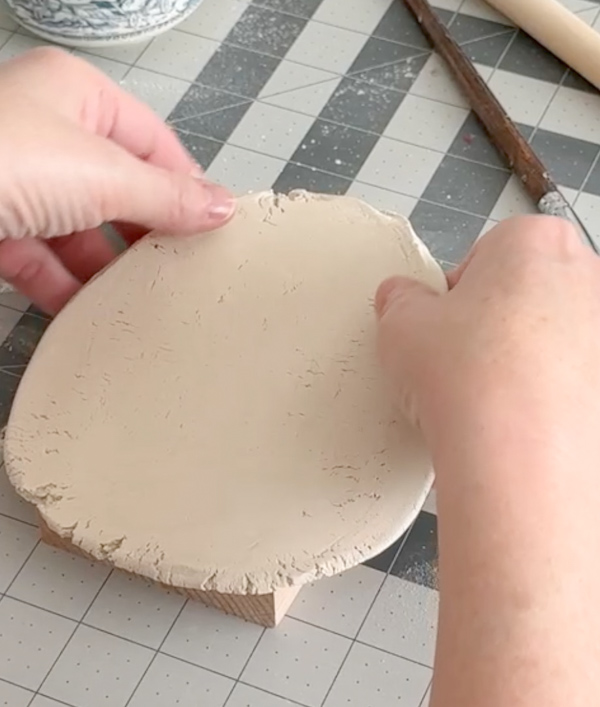
Lay the clay on the mold and gently press it in and then press around the edge of the mold so you have lines to cut the excess.
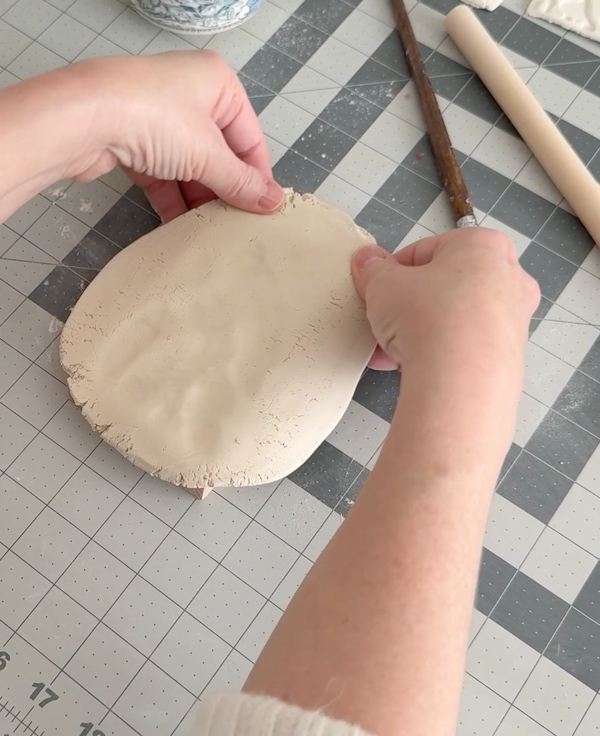
Flip it over and carefully pull the press away working a little by little as you move around the mold.
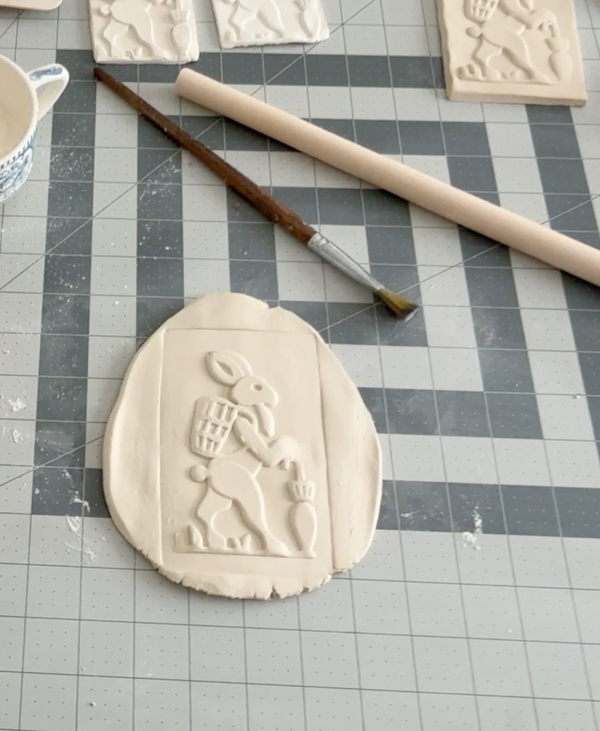
Step 4: Cut Excess Clay
Cut the excess clay around the edges away using a ruler. I put some flour on the edge to keep it from sticking.
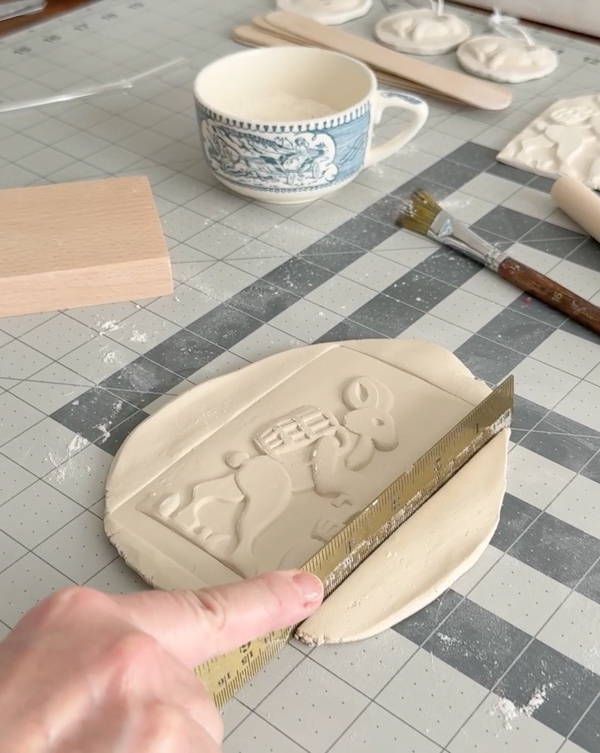
Simply press straight down then slide the ruler back and forth and then pull the clay away from the design.
Step 5: Add Hole to Clay Ornament
Now, we need to make a hole in the top for the ribbon. I use a chopstick and just press it down gently. Be sure not to put the hole too close to the top, or it will crack the surface of the ornament.
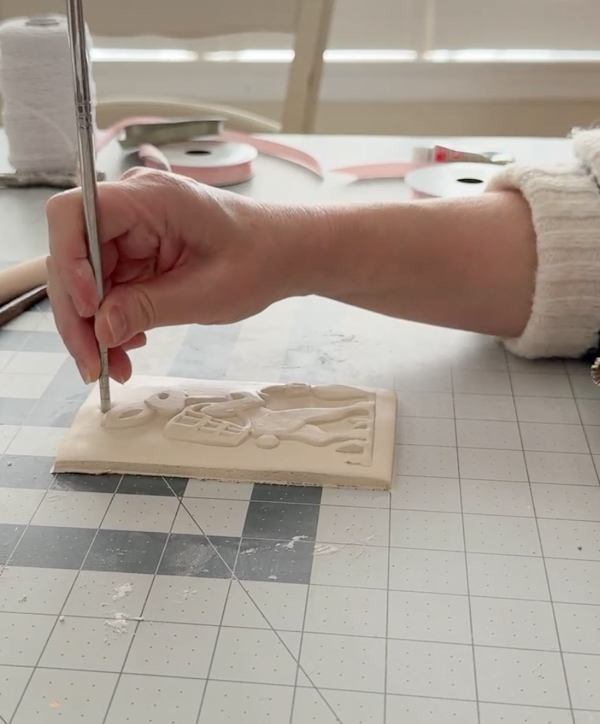
Step 6: Smooth Out Rough Lines with Wet Sponge
Gently pick up the ornament, and with a damp sponge, smooth out the rough line along the edges from cutting it with a ruler.
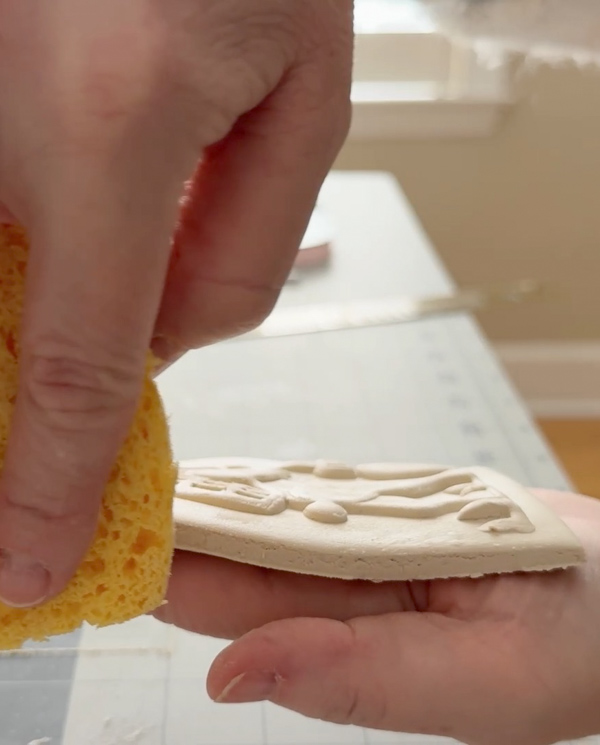
Step 7: Dry Over Night
The drying process will harden your ornament. Make sure it is good and hard before you do the next step.
Step 8: Add Ribbon and Decorate
At this point you can paint your clay ornament, decorate it or simply leave it in its natural state. I am leaving it as is so let's add a ribbon.
Now add your ribbon or twine. I put one piece of ribbon through the hole to act as the hanger and a second piece of ribbon to tie a bow around the first ribbon.
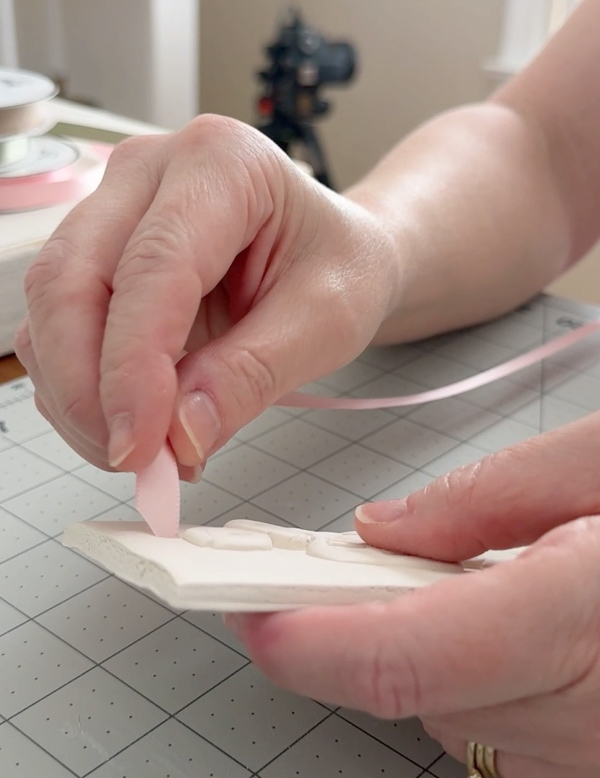
Now you're ready to hang the ornament on the tree!
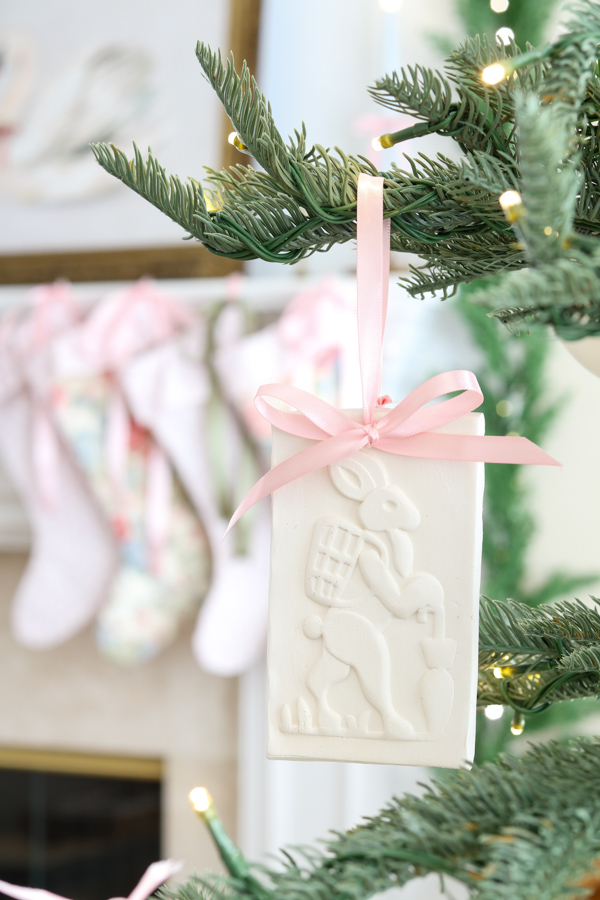
How to Decorate with Your DIY Air Dry Clay Ornaments
Your DIY air dry clay ornament will look adorable on your tree. But there are other ways you can turn your air dry clay ornament into Christmas decorations.
You can hang your air dry clay ornaments on stockings, place it on an easel, or give it as a gift.
How to Store Your Air Dry Clay Ornaments
I have had my clay ornaments for years stored in my attic in storage containers. Wherever you put them make sure they are top and nothing sharp is pressing against them. It also helps to wrap them in paper so they are safe from getting chipped.
Final Thoughts on DIY Air Dry Clay Ornaments
These air dry clay ornaments are a fun craft project and easy to do. You can find a big selection of cookie presses on Amazon and Etsy. With just a few materials and simple steps, you can craft unique ornaments that reflect your style and creativity.
Whether you choose to hang them on your Christmas tree, use them to decorate stockings or give them as heartfelt gifts, these clay ornaments offer endless possibilities for enhancing your seasonal decor.
If you want to paint your air dry clay ornaments, check out my post How to Paint Air Dry Clay: A Step-by-Step Guide Using 4 Different Paints.
So gather your supplies, unleash your creativity, and enjoy the satisfaction of crafting something special for the holidays.
Looking for More Christmas DIY Inspiration?
Check out these posts for more Christmas DIY inspiration this holiday season:
- Make the Holidays Special with Handmade Christmas Stockings
- Crafting Christmas Cheer with Paper: Printables for a Festive Season
- How to Make Velvet Ornaments: DIY Christmas Decor
- Stunning DIY Christmas Tree Bow Topper from Fabric
Happy Decorating!

