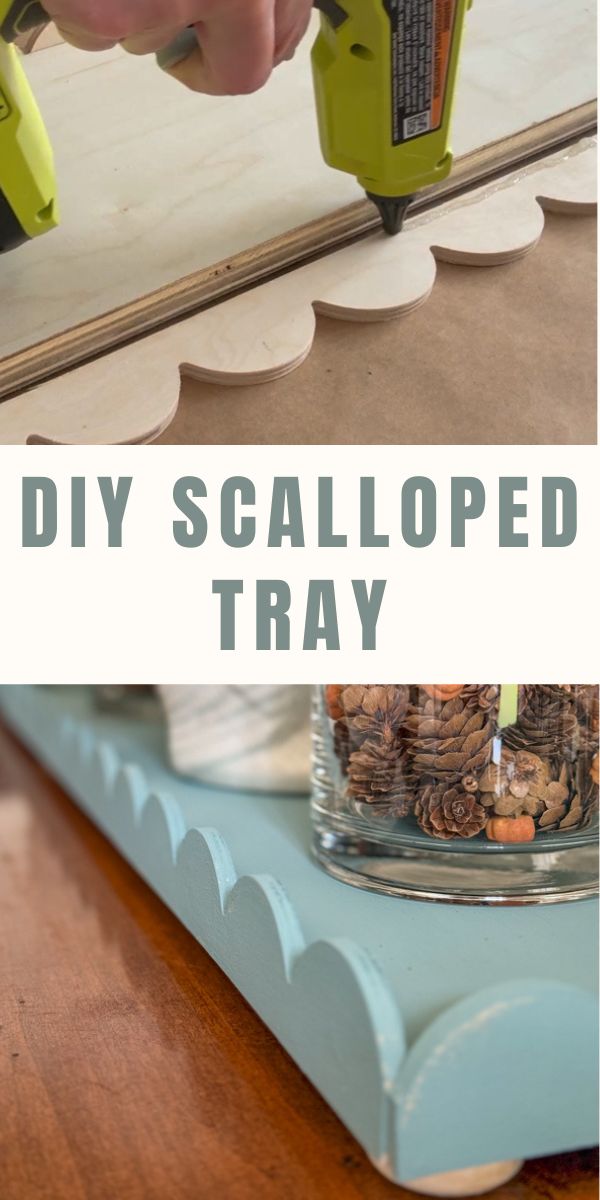
Crafting a DIY decorative wood tray is a wonderful way to add a touch of personalized elegance to your home décor.
This project strikes the perfect balance between creativity and functionality, making it an ideal endeavor for both seasoned DIY enthusiasts and beginners alike.
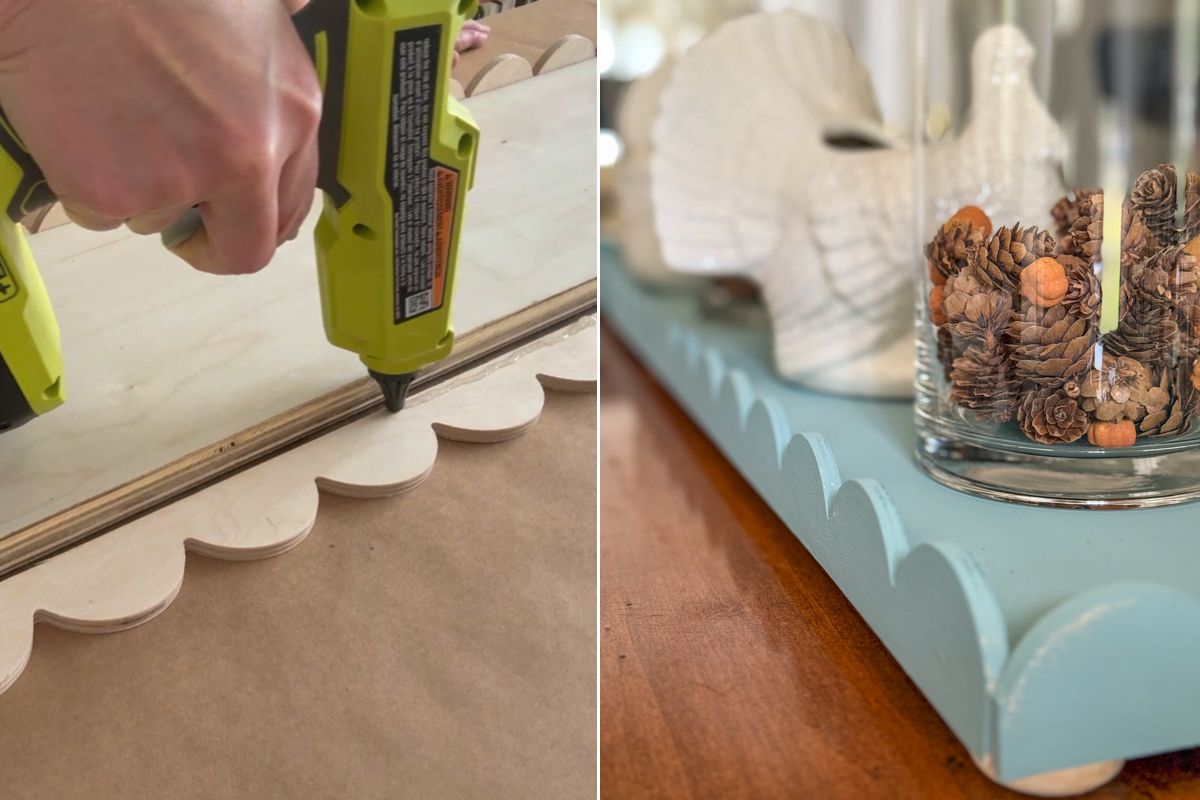
Creating this DIY Scalloped Wood Tray is a straightforward process that yields a stunning result. The tray's versatility means it can be used in various settings around your home.
Picture it as a stylish centerpiece on your dining table, adorned with candles or seasonal decorations. In the kitchen, it could organize your spices, oils, or even coffee essentials.
It’s also perfect for the living room, holding magazines, remotes, or a lovely arrangement of plants. The possibilities are endless, making this tray a versatile and functional addition to your home décor.
This project also serves as an excellent introduction to basic woodworking techniques. No drill or screws required. You’ll gain experience in measuring, cutting, sanding, and painting—all essential skills for future DIY endeavors.
The satisfaction of creating something beautiful and functional with your own hands is immensely rewarding, and the compliments you’ll receive will undoubtedly boost your confidence in your DIY abilities.
If you love easy DIY projects, this one is for you. Let's jump into our DIY decorative wood tray tutorial!
DIY Scalloped Wood Tray
As with all DIY projects, before diving into the project, let's gather our supplies:
Supplies Needed:
- Scallop Trim (four pieces) (I bought mine at Hobby Lobby but here is one I found on Amazon)
- Wood Base: 1 in x 8 in x 4 ft.
- Feet for Tray (Wood Toy Wheels)
- Chalk Paint
- Paint Brush
- Sandpaper Fine & Course
- Hot Glue Gun
- Glue Sticks
- Miter Saw (you can also use a hand saw)
How to Make a DIY Scalloped Wood Tray
Step 1: Prepare the Base
Measure for Base
To start, you'll need a 47-inch wood base, which will serve as the foundation of your wooden tray. The dimensions of the base may be bigger or smaller depending on the length of your table.
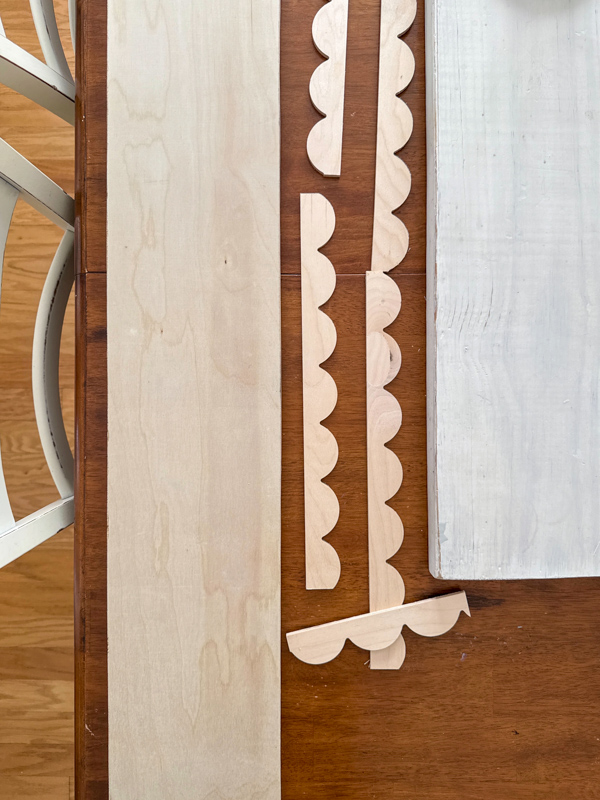
This scalloped tray will look adorable small too!
Cut Scalloped Tray Base
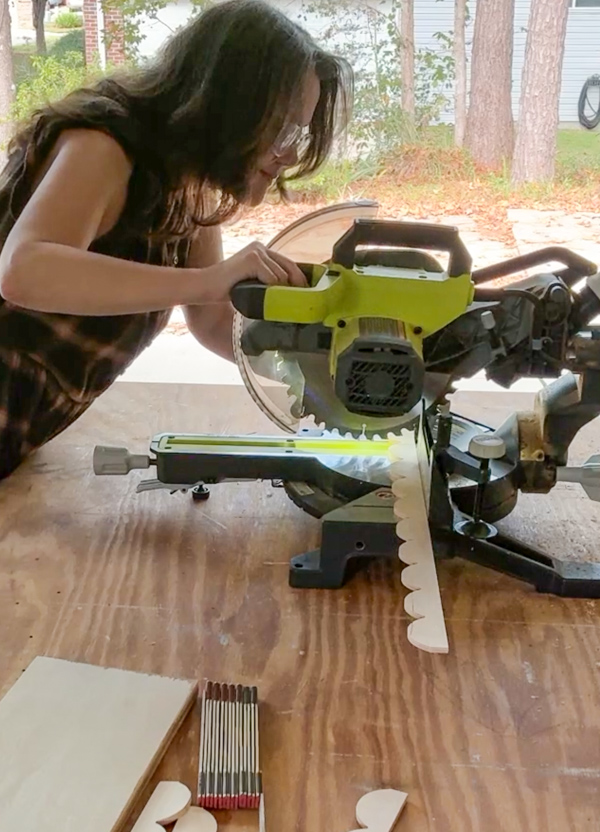
Now cut your board to the size you want using a miter saw or hand saw. You can also ask the people at the hardware store, Lowes & Home Depot, to cut the board for you.
Sand the Base
Sanding is your first step—this is crucial for achieving a smooth and splinter-free surface. Whether you choose sand paper or a sanding block, take your time to thoroughly sand all surfaces and any rough edges.
Begin by using a course grit sandpaper and then move onto a fine grit sandpaper. You can use a sanding block or a electric sander.
This meticulous preparation ensures that your tray looks polished and professional in the end.
Step 2: Add the Scalloped Trim
Next, you’ll focus on the scalloped trim. This decorative element can be easily found at craft stores like Hobby Lobby.
Measure Scalloped Trim
Carefully measure the trim to fit the perimeter of your wood base. Precision is key here, so double-check your measurements before cutting.
Pro tip: For the end pieces, I found it easiest to place the trim on three sides meeting on the corner and marking with my pencil where to cut. If your sides are longer than the scalloped trim simply place one piece of trim along the side and place the other piece overlapping it. Mark where they join with a pencil and cut.
Glue Trim to Base
Once your trim pieces are ready, attach them to the edges of the base using hot glue or wood glue. This step is straightforward but requires a steady hand to ensure the trim adheres evenly.
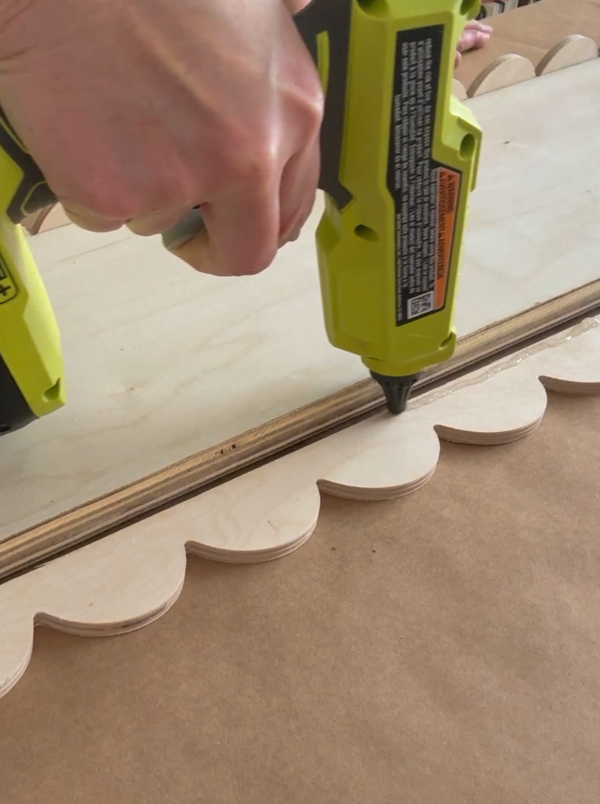
Use clamps to help keep the pieces in place while they dried if you are using wood glue. I didn't need this using the hot glue and to my surprise it bonded quickly and is holding up great.
If you are using hot glue make sure when you place the two pieces of wood together exactly where you want it because it adheres instantly.
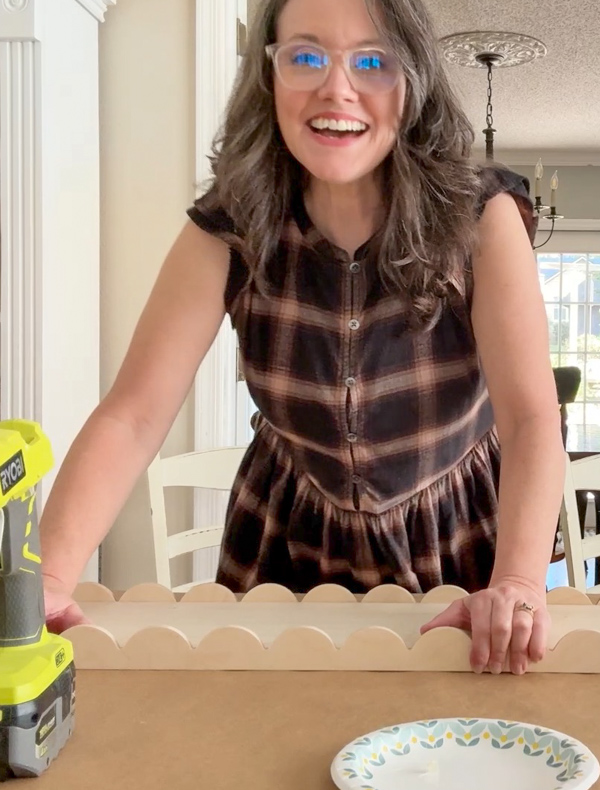
Allow sufficient time for the glue to dry completely before moving on to the next step.
Step 3: Paint the Tray
With the trim securely in place, it’s time to paint your tray. I am using Vintage Duck Egg chalk paint for a pop of color but you can use any color or you can stain your tray or leave it unfinished.
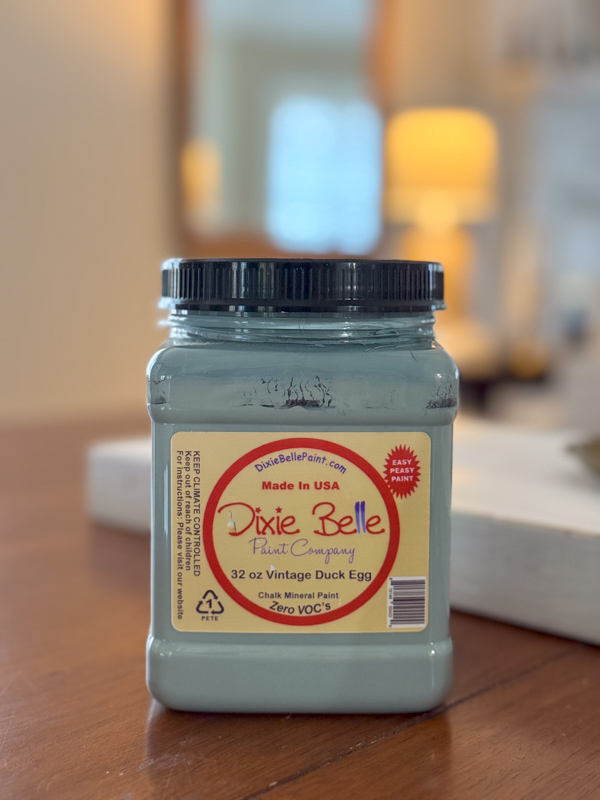
Not only does this blue color provide a beautiful, muted color that complements a variety of decor styles, but chalk paint is also user-friendly. It adheres well to wood surfaces and dries quickly, making the painting process efficient.
Apply an even coat, and don’t hesitate to add a second layer if needed to achieve the desired depth of color or leave a little unfinished for a distressed look.
The paint will give your tray a charming, vintage look that is sure to catch the eye. Be sure to give it sufficient dry time, I let it dry overnight.
Step 4: Add Feet to the Tray
Adding feet to your tray is the last step and it is optional. These can be small wooden blocks, decorative knobs, or repurposed wood pieces—choose what best suits your style. I used wood toy wheels.
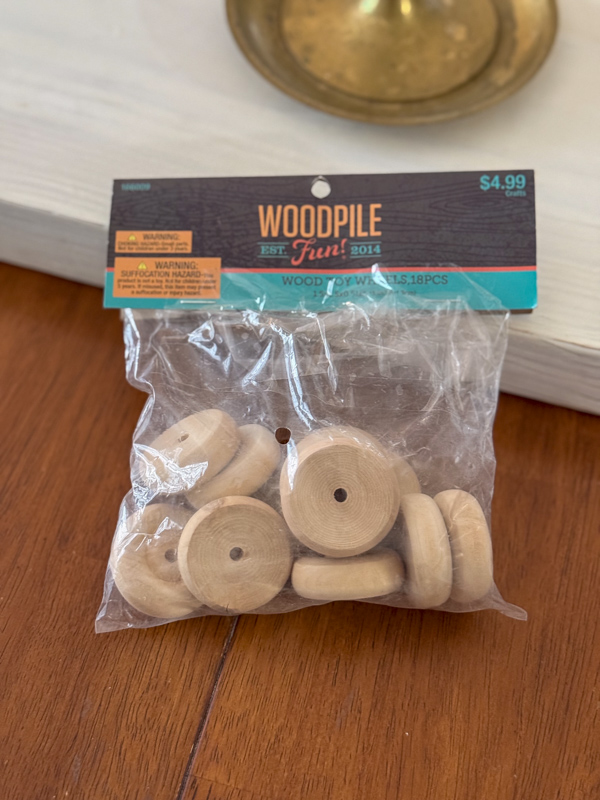
Attach the feet using hot glue, ensuring they are evenly placed to provide a stable base for your tray. This addition not only enhances the tray’s appearance but also makes it more functional by elevating it slightly off surfaces.
Step 5: Final Touches and Creative Uses
Now that your tray is ready, think about the various creative uses it can have around your home. Use it as a centerpiece on your dining table like I am, adorned with candles or seasonal decorations.
Your guests will be amazed!
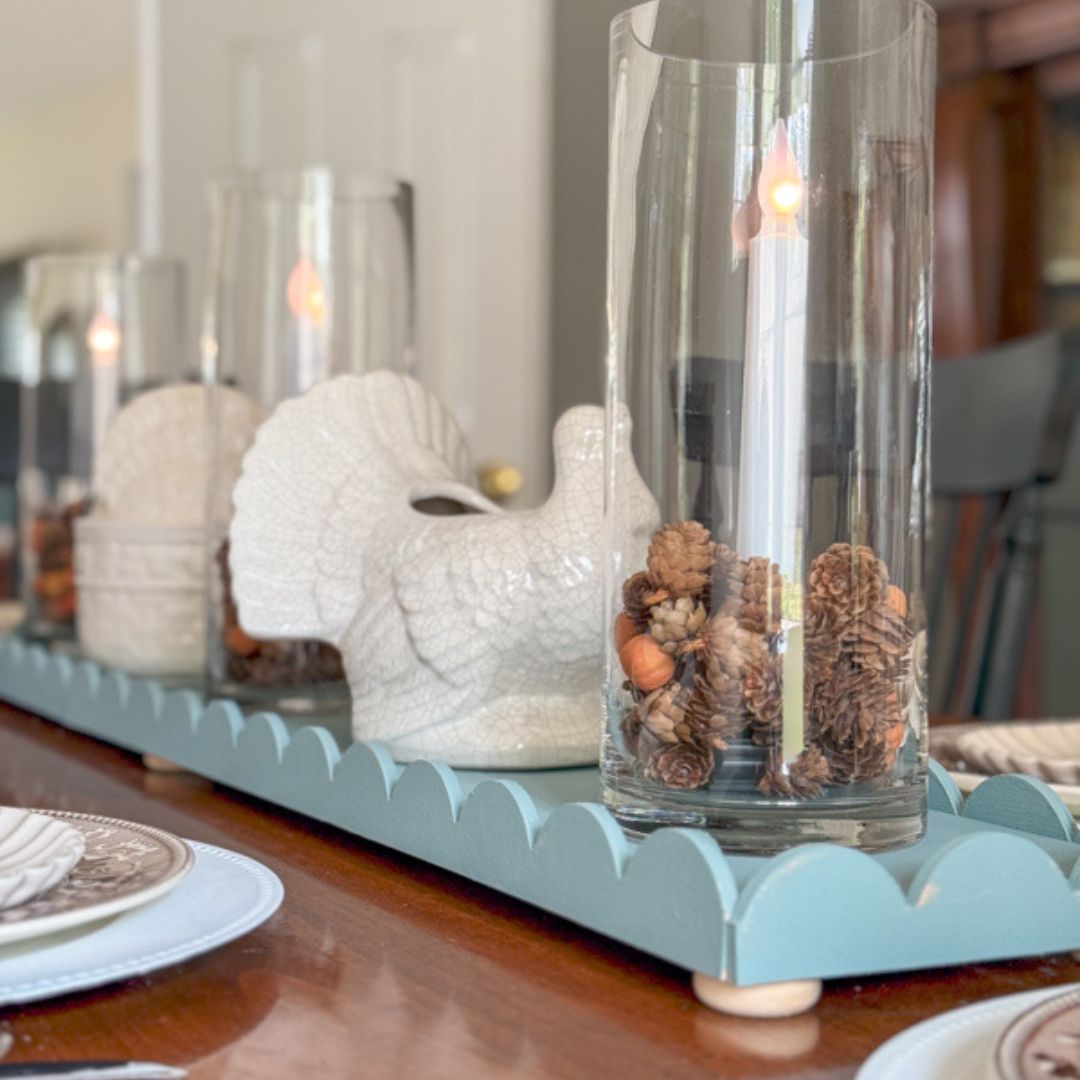
It can also serve as a charming way to organize spices or oils in the kitchen. In the living room, use it to hold magazines and remotes on your coffee table.
The possibilities are endless, making this wood serving tray a versatile addition to your home décor.
Final Thoughts on a DIY Decorative Wood Tray
Creating a DIY Decorative Wood Tray with scalloped trim can be really fun and satisfying.
This great DIY project not only allows you to develop your woodworking skills but also lets you infuse your personal style into a piece of decor that can serve multiple purposes around your home. Check out how we use it for our Thanksgiving tablescape at this post: Perfect Thanksgiving Long Table Centerpiece and Table Setting Idea.
Easy projects like this allow for a lot of personalization. For those who enjoy customizing their DIY wood tray, the possibilities are endless. You can experiment with different colors of chalk paint, staining, adding stenciled designs, mosaic, or even incorporating handles for a more functional touch.
Decorative knobs or metal brackets can also be used to enhance the aesthetic appeal of the tray. Personalizing simple DIY projects in these ways allows you to tailor it to match your home décor perfectly.
Are you going to make this DIY Decorative Wood Tray? I'd love to hear about your tray projects and your tray ideas in the comments!
Looking for more DIY inspiration?
Check out these posts:
- Easy Terracotta Pumpkin DIY – Pottery Barn Dupe
- DIY Book Sleeve: Wrap Your Reads in Style & Protection!
- Sentimental Glow: Birth Month Flower Candle Holder DIY
- Best Scalloped Home Decor Ideas for Every Room of Your House
Happy Decorating!

