
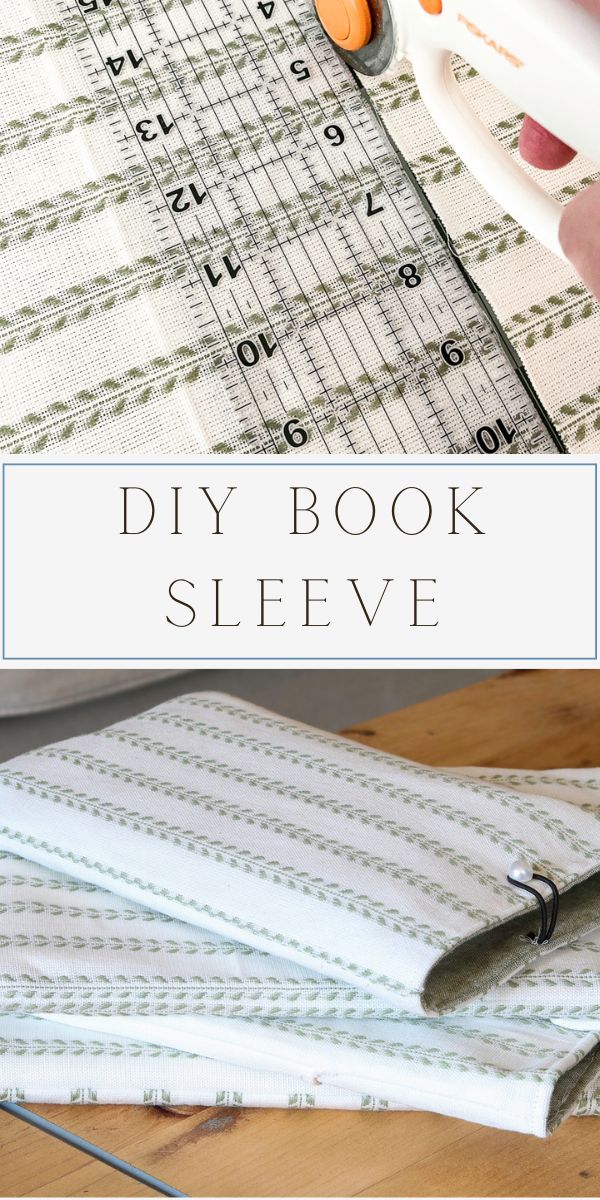
Attention book lovers! Ready to protect your beloved reads with a DIY book sleeve? This project is perfect for beginners. With this easy tutorial, you can create homemade gifts for a bookish friend or safeguard your own favorites. Let's get crafting!

While watching a video on YouTube, I noticed a lady using a fabric book protector. That got me intrigued! It was like a pillowcase for your current read. Having sewing skills, I thought this was an easy beginner sewing project. Who doesn't want to keep their book safe and extra pretty?
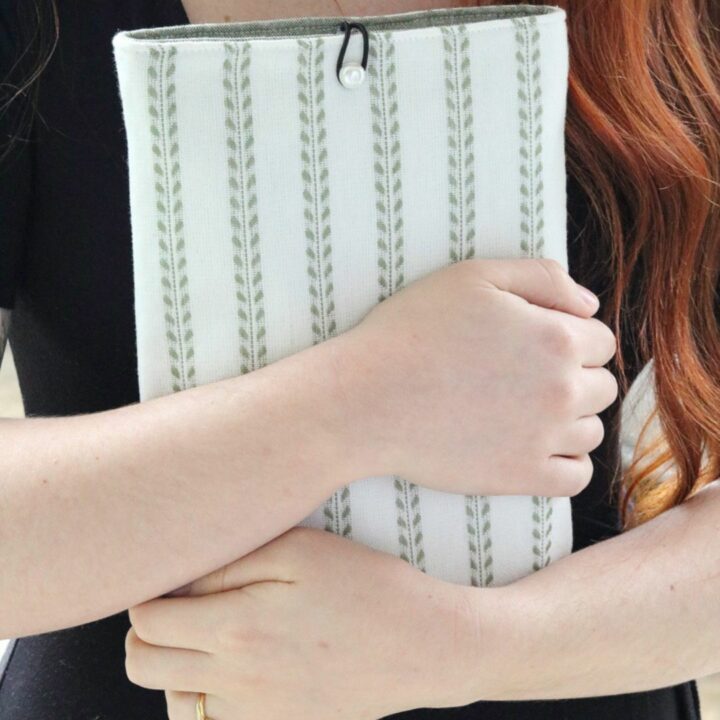
DIY Book Sleeve
Now, if you are a lover of books, you are going to enjoy this fabric book storage. Talk about fashionable! This simple do-it-yourself book cover project will have you reading in style in no time. The first thing I recommend is collecting supplies for our DIY book sleeves.
Book Sleeve DIY Supplies
- 2 pieces of fabric for the outside
- 2 pieces of fabric for the inside
- 2 or 4 pieces of iron-on fusible fleece (cut 1/2″ smaller in width & length)
- Scissors or rotary cutter
- Ruler (I like to use a clear one)
- Buttons, rubber bands, or snap set
- Sewing machine
- Straight pins
- Iron and ironing board
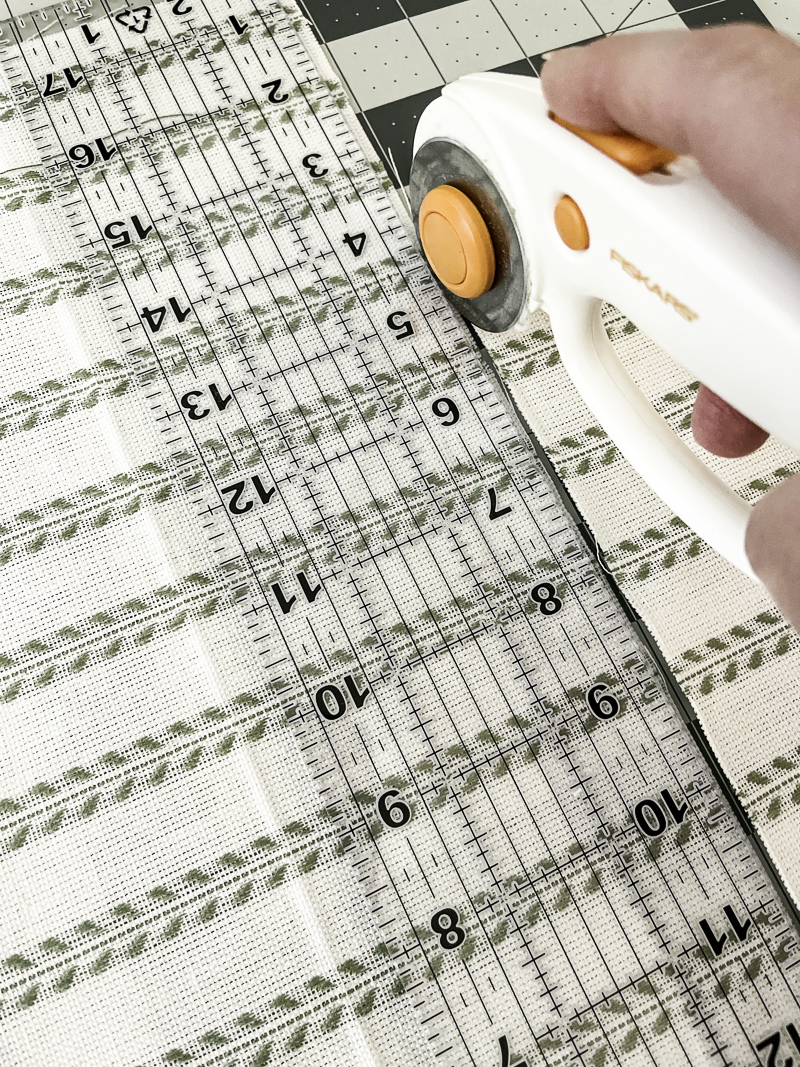
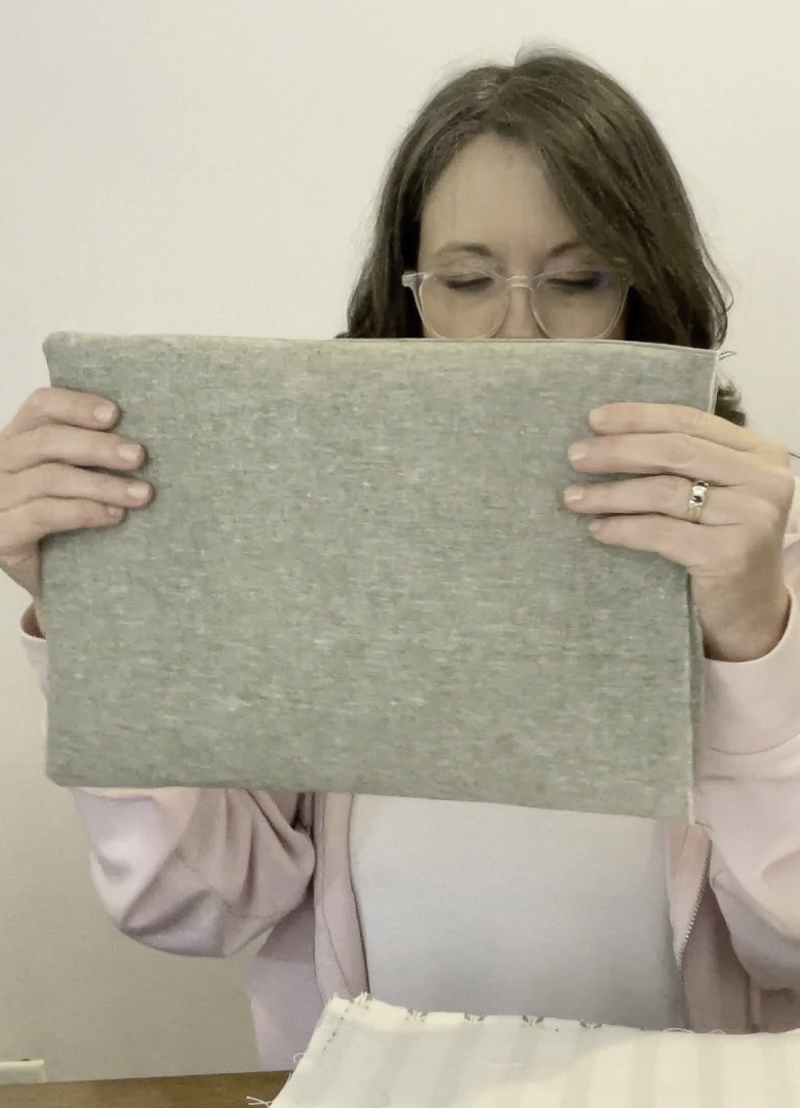
Step 1: Cut Fabric Pieces
Now you're ready to make you own book sleeve. To begin, I recommend cutting all your pieces based on the size of the book sleeve you plan to make. I found a pretty and sturdy fabric. Here are common different sizes for book sleeves. You can pick out the correct size you want.
Book Sleeve Pattern
- Small size: 6″ x 8″ (Fits most small paperback books) (Cut fabric: 6.5″ x 8.5″)
- Medium size: 7″ x 10″ (Fits most standard paperback books) (Cut fabric: 7.5″ x 10.5″)
- Large size: 8″ x 11″ (Fit many hardback books) (Cut fabric: 8.5″ x 11.5″)
- Extra Large size: 9.5″ x 11.5″ (Fits most hardback books that are over 700 pages) (Cut fabric: 10″ x 12″)
Let's say you want to make an extra large book sleeve novel cover. Cut two pieces of the outer fabric and two pieces of the lining 10″ x 12″. This is perfect for an extra large size book.

Next, you will cut two pieces of fusible fleece half an inch smaller than the outer fabric and inner fabric or lining. I like to use a rotary cutter and a clear ruler when cutting, but you can easily use scissors.
If you are making your sleeve to carry something fragile cut two pieces of fusible fleece for your lining too.
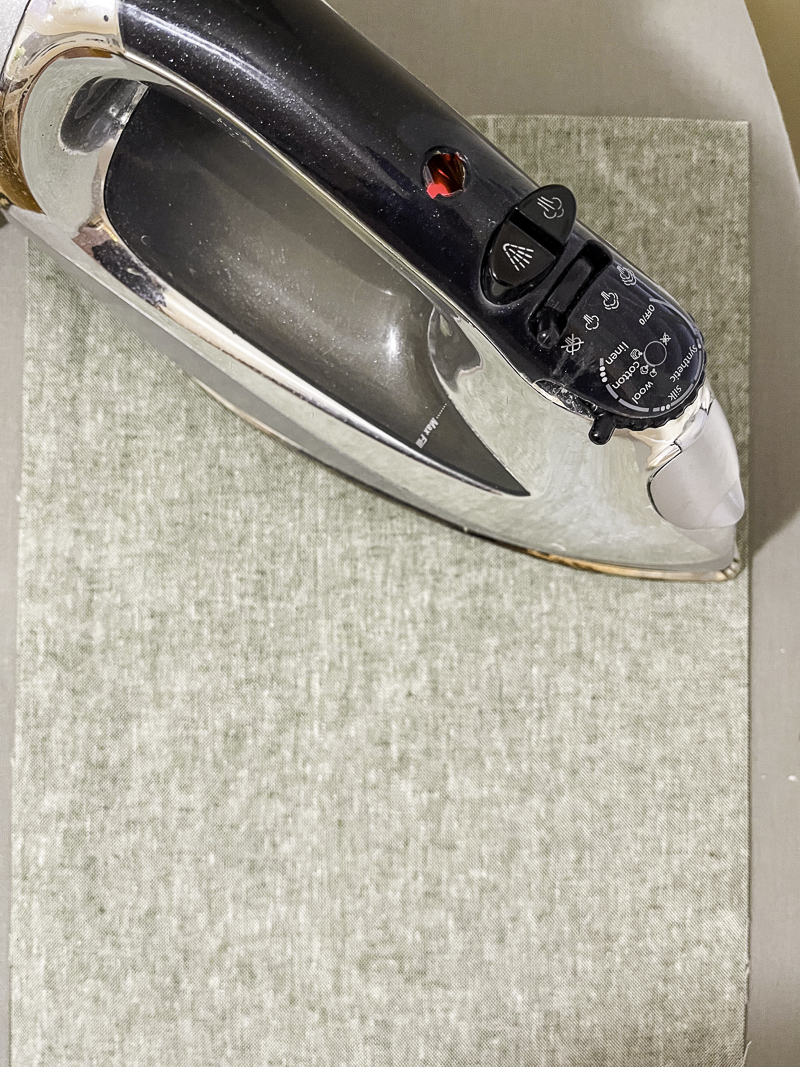
Step 2: Iron Fusible Fleece
Now that your fabric and fusible fleece are cut, it is time to glue them together. First, place the fusible fleece bumpy side down (this is the glue side) on the wrong side of the outer fabric pieces. If you are making your book sleeve to carry a laptop or something fragile, add the fleece to the lining pieces, too.
Next it is time to iron them together. Turn the two pieces (outer fabric and fusible fleece) with the fleece facing down and iron together. Following the instruction on your fusible fleece on how long to hold the iron on the fabric and heat temperature to use.
Tip: If you want your book sleeve to have a closure here are three ways I have achieved that:
- Snap or velcro: You can add these at the end
- Button and elastic hair tie: Pinch the hair tie together in the middle and baste it to the top of the right side of one of the outer layer pieces before you sew it all together
- Fabric flap closure with snap or button: Cut two pieces for the flap and sew together wrong sides out. Trim the corners and turn right side out then baste the flap to the right side of one of the outer layers.
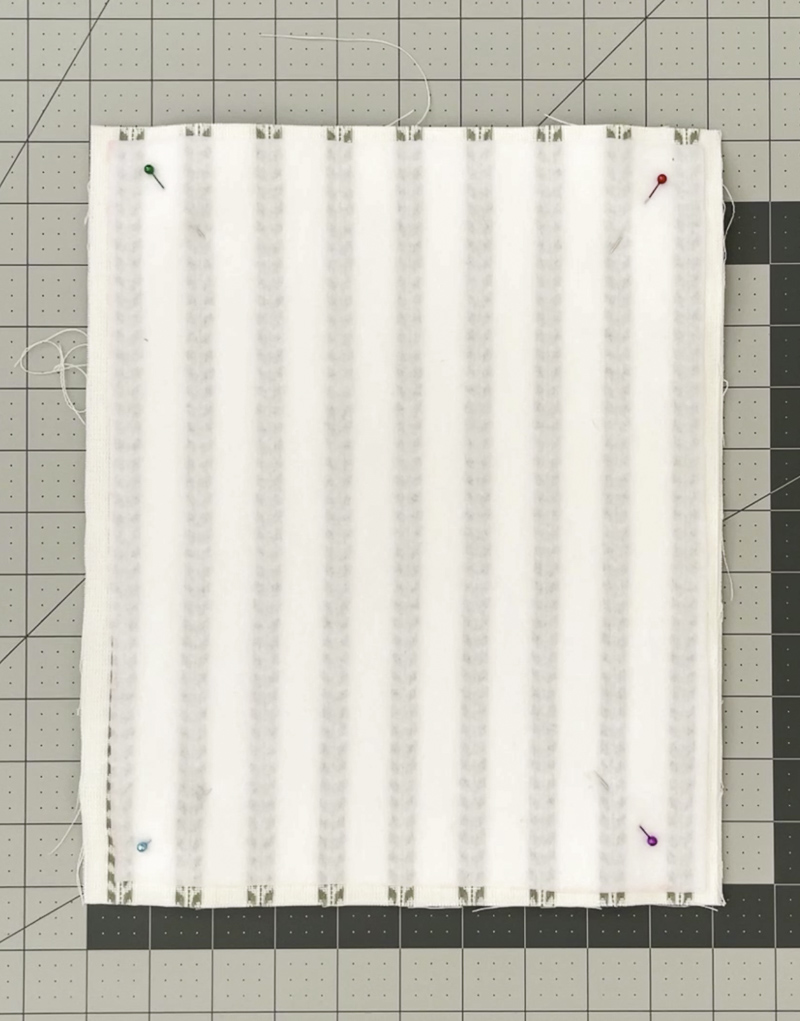
Step 3: Sew Together Fabrics
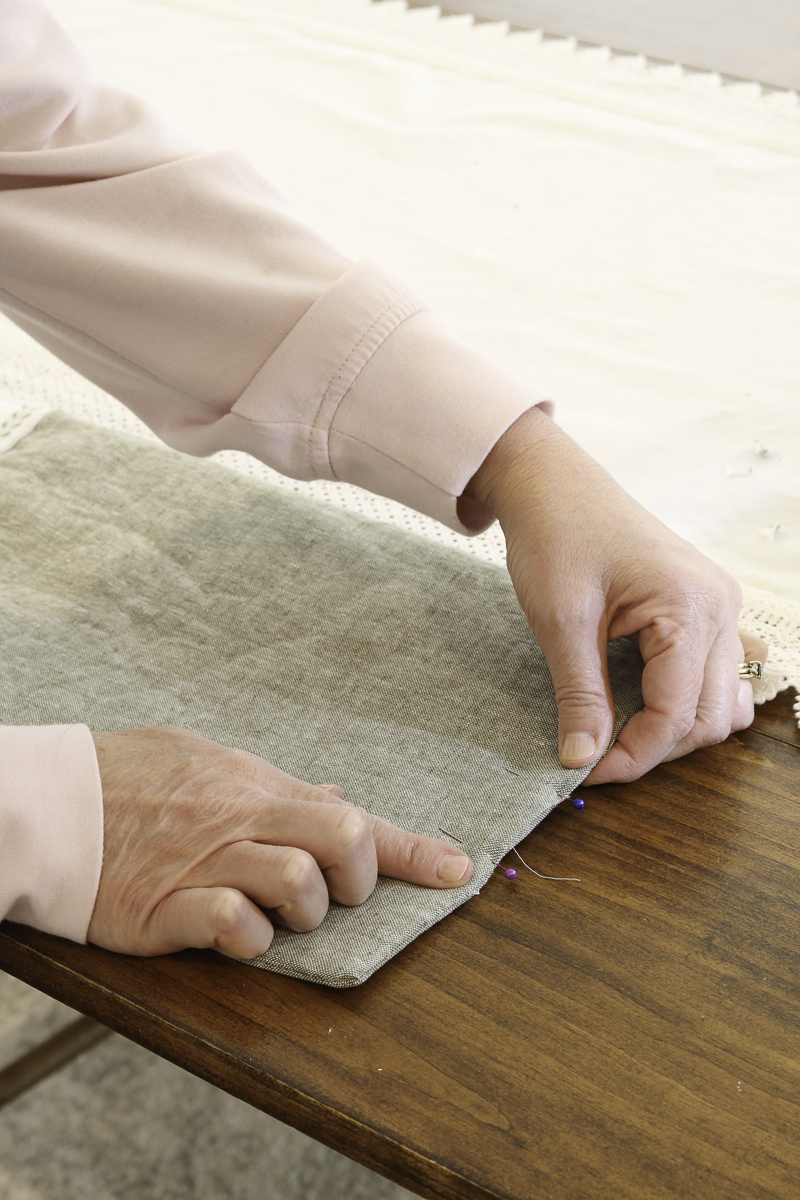
Next, place the outer fabric's right sides together and pin it into place. Then, sew along the two long sides and bottom using a 1/4″ seam allowance.
After you finish sewing, cut the corners, being careful not to cut into the thread.

Repeat these steps for the lining fabric, but this time leave the top open and a 3-inch area open at the center bottom. It helps to mark the 3 inch opening at the bottom with a fabric marker or pencil so you don't forget.
Step 4: Turn the Lining Right Side Out
When you've finished with the previous step, turn the lining right side out but not the outer layer.
Step 5: Attach Layers
Next, place the lining inside the outer layer, which is still wrong side out. Line up the seams on one side and pin them into place.
I like to lay my seam allowances, one facing one direction and the other facing the other way. The main thing is to match those seams and pin them into place.
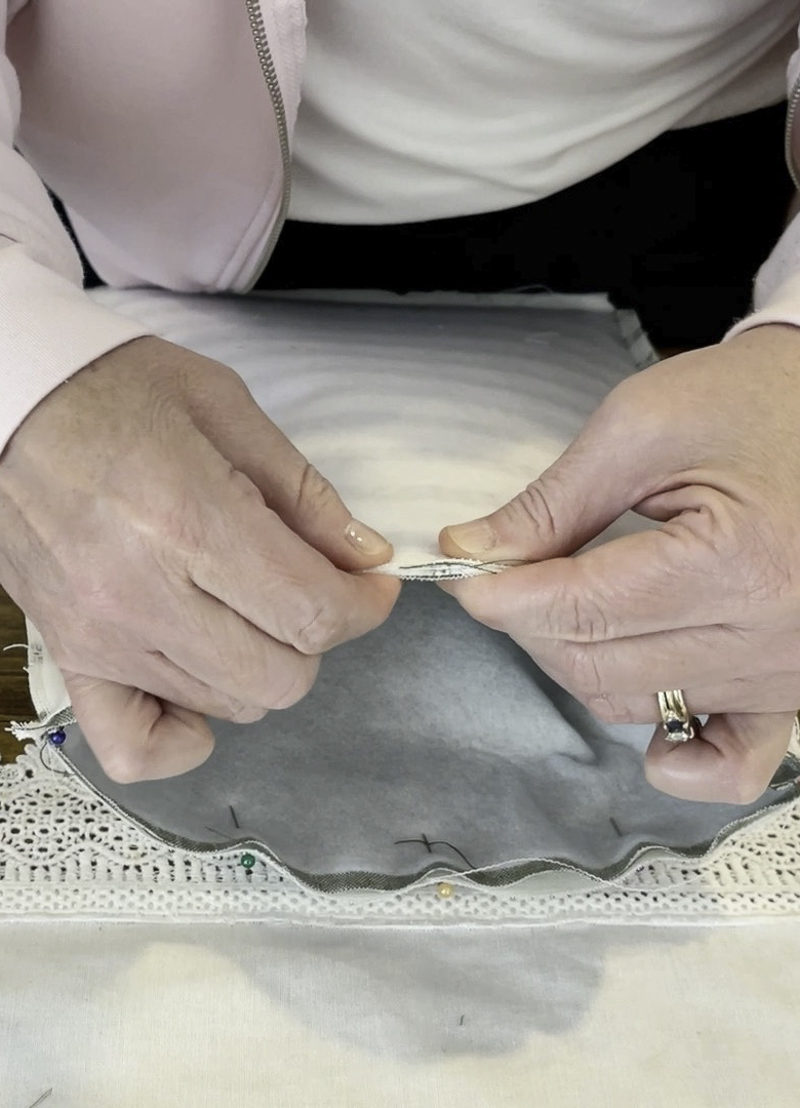
Repeat this step on the other side and then pin around making sure the edges match nicely.
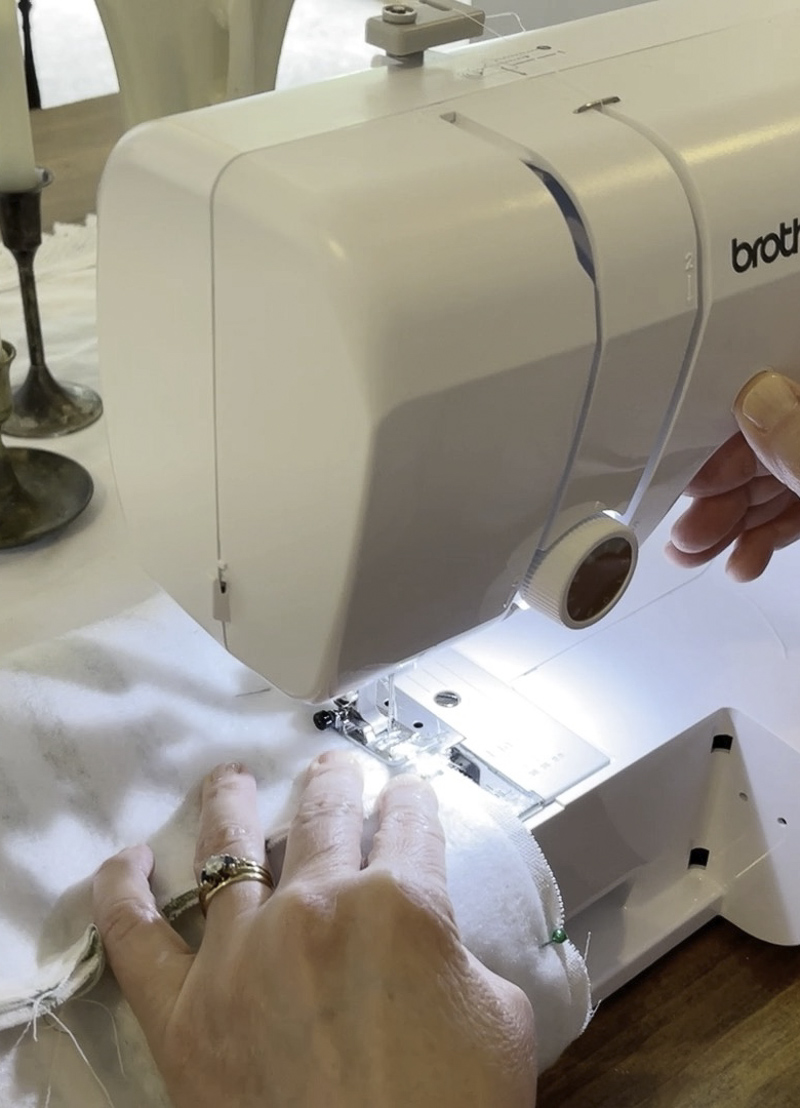
Step 6: Sew Layers Together
Now that everything is nicely pinned together, take it to your sewing machine and sew it all the way around using a 1/4″ seam allowance.
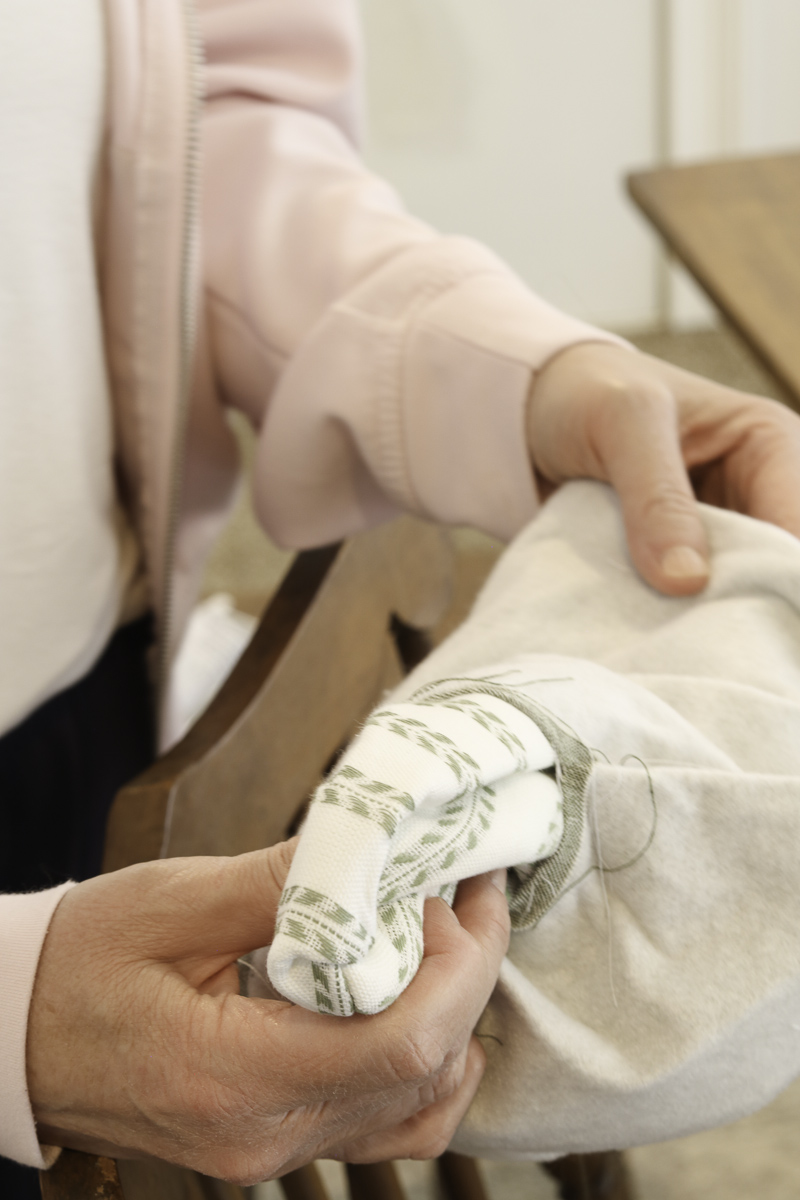
Step 7: Turn Right Side Out
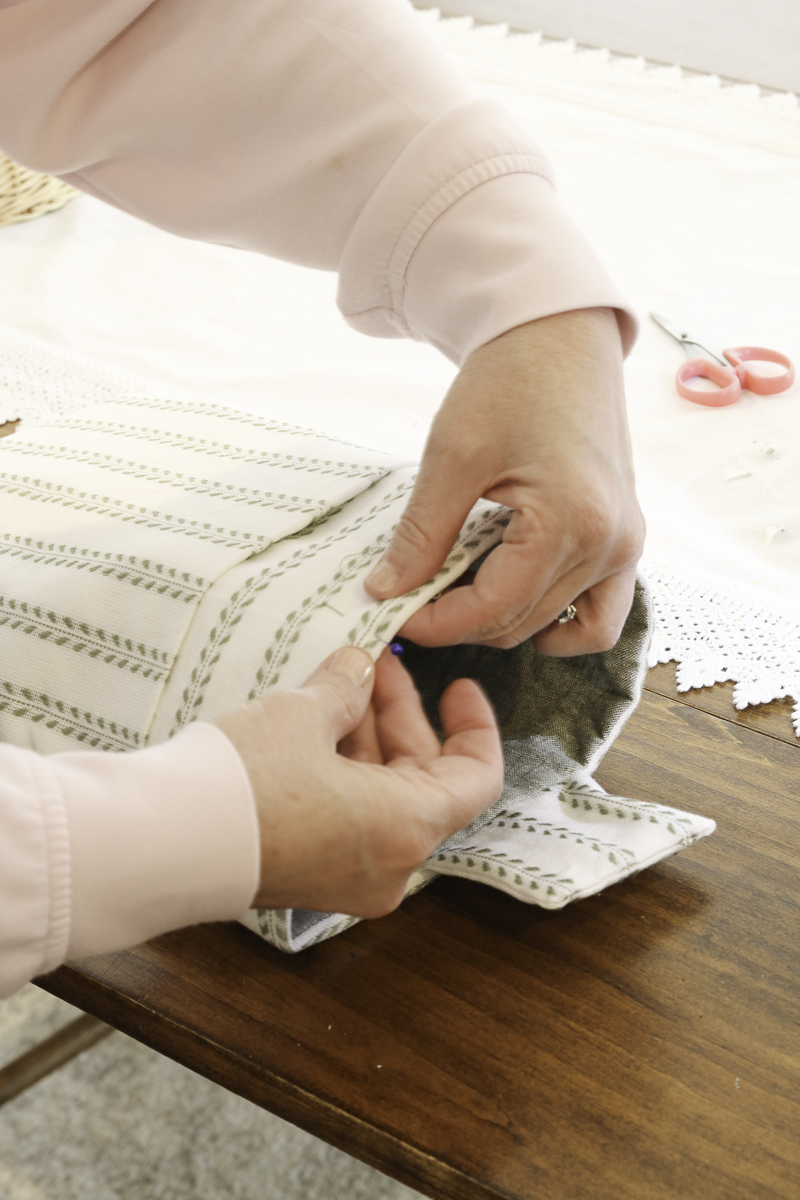
For the next step, pull the lining out from inside the outer pocket and, using the 3″ hole, turn the entire book sleeve right side out.
Step 8: Sew Hole
After you have turned everything right side out and pressed out all the seams, tuck in the fabric into the 3″ hole and pin it into place. Take it to your sewing machine and sew close to the edge to close up the bottom.
Step 9: Sew The Top
Your new book sleeve is almost done. Last, make sure the lining is inside at the top and pin in place. Then sew along the top edge to finish off the seam. Sew about 1/8″ from the edge, and you are all done.
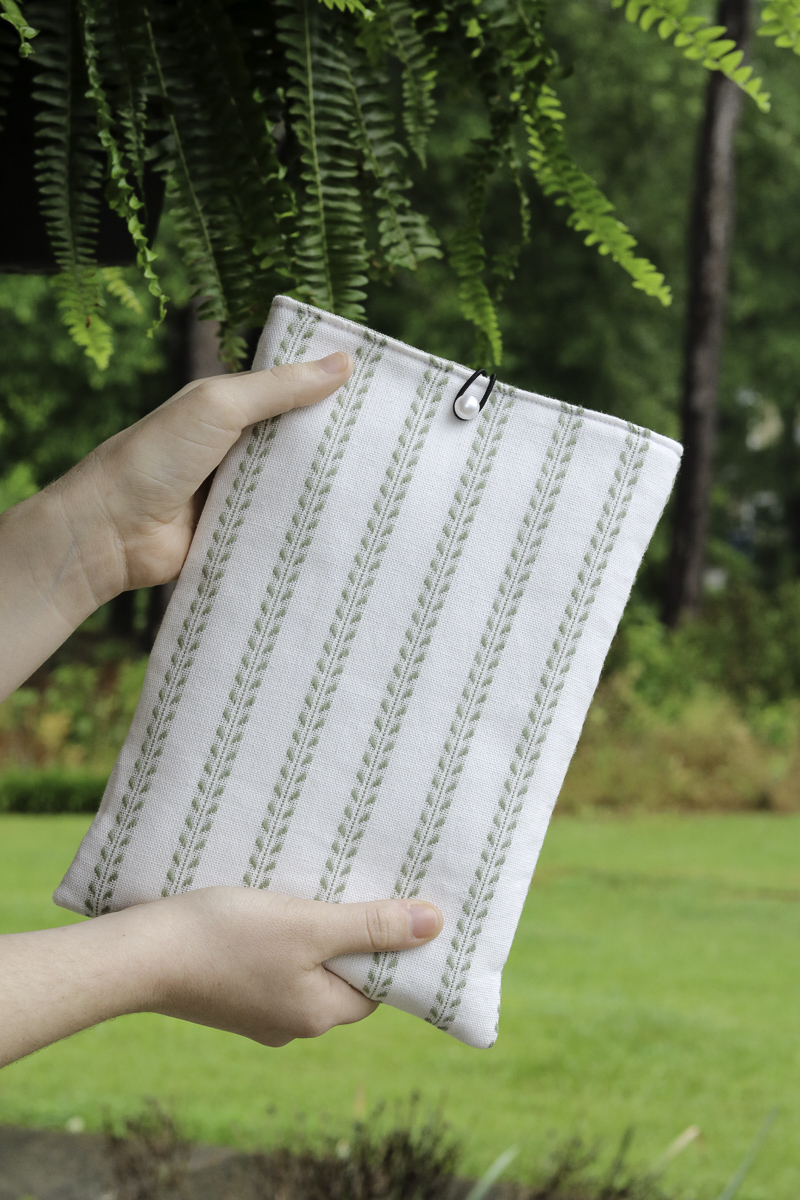
Step 10: Closing Your Book Sleeve
Ready for the final step? At this point, you can stop and leave the top of the sleeve open, but if you want to have a closure, add a snap or Velcro along the top of the book sleeve.
If you planned to use the rubber band or elastic loop technique, all you have to do is add a button.
But if you chose the fabric flap then again all you have to do is add a snap set and now you are all done.
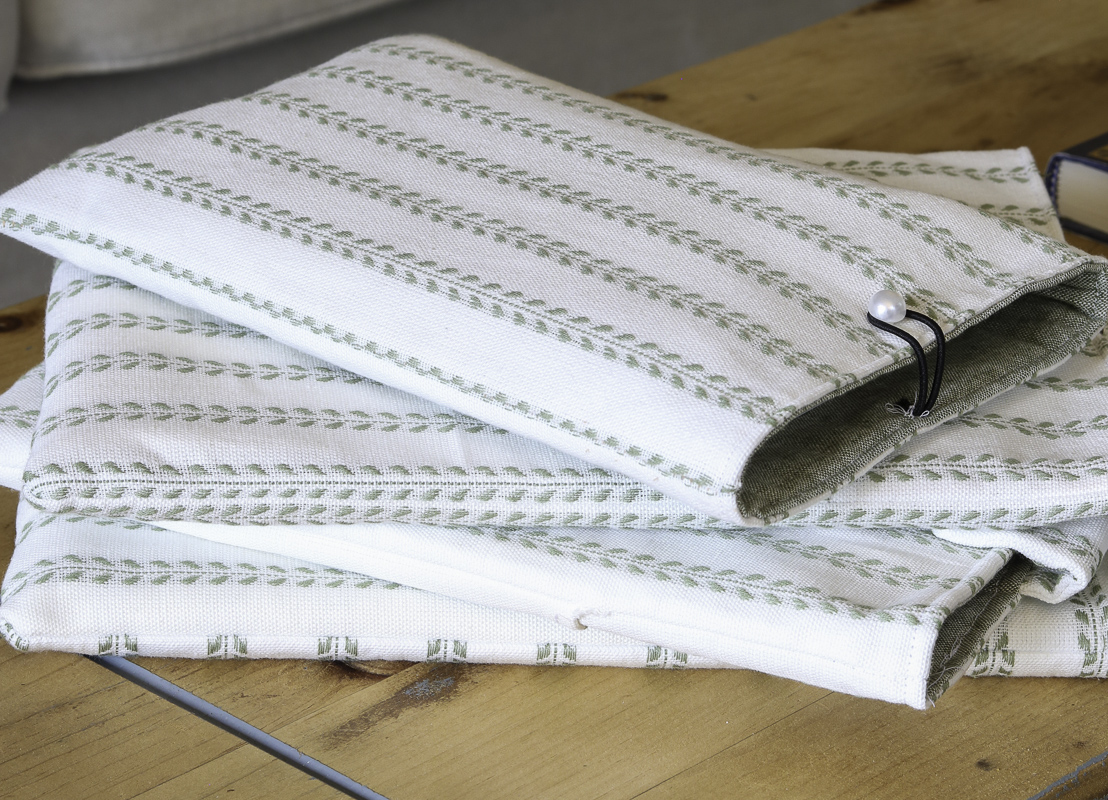
Final Thoughts on the DIY Book Sleeve
Having a fabric book sleeve is so handy for protecting a good book while traveling, but they look particularly pretty if you match the fabric design to your home decor. You can leave your favorite book out on your coffee table or end table throughout the day, and they look decorative.
My daughter has a cozy book nook in her home and she leaves her books in the sleeves on her side table. She loves it because she can leave her work out without it looking messy. In fact, she has enjoyed this so much she has asked me to make a book sleeve for her laptop too.
I hope you have found this blog post helpful! After you make one book sleeve, you will get the hang of it, and making more protective book sleeves will be easy and quick. Your precious books will be safe and your friends and family will be so impressed.
Last, consider making custom book sleeves as gifts, too. Begin now, and you will have your Christmas shopping done way before the holidays.
Looking for more DIY great gifts? Check out these posts:
- Sentimental Glow: Birth Month Flower Candle Holder DIY
- How to Easily Create a Fall DIY Dough Bowl Floral Arrangement
- 3 Easy DIY Glass Bird Bath Steps
- From Fabric to Fancy: How to Make Ribbon from Fabric
Happy Decorating!

DIY Book Sleeve: Wrap Your Reads in Style & Protection!
Ready to protect your beloved reads with a DIY book sleeve? This project is perfect for beginners. With this easy tutorial, you can create homemade gifts for a bookish friend or safeguard your own favorites.
Materials
- 2 pieces of fabric for the outside
- 2 pieces of fabric for the inside
- 2 or 4 pieces of iron-on fusible fleece (cut 1/2" smaller in width & length)
- Buttons, rubber bands, or snap set
Instructions
1. To begin, I recommend cutting all your pieces based on the size of the book sleeve you plan to make. Here are common different sizes for book sleeves. You can pick out the correct size you want.
- Small size: 6" x 8" (Fits most small paperback books) (Cut fabric: 6.5" x 8.5")
- Medium size: 7" x 10" (Fits most standard paperback books) (Cut fabric: 7.5" x 10.5")
- Large size: 8" x 11" (Fit many hardback books) (Cut fabric: 8.5" x 11.5")
- Extra Large size: 9.5" x 11.5" (Fits most hardback books that are over 700 pages) (Cut fabric: 10" x 12")
Let's say you want to make an extra large book sleeve novel cover. Cut two pieces of the outer fabric and two pieces of the lining 10" x 12". This is perfect for an extra large size book.
Now that your fabric and fusible fleece are cut, it is time to glue them together. First, place the fusible fleece bumpy side down (this is the glue side) on the wrong side of the outer fabric pieces. If you are making your book sleeve to carry a laptop or something fragile, add the fleece to the lining pieces, too. Next, you will cut two pieces of fusible fleece half an inch smaller than the outer fabric and inner fabric or lining. I like to use a rotary cutter and a clear ruler when cutting, but you can easily use scissors. If you are making your sleeve to carry something fragile cut two pieces of fusible fleece for your lining too.
2. Now that your fabric and fusible fleece are cut, it is time to glue them together. First, place the fusible fleece bumpy side down (this is the glue side) on the wrong side of the outer fabric pieces. If you are making your book sleeve to carry a laptop or something fragile, add the fleece to the lining pieces, too. Next it is time to iron them together. Turn the two pieces (outer fabric and fusible fleece) with the fleece facing down and iron together. Following the instruction on your fusible fleece on how long to hold the iron on the fabric and heat temperature to use.
3. Next, place the outer fabric's right sides together and pin it into place. Then, sew along the two long sides and bottom using a 1/4" seam allowance. After you finish sewing, cut the corners, being careful not to cut into the thread. Repeat these steps for the lining fabric, but this time leave the top open and a 3-inch area open at the center bottom. It helps to mark the 3 inch opening at the bottom with a fabric marker or pencil so you don't forget.
4. When you've finished with the previous step, turn the lining right side out but not the outer layer.
5. Next, place the lining inside the outer layer, which is still wrong side out. Line up the seams on one side and pin them into place. I like to lay my seam allowances, one facing one direction and the other facing the other way. The main thing is to match those seams and pin them into place. Repeat this step on the other side and then pin around making sure the edges match nicely.
6. Now that everything is nicely pinned together, take it to your sewing machine and sew it all the way around using a 1/4" seam allowance.
7. For the next step, pull the lining out from inside the outer pocket and, using the 3" hole, turn the entire book sleeve right side out.
8. After you have turned everything right side out and pressed out all the seams, tuck in the fabric into the 3" hole and pin it into place. Take it to your sewing machine and sew close to the edge to close up the bottom.
9. Last, make sure the lining is inside at the top and pin in place. Then sew along the top edge to finish off the seam. Sew about 1/8" from the edge, and you are all done.
10. At this point, you can stop and leave the top of the sleeve open, but if you want to have a closure, add a snap or Velcro along the top of the book sleeve.
If you planned to use the rubber band or elastic loop technique, all you have to do is add a button.
But if you chose the fabric flap then again all you have to do is add a snap set and now you are all done.
Notes
Tip: If you want your book sleeve to have a closure here are three ways I have achieved that:
- Snap or velcro: You can add these at the end
- Button and elastic hair tie: Pinch the hair tie together in the middle and baste it to the top of the right side of one of the outer layer pieces before you sew it all together
- Fabric flap closure with snap or button: Cut two pieces for the flap and sew together wrong sides out. Trim the corners and turn right side out then baste the flap to the right side of one of the outer layers.