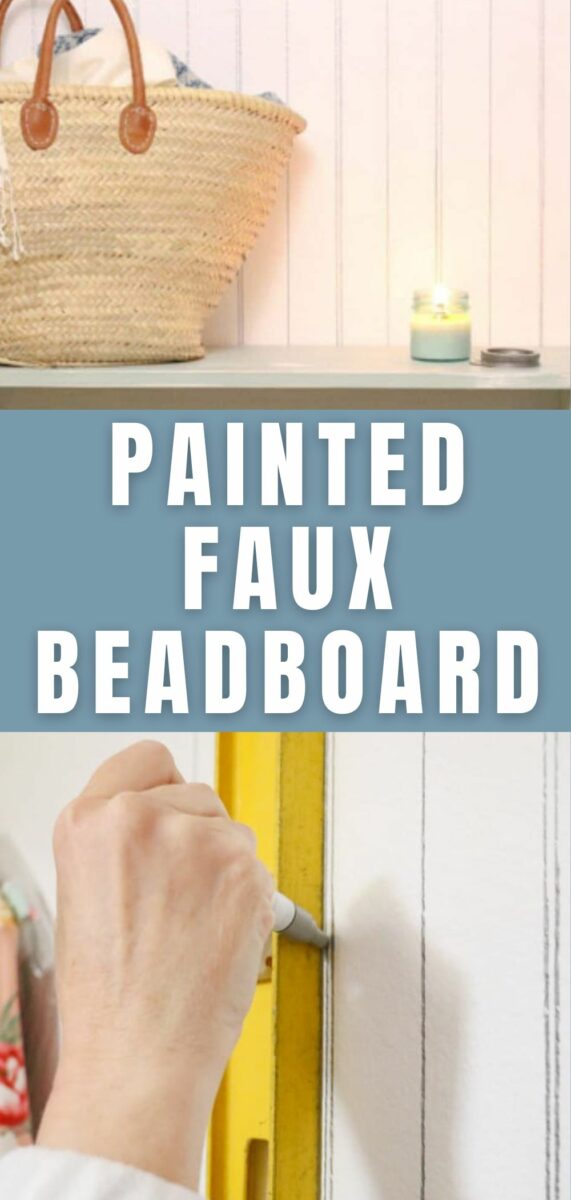
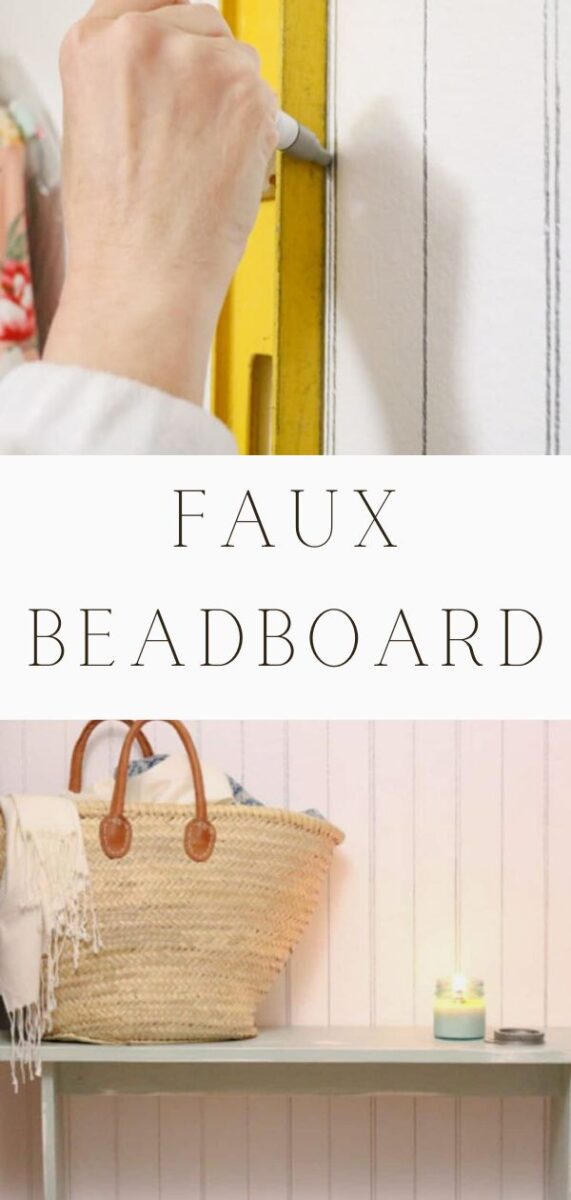
Easy farmhouse DIY faux beadboard tutorial that is cheap to make. Learn how to fake beadboard by using an oil-based paint pen and level.
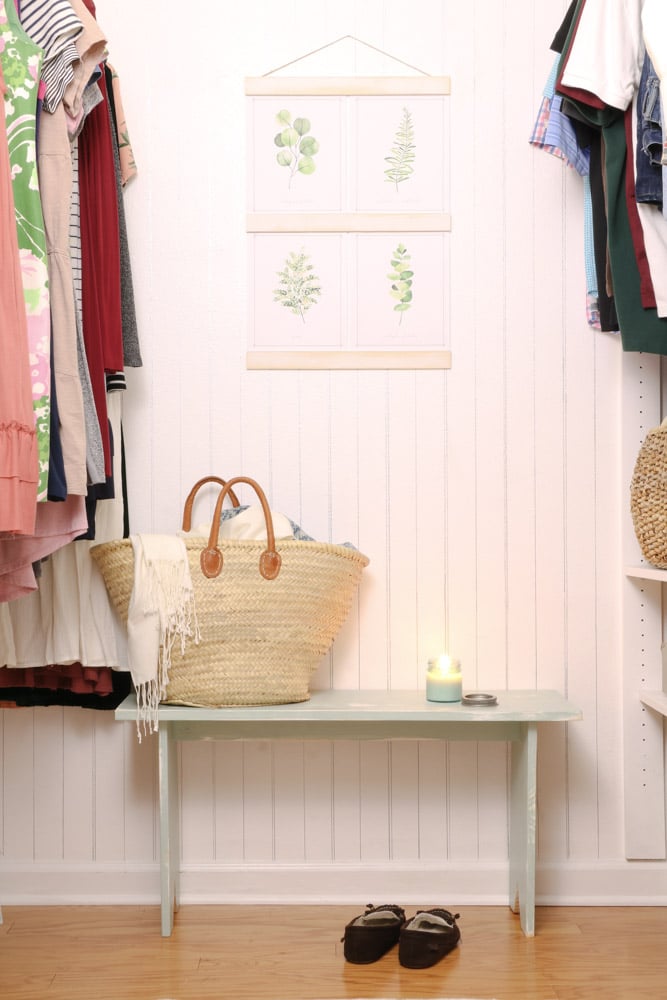
If you love the look of farmhouse wainscoting or particularly beadboard but your budget is tight then you will love this DIY faux beadboard tutorial.
DIY FAUX BEADBOARD
Lately, I have noticed a few Instagram posts where people are creating faux shiplap on their wall by using a Sharpie marker. What a cool idea I thought but I wasn't sure I wanted dark Sharpie lines on my wall that looked like shiplap far away but when you get close you would notice.
So, when I dove into my closet to organize clothes by colors I decided I wanted to do some decorating and that is when the fake beadboard idea came into my head.
I mean why not test this idea here in the closet and try out different markers, paint pens, and such to give you all my best faux beadboard instruction. But you might be asking what is beadboard exactly.
Update: I have lived with this faux beadboard for about a year now and I still love it. The only thing I would do differently is to use a non-metallic marker. Basically, when the light is on there are areas where the light hits the metallic marker and it appears to disappear. Other than that this is a great technique.
What is Beadboard?
Beadboard is stripes of wood applied to a wall or ceiling with rivets or beads in between. Sometimes you see beadboard walls where the wood run from ceiling to floor or wainscot which means the beadboard starts at chair rail height and run to the baseboard. You may also find beadboard on ceilings too.
Okay so now that you know what beadboard is let's get started making a trompe l'oeil, also known as an optical illusion, on your wall.
Rather Watch Than Read?
STEPS FOR FAUX BEADBOARD
Now when I say this is probably the easiest DIY project ever I really mean it. Here are the supplies you will need to make a fake beadboard wainscot.
SUPPLIES TO MAKE FAKE BEADBOARD
- The longest level you can find (I used a 72″ level)
- Shorter level (I used 2-foot level)
- Oil-based grey marker (I used metallic gray Sharpie but make sure to read at the end why I think you might want a non-metallic)
- Construction pencil and eraser
- A small amount of paint used to paint the wall for touch up if needed
Step One: Draw Faux Beadboard Pencil Lines with Level
Begin in the middle of the room and place your long level on the wall. You can start at the ceiling or at the baseboard. Now take your construction pencil and draw a line on both sides.
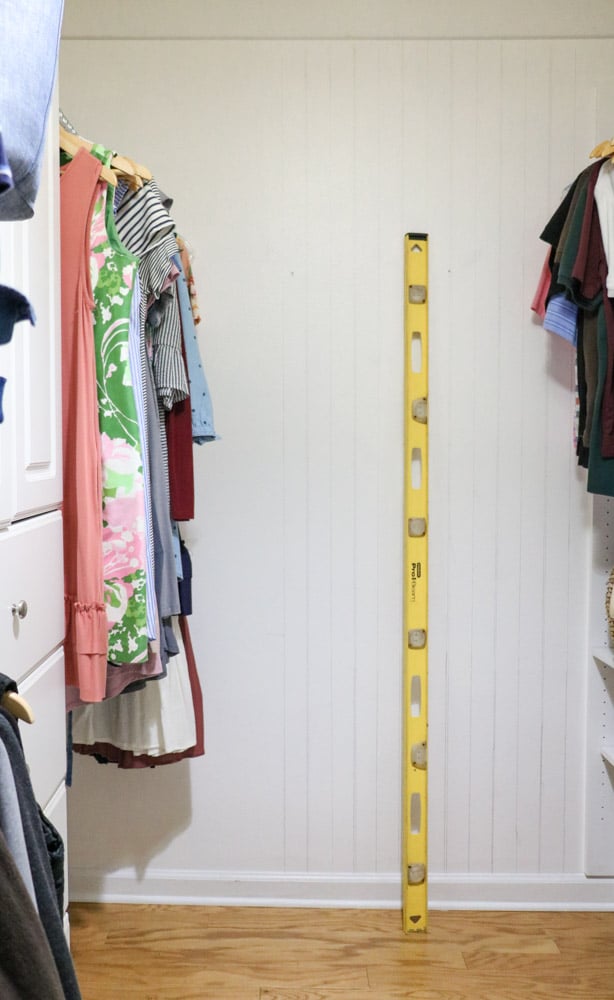
Next, decide how you want your beadboard design to layout. I did one line and then the next time I did two lines about 1/4″ apart. The beadboard in my bathroom is two 1/4″ lines every time but I have seen it where it skips a line. So I went for the skipped line option.
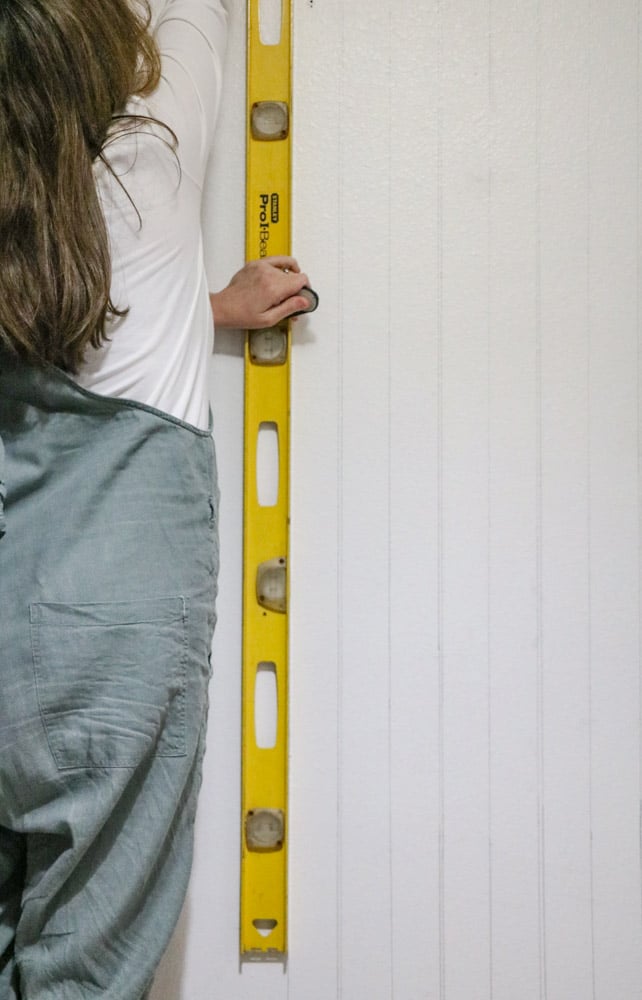
Once you have all the lines drawn with the longest level you can slide it to the top or bottom whichever you didn't do and draw the remainder of the lines or you can use the shorter level to finish.
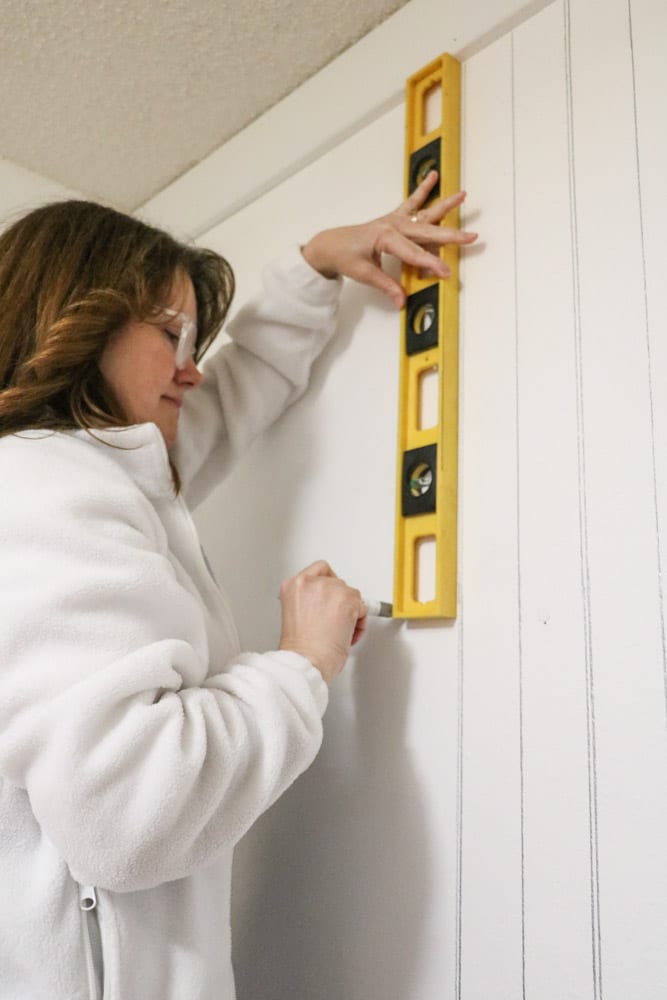
I used the shorter level because it is easier to manage and my arm was getting tired. But you can save yourself some money and only use the longer level.
It is easier if you have a helper either drawing the line or holding the level secure but I did this project without help. If I can do it I know you can do it too.
It also took me about four or five lines before I got the feel for it. That is why I recommend starting with a pencil. That way if you make a mistake it can be easily erased. It also helps to draw the lines with a pencil to make sure they are nice and straight.
Once you have finished drawing lines on the wall with a pencil then let's start doing it with the marker
Step Two: Draw Fake Beadboad Lines with the Marker and Level
Next prime the marker on a piece of paper. I usually shake mine several times and then press it down on paper until it starts producing paint. It took this metallic oil-based Sharpie a long time to get primed. Not sure why but if you buy the same one keep that in mind.
Now draw a line or two on the paper to get an idea of how it will lay. Drag it along the side of the level. Trust me it helps to practice and get a feel for this.
Okay so now you are ready to start drawing lines with the oil-based marker. Again place the level along the pencil line and start drawing a grey paint pen line right over the pencil line.
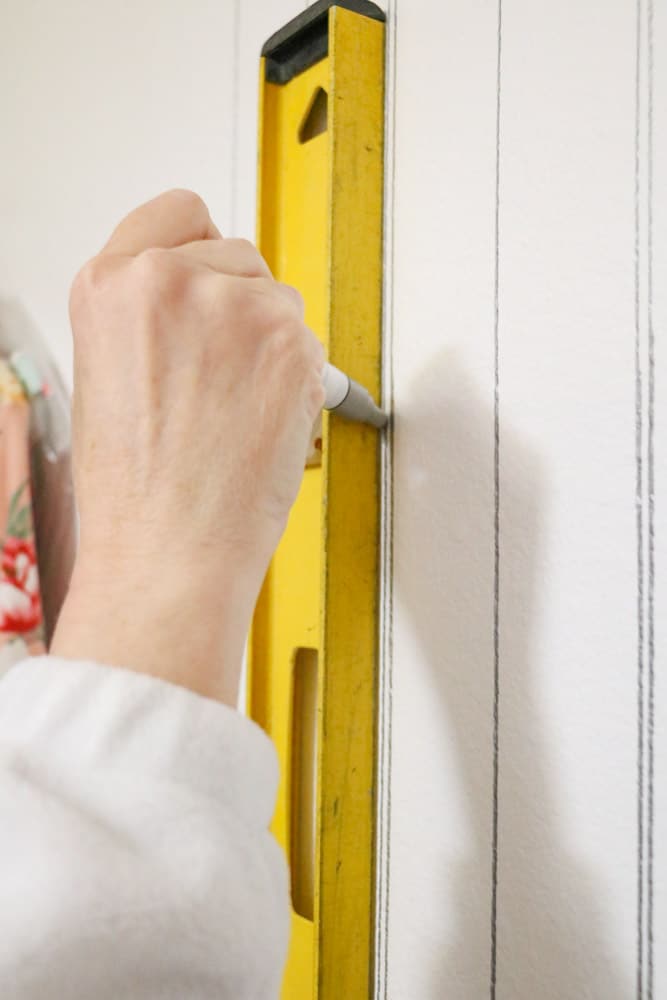
Keep drawing over your lines until you are finished and now you have a beadboard that is cheap, easy and you didn't need any fancy tools. Once finished take a small artist brush and paint over any lines that went astray.
And now you are all finished. I love how our DIY fake beadboard turned out but there are a few things about the marker I want to share with you.
I love the metallic marker. It gives a subtle ghostly-like look which makes the beadboard look very realistic but if you mark it on the wall with just the marker it will disappear when light hits it as you can see to the left of the artwork in this photo.
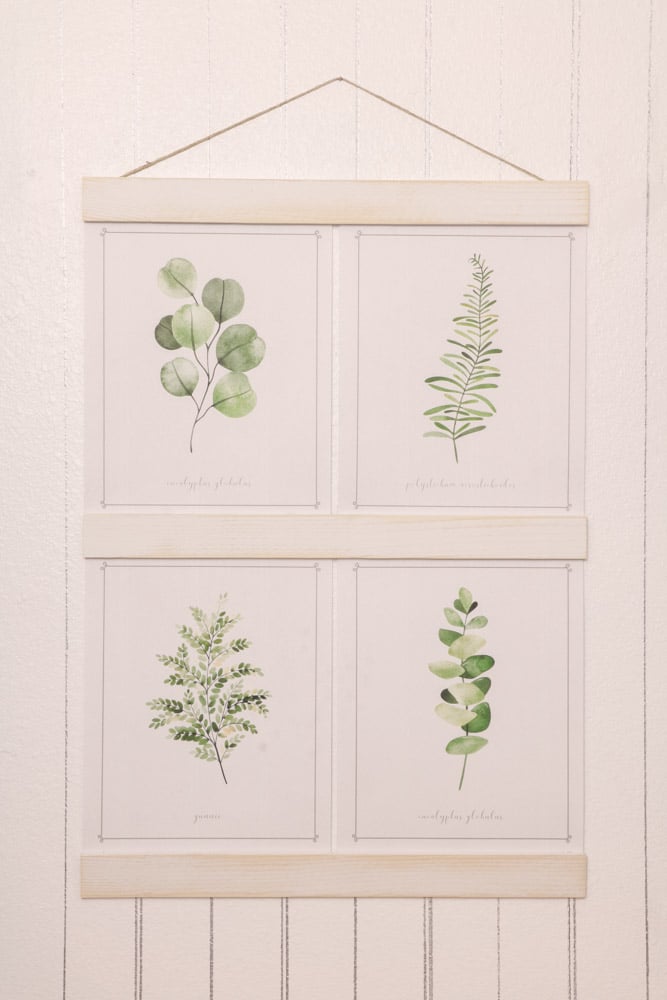
However, if you notice to the right you can see the lines better and that is because there is a pencil line underneath. Who would have thought? So if you want a very realistic beadboard then do the two-step pencil and marker but if you want to save some time look for an oil-based paint pen that is not metallic.
Conclusion
I hope this DIY faux beadboard tutorial has been helpful. I love this fake beadboard so much until I would do it in any room in my home now.
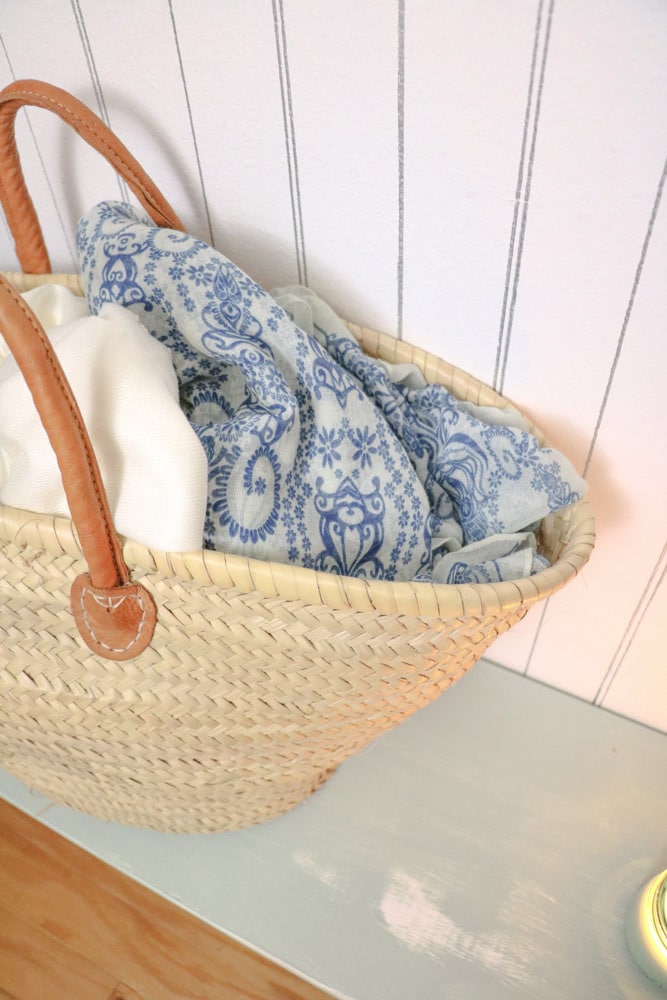
Some great places to make fake beadboards are under a chair rail pretty much in any room of your home. Accent walls in any room of your home. Between cabinetry in a laundry room and kitchen. And consider it on a ceiling. If you do this one I would love to see how it turns out.
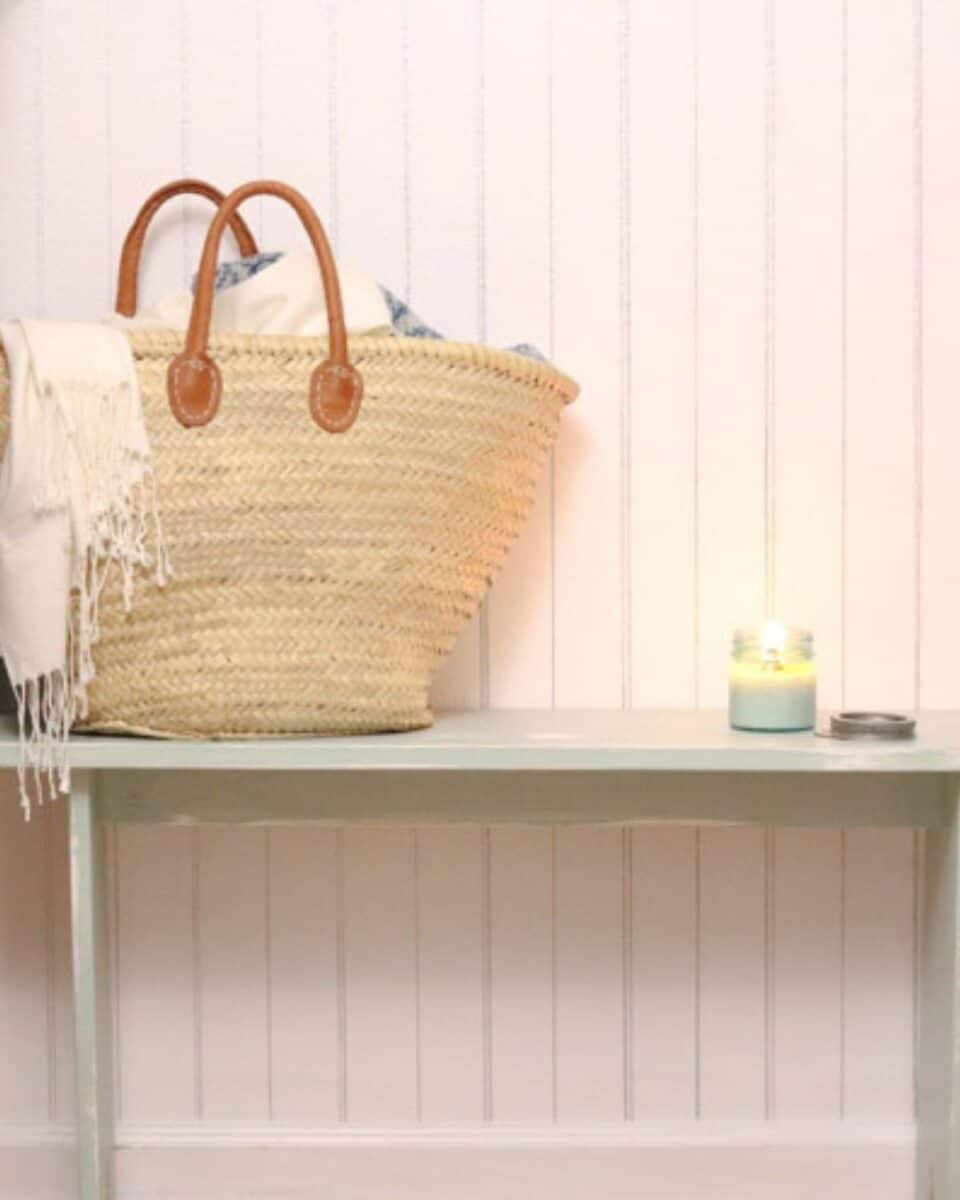
If you want to create a real wainscot that is super easy try my DIY farmhouse style wainscot tutorial or my plywood shiplap DIY. It is also very easy and cheap to make. And if you love upcycle vintage architecture try my DIY exterior dutch door from an old door tutorial.
Happy Decorating!


I’d like to try this on my bathtub surround and base, with a thin wood piece along the top to hide the faux
That sounds lovely!
I used a thin sheet of wood to back a cabinet that I purchased at an auction. I started by staining it with. Then I took a 6″ rubber squeegy and cut a small triangle in the middle of the rubber and made one snip on the ends like this. \ /\ /
I used a sponge to apply a slightly darker stain that was just a bit wider than 6″ and then ran the rubber squeegy down the length of the board. Where the cuts were made in the squeegy, the darker stain remained. I repeated this, each time matching the left cut in the squeegy with the right cut made in the previous pass.
I let it dry, attached it to the back of the cabinet and you would never know it’s just a plain ol’ thin piece of board.
That sounds so clever and cool! Thanks for sharing!