

This DIY yarn wreath is easy to make and with some simple changes in yarn colors, it can be made for any season or holiday. Learn how to make a yarn wreath with no-fail step by step instructions.
With my recent love of making yarn tassels which I added to my layered rug on our porch I was searching for another yarn project and that is where this DIY yarn wreath was born.
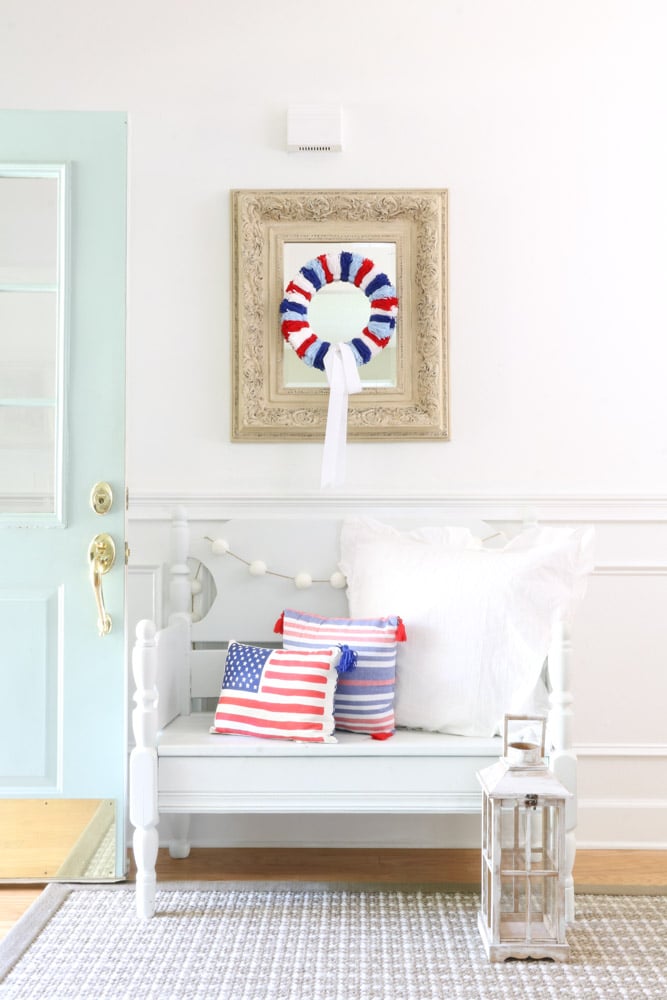
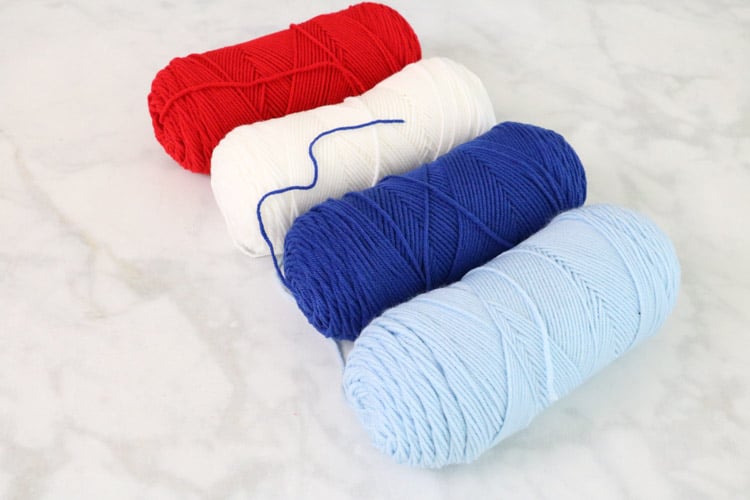
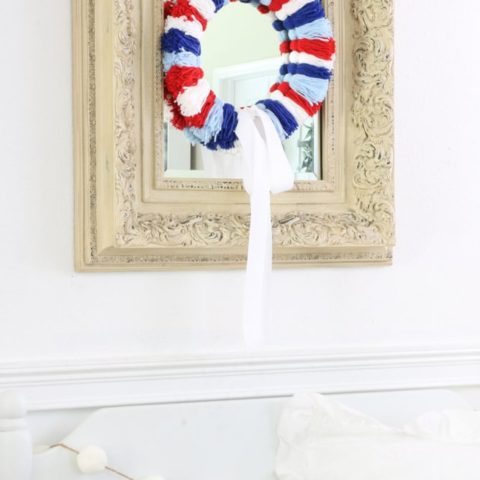
This yarn wreath is red, white, light blue and navy which I plan to use for the 4th of July but it can be easily catered to any season or holiday simply by changing the yarn colors.
So let's get started and learn how to make a yarn wreath.
DIY Yarn Wreath
Before we start this project let's gather our supplies. Time to hit the craft store or dollar store for anything you don't already have! You will need:
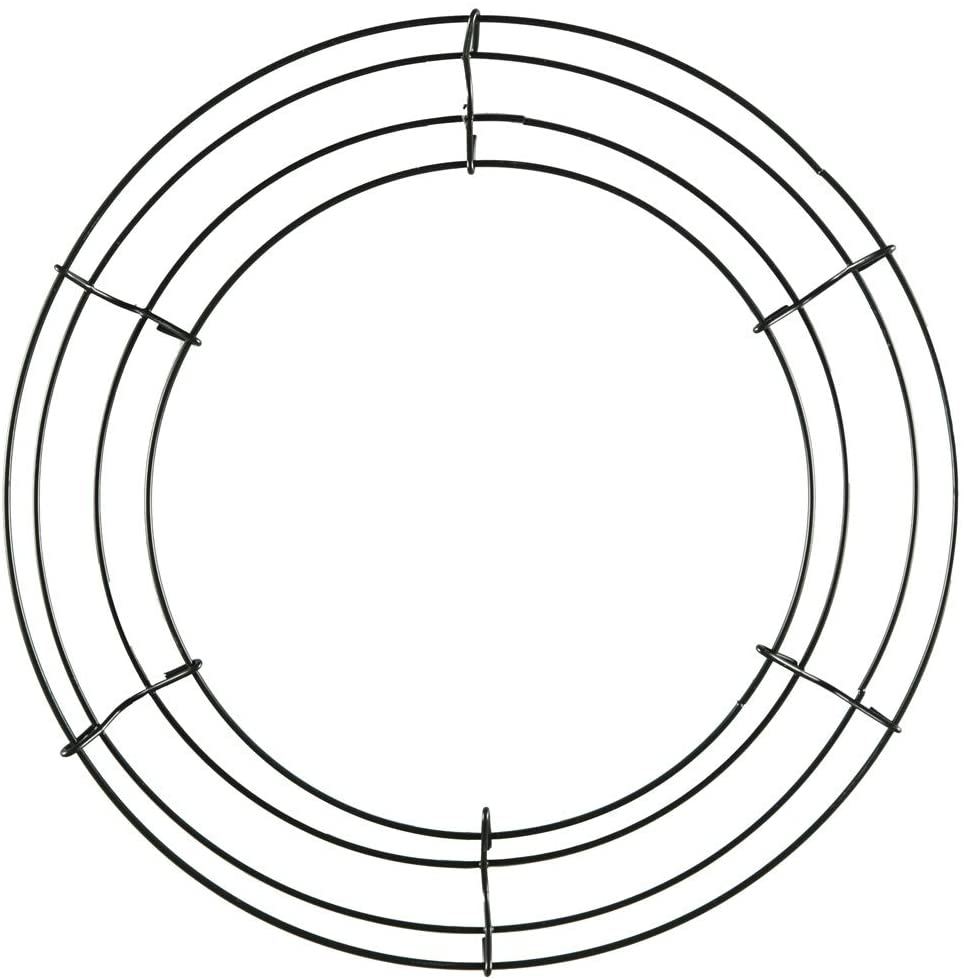
- Wire wreath frame (mine is 12″)
- Yarn (as many colors as you want, I am using 4)
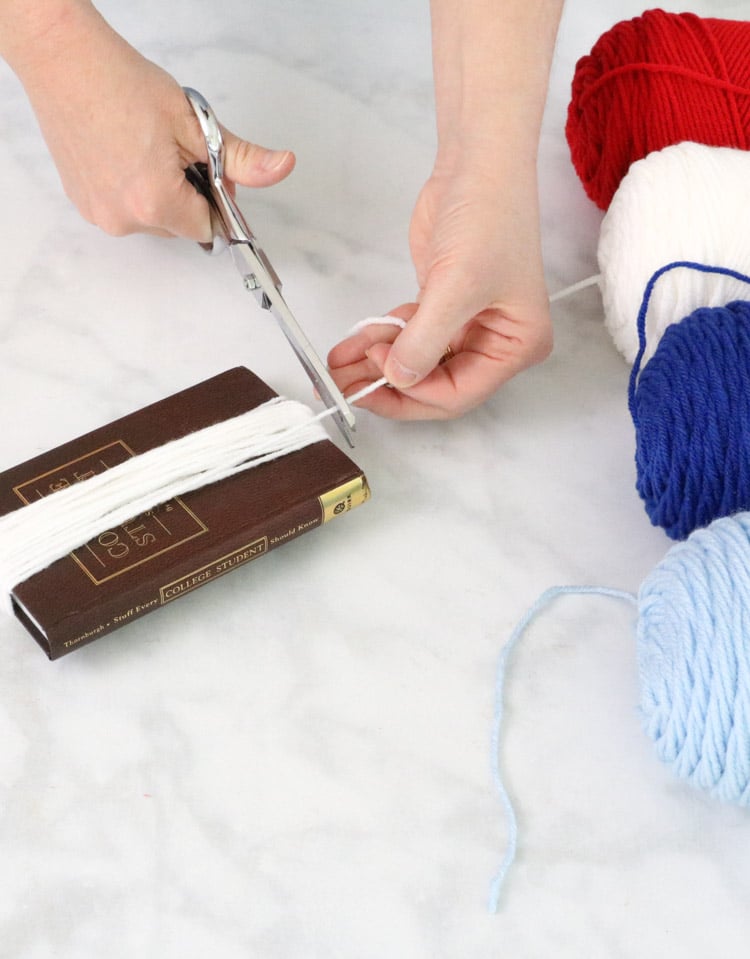
- 7″ Book or piece of cardboard
- Scissors
How to Make a Yarn Wreath
Let's begin by setting your yarn in the order you plan to arrange the colors on your wreath.
Different yarns can have different textures, I chose to use similar yarns. This will help you stay in order while you are working. This is a pretty simple project as long as you stay organized.
Now that we have a little organization in place let's start making tassels.
1. How to Make Tassel
Since this whole project is basically all tassels attached to a wireframe the first lesson is on how to make a tassel. This tassel is very easy with a few steps.
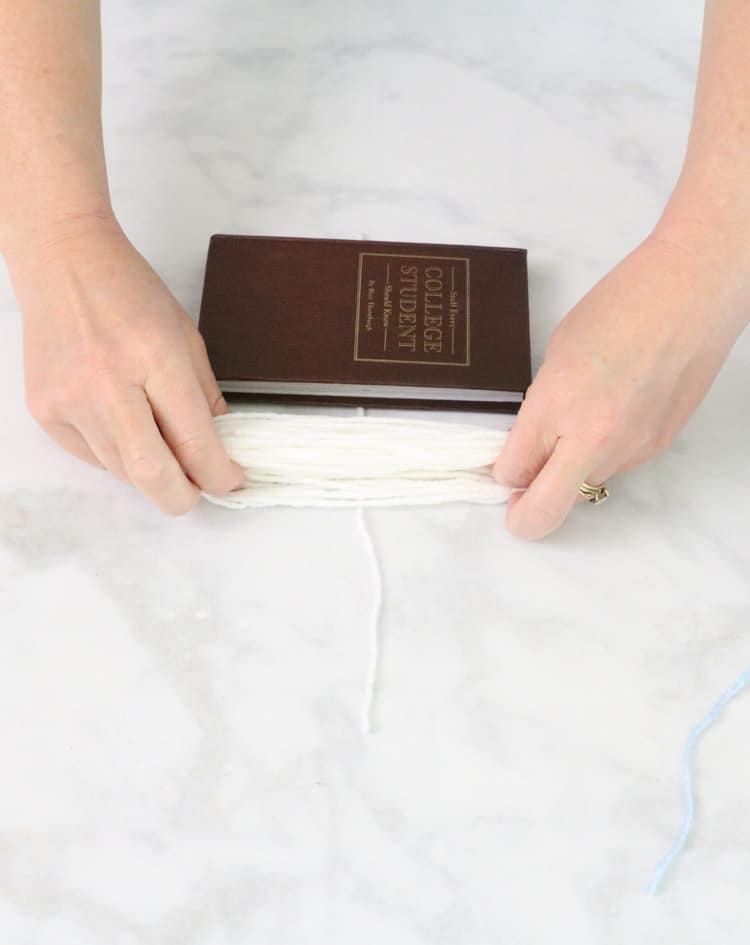
Using a book is a great way to make your tassels. Grab your 7″ book or piece of cardboard and start with your first color of yarn. Wrap the yarn around the book 23 to 25 times. Once you finish, cut the yarn.
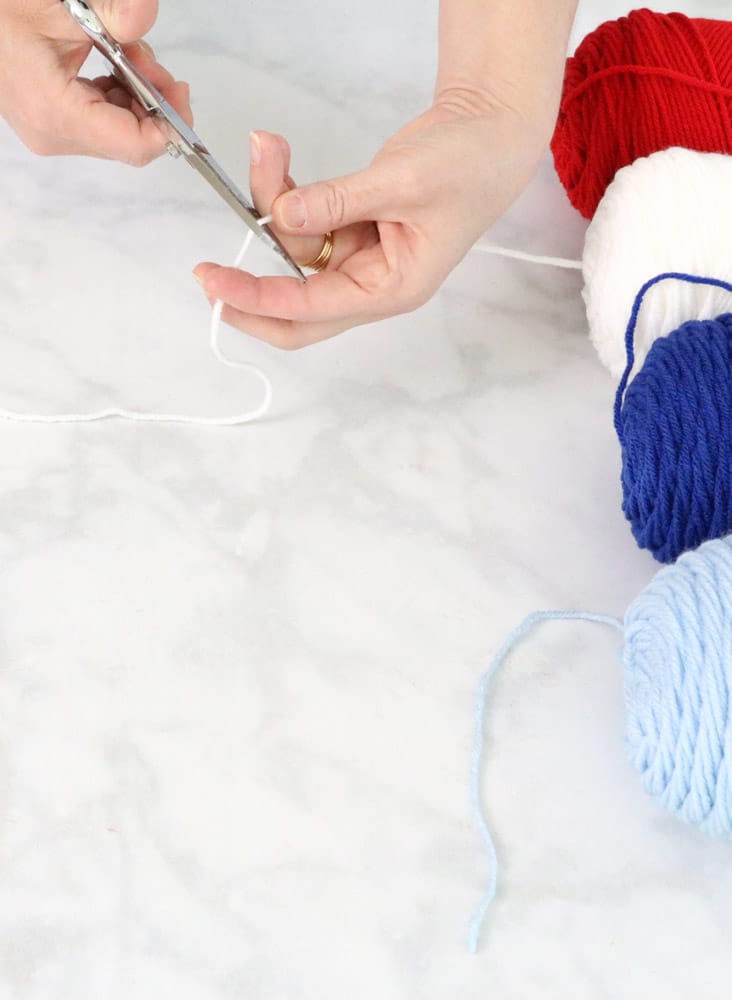
Next cut two pieces of yarn about 8″ long.
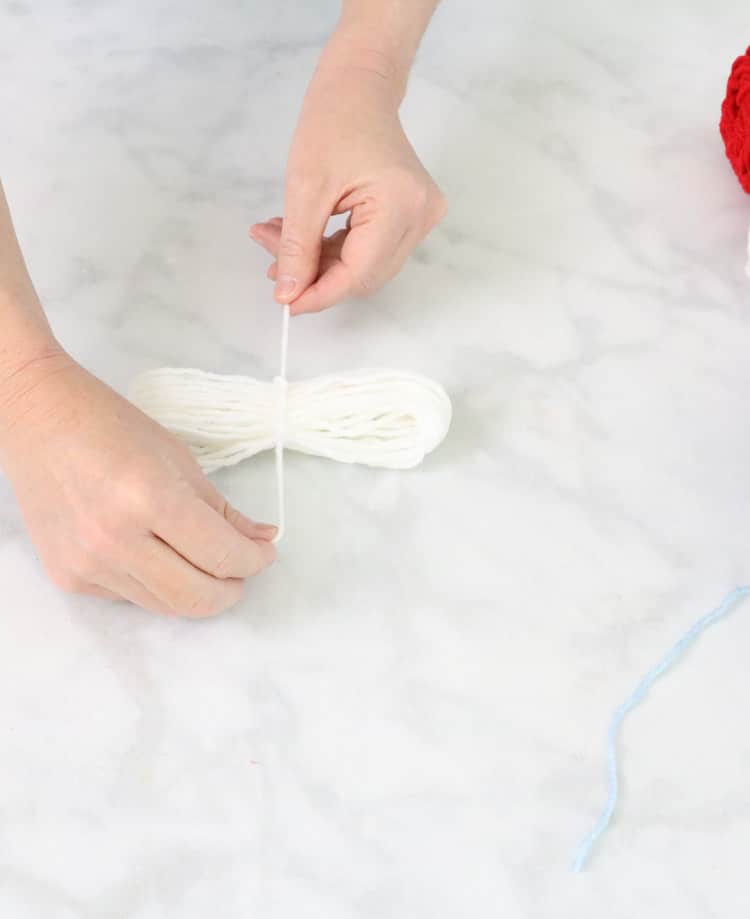
Now sit the 8″ piece of yarn straight on the table and pull the yarn off of the book and place it in the center of the 8″ piece of yarn.
Now tie the 8″ piece around the loops into a knot.
Here is a little trick I love to share. When you make the first tie loop it twice. This helps hold the yarn section in place for when you tie again the make the knot.
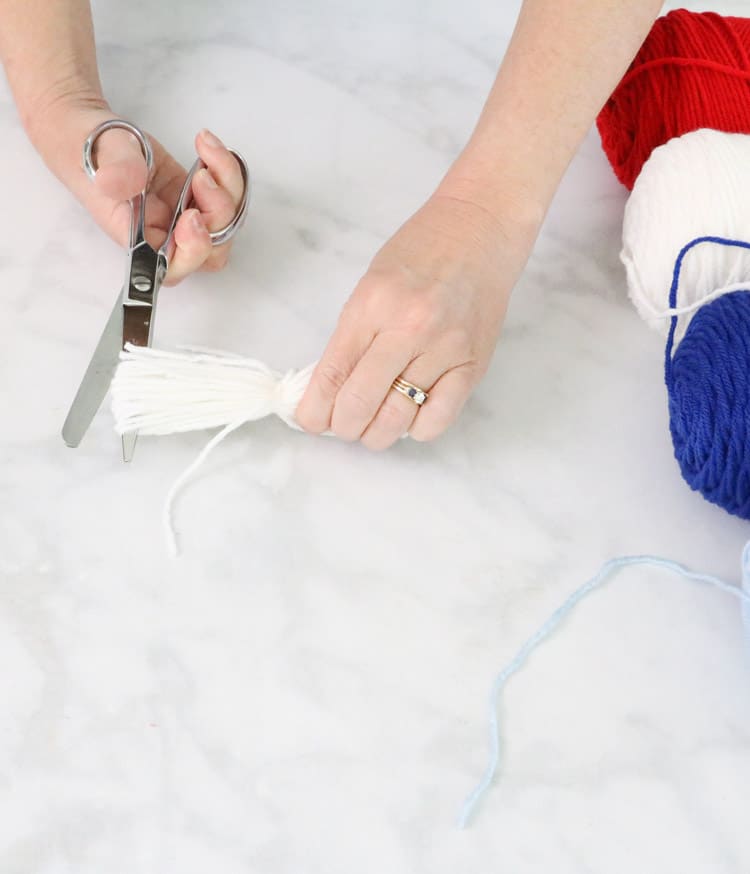
Next cut the loops on each end.

2. How to Attach a Tassel to a Wire Wreath
It is time to place your tassel on the wire wreath. Open the fringe part of the tassel and twist one end to thread into the wire wreath.
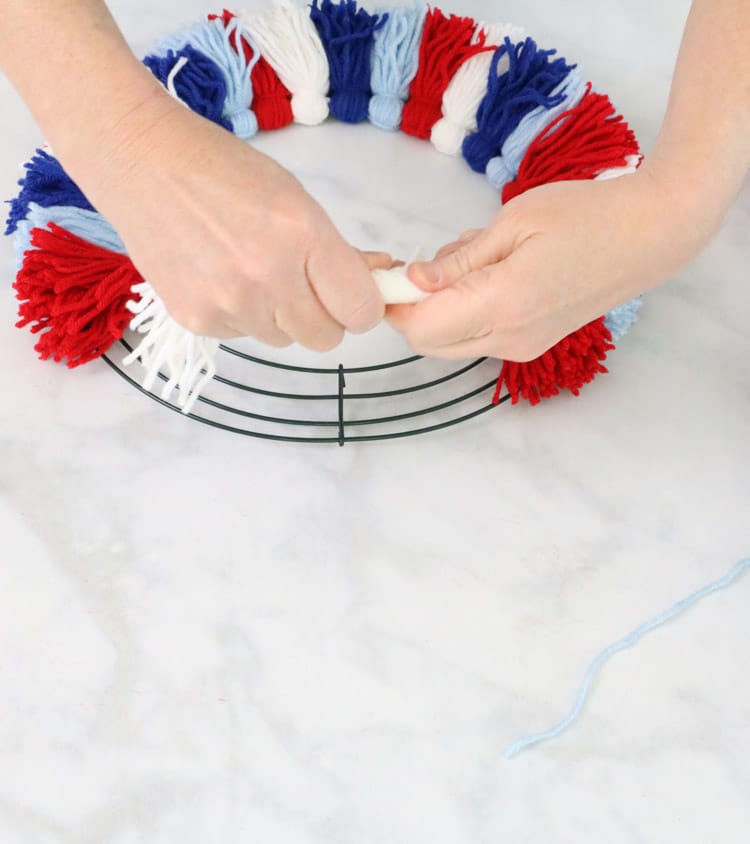
Thread one side into the first row of the wire wreath. Make sure to place the tied knot in the center of the wire wreath.
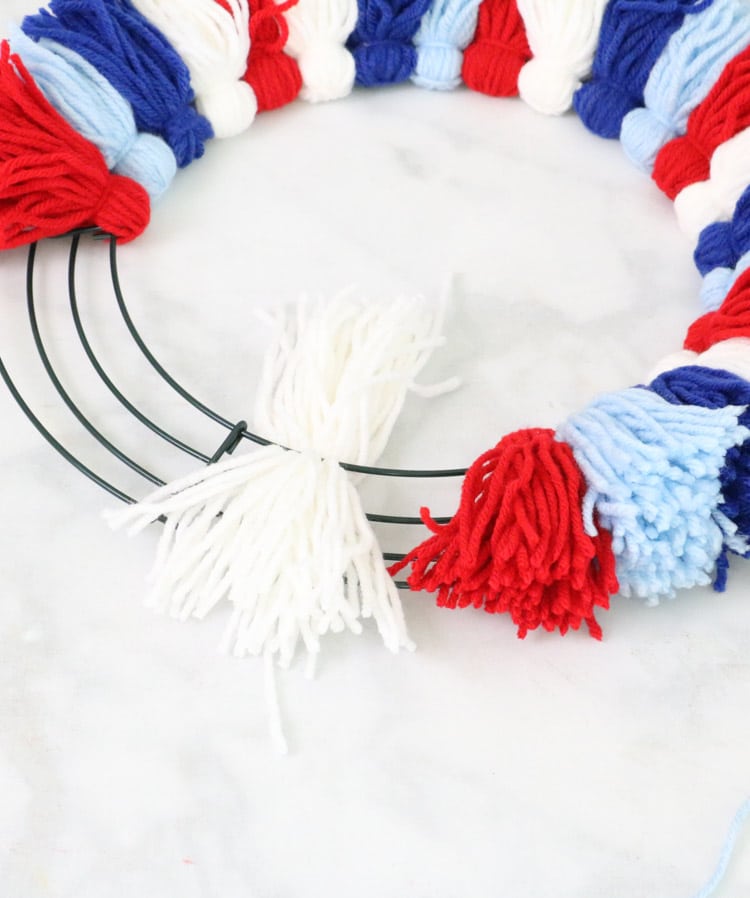
Fold the other fringe side of the tassel over and using the other 8″ piece of yarn wrap it towards the top and make another knot.

Smooth out the bottom of the tassel and cup it in your hand and cut the bottom straight with scissors so that the tassel is even on the bottom. You should only need to remove a little bit from each tassel.

Fold the whole tassel over so that the tassel completely covers the wire wreath and then slide it snug to one end and start the next color tassel. The end of the yarn for each tassel should be about even.

Repeat how to make a tassel step for each color until you have finished filling in all the colors and filled in the wire wreath.
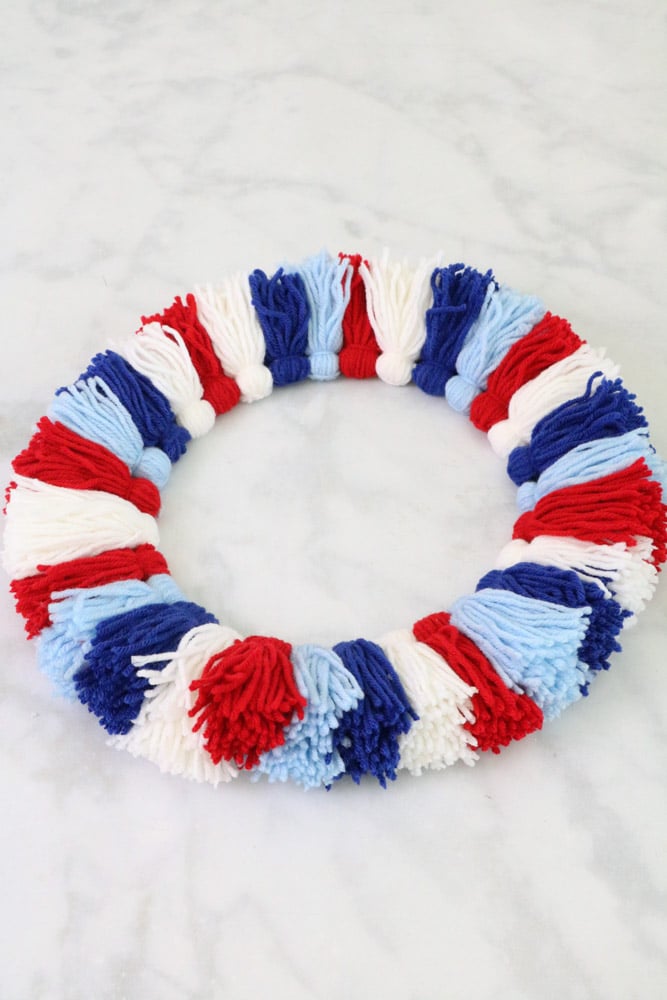
Congratulations, your entire wreath form is complete. What a pretty wreath!
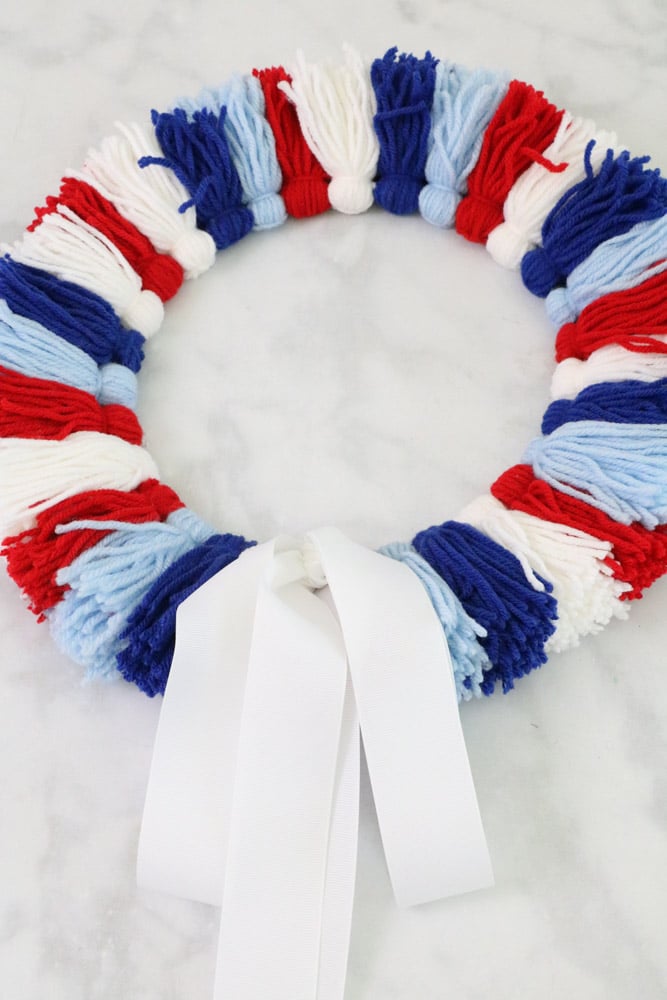
3. How to Add a Bow to a Yarn Wreath
After your yarn wreath is finished you can add a bow, mini flags, flowers or anything to decorate it. Or you can simply keep it simple and add nothing.
To add a bow to a yarn wreath create your bow with some floral wire. Once you have finished creating your bow thread the wire through to the back of the wreath and twist it into place.
After you all it twisted tightly take some wire cutters and trim off any excess wire. You can use this technique to add any other embellishments or you can use a glue gun. This will be the bottom of the wreath.
Yay! We are all finished making a yarn wreath.
Shop the post:

Conclusion
What did you think? An easy project with a fun result, I think. Now that you have completed this DIY yarn wreath project let me give you some fun ideas on where to hang a yarn wreath.
The great thing about this wreath is how versatile it is. You can hang your yarn wreath on your front door.
Here is a trick for how to hang a wreath on a front door with ribbon.
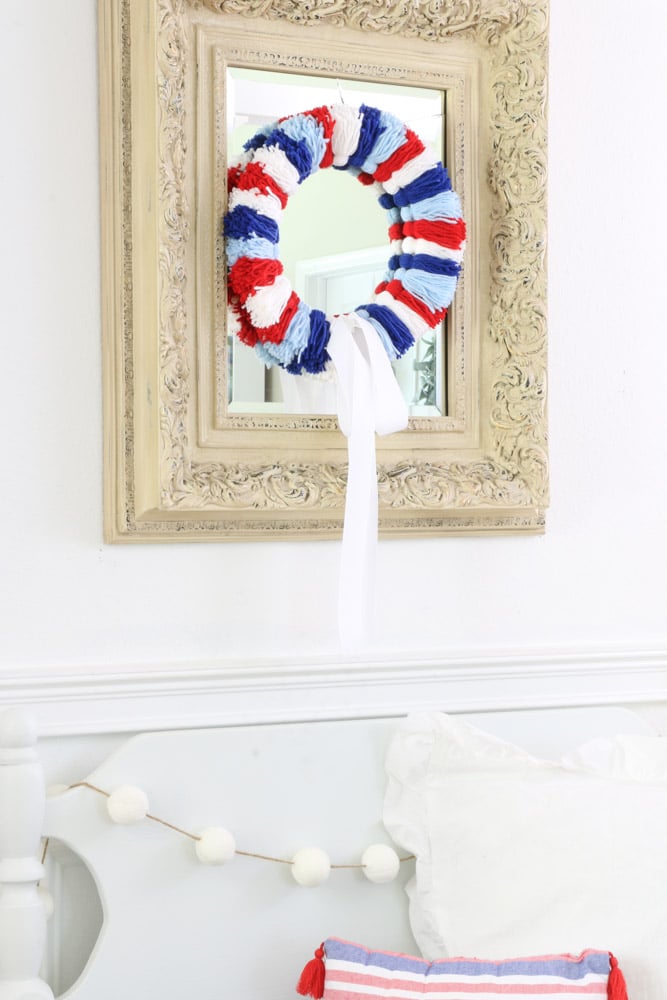
You can also hang your yarn wreath on a mirror, wall, or porch, or use it as a centerpiece or table decoration. Your options are endless. I love how the long tails of the ribbon add an extra flourish to your beautiful wreath.

Speaking of endless options, you can make a yarn wreath for so many seasons and holidays. You can hang a wreath year-round. This is an excellent project for every season, with simple ways to change it up; for a different look, you just need to use different yarn colors.
For example, you could use red, green, and white for the Christmas holiday season, pastel colors for Easter or spring, autumn colors for fall, green and white for St. Patrick's Day, different shades of pink for Valentine's Day, or match up some color in your home to make the perfect home decor accessory. No matter the time of year, your wreath will be ideal.
If you love making yarn crafts then you will want to check out these other DIYs:
I hope you have found this DIY yarn wreath exciting and I hope it has inspired you to create one for yourself. It would also make a great homemade gift. If you love home decor projects using yarn then you probably will like our decorating with yarn around the house post.
Happy Decorating!


HOW TO MAKE A YARN TASSEL WREATH
Add a beautiful wreath using any color yarn to your home with this easy DIY on how to make a tassel wreath.
Materials
- Yarn of any color
- 2" white grosgrain ribbon
- 12" wire wreath
Tools
- Scissors
- 7" book or cardboard
- Floral Wire
Instructions
- Begin by organizing your yarn in the colors each tassel will be placed on your wreath.
- Wrap a 7" book or piece of cardboard 23 to 25 times with your first color of yarn
- Cut the yarn.
- Cut a piece of yarn 8" and lay it straight on the table
- Pull all the yarn off of the book or cardboard and lay it centered on the 8" piece of yarn.
- Tie the 8" piece of yarn in a tight knot.
- Cut the loops of yarn on each end by placing one blade of your scissors inside, pulling outward and cutting
- Twist on the end of the yarn loops and thread it into the first or inside row of the wire wreath.
- Fold it over.
- Cut another piece of yarn 8"
- Smooth the tassel as much as possible pulling down away from the wire wreath.
- Lay the 8" piece of yarn under the tassel close to the wire wreath.
- Tie the 8" piece of yarn in a knot.
- Place the tassel in your hand and trim the ends with scissors
- Flip the tassel over so it sits and covers the wire wreath.
- Repeat these steps with the next yarn color.
- Continue until you fill-up the whole wire wreath.
- To add a grosgrain ribbon use floral wire to attach it to the wire wreath.
Notes
- To hang your wreath on a mirror use a suction cup hook.
- When tieing knots loop twice on the first part. It helps hold when you pull tight before you do the second tie.
- Here is a trick for hanging your wreath on a window.
- Here is a trick for hanging your wreath on a door with ribbon.
Recommended Products
As an Amazon Associate and member of other affiliate programs, I earn from qualifying purchases.


How do you do this so that the top tassels do not droop?
My tassels didn’t droop so my guess is it had something to do with the yarn. Look for a stiffer yarn and it should hold it shape more.