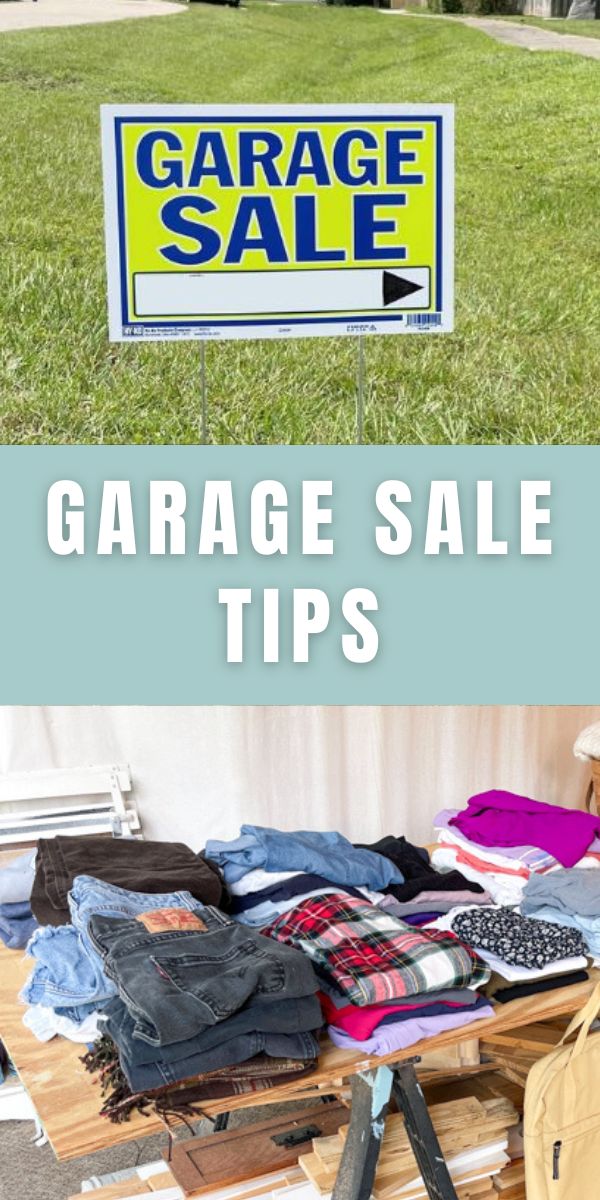
Hosting a garage sale can be daunting, especially if your cluttered garage needs a major overhaul. In this blog post, we've got you covered with expert tips on garage sale organization.
Plus, we'll provide you with an essential “Garage Sale Checklist” to ensure a successful and stress-free event. Whether you're a seasoned pro or a first-time host, let's get your garage sale on track!
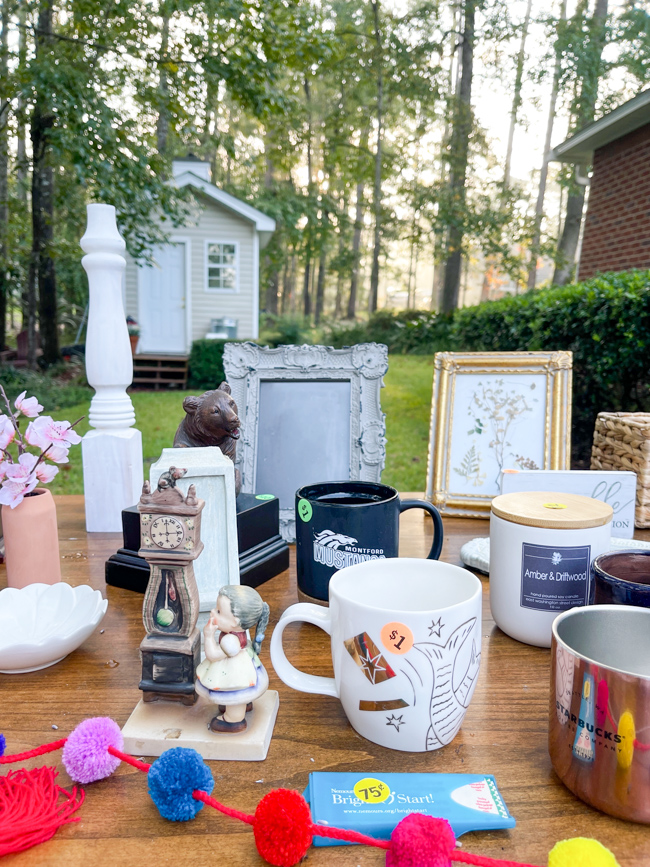
This past weekend, we had a garage sale, and little did I know then that I would be writing a blog post on this now. LOL!
After years of throwing garage sales with my mom, who, in my opinion, was a pro, and now watching my daughter Hannah do some amazing garage sale organization, I thought, why not share our successes and failures in yard sales?
What Makes the Most Money at a Garage Sale?
While this will vary depending on your location and your buyers, here are some popular items that will often make the most money at a garage sale:
- Tools
- Kid's outdoor toys
- Furniture
- Jewelry
- Kids clothing
- Brand name adult clothing
- Home decor items
- Antiques or vintage items
How Much Change Should I Have on Hand for My Garage Sale?
In general, you want about $100 in various denominations, both small bills and coins. Something else you may consider, is offering to taking digital payments on platforms like PayPal or Venmo.
Garage Sale Organziation
I love the feeling of cleaning out the clutter and getting rid of stuff. It is like a load has been lifted off the inside of your home. And it's the best way to get ready for your garage sale.
After I clean out, I usually do a bit of organizing like I did in the organize clothes by color and my linen closet post, but this time, my daughter, Hannah, and I started making a stack for a garage sale in our garage.
For a few months, we worked room by room, closet by closet, and kept adding to the stack outside. It was great until the stack in the garage was starting to take over, so it was time for a garage sale.
Now, where did we go from here? Since it had been a while since I had a garage sale, I had to go back in my memory to all the things my mom taught me. Truth be told, garage sales were so fun with her!
Garage sales at my parent's house usually mean a family get-together because my sisters and I would bring our stuff and have a multi-family yard sale. We would begin a day before, spending the night and start bright and early on Saturday morning.
Well, enough about the good ole days and on to how to throw a garage sale, organize a garage sale, and the ultimate yard sale checklist.
How to Throw a Garage Sale
Before I begin, all my tips are trial and error from years of yard sales. Depending on where you live, it might be a little different than here, but these tips are a great place to begin, and I hope they are helpful.
Here are the steps to organizing a garage sale that I follow: (all this will be in your yard sale checklist)
- Purge & Save for Garage Sale: Keep a stack of garage sale items as you purge your closets and such.
- Best Month, Day, and Time for Garage Sale: Summer and Fall is the best time to throw a garage sale, and Saturday is the best day, but read on for more tips.
- Cash Needed and Money Pouch: Pick up cash from the bank to have on hand for transactions and keep it in a fanny pack or tool pouch like the one we got at Lowes.
- List Garage Sale on Social & Signs: Advertise Sale on Facebook Marketplace, Craigslist, Nextdoor app, and your personal social media. (more tips on this below)
- Organize Items: Group similar items together such as clothes, bags, backpacks & purses, textiles, accessories, books, craft supplies, school supplies, electronics, games, videos, household items, etc.
- Price Everything: price items individually with price tags or price stickers or make a sign
- Display Tables: Use as many tables as possible for better sales and place everything on them the night before inside or in the garage, if possible.
- Boxes & Basket for Display: If you don't have room on a table for books, linens, and such, this is a great alternative, but make sure what's inside is easy to see.
- Clothing Racks: Hanging clothes sell better than clothes sitting on tables
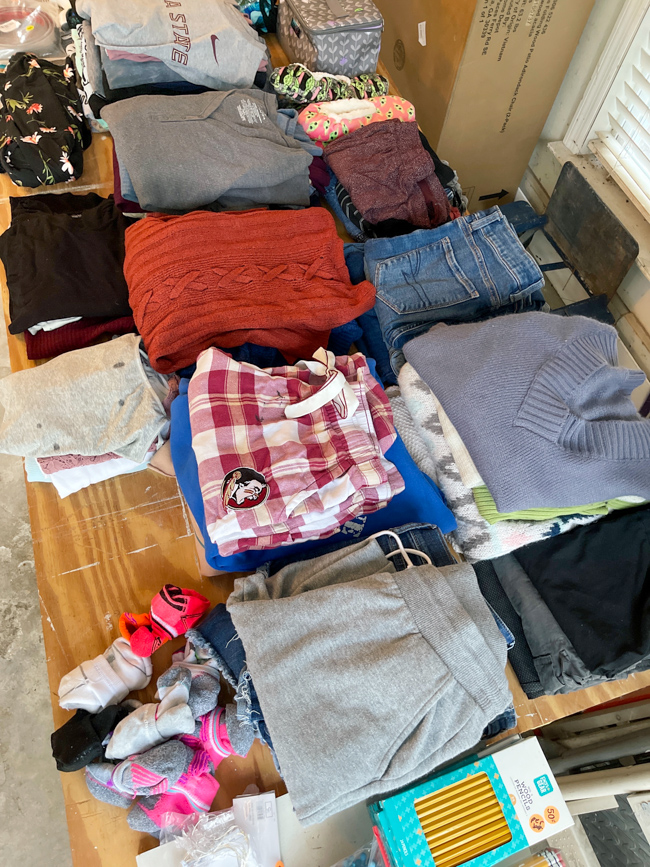
- Fold Everything Neatly: Clothes on tables sell better if folded and organized by items (i.e.: t-shirts, shorts, pants, sweaters, and so on)
- Table for Checkout: Using a small table for collecting money and calculating how much
- Line up Furniture along Driveway: Set furniture out near the road so people can see you have big items for sale
- Set Everything for Good Traffic Flow: Place tables, furniture, and such so people can easily move from one display area to another, all leading to your checkout table.
- Garage Sale Day: Start early, set up a lot of signs, and ask your family and friends for help.
This is a brief list of what I am sharing, so let's dive deeper into each topic.
Step by Step: Garage Sale Organizing
So you are considering throwing a garage sale, and let's say you already have unwanted items to sell. The more you have to sell, the better, and even better is to invite another family or two to join in.
People love it when they think there are many items to shop for.
Step 1: Purge & Save
If you already have everything for your sale, skip this part, but for beginners, the first thing you want to do is go through closets, drawers, basements, attics, and such, and look for items you have not used in years.
It might be time to part ways with them and free up more space in your home. It's best if things are in good condition and that you clean them up before the sale.
Pick a location to store garage sale items. I like to purge and save for a month before a sale and store everything in my garage. You will be amazed at everything you keep finding that you are ready to live without.
Step 2: Best Month, Day, and Time for Garage Sale:
You are finding yourself ready to throw your garage sale, so you need to determine the month, day, and time.
From my experience, the best months are summer and fall months. And the weekends work best, especially Saturday mornings.
But even better is the first weekend of the month. I think that is because many people in my area get paid at the beginning of the month, and they have a little spare cash to shop.
As far as time, the best time is early at 7 am til 1 pm. You can go longer and start later, but in Florida, the temperature is better from 7 til 1, which makes it nice for everyone.
You want your potential customers comfortable and shopping longer. Plus, my Mom always says the early bird gets the worm if you know what I mean.
Step 3: Cash & Money Pouch:
Before the sale day, make sure to get cash for transactions with your customers. Here is the best set of bills I have found:
- 20 – $1 bills
- 5 – $5 bills
- 4 – $10 bills
- 1 roll of quarters
- 1 roll of dimes
This equals one hundred dollars, which is an easy number to remember at the end of the sale; that way, you can subtract $100 to see how much you actually made.
You will also need a secure place to store your cash. It's a good idea to keep your cash close.
When researching garage sales online, many people shared they used a fanny pack. I thought that was a great idea, but Mom and I always used these 2-pocket work waist aprons.
Ours is super old from Lowes, but I found one here on Amazon. It's a great way to keep your cash safe and make change quickly.
If you decide to keep any extra money, do so in a secure location like locked in your house. If the sale is going well and you feel you're carrying a little too much money, put some of the excess in the house.
Step 4: List Garage Sale on Social & Signs:
A very important part of a successful sale is marketing and signage. You want to make it easy for potential buyers to find you.
Advertise on Social & Apps
The places I have found success are Facebook Marketplace, the Yard Sale Treasure Map app and Craigslist. Here are a few tidbits you add to your listing.
Make sure to include key things like if it is a Multi-Family sale, a Moving Sale, and so on. People really gravitate to bigger sales, so be sure to include that in your listing.
Second, take many pictures and videos. If people can see what you have to offer, the more likely they will come. Make sure your photos are bright and clear. Cell phones do a great job with photos and videos.
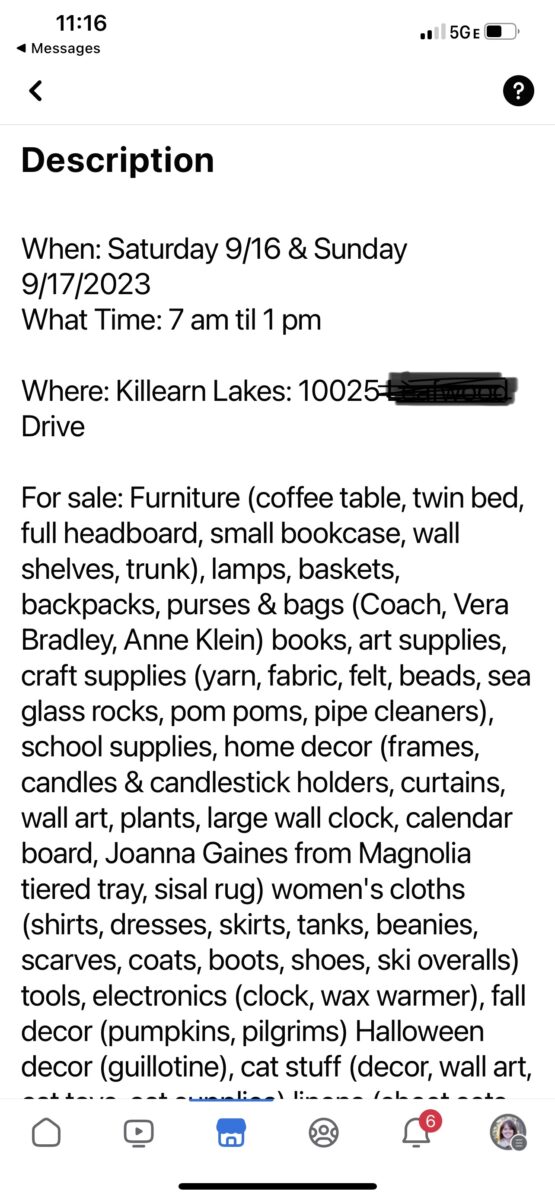
Last, list all the items word for word and include brand names. People who are searching for specific items will see your sale and come.
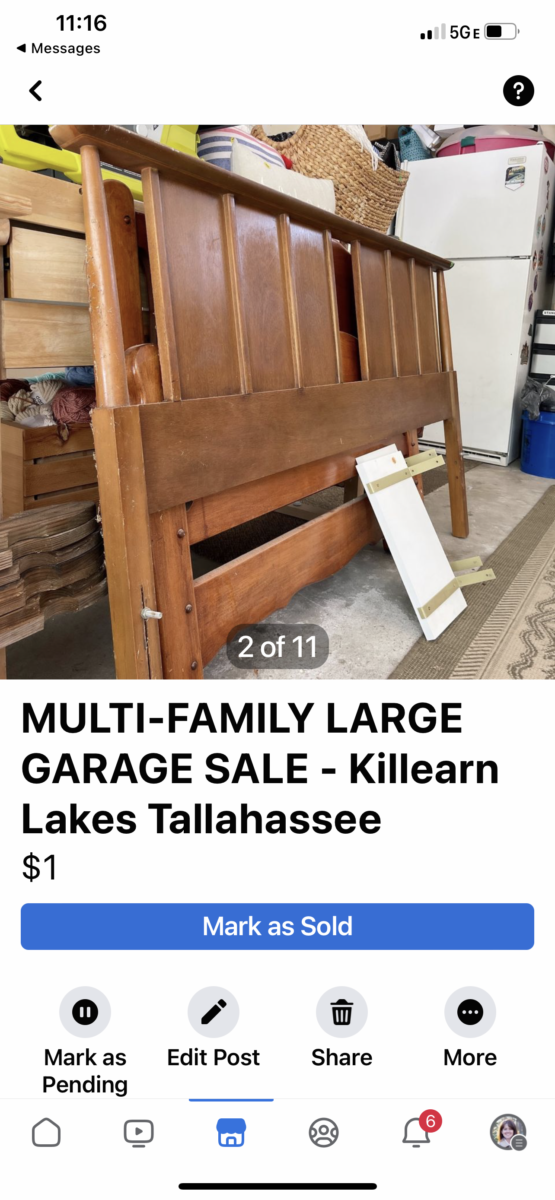
Here is my listing on the Facebook marketplace to give you an idea.
Advertise with Signs
Next are signs. Our signs came from Walmart, but I have seen them at Dollar Tree and Dollar General, Home Depot and Lowes, too.
From experience, these wire stacks are much easier to pop in the ground than wooden stakes. I used to have wood, and it was a dilly to get into the ground. So go with wire.
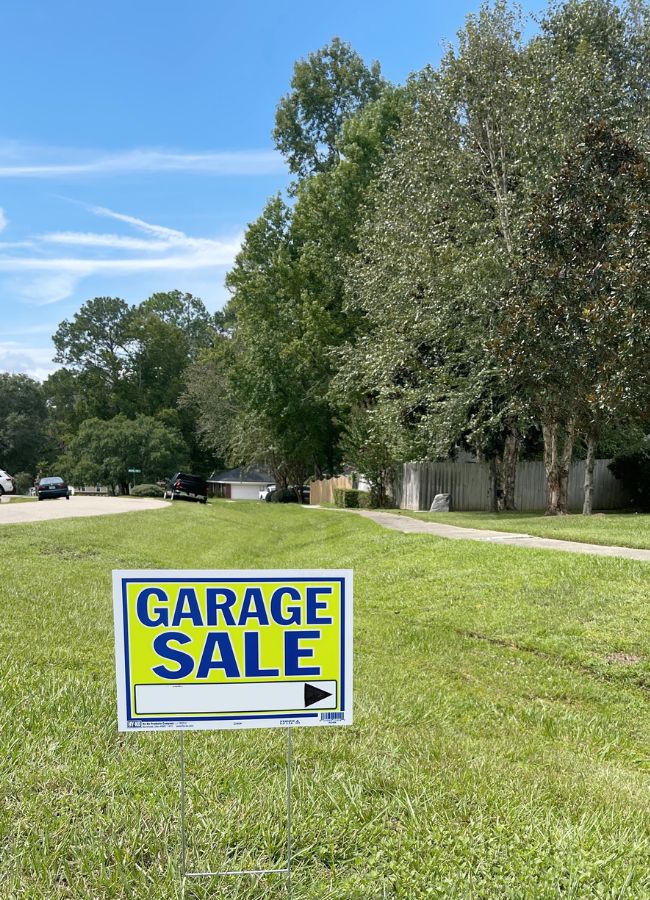
Also, don't skimp on these great signs. These bright colored signs are easy to see from a distance, and write your address as large as you can so people driving by can read it easily. Plus, they are pretty cheap at under $2 for a sign unless you go to a dollar store.
I was inspired to design a garage sale sign: you can find it on my Etsy site. They're editable for your convenience and there is a blank version too where you can fill in the date, time, and location with a marker.

Update: After making this sign I found that everyone loved it and wanted more designs so I create an editable PDF one that says Garage Sale, another one that says Moving Sale and this Estate Sale sign. In my Etsy shop you will find even more designs.
The great thing about these signs is that they are an editable PDF so you can change them each time you have a sale, simply print them and make as many copies you want.
My favorite places to print signs are print shops like Staples and Fedex Copy and sometimes I print them at the Walgreens photo lab one hour printing if I am in a hurry. All you do is upload the file to their website and pick it up when it is ready.
Step 5: Organize Items:
Now that you have all the business details in place, it is time to organize.
Begin by sorting everything by categories: textiles (pillows, linens, and such), clothes (t-shirts, pants, shorts, sweaters, and such), bags, backpacks, luggage and purses, books, craft supplies, school supplies, accessories, and furniture.
Once you have everything sorted, it is time to start pricing your items.
Step 6: Price Everything:
Begin by folding individual items in each category, placing a sticker on them, and pricing them. A great place to pick up garage sale stickers is Dollar Tree, Walmart, and Amazon.
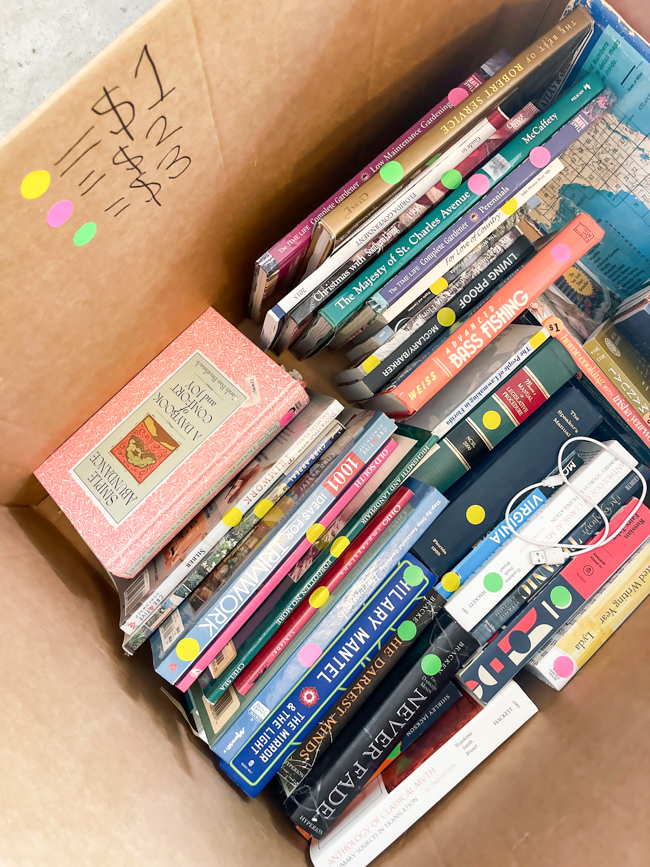
Pricing each item is best because people are more likely to buy something if they don't have to ask the price. But when it comes to items you have a large amount of, you can place a sign like this one that shows how much.

This is mainly to make sure your customers know exactly how much everything is. When people come to shop after you say hello and welcome to your sale, let them know that everything is negotiable if that is an option at your sale.
People love to get a deal!
An excellent way that I have found that works when determining prices is to price things at 10% of retail. So, in general, t-shirts are $20, so they charge $2 or $3 for t-shirts.
Step 7: Display Tables:
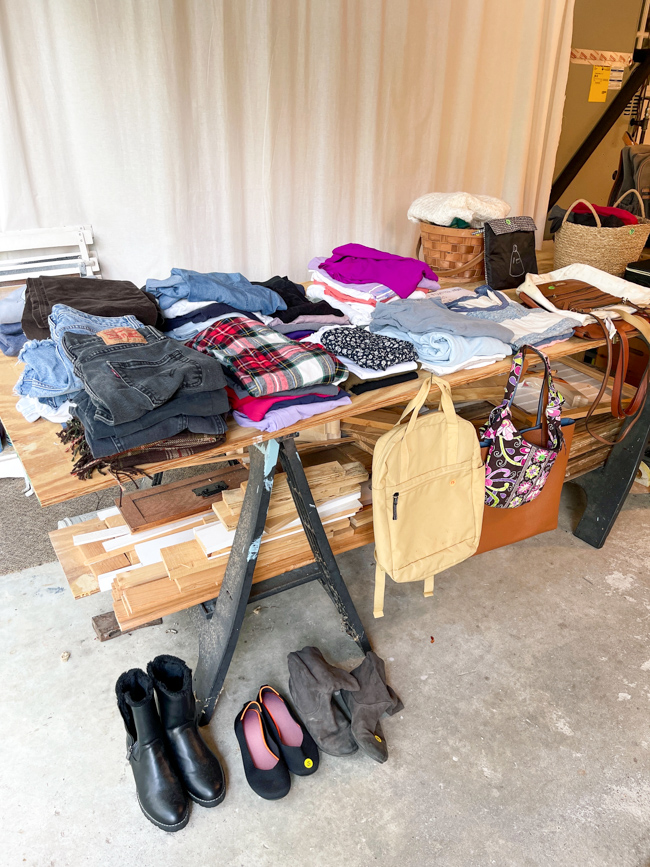
Now that everything is priced, it is time to lay it out on tables and such the night before. We do all this in our garage so we can easily open the garage door at 7 a.m. sharp and start carrying tables out.
The more tables you have, the better for shoppers.
They are more likely to stay and shop if everything is waist high or higher. They are less likely to spend more time if they have to bend over. But not everyone has enough tables, so your best option is cardboard boxes, baskets, and blankets on the ground.
Step 8: Boxes & Baskets for Display
If you do boxes, keep items that are easy to see in them, like these books with their binding up so people can easily read them.
Here is where we organized blankets by rolling them up in a basket.
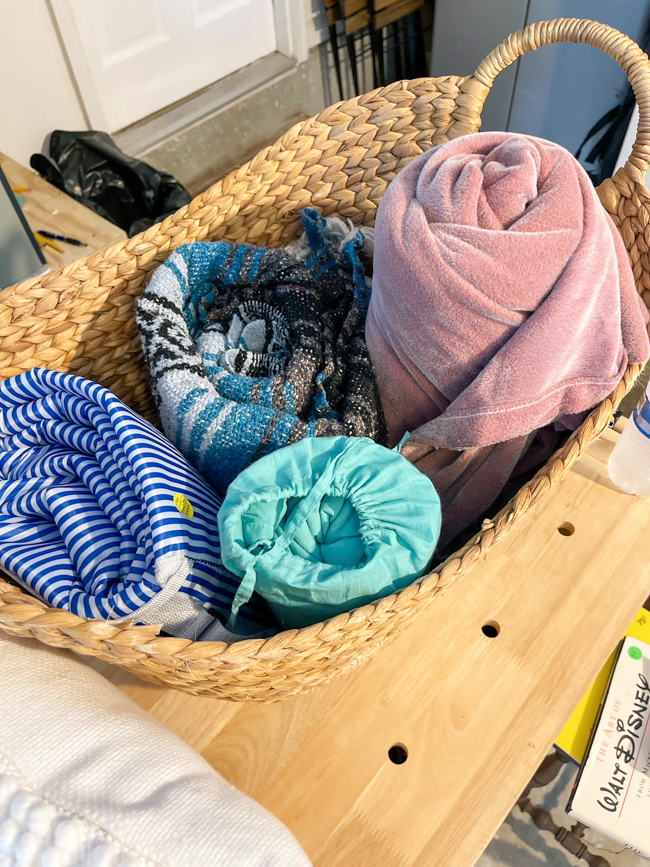
This basket was full of blankets on the first day. This is all we have left. People seem to enjoy looking at the blankets in this basket.
Step 9: Clothing Racks:
If you have a place to display clothes by hanging them, then I highly recommend it. Clothes sell much better if hung. We place coats, dresses, and spaghetti-strap items on our makeshift clothing rack.
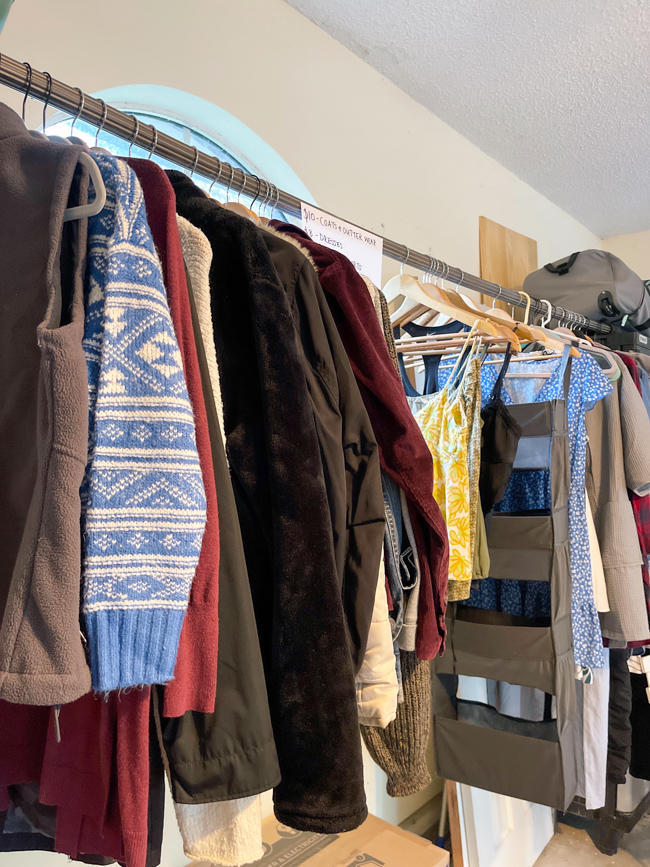
We created a hanging rack by putting a long curtain rod onto two cabinets in the garage. It worked like a charm.
Step 10: Fold Everything Neatly:
You wouldn't believe all the compliments we got on how organized our garage sale was. One lady even thanked us for such a neat and orderly sale. I later learned she was their neighborhood garage sale queen. LOL!
Make sure to fold everything neatly in categories like t-shirts, shorts, pants (even separate blue jeans from slacks), and so on.
Step 11: Table for Checkout:
Before your sale starts, place a small table somewhere in a shaded area where you will be comfortable with chairs for checkout. Having a table for shoppers to place items at checkout is very helpful. You will find it easier to sort through what they have and calculate their total.
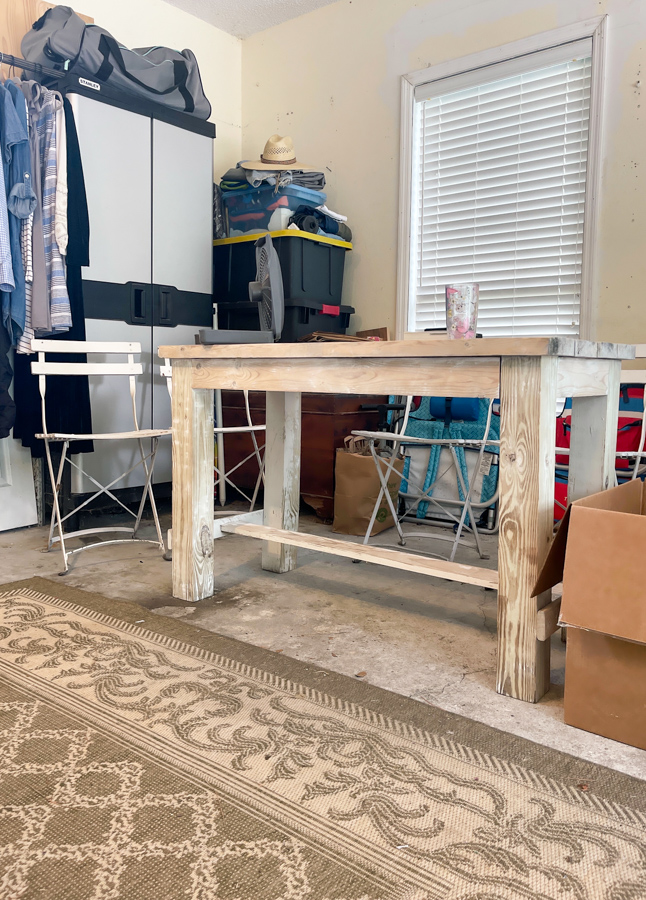
Also, have a pencil and paper handy just in case, and keep your pricing stickers and Sharpie nearby in case you want to change the price or price something.
We also placed a fan at the table. This made it so much more comfortable as it got warmer.
Step 12: Line up Furniture along Driveway:
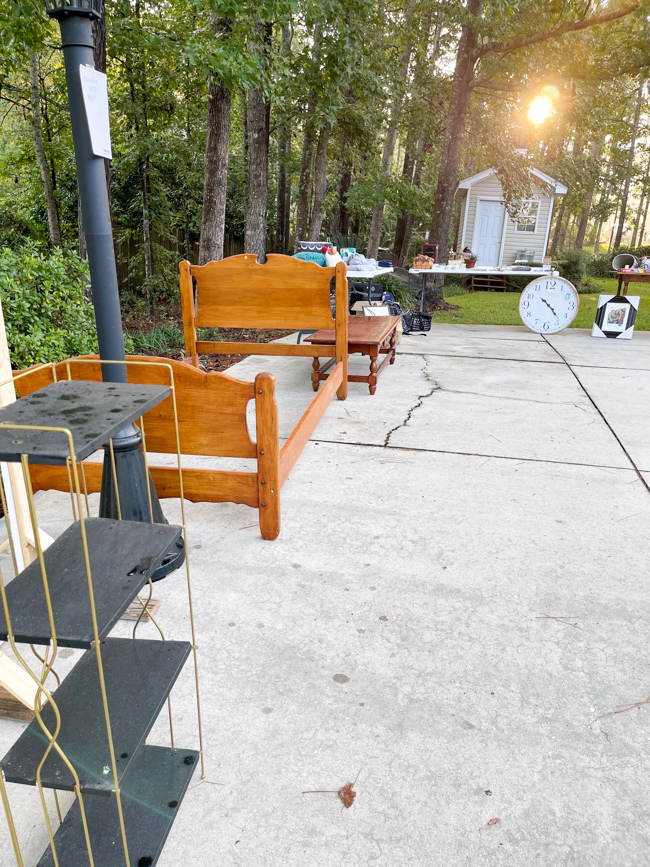
If you have furniture, setting it out along the driveway is best. If people see lots of stuff for sale, they are likelier to stop and shop. We set our large sale items along the edge of the driveway so there is ample space to walk around and leave open traffic flow.
Step 13: Set Everything for Good Traffic Flow:
Traffic flow is very important. Sometimes, you may have many people during your sale, so it is best to leave at least three feet between tables and such.
Think about your garage sale like a buffet table. Start everyone at the beginning of the driveways and work them around looking at items leading into the garage if your sale is inside the garage, and continue until they get to your checkout table.
Step 14: Day of Garage Sale:
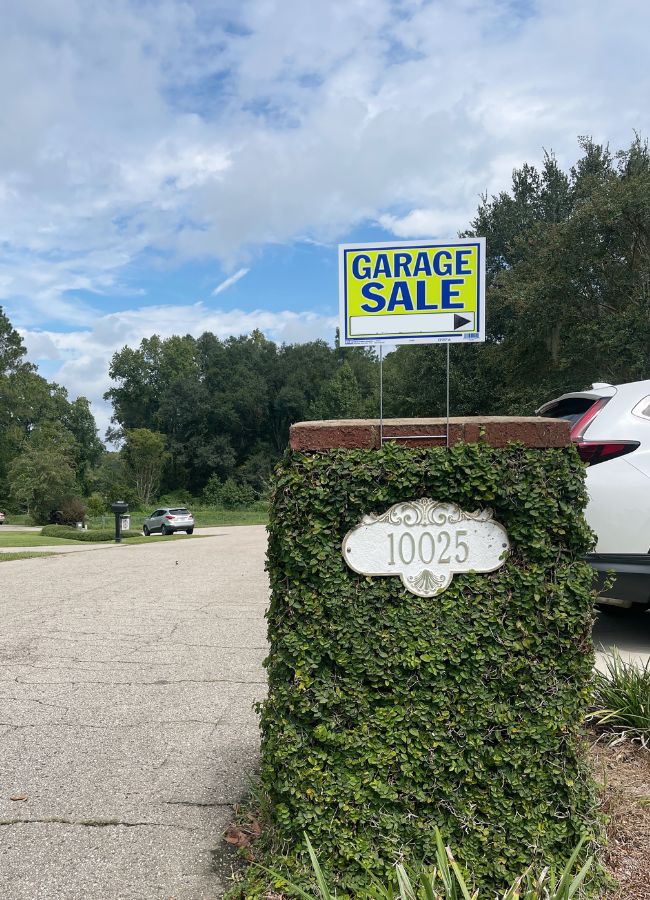
Today is garage sale day, so start bright and early by placing signs out at 6:30 am. If you have any helpers, ask them to put the signs out.
When filling in your signs with the address, write on the back where the sign needs to be displayed. This makes it easy for the person who is responsible for placing signs.
If you don't have a helper, post signs the night before. I like to put mine out the day of the sale just in case someone decides to vandalize or steal them the night before.
The more signs, the better, and make sure they are placed where cars see them while driving.
Place them at major intersections and main roads, and then when you get close to your garage sale location, place the signs at each turn for the last two or three turns. And don't forget one in front of your house or where the garage sale is held.
Now, right at 7 a.m. or when you decide to have your sale, turn on the lights in your garage and driveway if it is still dark, and open the garage door.
If any early birds are outside, say hello and that you will be ready in a few minutes after you set out all the tables.
People are generally pretty nice and will wait for a little, so start carrying your large furniture items and tables out onto the driveway once everything is set; welcome everyone to shop.
Can you believe it? Your sale is in full swing now. Enjoy visiting with people and answering their questions while they browse your sale.
Final Thoughts
Overall, our garage sale was a success except for a Sunday. If I could rewind time and do it again, I would have the sale on Friday and Saturday.
Sunday was a bust in my part of North America. Other than that, everything went great!
People really seemed to enjoy shopping and found lots of treasure they could use. Everyone was friendly and nice; the best part was the compliments on how organized our garage sale was.
That made our day!
Remember, garage sales can be hard work but fun if you are not rushed and organized.
To make your sale even more successful, we have created the ultimate garage sale checklist free for newsletter subscribers.
You can get it, and a lot of other great printables, free by subscribing to my newsletter here. And don't forget to pick up your editable garage sale signs at my Etsy shop.
And if you love thrifting, antiquing, garage selling, and such, then you will love these blog posts:
I hope you have enjoyed this article revealing my best garage sale tips. If you have a friend discussing throwing a garage sale, please pass this on to them. Have you hosted a successful garage sale? I'd love to hear your tips in the comments!
Happy Garage Selling!

