Perfect for spring, parties or weddings try this DIY floral chandelier using fresh flowers. Create a beautiful hanging flower arrangement on your light fixture with these easy steps.
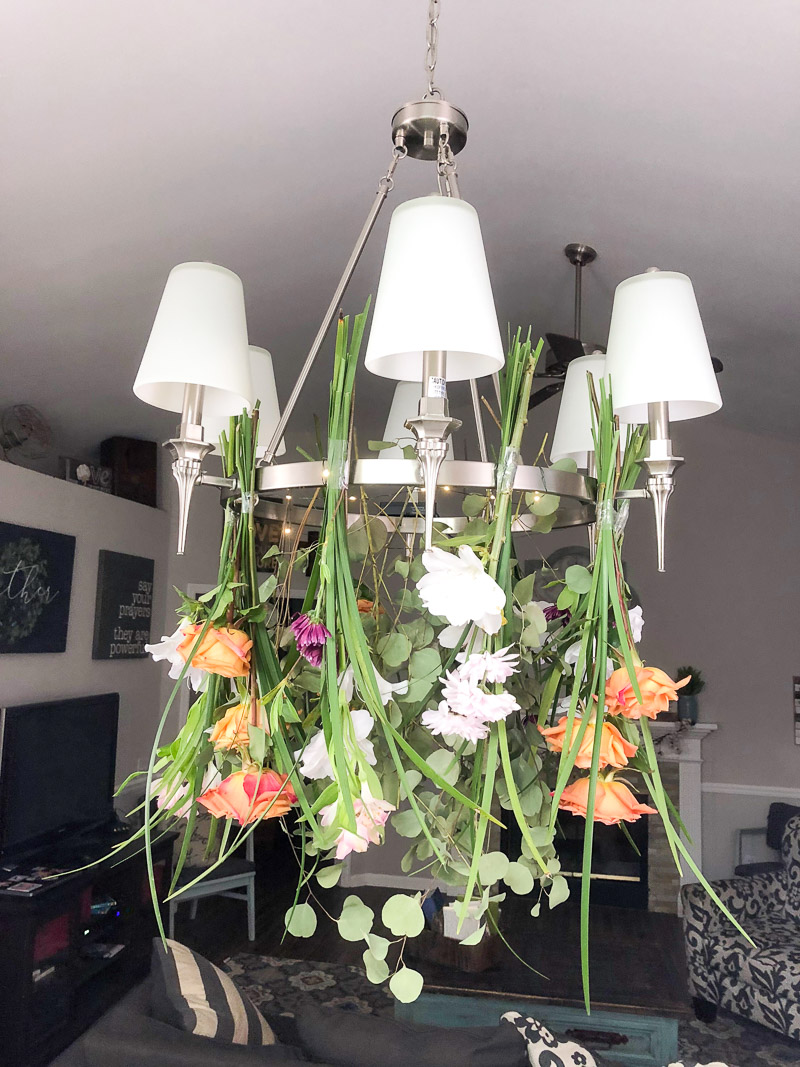
This upside down floral arrangement brings the sunshine indoors or to any event or party. We love to make these floral hanging chandeliers with fresh flowers but you can use artificial flowers too. Follow along as we share how easy it is to add flowers to your light fixture. Your special events will feel magical with a stunning focal point.
This DIY floral chandelier is so easy to make. Hanging flower meadows are hands down the most dreamy flower arrangements ever. It's a wonderful way to make your big day feel amazing with a stunning display.
There are endless possibilities with a multitude of flowers and greenery in the world to create one of these beauties. Plus this is a great project for a Valentine Tablescape, weddings, bridal showers, or any party and you have some leftover flowers. 🙂
This post contains affiliate links, which means I receive a commission if you purchase at no cost to you using the links below. All opinions are all my own.
DIY HANGING FLORAL CHANDELIER
To begin every project you will need some supplies. Because Valentine's day had just ended and spring was already peeking its head we had many flowers and greenery as options. Pro tip – keep in mind not to add too much weight to your chandelier.
Floral Arrangement Chandelier Supplies
Gathering supplies is a great starting point. You will need lots of flowers, and greenery to create this hanging flower meadow. I love using fresh flowers for this project but you can use silk flowers if you prefer. Here is a list of other supplies:
- Flowers
- Greenery
- Transparent tape
- Floral Tape
- Battery powered mini lights
- Fishing line or floral wire
- Scissors
HANGING FLORAL ARRANGEMENT CHANDELIER
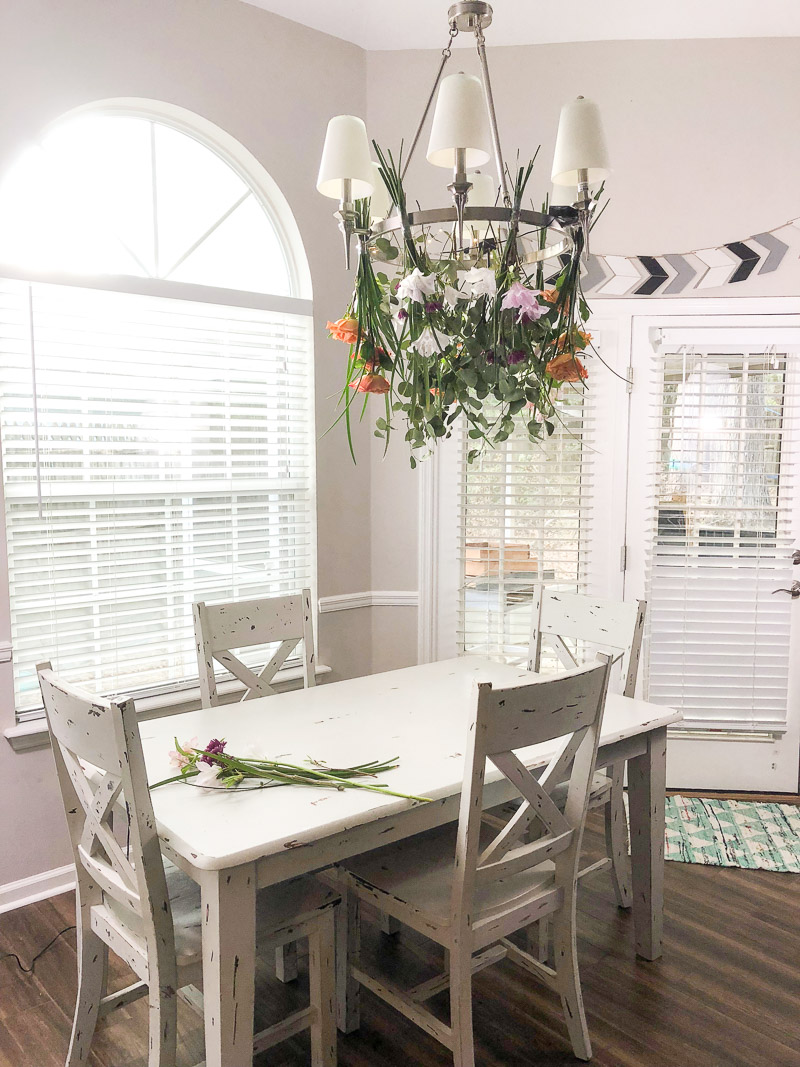
I left out one important item you will need, and that is where your arrangement will be hanging. Luckily we had a chandelier light fixture that was perfect for our arrangement. But there are many things you can use to like a ladder, old shallow crates, large brass rings, large wire wreath frame and the list goes on. The important thing is that the floral chandelier hangs where it looks best for your special occasion. You may consider keeping the floral chandelier away from direct sunlight if it's particularly warm so you don't have to worry about wilting.
GET THE LOOK
STEP 1: HANG BATTERY POWERED MINI LIGHTS
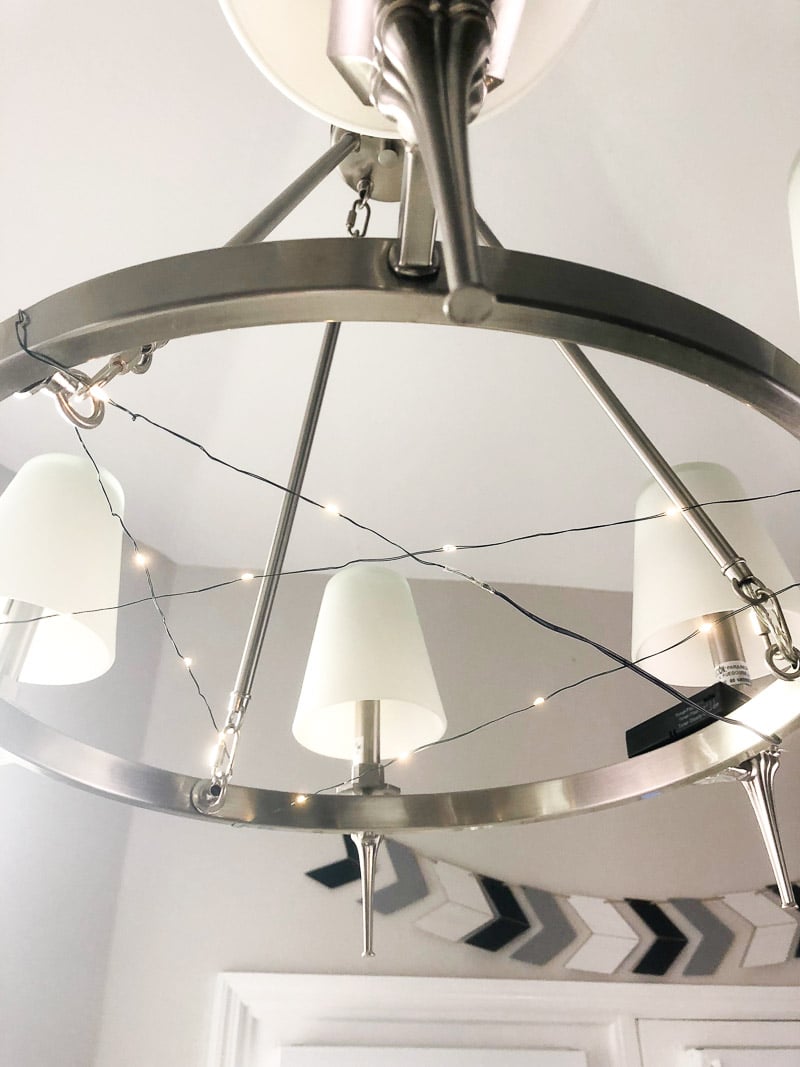
If you want to include fairy lights add them first. As far as design elements go, fairy lights are so fun and a whimsical alternative to traditional lighting. This step was pretty easy.
To begin, place the battery box in a non-conspicuous place and tape it down unless you feel it is secure. Next start twinning it around the object you are using. Your fresh blooms will look magical.
In our case, because it is round, we tried to make sure it created a balanced design.
STEP 2: SMALL FLORAL ARRANGEMENTS
Now lay two or three flowers and some greenery on the table then tape them about 3″ down. The stems of each flower don't need to be perfectly aligned but they should be relatively close. We created some arrangements with roses and the others with daisies and azaleas. Whether you use small flowers or large flowers is up to you. Or perhaps you want to use a combination of both. We added some cuttings of giant liriope to add some additional greenery.

Next, tie some fishing line around just below the tape on the side of the flowers. You could also use a small piece of floral wire. Make sure there is plenty of fishing line there to tie the arrangement to the base. It might help to pre-cut pieces of fishing line ahead of time.
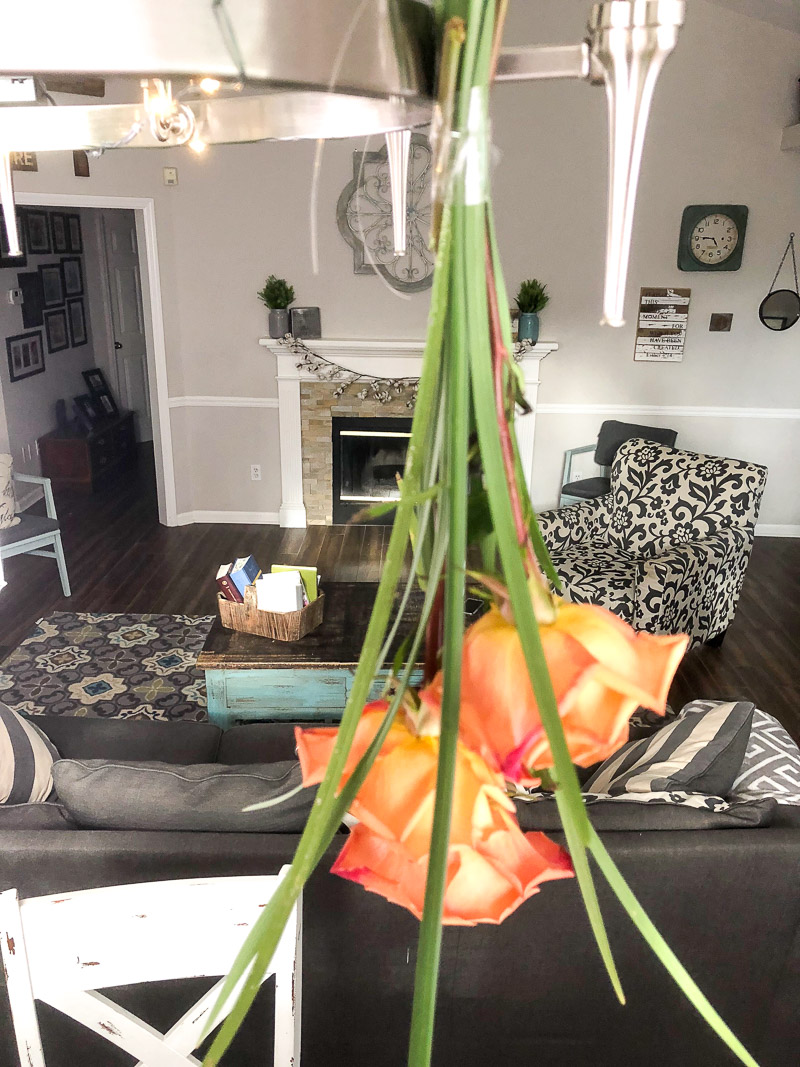
Repeat these steps and then start adding each arrangement to the base evenly distributing the flowers around the edge. Remember, faux flowers can be a great alternative if you can't get the real flowers you want or if you have guests with allergies which is a good reason to consider your options.
STEP 3: ADDING GREENERY
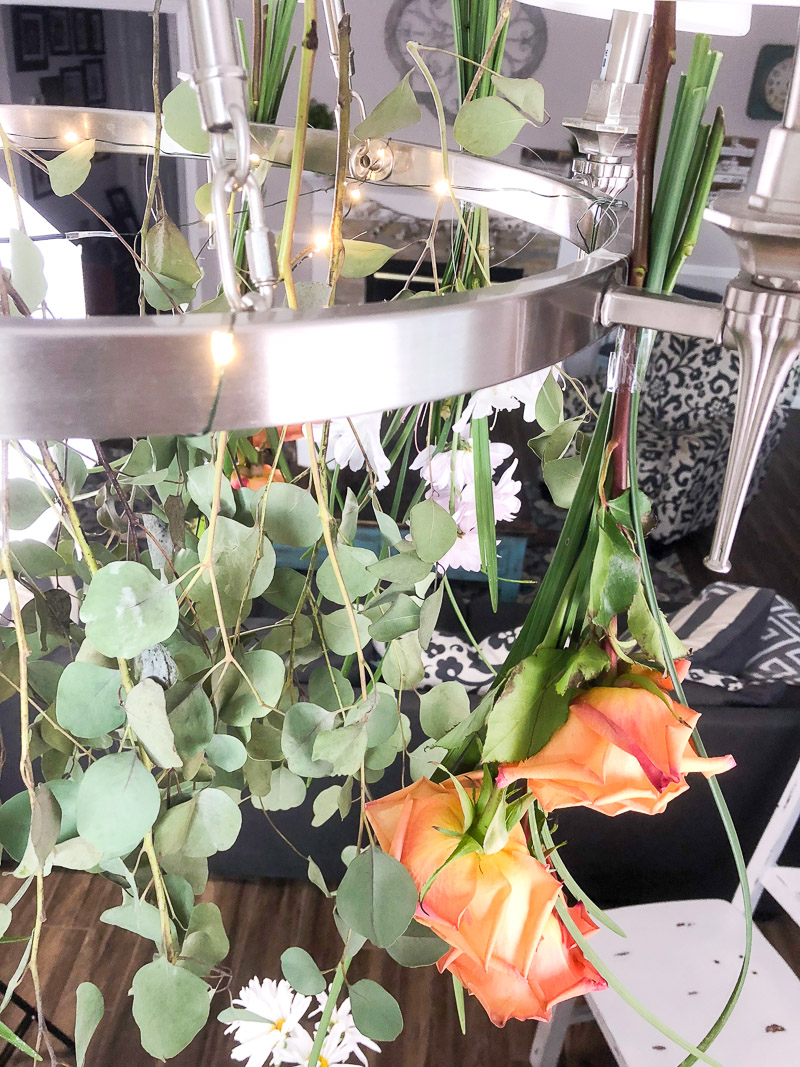
Next, take the greenery pieces like these eucalyptus pieces and place the fork of the branches over the battery operated lights. Add an individual piece of foliage at a time.
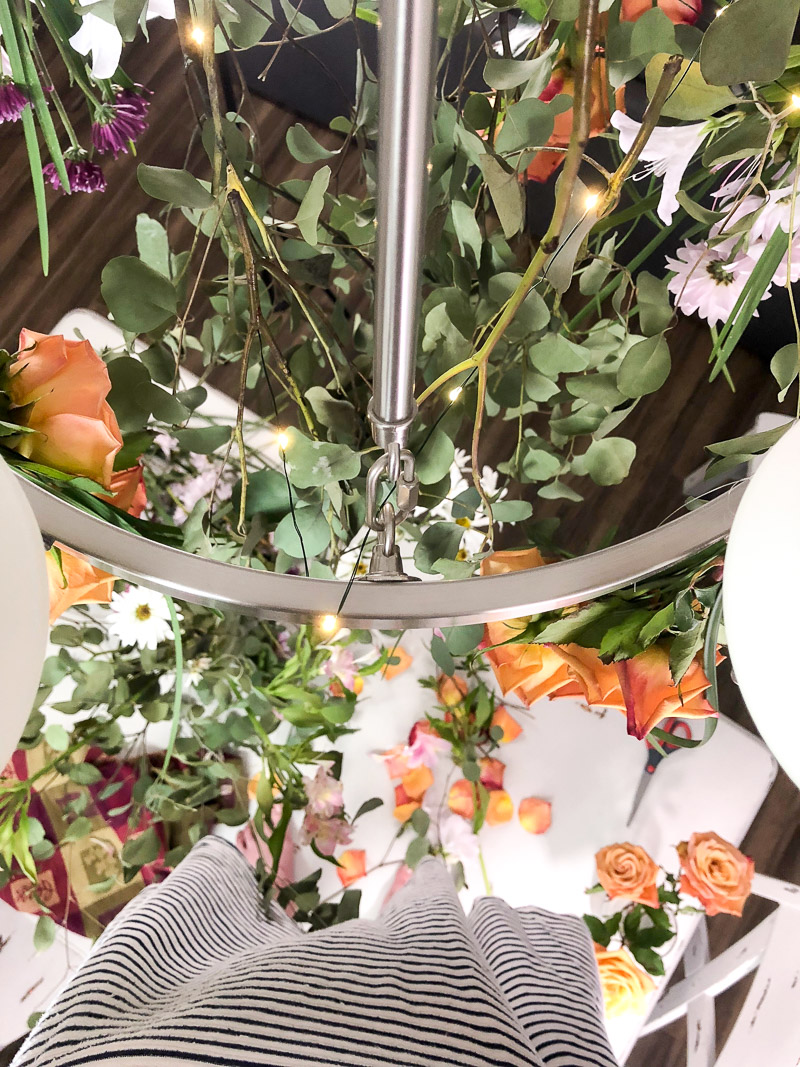
There is no tape or attaching in any way. They just merely float on the light lines with the fork of the branches. This creates beautiful layers of foliage. You're on the right track!
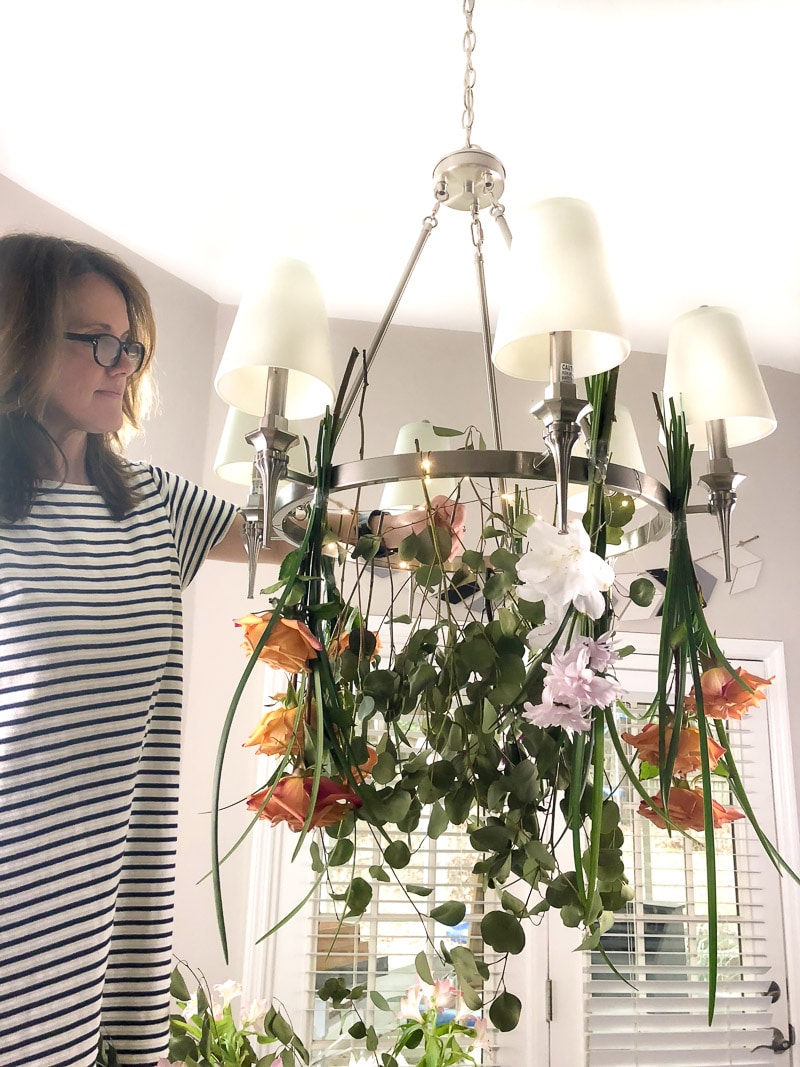
STEP 4: TRIMMING
Now it is time to step back and look at the whole design. In our case the shape of the flowers on display follow the round shape of the chandelier. You can create whatever shape you like. Look for pieces that are apparently sticking out way past all the others. We kept the lengths of greenery about the same length as the flower greenery.
In our case, we trimmed up some of the eucalyptus from the bottom and a few branches on the top. How far the foliage hangs depends on your preference and size of the room. But for the most part, we wanted that natural unmanicured look. Congratulations, you have a gorgeous statement piece! I love how this adds a beautiful splash of color without taking up valuable table space.
CONCLUSION
To wrap up this lovely DIY floral chandelier of a hanging flower meadow here are step by step instructions to make it even simpler. Your floral installation will be the hit of the party.
How to hang flowers from a chandelier?
Here's your step-by-step guide:
- Select a base like a chandelier, wooden ladder, shallow basket/crate, or wire hoop to name a few.
- Collect supplies like flowers, greenery, floral or transparent tape, fishing line, scissors, battery powered lights, and a ladder
- Hang the battery powered lights across the top to make a grid
- Arrangement two or three flowers and greenery
- Tape small arrangements
- Tie fishing line onto the small groupings
- Hang small arrangments evenly around the edge
- Drape greenery pieces by the forks in the branches over the battery-operated light wiring
- Stand back and look at the overall composition for any parts that are apparently way too long
- Trim any excess pieces from the top and bottom
- Sit back and enjoy your hanging flower chandelier meadow
Isn't this so beautiful! We loved it so much until we did it again for a bridal shower and have directions on how to decorate a chandelier with baby's breath. You could also use this design for wedding decorations. It would look amazing over the dance floor, dessert table or head table. This would also be fun for a baby shower. You will also find ideas in this little girls room ideas post and this flower crafts ideas post.
Last, here are the best places to buy flowers. It is a great article to start your planning for your hanging floral chandelier.
And now for the best part of this project… When we finished making this one we just sat back in awe! And we were pleasantly surprised at how many days it looked fresh.
I hope you give this easy project a try and share with us your hanging floral meadow if you make one.
Happy Decorating!

If you enjoyed these ideas, please sign up for emails, so you don’t miss out on more fun decorating tips and ideas HERE.

4 thoughts on “DIY Hanging Floral Chandelier Using Fresh Flowers”