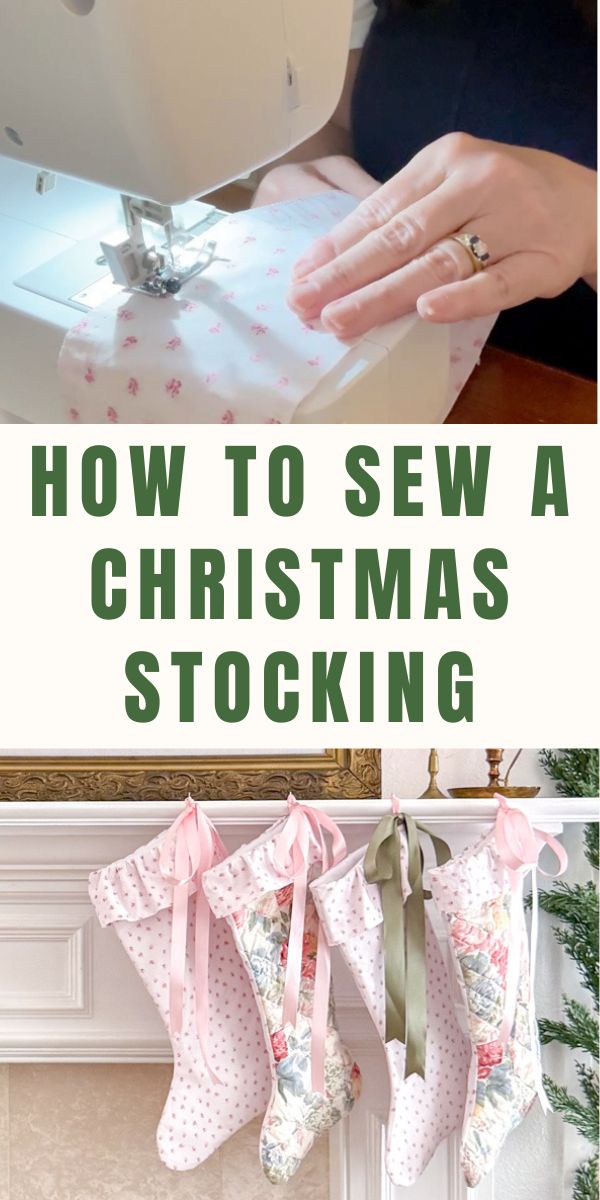
Transforming a simple pillowcase into two charming ruffled stockings is a delightful way to add a touch of vintage Christmas magic to your mantel.
This tutorial will guide you through the process, starting with preparing your pillowcase and ending with beautifully crafted stockings ready to hang.
Get ready to learn how to sew a Christmas stocking!
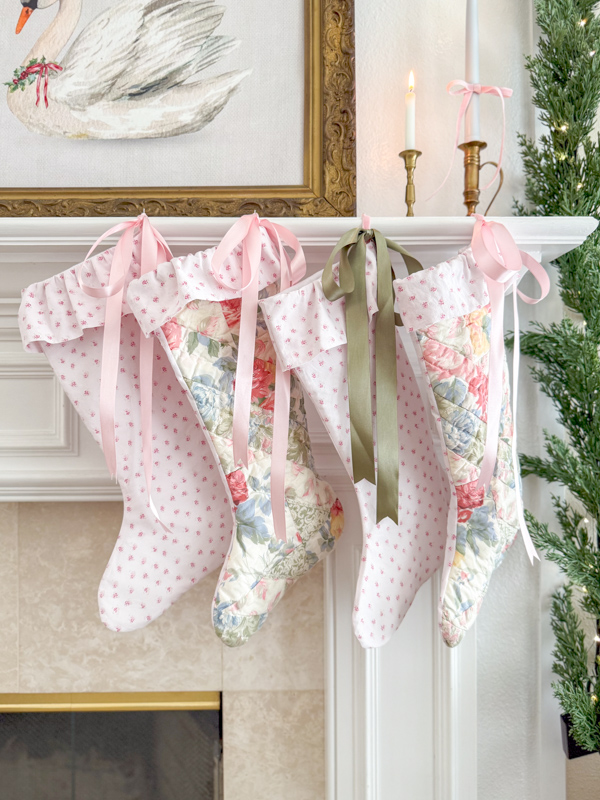
With just a few materials and some easy steps, you can create these lovely DIY decorations that capture the spirit of the season.
Follow along as we walk you through cutting, sewing, and assembling your way to festive cheer!
We're going to turn one pillowcase into two ruffled stockings and using them to decorate our mantel with some vintage Christmas magic.
Sewing a lined Christmas stocking from a pillowcase is easier than you think! You don't even need much fabric. One pillowcase will make two stockings. Get some supplies and create with me.
How to Sew a Christmas Stocking
The first step of any DIY project is getting your supplies together. Here's what you'll need to sew your Christmas stocking.
Step 1 – Gather Your Supplies
- New or Vintage Pillowcase (honestly you can use any fabric but I love how easy it is using a pillowcase)
- Felt
- Sewing Machine
- Scissors
- Ironing Board
- Iron
- Christmas Stocking Pattern (Subscribe to my website for a free pattern)
Are you ready to learn how to sew a Christmas stocking? Let's get started with these simple instructions.
Step 2 – Prep Your Materials
You can start by ironing your pillowcase, so it's nice and smooth. You can use any pillowcase, cotton, flannel, or quilt style will all make adorable stockings.
(Stay tuned until the end when I reveal that I made another one out of an old quilted pillow sham.)
Then, download, print, and cut out the stocking template pattern. Remember to get the pattern subscribe to my website here for access the free pattern and much more.
Now, you'll want to tape the pattern pieces together since it's over two pages.
Step 3 – Cut the Fabric Pieces
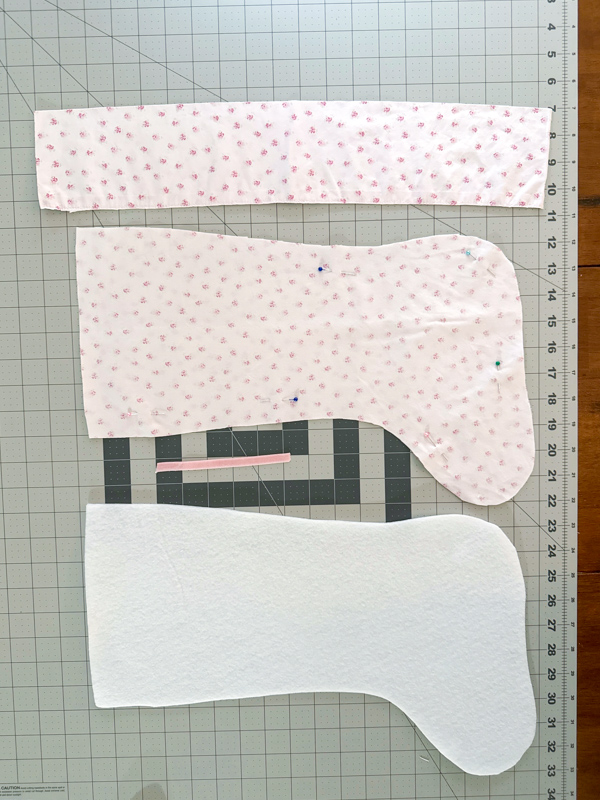
Place the pattern over the pillowcase and cut around it. Repeat this step so you'll have 4 pieces total.
Next cut the pillowcase band right along the seam line for the ruffle. Then, cut it in half to create two pieces. One for each stocking.
Now cut two pieces of ribbon for the hanger at six inches each.
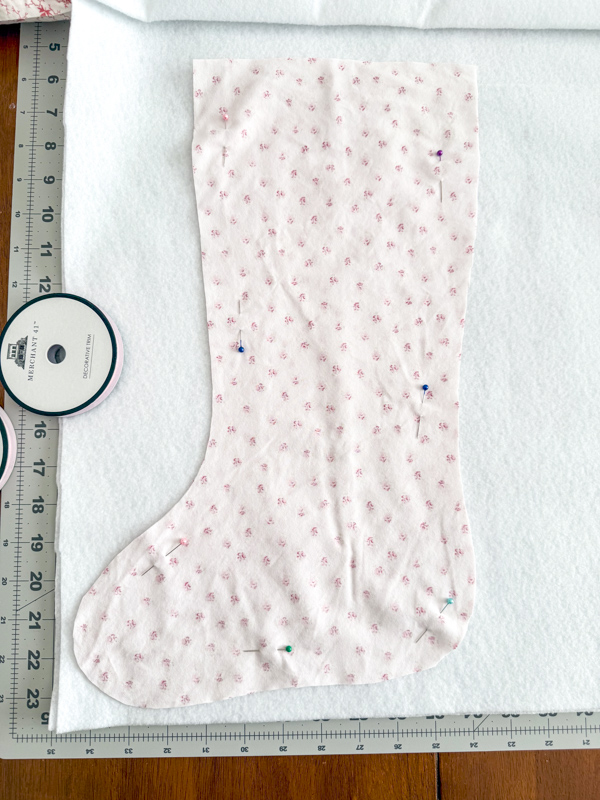
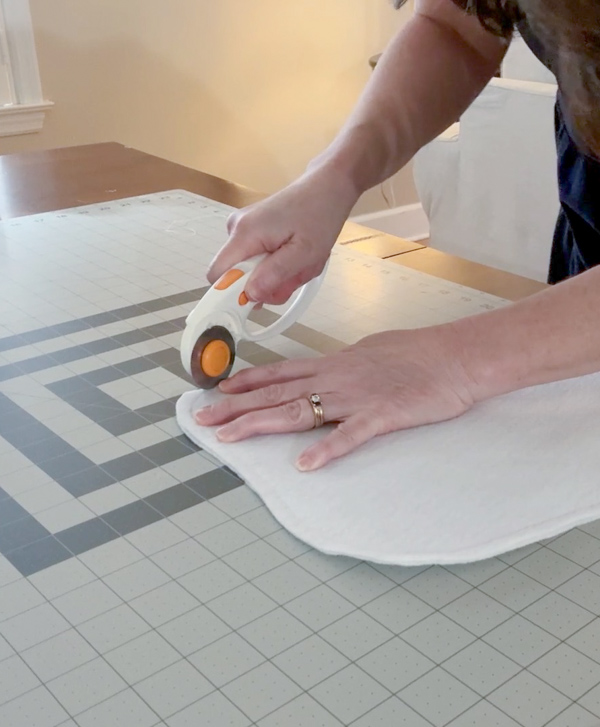
For the lining fabric, fold the felt in half, place the stocking pattern or paper pattern on top, and use scissors or rotary cutter to cut around it. Do this twice, so you'll have two pieces for each stocking.
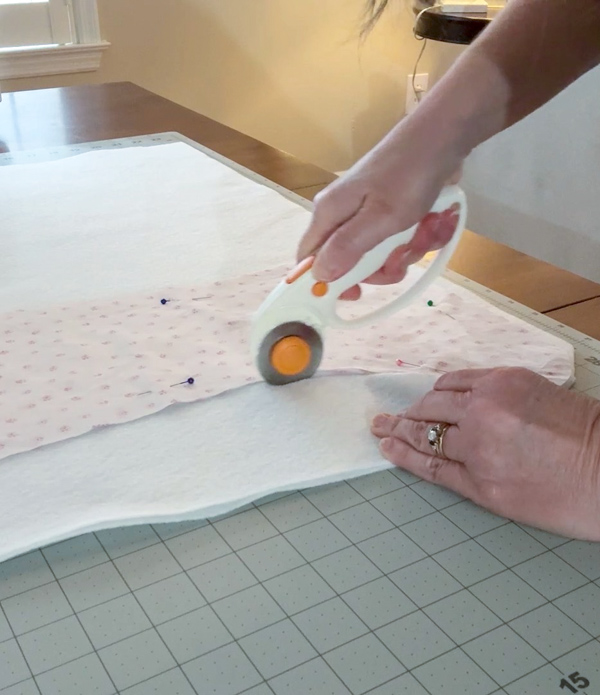
Step 4 – It's Time to Sew
This is what each stocking piece will look like. Now, let's see how you will sew each piece of fabric into a Christmas stocking.
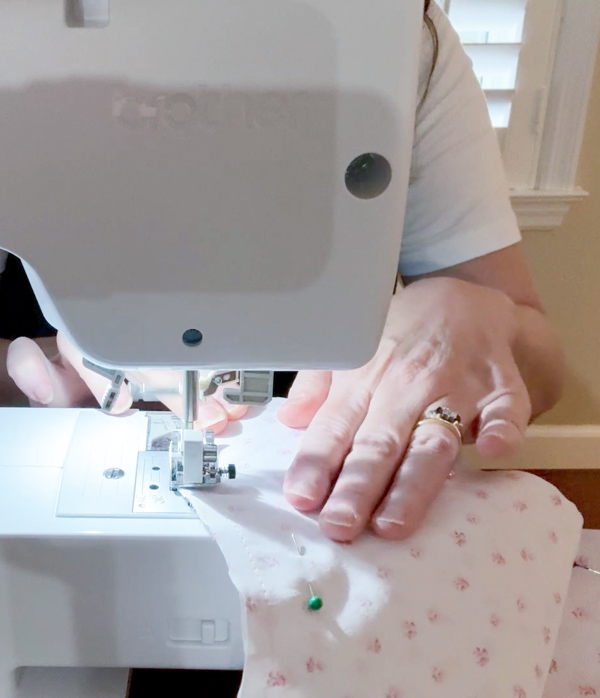
Take the outer fabric and place them together with right sides together. Pin around the edges.
Sew around the edges with a quarter-inch seam allowance and leave the top open.
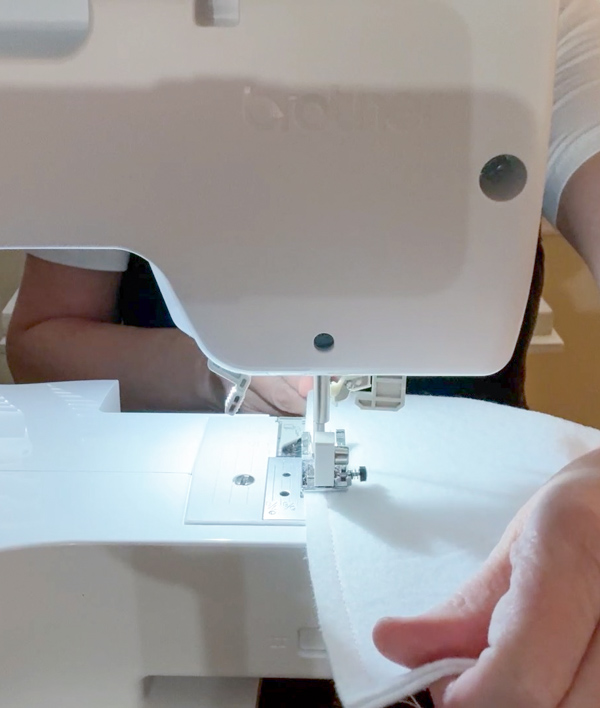
Do the same for the felt lining pieces.
Next, take the ruffle and sew the short ends together.
Then, sew a basting stitch along the edge of the band. (A basting stitch is a long stitch. I usually raise my stitch up as high as it will go)
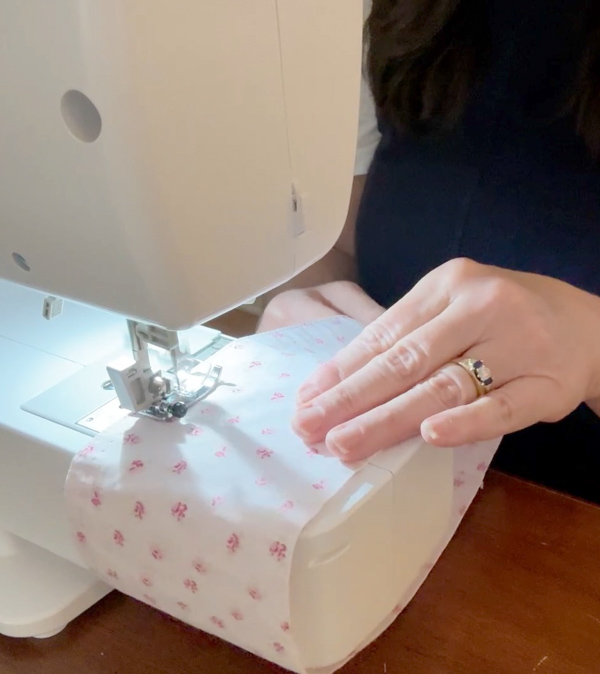
Leave the thread long so you can pull it and gather it into a ruffle.
Cut the excess fabric off the stockings along the stitching line. This removes bulk inside the stocking where the seams meet.
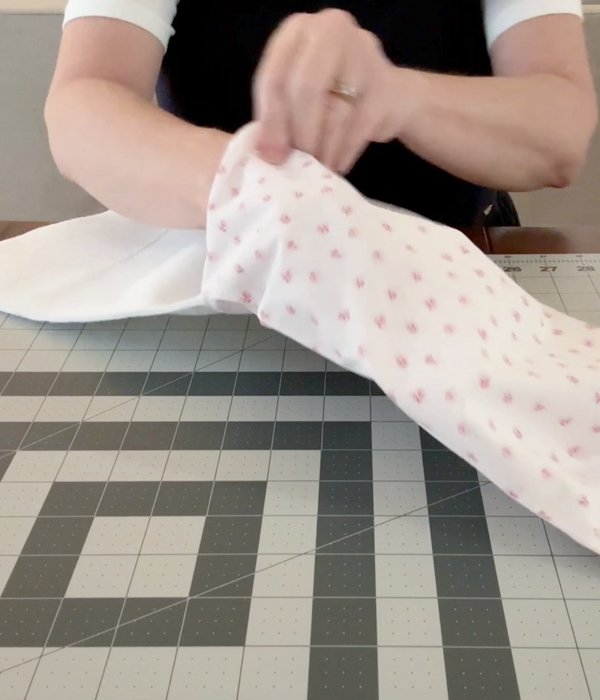
Turn the outer fabric of the stocking right side out. Use your iron to press it flat.
Place the felt inside the stocking so the seams are hidden.
Step 5 – Adding the Loop
Now for the hanging loop. Place it loop-end down inside the stocking, along the back seam. Pin it in place, leaving about a quarter of an inch sticking out.
Step 6 – Add Your Ruffle
Let's make the ruffle. Grab one end of the thread and start pulling away from it. Keep doing this until the ruffle is about the same size of the stocking. Even out the ruffles so they are uniform.
Take your ruffle with the seam facing out, adjust the gathers to fit around the inside of the stocking, and pin it in place, matching the seams along the top.
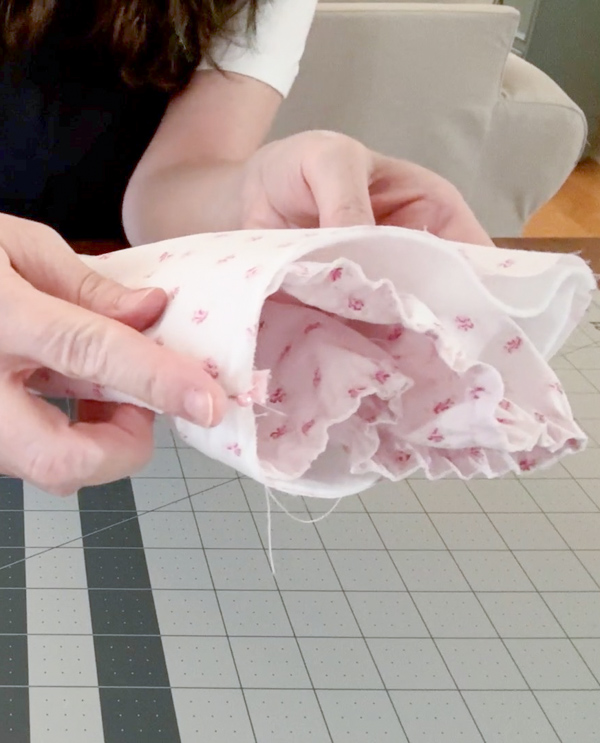
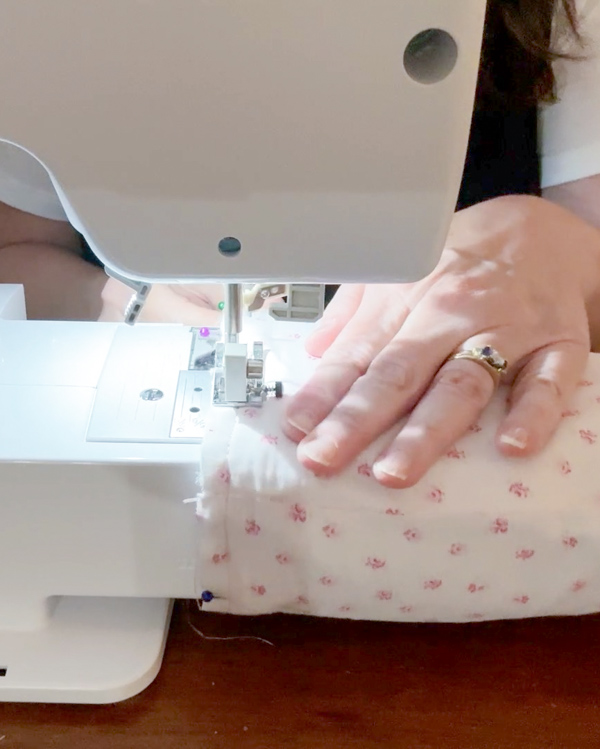
Sew around the top opening a quarter of an inch, ensuring the edges line up perfectly. Trim any excess fabric to help it lay smoothly.
If your basting stitch is showing go ahead and snip and pull it out.
Turn the ruffle right-side out, over the top edge of the stocking.
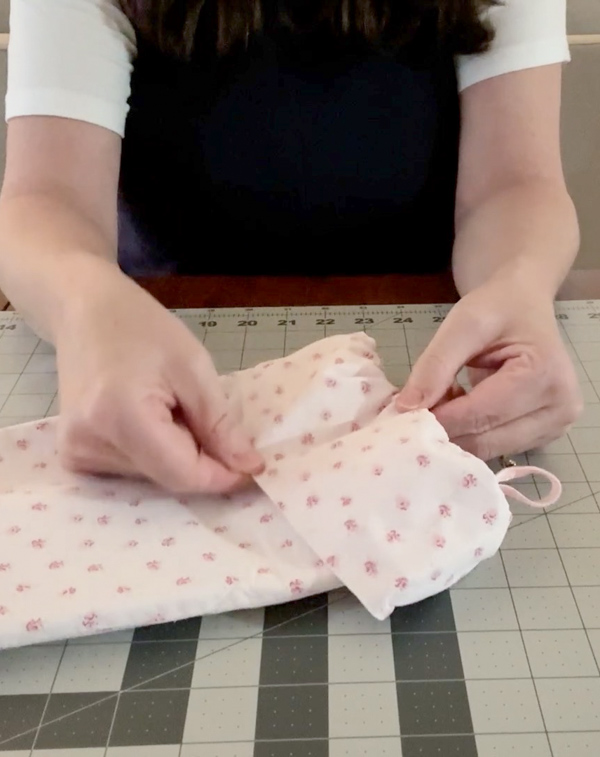
Give it one last press with your iron.
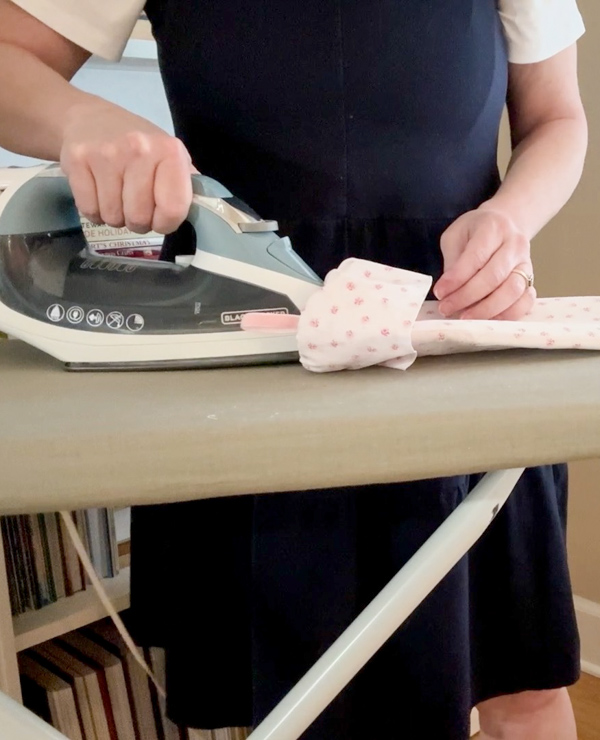
That's it! That is how to sew a Christmas stocking. This is one of my favorite sewing projects and it is a fantastic beginners sewing project. It's so cute! They are perfect to decorate your home or gift to a loved one.
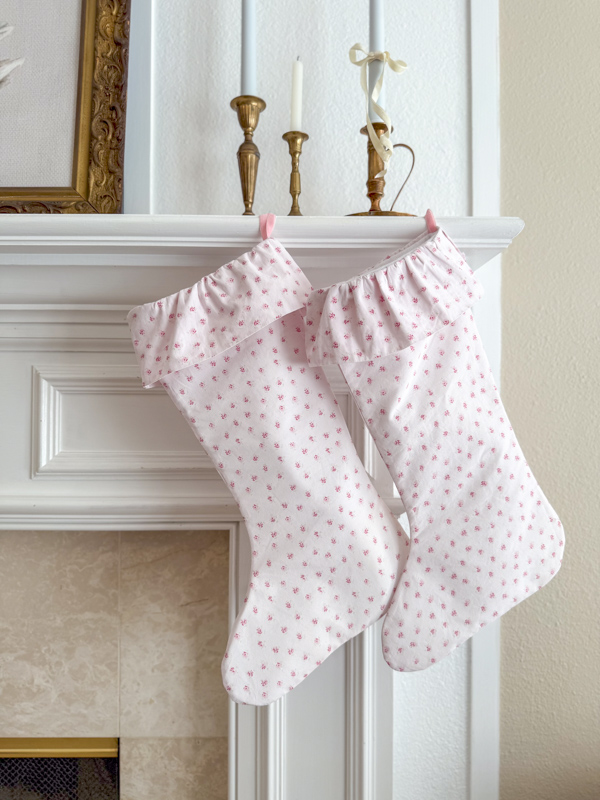
How to Decorate with Your Christmas Stocking
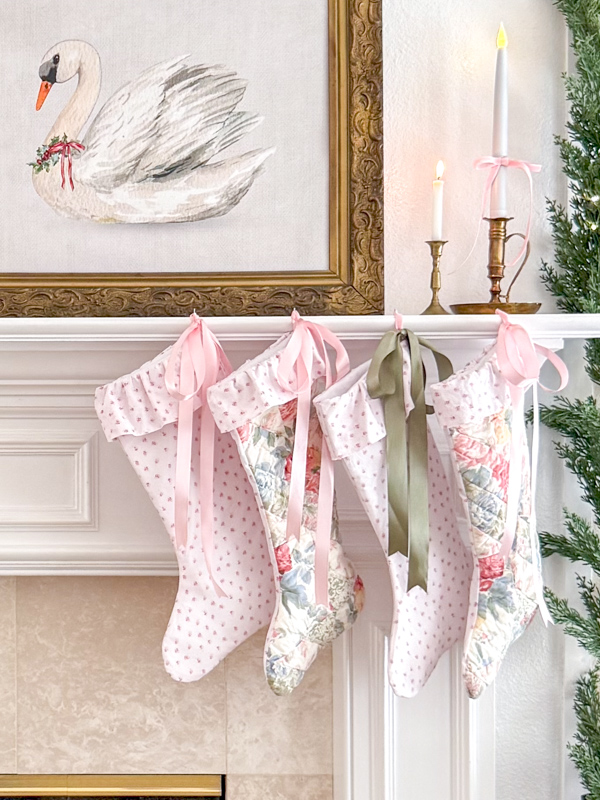
Ready to add your stockings to your Christmas decorations? I hung my homemade Christmas stockings on the mantel with a vintage-inspired mirror, framed printables (Christmas swan and vintage fir tree) from my Etsy shop, and battery-powered candles.
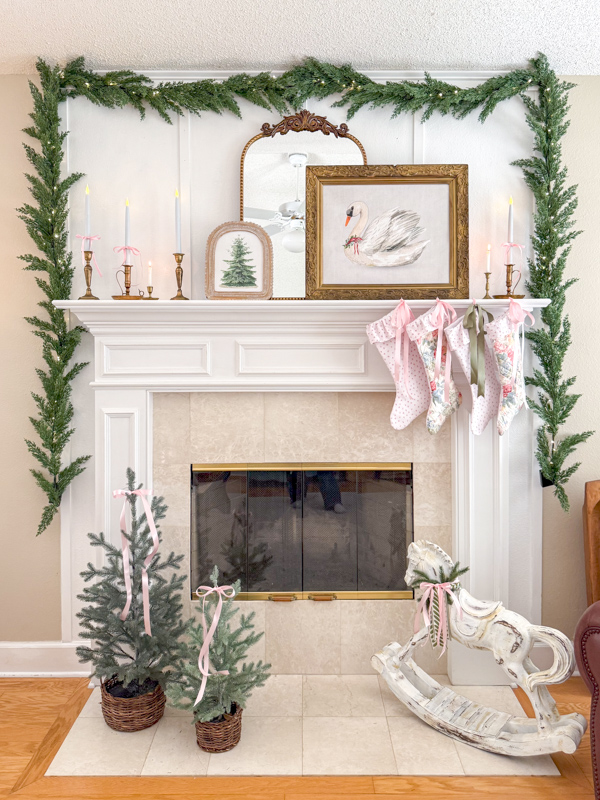
In fact, I loved doing this sewing project so much until I made two more stockings from an old quilted pillowcase I thrifted.
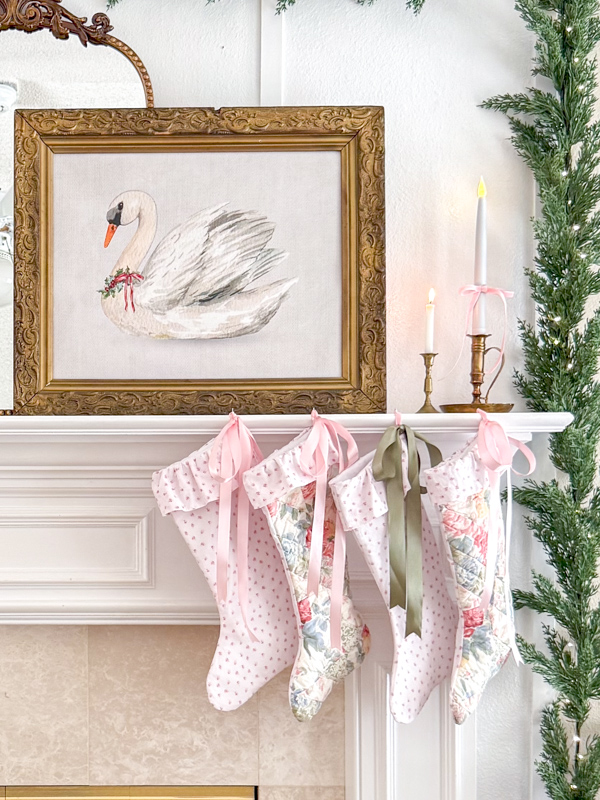
And then to give my stocking a little more decor I added some ribbon bows which fit my pastel color scheme and coquette style.
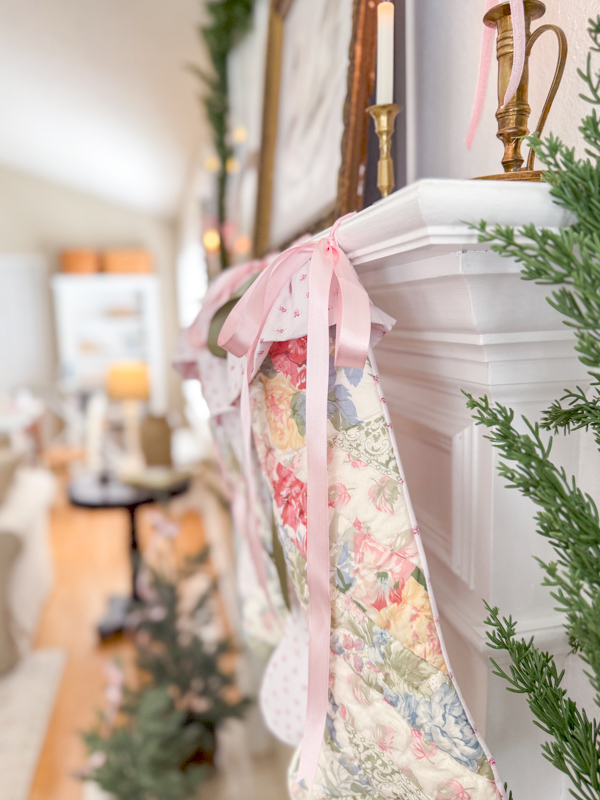
The green one is for my hubby and the others are for all us girls. LOL!
Final Thoughts on How to Sew a Christmas Stocking
Creating these charming ruffled stockings from a single pillowcase and pillow sham are a delightful way to add a touch of vintage Christmas charm to your home. By following these simple steps, you can craft beautiful decorations that will grace your mantel with festive spirit.
With just a bit of cutting, sewing, and creativity, you can transform an ordinary item into something special for the holiday season. Enjoy the satisfaction of handmade decor and the warmth it brings to your holiday celebrations.
Prefer watching over reading? Here is a full video tutorial and decorating the mantel? Check out my YouTube video.
Looking for more Christmas DIY inspiration? Check out these posts:
- Crafting Christmas Cheer with Paper: Printables for a Festive Season
- How to Make Velvet Ornaments: DIY Christmas Decor
- Crafting Cozy Magic: DIY Gingerbread House Candle Holder
- How to Make DIY Air Dry Clay Ornaments
Will you be sewing your Christmas stockings this year? I'd love to hear how it goes!
Happy Decorating!

