
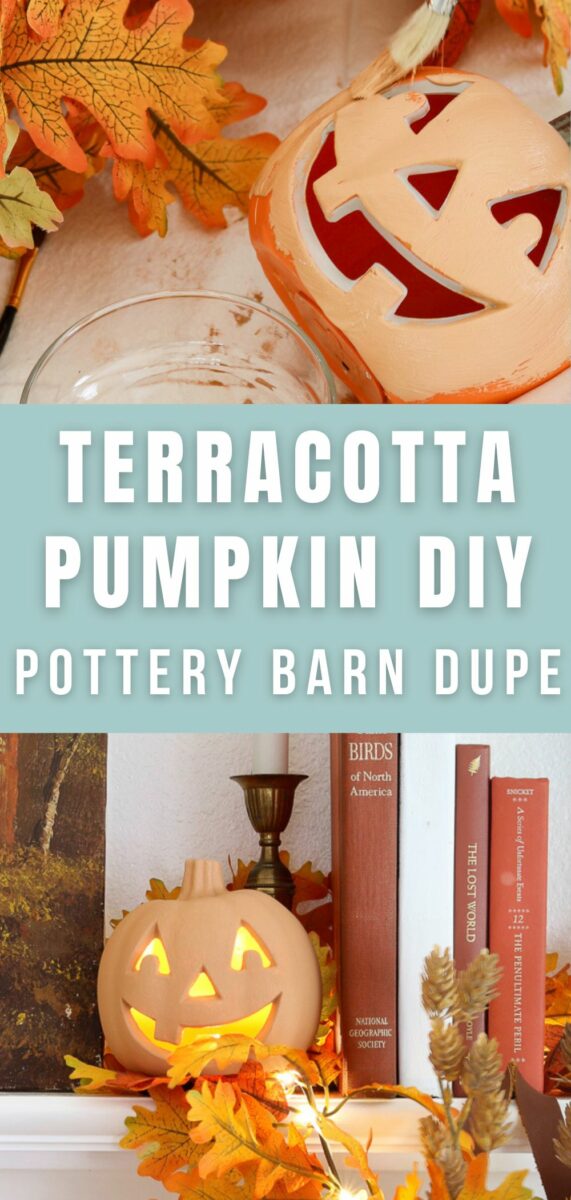
Ever fallen in love with those social media popular Pottery Barn terracotta pumpkins, only to find them sold out or way over budget?
Don’t fret!
Today, we’re diving into a terracotta pumpkin DIY that not only rivals the originals but is also durable enough to weather the elements.
Best of all? It's so simple you'll be decorating everything by the end.
Stick around to discover how to craft your own budget-friendly Pottery Barn pumpkins dupe DIY terracotta pumpkins that looks just as stunning and lasts season after season. Let’s get started with this easy tutorial!
This fall, my daughters and I took a little trip to Pottery Barn to scout out their Halloween decor and fall seasonal decor. As we wandered through the aisles, something special caught my eye: their famous terracotta pumpkins.
I’ll admit, they’re absolutely adorable!
Right there sat a charming terracotta pumpkin candle and the cutest Jack o Lantern, and it hit me—this terracotta trend is really taking off.
My daughter Savanna, who’s enjoys trying out trends, reminded me of her own terracotta project attempt using the baking soda trick. It looked great at first, but over time, it just didn’t hold up.
That got me thinking: there had to be a better way to make these pumpkins look not only more authentic but also durable.
And guess what?
I found the solution! It’s so simple and affordable that I’ve already made seven pumpkins, and I’m not stopping there. My fall decor is pumpkin rich!
Let me take you step-by-step through this terracotta pumpkin DIY that’s not only easy to recreate but also hardy enough to withstand the elements. More about that later.
Terracotta Pumpkin DIY
Before diving into the project, let's gather our supplies:
- Faux Pumpkin (Plastic, ceramic, glass, Jack-o-lanterns, or medium-sized resin pumpkins any pumpkin will do just make sure it has a surface that is paintable)
- FolkArt Terracotta Paint (when picking paint colors I like Pueblo if you want a classic terracotta color and Snowbank if you want white)
- Chip brush or sponge brush
- Artist brush (for those tight spots)
- Sanding block
- Damp paper towel or tack cloth
How to Make a Terracotta Pumpkin
Step 1: Sanding the Pumpkin
Start this easy DIY by prepping your pumpkin’s surface. If it’s a bit grimy, give it a quick clean before sanding.
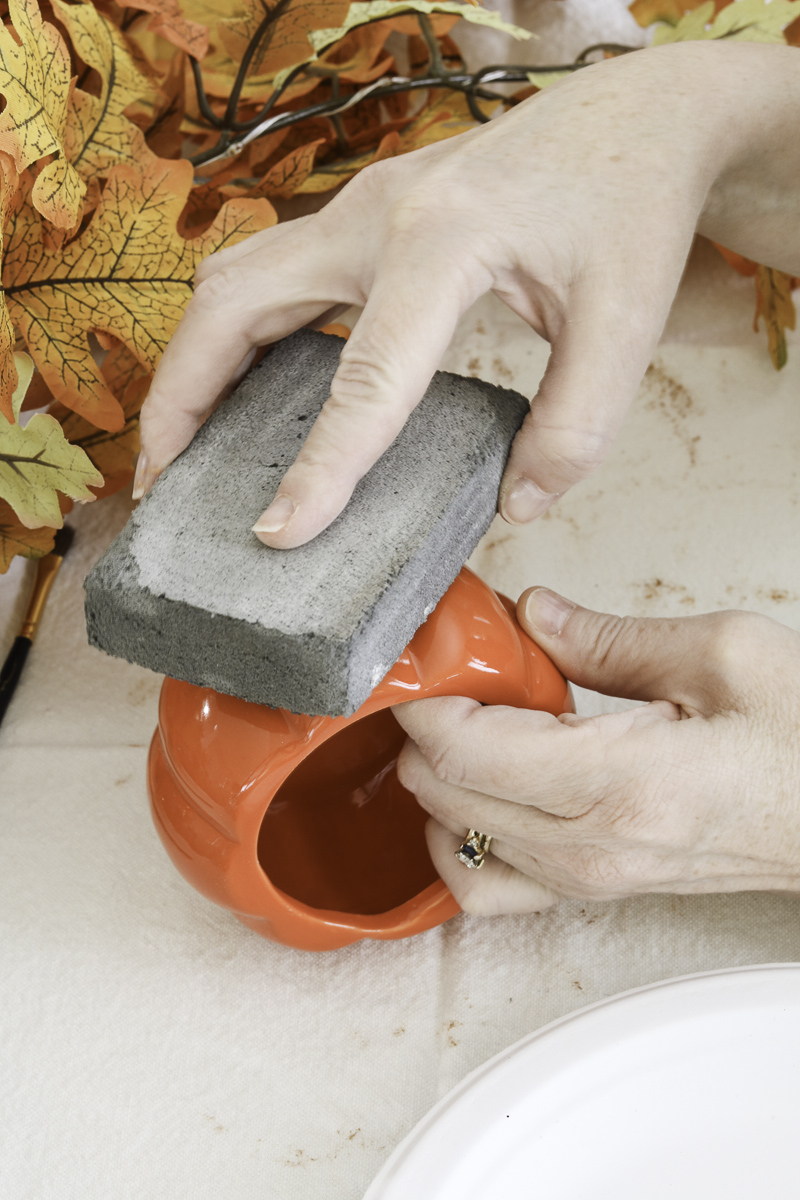
Using a sanding block, lightly rough up the exterior—the rough texture helps the paint adhere better. You don’t need to go overboard, just a gentle sanding will do the trick.
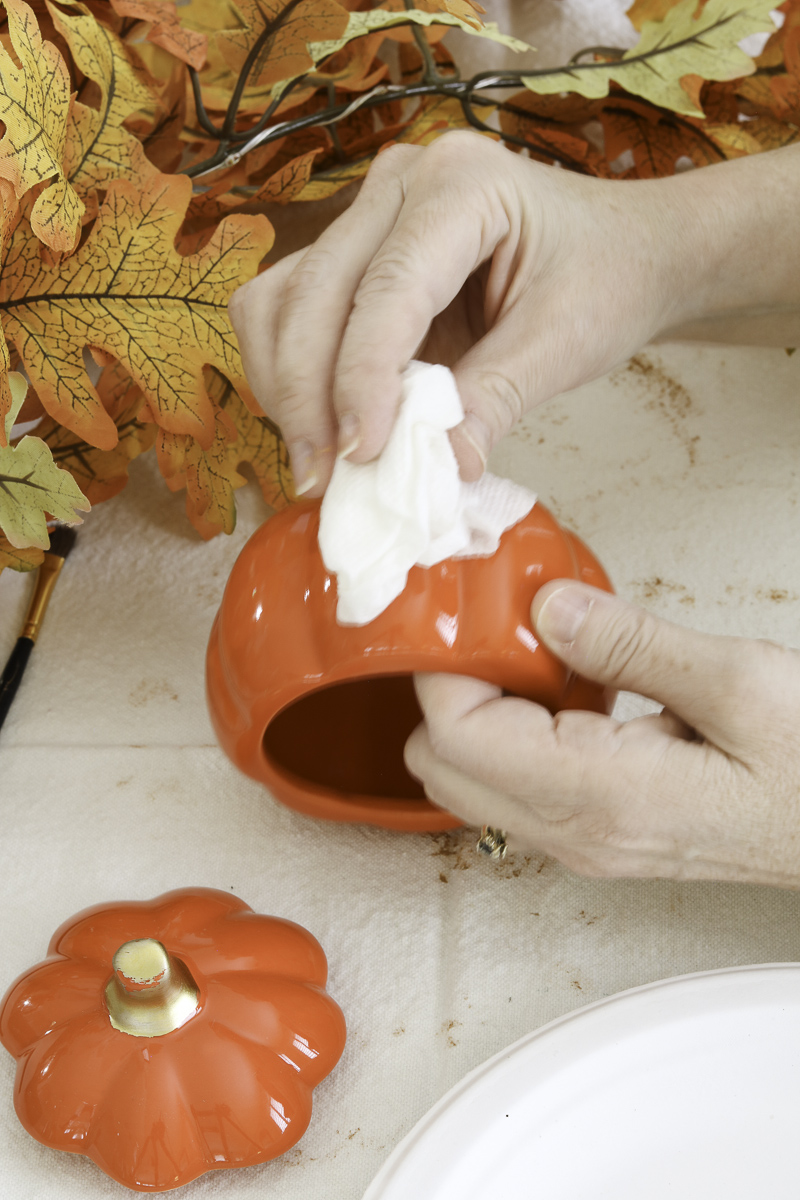
Once done, wipe away any dust with a damp paper towel or tack cloth.
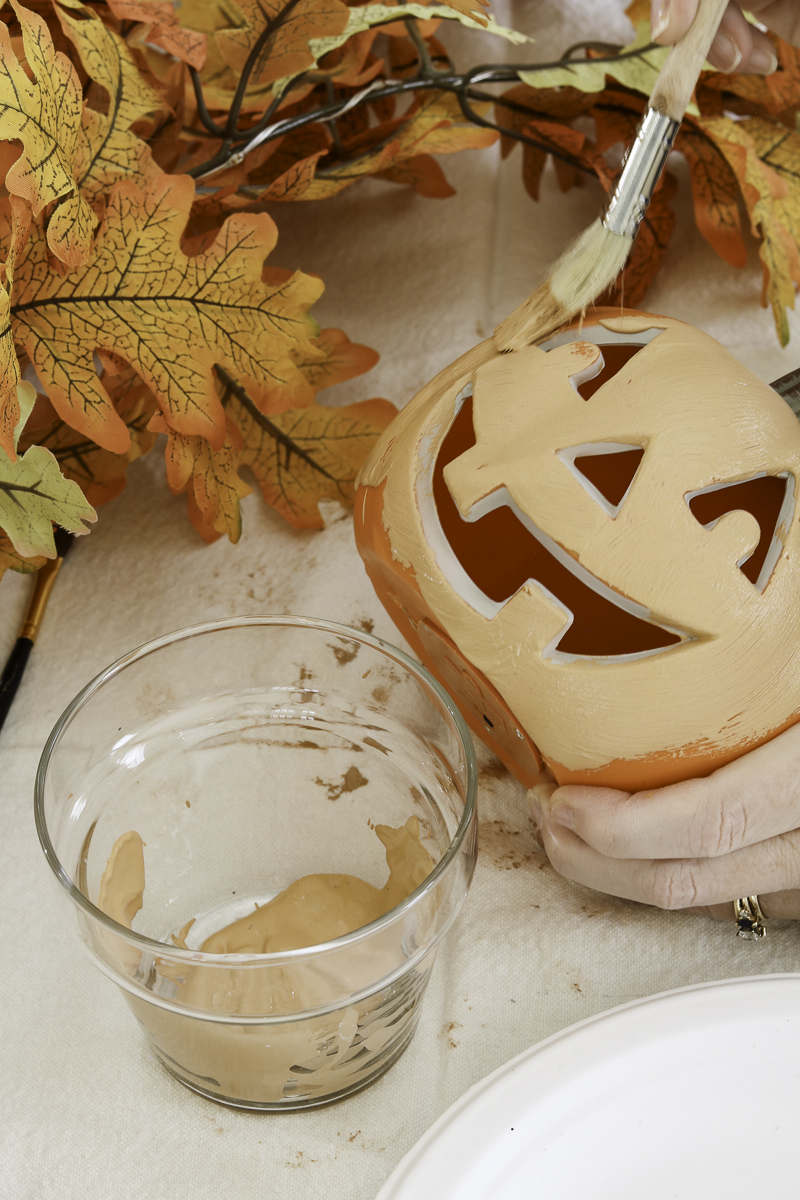
Step 2: Painting with Pueblo Terracotta Paint
Next, grab your chip brush (or sponge brush if you prefer) and begin applying the terracotta paint. No primer required. I am using Pueblo. If you want a lighter color, you can use Snowbank.
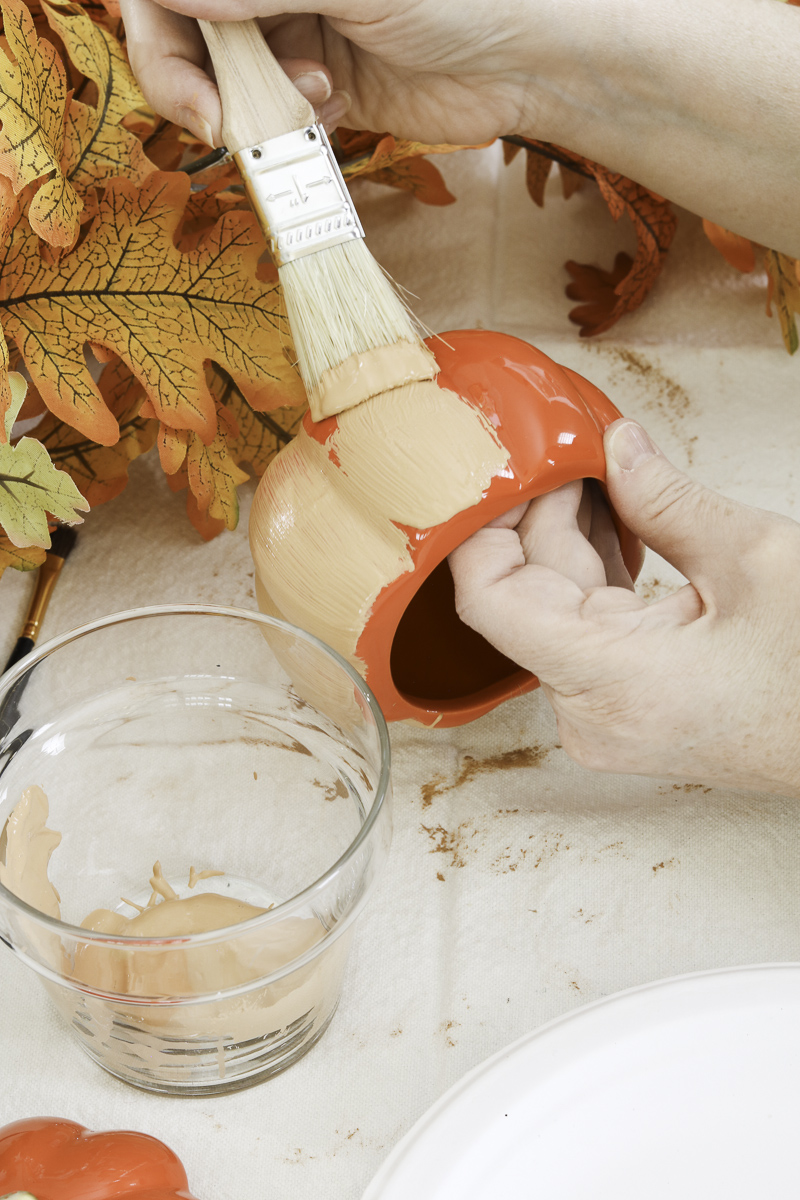
I’ve had great results with the chip brush, but the sponge brush should work just as well.
Be sure to cover the entire surface of the pumpkin, including the pumpkin stem or top if it is a jar, for that full Pottery Barn terra cotta look.
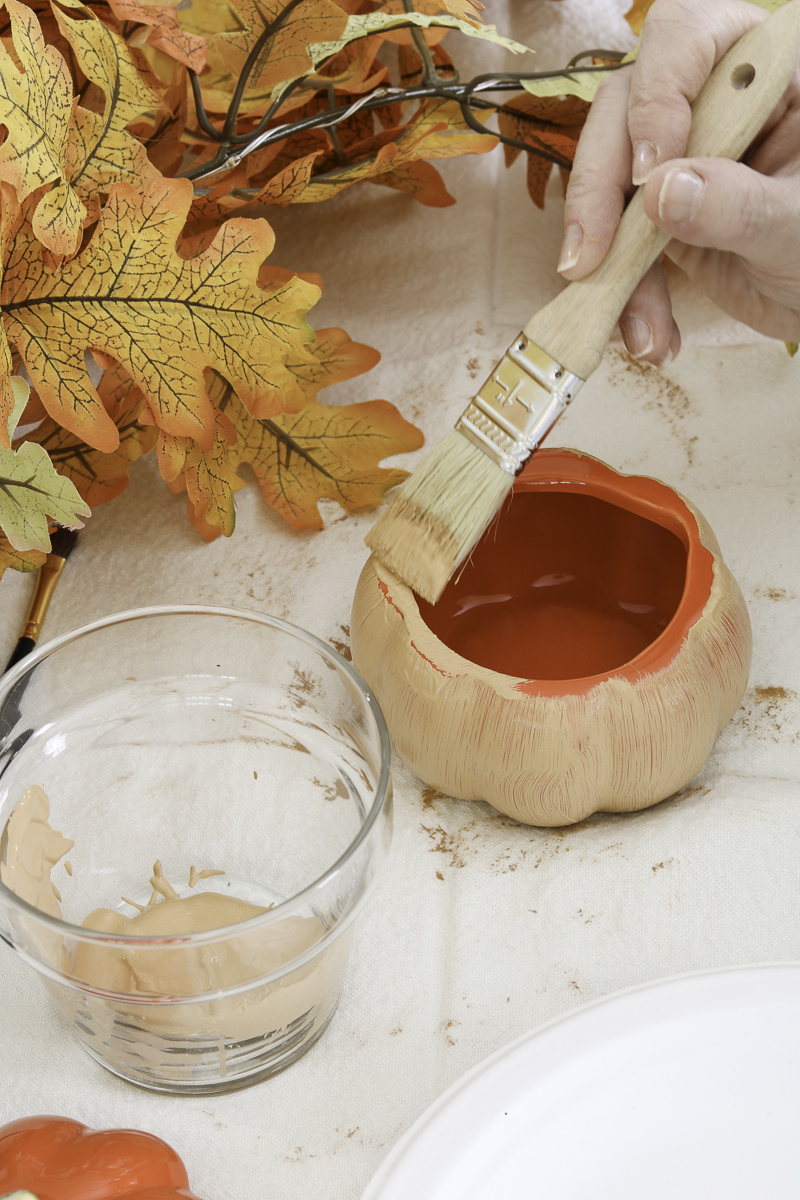
Once finished, let the paint dry completely. I like to leave mine overnight for the best results but it is usually dry within hours. You'll see it dries with a gorgeous matte finish that looks just like the PB terra cotta pumpkins.
You may need to add a couple coats of paint in this DIY project. On this lidded pot I had to do a second coat but on larger pumpkins or a Jack o Lantern I added three coats of terra cotta paint. It lights up inside and I needed the thickness to keep the light going through.
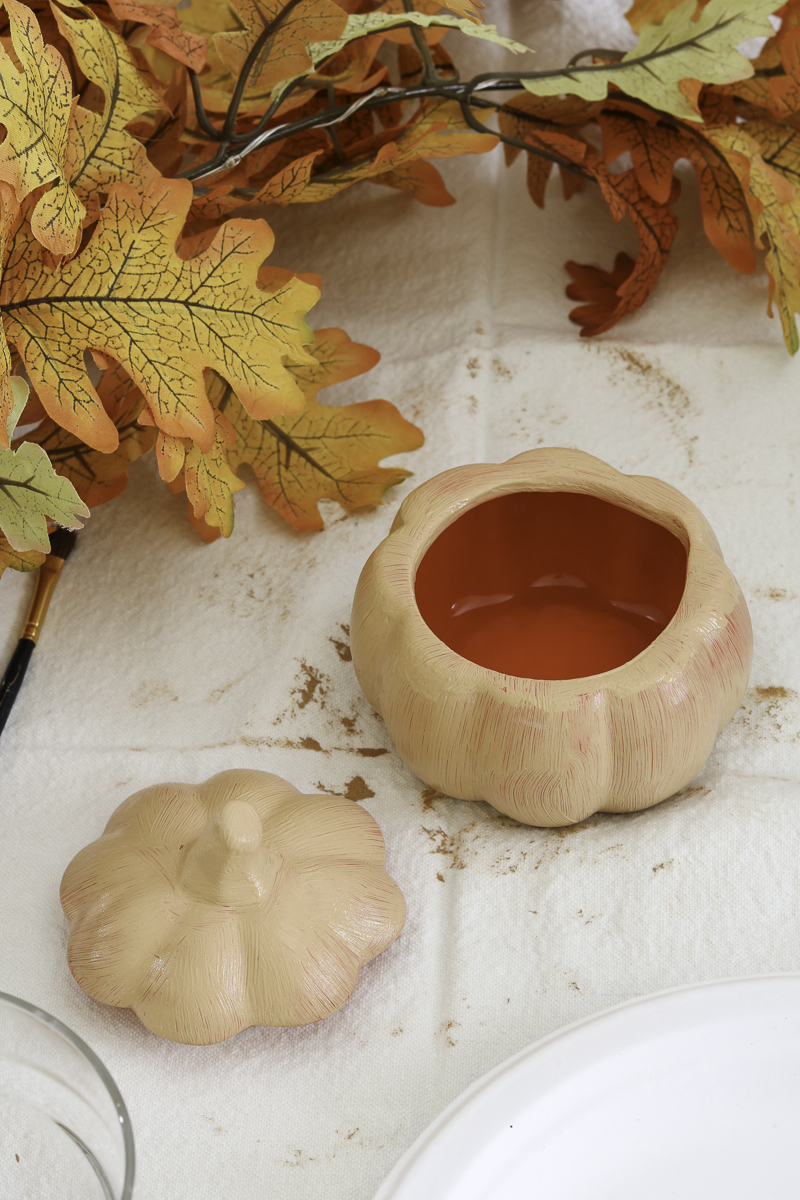
Instead of making one faux terra cotta pumpkin I got carried away and made others so I am actually letting them all dry. We will style all of them at the end and talk about where i purchased them.

At this point I am done with these but on precious pumpkins I added highlights. Here are steps on how to add white highlights to your pumpkins.
Step 3: Adding White Highlights
At this point if you want to add highlights here are the steps and I share more details in this YouTube video. If you don't want to add highlights then you are finished otherwise read on.
Now for the fun part—dry brushing with the Snowbank white paint!
Don’t worry, it’s easier than it sounds. This is where the artist paint brushes come in handy.
Dab a little white paint onto a paper plate, then load your brush and dab most of the excess paint off until it’s almost dry.
Start at the bottom of the pumpkin where it’s less visible and gently brush upward.
Once you get the hang of it, you can move to the more visible areas. Keep going until you’re happy with the amount of white detailing.
That's it! You've completed your terracotta pumpkin DIY.
Pumpkin Ideas to TerraCotta
I had the most fun shopping for anything pumpkin or Jack o Lantern to terracotta. First, I went to Dollar Tree to see what treasures I could find.
I soon discovered that it is important to select items that can be painted. For example a super glittery pumpkins was not a good choice.
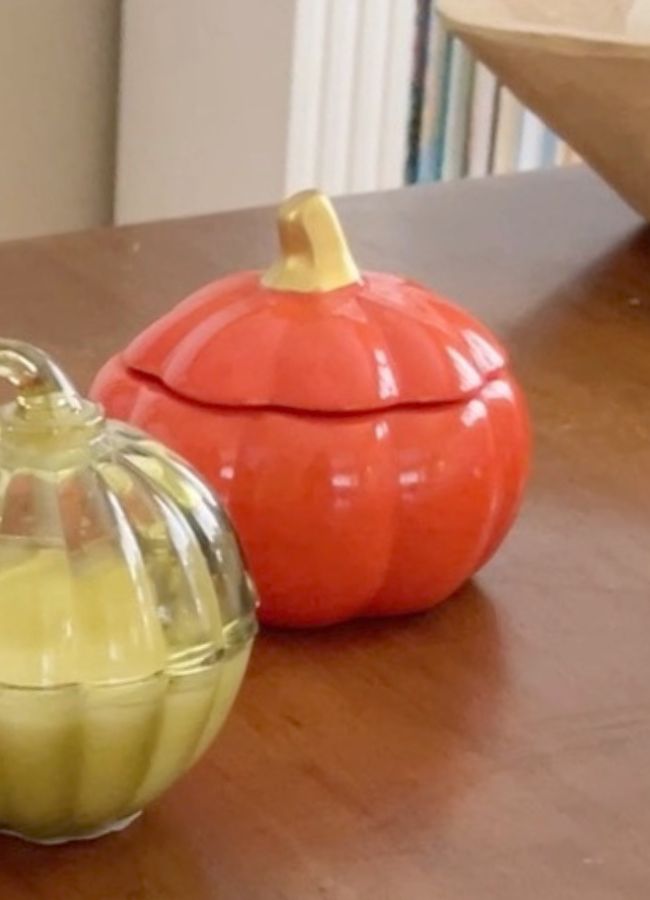
Pumpkin Candle
My first idea for a terracotta pumpkin DIY I found at Dollar Tree — a pumpkin candle. The jar is glass and the candle inside has no smell which is perfect for anyone who is sensitive to fragrant candles.
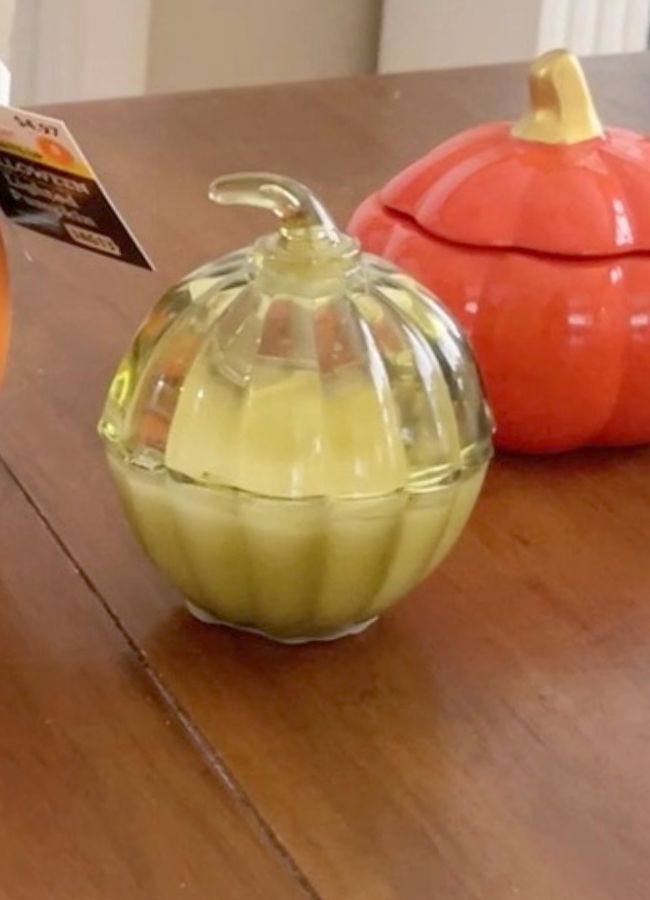
Pumpkin Cachepot
I also found a small ceramic pumpkin cachepot at Dollar Tree. It looks almost exactly like the Pottery Barn terracotta pumpkin cachepot. You bet that one was put in my cart.
Jack-o-Lantern
I continued to look and found a cute Jack o Lantern at Dollar Tree but it was solid and the eyes, nose and mouth were not cut out.
I bought it anyway, but I felt it wouldn't look like the original Pottery Barn terracotta Jack o' Lantern, so I moved on to Walmart.
Now Walmart is where I hit the jackpot for Jack o Lanterns. I found multiple different sizes and many of them light up. You bet they went into my cart and came home with me.
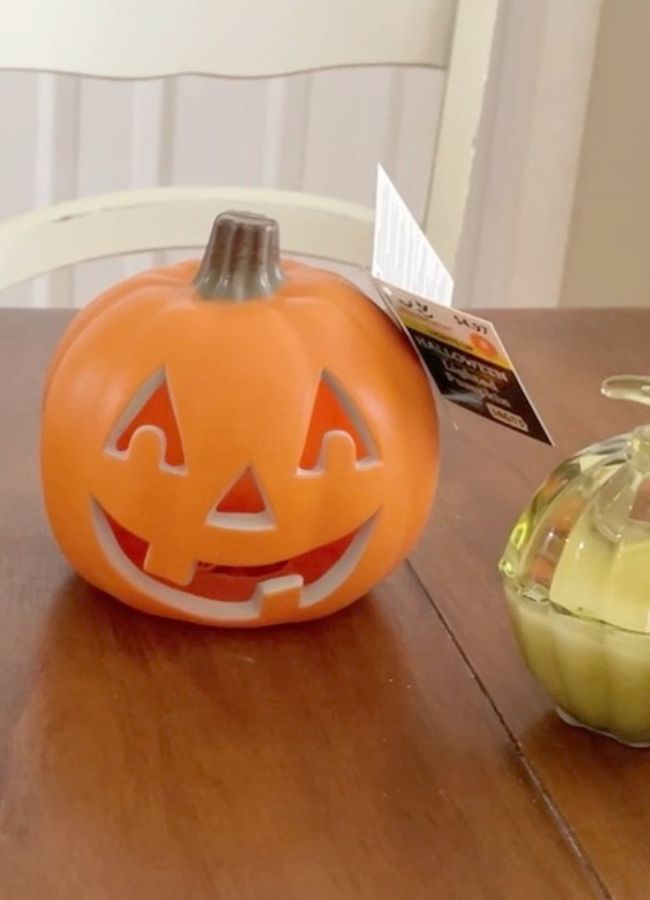
This cute orange chubby Walmart Jack o lantern came home with me. Best part is that he lights up.
I believe this is just brushing the surface of pumpkins you can terracotta, but for now let's look at ways you can decorate with them.
How Do You Decorate with Terracotta Pumpkins?
Now that you’ve crafted your own DIY terracotta pumpkins let’s talk about all the delightful ways to decorate with them. Trust me, you’ll want to try these!
Terracotta Pumpkins in a Dough Bowl
If you know me, you know I have a soft spot for dough bowls. The long, narrow dough bowl I picked up at a local craft fair was the first place I showcased my terracotta pumpkins.
Simply scatter a bit of harvest straw inside, and nestle your pumpkins among it for a cozy, autumnal centerpiece.
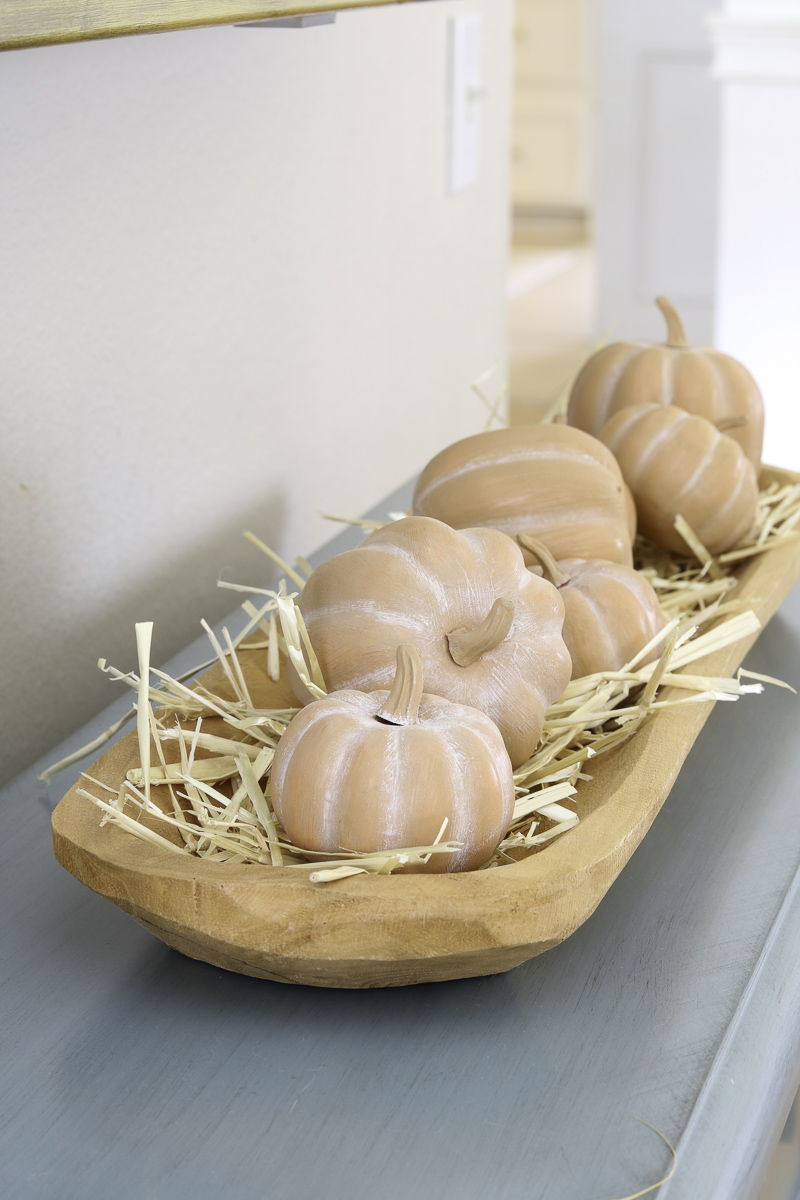
On these terracotta pumpkins I used a bag of small pumpkins from Hobby Lobby. After applying terracotta paint I added highlights with the white paint. This is the example I mentioned earlier.
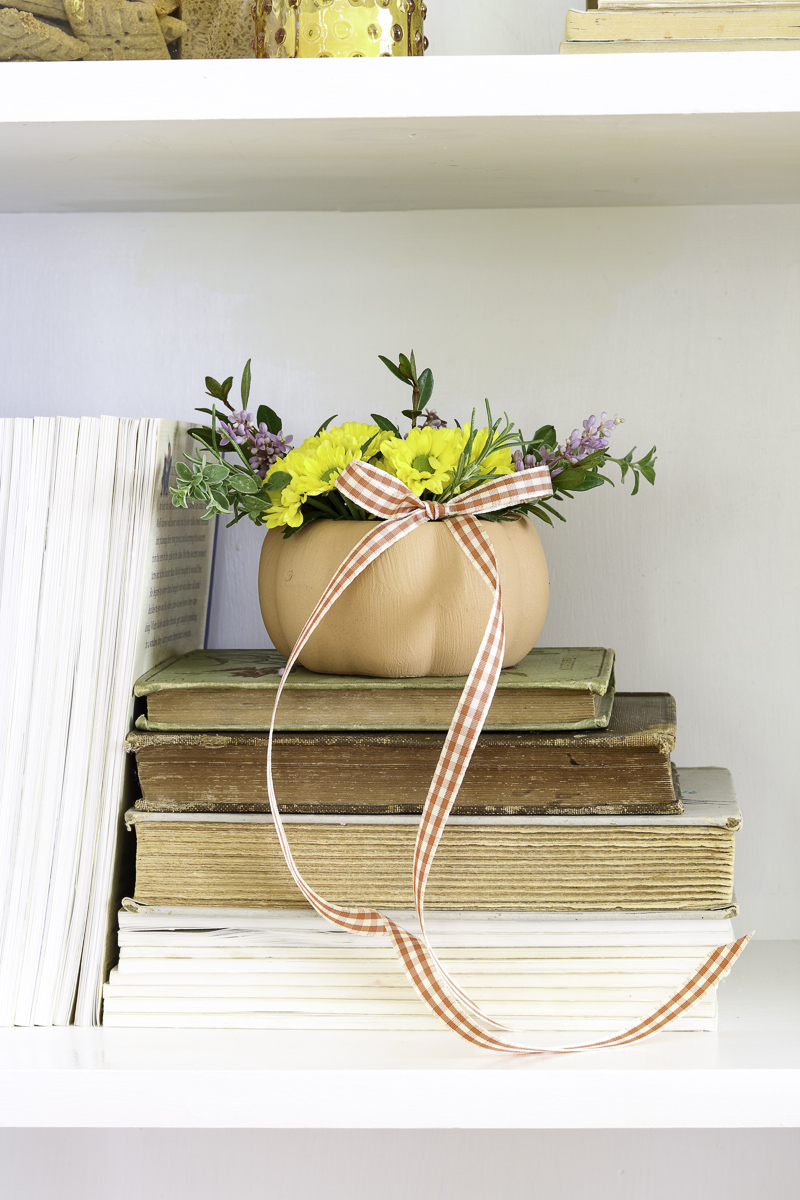
Terracotta Pumpkins Bookcase Decoration
Consider adding terracotta pumpkins to your bookcase decor.
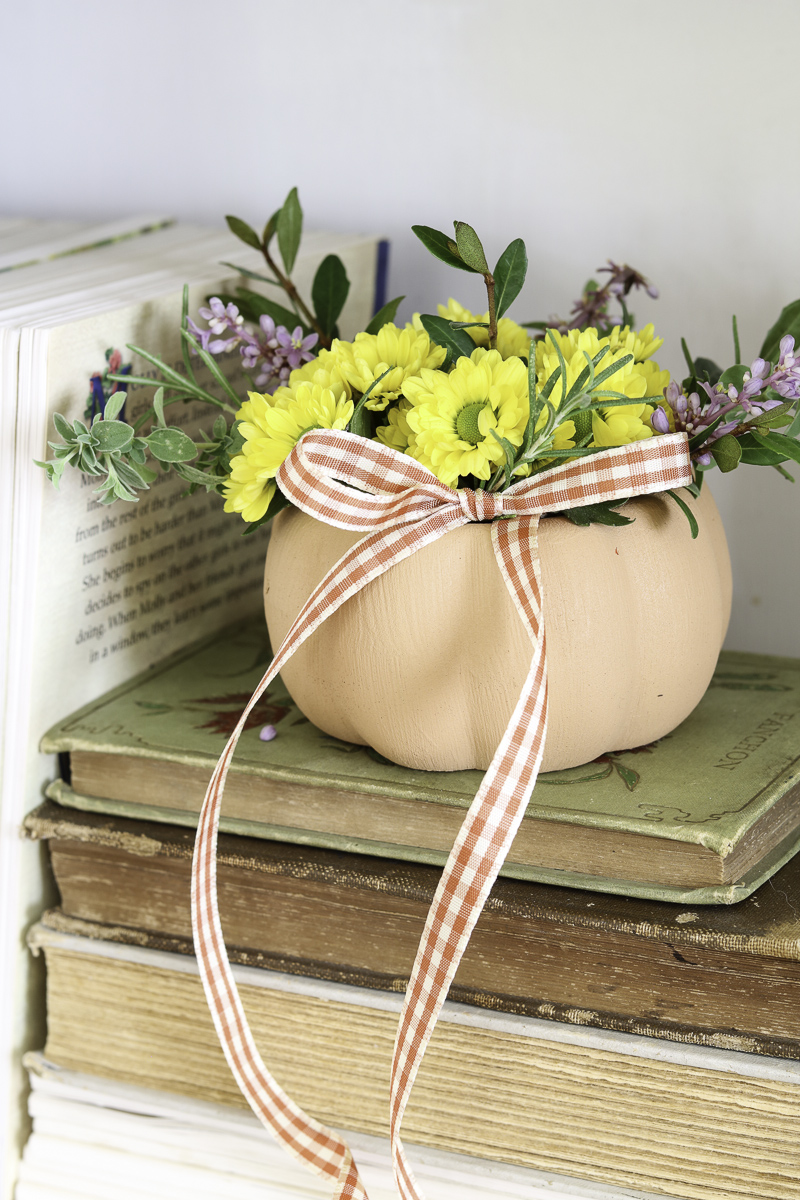
The cute little cachepot we made together found a new home on a stack of vintage books and was filled with fresh flowers, herbs and a gingham bow.
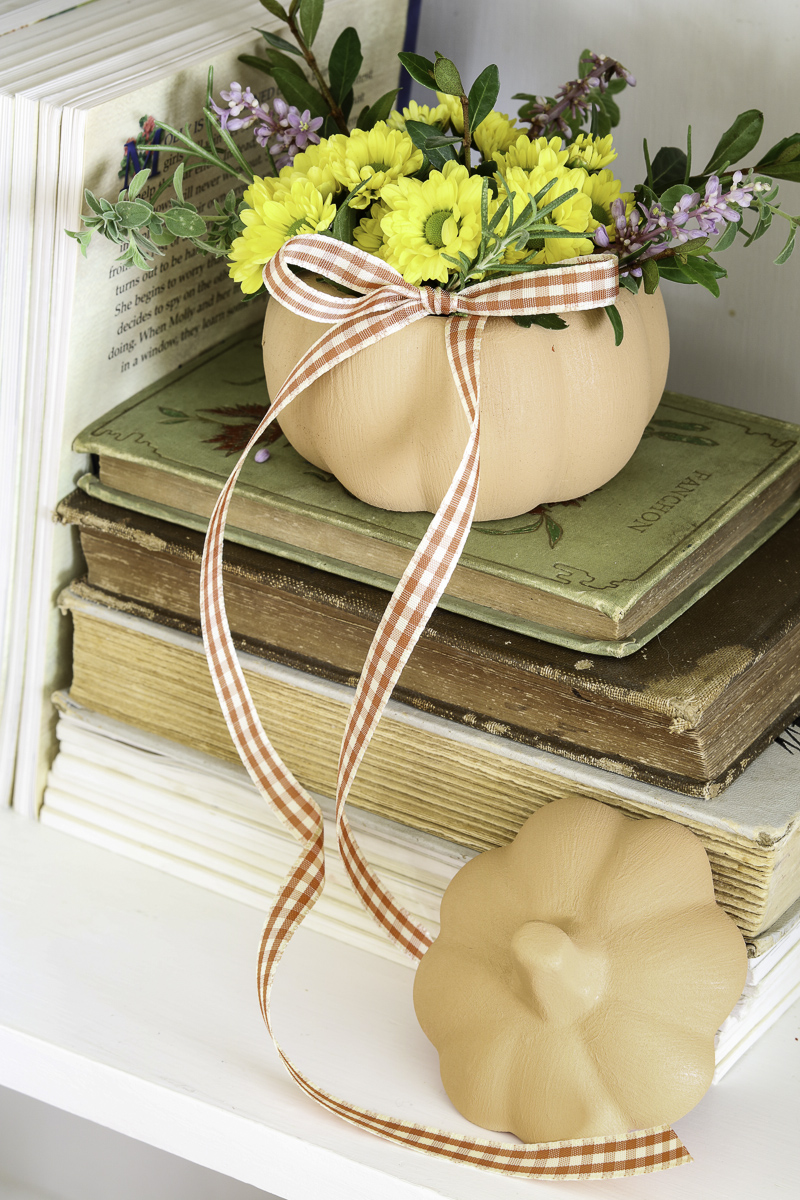
This flower arrangement brought so much life and style to the bookcases.
Terracotta Hutch Decoration
The terracotta pumpkins are a great addition to a hutch. Set pumpkins of different sizes around or on your dishes. It adds a nice fall touch to your decor.

The terracotta looks stunning against the white dishes.
Terracotta Kitchen Decoration
Another way to style your terracotta pumpkin is use it in your kitchen. This terracotta pumpkin candle created the perfect ambiance nestled next to my crocked filled with wooden spoons.
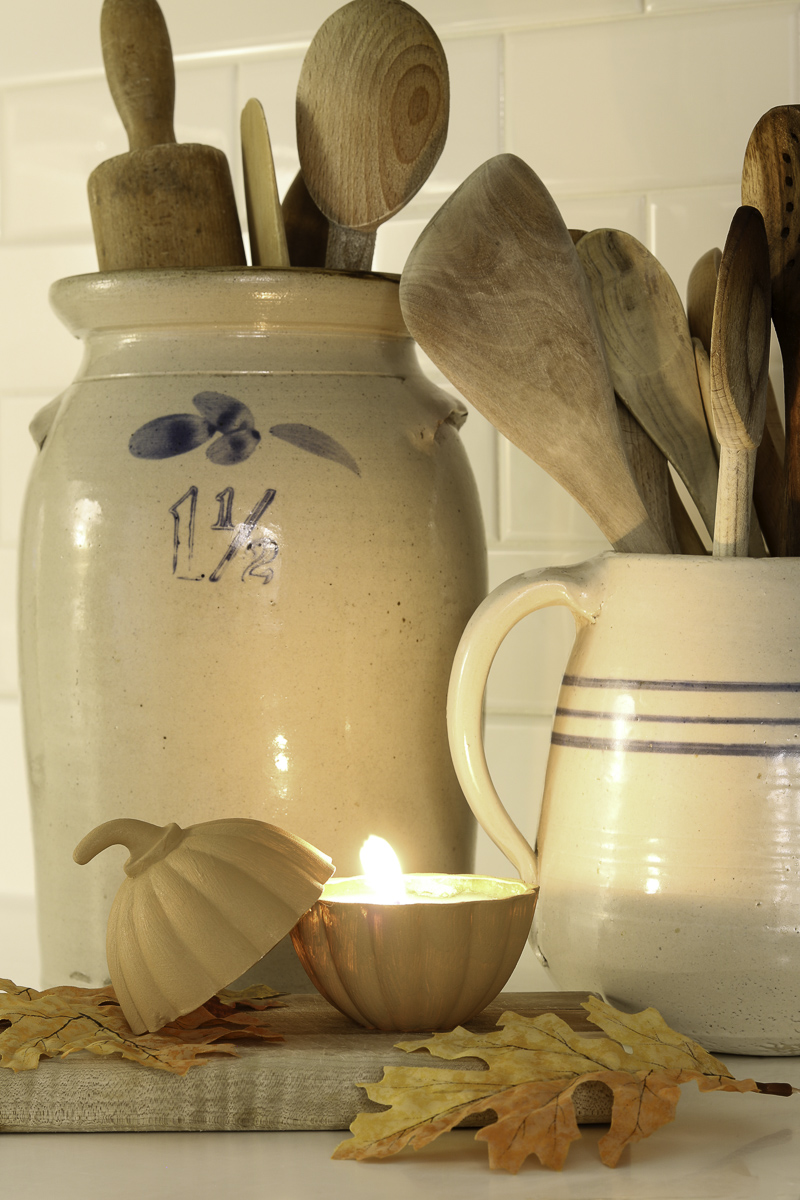
You can style it with a set of decor on a tray or place it in your kitchen window. There are so many possibilities.
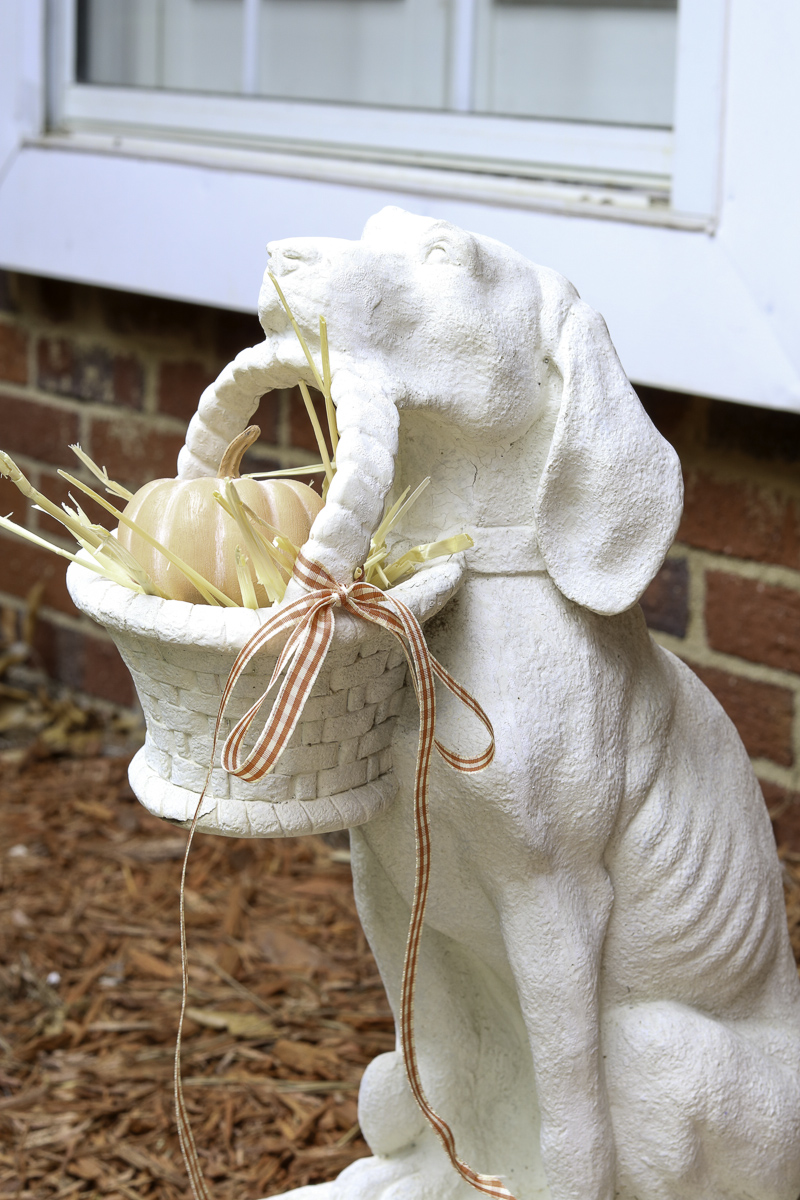
One Minimalist Pumpkin
For all the minimalists out there, sometimes one perfectly placed pumpkin is all you need. I painted a single pumpkin and in my dog statue basket on the porch, creating a simple yet striking focal point.
TerraCotta Pumpkin Porch Decor
Since we are on the topic of porch decor my second attempt at painting a pumpkin with terracotta paint was this larger pumpkin.
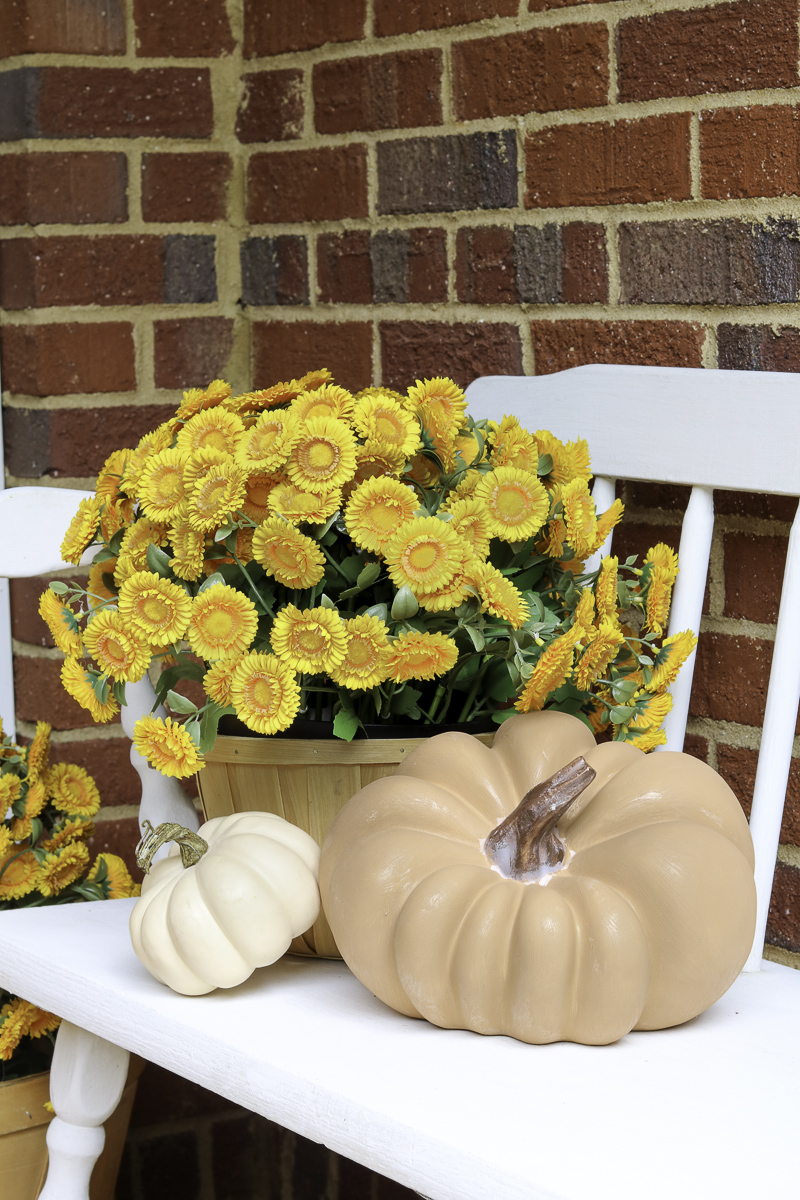
I have had him for years and never really loved his blush pink tone so this pumpkin got a facelift.
Terracotta Jack O Lantern
Since what started all this was seeing that chubby little Jack o Lantern at Pottery Barn I couldn't resist making one of my own.
While shopping at Walmart I discovered different size Jacks for a reasonable price.
Look at how cute he turned out!
I followed the same steps as the terracotta jar. Even though it was a plastic and the jar was a shiny ceramic the steps worked the same.
The possibilities are endless—scatter your terracotta pumpkins on outdoor steps, create a mantle display, or even gift them to friends! With this technique, the sky’s the limit.
I tucked this sweet terracotta jack o lantern on my fall mantel. He fits in perfect and adds so much character!

Well there you have it. I hope you enjoyed this step-by-step tutorial of different things to paint with terracotta paint and ideas for decorating with terracotta pumpkin and Jack o Lanterns.
Final Thoughts
This terracotta pumpkin DIY is not only fun but also something the whole family can enjoy together. It’s perfect for crafting parties or a cozy afternoon at home.
Just imagine turning a pumpkin candle into a terracotta pumpkin candle, or sculpting pumpkins from air-dry clay and painting them with this technique. There are so many ideas.
Remember me mentioning that they will hold up to weather. Well, here is one final tip before you go.
After finishing my front porch pumpkin decor, I accidentally left one of my tiny terracotta pumpkins outside in the rain. When I remembered, I rushed out to check it, and to my surprise, it still looked perfect!
So, you can say goodbye to the baking soda method and confidently welcome FolkArt terracotta paint as your new go-to.
I hope this project inspires you to break out your art supplies and start crafting your own terracotta pumpkins.
Are you ready to make a terracotta pumpkin? Share in the comments what you plan to make. If you are looking for more fall DIYs check out these for fun.
- DIY Paper Leaf Garland
- Decorating with Small Pumpkins
- 11 Cozy and Clever DIY Fall Decorating Ideas
- Adorable Pumpkin Craft Printable Decorations for Kids and Adults
- Perfect Thanksgiving Long Table Centerpiece and Table Setting Idea
Happy Decorating!
