Today I am sharing this DIY patriotic wood sign. Learn how to make farmhouse signs with this easy DIY farmhouse sign tutorial. This shiplap wooden sign looks great for holiday decor or everyday home decor. Follow along as we walk through the steps on how to make wooden signs with sayings.
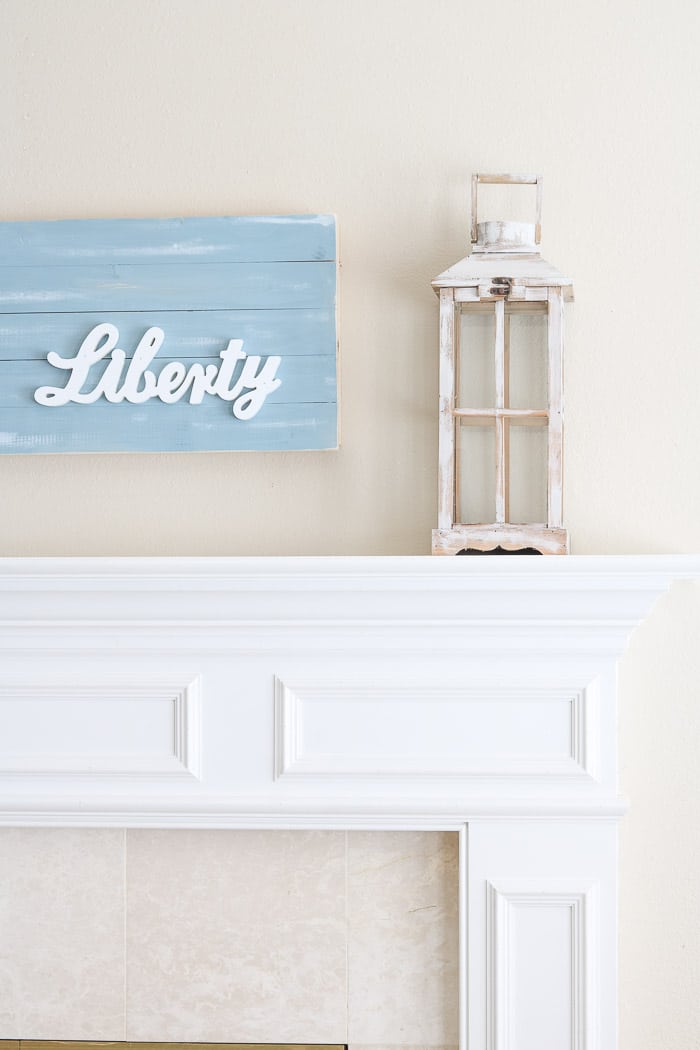
Using an old canvas piece of art learn how to make farmhouse signs that are budget friendly and very easy.
Last week I did some decorating for the 4th of July and I made this DIY farmhouse sign for the mantle. It was easy to make and pretty inexpensive so I thought I would share how you can make wooden signs with sayings with you.
How to Make Farmhouse Signs
Farmhouse signs are a great way to get that farm style vibe when decorating your home. You can use them for everyday decorations or for holidays. You can buy them or make your own farmhouse sign. I decided to make one for my patriotic decorations.
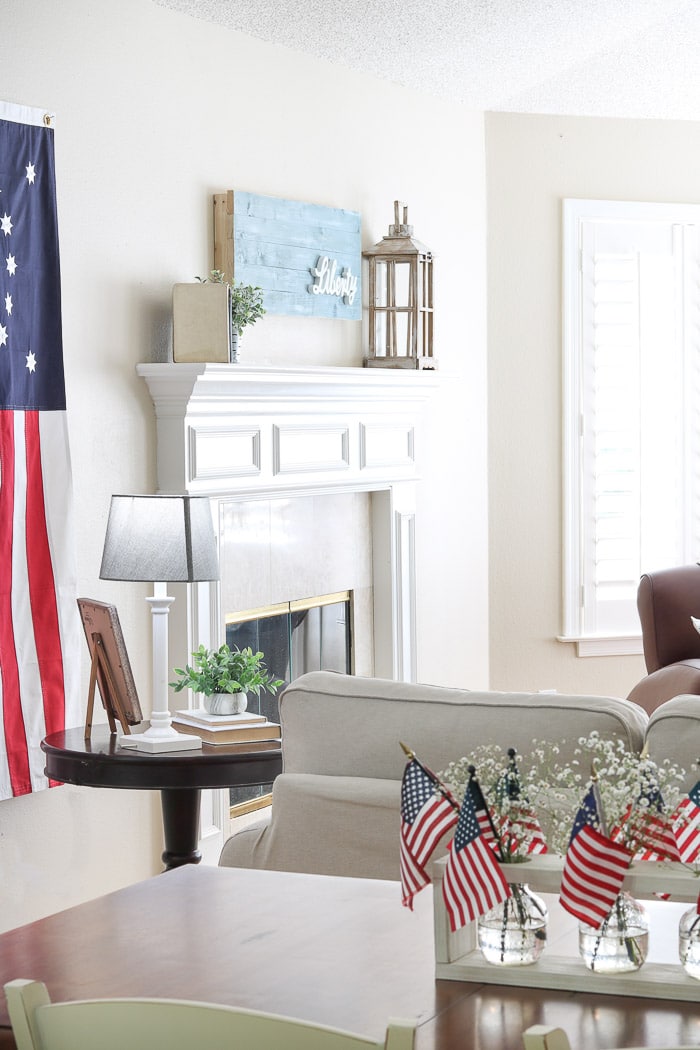
I love mixing old, new, and homemade decor. And since the mantle is the heart of the home I wanted something different there. So this year I decided to make my own DIY sign and whip up something for the mantle so it will flow with the rest of the patriotic decorations. Let's get started making this farmhouse shiplap large sign by gathering supplies.
DIY Farmhouse Sign Supplies
- Old canvas frame
- Screwdriver
- Pliers
- Miter saw
- Stripes of wood boards (I used 1/2″ x 2″ scrap wood)
- Nail gun or finishing tails and hammer
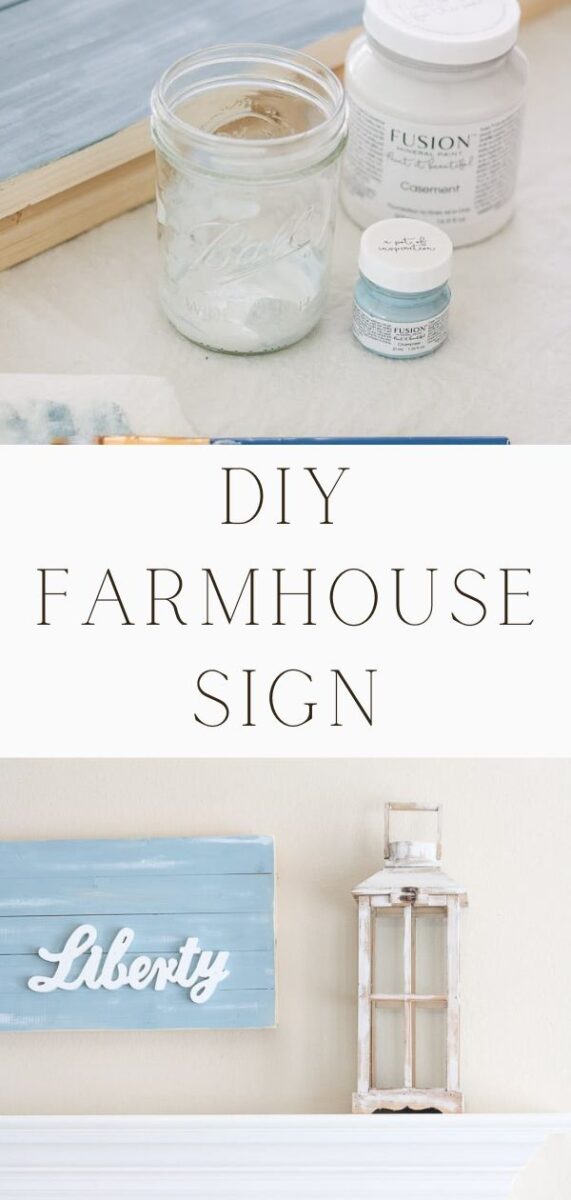
- Blue mineral paint (I used the color Champness but chalk paint and milk paint work great too)
- White mineral paint (I used the color Casement but chalk paint and milk paint work great too)
- Sandpaper
- Artist paintbrushes
- Wood lettering cutout (I found Liberty in the dollar spot at Target but a craft store will carry them too like Hobby Lobby, Joann's, and Michaels)
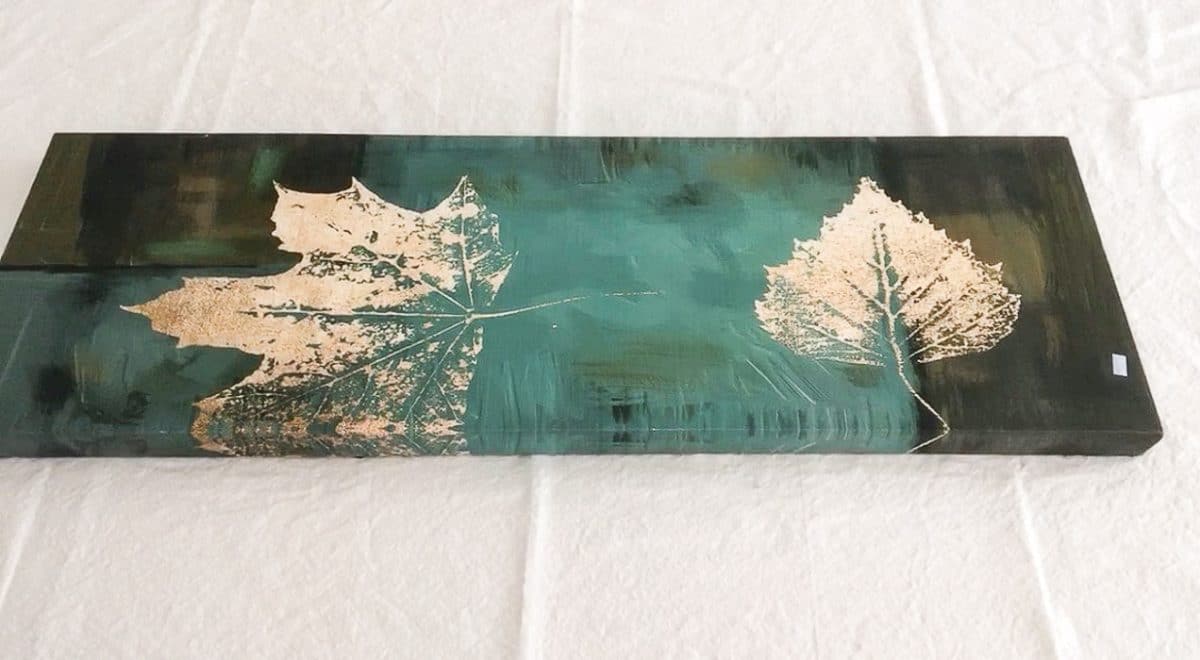
Canvas Frame
To begin, start with a canvas frame. I found an old one at Goodwill but you can buy a new one. I love to repurpose things and I love a good deal!
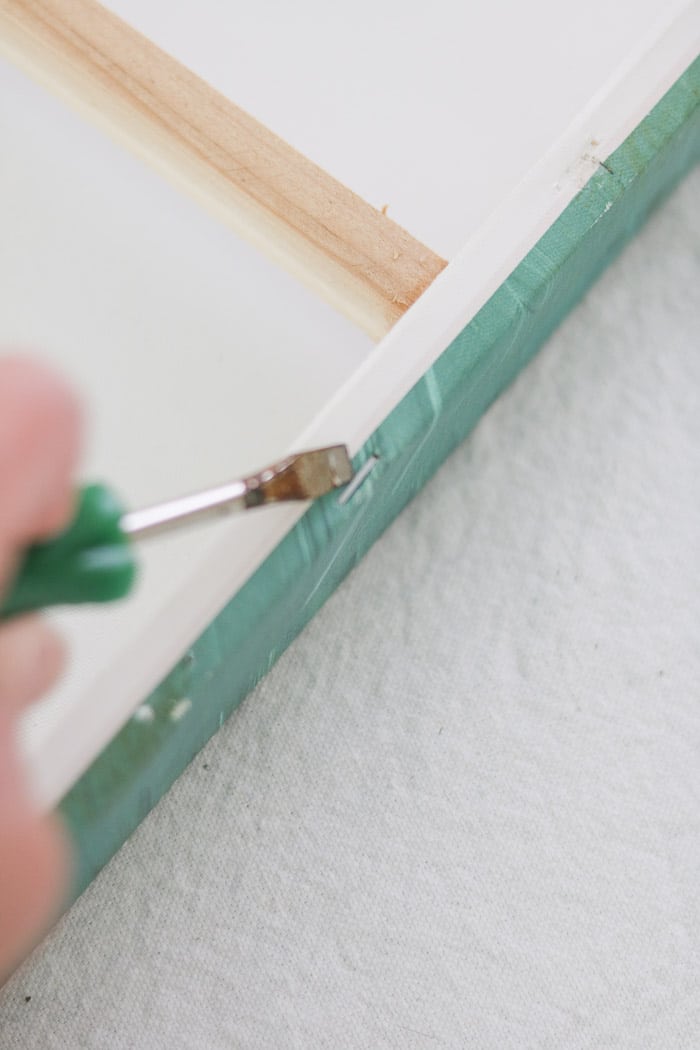
Remove Staples and Hooks
Next, remove any staples and hooks the easy way with a screwdriver and pliers from the wood frame. I used this flat head screwdriver tool with a pointed edge. It really helped to get under the staples to pull them out.
Measure Frame
Now that you have a simple frame measure the width and length of the frame. After you have the measurements you will need to determine how many boards to cut based off of the height.
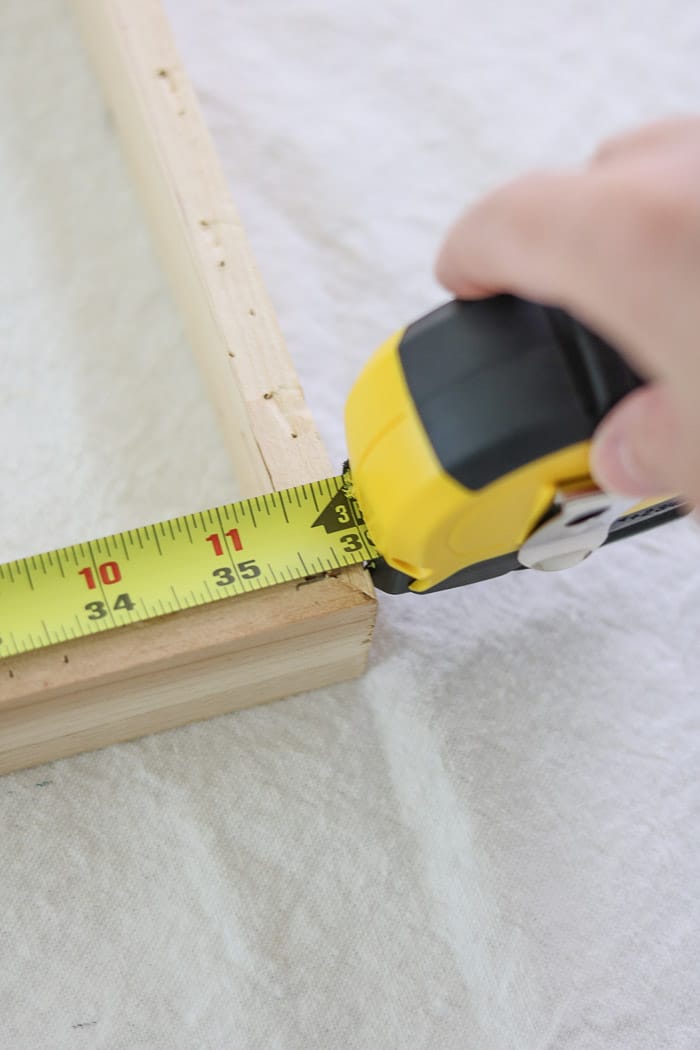
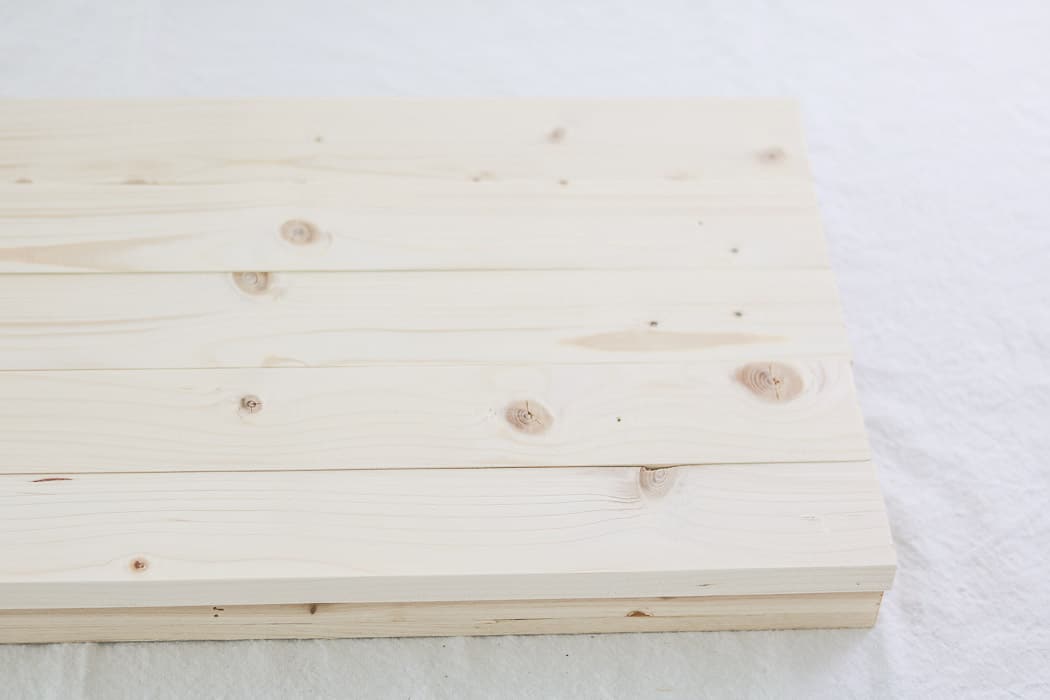
I needed five boards to fill up the frame. They will hang over on the top and bottom about a 1/4″ but that is okay.
Measure and Cut Board
Your next step is simple. Measure the boards based on the width. My frame is 36″ side so each board was cut at 36 inches.
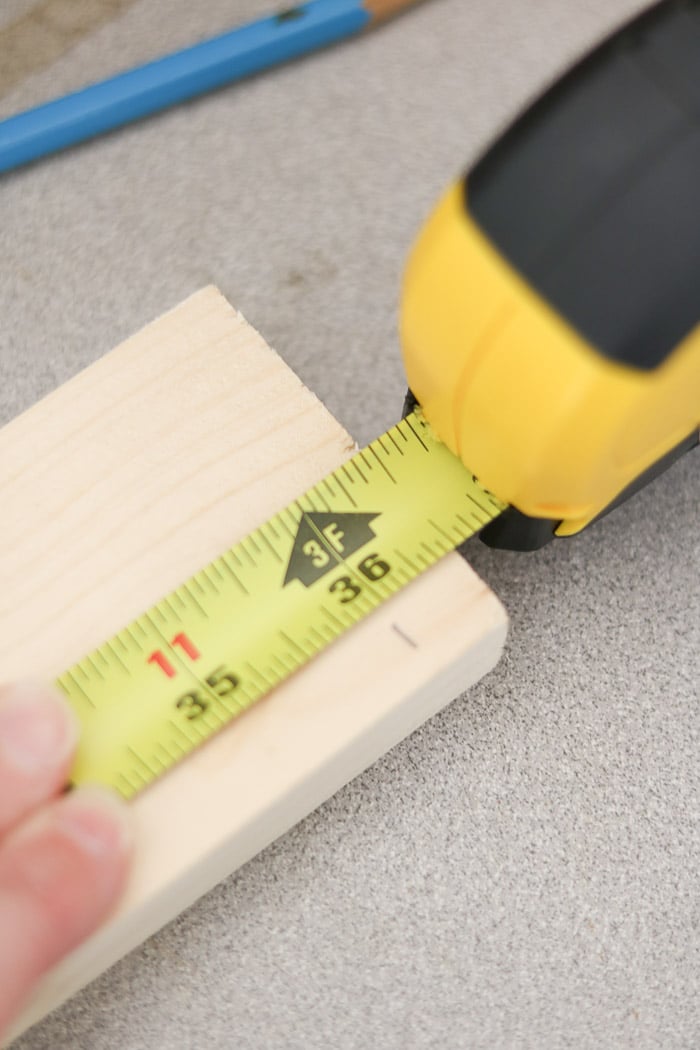
You can use a miter saw like mine or you can cut it with a hand saw. Another option is to have your hardware store cut the boards to the desired length.
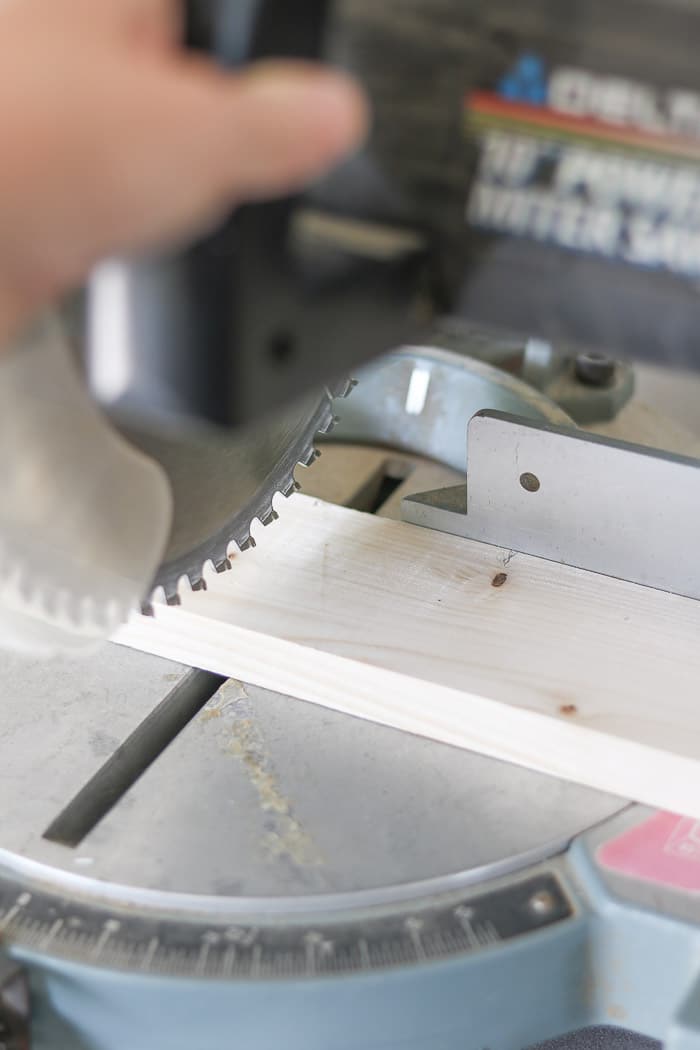
Now that you have all your pieces of wood let's sand your wood pieces.
Sand the Board
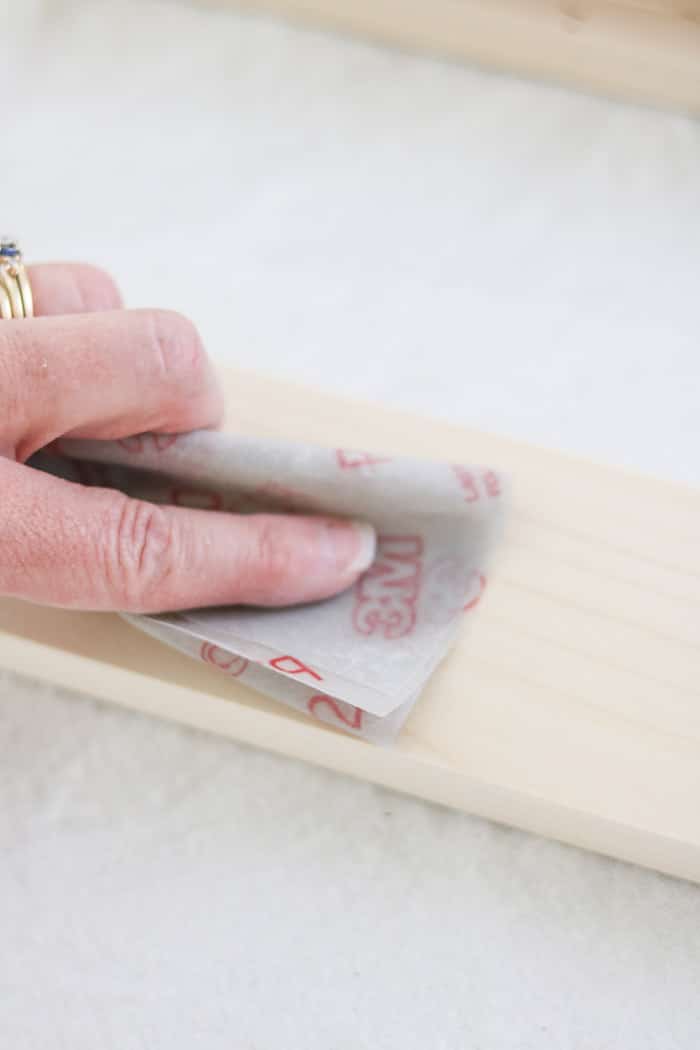
Now it is time to sand the boards down. I decided to do some light sanding which meant that each board was not perfectly smooth. But you can determine how smooth you want your boards.
Place Boards on Frame
Next place each board on the frame snugging them up to each other. Once I had all the boards on the frame and shifted them a little until they hung over equally on the top and bottom
Nail Boards into the Frame
Now simple nail the boards into the frame with finishing nails. The easiest way is to use a nail gun but if you do not have a nail gun you can use finishing nails and a hammer. Sink the nails down a little into the wood.
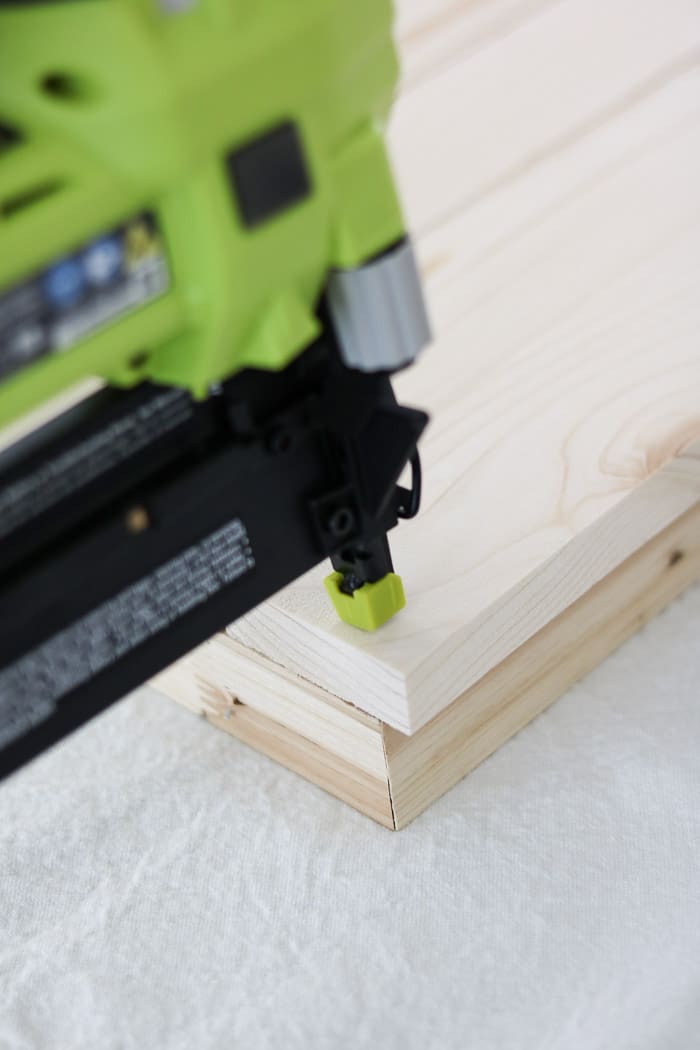
Make sure the nails are going into the frame behind the wood. All my nails went down the sides like in this photo.
Spackle the Holes
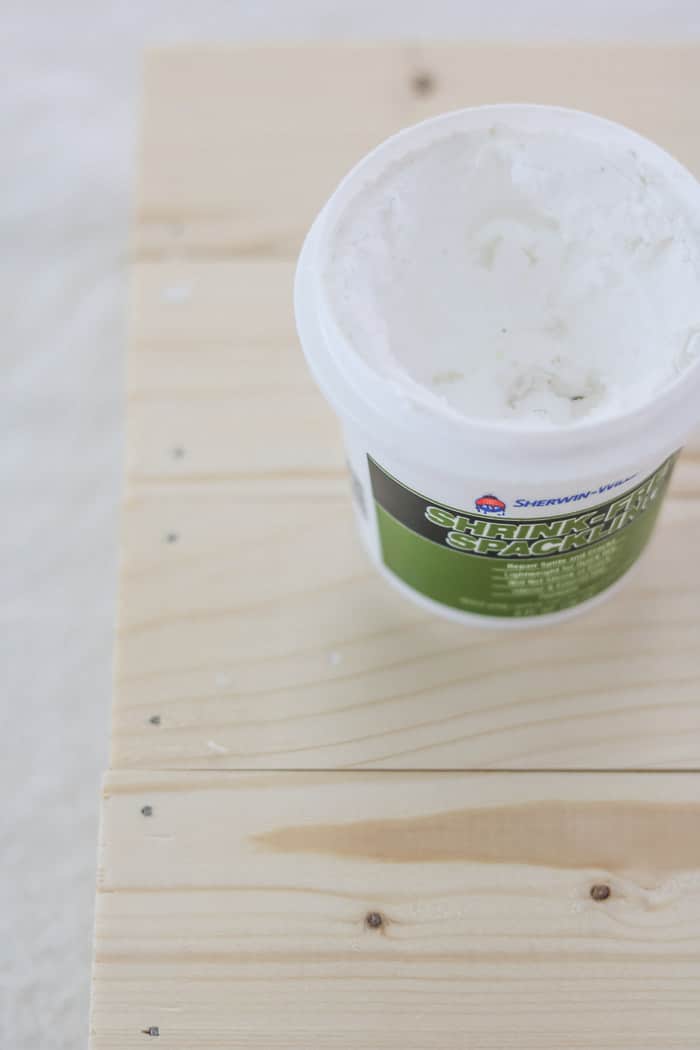
Follow the last step by spackling the holes. I use my finger to do this step. Once I have rubbed the spackle into the hole then I wipe off the surface to remove any excess spackle.
Paint the Shiplap
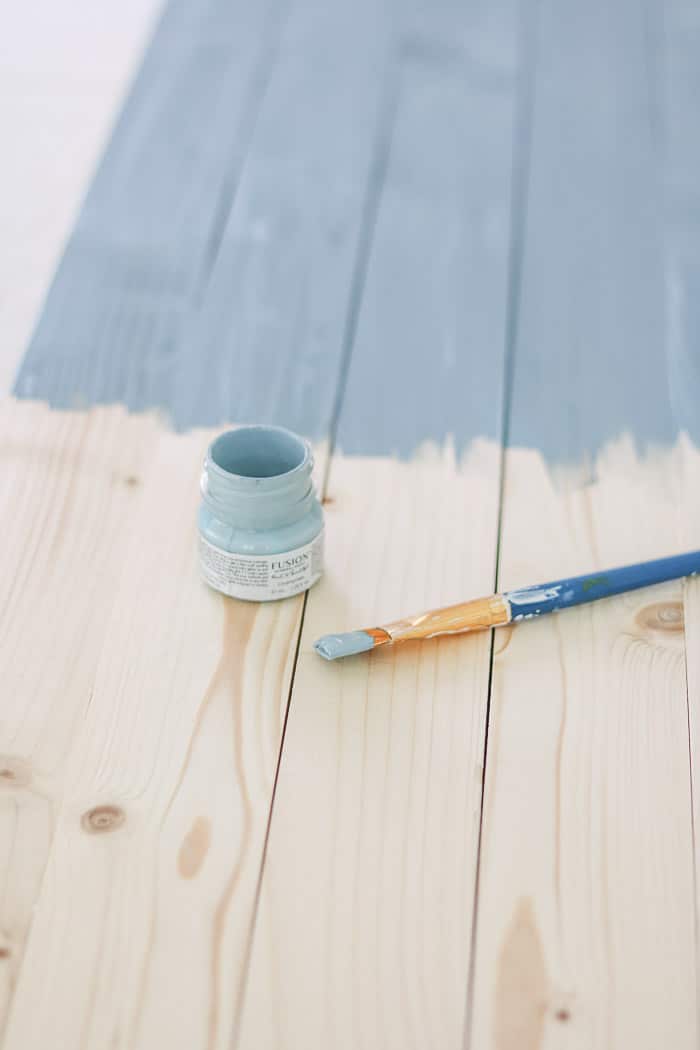
We are getting to the fun part. Next, start painting the shiplap with paint. I used Fusion mineral paint color Champness because I wanted a chambray matte finish but you can use chalk paint or milk paint. A great place to get Fusion paint is at Baker-Nest.
Paint Texture Design
Take some white paint and pour a little into a cup. Next using your wet blue paintbrush mix the white chalk paint and blue together. This will soften the white paint color for a little dry brushing.
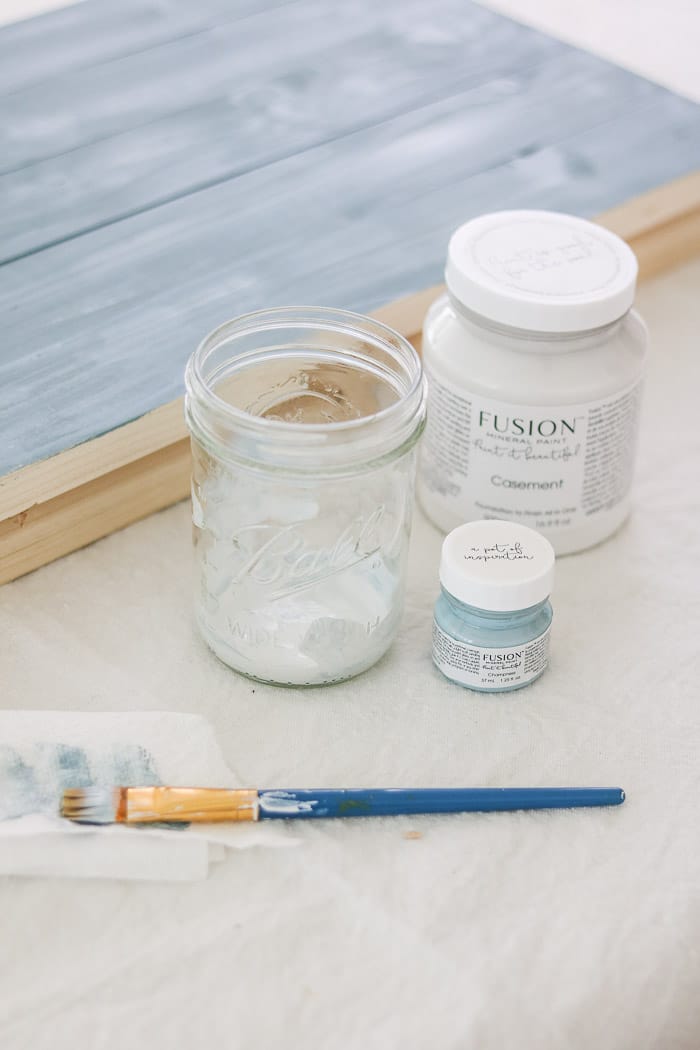
Next, lay out a dry paper towel and dab off any excess paint from the paint brush. You want the paint brush to a dry state. Now you are ready to start painting again.
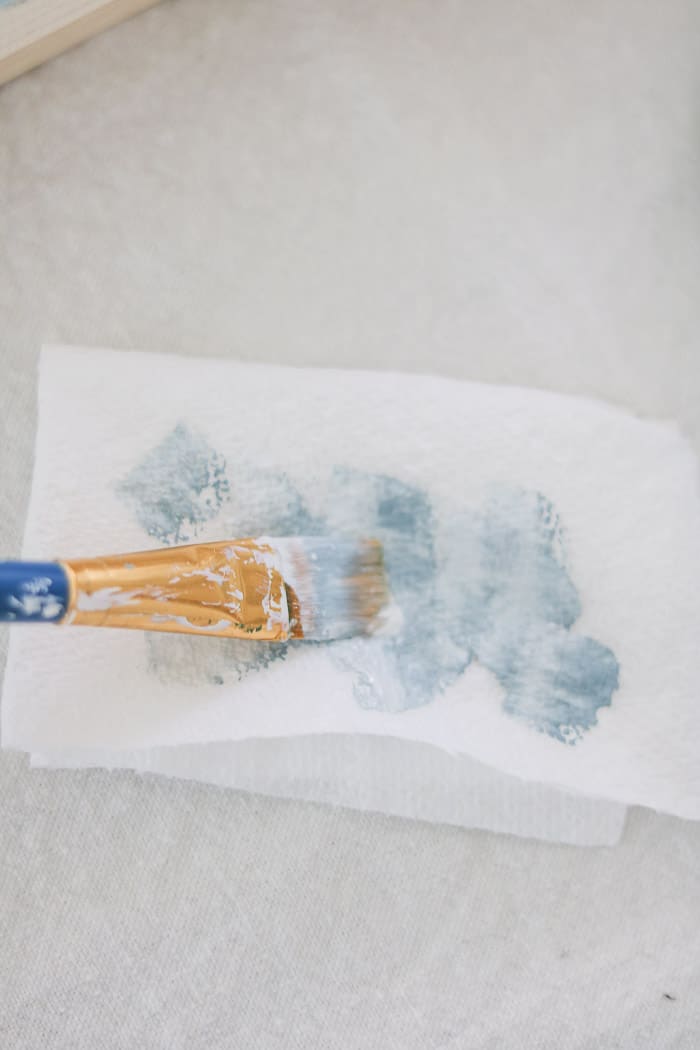
Simply free hand brushstrokes of paint lightly onto the shiplap. Be sporadic and brush it on here and there. This painting technique gives it that vintage farmhouse wood sign vibe.
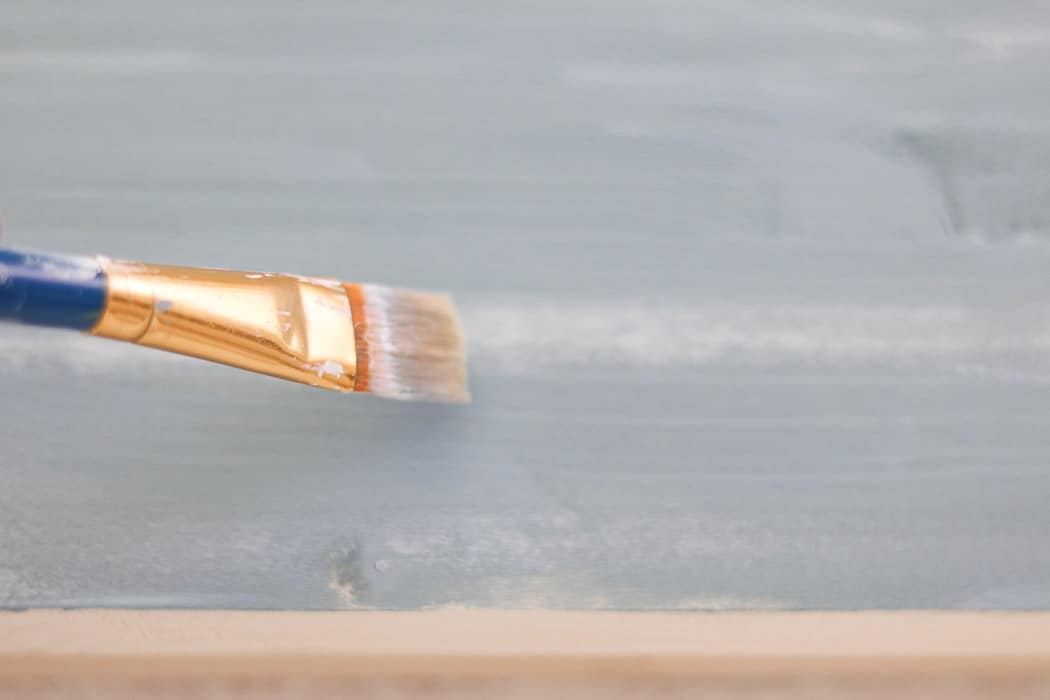
Distress by Sanding
Now let's add a distressed look. Take the sandpaper and start rubbing down the corners, edges, and across the middle here and there. Be as random as possible.
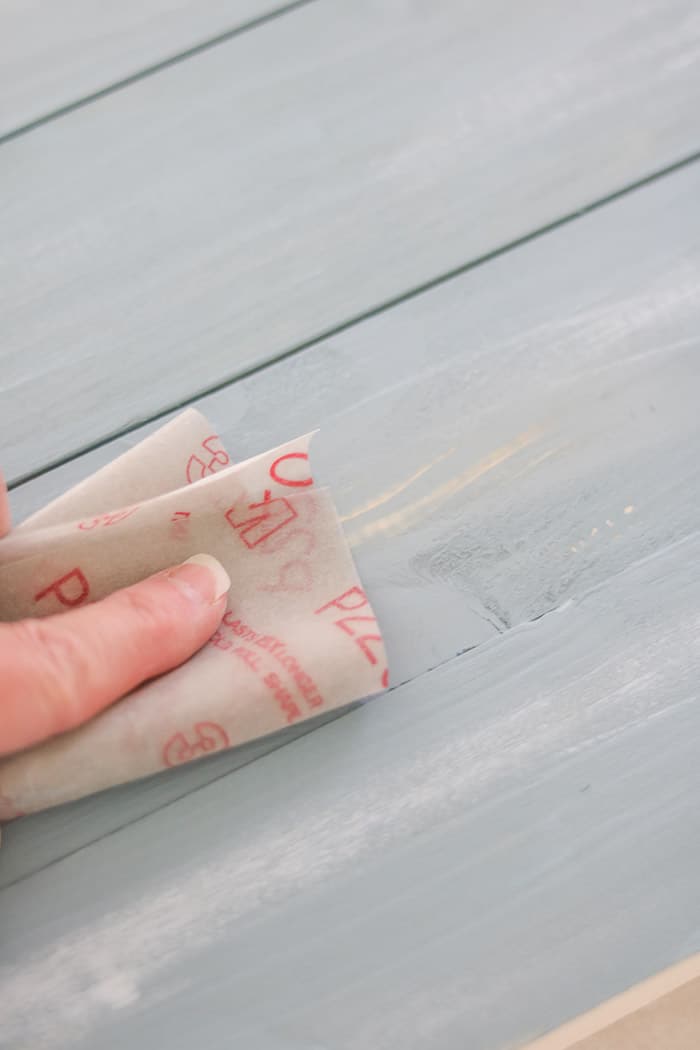
Some areas will have more paint removed while others will be just a little paint removed.
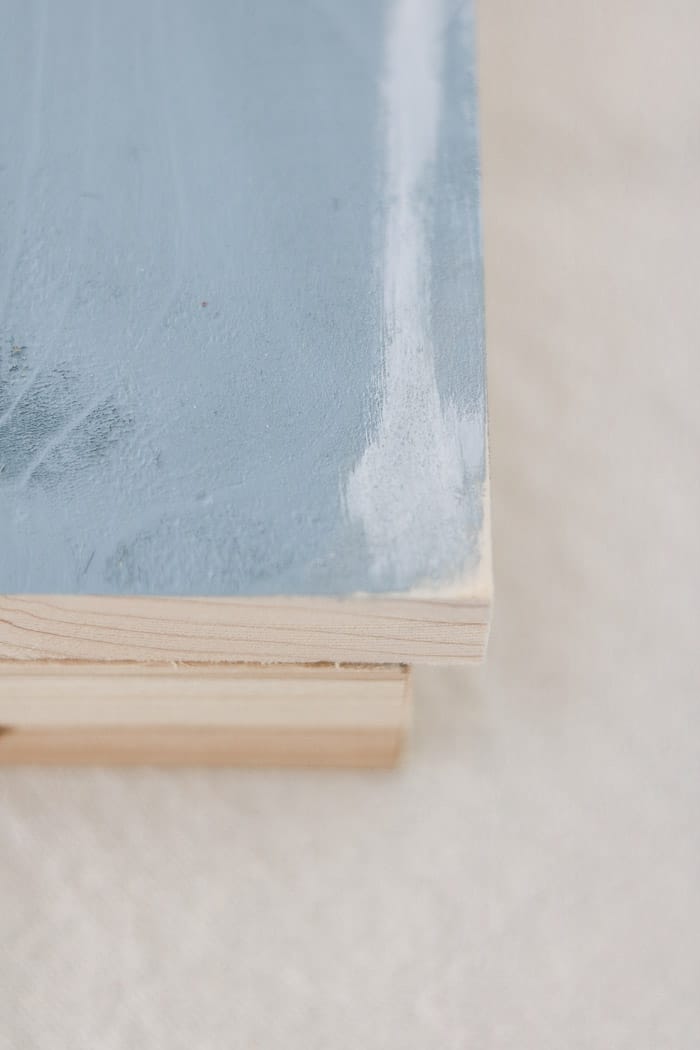
Roughing it up helps get a more rustic look and makes it look vintage.
Position Lettering
Next, place the wood lettering on the shiplap sign wherever you fancy. I like the idea of an off-centered design. So my letters were placed at the bottom right.
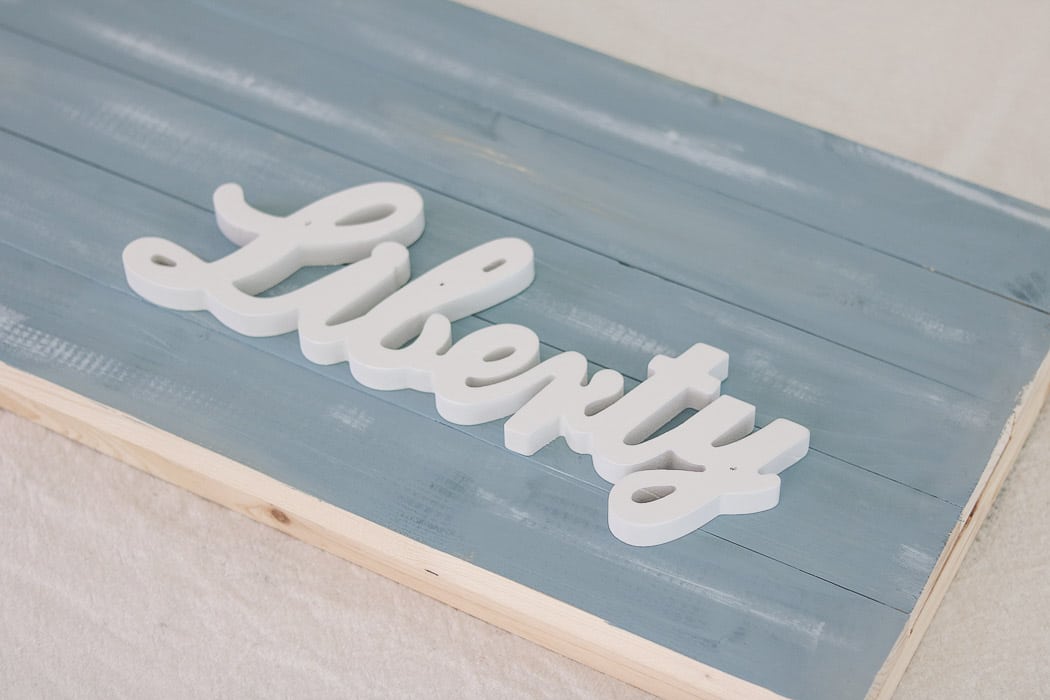
If you are wondering where I got my liberty lettering I found it in the dollar spot at Target. I love finding a deal!!
Secure Lettering
So here is a place where what I did may not be perfect for you. I nailed the liberty lettering down but you may want to change out your lettering with the holiday.
If you want to change out your lettering consider a removable tape. Make sure it is strong enough to hold your letters. Another idea is to use a Cricut or Silhouette machine and make lettering for your beautiful farmhouse sign.
Now all you need to do is hang your new piece of farmhouse art.
Conclusion
See how easy it is to create your patriotic wood sign? When I did this project I couldn't wait to show you how to make wooden farmhouse signs with sayings.
There are so many ideas of words to put on DIY wood signs. You can put a scripture on the sign, a favorite quote, names like your last name or a child's first name, or words like love.
Wood signs are the perfect farmhouse decor. They are great for large and small spaces. Hanging on a wall or sitting on a shelf.
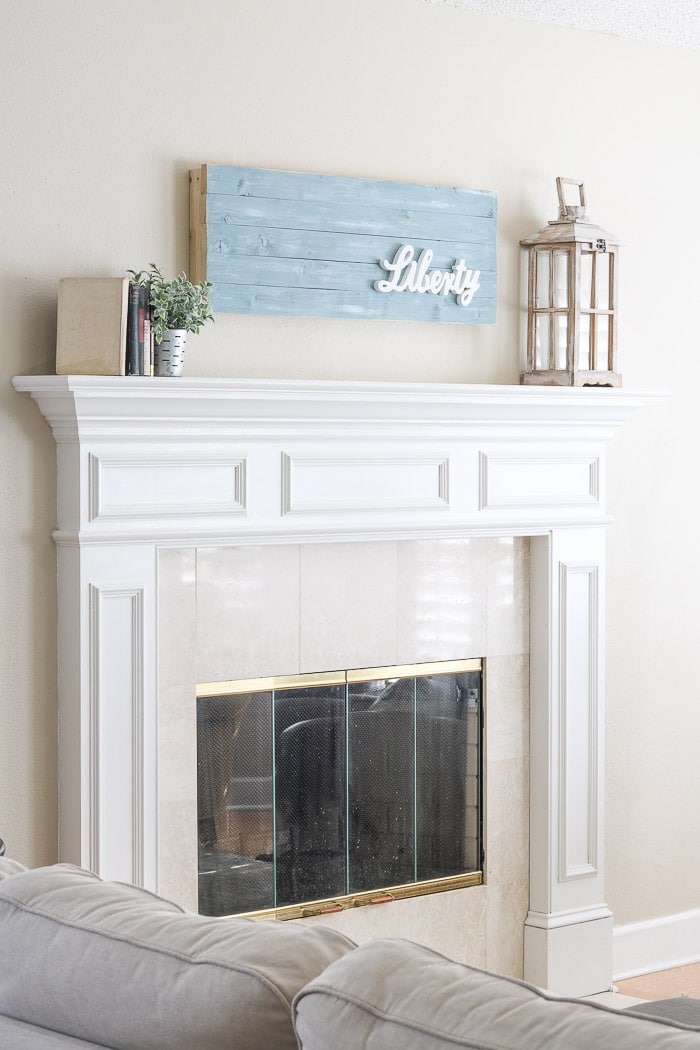
Here is another photo of the finished product and how I styled it on my mantle. It pulled together all my patriotic decor in the living room nicely.
Which reminds me if you need more ideas on how to style mantles check out my DIY fall decor mantle post.
If you love DIY projects but would rather purchase your own farmhouse letter art check out these cute farmhouse letter art ideas. I hope you have been inspired by this easy tutorial. I can not wait to hear about what your farmhouse-style sign will say and how your project turned out.
Happy Decorating!


2 thoughts on “Easy DIY Patriotic Farmhouse Wood Sign”