
There’s something magical about candlelight; soft, golden, and full of calm. But when I learned that many store-bought candles contain ingredients that can irritate your skin or release toxins, I started researching clean burning candles. That’s when I discovered the beauty of beeswax candles, natural, simple to make, and completely chemical-free.
If you’ve ever wondered how to make beeswax candle at home, you’ll love this easy, cozy DIY. I’ll walk you through every step and share a few tricks I’ve learned along the way, plus some sweet ideas for decorating with your finished candles.
Why Make Your Own Beeswax Candles
A few years ago, I wrote a post about clean burning candles after realizing how much store-bought candles were bothering my skin. That post sent me down a rabbit hole of natural candle making, and I was hooked.
For this project, I used organic beeswax and coconut oil to make a special set of candles for my daughter. She’s going through IVF and choosing all-natural products to support her body, so I wanted something pure and toxin-free for her home.
And let me tell you, nothing feels more special than gifting a homemade candle poured with love.
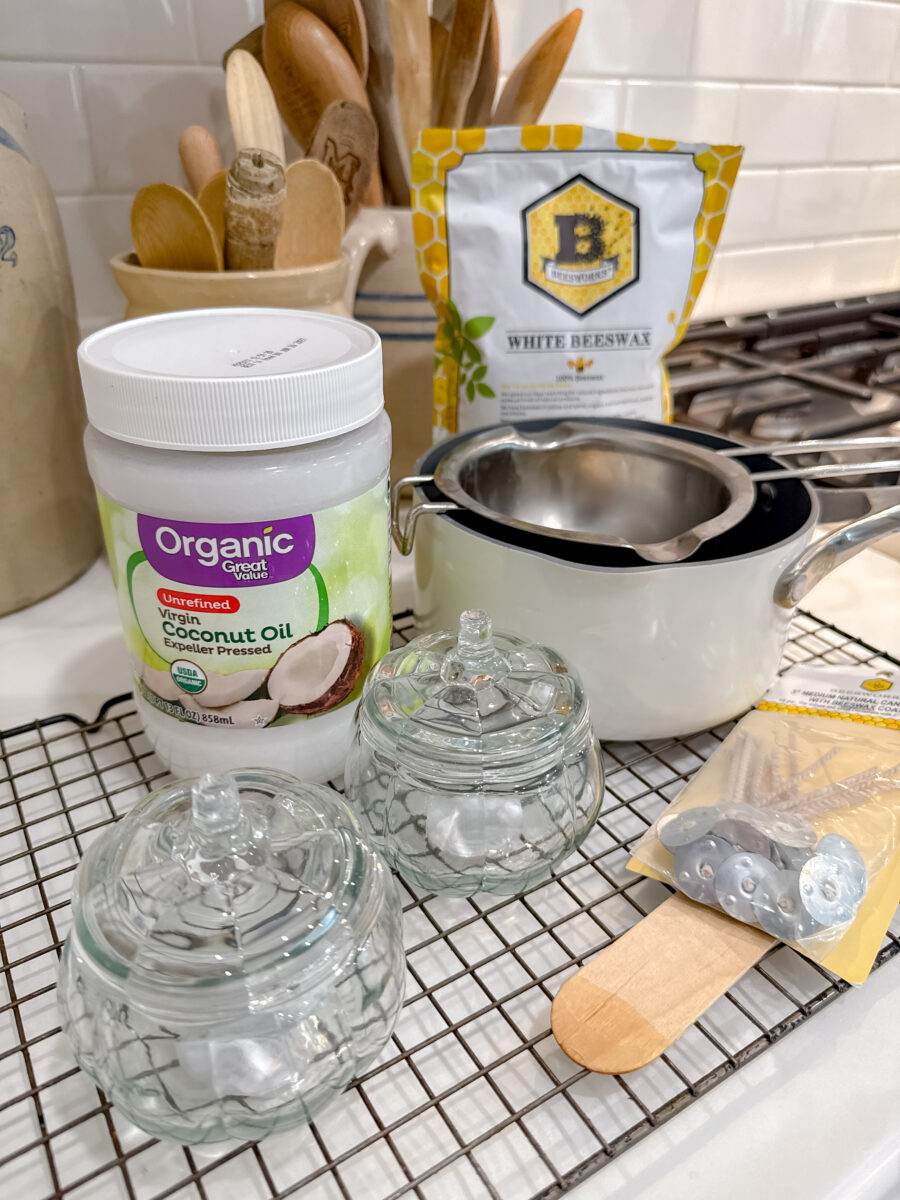
Supplies You’ll Need
Everything I used came from Amazon or Hobby Lobby, and all materials are natural and organic.
- Organic beeswax pellets (or raw beeswax online or local beekeeper)
- Organic coconut oil (optional)
- Cotton candle wicks or you can make your own wick with this tutorial
- Hot glue gun
- Popsicle sticks or pencils (to hold the wick straight)
- Glass or metal pot (for double boiler)
- Measuring cup or glass bowl to melt wax inside
- Stir stick (I use a jumbo popsicle stick)
- Candle jars (mason jars, thrifted jars, or cute seasonal jars like these pumpkin ones)
- Optional: Essential oils for scent
- Parchment paper to sit under candles in case wax melts
- Wick trimmer or scissors
- Cooling rack
Step-by-Step: How to Make Beeswax Candle
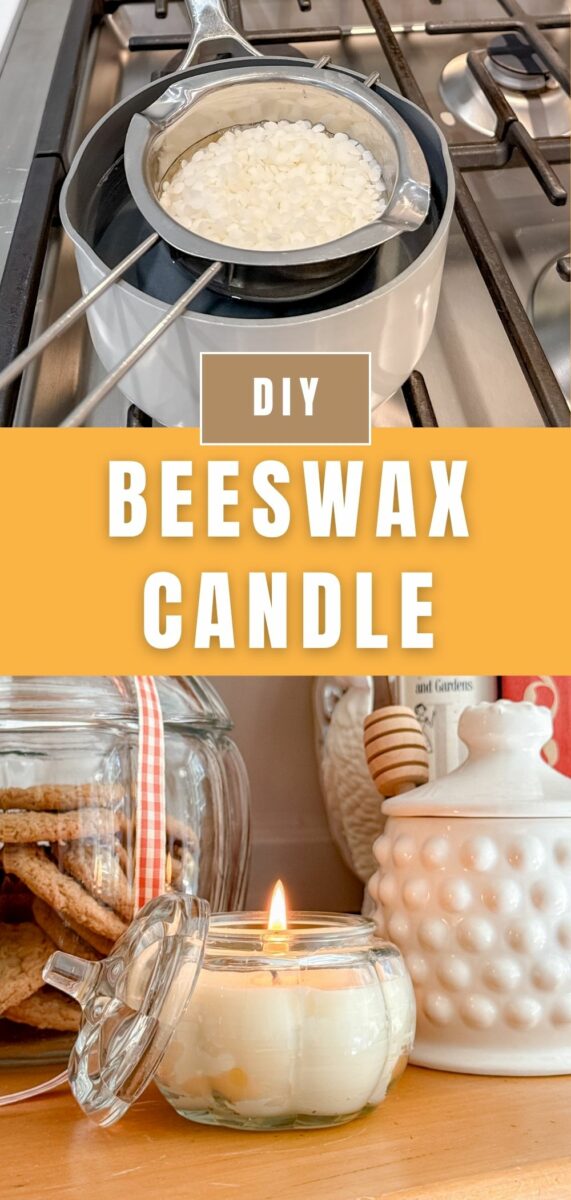
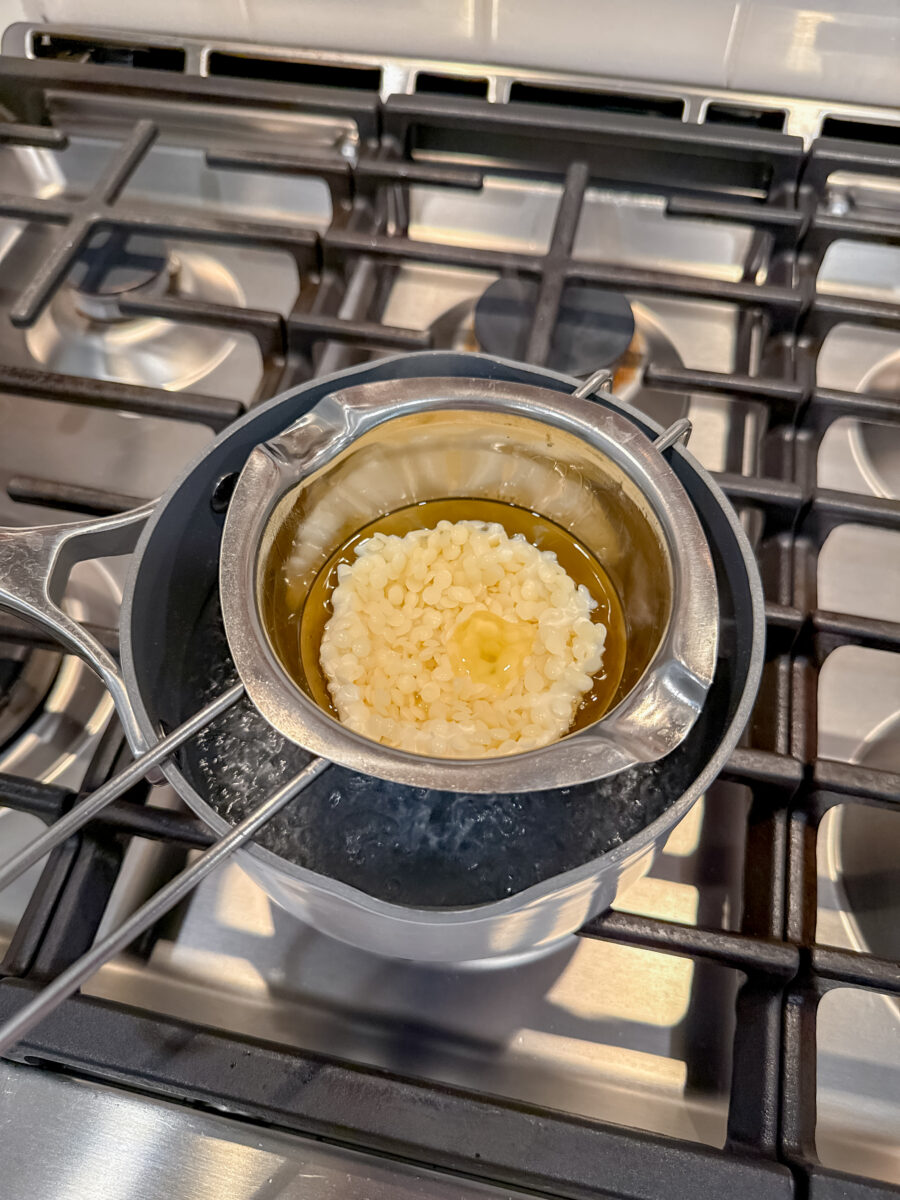
Step 1: Set Up a Double Boiler
Start with a pot filled with a few inches of water. Enough water to touch the bottom of the inner pot, and enough that when it starts to evaporate, it will still be touching the inner pot. Then place a metal pot, glass bowl, or measuring cup inside to create a double boiler.
Make sure the inner pot sits low enough so the water touches its bottom that’s how the beeswax melts evenly.
Pro tip: Whatever you use, plan to keep it just for candle making. Beeswax can be nearly impossible to clean out later. And my metal pot came from the cake decorating section at Hobby Lobby, but I also like to use a glass Pyrex measuring cup, too.
Step 2: Melt the Beeswax
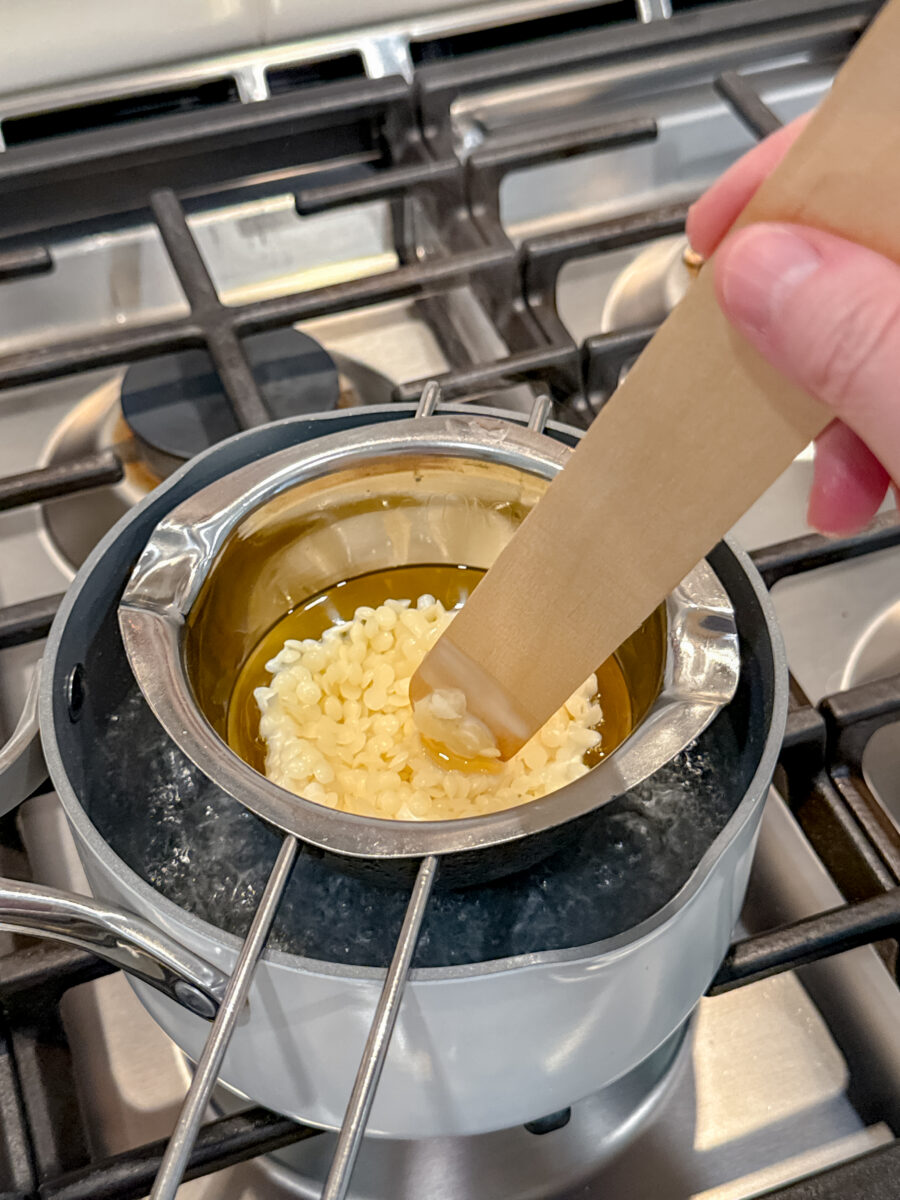
Add your beeswax pellets to the top pot and bring the water to a gentle boil. Once the wax starts to melt, lower the heat to a simmer.
I like to measure my wax by filling the jar I plan to use, then adding a little extra since melted wax reduces in volume.
When the beeswax is almost fully melted, stir occasionally. I use a jumbo popsicle stick to stir, so I can trash it when I am done.
Note: You can make your candle with only beeswax or add coconut next. I like to add coconut, but only beeswax is fine too. And for a bright white look use white beeswax for a slight off white look use natural beeswax.
Step 3: Add Coconut Oil
For a soft, even burn, mix in one-third coconut oil for every two-thirds beeswax.
The coconut oil helps the candle burn longer and more evenly, giving that warm, cozy glow beeswax candles are famous for.
Step 4: Prepare Your Jars
While the wax is melting, glue your cotton wick to the bottom of the jars with a dab of hot glue. Make sure it’s centered.
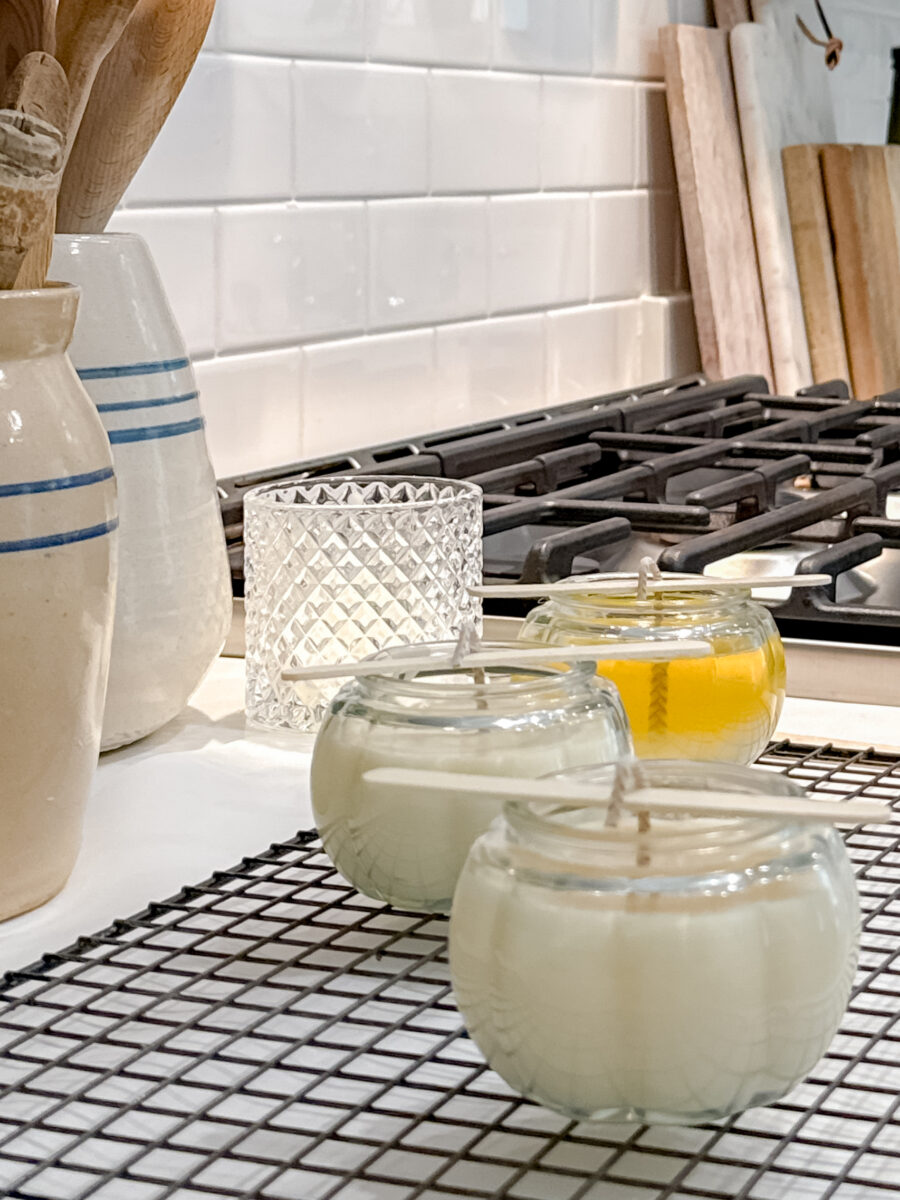
Next, use popsicle sticks, chopsticks, or pencils laid across the top of the jar to hold the wick upright. (I completely forgot to take a photo of this step without the wax inside but here is a close up photo so you can see what I am talking about.)
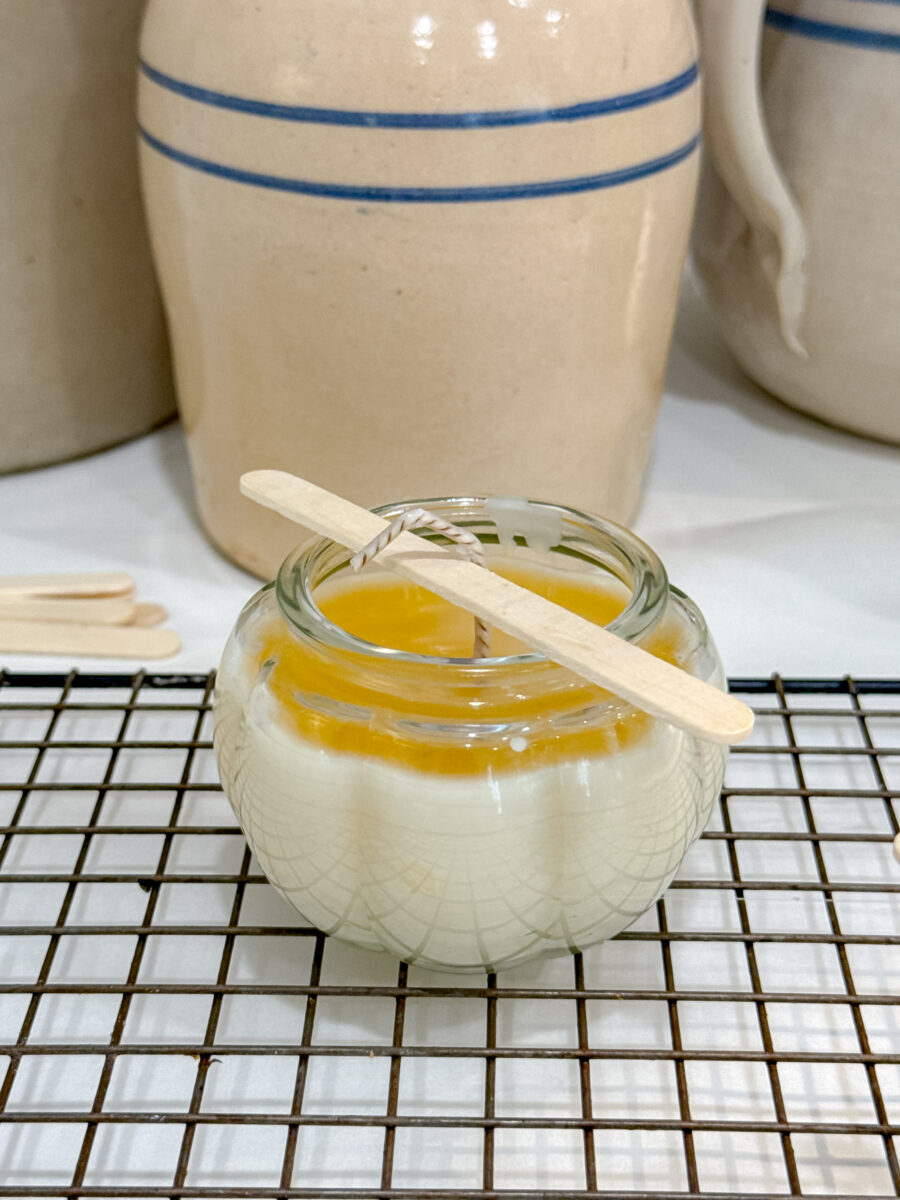
I like to set my candle holders on a cooling rack, which allows air to flow under the glass and helps the wax cool evenly.
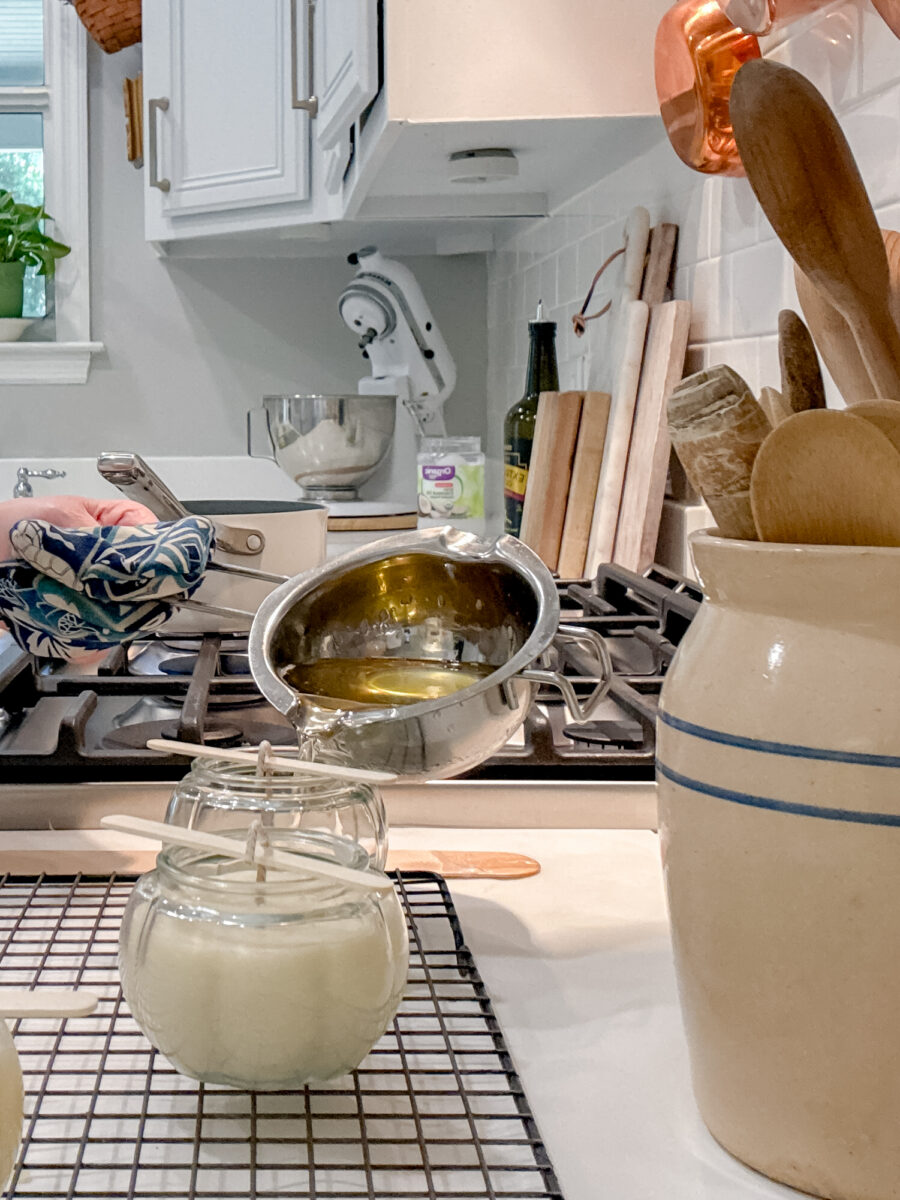
Step 5: Pour the Wax
Once your wax is fully melted, remove it from the heat.
If you’re adding essential oils, let the wax cool slightly (just until you see the edges start to thicken), then add about 40 drops of oil. Stir gently.
Now carefully pour the melted wax into your jar, stopping just below the rim.
Make sure your wick is straight, then let the candle cool overnight.
Step 6: Trim and Enjoy
Once hardened, trim your wick to about ¼ inch above the wax.
Your candle is ready to light! When burning for the first time, let it melt all the way to the edges before blowing it out. This prevents “tunneling” and gives a longer, even burn.
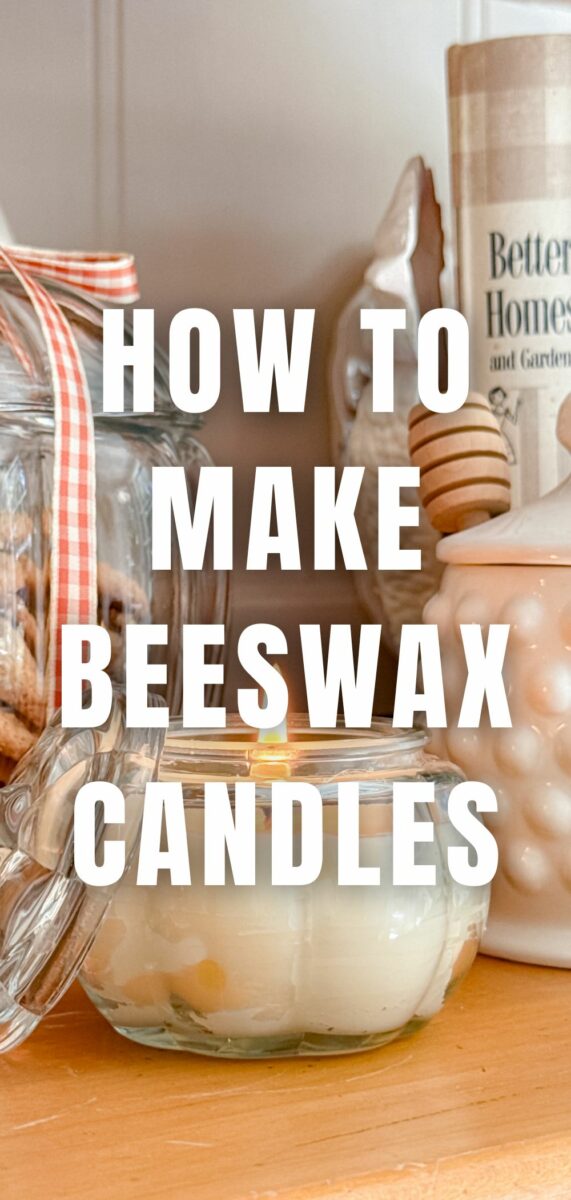
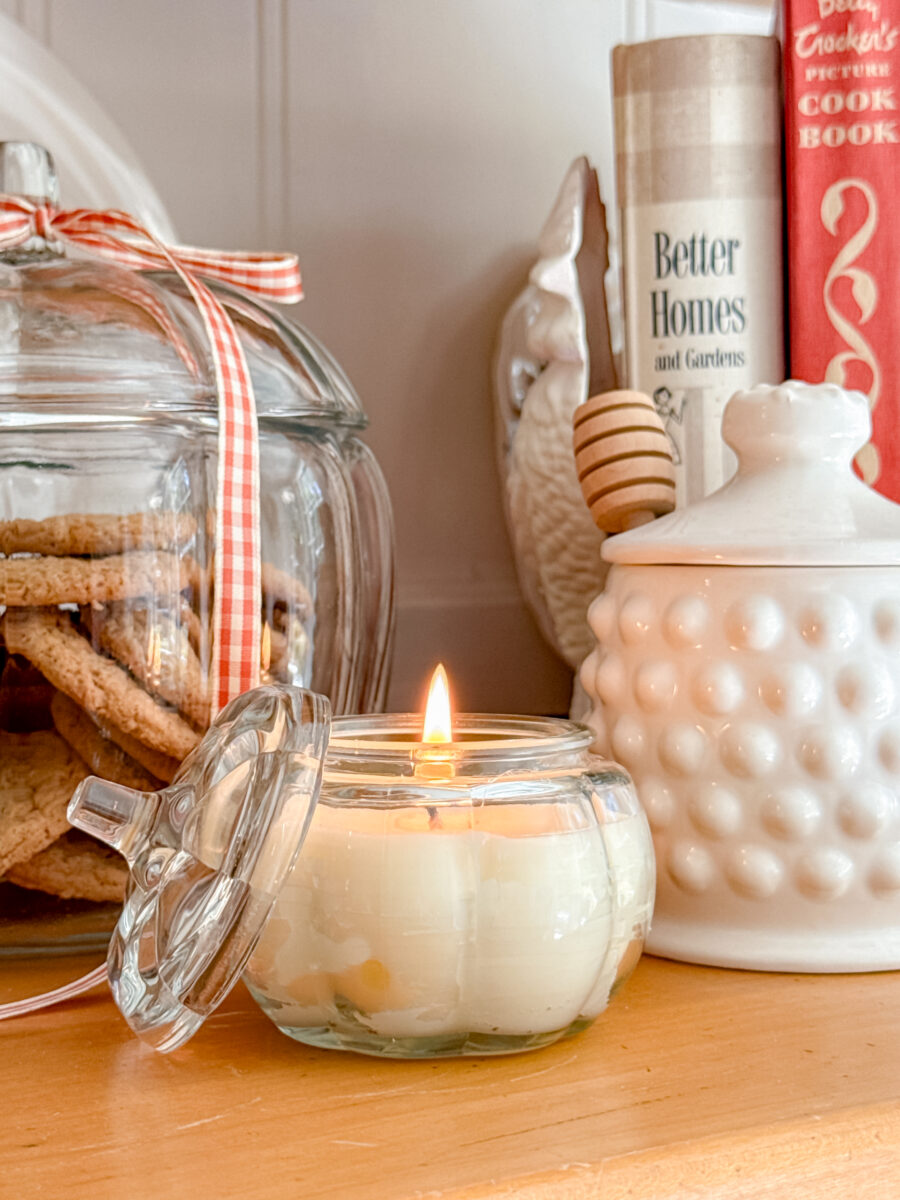
Decorating and Gift Ideas
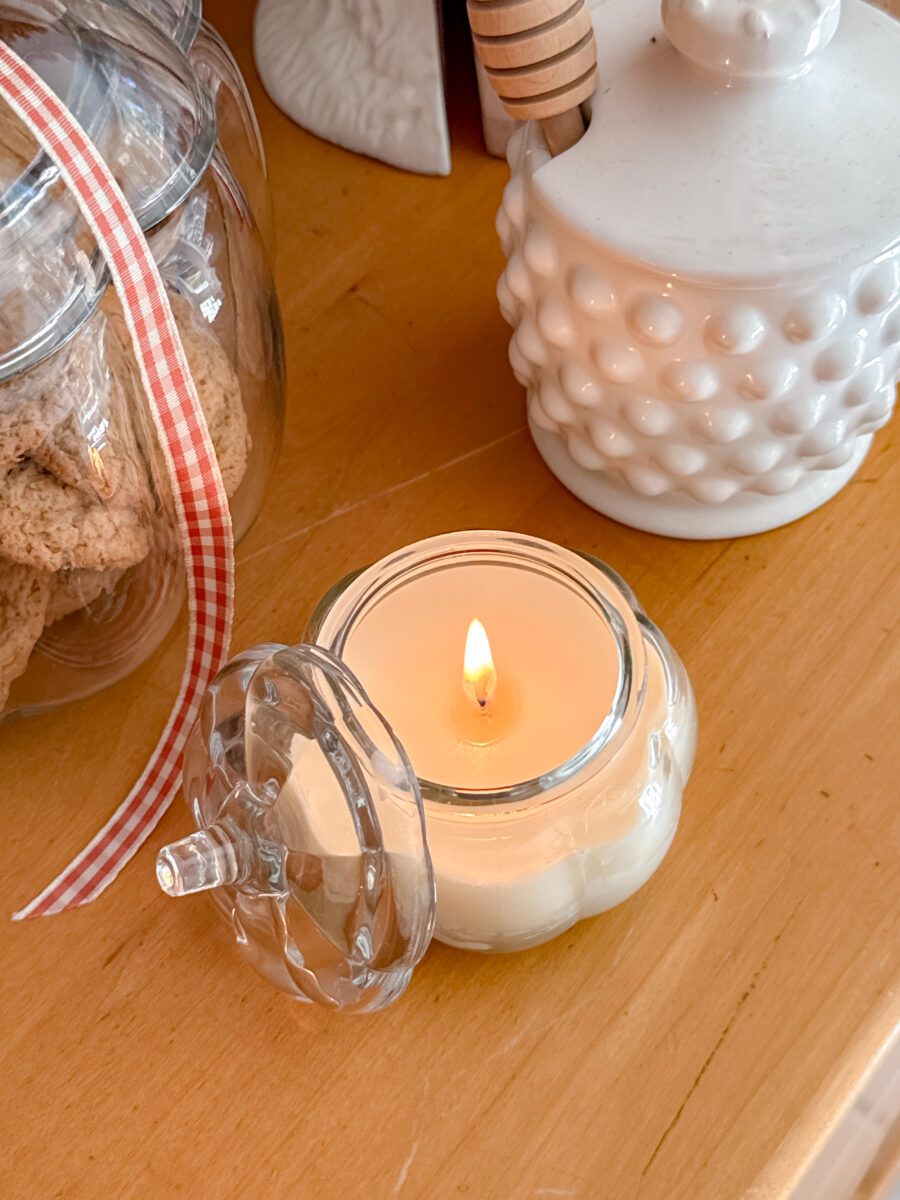
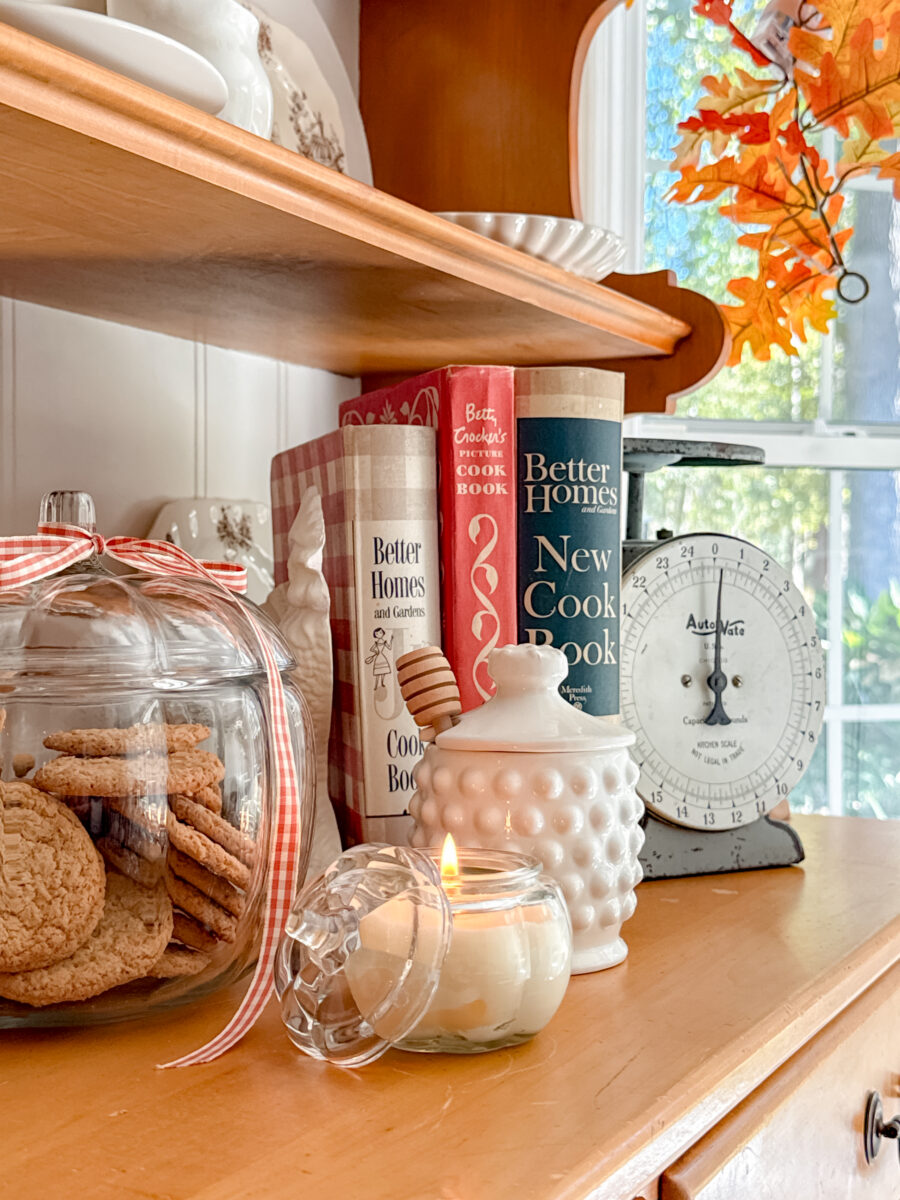
Homemade DIY beeswax candles make lovely gifts, especially in vintage jars, teacups, or small mason jars. I poured some into tiny pumpkin jars from Hobby Lobby for fall and into a crystal jar I thrifted.
Here are a few fun places to style your candles:
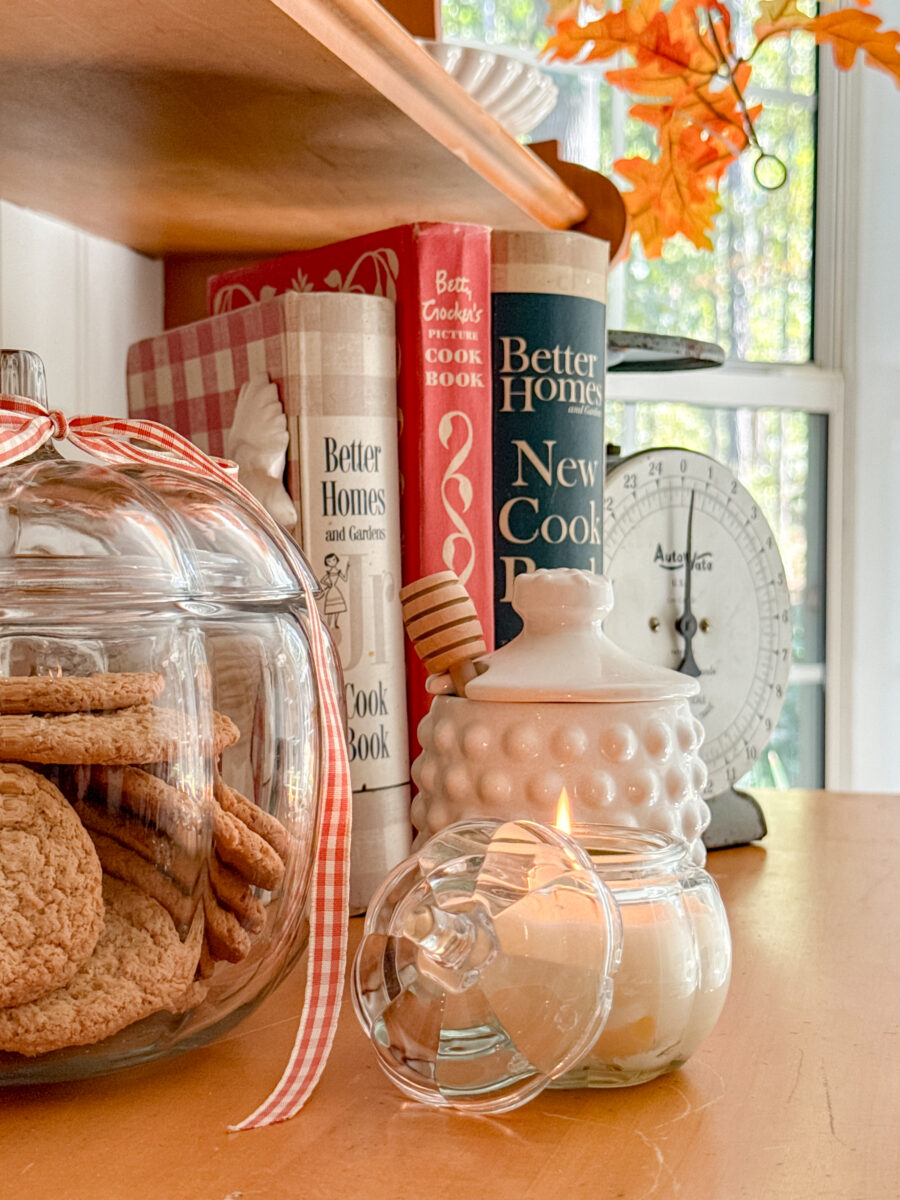
- On a tray with vintage books and decor
- As part of a cozy mantel display
- On your nightstand (remember to blow it out before bed )
- Clustered as a centerpiece for your dining table
- As thoughtful Christmas gifts tied with ribbon and a little tag
- As a Housewarming gift idea (I have loads more housewarming gift ideas here)
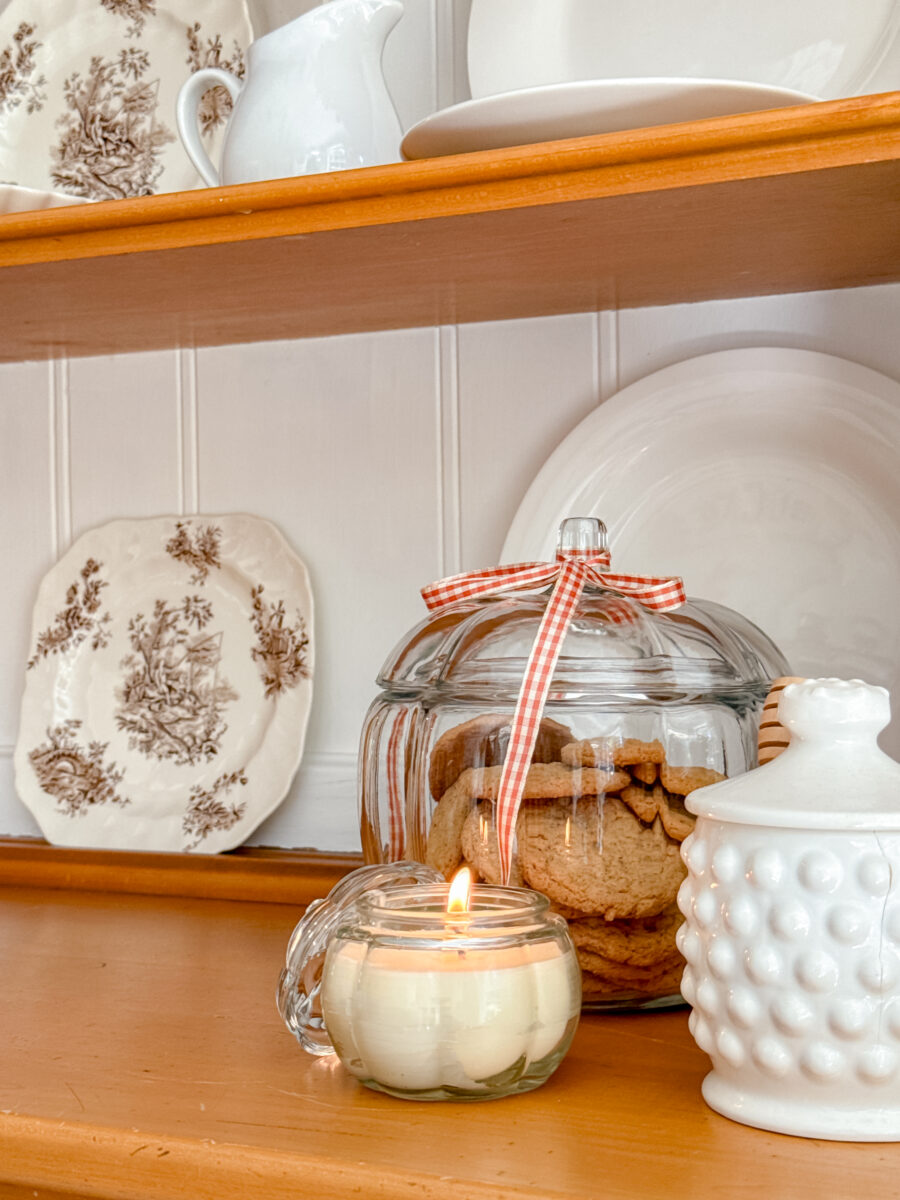
My favorite pot to decorate with my beeswax candle was nestled on my hutch in the kitchen with other autumn decorations.

It looks so cute tucked in with my glass pumpkin cookie jar.
Candle Safety Tips
A few quick reminders for safety:
- Always burn candles on a stable, heat-safe surface.
- Keep away from curtains, books, artificial plants, or anything flammable.
- Never leave a burning candle unattended.
- Trim the wick before each use for a clean, even flame.
One thing I like about jar candles is that the wax and flame are contained in a jar, making it a safer option. Again, make sure nothing is close enough to catch on fire.
Final Thoughts
Now that you know how to make a beeswax candle, you can bring warm, chemical-free light into any room. Whether it’s poured into a crystal jar, a thrifted teacup, or a mason jar, each one adds a touch of charm to your home.
If you are looking for an all-natural taper candle, try my “How to Roll Beeswax Candles” tutorial. It is the easiest DIY ever!
If you’d like to see another creative way to reuse vintage pieces, take a peek at my Teacup Candle Project. It’s one of my favorites!
And for more cozy inspiration, visit my Apple Village Candle and How to Turn an Orange into a Candle posts. For those projects, I used store-bought tea lights, which aren’t all-natural, but my next goal is to learn how to make beeswax tea light candles so they’re completely natural too.
Happy Candle Making!
