
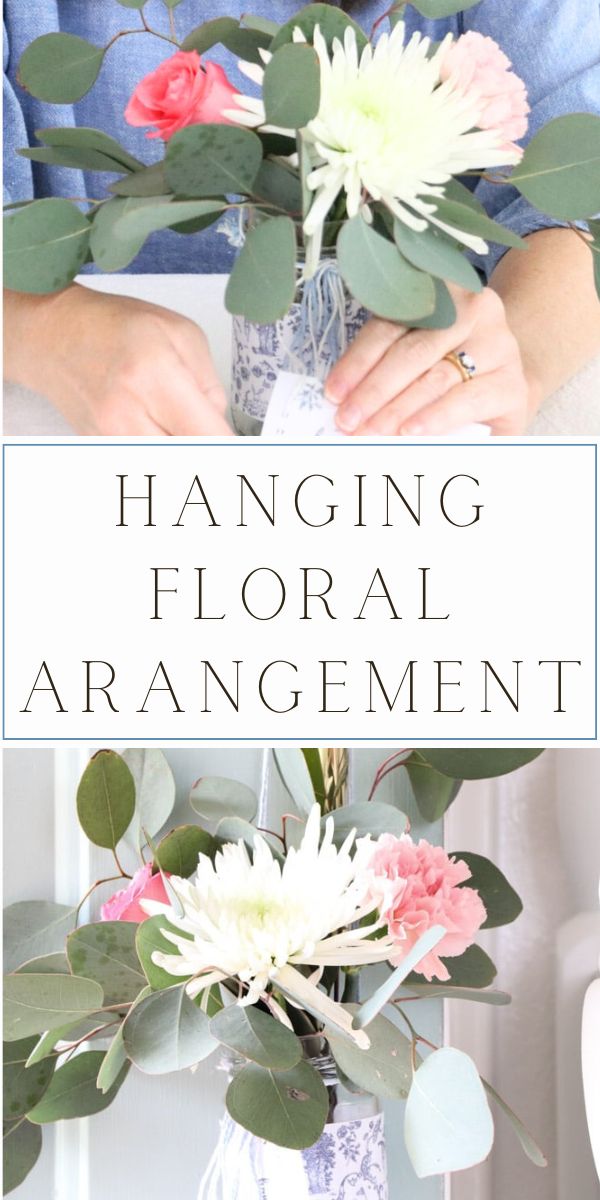
Spring has sprung and it is time to celebrate with a May Day basket and ideas for Mother's Day. So here are a few ideas for the month of May with a letter for mom and floral hanging old-fashioned May basket ideas. This DIY May Day basket is fun and easy to make.
I am excited to share with you how to make a DIY May Day basket that you can use for May Day, Mother's day, Valentine's day, birthdays, holidays, or just because, and then I have some fun ideas for a letter to Mom.
In fact, I have more ideas for Mother's day if you need some inspiration after you finish this post.
With two beautiful holidays in the month of May, I have often thought, why not combine the two and create a lovely May Day basket to give to Mom for Mother's day if you really want to impress Mom write her an old fashion snail mail letter.
I promise it will make her day!! Let's get started making May baskets.
May Day Basket and Letter to Mom Ideas
We are going to talk about how to make a May Day basket first but if you want ideas for writing a letter to mom scroll down about halfway.
What is May Day?
April showers have passed and May Day celebrates spring either on May 1st or the first Monday in May. It is an ancient holiday that is still celebrated in many places.
You've probably heard of the old tradition of the maypole dance, it's a well known part of the May Day tradition. May Day celebrations can vary depending on your location.
When I was in elementary school we would celebrate with the May Day pole which consisted of different colored long ribbons hanging down on all sides. On the first of May, we, the children, would grab a ribbon and start walking around the pole wrapping the ribbon as we go. When we were finished the pole was very pretty.
We also ate delicious cakes and punch and played games. It was such a fun day. The main thing is that we were enjoying the beautiful weather that spring brought. What a fun tradition and wonderful celebration of spring!
How to Make your DIY May Day Basket
I'm so excited to share this DIY May Day Basket instruction. These simple may day baskets are sure to brighten the receiver's day. This easy and beautiful project can be made in about 30 minutes once you have all your supplies.
These surprisingly simple baskets are beautiful and easy to make. Then you can deliver them to the doors of friends and loved ones. These small baskets are a wonderful celebration of the return of spring. Here is a list of supplies.
Supplies
- Recycled jar, I used a jelly and salsa jar, or a plain jar
- Toile free printable for jar (adjust if your jar is larger than a small jelly jar) (Subscribe here to download)
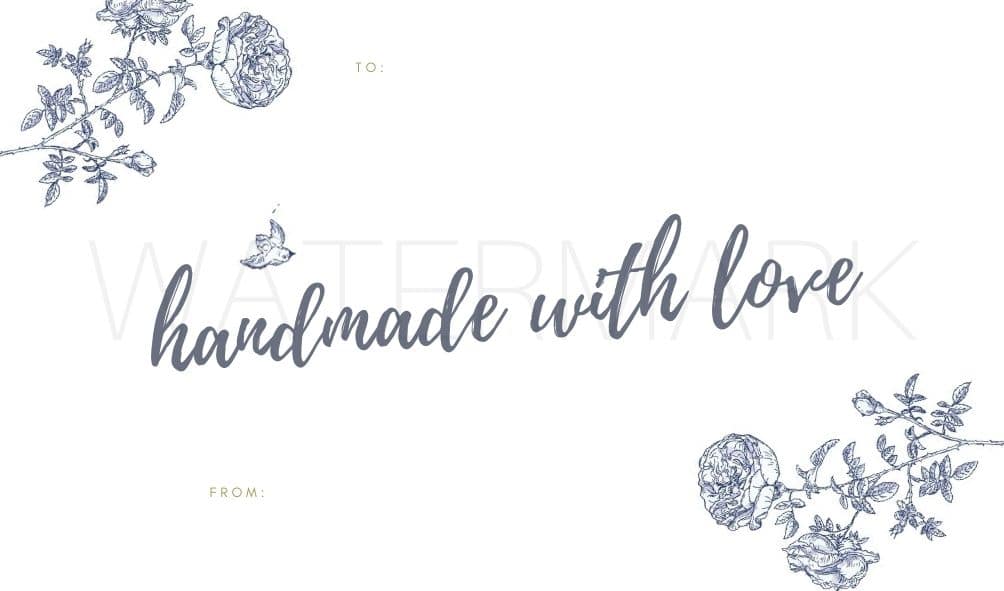
- Gift tag free printable (You only need to subscribe once because both printables are on the same page along with other free printables.)
- Scissors to cut yarn
- Pruning shears or scissors to cut flowers
- Paper cutter
- Outdoor decoupage
- Artist paintbrush
- Hole punch for the gift tag (I used a small two-hole but you can use something sharp to make a hole)
- 84″ or 2.33 yards of blue yarn
- 84″ or 2.33 yards of white twine
Shop Supplies:

How to Clean a Label off of a Jar
The first thing your DIY May Day basket starts with is a recycled glass jar. If you are using an old jar as I did in this project here are a few tips to help you get the label off.
Begin by soaking the jar in hot water and dawn soap for an hour. Then take a knife and scrape the label off. I found it easier to scrap the label toward the center on one side and then toward the center on the other side.
Next, wash the jar thoroughly and add about 1/3 of water into the jar. You can add more water once the Mayday basket arrives at its destination, but a 1/3 will feed your flowers for now.

Print Toile May Day Printables
Next, after you have subscribed to the Life on Summerhill newsletter, you will get a link to your inbox and it will take you to my printable library. Then look for this toile pattern and gift tag. Simply download them and print them on regular printer paper.
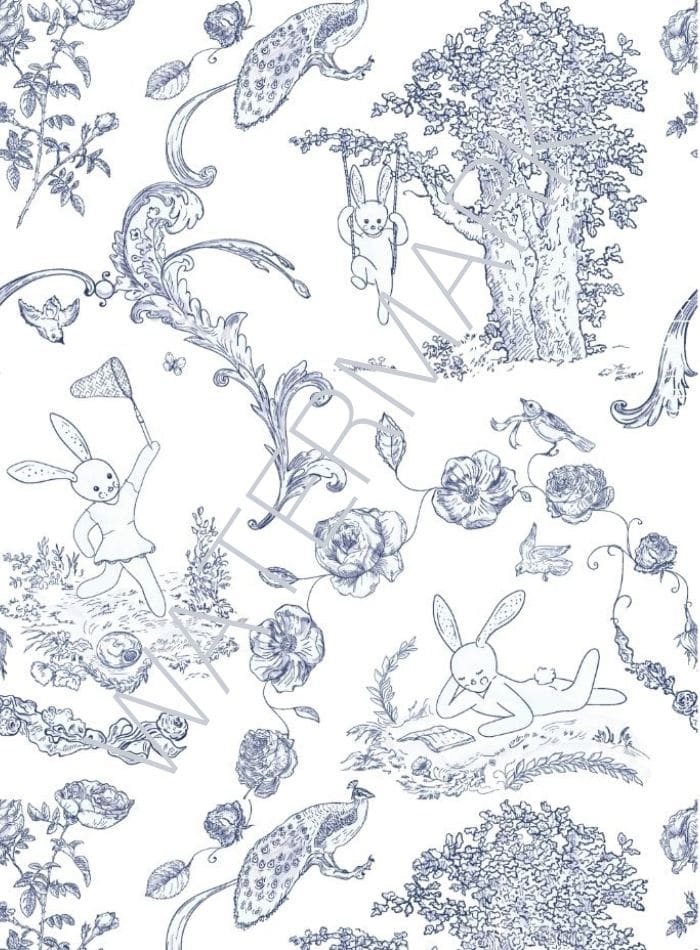
If your jar is larger, you may need to adjust the size of your printable templates, but if your jar is about the size of a jelly jar, then you are good to go.
Cut Toile Design
Next, grab some scissors or a paper cutter and cut around the edge of the toile pattern.
Then cut the gift tag on three sides. Cut again the flower pattern or stems but leave the left side of the tag with some white space so you can punch some holes there.
Apply Toile Pattern to the Jar
Now it is time to apply lovely patterned paper to the jar. Simply brush the decoupage to the backside of the paper from edge to edge. Then start on one side and smooth the paper around the jar until it meets the other side.
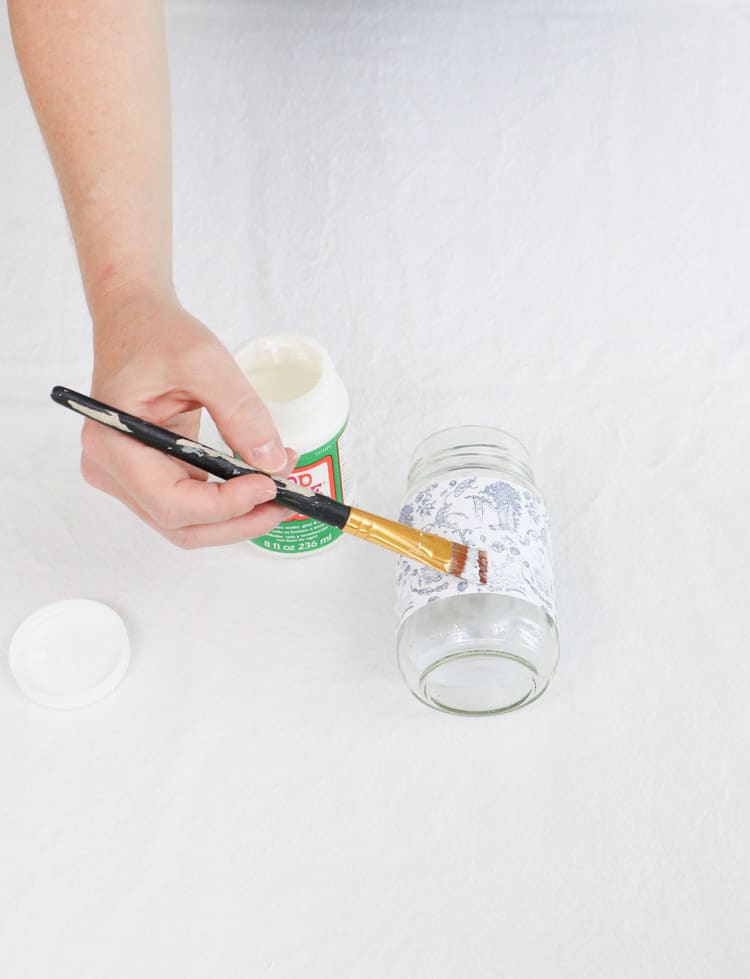
If your paper overlaps, take some decoupage to glue them together. Next, apply more decoupage to the top of the toile pattern paper. You can go over onto the glass a tiny bit, but for the most part, stay on the paper.
Let it dry for a few hours.
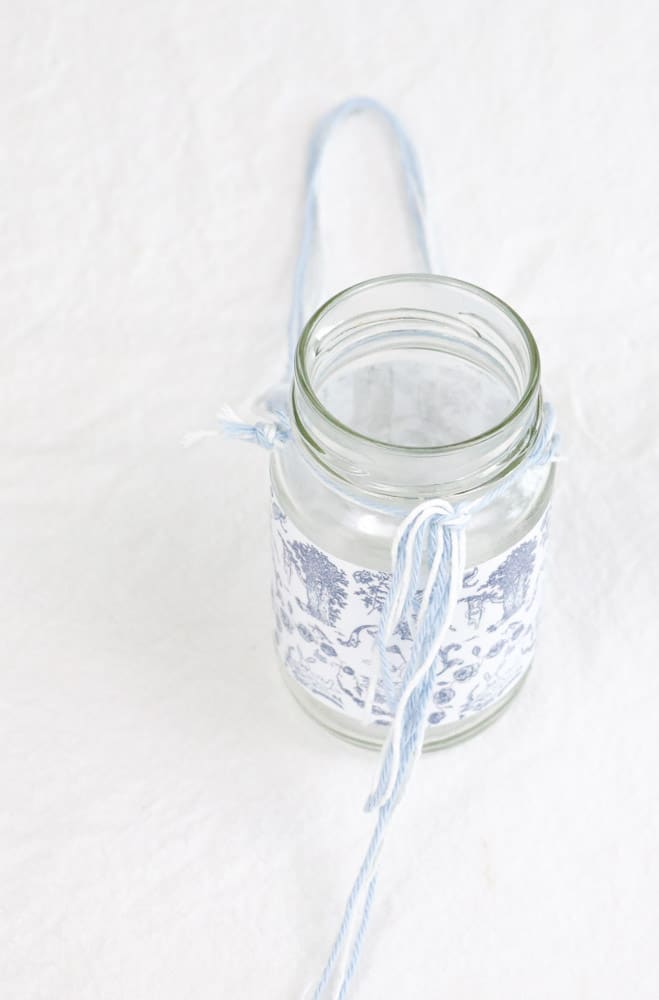
Add Twine and Yarn Bow
Next, cut a 36″ piece of twine and yarn. Find the center, start at the back, and wrap it around the neck of the jar. Make sure it is under the lip. This will keep the twine and yarn secure so it doesn't slip up.
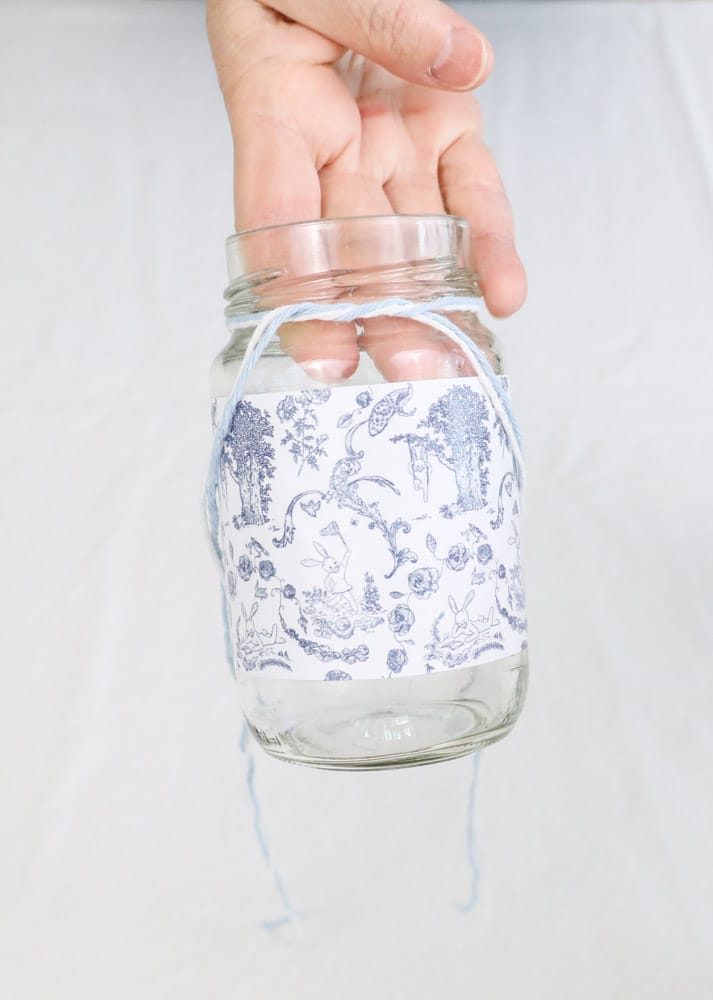
Now loop twice to make the first tie. I like to double loop because it helps keep it from sliding apart and makes tying so much easier if you are by yourself. Follow the loop with the traditional bow tying. Whatever you learned in elementary school will do.

I like to make my bows ears long but what you think is pretty is up to you. The little things are a fun way to give it a personal touch. Your DIY May Day baskets are almost done!
Add the Handle
You might need a seam ripper or something like that to pull the twine and yarn up from the neck. Basically, you will thread the 48″ piece of twine and yarn behind the twine and yarn tied in a pretty bow around the neck of the jar.
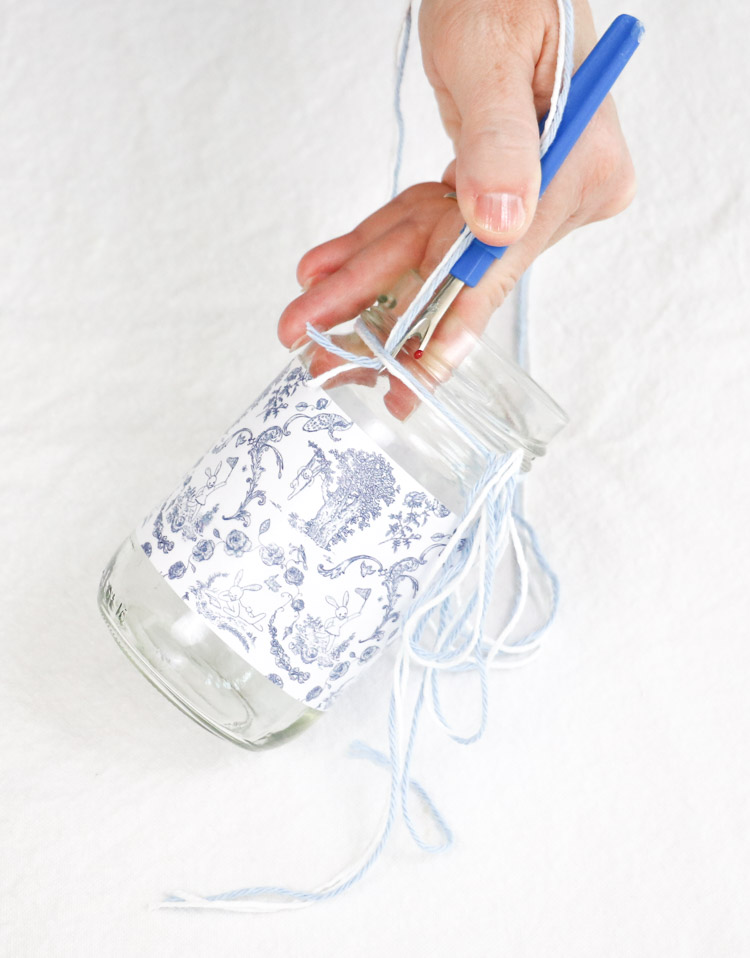
Once you have one side done, take the other end of the twine and yarn and thread it under the twine that is tied around the neck of the jar. Once you have it through, tie the ends together and lift on the handle.
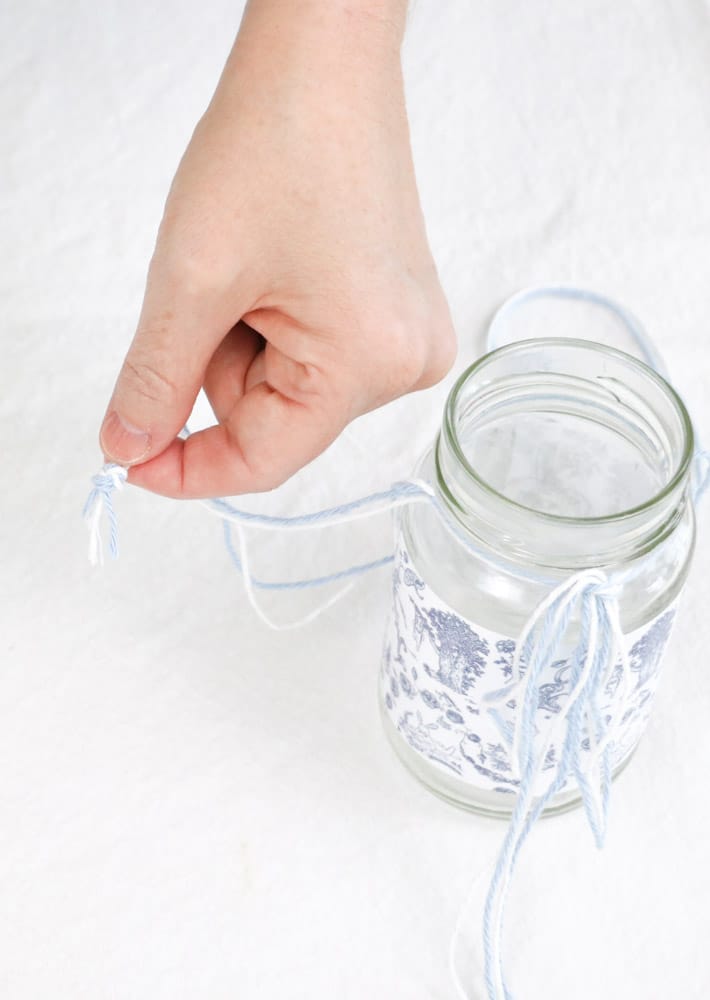
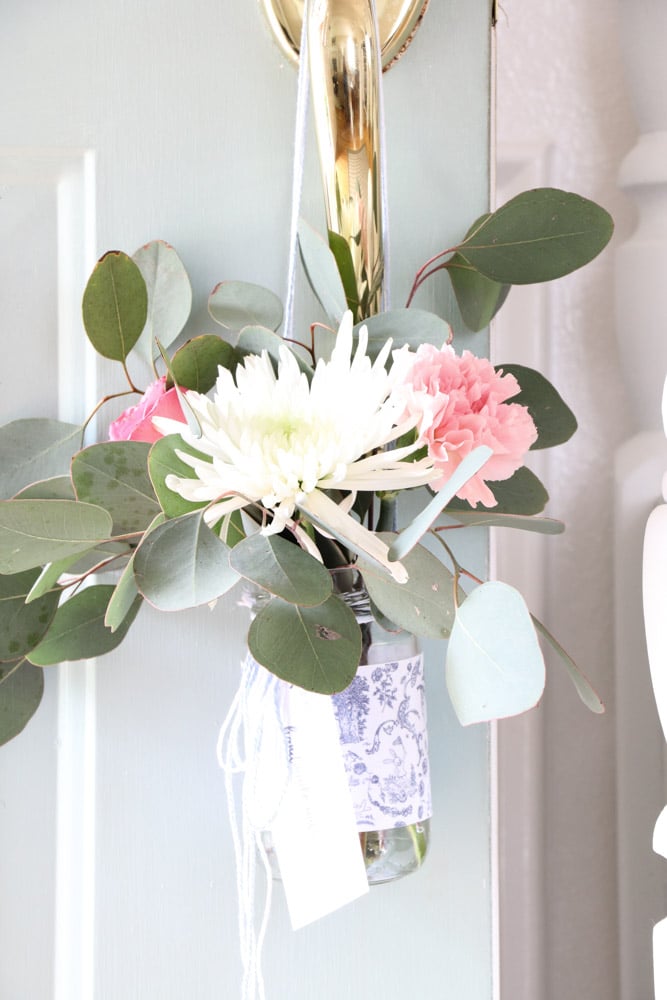
You may need to adjust the connection with the jar neck yarn and twine until the jar hangs straight down. This is how you'll hang your cute basket from door handles.
Floral Arrangement
Isn't this fun!
Creating something special for someone you love or showing someone you care is so fun. This DIY May Day basket is sure to be a hit.
Let me recommend you hang your jar on a doorknob or hook while arranging your flower. I found it to be much easier once I was done doing it this way.
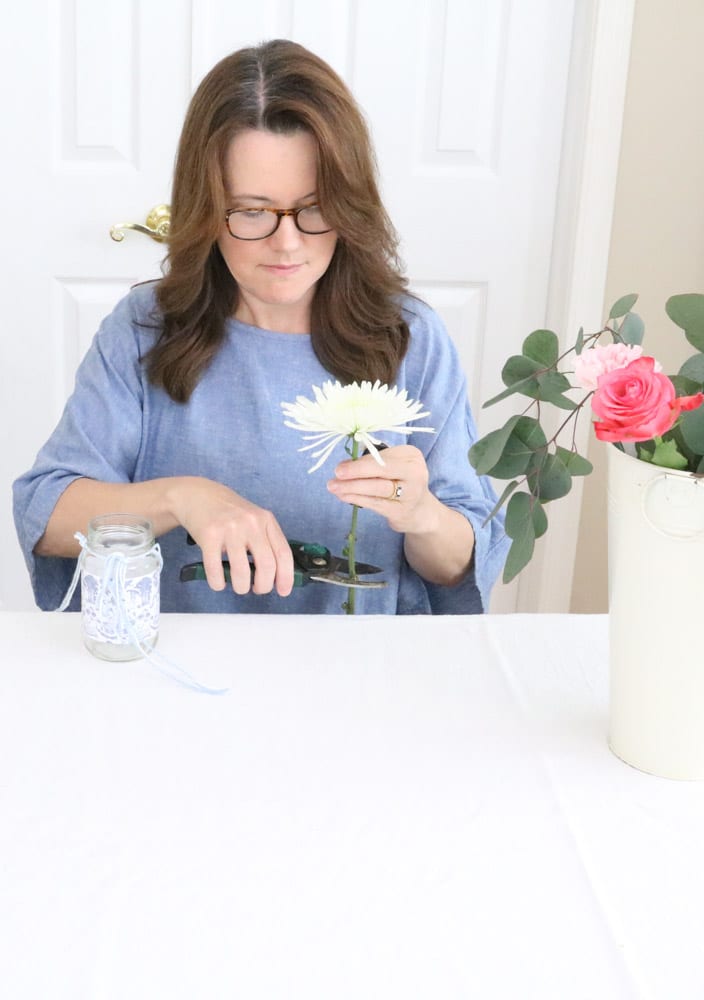
Now it's time to find some May flowers. You can choose flowers that reflect the receiver for your May baskets. Maybe that's wildflowers or something more traditional. Simply find three to five flowers and cut the stems so that the flower sits a few inches up from the rim of the jar.
An easy way to determine how much to cut off the bottom of your flower is to sit your jar at the edge of the table and place the flower next to it with the stem hanging off the table. Once you get the height you want, that is where you will cut.
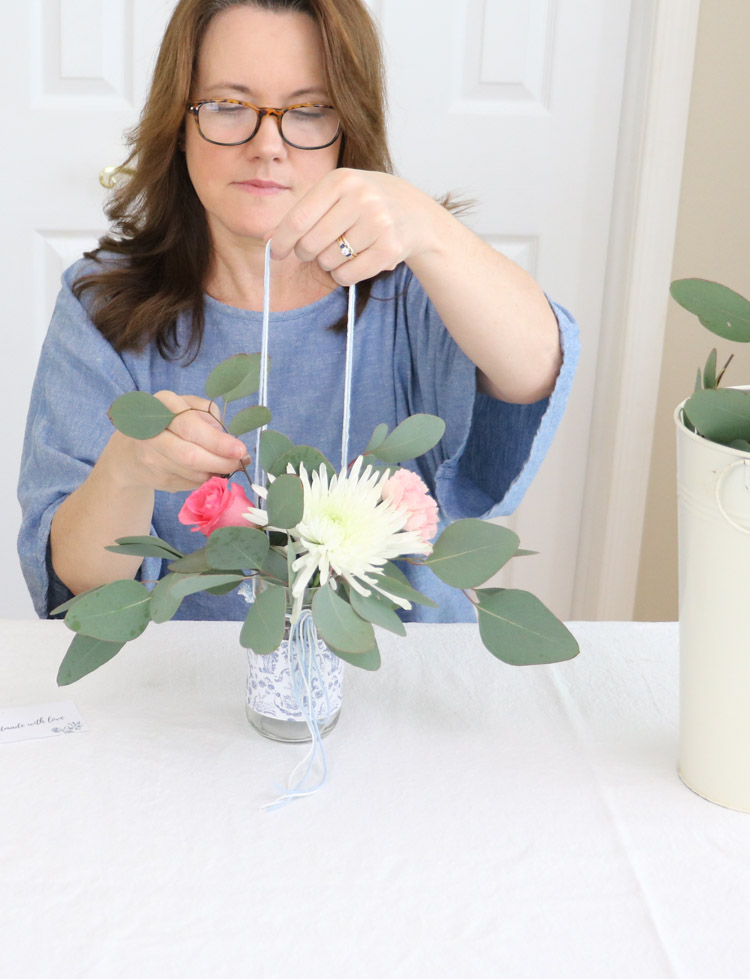
Then add some greenery around the edges.
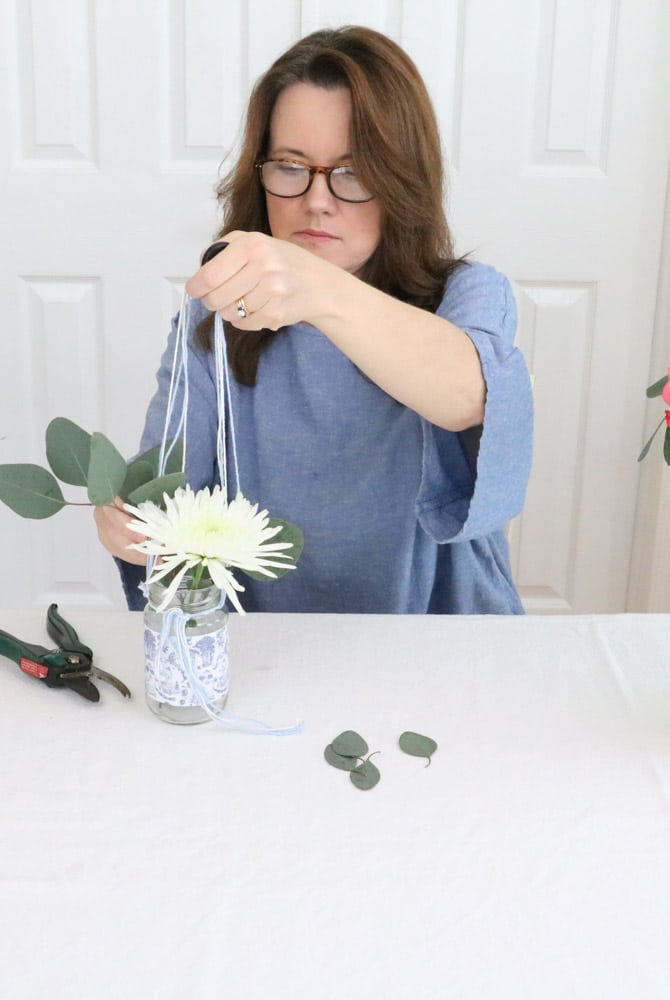
If you are arranging flowers on the counter, lift the handle when you put flowers inside the DIY May Day basket so that you can work around the handle. Now add more flowers and greenery. Fresh flowers are a sure sign of spring and all good things to come.
DIY May Day Basket Gift Tag
It is time to add your gift tag. First, you will need to punch one or two holes into the tag. I have a small hole punch that has two holes in it, but you can use an ice pick for this, also.
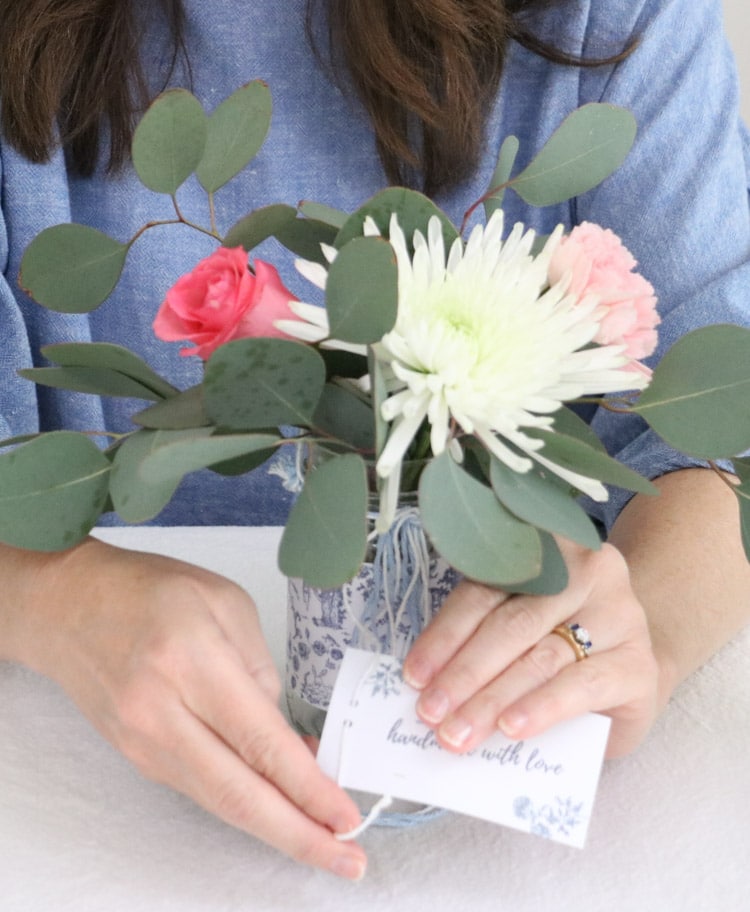
Simply punch two holes side by side and thread the twine on one side on the top and up through the other hole. The twine has enough texture that it will hold the gift tag in place.
You can add your own little notes if you like or keep them anonymous. Your DIY May Day basket is complete! Congratulations on your great May Day baskets.
Store your May Day Basket and Deliver
Before we go on to the letters for Mom's ideas, keep your May Day baskets hanging somewhere with water inside. Now for the fun part!
Once I was ready to deliver the baskets, I discovered they fit perfectly into the cup holder in my van. They may not fit everyone's cup holder, but if you have ones that expand, it will work like a charm.
I decided to make my baskets a surprise, so I quietly walked up to their doors and hung the basket on the doorknob. I almost got away on both houses but got caught both times. LOL!
The first one was my sister, and they were waiting for dinner delivery which was an hour late, so she thought I was their meal. And the other one was my niece, and she saw my car lights and opened the garage to see who was coming. LOL!
It was fun making these, but it was even more exciting delivering them!!! This project with brighten your day, and someone else's too. It's a great way to spread a little spring cheer with a colorful basket. You may even want to make your own May Day basket to keep!
Shop These Ideas for Mother's Day
Ideas for Writing a Letter for Mom
I used to love writing a letter to Mom when she was alive. Handcrafted, handwritten letters mailed through snail mail are so unique and meaningful.
So for this Mother's day, I want to encourage you to write your mom an old fashion letter. It's the perfect complement to your DIY May Day basket. Here are some ideas to get you started.
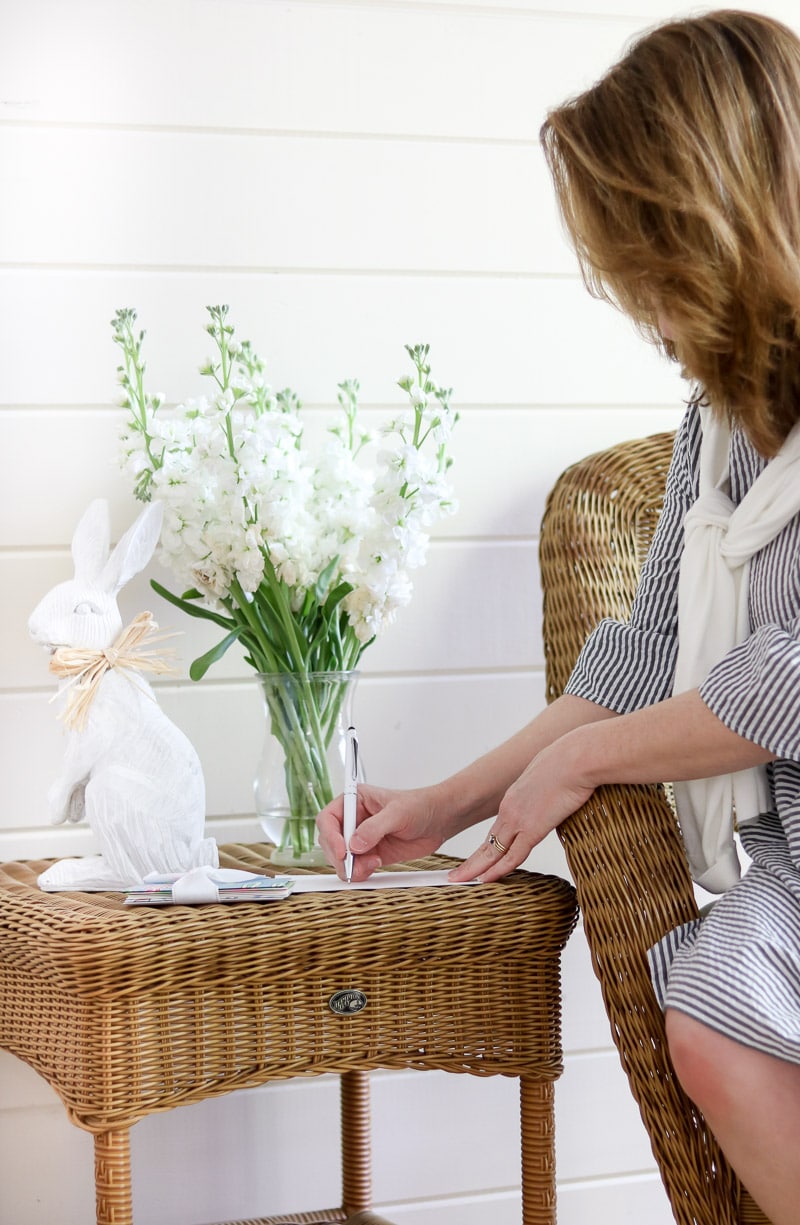
There is something magical about getting an old fashion letter in the mail, and what better way to say I love you than crafting a letter for Mom?
How to Make Envelopes
There are many different kinds of stationery, but creating your own unique stationery is even more meaningful.
I thought it would be fun to teach you how to make beautiful envelopes and lovely pieces of stationery to go into plain, white envelopes.

HISTORY LETTER IDEA
Below is an envelope I created based on the letters my dad wrote his mom while he was fighting in the war. My father's letters were fashioned with the traditional red and blue designed edges.
This gave me an idea for a letter for Mom.
Start with plain stationery like the one in this photograph below.

Consider decorating your envelope with some red and blue around the edges to send a message from the past.
Retro styles like this one are very trendy right now.
I used sharpies![]() so the color would not run in case they came in contact with water. Then, write inside, starting from your first year of life until now, one thing you remember about your mom or loved about her at that time.
so the color would not run in case they came in contact with water. Then, write inside, starting from your first year of life until now, one thing you remember about your mom or loved about her at that time.
She will love to see what you remember!
This will be an especially special message for your mom. It may even spark conversations about the past too. It will be funny to see how your mom remembers the one vivid thing in your mind.

HANDMADE LILLY PULITZER CALENDAR ENVELOPES
So, I have many old Lilly Pulitzer calendar planners![]() laying around, and they happen to be very colorful. I have been trying to figure out something to do with them because I hate to throw them away.
laying around, and they happen to be very colorful. I have been trying to figure out something to do with them because I hate to throw them away.
The pages are so beautiful!
So I decided to use one to make an envelope for a happy letter to Mom.

Start by taking apart an envelope you'd like to use as a template.
Be careful when taking it apart; you want it to keep its shape.
Then, turn your calendar planner paper over and trace around the envelope that you took apart. Last, use a double-sided adhesive roller![]() to glue the pieces together. Look at these lovely bright colors!
to glue the pieces together. Look at these lovely bright colors!

For this letter, write down some of your happiest memories. Use bright colored papers or card stock to write on and, to add even more excitement, fill it with confetti! If given in person, you can even tie it off with a pretty ribbon.
It may be a little messy when Mom opens it, but she will be so pleased that I doubt she will mind. It will be a Mother's Day gift she'll always treasure.
These beautiful handmade envelopes are also great for birthdays, Valentine's day, or any other holiday!
LETTER FOR MOM STATIONERY PRINTABLE
This write-in letter is perfect for any age. It's especially ideal for younger children or teens to fill out.
It is so much fun to read what my children write in these spaces, so I am pretty confident your mom will get a kick out of it, too! Make her special day a little more so.
To download the image click on the letter below.

More Shopping Ideas for Mom:
CONCLUSION
I hope you have as much fun as I do making your DIY May Day basket. Now that you have some May basket ideas on how to make hanging May Day baskets and writing old fashion letters for Mom, waste no time and start writing a letter and making your flower basket!
It will be a much-treasured Mother's day gift. I would love to see a picture of your May Day baskets and hear about any other crafts you enjoy.
If you liked this Mother's day post, go check out these popular Mother's day gift ideas:
- Mother's day gift guide
- Ideas for Mother's Day Brunch
- Flower printable DIY
- Birth Month Flower Candle Holder DIY
In fact, I have a whole entertain category where you will find loads of ideas for beautiful tablescapes and some yummy recipes too.
Happy May Day!
Happy Writing!

If you enjoyed these ideas, please sign up for emails, so you don’t miss out on more fun decorating tips and ideas HERE.
Great stationery ideas!
Adorable idea, love it!!
This would be a great Mother’s Day gift, thank you
Happy Mother’s Day to all the wonderful mothers out there!
Beautiful work
Thank you!
I love this idea. My mom passed away 4 years ago at Mothers Day and I miss her everyday, but I promised I would always try to celebrate the day remembering her and try not to be sad. This has given me many ideas to use as a springboard this year! One idea for sure is to write letters to my two grown daughters about what it has meant to be their mother. Thank you for sharing such a special post. Blessings.
You’re welcome Paula! I lost my mom in the month of May also so Mother’s day is a challenge for me too. I am so glad this gives you something to look forward to this holiday.
I used to have a lot of letter writing materials. Maybe it’s time to rekindle this waning art form. Thanks for drawing attention to the beautiful stationary supplies we can use / enhance.
You’re welcome! It is so much fun to write letters the old fashion way. And its even more wonderful to get one in the mail.
Creative and crafty and sweet idea!
Thank you!
This is a lovely idea! My mom is 83 and I shall write her a very special letter!
She will love that so much! I am glad you got inspiration from this post.
What a beautiful idea! I love your Lily Pulitzer envelopes. Very clever. I’d love to get one of these letters from my kids!
I hope you do get a letter for Mother’s day! Thank you for your sweet comment.
Linda, great ideas. I especially love making the envelopes from calendar paper ~ I love Lily Pulitzer patterns and colors. My mom passed away when my kids were very young so I send my daughters cards.