
Do you have the perfect spot for a flower bed in your yard, but you’re so intimidated by the planning that you aren't sure where to start? My daughter, Savanna, was recently faced with this dilemma. She wanted whimsical flowering plants but didn't know where to begin or how to plant them.
Between a little help from me and her “Papa,” we helped her design an easy, whimsical flower bed, shop for the best perennials for Georgia, and survive the struggle of preparing the ground.
I’m an interior designer by trade, so I look at a yard the same way I look at a room—it’s all about layers, scale, and movement. Come along with us as we head to Atlanta to transform two flower beds from solid clay and weeds to a whimsical retreat.
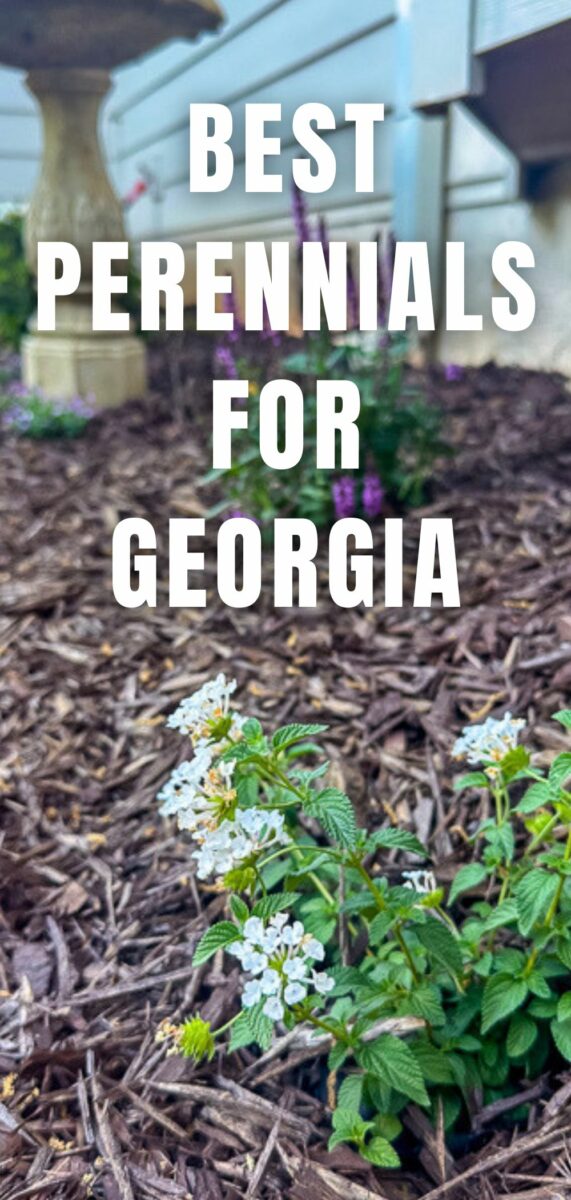
Best Perennials for Georgia (Full Sun Zone 8a)
Before we started a design plan or anything, Savanna sent me pictures of flower beds she liked on Pinterest. I could tell she wanted whimsical plants and lots of color. So we decided on perennials. Here is a list of the best perennials for Georgia that like full sun.
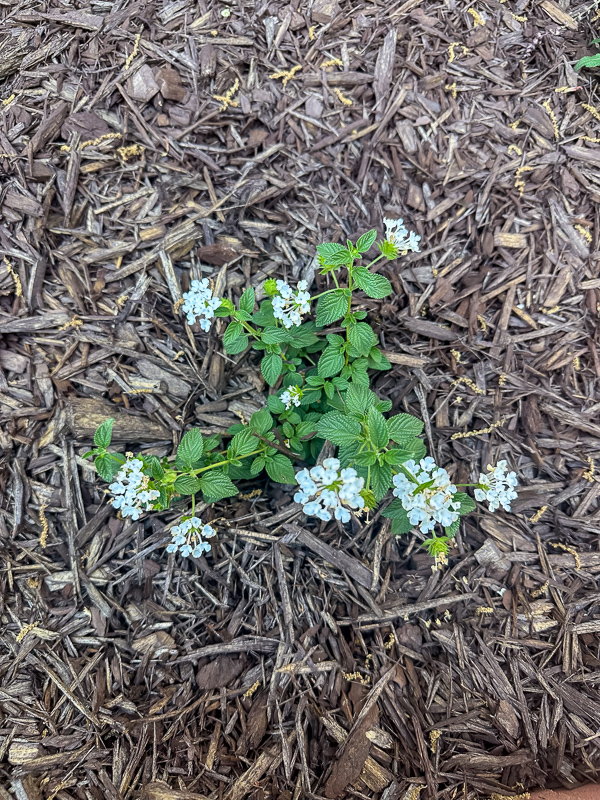
- Lantana
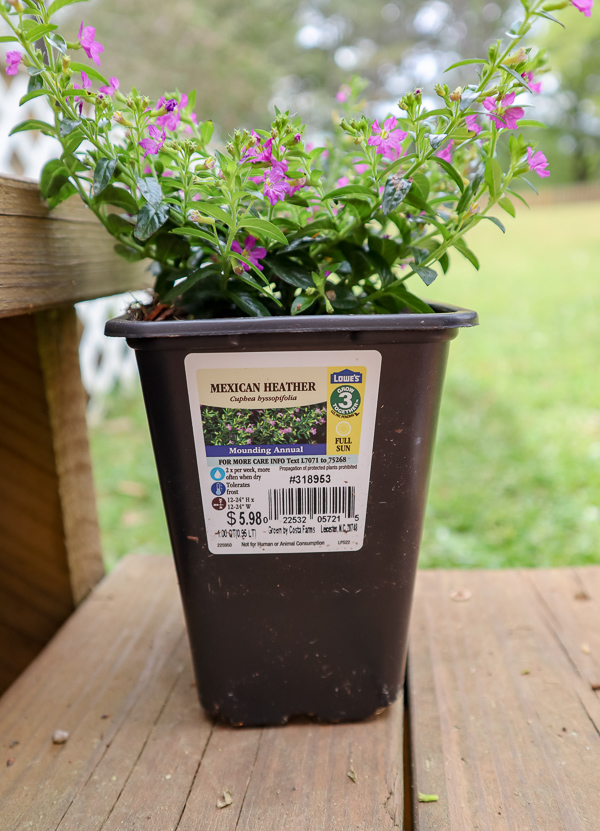
- Mexican heather
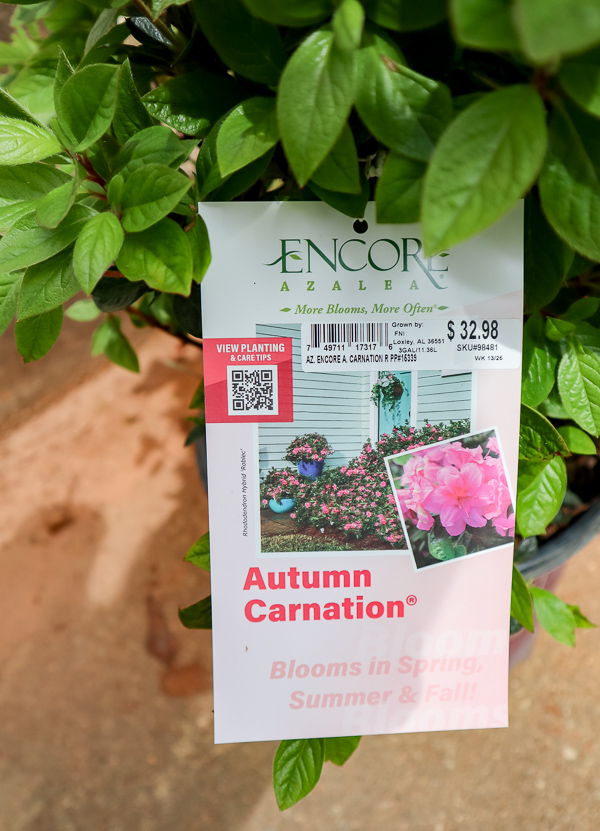
- Azaleas
- Black-eyed Susan
- Coneflower
- Coreopsis
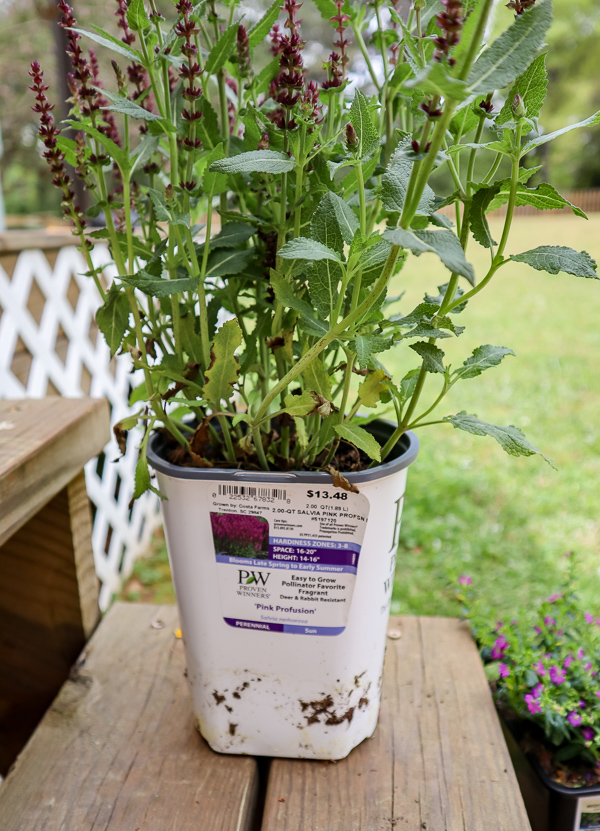
- Salvia
- Blanket flower
- Yarrow
- Catmint
- Liatris
- Gaura
- Goldenrod
- Joe Pye weed
- Amsonia
- Shasta daisy
- Veronica
- Daylily
- Penstemon
After doing research on the best perennials for Georgia, this is our full list. I can honestly say we have experience with many of these, but I had never heard of some, like Guara and Liatris.
Now that I have a list of plants its time to plan the flower bed. I will first determine shape and size, not necessarily which plants I will use.
The Designer’s Plan: Using a 1:1 Grid
As a designer, I always start with a plan. You don't have to be a landscape pro to do this! I laid out the design on a one-to-one foot grid using Canva. (One square equals one foot) Here is a link to the actual Canva template I used.
This technique also works great on regular grid paper and using a pencil. Watch my video here on YouTube to see the full process of planning and planting Savanna and Jesse's flower bed.
- The Pro Tip: Mapping it out on paper first ensures you don't overbuy or underbuy at the store. It saves you time and extra trips to Lowe's!
Designing a Whimsical Layout
To keep the bed looking “whimsical,” we followed three design rules:
- No Straight Lines: We avoided rigid rows to create a natural flow.
- Asymmetrical Balance: We staggered the heights so the eye moves through the bed.
- Rhythm: We alternated colors using the same plant varieties to create harmony.
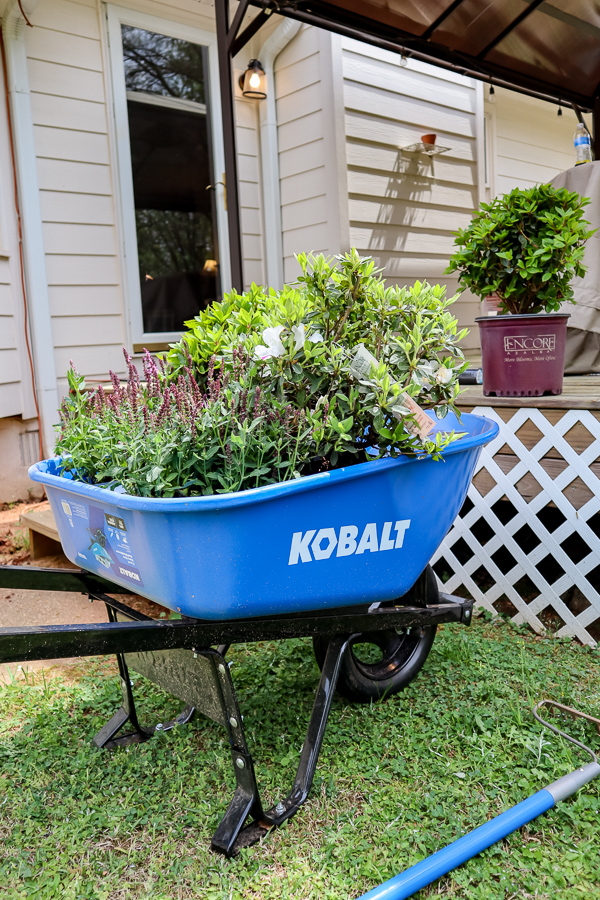
Shopping for the Best Perennials for Georgia
Next to Lowe's to pick out plants. We wanted a “Whimsical” look, which means everything should feel like it's in motion. My daughter wanted flowers throughout the year, so we looked for “tough-as-nails” plants that thrive in full sun and heat.
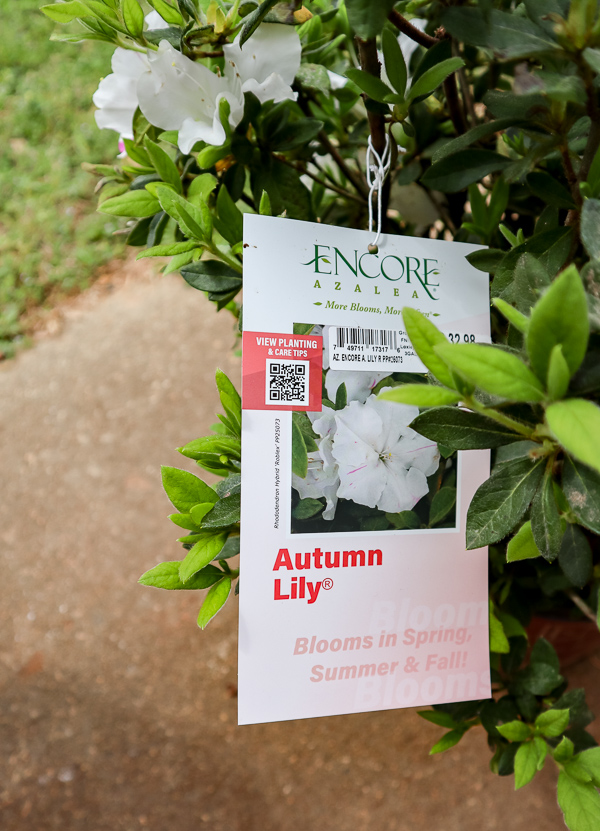
- Azaleas: Our structural “anchor” plants.
- Salvia: These provide height and airy texture.
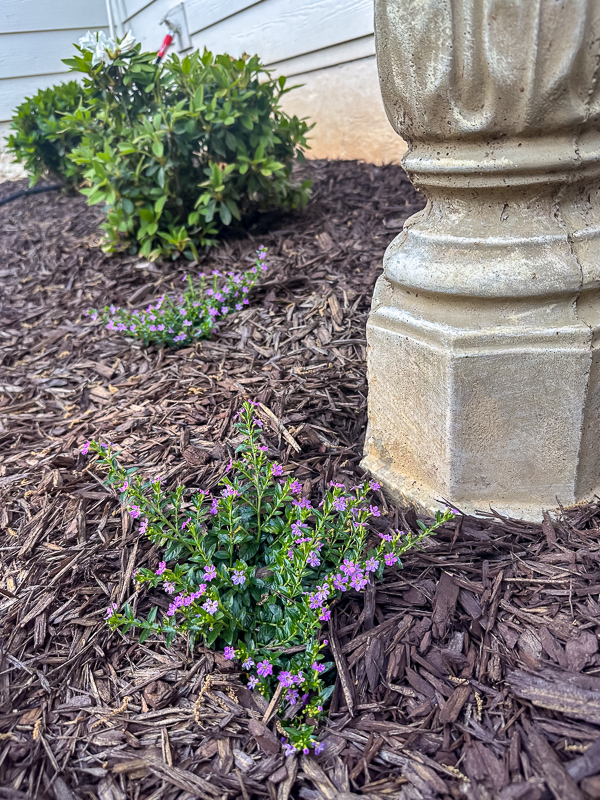
- Lantana: Lower and a perfect pop of color that loves the sun.
- Mexican Heather: Easy, low-flowering plant
To make this even easier, I saved the full shopping list for Savanna and Jesse's flower beds on Lowe's website. Simply click the whimsical flower bed to shop.
How to Plant a Flower Bed in Red Clay (Step by Step)
Amending Georgia Red Clay for Planting
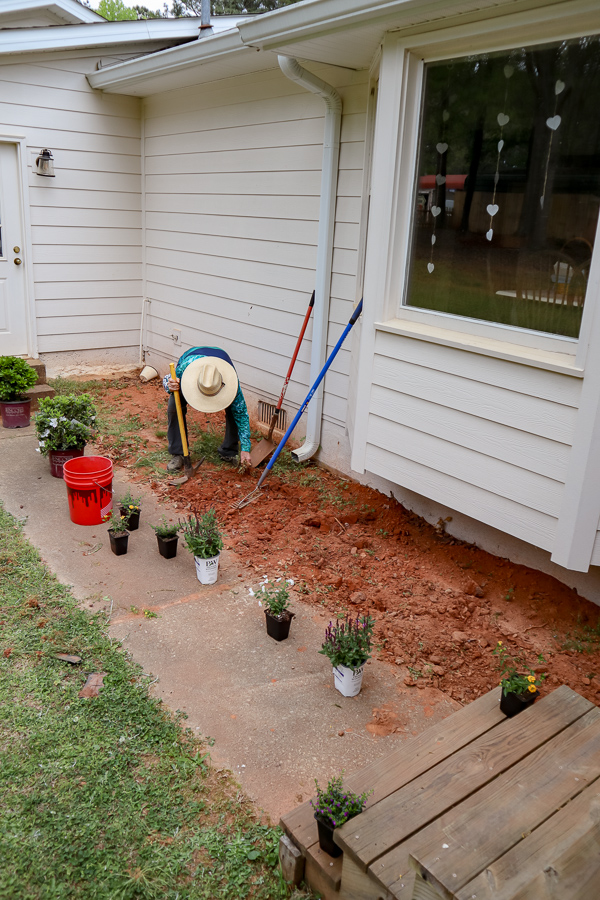
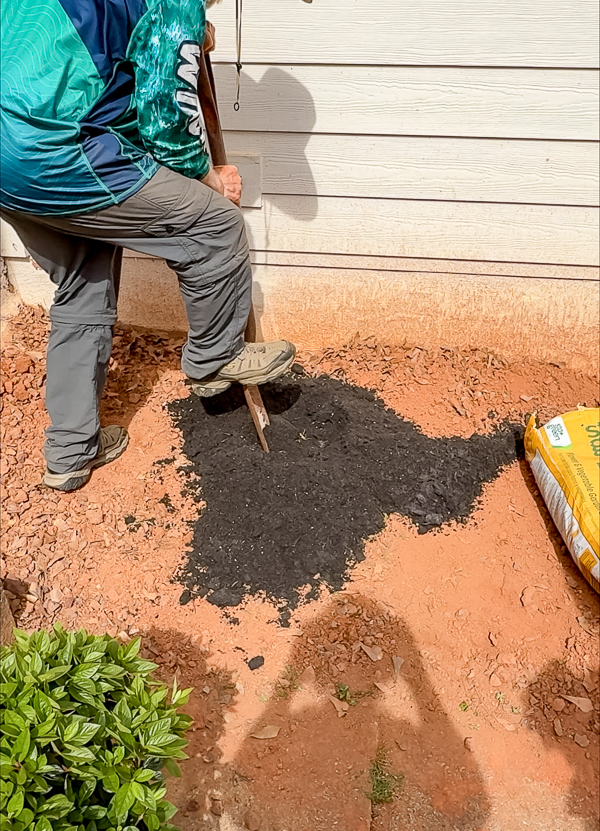
Now back at home Savanna's flower bed needed some tender loving care. Because the bed was hard Georgia clay, we had some work to do to prepare the soil.
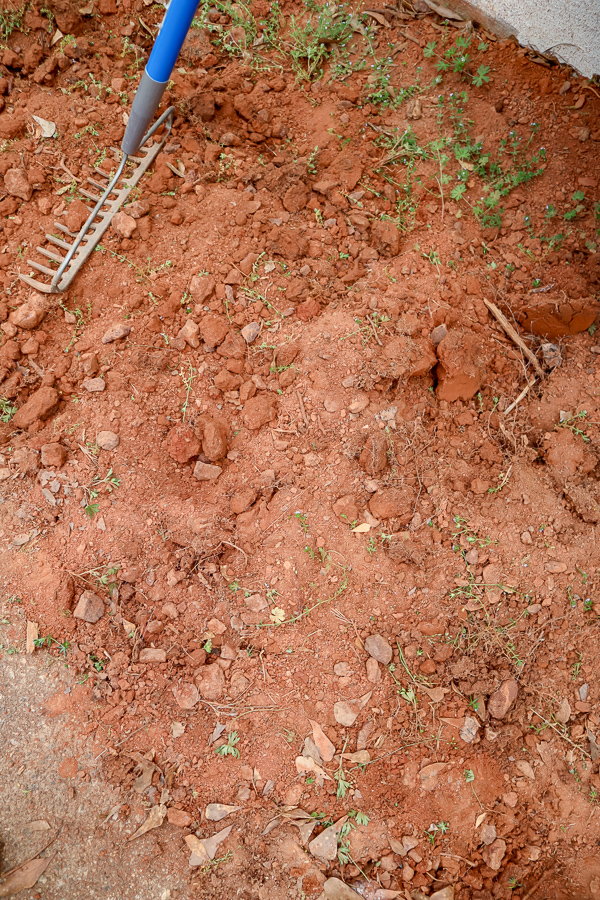
While softening the ground, we weeded, too.
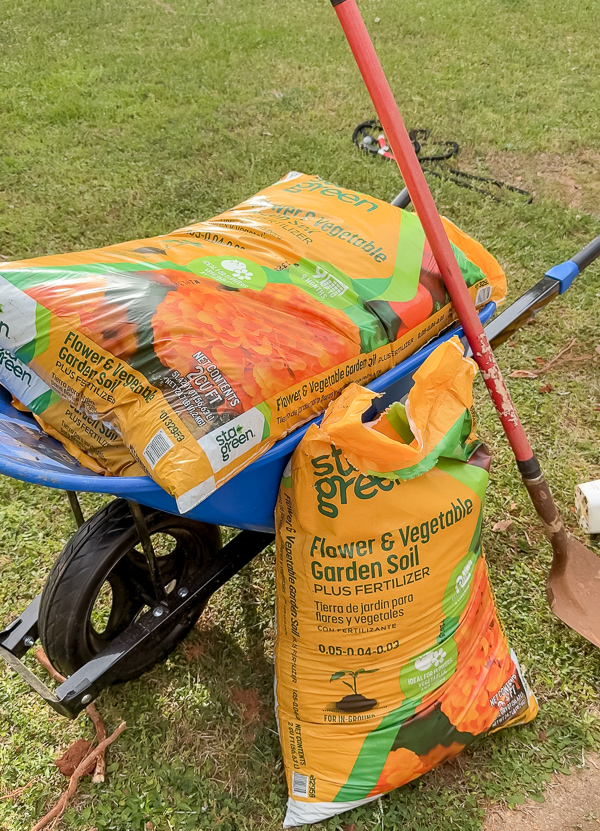
You can see where Marty has weeded and broken up the clay, but you need more, and that is where topsoil with fertilizer comes in.
We will talk more about adding topsoil fertilizer soon, but next, let's lay out the plants to determine where they will go.
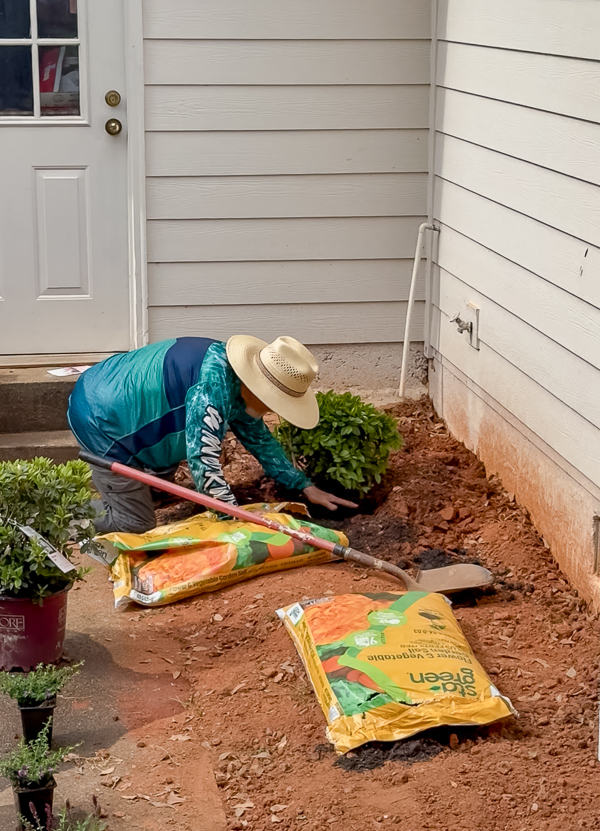
Layout Plants
We placed the pots exactly where they needed to go. Since our Azaleas have a 4-foot spread, we measured 4 feet between them to ensure they had room to grow. And repeated the process with salvia, lantana, and heather. (Look at the tag on the plant for size details)
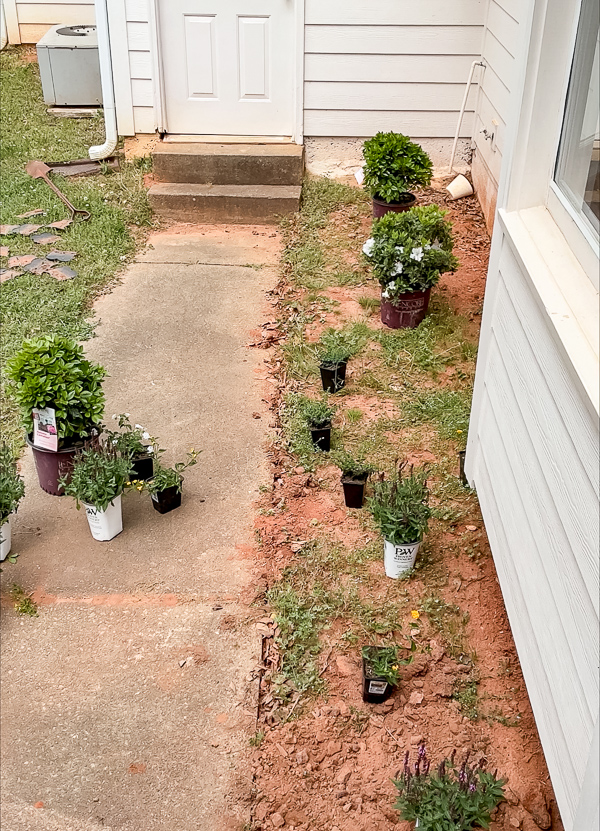
Pro tip: Refer back to your floor plan as a guide, but when placing the plants, know that you can adjust them by eye on site. It is better to lay out plants after you prepare the soil, but I got a little excited and laid them out ahead of time.
Plant One Plant at a Time
Now it is time to plant one plant at a time:
Dig the Hole: Dig a hole slightly deeper and wider than the nursery pot. Since we are working with Georgia red clay, this extra space is vital for new root growth and topsoil.
Amend the Soil: Drop a scoop of fertilized topsoil into the bottom of the hole to give the roots a nutrient-rich “welcome mat.”
Prep the Plant: Remove the plant from its pot and gently tease the roots. If they are root-bound (circling the pot), breaking them up slightly helps them spread into the new soil.
Set and Fill: Place the plant in the hole and fill the remaining space with your topsoil mix.
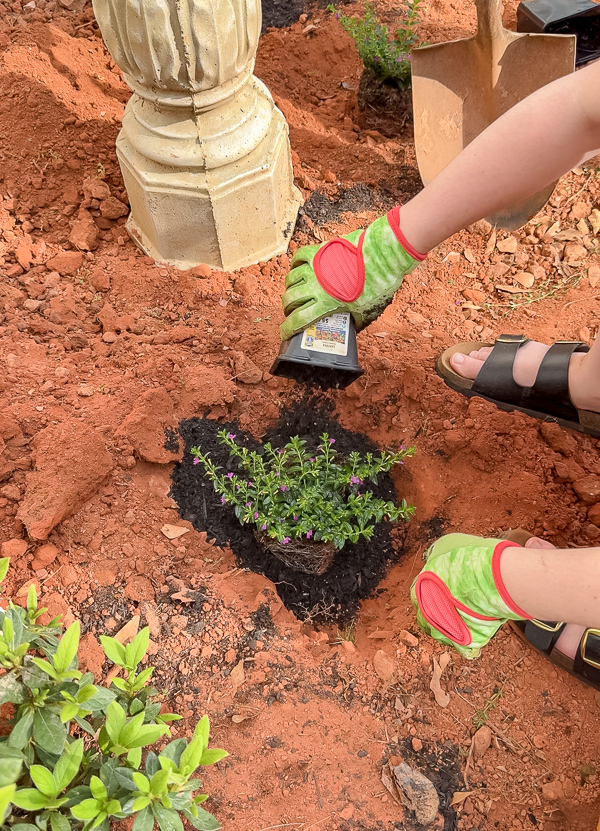
Pack it In: Use your hands to firmly pack the dirt around the base. This removes air pockets and ensures the plant is secure.
Repeat this for each plant until your layout is complete!
Level the Surface
Use a garden rake to smooth out the amended soil around the plants and across the entire bed. This creates a level canvas for your landscape fabric and ensures water distributes evenly rather than pooling in the heavy clay.
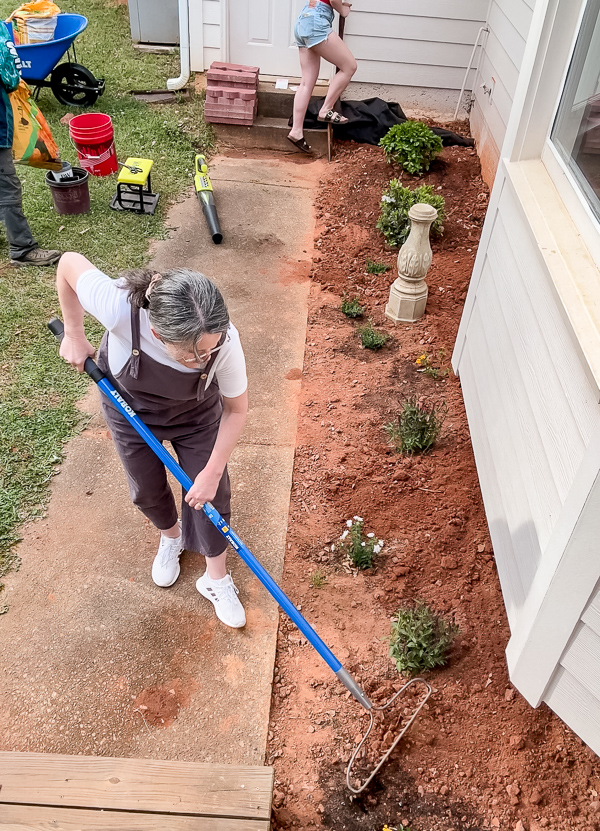
Add Border Edging
This step is optional, but Savanna wanted the pretty scalloped brick edging. Again, since we were dealing with good old hard Georgia clay, Marty used the pickax to make a trench, and then Savanna added one brick at a time.
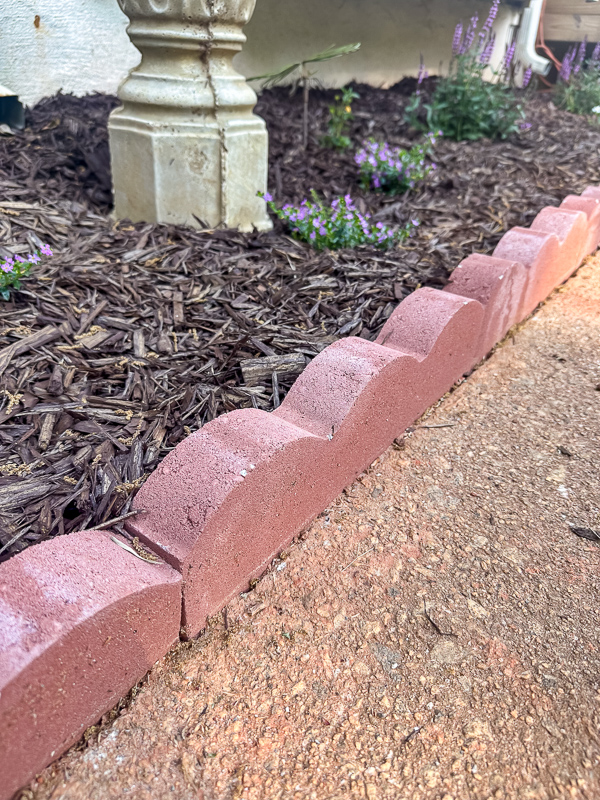
The edging really polished her flower bed.
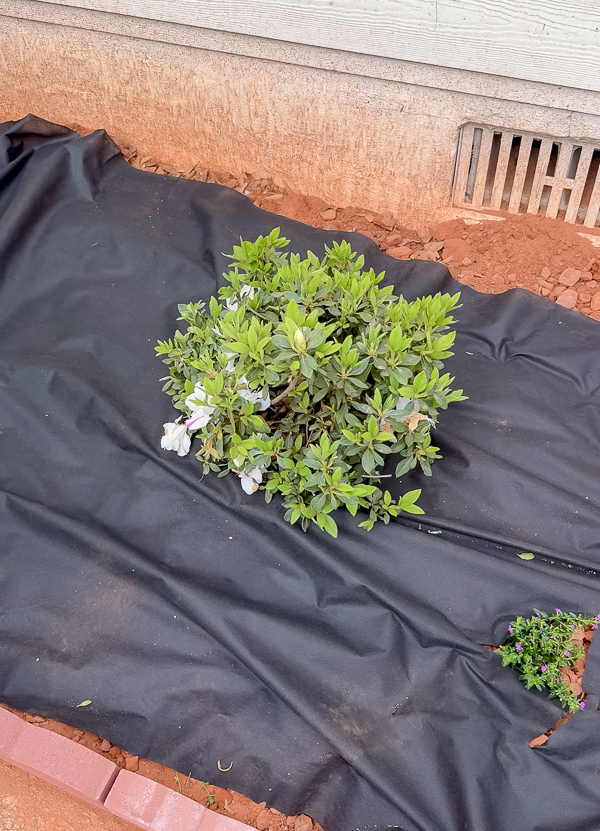
The “Plant-First” Landscape Fabric Installation Secret
Most people lay landscape fabric first and then struggle to cut holes for the plants. We do the opposite.
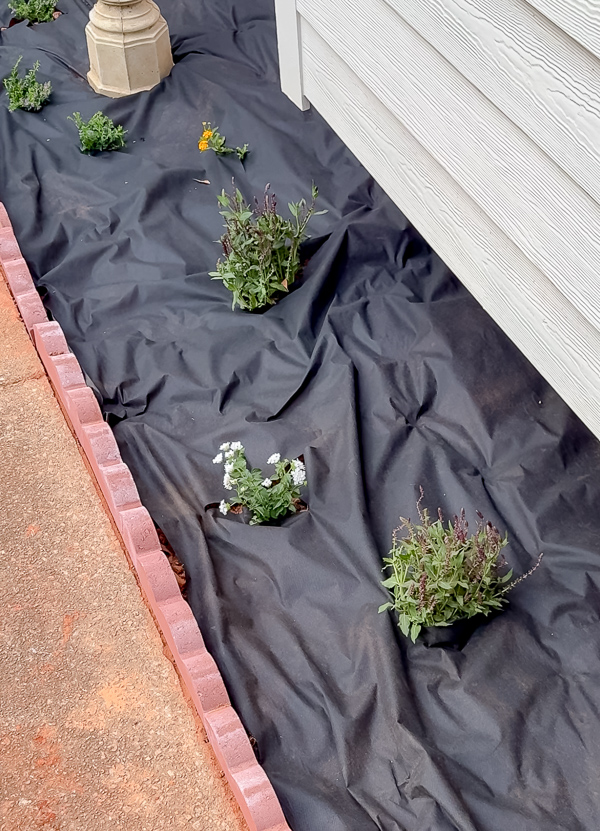
Once the plants were in the ground, we smoothed out the dirt in the flower bed. We laid the landscape fabric over the bed and cut slits, in a cross shape, to slide it around the base of the plants. It is so much easier than trying to line up holes beforehand!
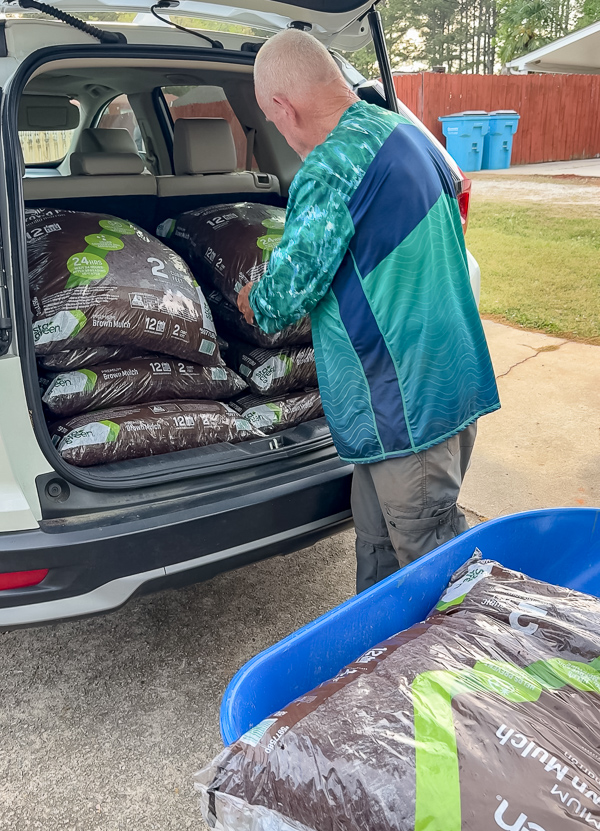
Mulching for a Low Maintenance Flower Bed
This is the fun part, and it's so easy. You simply start on one side and add a nice thick layer of mulch. Keep adding mulch until you reach the other end.
The Final Result: Before and After
We finished the look by adding a birdbath as a focal point and adding a thick layer of mulch.
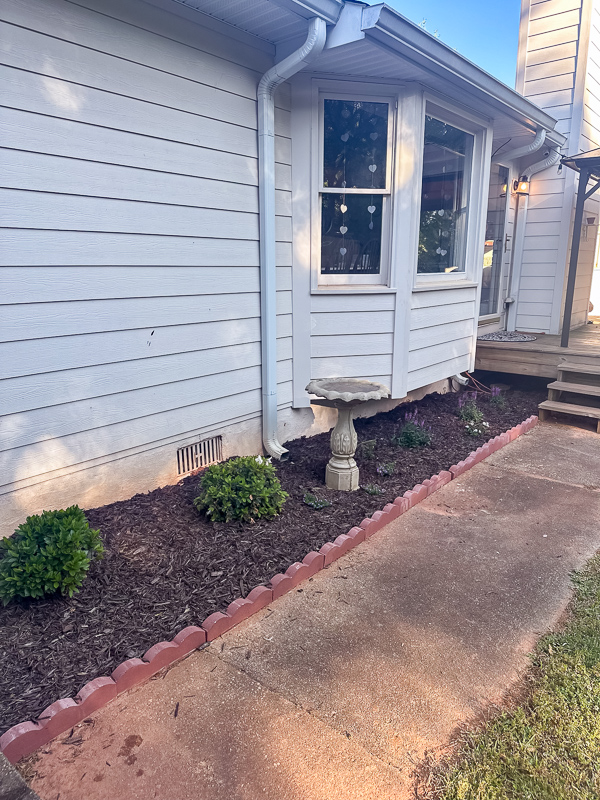
Even though we had to fight the Georgia red clay, the result is a low-maintenance, whimsical garden that brings so much curb appeal to the house.
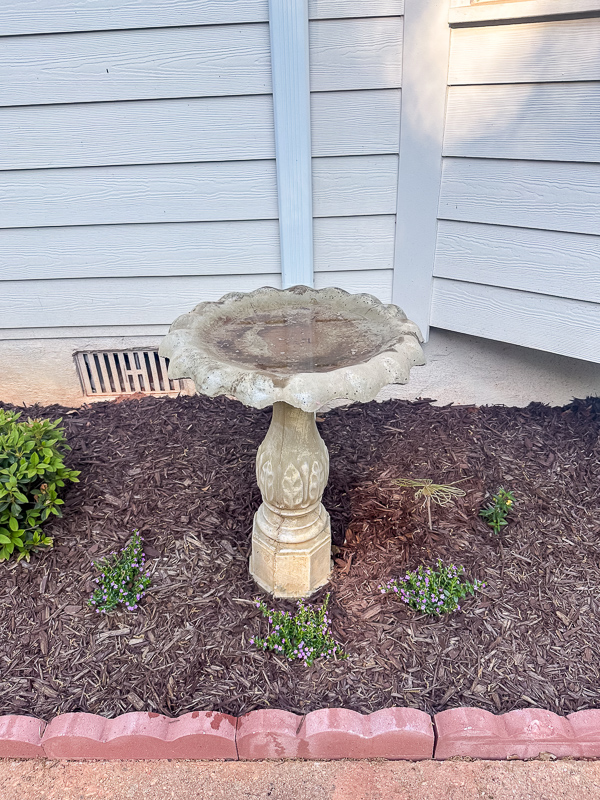
I love the look of a new, freshly made flower bed, but wait until it has grown to its full potential. It will be full and lush, with lots of color. See how the bird bath created an anchor for the space?
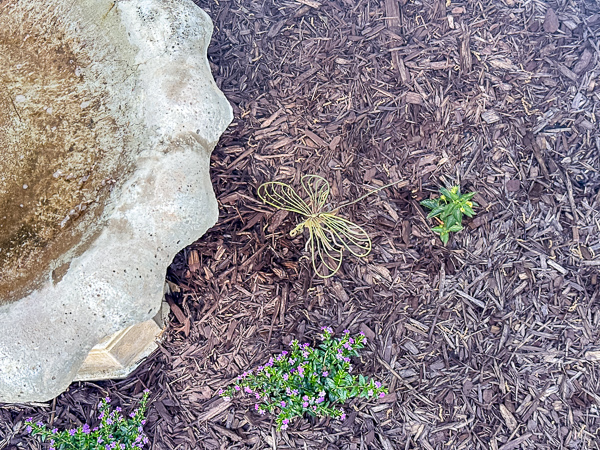
I also love this cute dragonfly my daughter added later.
Designer's Note: Whether you are working on your interiors or your landscaping, remember that a little planning and the right “anchors” make all the difference!
Also, take advantage of Lowe's SpringFest each year. It runs for a couple of weeks beginning in March each year. It is a fantastic time to buy mulch and topsoil and shop for sale plants to save money. We also did our flower beds in Florida and the porch linked below.
Looking for more outdoor projects? Try these gardening DIYs.
Happy Decorating!
