
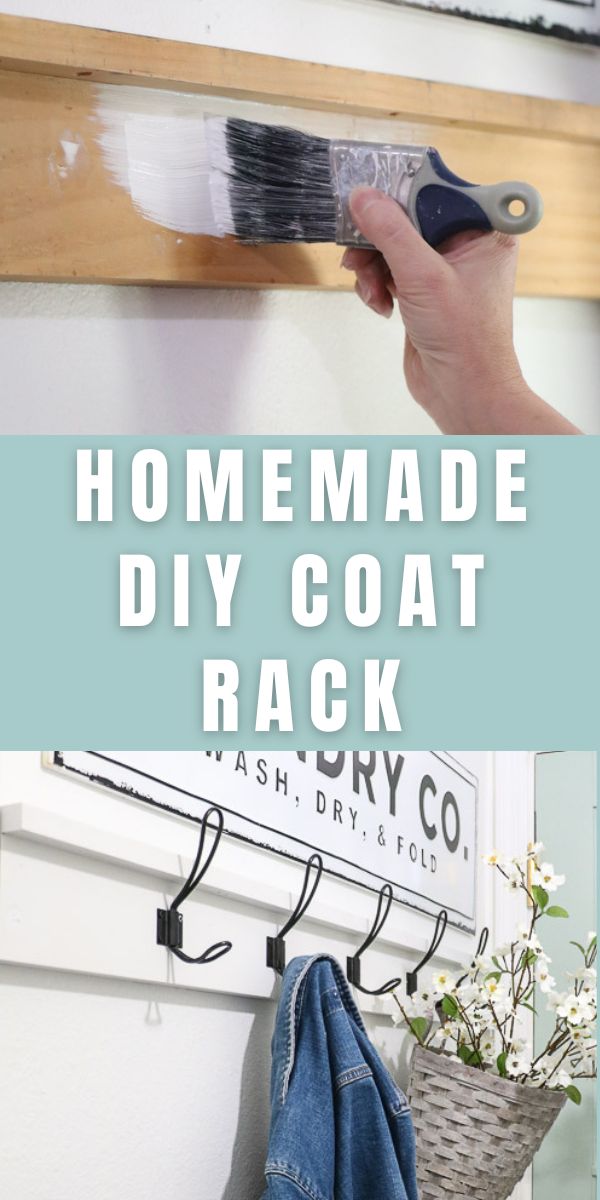
Here you will learn how to make a coat rack for wall with this easy DIY coat rack tutorial. This reclaimed wood coat rack will add character, style, and storage to any room in your home.
This is the best DIY coat rack I have created. It can be made as short or long as you need. And I love that the cost is low but the style is high.
So, let's waste no more time and jump into how to make a coat rack with reclaimed wood.
DIY Coat Rack
You will need a few things to create this reclaimed wood coat rack. Gather these items to build a coat rack.
- 1″ x 2″ wood (reclaimed if available)
- 1″ x 4″ wood (reclaimed if available)
- Level
- Nail gun or finishing nails and hammer
- Saw
- Measuring tape
- Pencil and paper
- Stud finder
- Paint and paintbrush
- Painters putty and caulk
- Painters tape (optional)
- Sandpaper
- Hooks
- Drill with a drill bit and screwdriver attachment
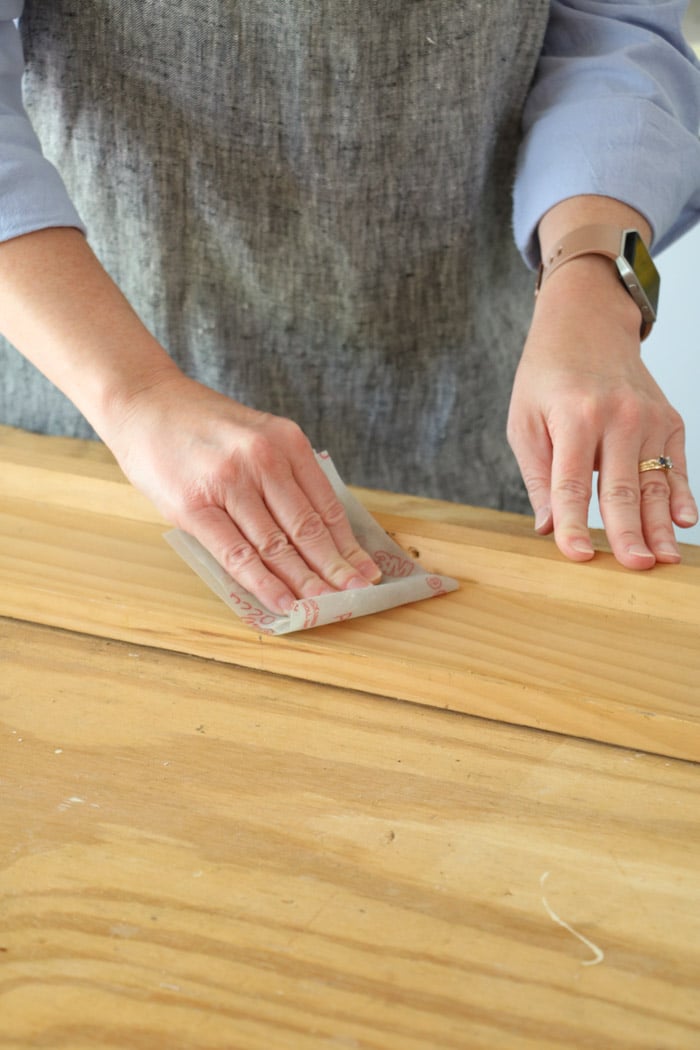
Sanding
Before you get started measuring and such give the boards a good sanding to get a smooth surface. Do this step outside to keep down clean up inside after you are finished.
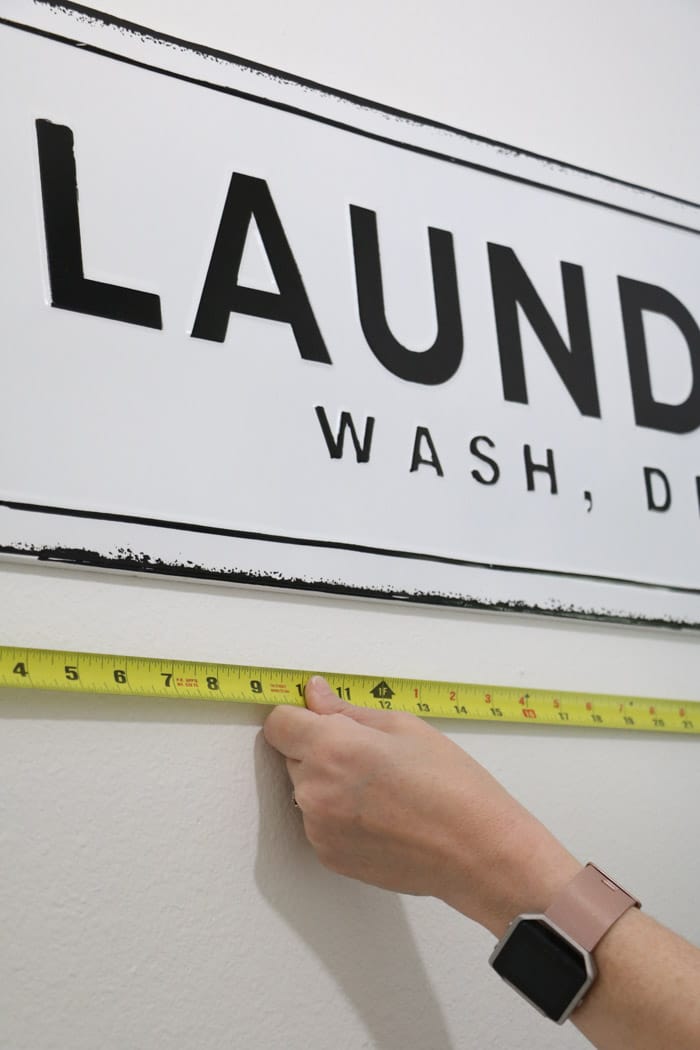
Measure the Wall
Begin by measuring the wall where you want the wall mounted coat rack to go. Write down your measurements
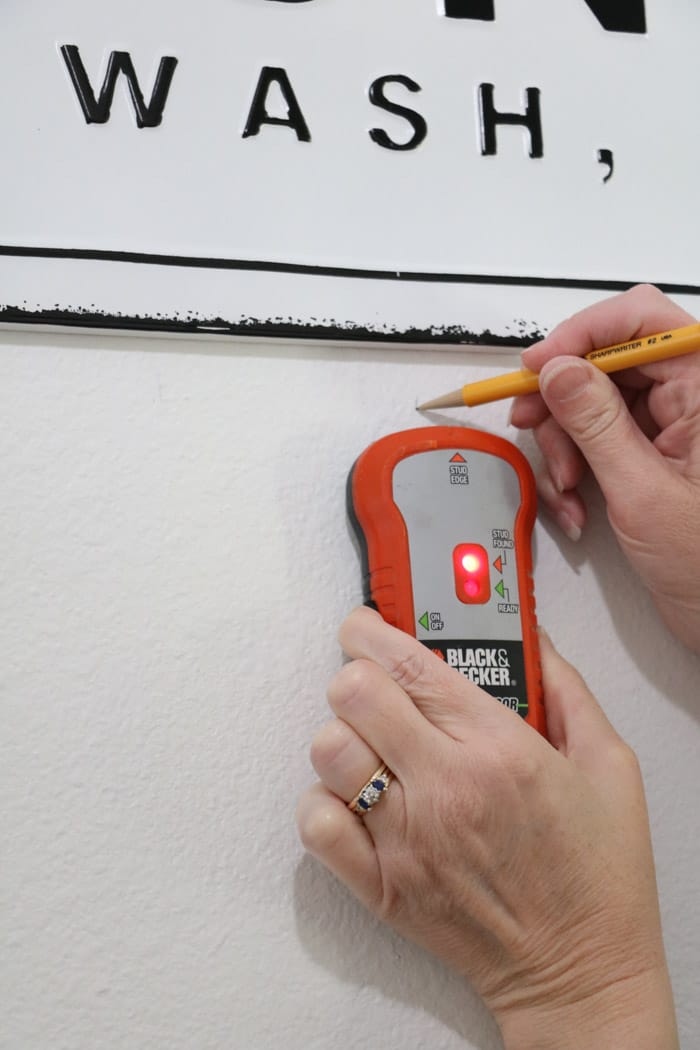
Find Studs
Next use the stud finder to locate all the studs in the wall. Mark where each stud is located above where the rack will be nailed into the wall.
You will need to know where the studs are for when you nail the board to the wall. This will make the coat rack more secure knowing the nails go into wood.
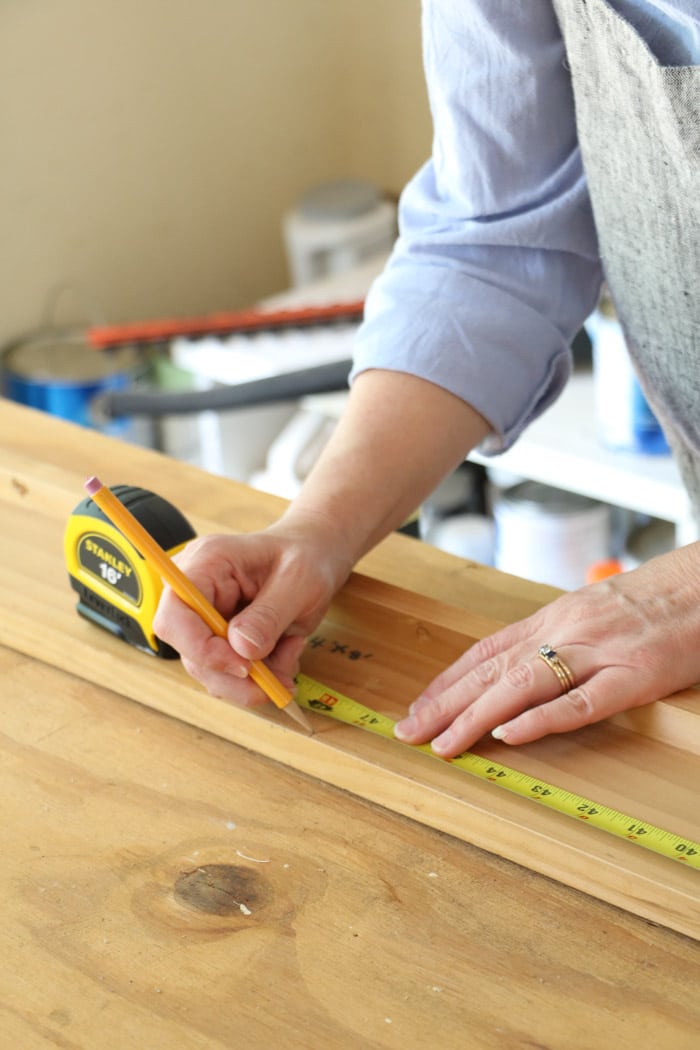
Cut the Boards
Now measure and mark where you will cut each board.
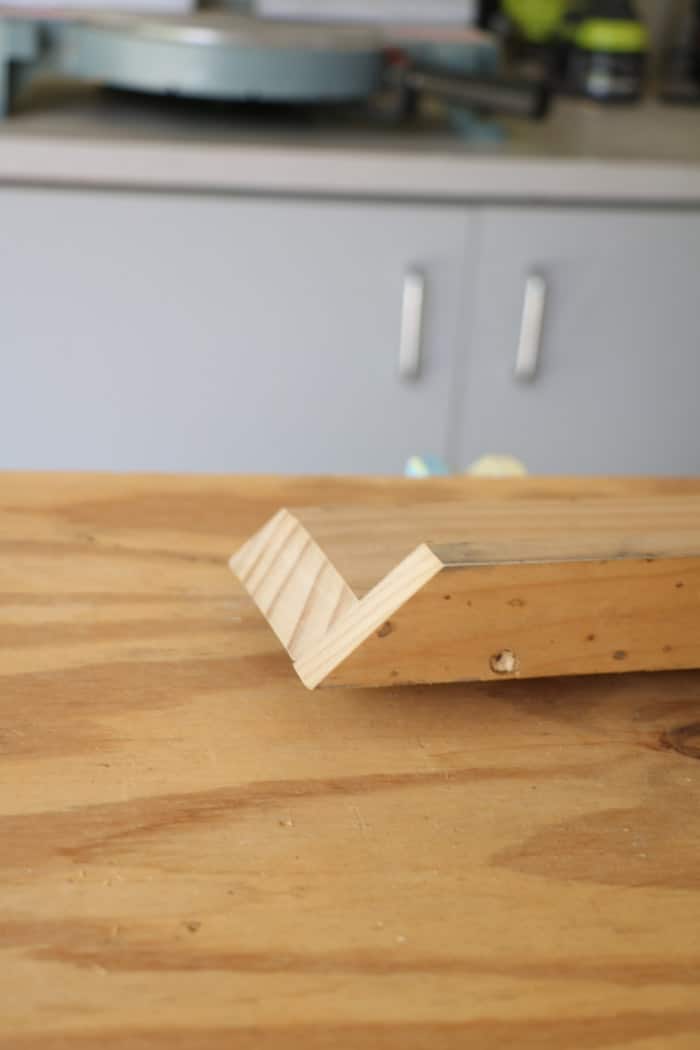
My reclaimed wood already has the two pieces together. If you have two separate boards then I would recommend using some wood glue and gluing them together and then nailing some nails in the top.
Once your pieces are together and marked go ahead and cut them to fit the wall.
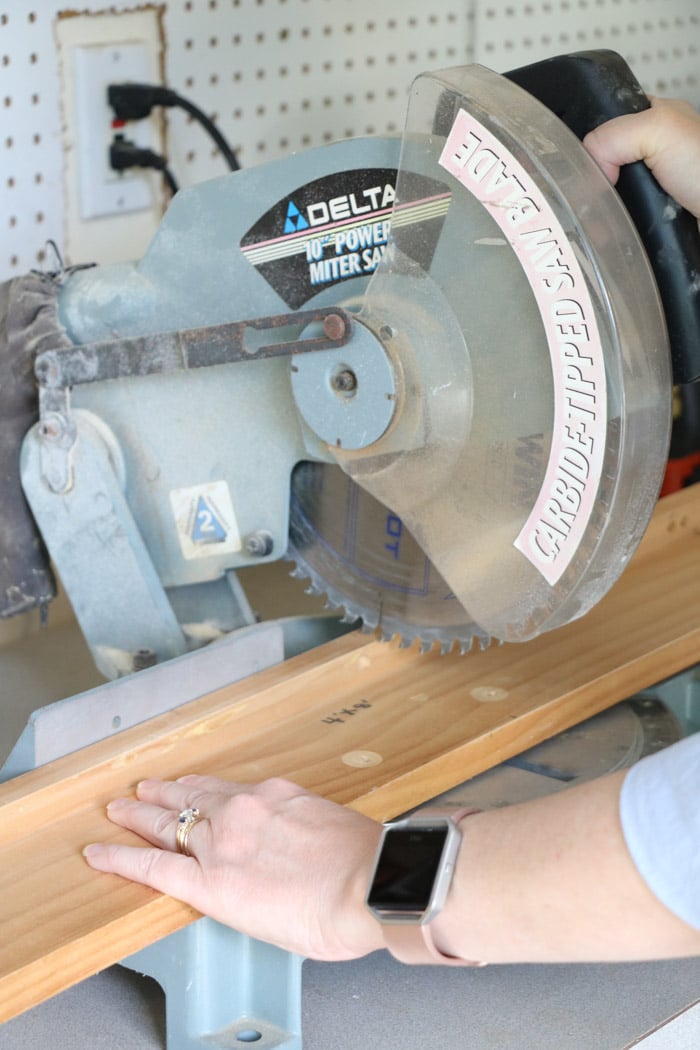
My wall has doors at the corners so I decided to miter the edge so it fit into the corner where the door trim is located.
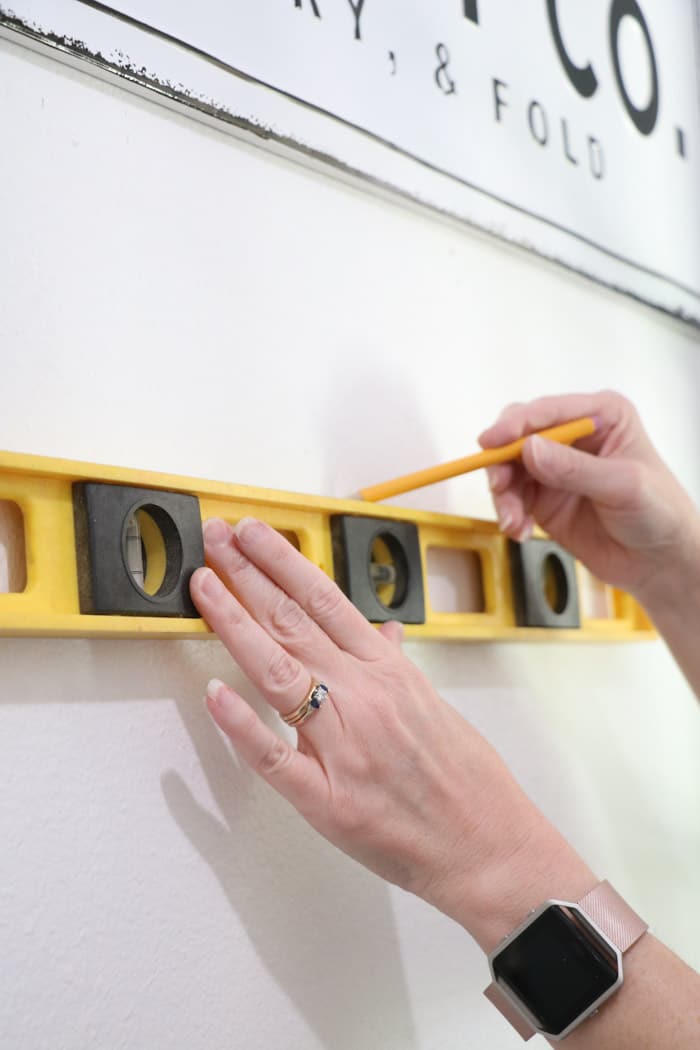
Level Each Board
Next use your level and draw a long line with a pencil where you want the bottom of the board to sit. I like to draw the line on the bottom because I am short and that way I can see the line when I place the board on the wall.
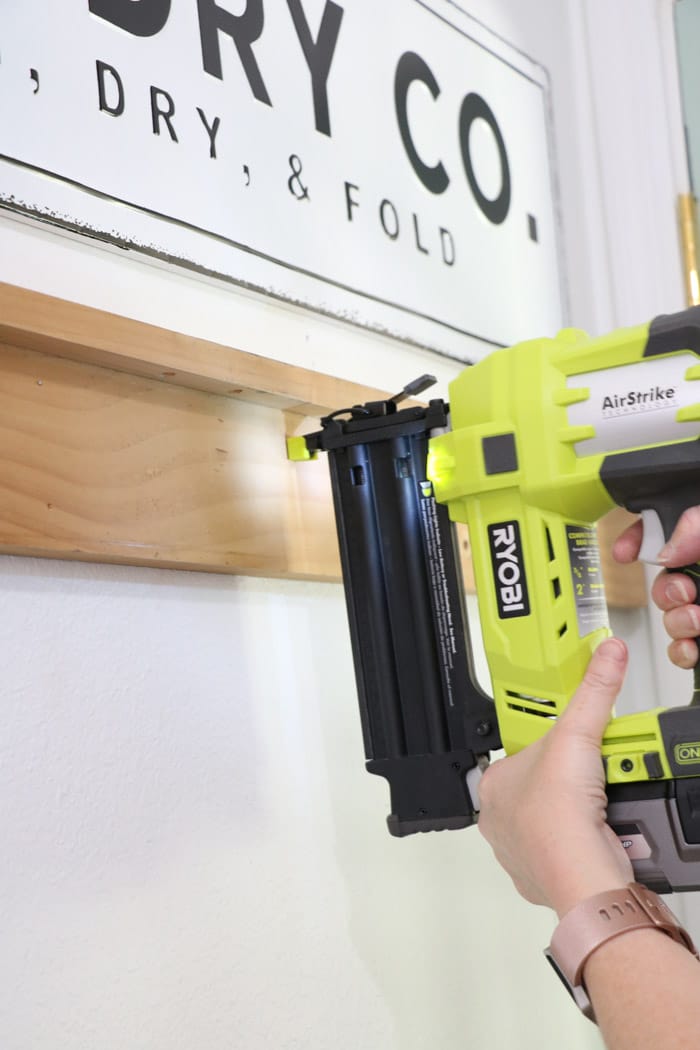
Nail Board into Wall
We are so close to being finished. Now place the board on the wall and make sure it is nice and straight with the pencil line that you drew from the level.
Start nailing finishing nails through the board and into the studs. Remember me saying to draw the stud lines above where the board will be placed. Now you can see the lines which makes it easy to nail in the nails.
This part reminds me of when we did the DIY farmhouse style wainscot or better known as board and baton in the kitchen.
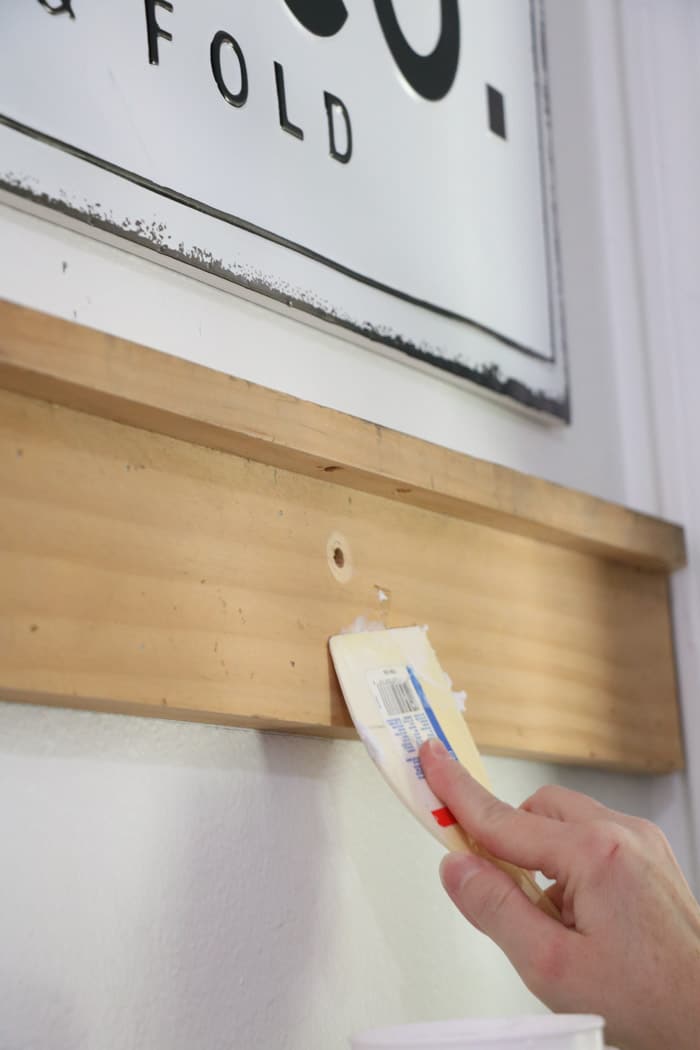
Painters Putty or spackle
Grab some painters putty or spackle and fill in the holes from the finishing nails and anything else you want to hide.
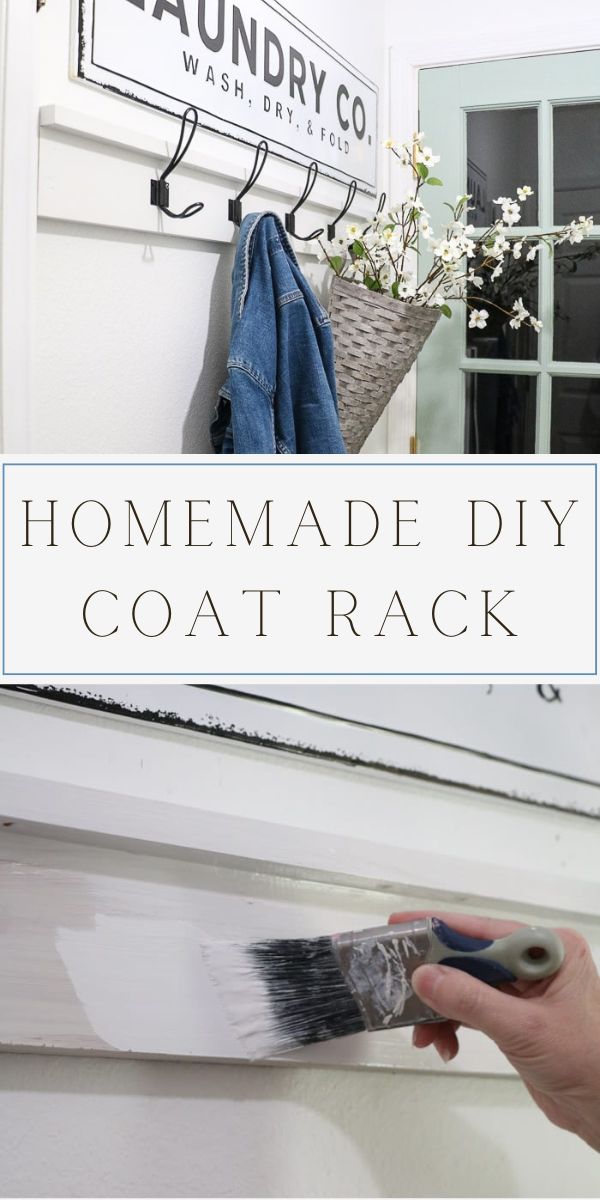
Paint
Now it is time to paint. If you have raw wood paint it with Kilz 2 or a good bonding primer. This will act as a barrier so when you paint on the top you will have a nice pure finish.
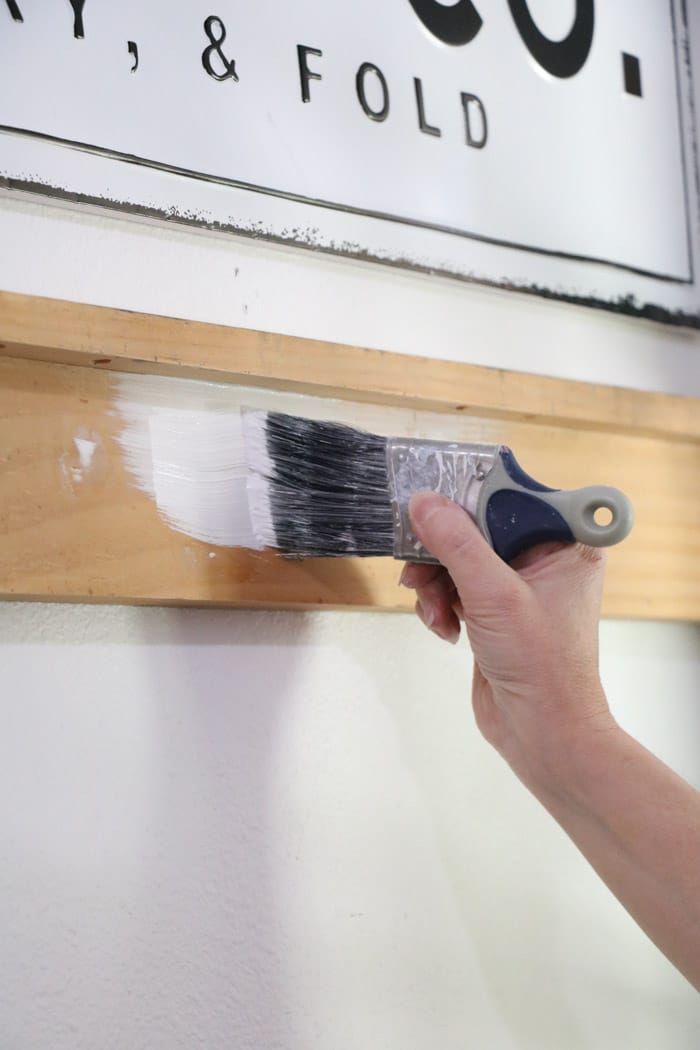
After the primer has dried follow with your first coat of paint. Depending on the color you may need multiple coats. I needed two coats of white paint.
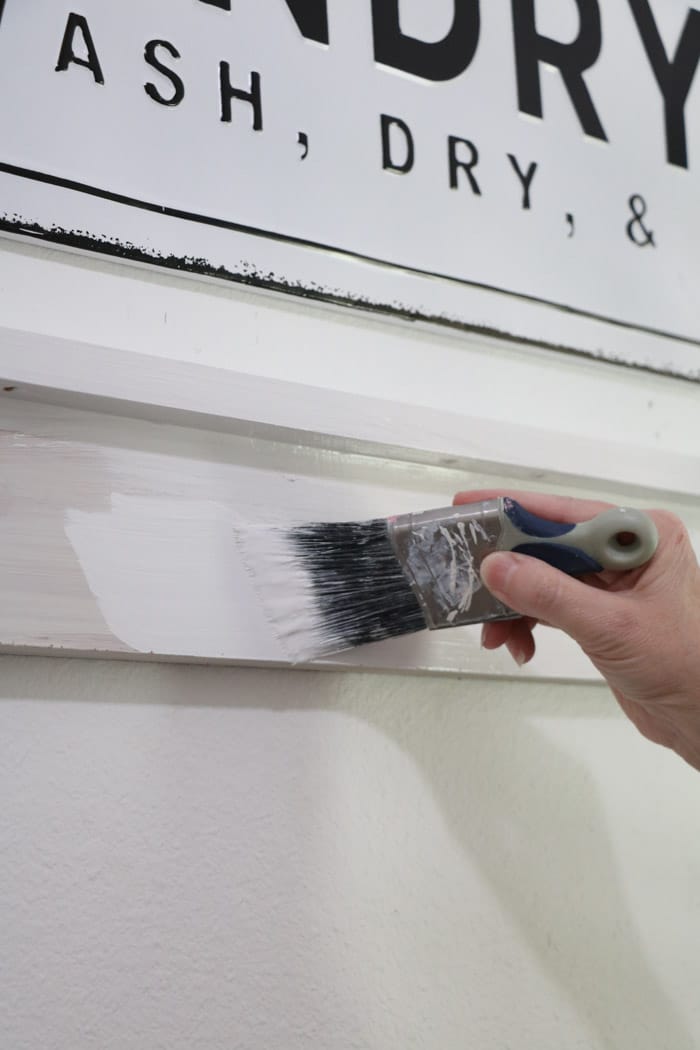
I am painting my board the same color as my wall but if your board is a different color let me recommend you paint it outside before you begin or us painters tape.
Also, if you plan to do any distressing check out my bookcase makeover for tips on how to distress wood. Again I would recommend doing this part in the beginning and outside.
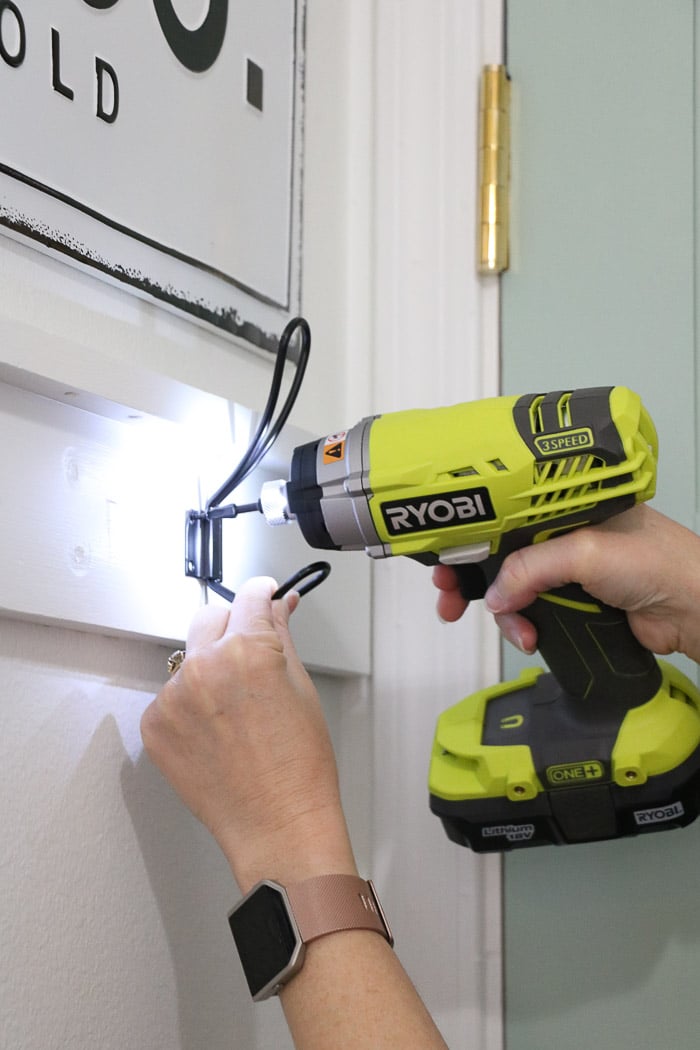
Hooks
This is the fun part! You want your hooks about 6 inches apart or 7 1/2″ in my case. Measure the wall again to get a more accurate figure for how far apart each hook will be placed.
Place the first hook on the wall and mark the holes. Then drill a hole or hammer a nail into the wood to make a pilot hole where the marks are located and screw in the first hook.
Doesn't it look pretty!
Now all you have to do is screw in all the other hooks. A easy trick is to cut a piece of cardboard or something to place under the hook so that you don't have to measure out how high each hook needs to be position from the bottom of the board.
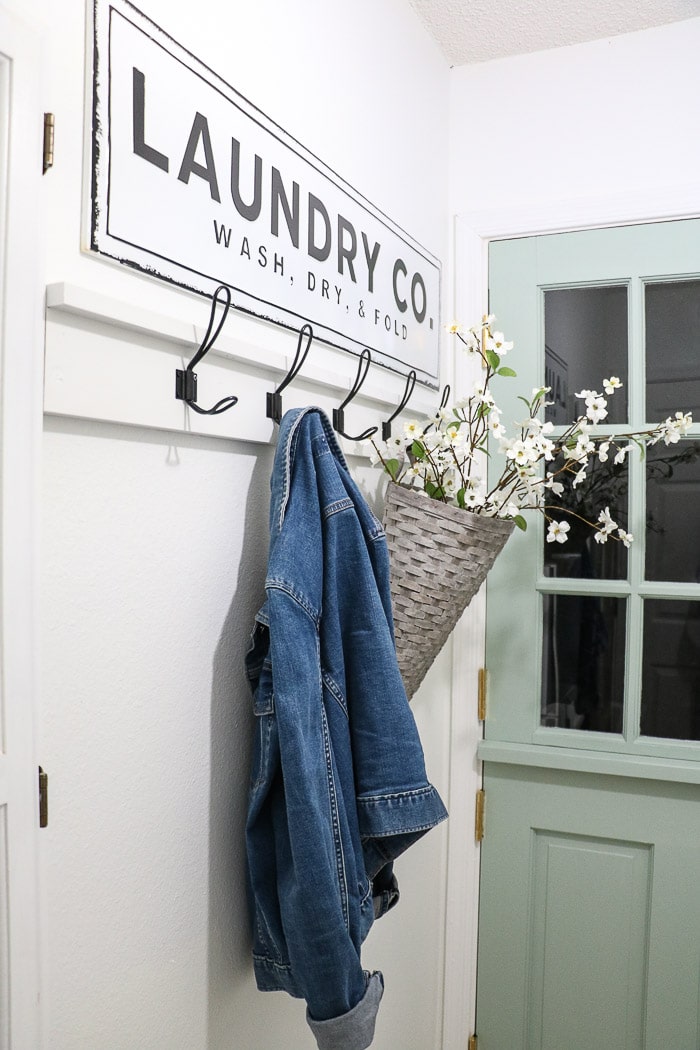
Reclaimed Wood Coat Rack
And now you have your very own custom coat rack. See how easy it is to build a coat rack.

Conclusion
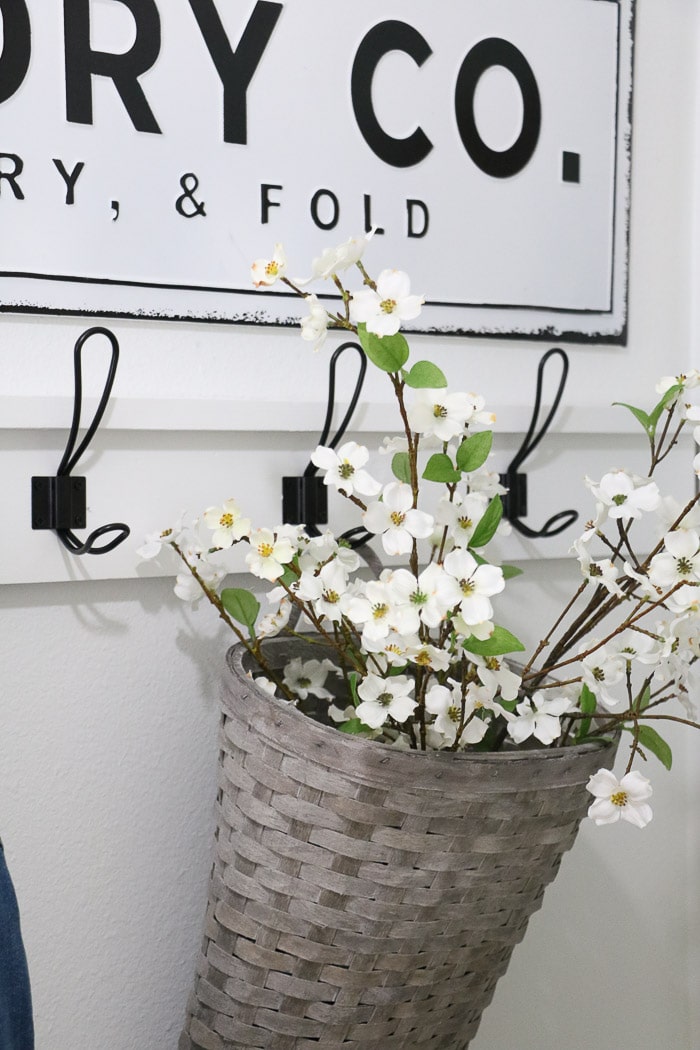
I hope you have enjoyed this DIY coat rack project. Here are few ideas on things you can put on the coat rack if you are using it for decoration.
Consider a hanging basket and fill it with seasonal flowers or you can hang hats, scarves, dried flowers and so much more. It also looks cute to add a bench under the coat rack. If you need more inspiration check out my mudroom laundry room round-up post.
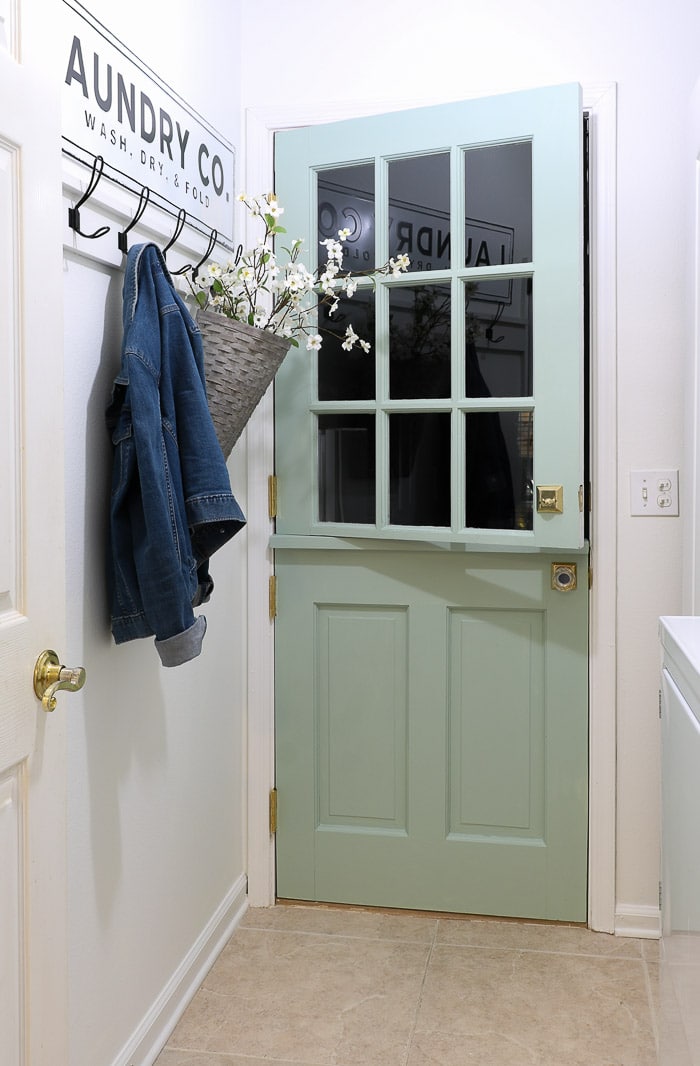
In our house we need our coat rack to be functional so it will hold coats in the winter and beach towels in the summer. And on the other side of my built-in ironing board is an old ironing board that now has a place to hang.
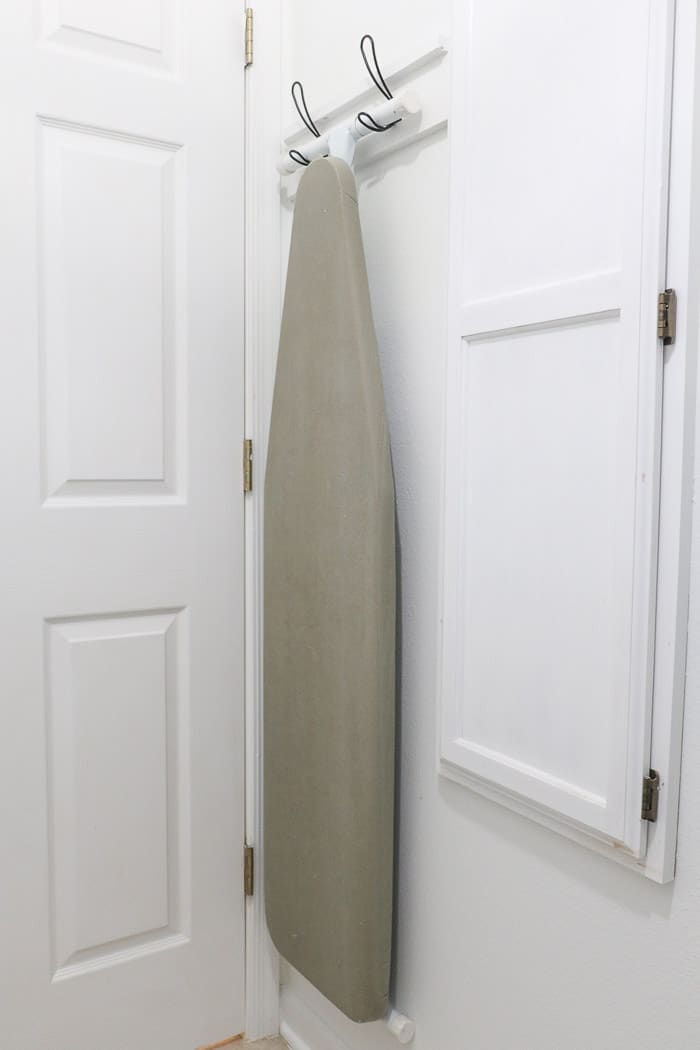
I am so glad to finally get this old ironing board off the floor.
Thank you for visiting Life on Summerhill and I cannot wait to hear how your coat rack turned out.
Happy Decorating!

If you enjoyed these ideas, please sign up for emails, so you don’t miss out on more fun decorating tips and ideas HERE.
Where did you get the hooks for the coat rack?
Thanks, Michele
Hi Michelle! I bought the hook on Amazon. Here is the link. If you have any questions please let me know. https://amzn.to/30aCRiG
Where did you get the “Laundry” sign?
I got the laundry sign at Kirkland’s several years ago. Here is a link to it. https://rstyle.me/+BNo-Ng_b8A7K-43sd7y0Gg
How high did you place the reclaimed wood with hooks?
I placed the bottom of the reclaimed wood at 61 1/2″ from the floor.