
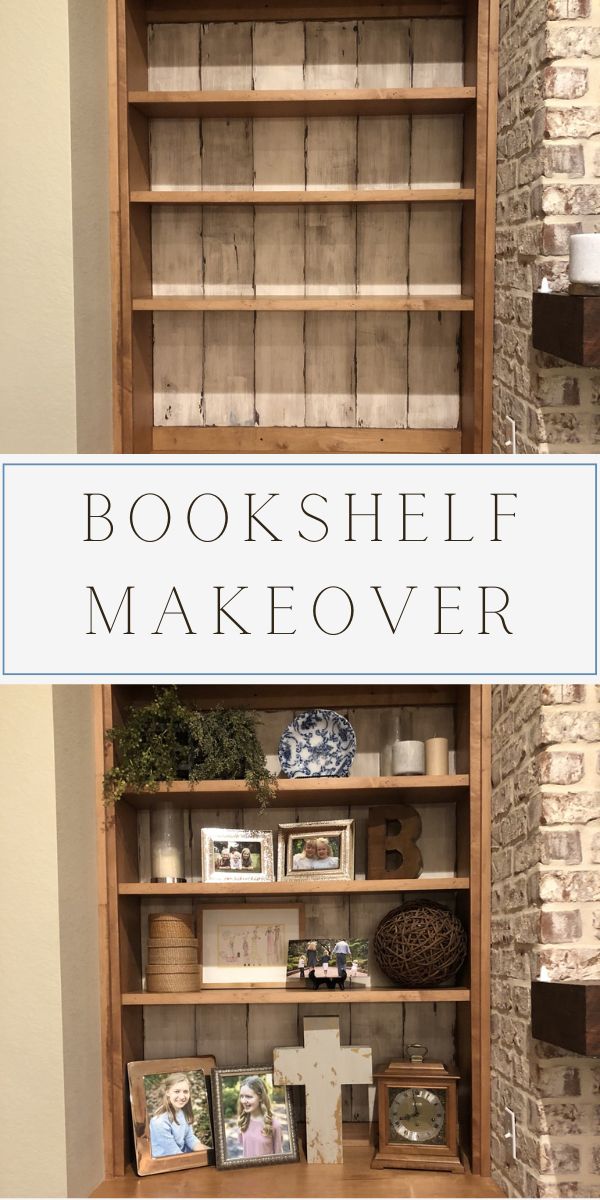
This cheap bookcase makeover has a secret. It is also an easy DIY project that will transform your bookshelf background. So let's get started with this bookshelf makeover idea.
I love inexpensive DIY projects like this cheap bookcase makeover! One of my favorites is the chalk paint and drop cloth rug, and another is this farmhouse flower vase DIY.
Okay so you get the picture I love me good, cheap, and easy DIY projects that look like you spent a million bucks. 🙂
Cheap Bookcase Makeover
In the world of decorating the details make a whole design amazing which is why I couldn't wait to share this bookshelf makeover.
My friend Susan came up with this idea, so all credit goes to her so let's jump right in and begin this bookcase makeover idea.
Supplies
You will need a few things to transform the background of your bookshelf.
- 1/4″ thick wood (enough to make planks of wood to cover the back of bookcase)
- Rubber gloves
- Homemade chalk style paint
- Sponge paintbrush
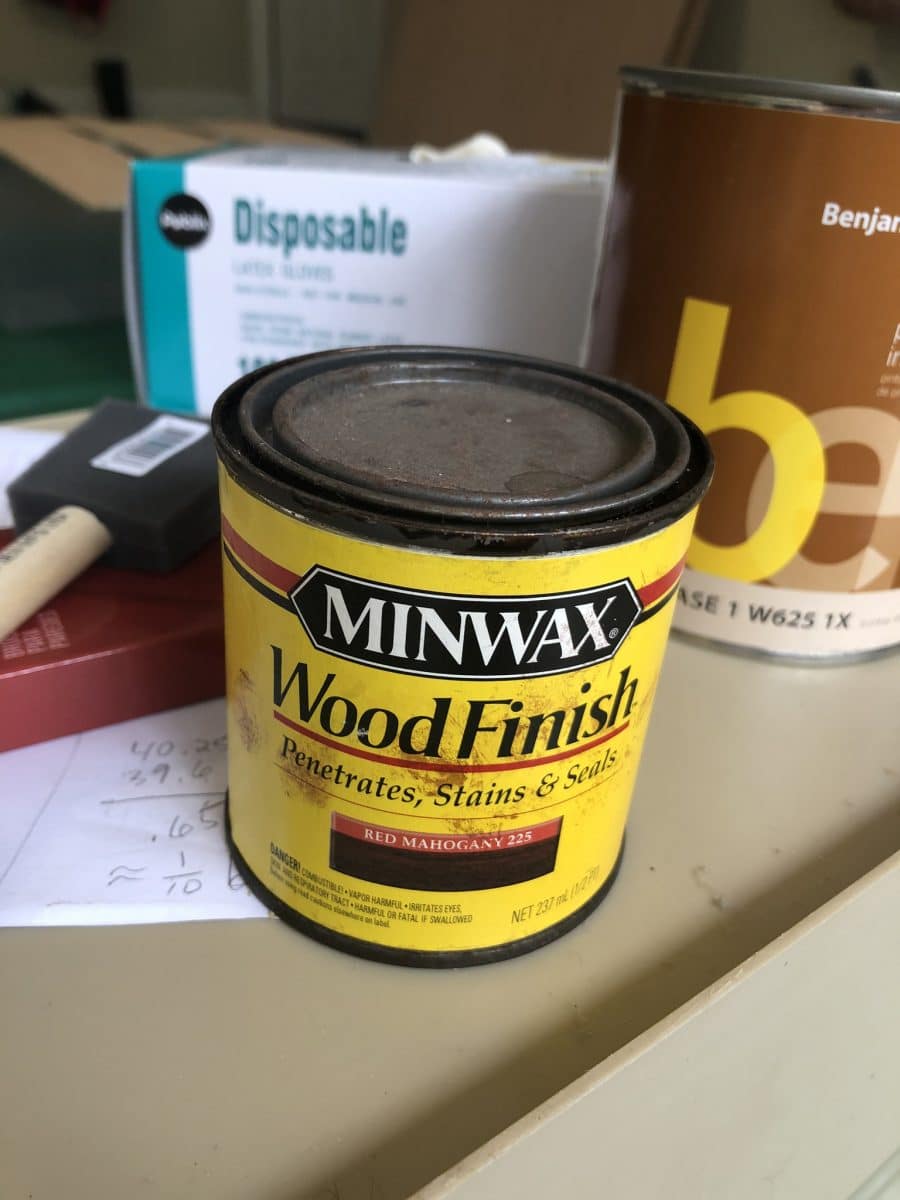
- Minwax stain wood finish red mahogany
- Petroleum jelly
- Sandpaper medium grit
Let's Get Started
Start by checking to see if you have space behind your shelves in your bookcase. If there is space measure it for the thickness of the wood.
Susan had 1/4″ gap behind the shelves, so her wood is 1/4″ thick.
Next, remove all the shelves in your bookcase. If your shelves are not removable, you can still do this project but go with the thinnest wood possible.
Measure the back of your bookcase width and height and purchase enough wood to cut the stripes and height.
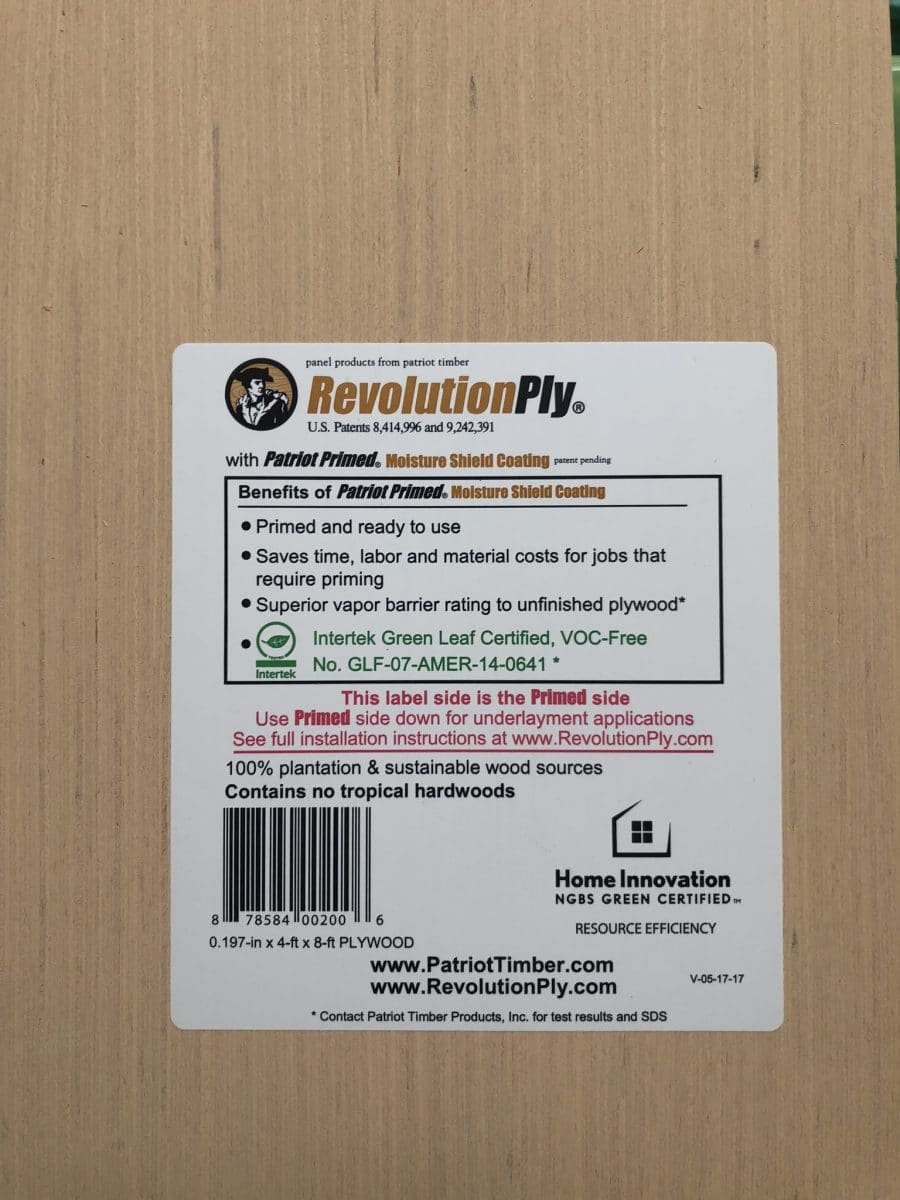
This is the wood Susan used in your bookcase makeover.
Measure and Cut
Next, measure again and figure how many stripes of wood you will need for the back of your bookcase.
Cut all the strips of wood to fit into the back.
Once you have all your strips of wood, I recommend placing them on the back to see if they fit nicely.
Stain
Now grab your stain and start staining the planks following the grain of the wood.
Once all the planks are stained, let it dry overnight.
Petroleum
Now apply some petroleum in random places.
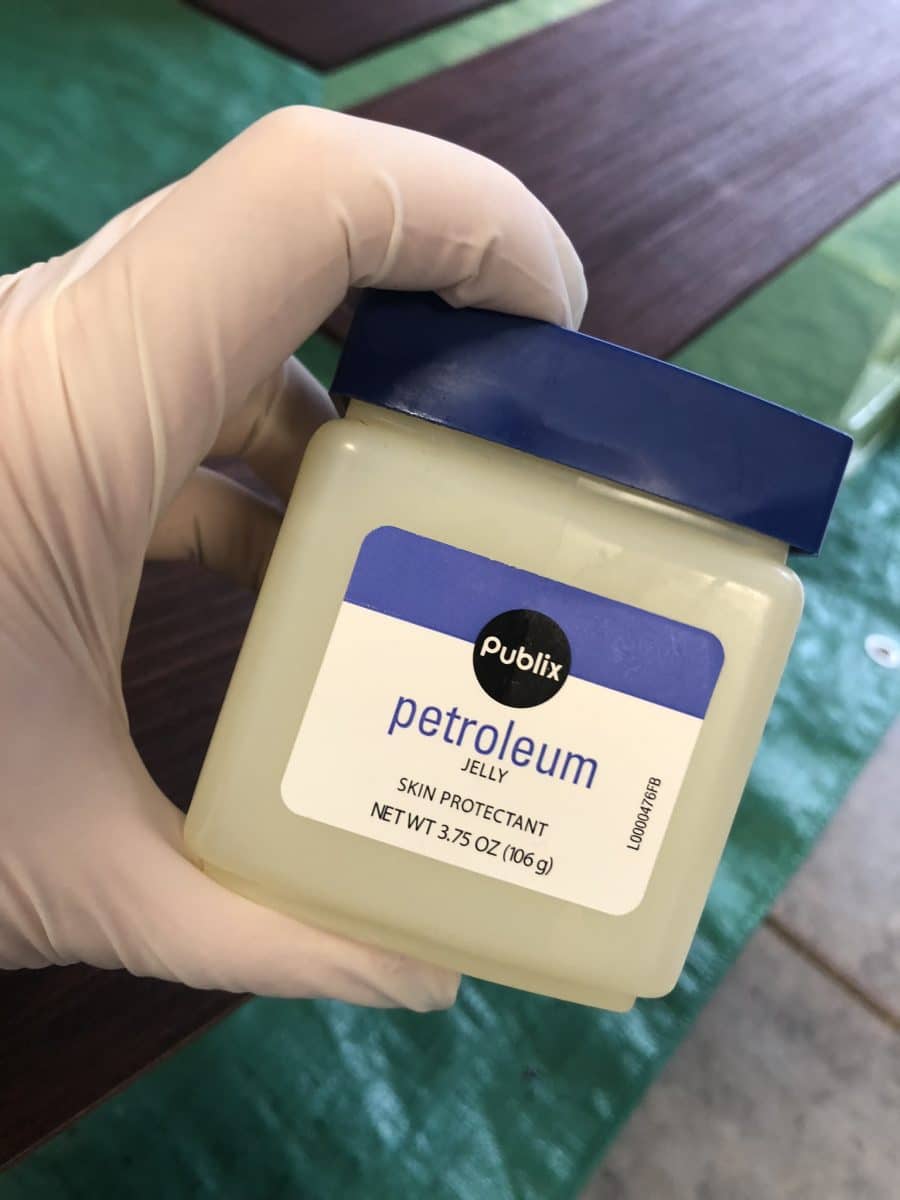
Carefully and gently rub the petroleum along the edges in a random place and here and there. No need to be generous add a tiny amount.
The petroleum will cause the paint not to adhere to the planks and give you that rustic distressed look.

If you do not want a distressed look, then disregard the petroleum step.
Paint
Next, mix up some chalk paint with the recipe link in the supply list or purchase some chalk paint.
Apply chalk paint to the boards in long even strokes.
Susan had to apply three coats, but it depends on your wood.

Go ahead and add each coat back to back and then let the boards sit overnight until they are right and dry.

Sand
Next, lightly sand your boards.
Wherever you applied the petroleum the paint will come off when you sand over it.
After you finish sanding take a cloth and remove the sanding dust.
Attach the Planks
You are going to be so surprised by this because all you have to do is place the boards in the back and put the shelves back into the bookcase.

You are probably wondering what Susan used to attach the boards. Well, she didn't use anything.

The shelves are holding the boards in the back.
Susan did put some paper behind the planks to protect the wood in case she decided to remove them one day.
If you need to attach, the boards try the double-sided 3M tape. It removes easily if you decide to take the boards down also.
Accessorize
Now all you need are some accessories.
Susan placed all her accessories back, but soon I will be accessorizing Susan's shelves and writing a post about how to accessorize bookcases.

However, if you don't want to wait for the how to accessorize bookshelf post try this post on five steps to accessorizing. It is full of tips.
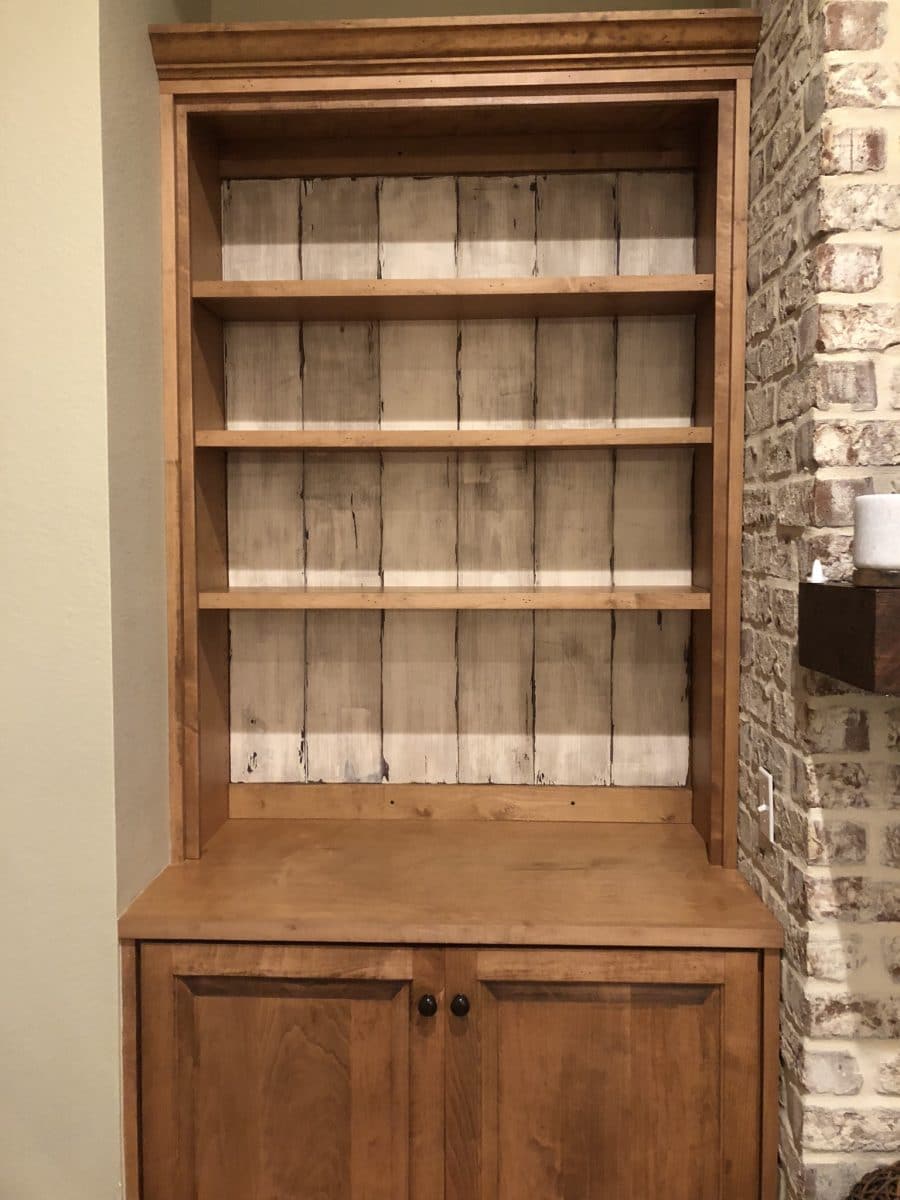
Conclusion
Well, here is a before.

And here is an after photo.

I hope this post has inspired you to jazz up your bookcases. Now that you have an idea to refurbish your bookcases or shelves here are some ideas for perfectly styled shelves.
It is amazing how a simple DIY project can add so much character to a built-in bookcase.
Happy Decorating!

If you enjoyed these ideas, please sign up for emails, so you don’t miss out on more fun decorating tips and ideas HERE.
3 thoughts on “SPICE UP YOUR BOOKSHELF WITH THIS CHEAP BOOKCASE MAKEOVER”