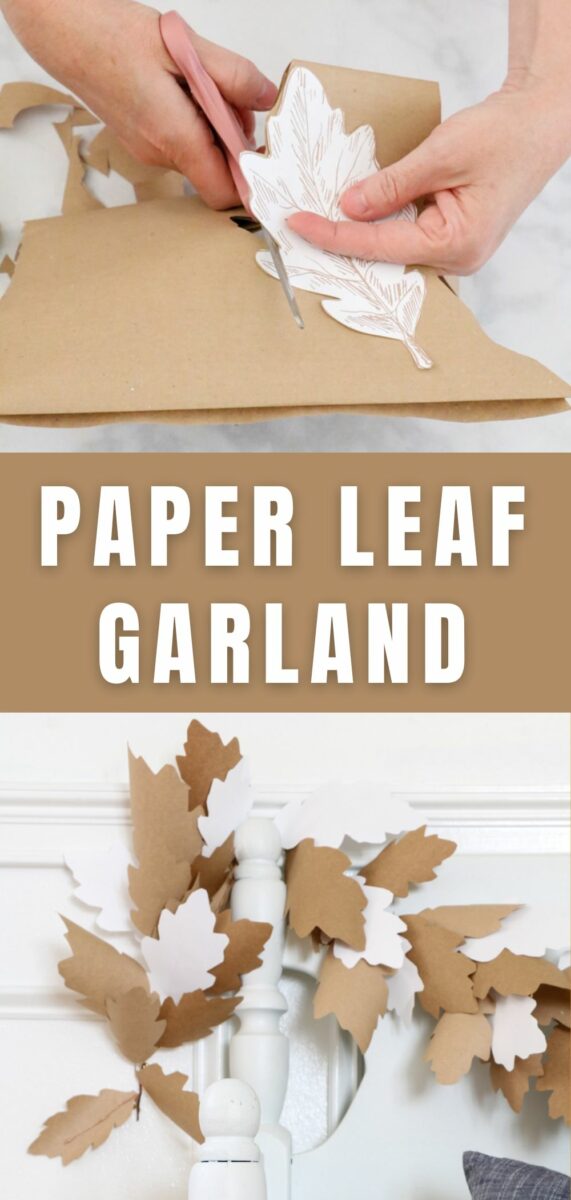
Learn how to make this easy fall paper decoration of a leaf garland. Made from different colors of paper and other items from the Dollar Tree. A simple fun fall craft that takes a few hours and looks amazing added to your autumn decorations.
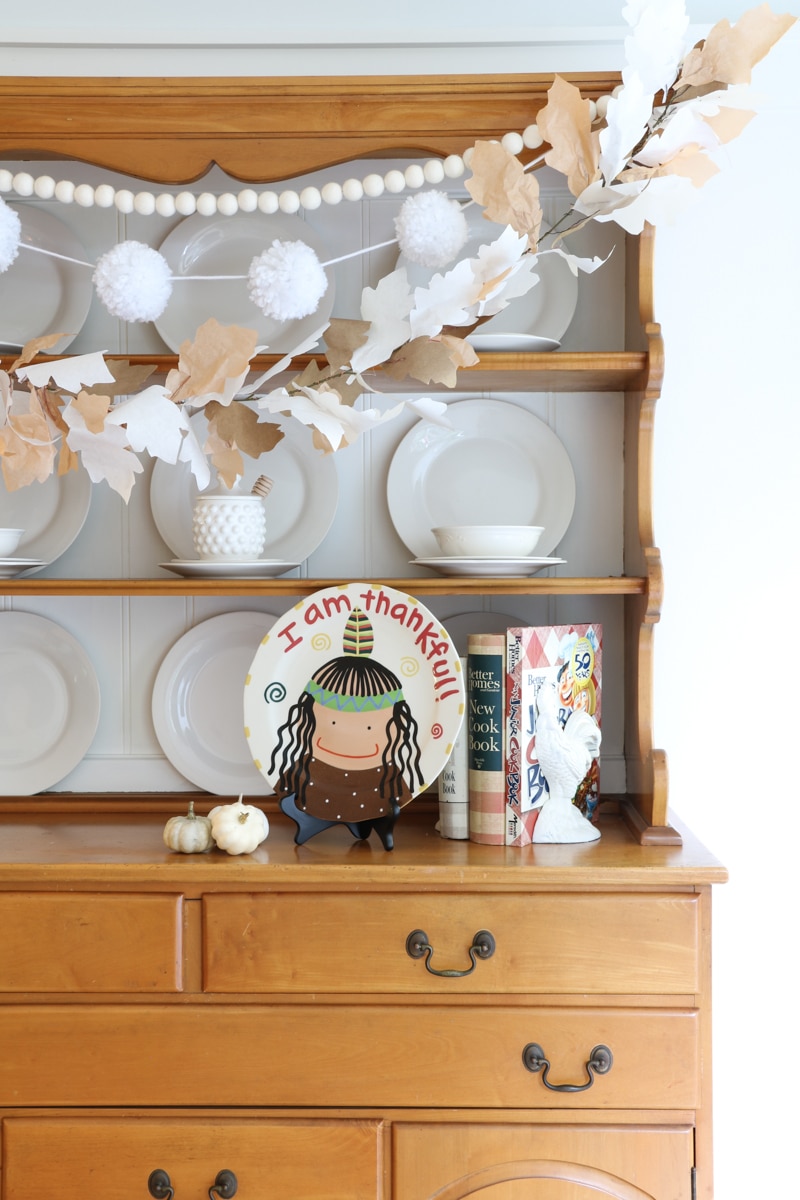
Last year, I made this fall paper decoration leaf garland. I wanted to add one more garland to my hutch that gave it a warm autumn vibe, and I think it did the trick. So this year, when I brought it down from the attic, I felt I really needed to share these DIY paper leaves with you.
I mean, seriously! It is one of those easy fall crafts to make, and it looks amazing! A great beginner's fall crafting skills project. Let's get started making this simple craft together by collecting all your supplies.
If you love decorating with real leaves, you’ll enjoy my How to Press and Preserve Leaves tutorial.
DIY Fall Paper Decoration Leaf Garland
With all my DIY projects, I recommend collecting all your craft supplies before getting started. It is the worst when you get into a project and you realize you have to go to the store to pick up one more thing. Here is a list of what you will need to make this paper leaf garland.
DIY Fall Paper Leaf Garland
- Paper leaves template (Subscribe to Life on Summerhill to get access to template)
- Dollar store garland (it can be any garland as long as the string looks like a branch or is brown)
- White printer paper
- Lighter tan Paper (I found this small roll at Dollar Tree, or you can use crepe paper or construction paper)
- Darker tan paper (I don't recall where I got this roll, but you can use grocery store bags too, as long as they are darker than the lighter tan color)
- Floral wire (copper looks the best, but you can use red or green too)
- Glue gun (I use a Ryobi one, but any glue gun works)
- Glue sticks
- Scissors
- Wire cutters
- Pencil (If you prefer to trace the leaf template)
You can change the colors of the paper to any fall colors. That is the nice thing about this project. Feel free to make it any color you like. Now that you have all your supplies, let's get started making your fall leaves garland.
How to Make a Paper Fall Leaf Garland
Start by printing out the leaf pattern. After you subscribe to my newsletter, you will get an email with access to my free printables.
Once you receive that link, scroll down to the fall section to find the leaf printable. Print more than one page if you have a friend or family member who is helping you cut leaves.
How do you Make Paper Leaves in the Fall
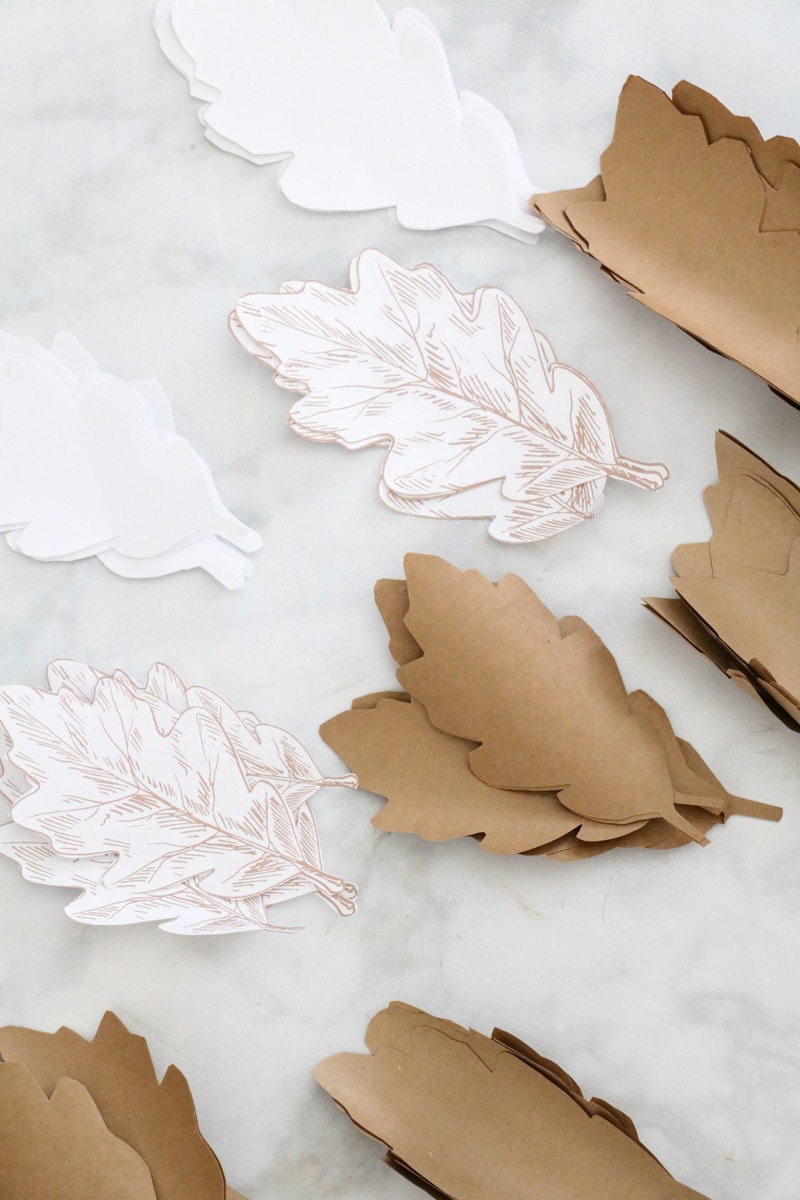
Begin cutting all the paper leaves out of the leaf template. There are three leaf shapes to cut out in three different sizes, so make sure to cut out all three.
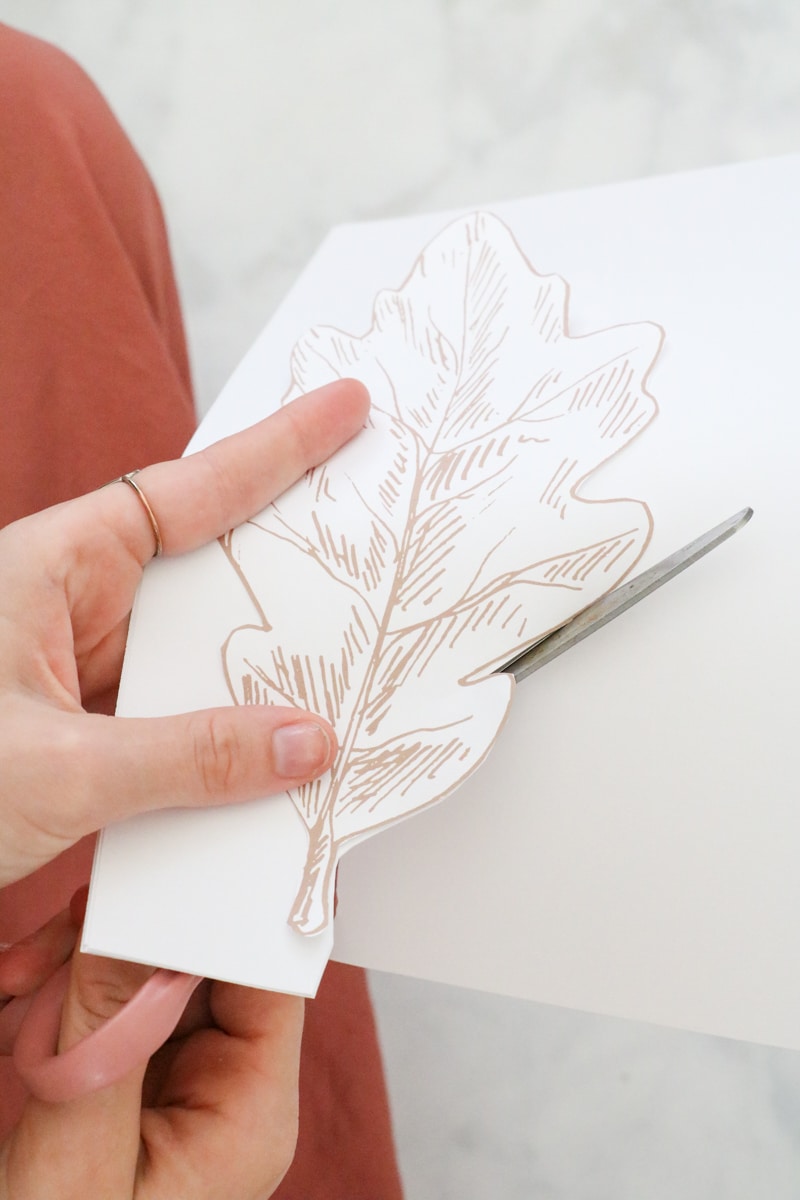
Then use one of the leaves you have cut out and cut 25 leaves with 8 of each size leaf. Another way to put is to cut 8 white small leaves, 8 white medium leaves, and then 8 white big leaves. See what I am talking about? Repeat this step with the darker brown and the light brown.
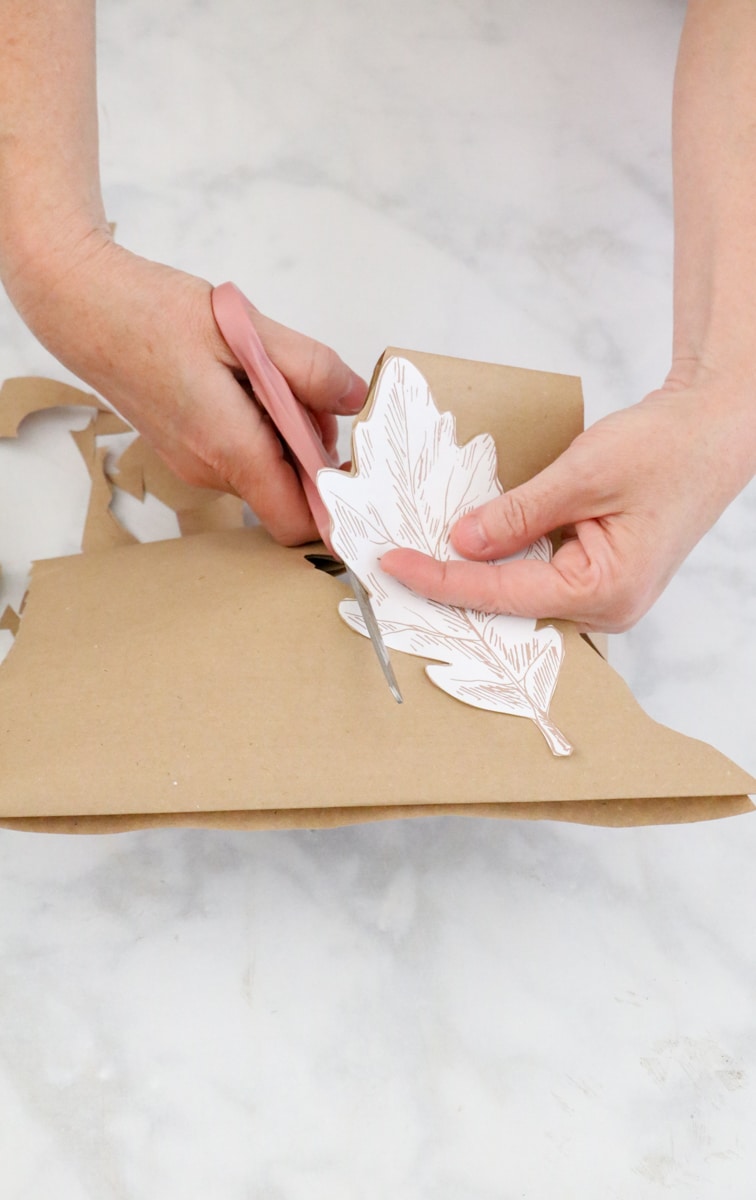
For fun on this leaf garland craft, you can add a piece of paper of the printable design. I noticed in my old one I added one age of the printed leaves.
You can be creative with your garland by using other gorgeous colors or printing all the leaves and making an all-white leaf garland. After you cut all the autumn leaves it will look like this.
Measure Leaf Garland Vine
Now that you have all your leaves cut and they are ready to be applied to your vine you first need to determine how long you want your garland vine to be. A simple way to do that is to grab your vine from the Dollar Tree and drape it out where you want it to hang.
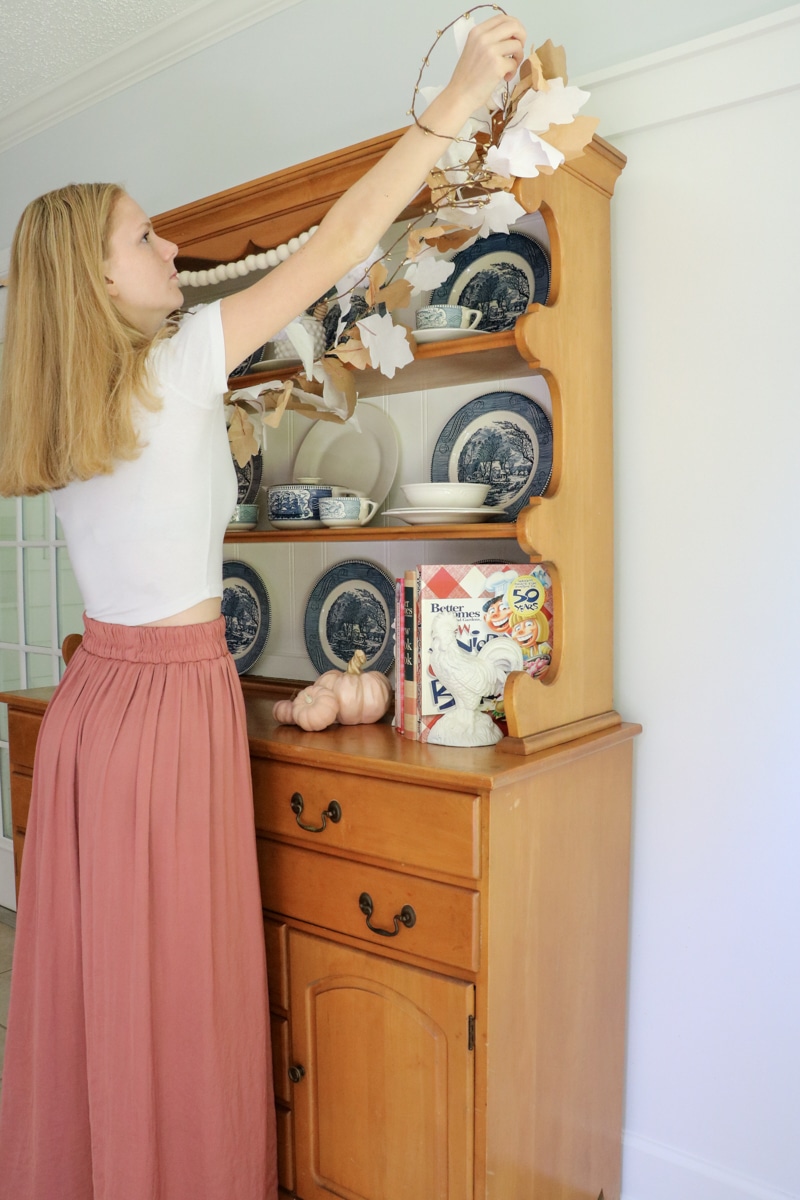
Once you figure how low you want it then mark with your hand where to cut the vine.
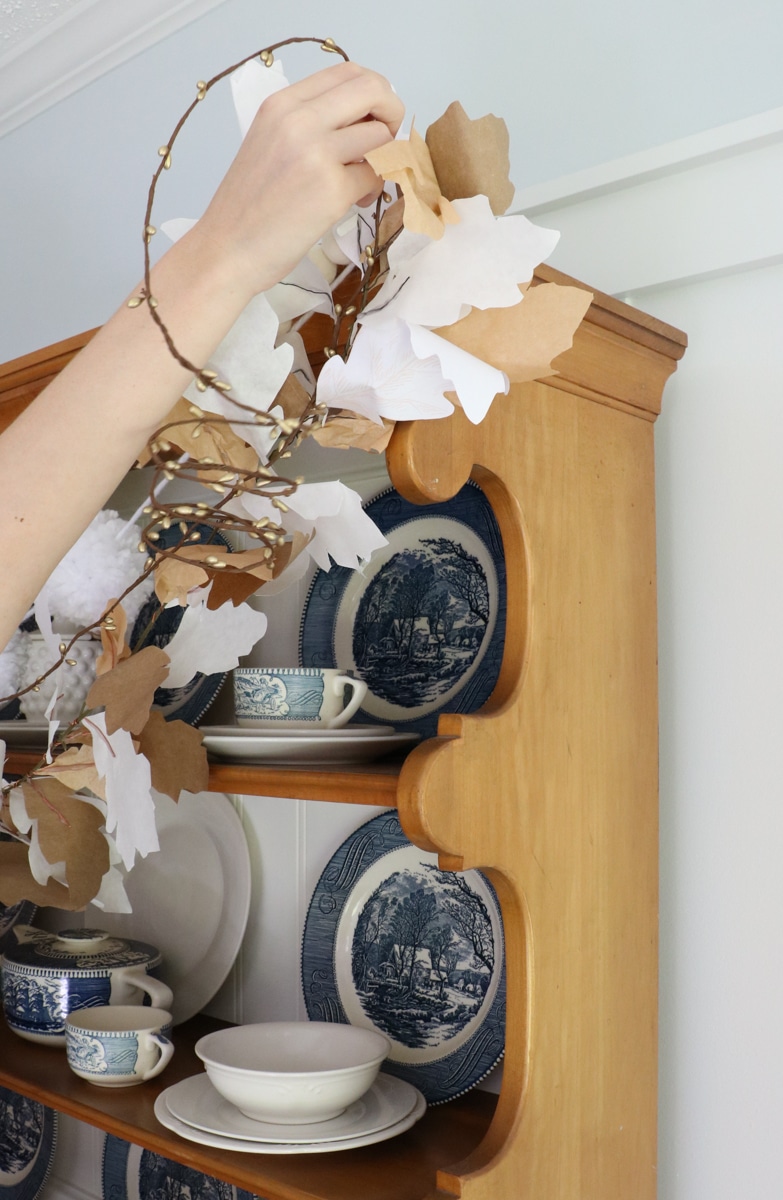
If your vine is plastic like my first one was all you need is scissors but if it has a wire inside like the one we are working on now you will need wire cutters. Also, give yourself an extra inch or two on each end of the vine. This way you will have enough to tie it or bend it around a nail or command hook.
By the way, my first leaf paper garland was made from this Dollar Tree leaf garland. All I did was pull all the leaves off. This time I am using this vine that has wire in it. I have it linked in the supply list above.
Glue Wire to Paper Leaf
Now for the fun part and that is adding a stem to the paper leaves. We are going to use the small leaf as an example first. Start by cutting about 3″ of wire. If the wire is thin enough you can cut it with scissors too but keep in mind it may dull your scissors but it is possible.
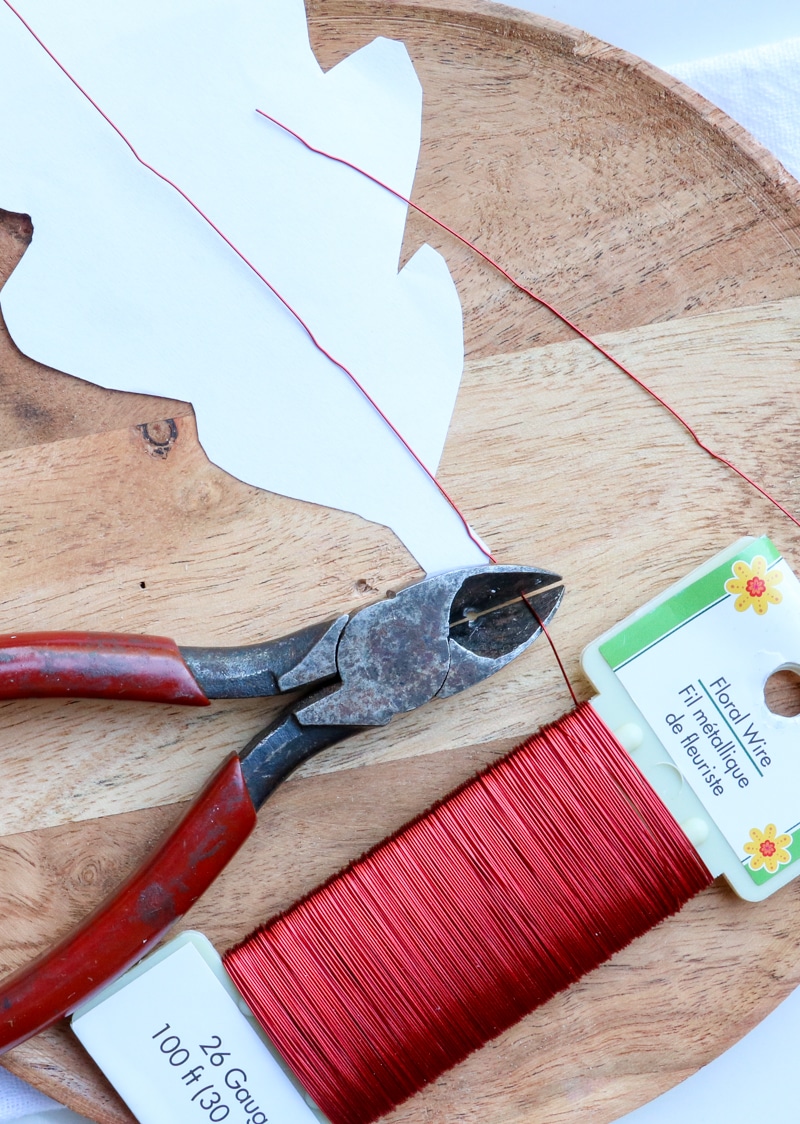
Next using your glue gun put some hot glue along the first couple of inches of the wire.
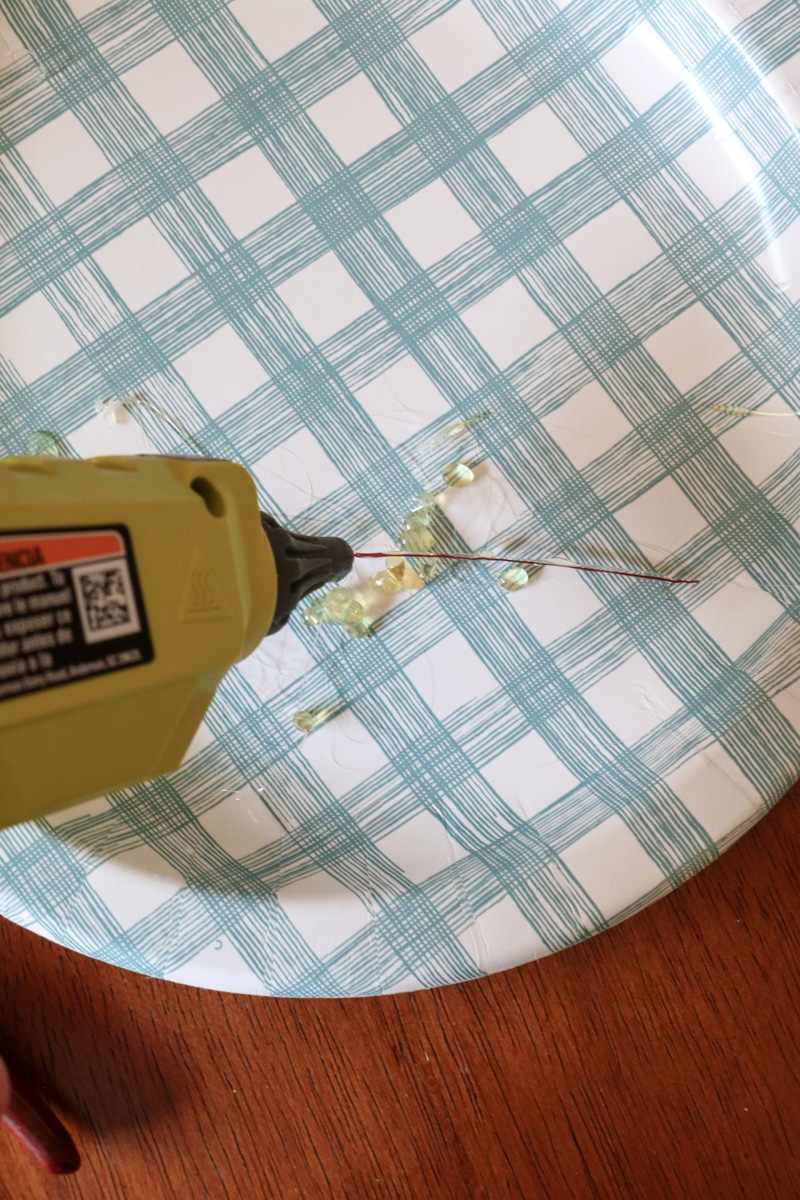
And then place the wire to the leaf making sure you have an extra inch hanging off so you can bend it around the vine. You will repeat these steps for the other size leaves but adding an inch or two cut wire.
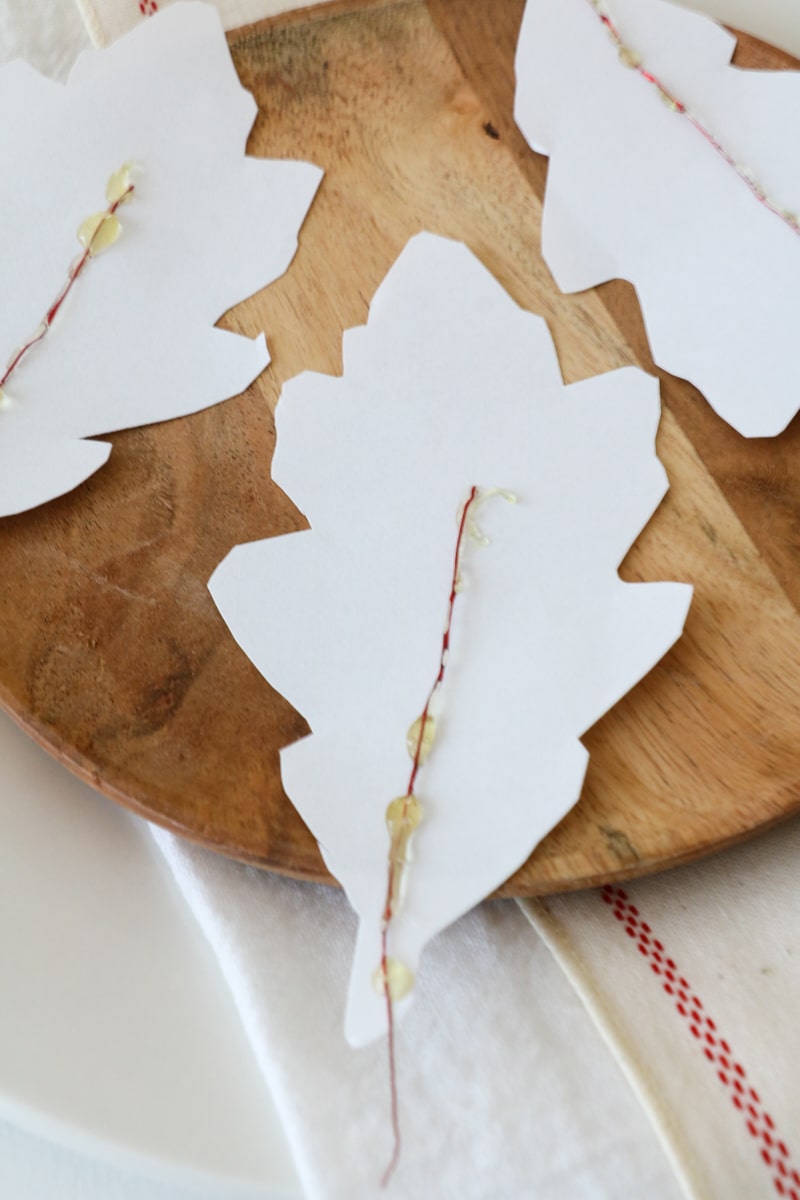
Attaching Leaves to Vine for Fall Paper Garland
This is where our leaf garland starts taking shape. Beginning on one end bend the stem wire around the vine of one size and color of a leaf garland.
It helps me to have all my leaves in some sort of order meaning all the small white leaves in one stack and then all the small white medium leaves next and so on. I showed a photo at the beginning where I had them in some sort of order.
As you apply the leaves to the garland vine use your organization to know where to pull from next. But change it up now and then because just like nature you don't want it to be a perfect order unless you want it to be in perfect order.
I place my leaves about one inch apart like in this photo. It doesn't have to be perfectly one inch but enough to give the leaves a little bit of breathing room.
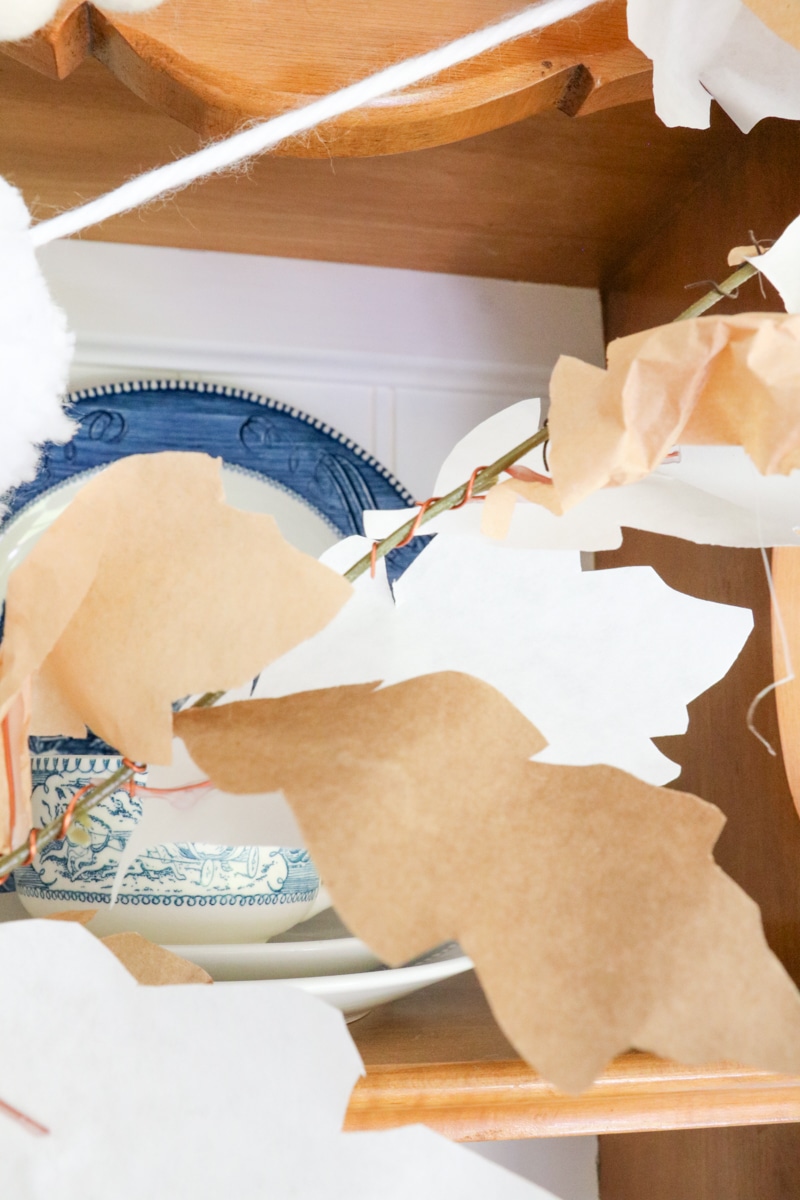
When you get to the end of the vine remember to leave yourself an inch or so of the vine. And now guess what? You are all finished making your DIY fall decorations.
Decorating Ideas with Paper Leaf Garlands
I love easy and cheap home DIY decorations and this fall paper decoration of a leaf garland fits perfectly. There are so many ways you can add this home decor fall decoration. I strung my garland on my hutch.
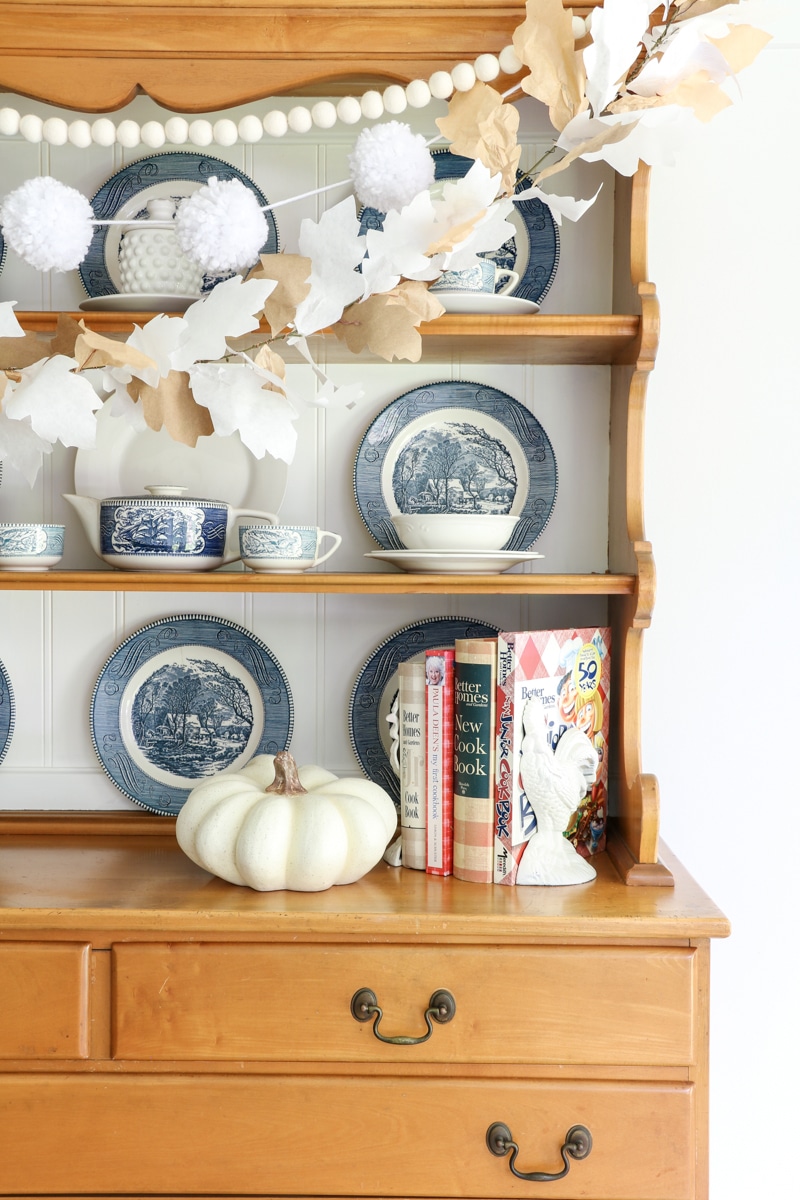
In the beginning, I showed it on my hutch last year but this photo is from this year. You can tell the difference by the colors of the leaves and the dishes in my hutch.
Other simple ideas are a piece of furniture, hanging on a mantel or on hooks. I have a row of hooks in my laundry room.
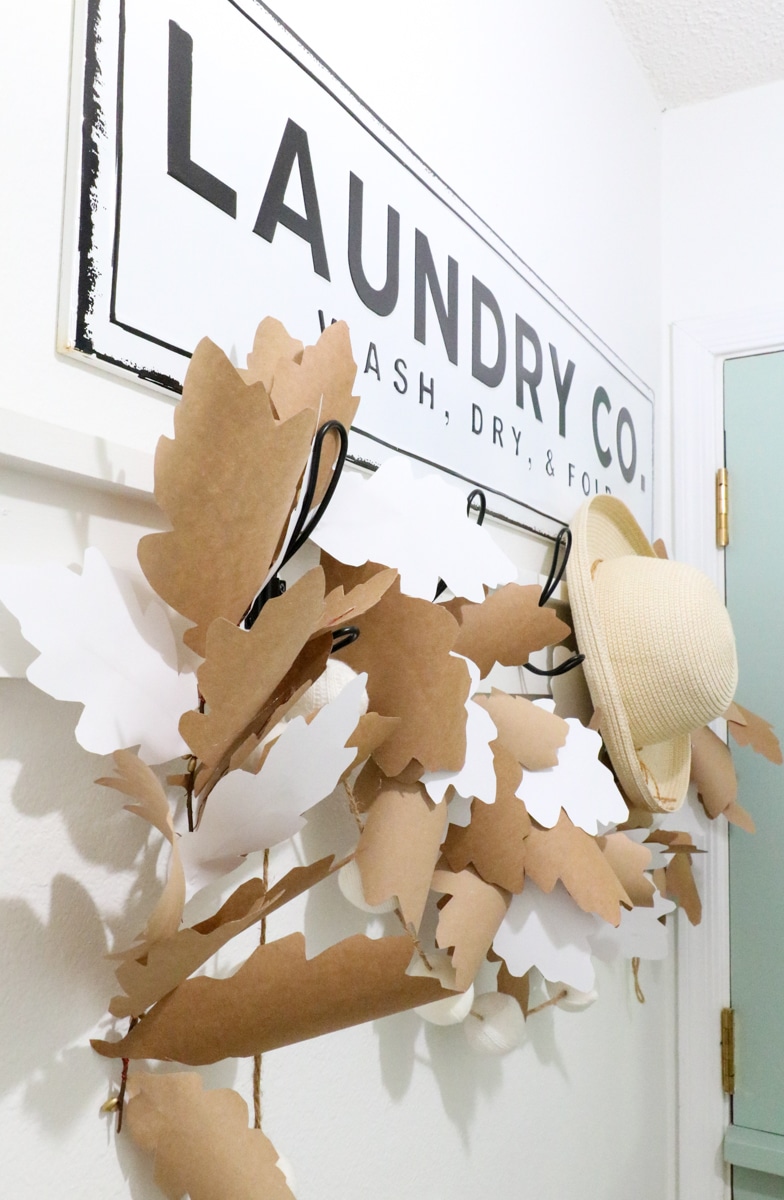
It would be so cute hanging in any room of your home. You could also hang it on a wall anywhere.
Here is a fun version I made especially for Halloween featuring black paper. napkins, tan sandwich bags, and grey paper napkins. I also added berries and together the combination complements the fall throw blanket I have hanging nearby.
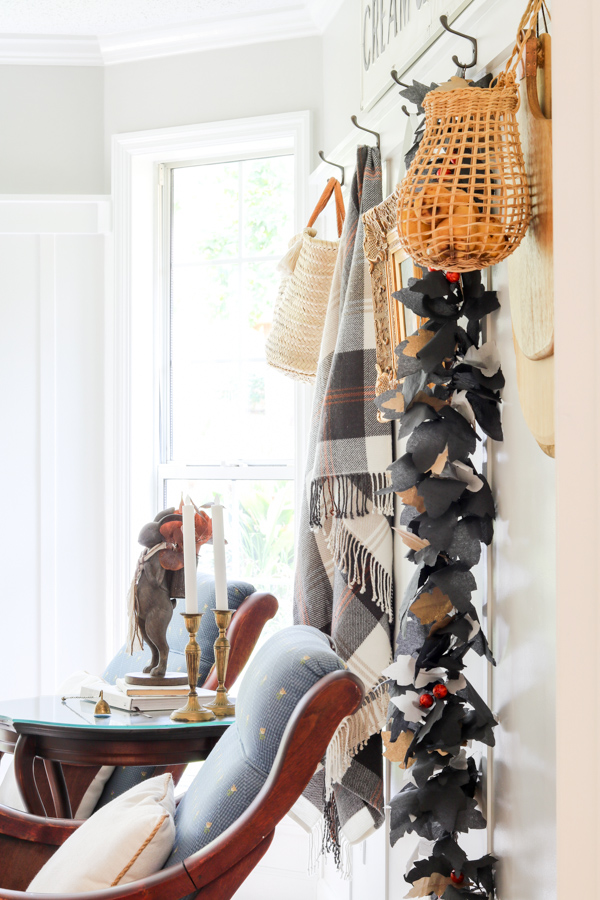
In this room, I decorated entirely with paper for Halloween and shared it all in this how to make Halloween decorations out of paper.
Paper leaf garland also works perfectly on a bench decorated for fall.
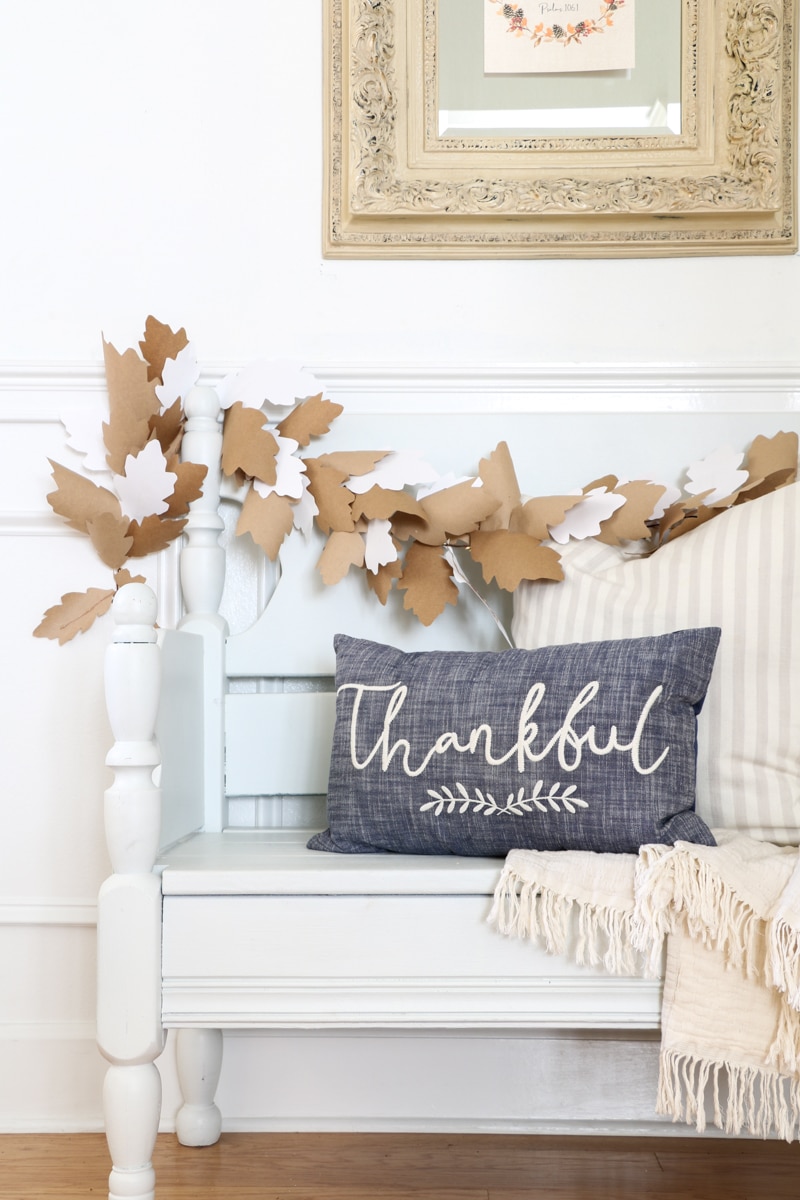
But probably my favorite way to use the leaf garland is on a tablescape. I used it on this easy Thanksgiving table decoration and in this DIY outdoor Halloween party table decorations. This is our Thanksgiving dinner table design for this year.
Talk about an easy DIY table runner. I pulled it down from my hutch and placed it on the dining room table.
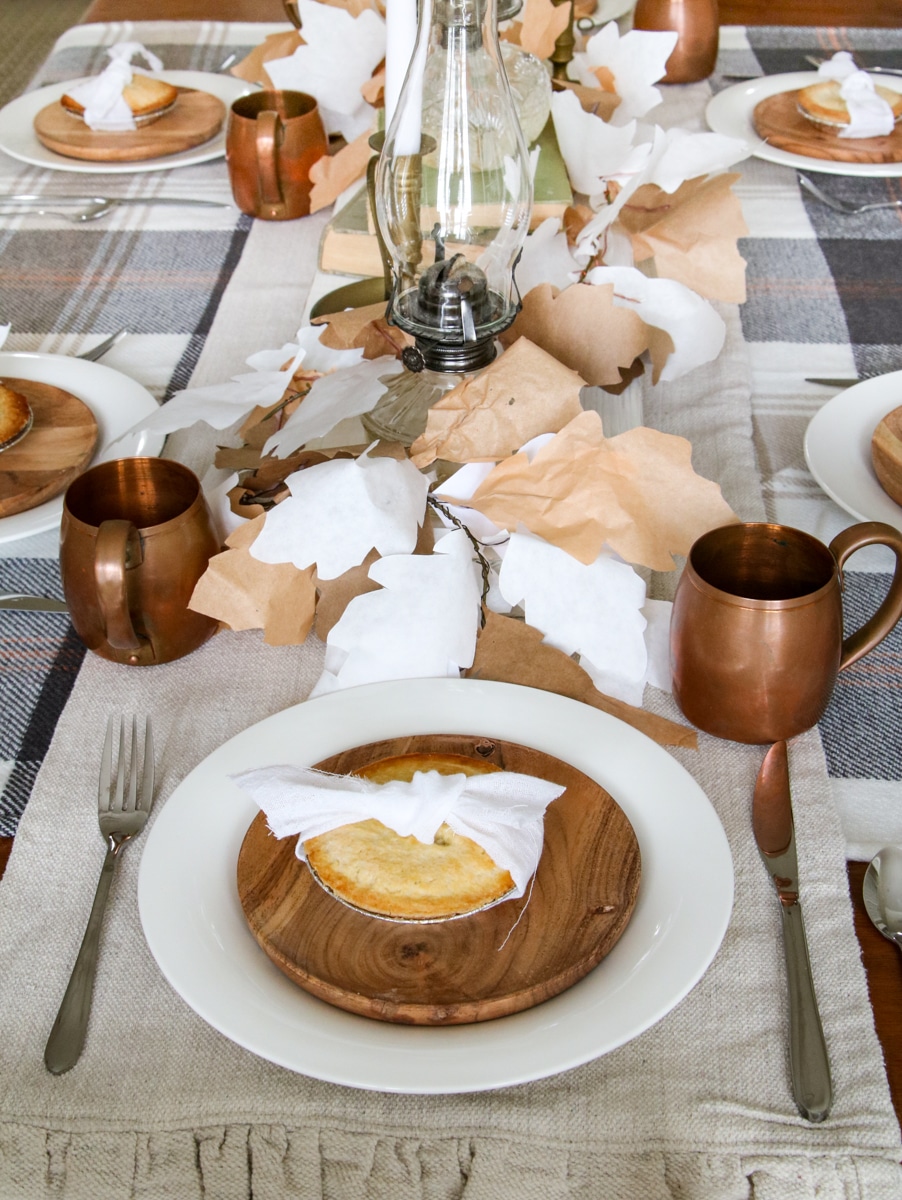
I used last year's garland which was made with white printer paper, brown craft paper, and light brown crepe paper. When it comes to storage, I stored my paper leaf garland by gently placing it down inside a brown paper bag and sitting it in my attic with nothing near the bag. It is so lightweight that when I pulled it out of the bag I had minimal fluffing to do.
Some of the tissue paper was crumpled so I hope this year's leaf garland will come out looking even better since there is no crepe paper.
Conclusion
I love paper crafts! They are cheap to make and a fun project. Did you enjoy these fall decor ideas using a paper leaf garland?
I hope you have fun making this paper leaf garland. This is a great project for a craft night too. Check out more fall fun with my cozy and clever DIY Fall decor ideas. Other cute craft ideas that are so much fun are my autumn wheat wreath DIY and this farmhouse pumpkin centerpiece made with little pumpkins and Easy Terracotta Pumpkin DIY – Pottery Barn Dupe. Have fun!
Happy Decorating!

