
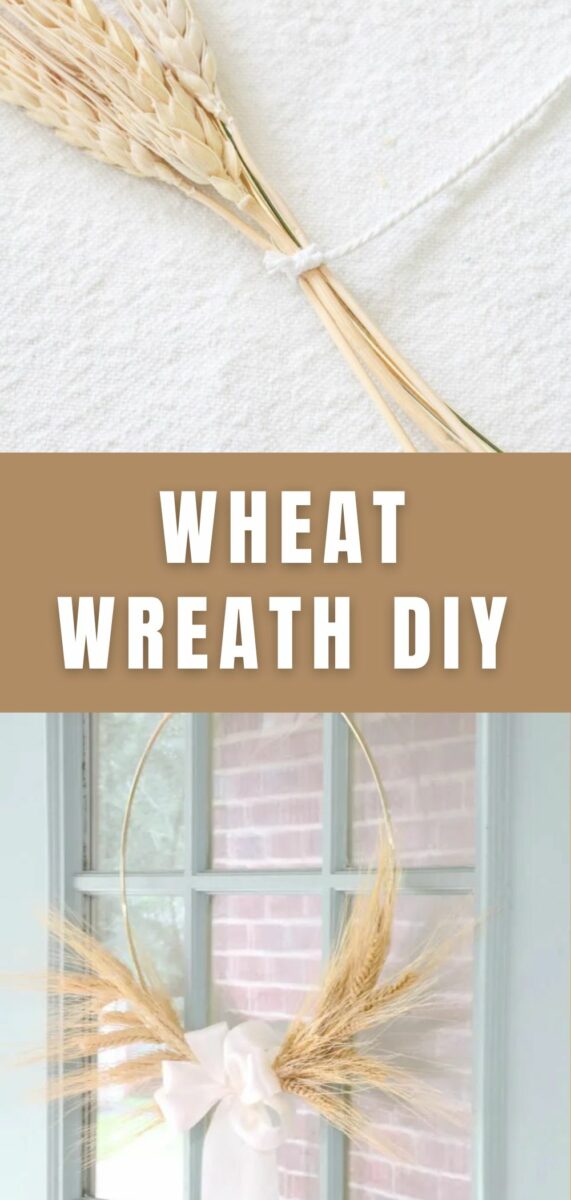
The easiest wheat wreath DIY project. I couldn't believe how simple and inexpensive this fall or Thanksgiving wreath turned out. Learn how to make a wheat wreath using my simple steps. It was a subtle touch to my door decor and fit nicely with my fall front porch decorations.
Before we jump into the details of making this fall wheat wreath DIY, I want to share what inspired this easy project. This year I didn't want to spend a lot of money. I was looking for a homemade natural kind of design.
This fall wreath DIY fits the bill. It was cheap and natural because the wheat is dried. You can also change the wheat for other dried flowers or plants to make a wreath that lasts all year long. Here is how to make a dried wheat wreath for your front door too.
Rather Watch Than Read?
Beautiful Wheat Wreath DIY
Before we begin, let's gather some supplies for this DIY wheat wreath.
- Dried wheat bundle
- Gold metal ring 14″ wire form
- Light cream satin ribbon 1 1/2″ wide
- Twine
- Scissors or wire cutters
Fall Wreath DIY
Now that you have gathered your supplies let's start the process on how to make a wheat wreath by making wheat bundles.
Step 1: Wheat Bundles
Let's begin by laying the metal ring and a bundle of three or four pieces of wheat on your table.
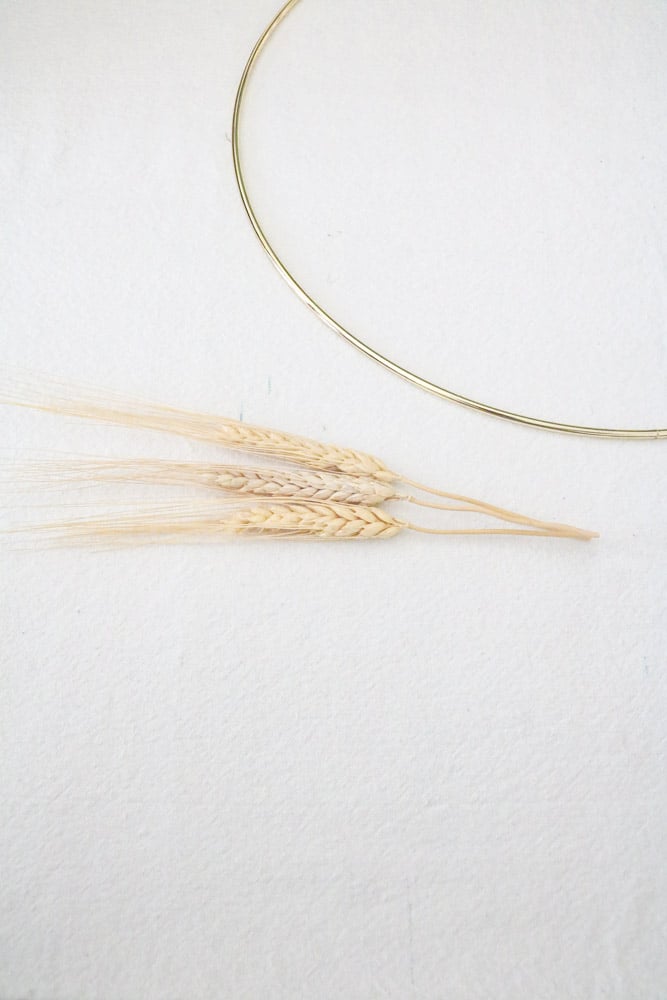
Simply lay the dried wheat bundle next to one side of the metal ring to help you figure out how long you want the first piece to be and then trim it with scissors or wire cutters.
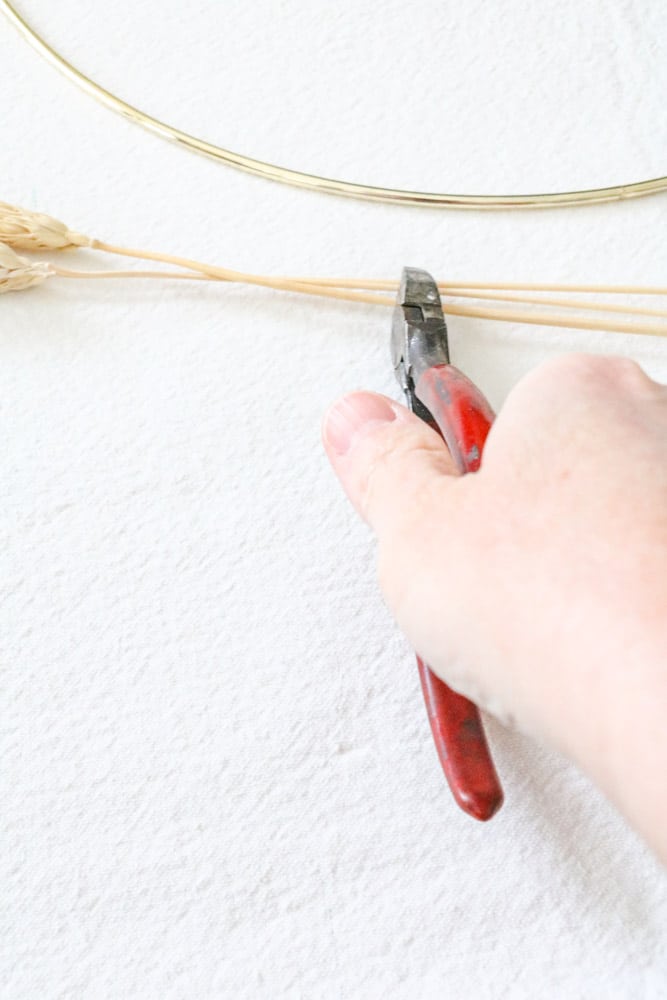
I used wire cutters because they seemed easier to cut than my scissors.
Step 2: Attach Wheat Bundles to Ring
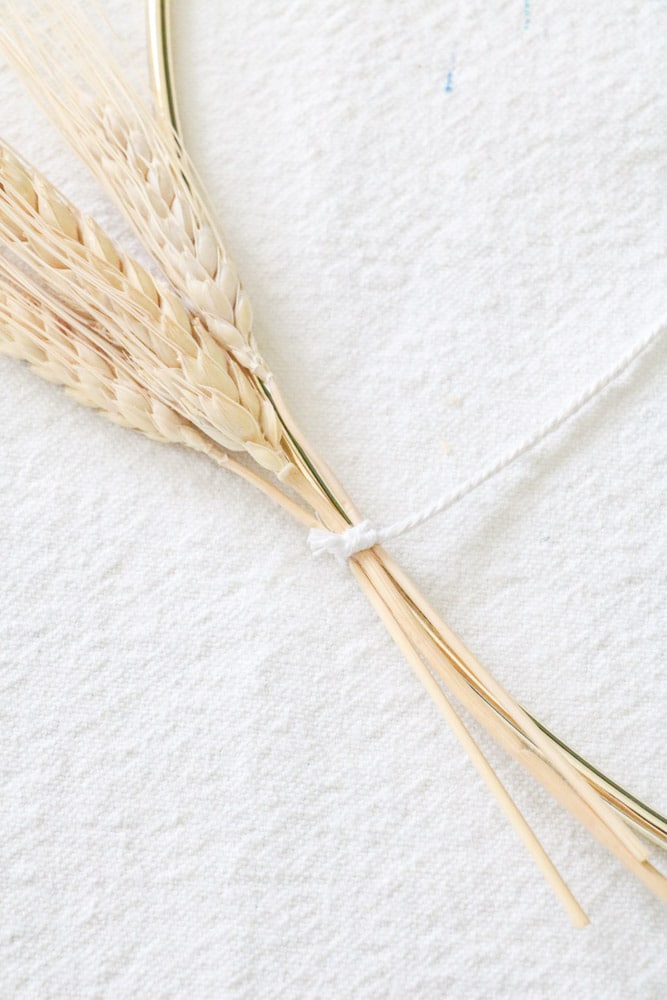
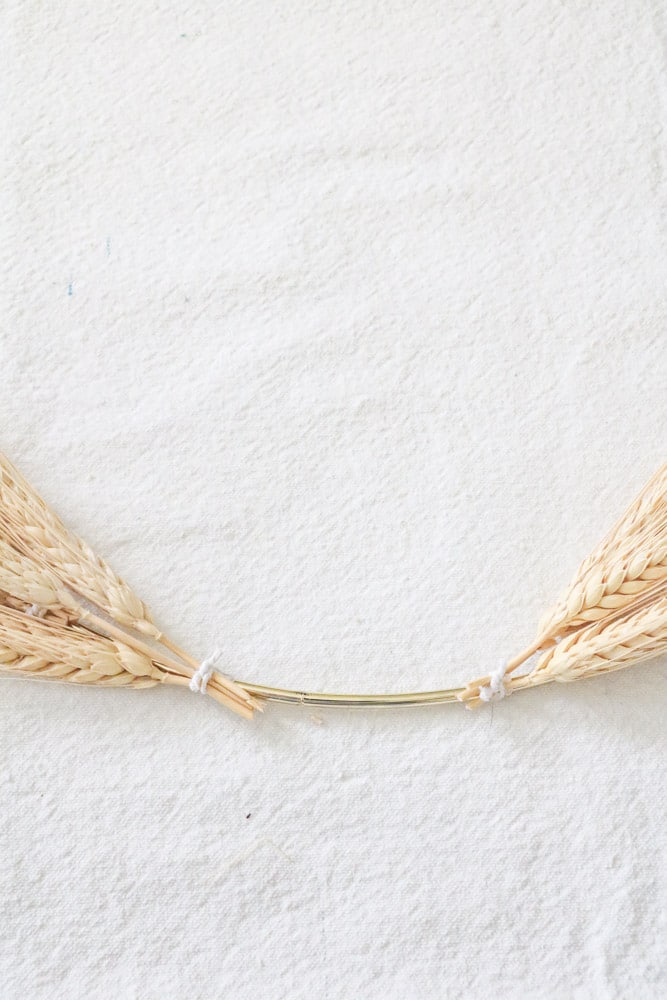
Now place the stems of the wheat on one side of the metal ring with a piece of twine under it. Add a dot of hot glue and tie it into place with thin twine. I used twine instead of floral wire because I couldn't get the wire tight enough to make it snug.
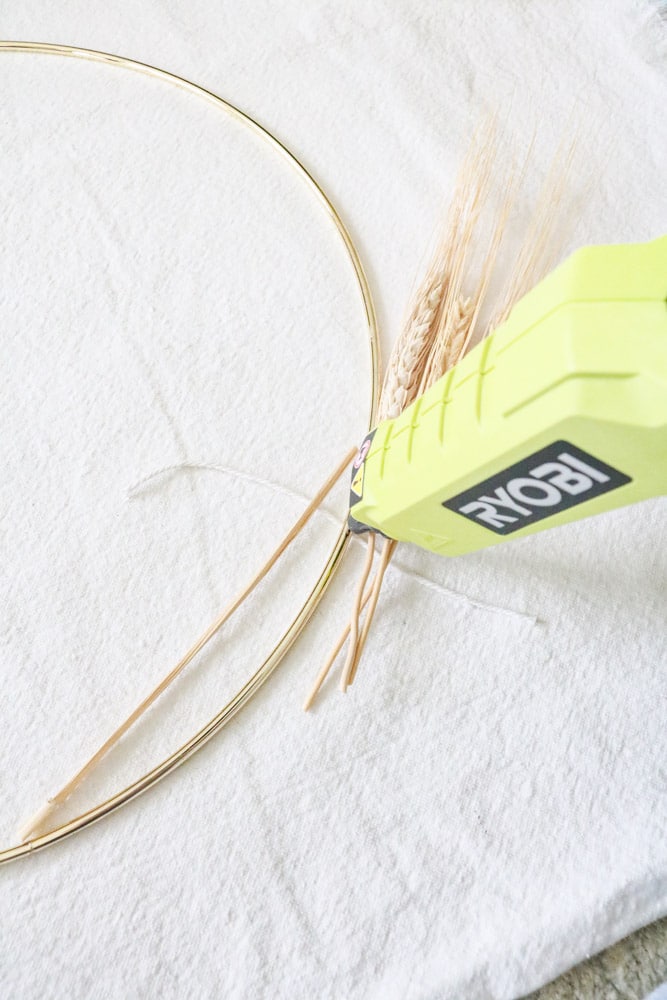
This is what it will look like. You should have one small bundle of wheat sitting on top of the gold ring between 6 and 9 o'clock, with the top of the bundle around 9 o'clock.


Step 3: Add Second Bundle of Wheat
Next, use a piece of the cut wheat to measure from the center bottom of the ring to the bundle of wheat you just added. Then measure over on the other side and this is where you will apply the next dried wheat bundle.
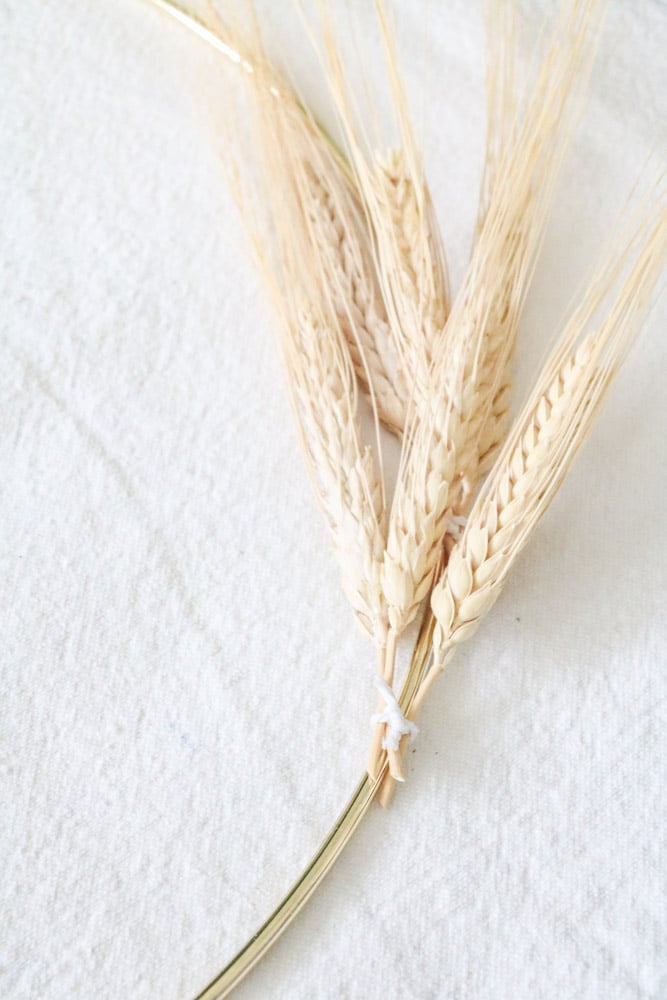
See how easy this is moving along?
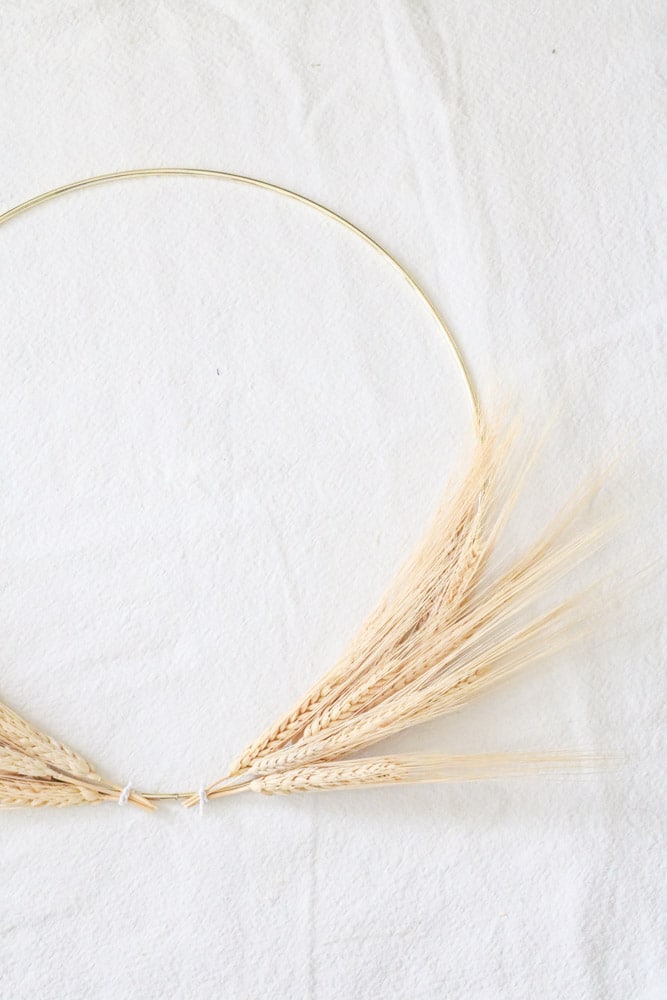
Keep adding new bundles of wheat layering on top of each other but moving towards the center bottom as you go. And trim off any excess dried wheat stems.
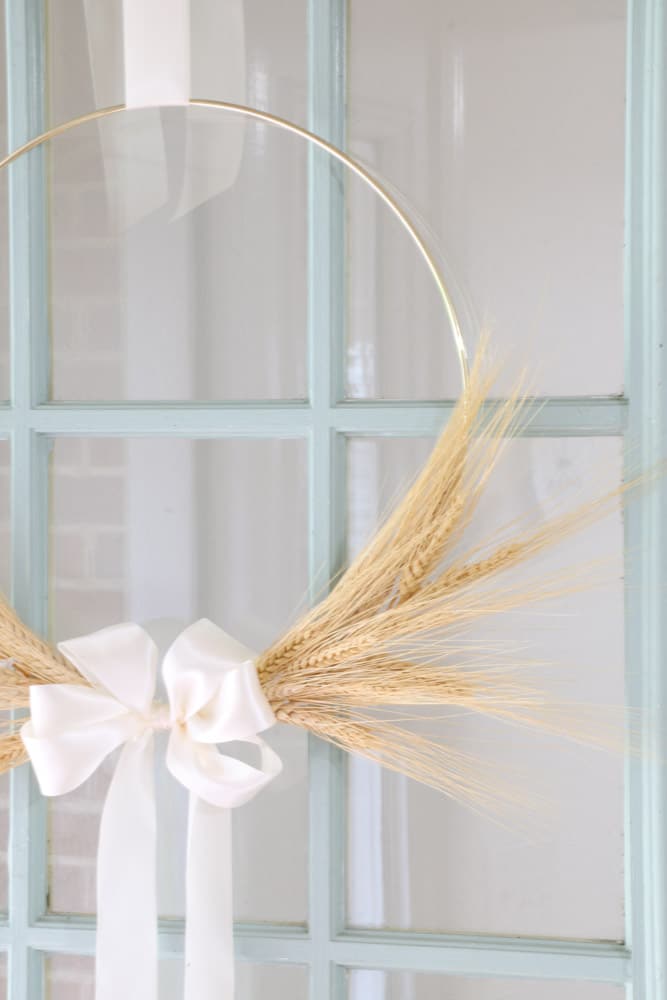
This is what your whole wreath will look like after applying all the wheat bundles. You will leave a space at the bottom for the ribbon.
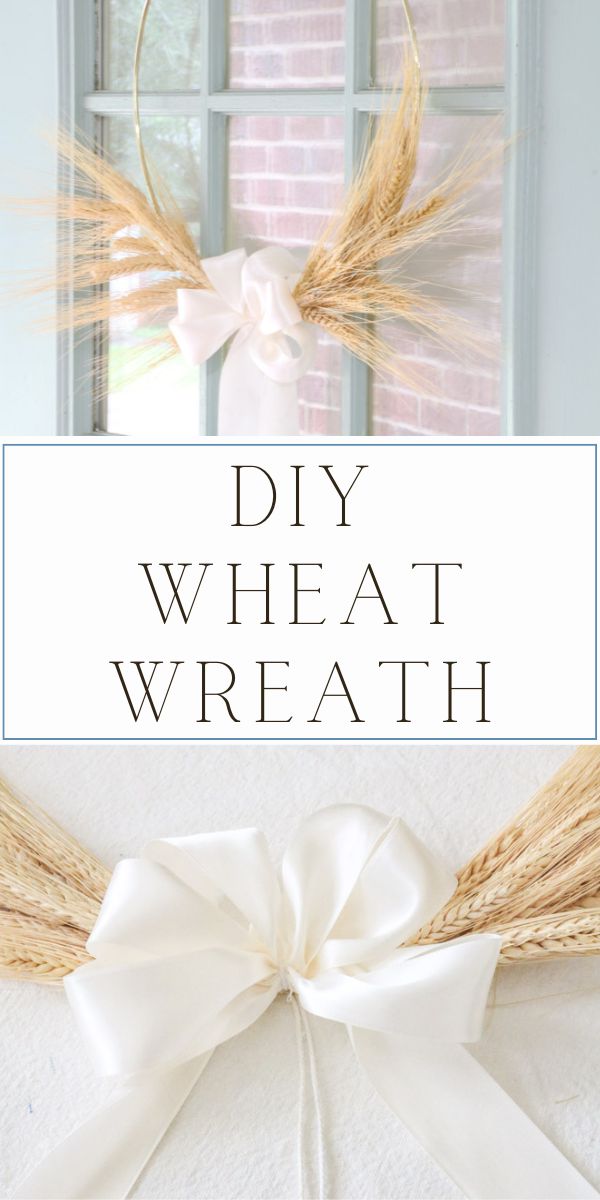
Step 4: Add Ribbon Bow
Now you are ready for a ribbon bow.
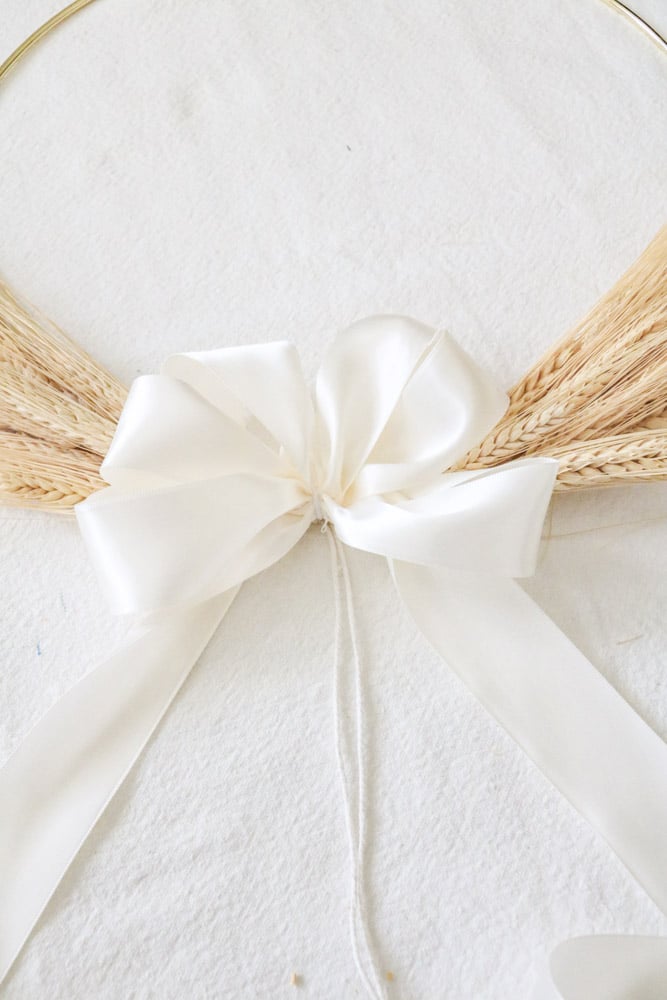
Make loops with your ribbon and then tie it on with the twine. After you have finished with the loops wrap another piece of ribbon over the center and either tie it in place or use your glue gun.
See how the center ribbon bow covers the twine? A great alternative is a burlap bow. It would be cute too and it will give it a more rustic farmhouse look. Guess what? Now you are finished. This really is simple and easy and a cheap wreath to make.

How to Hang your Wheat Wreath on your Front Door
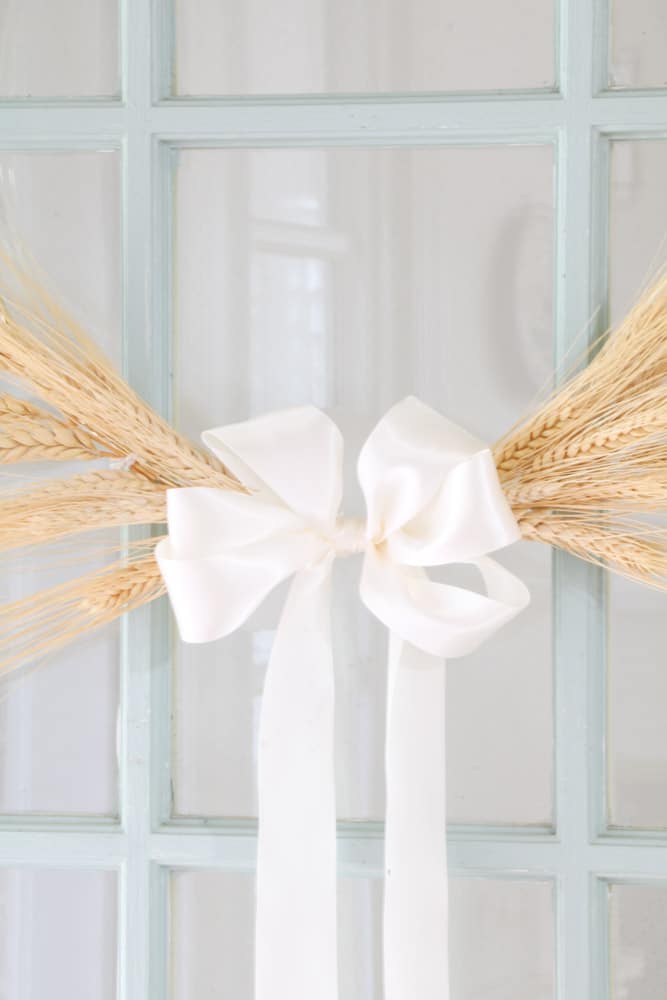
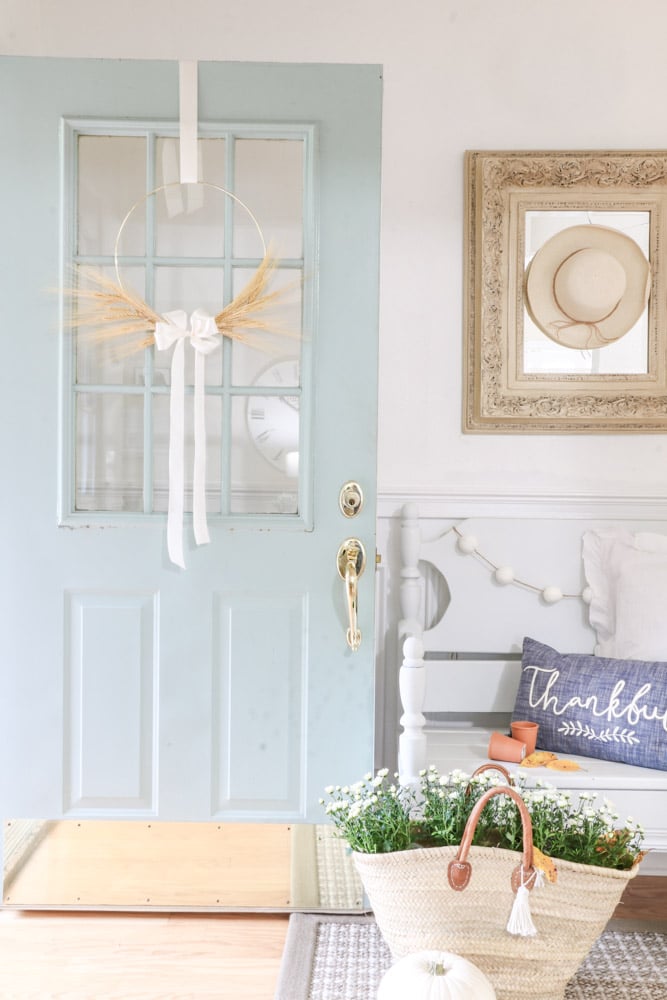
Now that your wreath is done, you will need to hang it on your front door. I hung my wreath with ribbon tieing it on the inside of my door with a pretty bow. I have a post on how to hang a wreath with ribbon that walks you through it step by step, and it is easy to do.
However, if you want to hang your wreaths on your windows, here are steps on how to hang wreaths on windows.
Fall Decorations using Wheat
Now that we have the wreath made and hung on your front door, here are more ideas. Add some decorations to your entryway to complement your autumn wreath. Or decorate your porch with these fall front porch decorating ideas on a budget.

Conclusion
Fall is my favorite season to decorate. I love decorating with natural things. This natural wreath gives that feeling and it was cheap.
Not everything is cheap when you make it homemade but this wreath was well worth it. The white farmhouse bench on the porch is homemade too. It is a simple DIY bench that you can make in a matter of hours once you have all the supplies.
Here are a few more photos of the wreath.
I hope you have found this helpful and I cannot wait to hear what dried greenery or flowers you choose to make this wreath. You should check out my other great ideas on how to decorate with wreaths.

Don't forget to add your holiday decorations. It is as simple as adding a basket filled with mums, leaves from your yard, and pumpkins.
Oh, and don't forget my simple tutorial on how to hang a wreath with ribbon. You will be amazed at what one command hook can do. Here is another beautiful fall wreath DIY that is easy and fun to make.
Happy Decorating!

Oh my goodness!!! I have wheat stalks from my grandfather’s farm. He has passed on now but this the perfect wreath for me to make!!! Thank you!
Oh my goodness! I think this is so sweet if you use his wheat to make the wreath. What a special memory keepsake!