

Build a simple DIY bench with these step by step instructions and easy to follow bench plans. This wood bench is easy to make and looks amazing with your farmhouse, cottage, boho, or any style of decor.
At our house, we have a tiny front porch and I have always wanted seating but since there is such little room most outdoor benches wouldn't do.
So I decided to make a simple DIY bench. I wanted something quick and easy to make so I came up with my own bench plans and crafted it in one day.
It was so easy to make and turned out super cute so I wanted to share it with all of you so you could make one, too. Read on for my simple DIY wood bench guide.
Prefer Watching Over Reading?
Simple DIY Bench FAQ's:
How Do You Make a Simple Bench Seat?
Making a piece of furniture might sound intimidating, but DIY benches are easier than you'd think!
These free bench plans are a great beginner project for outdoor seating. It will make a lovely addition to your porch or garden.
I'm going to give you my simple DIY wood bench plan with step-by-step instructions to make a simple bench you'll love:
- Cut Wood Seat
- Cut Bench Legs
- Cut Leg and Seat Support
- Glue and Nail Wood Support to Legs
- Attach Seat to Base
- Chalk Paint Bench
What Materials Do You Need to Make a Bench?
You will need to determine how long you want your bench to be before you purchase the wood. That will determine what you need for your DIY bench plan. I wanted a 36″ long bench so here is a list based on that length.
It's always a good idea to gather the items on your lumber, materials list, and necessary tools first. So head down to the home improvement store or local hardware store for any items you don't have on hand.
If you're a beginner woodworker, you'll definitely appreciate having these tools at home. Here's what you need for this simple design:
- 1 x 12″ x 6′ long pinewood board (I used a good quality pine that is somewhat smooth)
- 1″ x 3″ x 36″ pine (good quality pine that is somewhat smooth)
- Finishing nails
- Hammer or nail gun
- Saw
- Jigsaw
- Tape measure
- Pencil
- Ruler or straight edge that is longer than 12 inches
- Chalk paint
- Sander
- Sandpaper 320 (smooth grit)
- Sandpaper 100 (medium grit)
- Paintbrush
Shopping list complete. Now that we have our necessary building materials and tools, let's get started making this easy DIY bench.
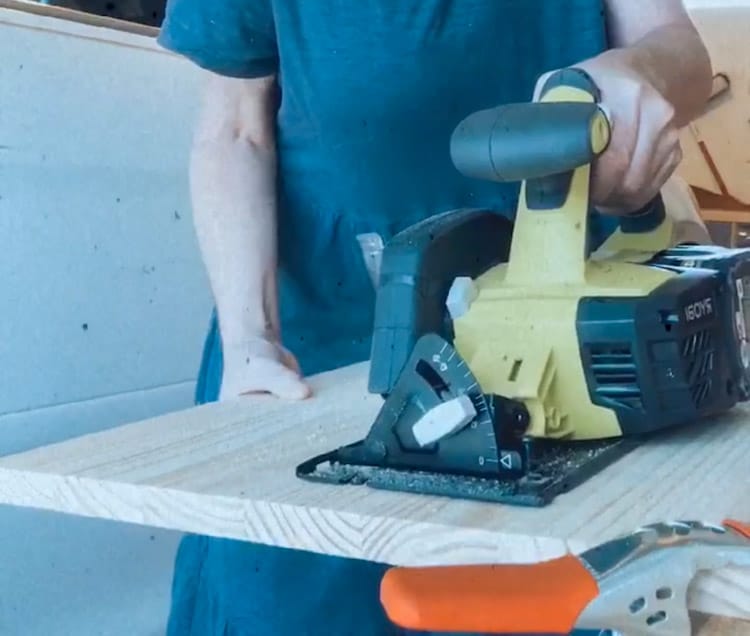
Step 1: Cut Wood Seat
For the first step, measure the 1″ x 12″ wood for the length of the top board or where you will sit and make a mark on both sides of one side. Then take a ruler and draw a line.
Now using your circular saw cut the wood and set it aside.
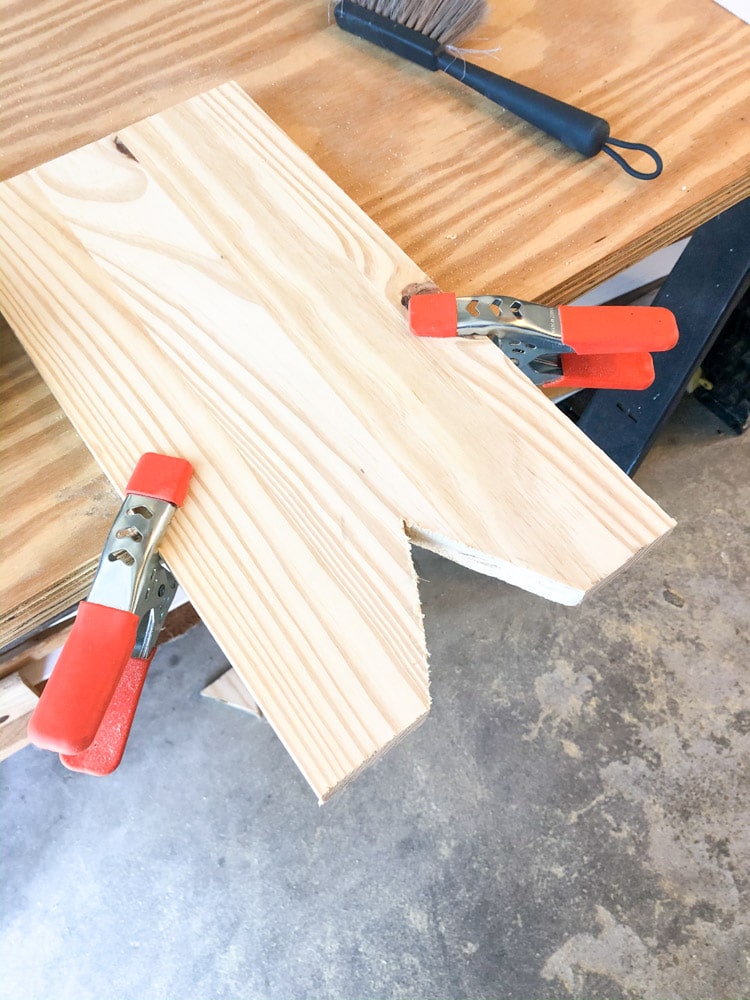
Step 2: Cut Bench Legs
Next, measure 17″ on the wood and cut two legs.
If you want to add a v-shape to the bottom of your legs here is how I created mine. Find the center of one leg 3″ up from the bottom and make a mark. Then measure out from the center along the edge 2″ on each side.
This will make the opening at the bottom 4″ and the height of the v shape 3″.
Next, use the ruler and connect the markings with a pencil and then cut along the line with a jigsaw. Your leg pieces are ready to go.
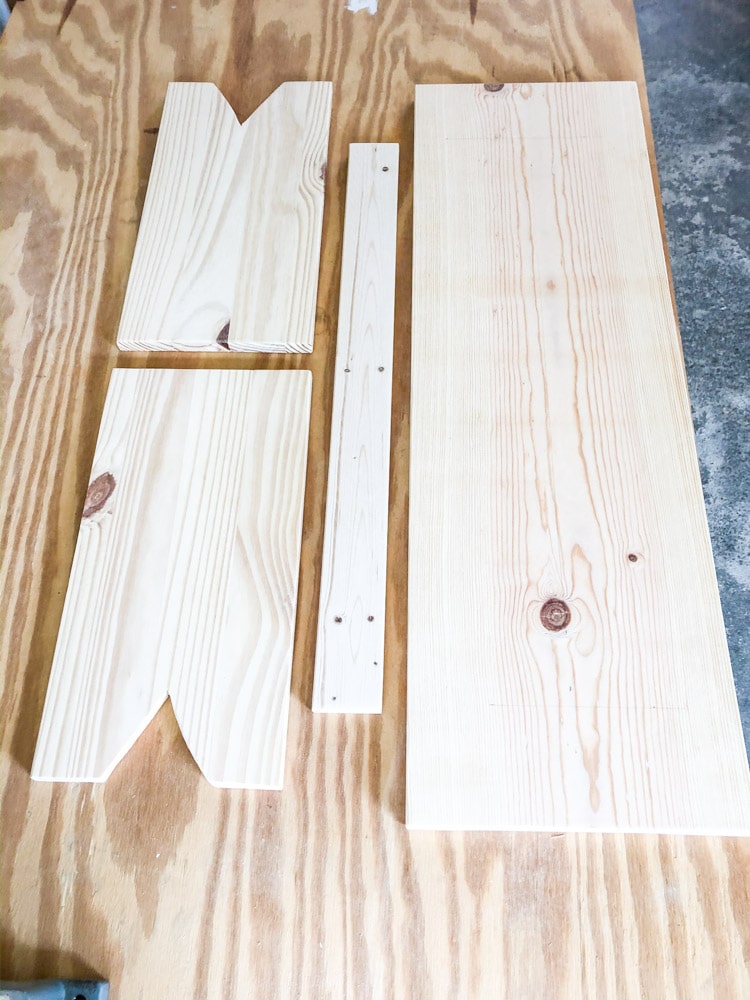
Step 3: Cut Leg and Seat Support
Last, grab the 1″ x 3″ piece of wood and cut it 28″ if you making your bench 36″ long or subtract 8″ from your top board length and cut to that size. In other words if your bench is going to be 48″ then cut this board at 40″.
These are the pieces you will end up with after cutting.
You're halfway through this simple project.

Step 4: Glue and Nail Wood Support to Legs
Now it is time to assemble your pieces. This is a great project to work on with a partner or family members. It is much easier if you have a helper but if not you can lean your board against something heavy while assembling. I will explain more as we go.
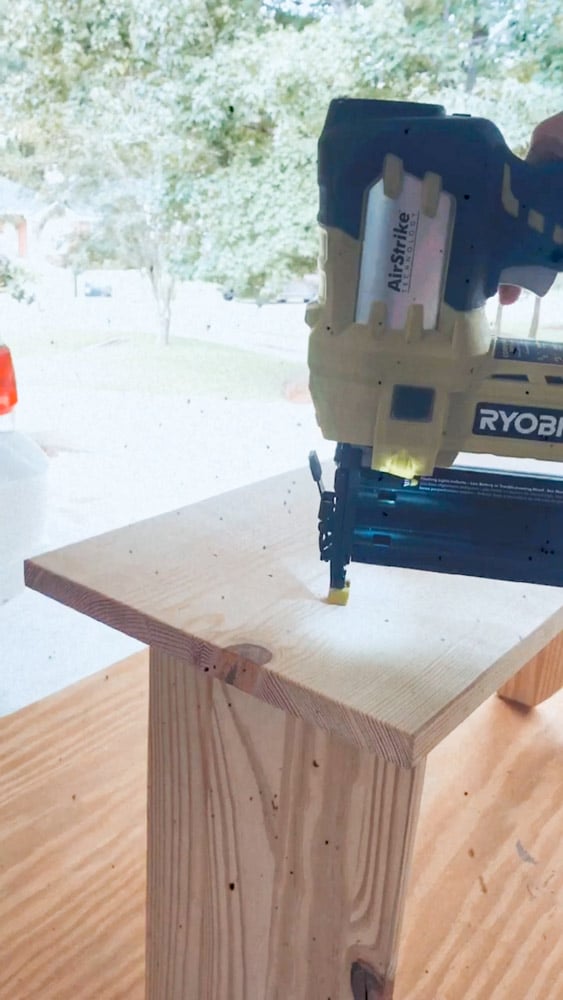
First, take the 1″ x 3″ piece and apply wood glue on one end and nail it to the center top piece of one leg.
If you are doing this by yourself lean the center support piece of wood against something that will not move and then prop your leg board up against the center support board and nail it in.
Next, attach the other leg the same way. The legs of the bench are now attached.
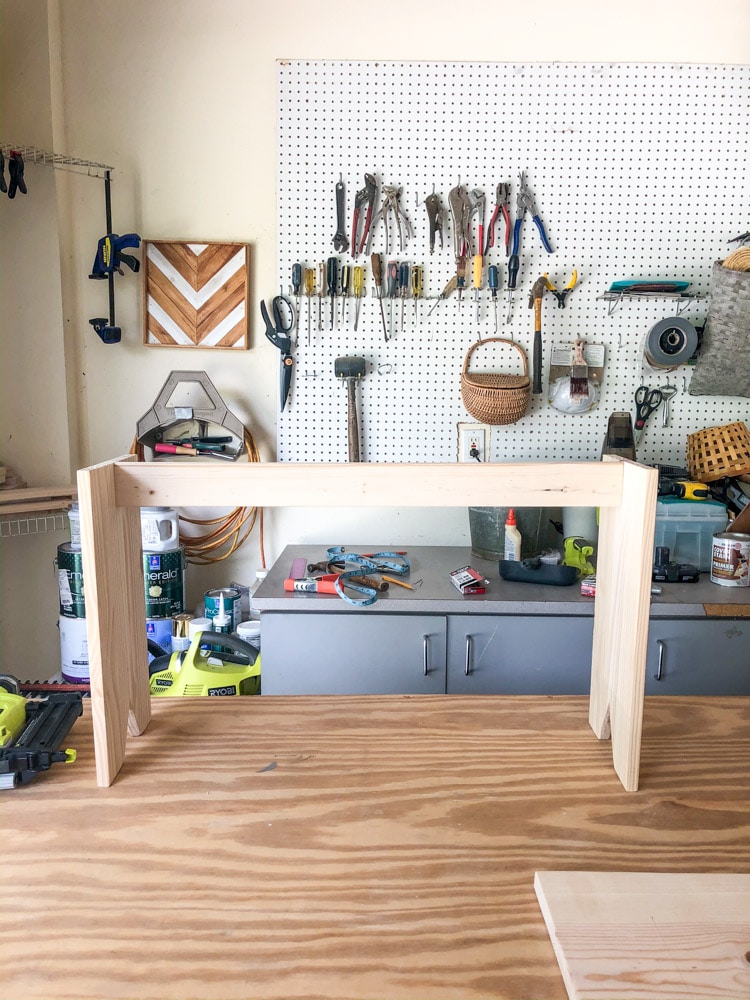
This is what your bench should like like at this point.
Step 5: Attach Seat to Base
Now make a line down the center of the top board and make marks on the ends so you know where to run your nails.
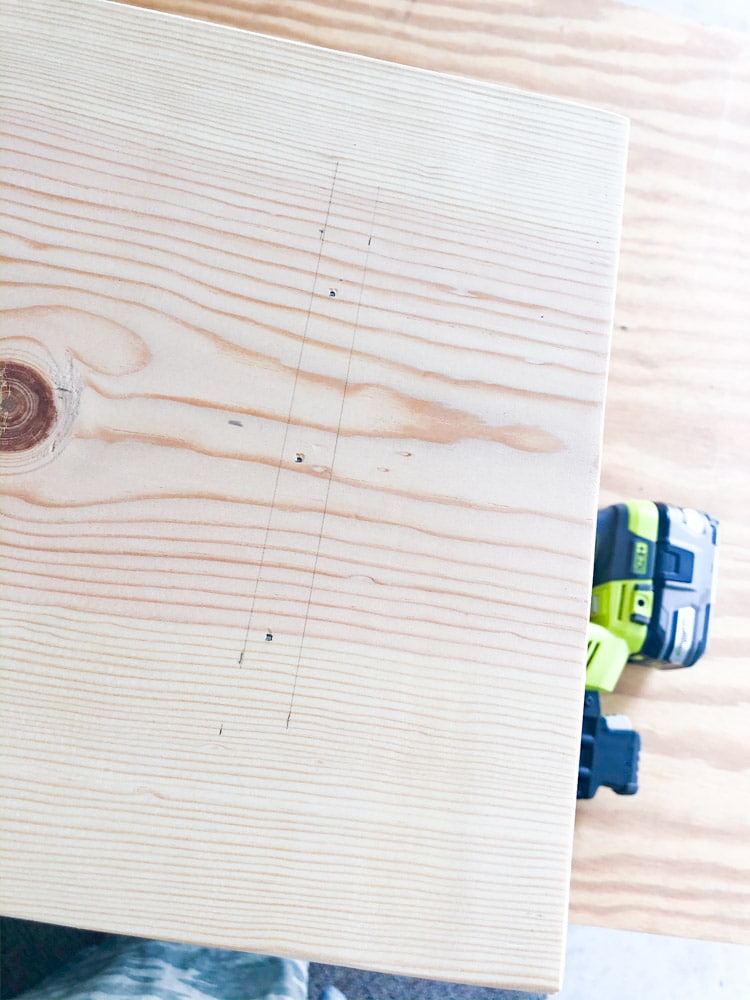
Then lay it on top of the legs and nail it in place where you made the pencil marks. You can run nails all the way down along the 1″ x 3″ to give it more security.
I love woodworking! If you do too you will love how to build a farmhouse table. Your simple wood bench is almost done.
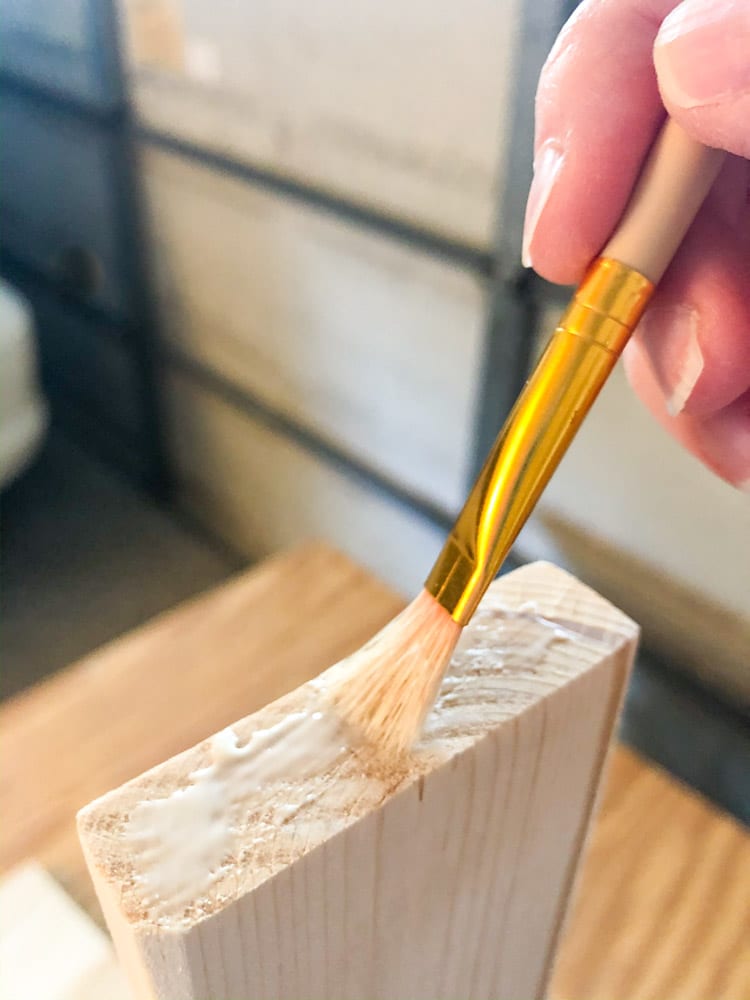
Step 6: Chalk Paint Bench
Now for the really fun part and that is adding paint to your bench. This is your opportunity to give your bench a unique look that matches your design style. I used Dixie Belle chalk paint in color cotton.
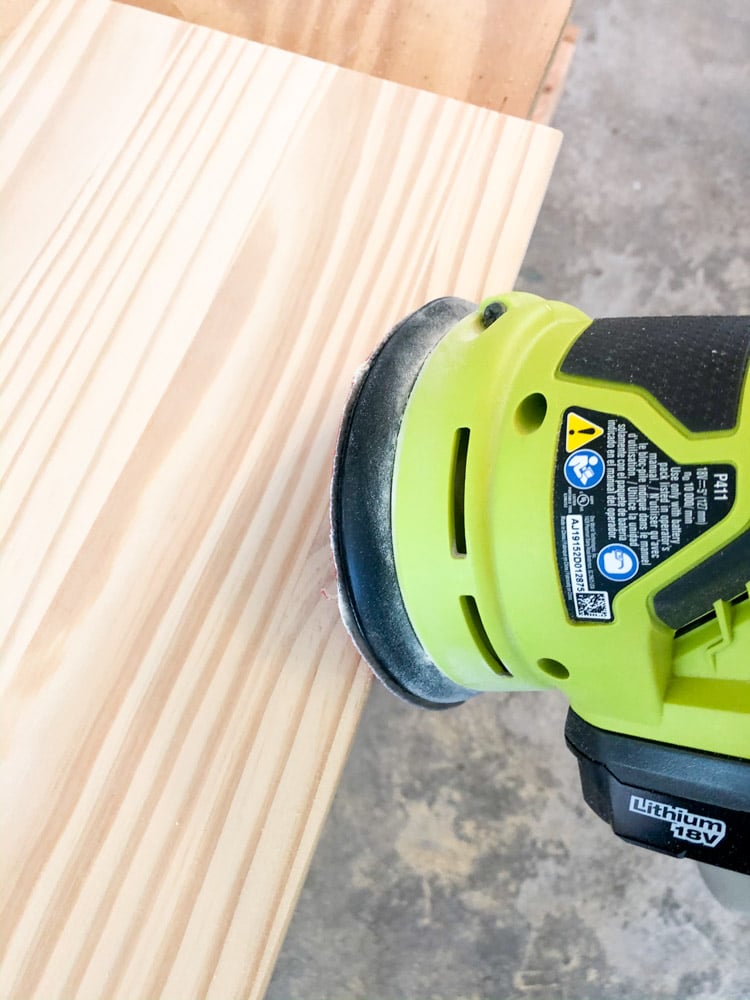
First, you'll want to give your bench a quick sand.
Begin by sanding the bench with a medium grit and then a smooth grit. After you finish sanding take a damp paper towel and remove any dust from sanding. Your finished bench is ready for painting.
Then brush on the Dixie Belle chalk paint by following how to paint with chalk paint tutorial. If you want your bench to have a distressed look remove the paint on the corners and other places with a sander after the paint dries.
Once you are finished add a top coat then you are all finished!
See how easy it is make this adorable farmhouse style wooden bench? I love this simple DIY wood bench.
These bench plans are so simple that this would even make a great beginner woodworking project.
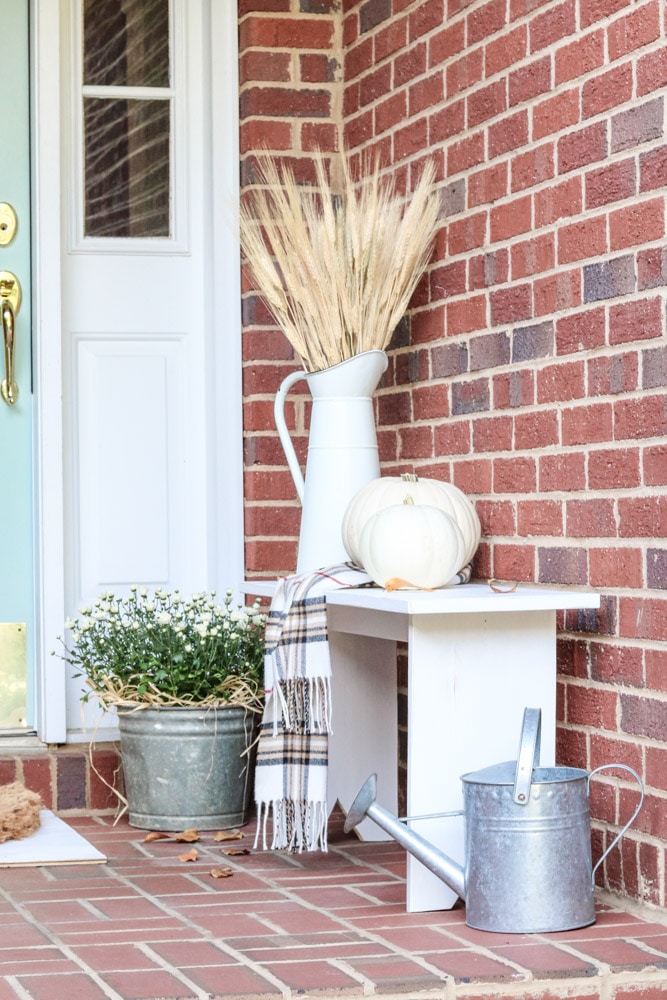
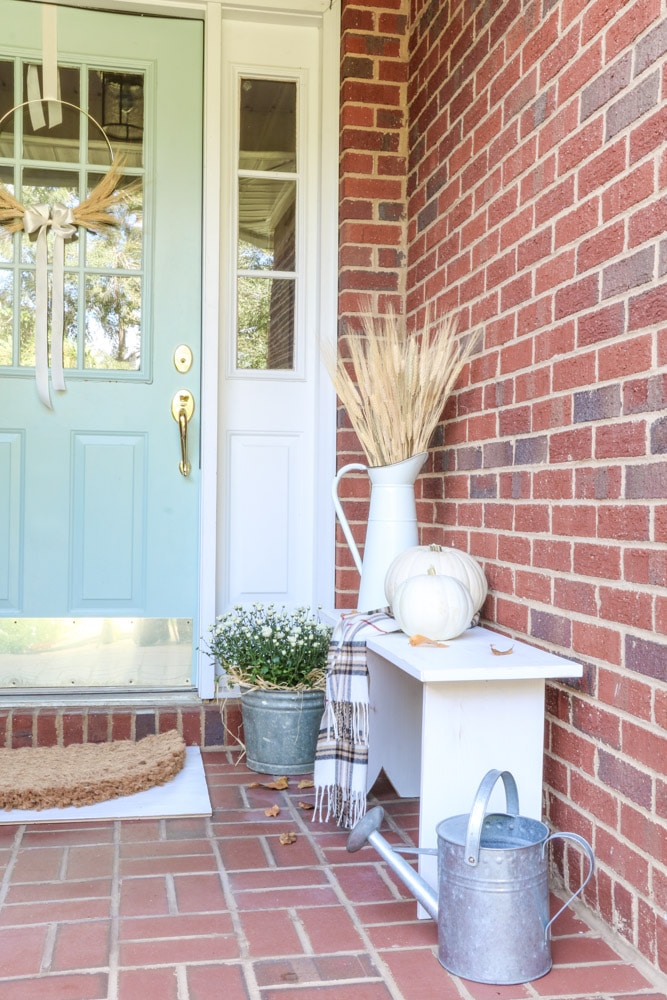
Your beautiful bench will look great anywhere. It's ready for your porch or your next backyard adventures like a front row seat at the fire pit or as a garden bench. Let's take a look at the final project.
Conclusion
Making this basic bench was simple, right? This simple wooden bench is one of my favorite DIY projects and I had the perfect place for it.
Now that you have a small bench you may be looking for some fun ideas on what to do with it. This is always the best part. I have a post on bench decorating ideas with lots of ways to decorate your bench.
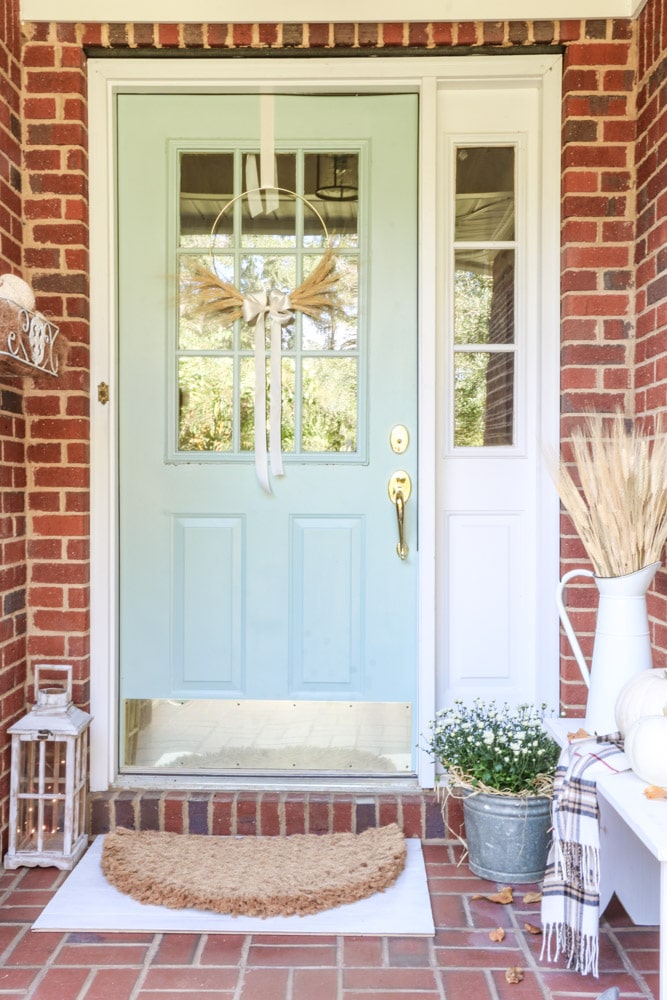
If you have a small porch here is a post on small front porch decorating ideas. It is filled with designer tips and tricks on making a small porch feel larger. Your outdoor space will be your new favorite place.
Last, my fall front porch decorating ideas on a budget post will show you how I styled this adorable farmhouse simple DIY bench for fall. It is so nice to have my simple DIY wood bench on my porch instead of just a flower pot.
Extra seating is always welcome to enjoy the beautiful fall weather. These also make great garden benches.
I hope this post has been helpful and I cannot wait to see how you style your bench inside or outside your home. Don't forget to check out the video tutorial above. I'd love to hear your experience with this great DIY project.
Looking for More Inspiration?
Enjoy this free plan and ready for your next project? Check out these posts:
- DIY Bed Frame and Headboard to Complete a Bedroom Makeover
- Easy DIY Basket Pendant Light
- DIY Exterior Dutch Door on a Budget
- Easy DIY Coat Rack Using Reclaimed Wood
- Restoring Wood Furniture Without Stripping: A Step-by-Step Guide
- Craft a Classic: Easy DIY Peg Shelf For Your Home
Happy Decorating!

5 thoughts on “Simple DIY Bench: Easy Step-by-Step Guide & Bench Plans”